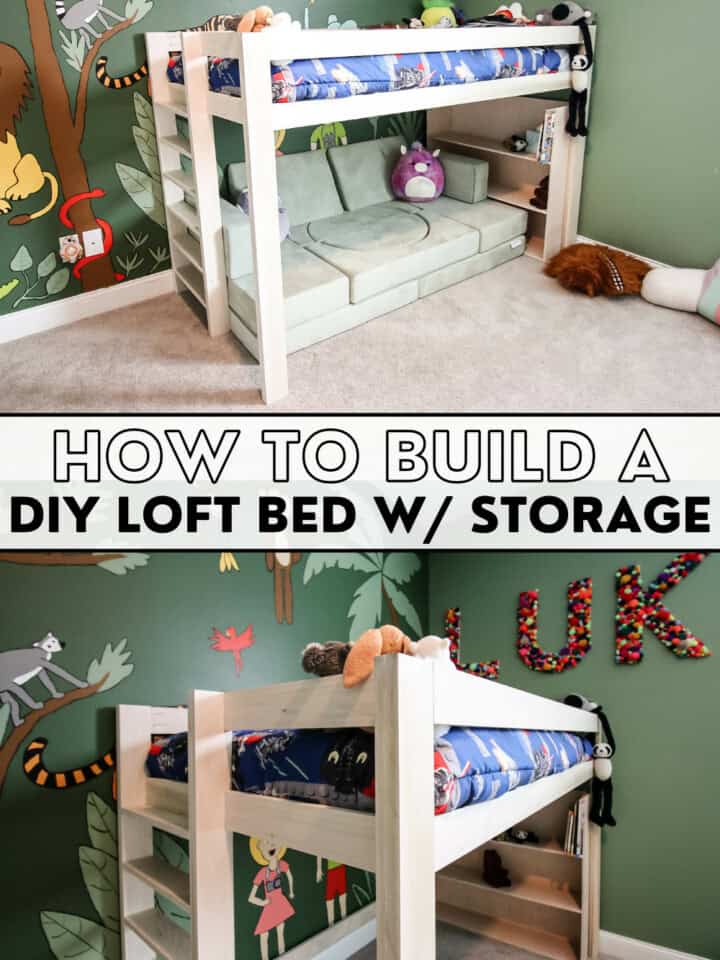
Is your kid ready to move up to a big kid bed? Here's how to build a DIY loft bed that will give your child a great sleeping and hangout space!
Our son recently turned 5 years old and he was getting a liiiiiittle big for his crib sized mattress, so we started thinking about how we were going to upgrade him into a big boy bed.
Historically, he slept in a Snoo bassinet until he was six months old where we then moved him into our DIY midcentury modern crib.
He slept in that for a couple years, as we converted one side to a railing so he could get out. But then we bought him a Thomas the Train bed because he was OBSESSED with Thomas.
But he's over Thomas and too big for a crib mattress, so we started talking about what he wanted in a big boy bed. One thing he kept coming back to was a loft bed.
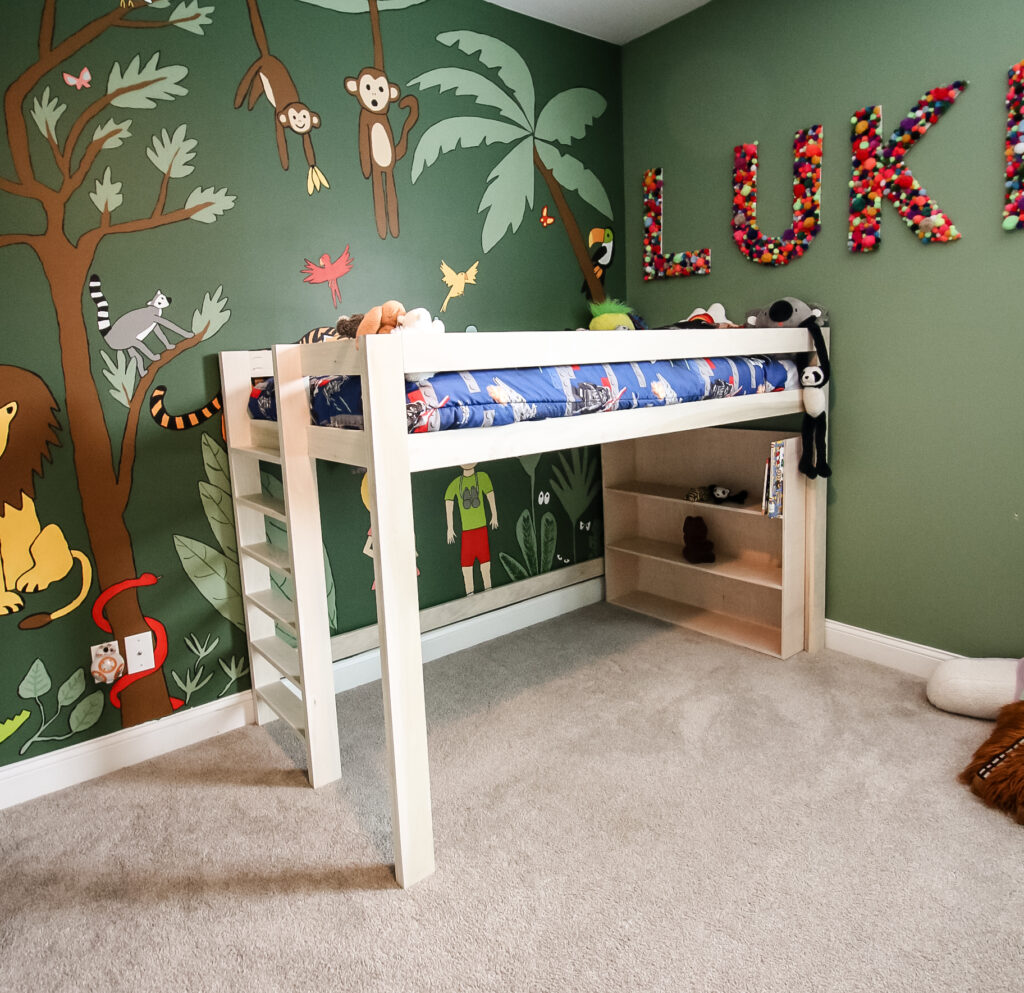
He's been loving sleeping in the top of a bunk bed when we go on trips to the mountains and it makes him feel really grown up. So, we developed a loft bed.
We didn't need a full bunk bed or something that high, so we went with something closer to a dorm room loft bed height.
This post will show you all about how we built a DIY loft bed and how you can build one too!
DIY loft bed
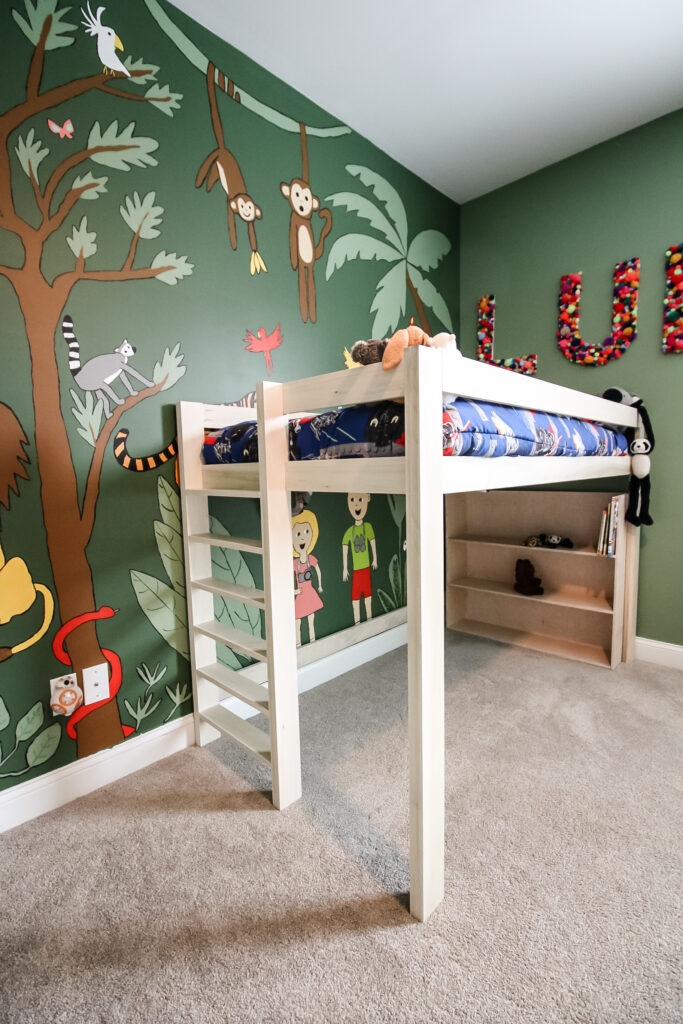
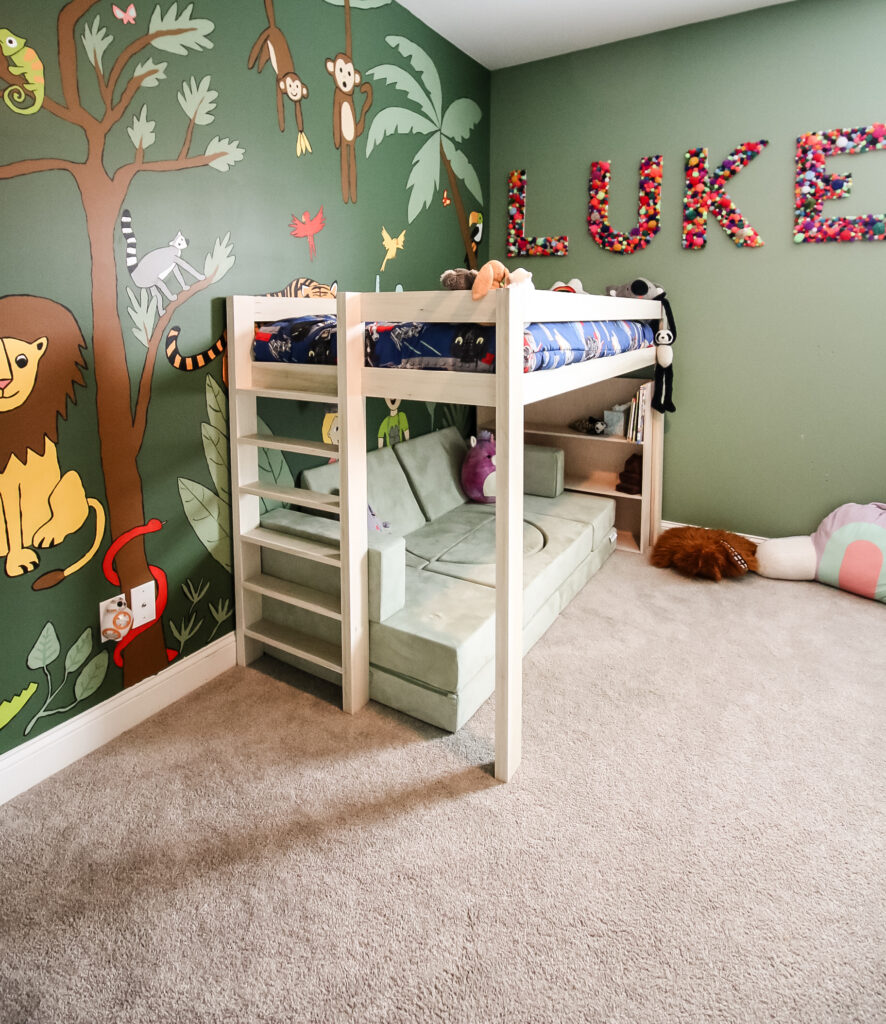
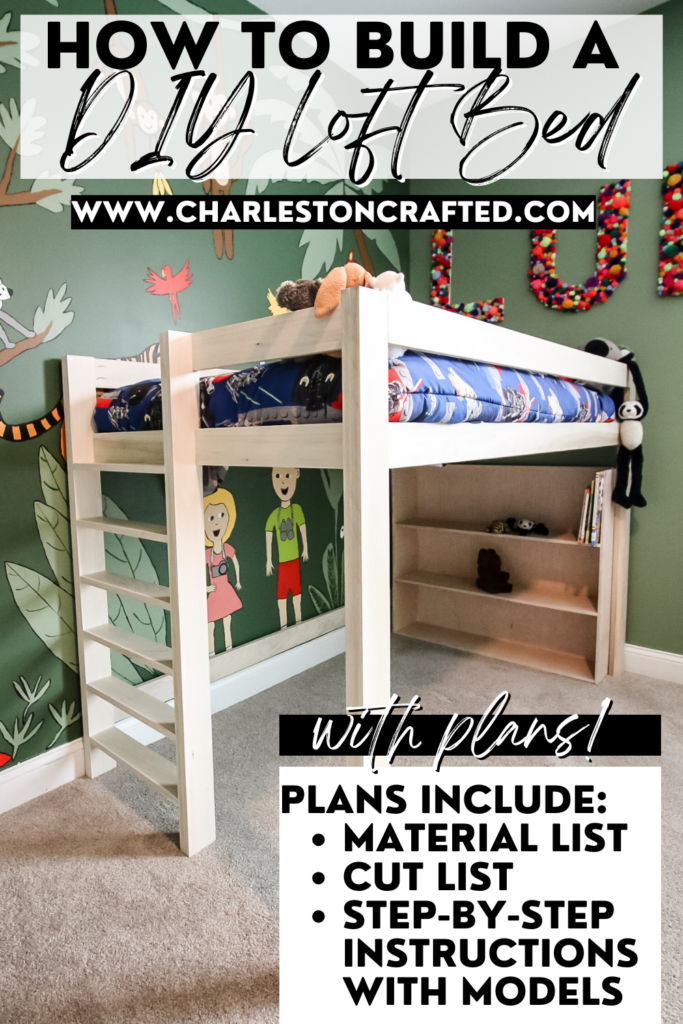
We built this DIY loft bed to be perfect for elementary aged kids who need a twin size mattress and can safely climb up into the bed.
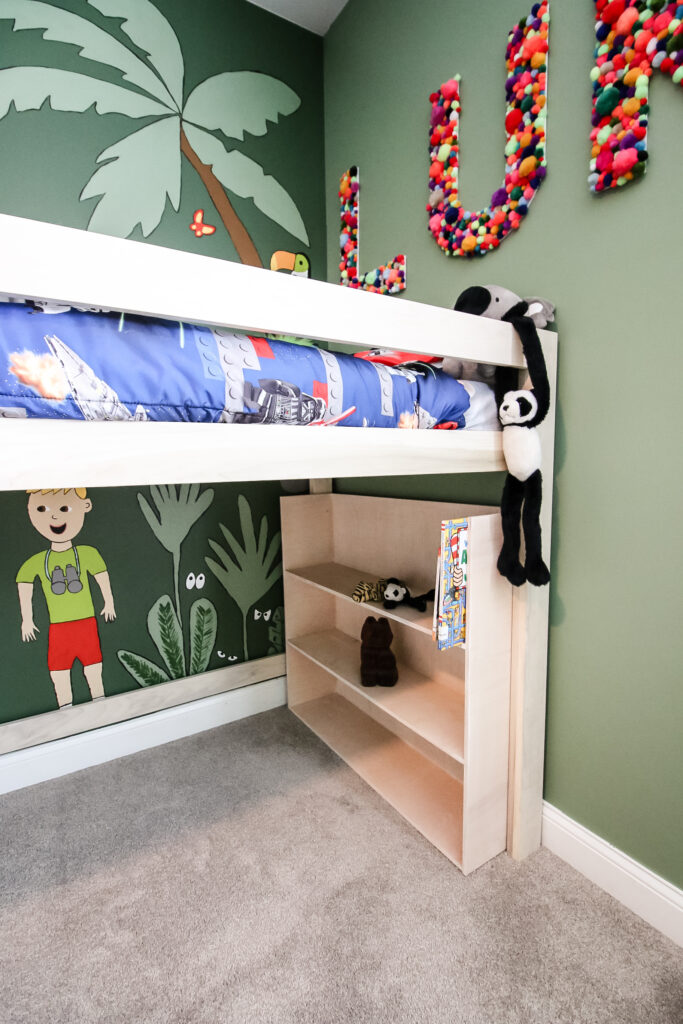
Our project features a twin sized mattress frame, a lofted space that fits a cozy area underneath, and a bookshelf for your child to keep their books and toys.
This is a really great project that allows kids to feel grown up and have a great space. It's especially good in small bedrooms where the space underneath can double as a hang out area or even fit a desk.
If you want to upgrade your own bed, here's how we built our DIY four poster canopy bed!
Materials and tools needed to build a loft bed
Here's what you'll need to build your DIY loft bed. To get the full material list, make sure to download our PDF woodworking plan!
- 1x4 boards (you can also adapt this plan to use 2x4s to save money!)
- Plywood
- 1 ¼" Kreg pocket hole screws
- Stain and sealant of choice
- Twin size mattress
- Miter saw
- Cordless drill
- Pocket hole jig
- Sander
How to build a loft bed
Let's dive into how to build a loft bed with the overview. You can grab full details, including the exact cut list and material list, in our PDF loft bed woodworking plans!
Another great option for kids is our DIY house bed!

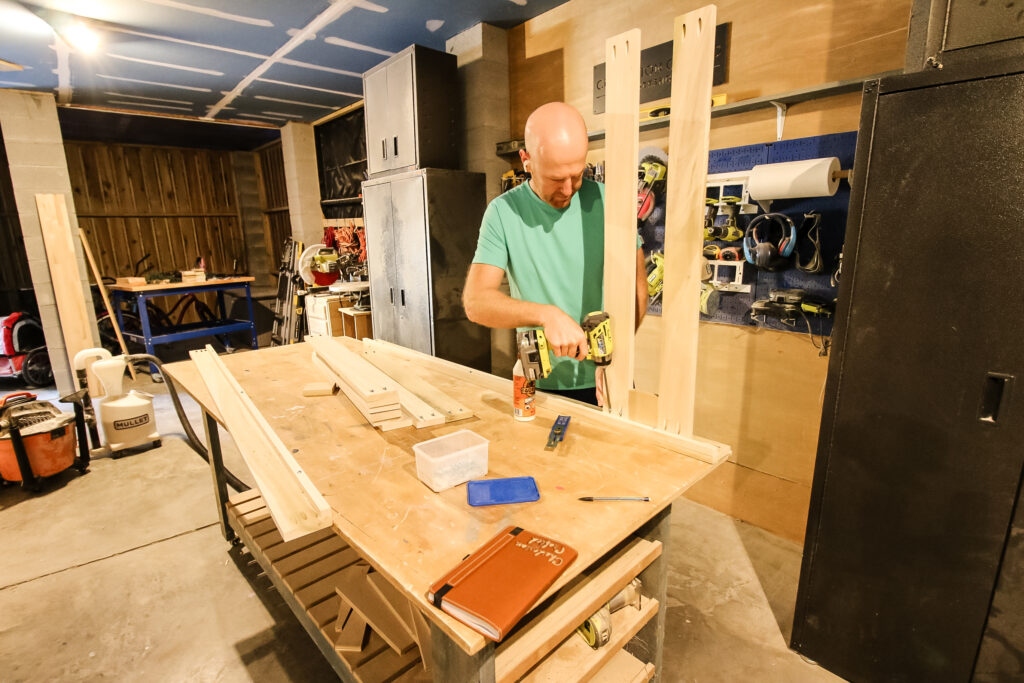
Step one: build ladder and sides
We started out by building the loft bed ladder for our son to climb into the bed with.
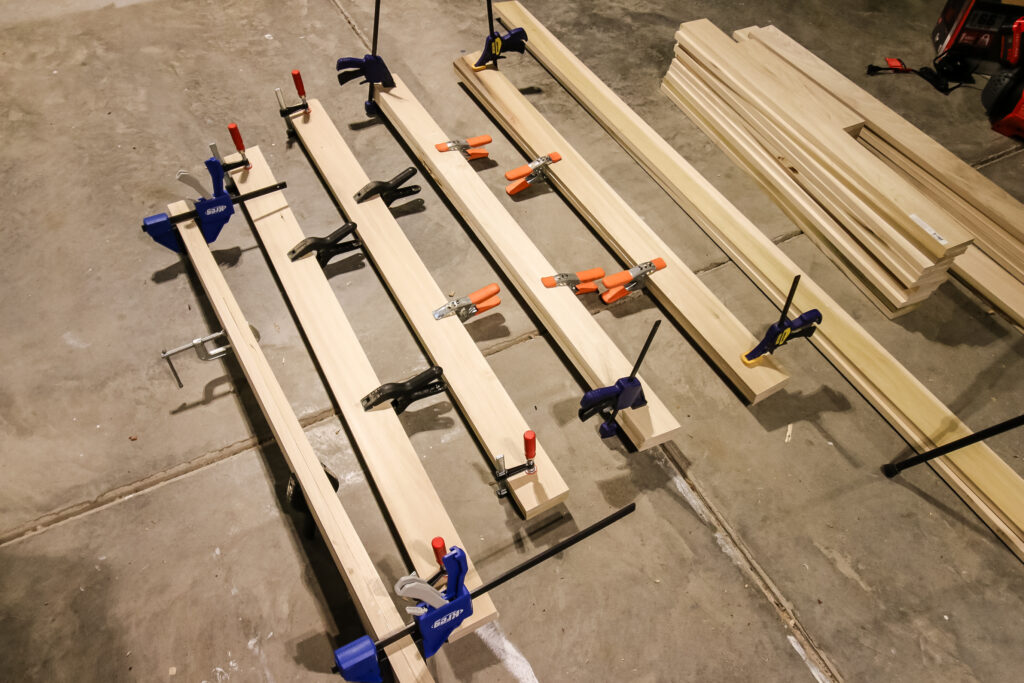
For this (and all the other legs) we used doubled up 1x4s to make them thicker and sturdier without having to use 2x4s. We've previously done this on our four poster canopy bed, our daughter's traditional style crib, and the house bed we mentioned above and it has worked out well for all of these.
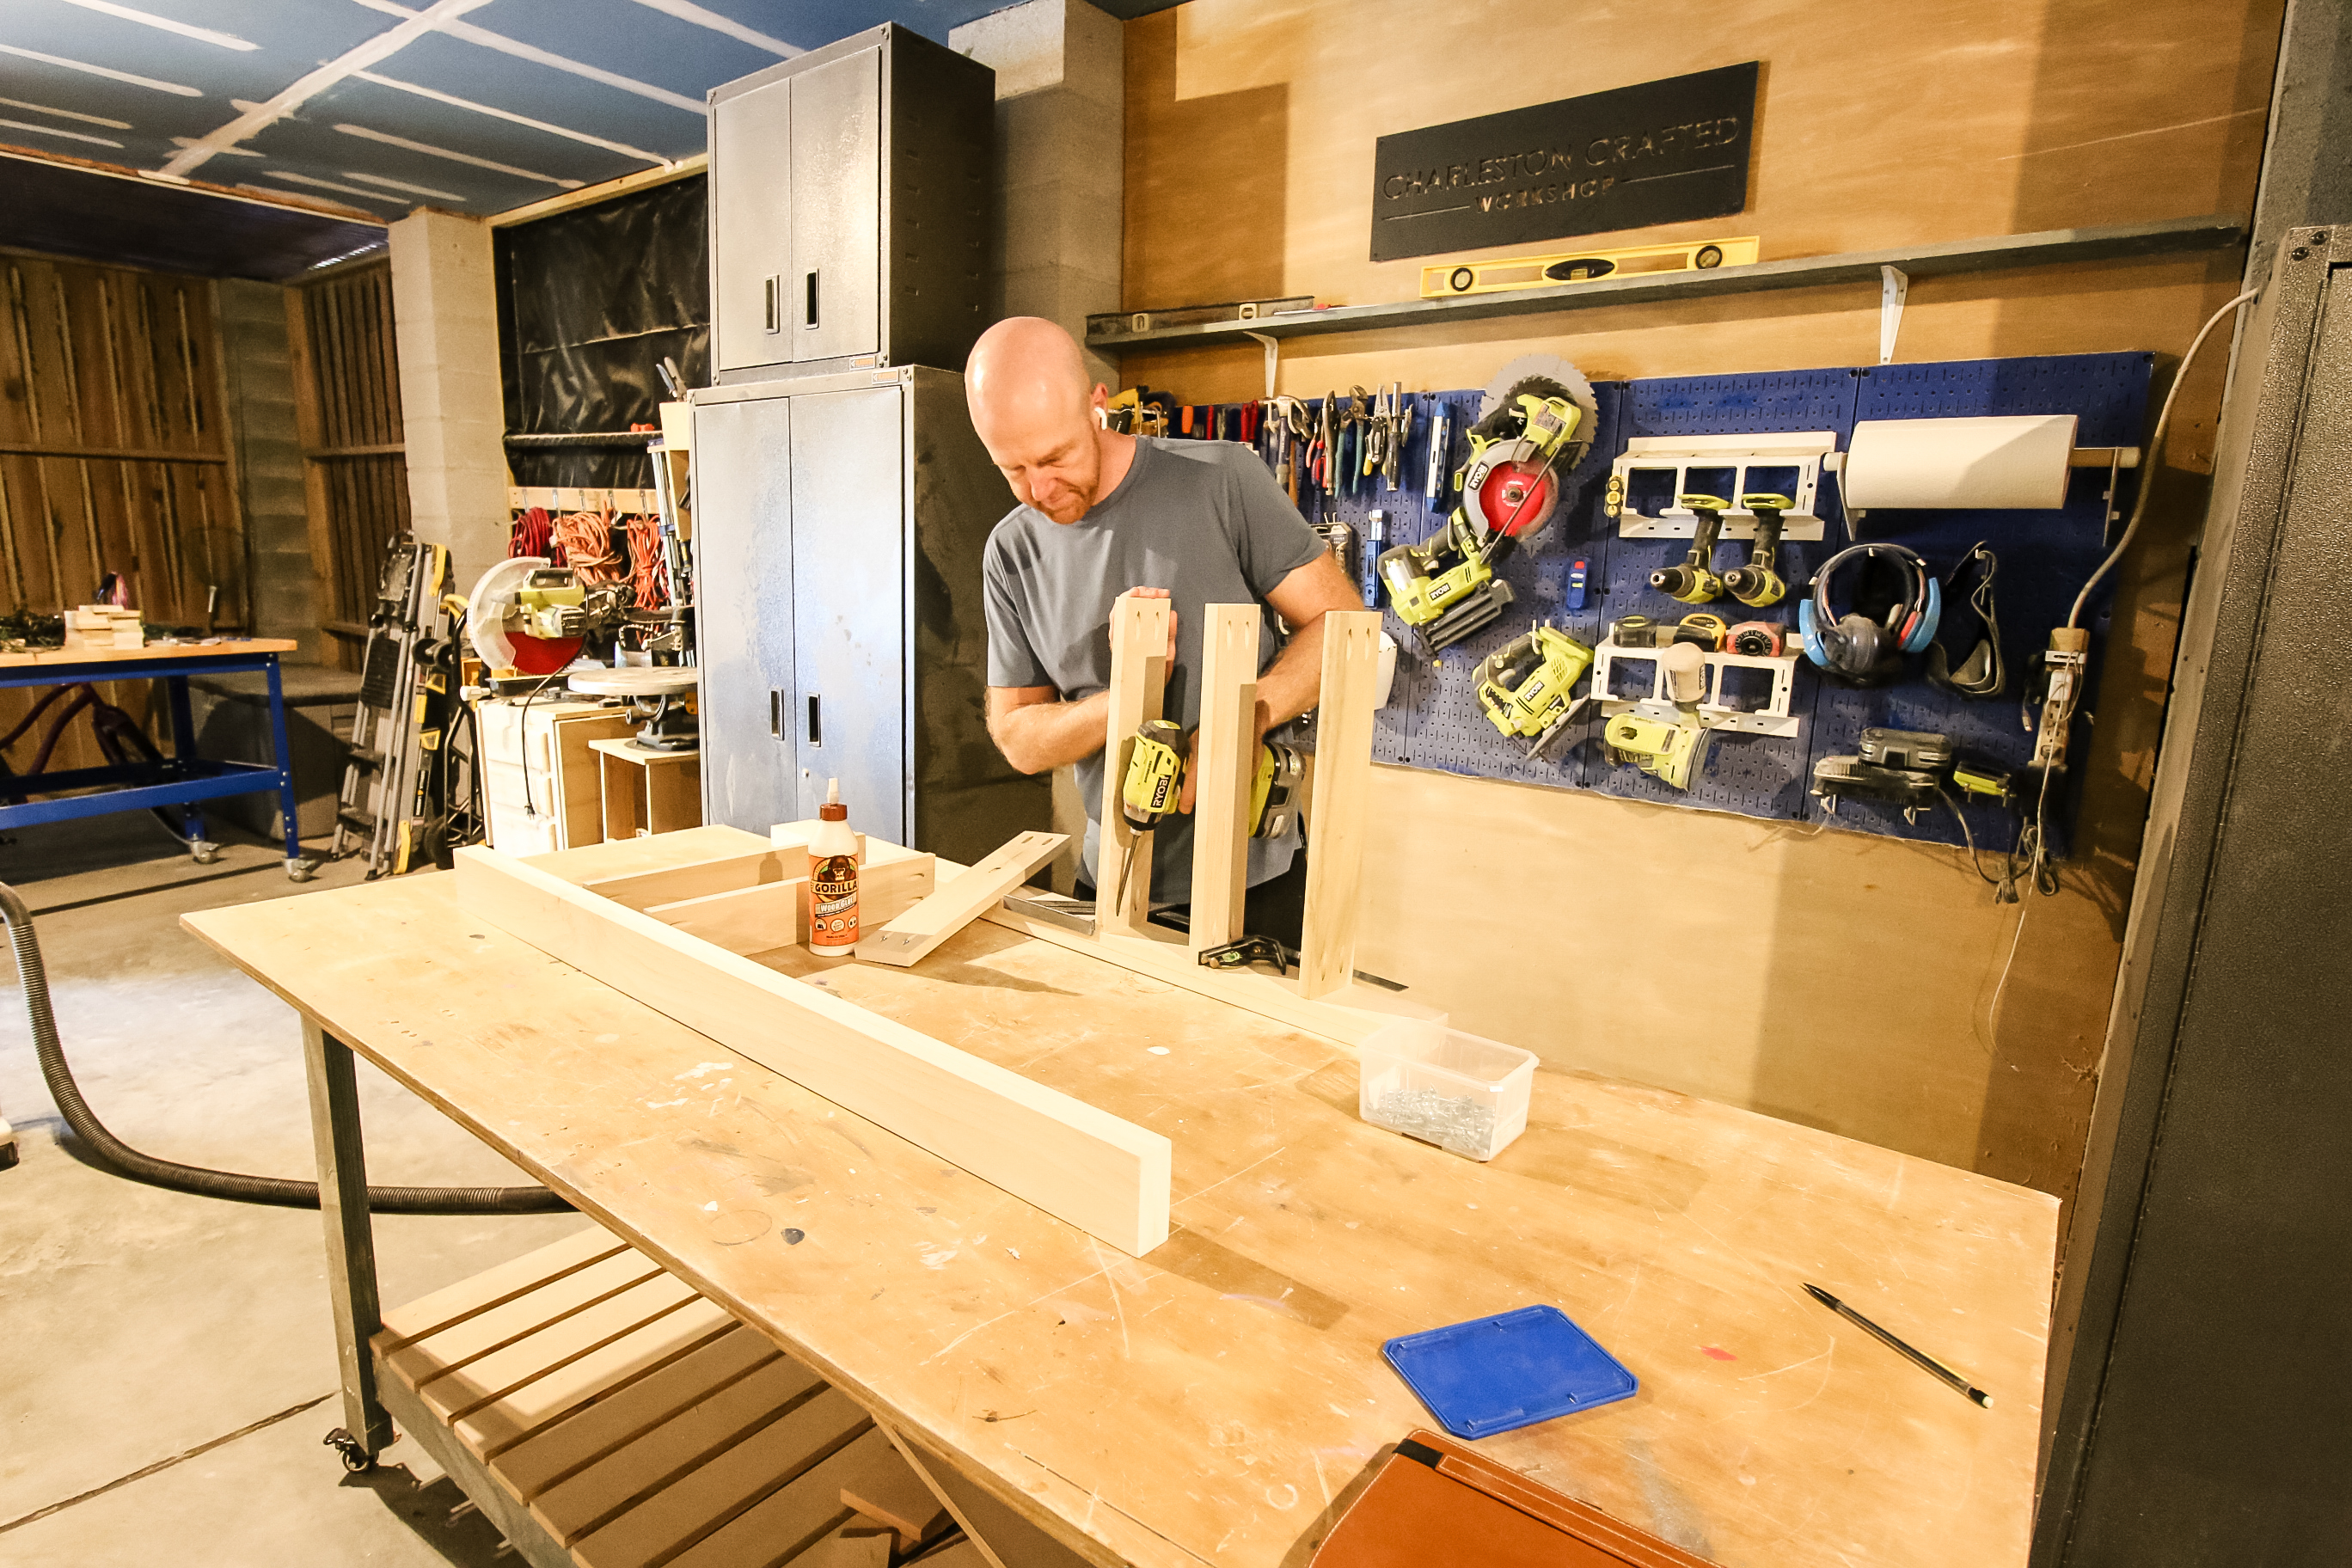
The ladder was two of these leg sets with 1x4s every few inches, connected with wood glue and pocket hole screws.
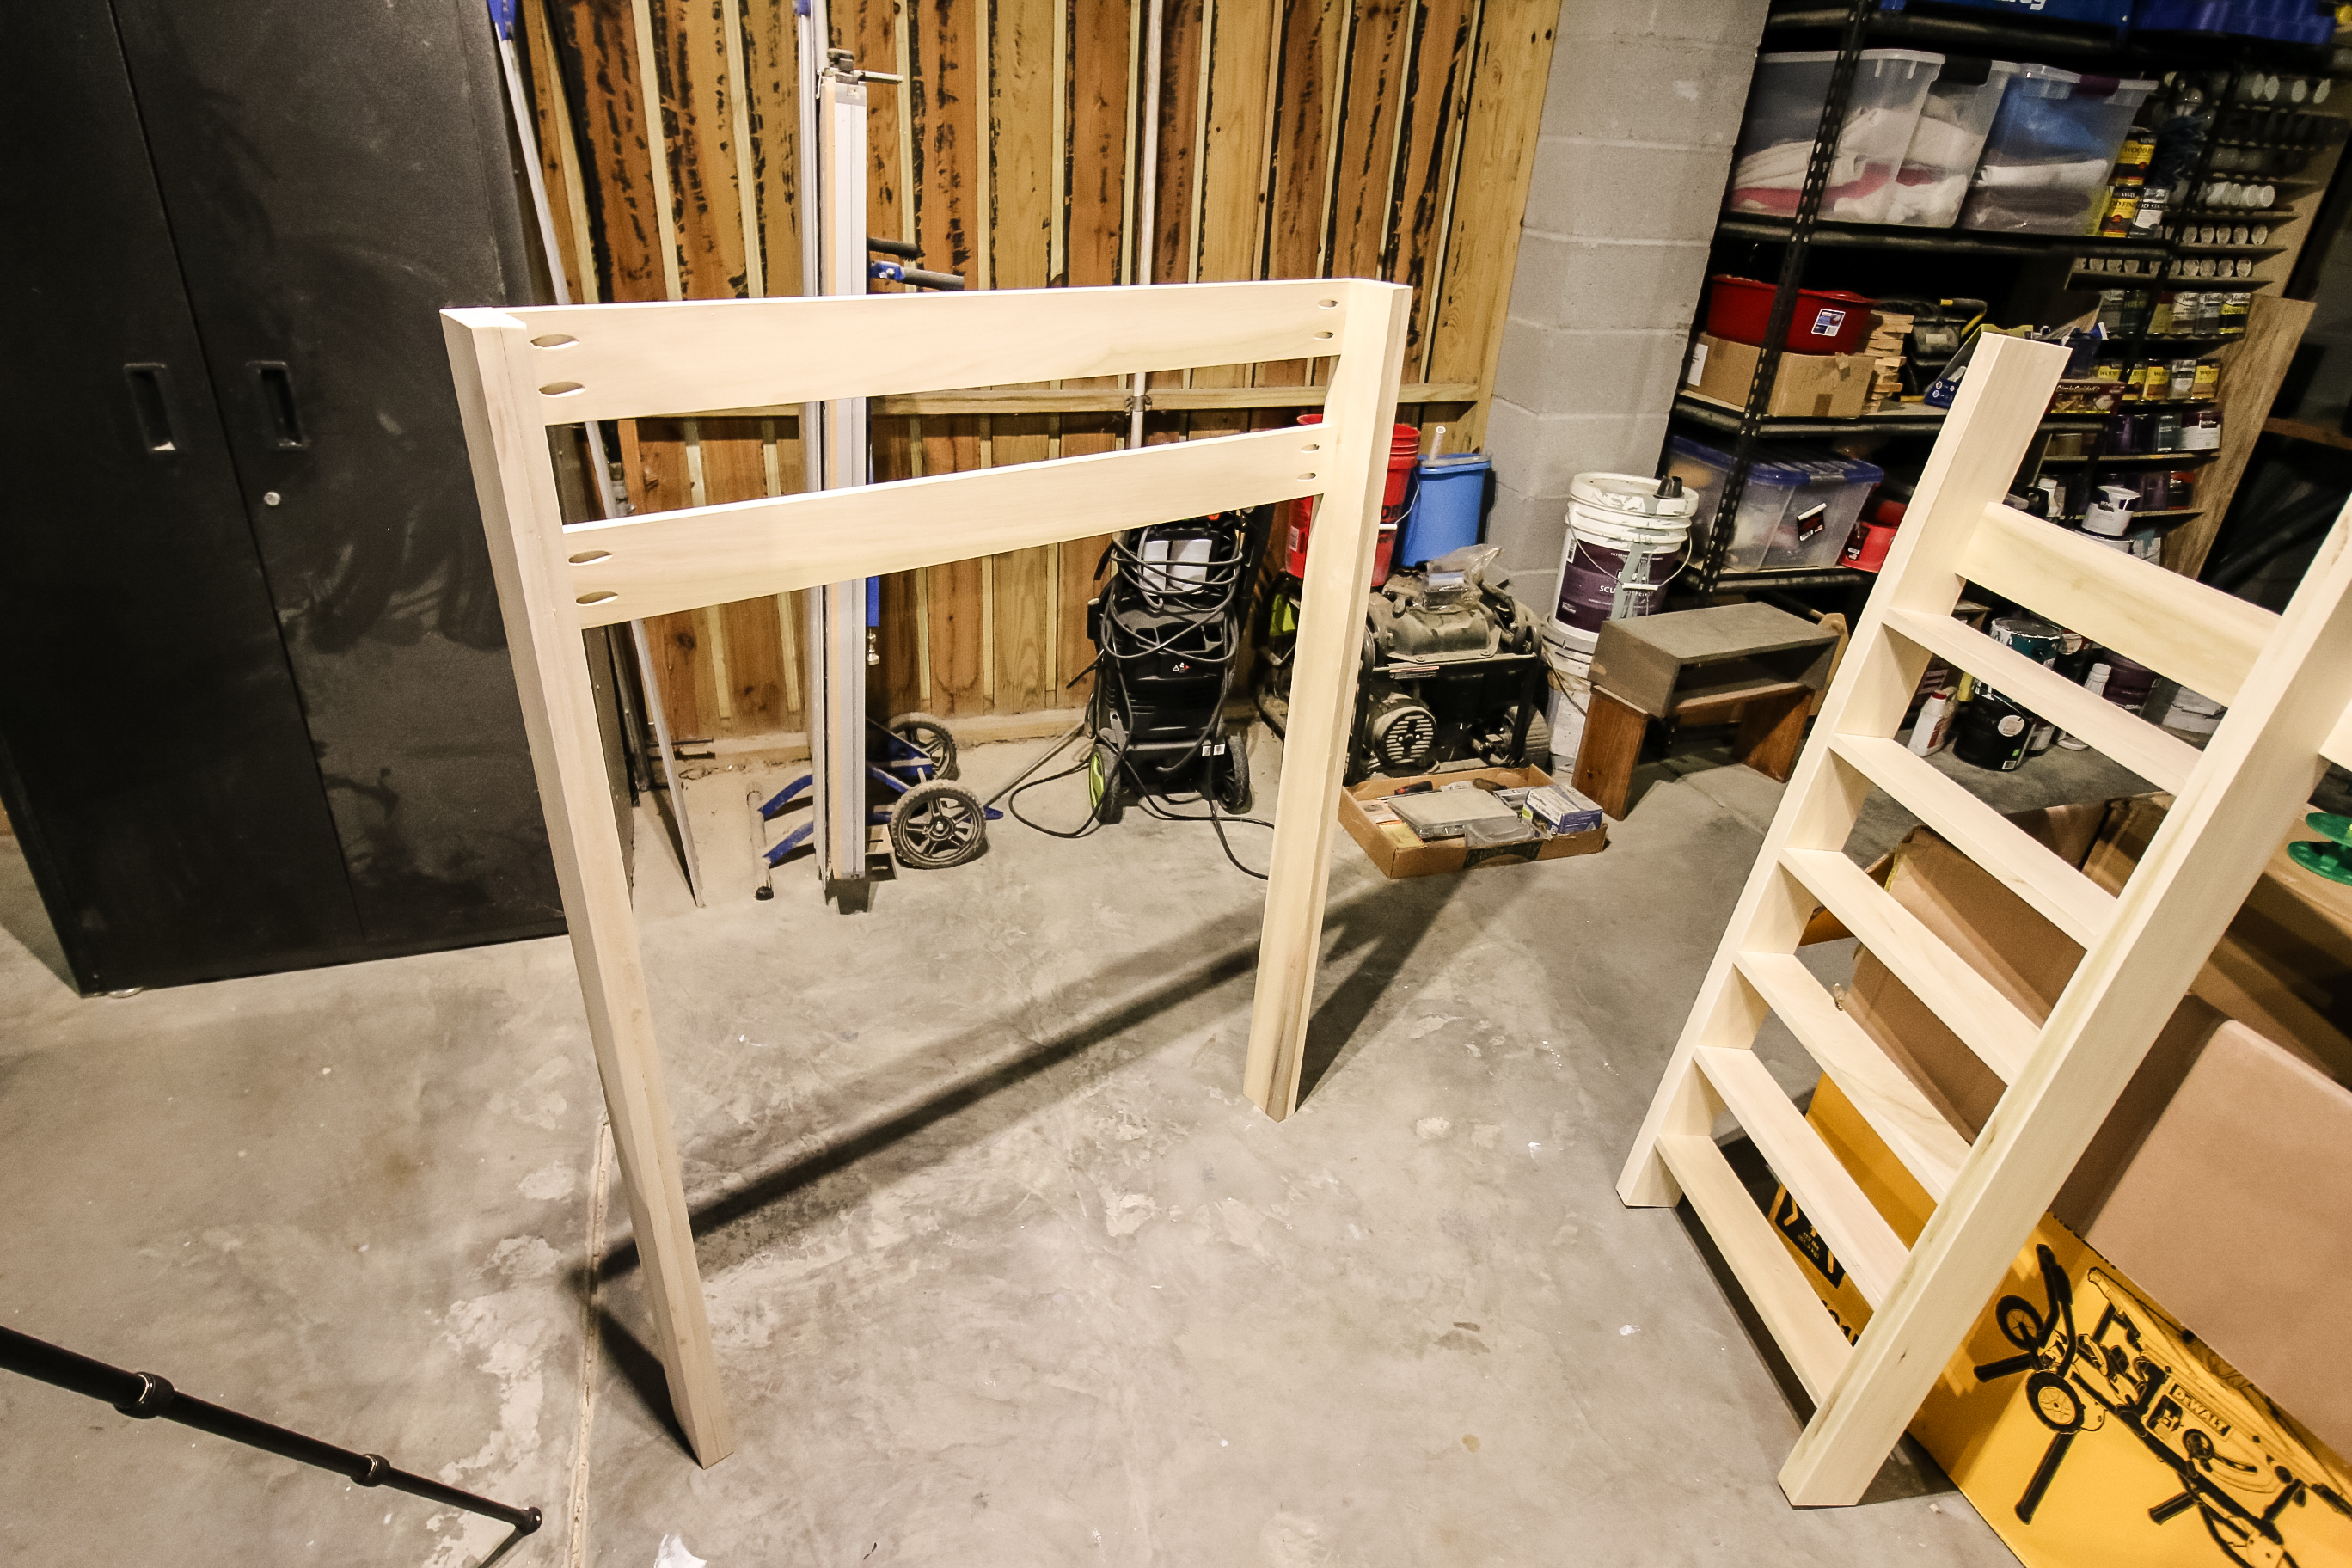
We added two spanner boards at the top to connect to a third leg on this side, then made another side that was two longer spanners connected between two legs.

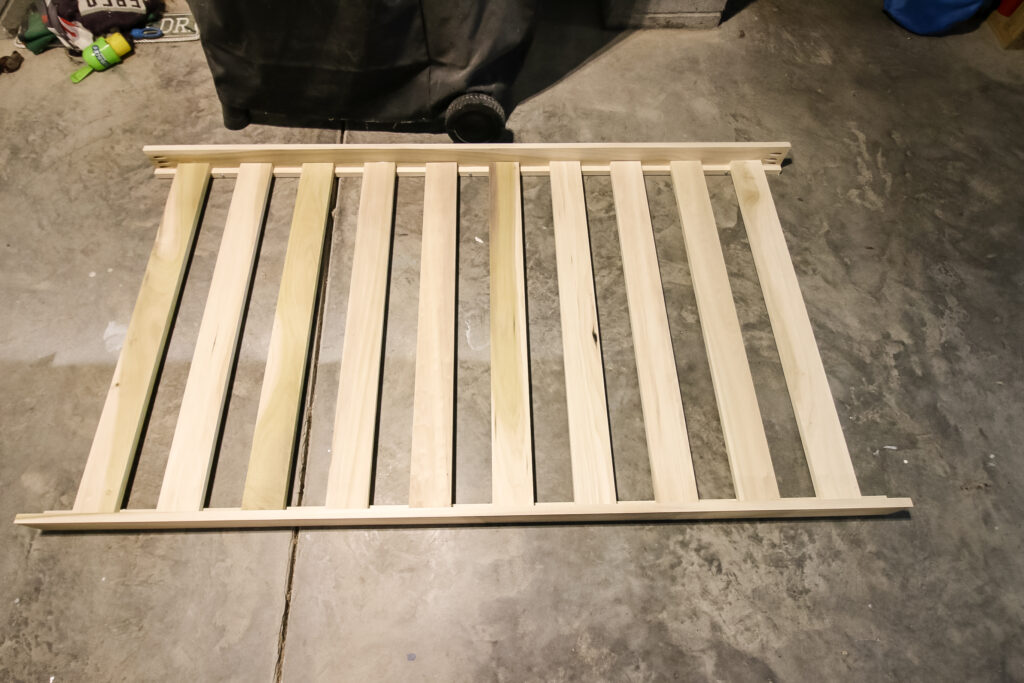
Step two: build bed frame
Next we built the bed frame that would hold the twin mattress.
We wanted this to be super secure so there was no issue with weight on top of it. For this, we attached a support board on each side of the bed, then attached mattress supports between them.
The support board helps hold the mattress slats in place and keeps them level.
For all the slats, we used both wood glue and pocket hole screws to hold them securely in place.
Step three: connect sides together
We did a dry fit in our garage to make sure that everything looked good and lined up correctly.
The thing about a loft bed is that there are regulations about how much space you need for the railing and all this, so we wanted to make sure it looked good before final assembly.
We connected the two sides from step one together with the frame made in step two. We'd add the other support rails in final assembly.
Step four: build bookcase
Next we built the bookcase for underneath. The bookcase is great storage and also serves to support the two legs on the back side, which would be against the wall.
For the bookcase, we didn't want it to be too details, so we used ½" plywood, wood glue and nails to assemble it. We ripped down all the plywood with our Kreg Adaptive Cutting System saw and guide.

It's a simple three shelf bookcase that works perfectly for this project.
When this was done, we stained all the pieces for the project (the assembled ones and the support rails we'd yet to add) and sealed them with polyurethane.
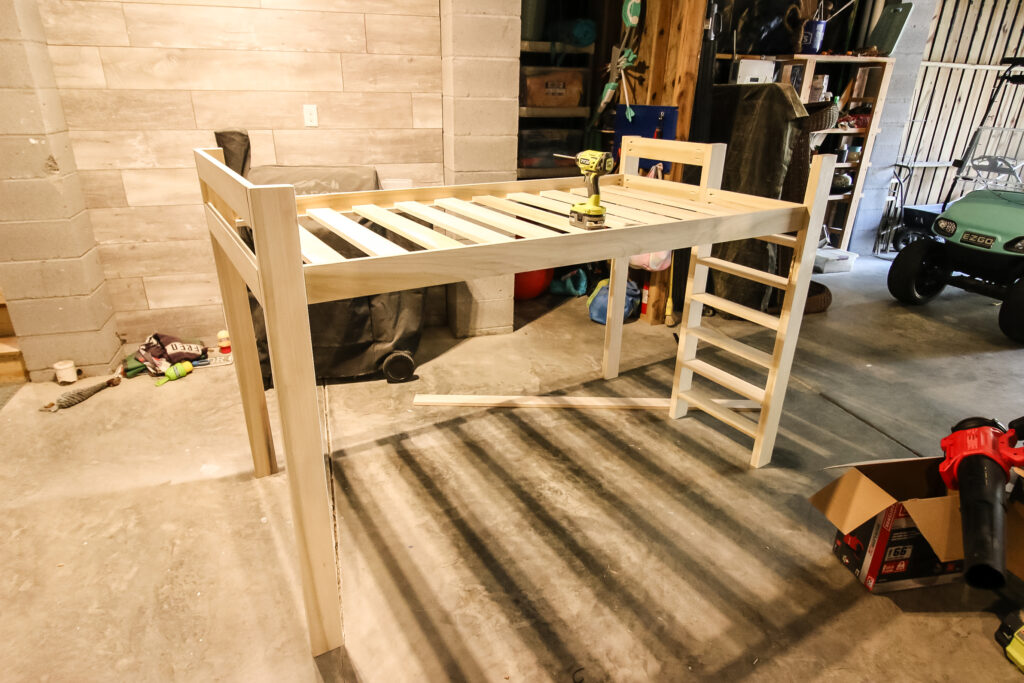
Step five: assemble in room
All that was left now was to assemble the bed in our son's room! After he went to school, we moved everything out the way and rearranged other pieces of furniture.
Then, we started building it up. We used wood glue and pocket hole screws to attach everything to give it extra support.
We used the bed frame to connect the two sides, then added additional railings above the frame to keep him from rolling out.
Then we attached a long spanner board near the bottom on the long side to keep those legs in better place and screwed the bookshelf in between the back legs.
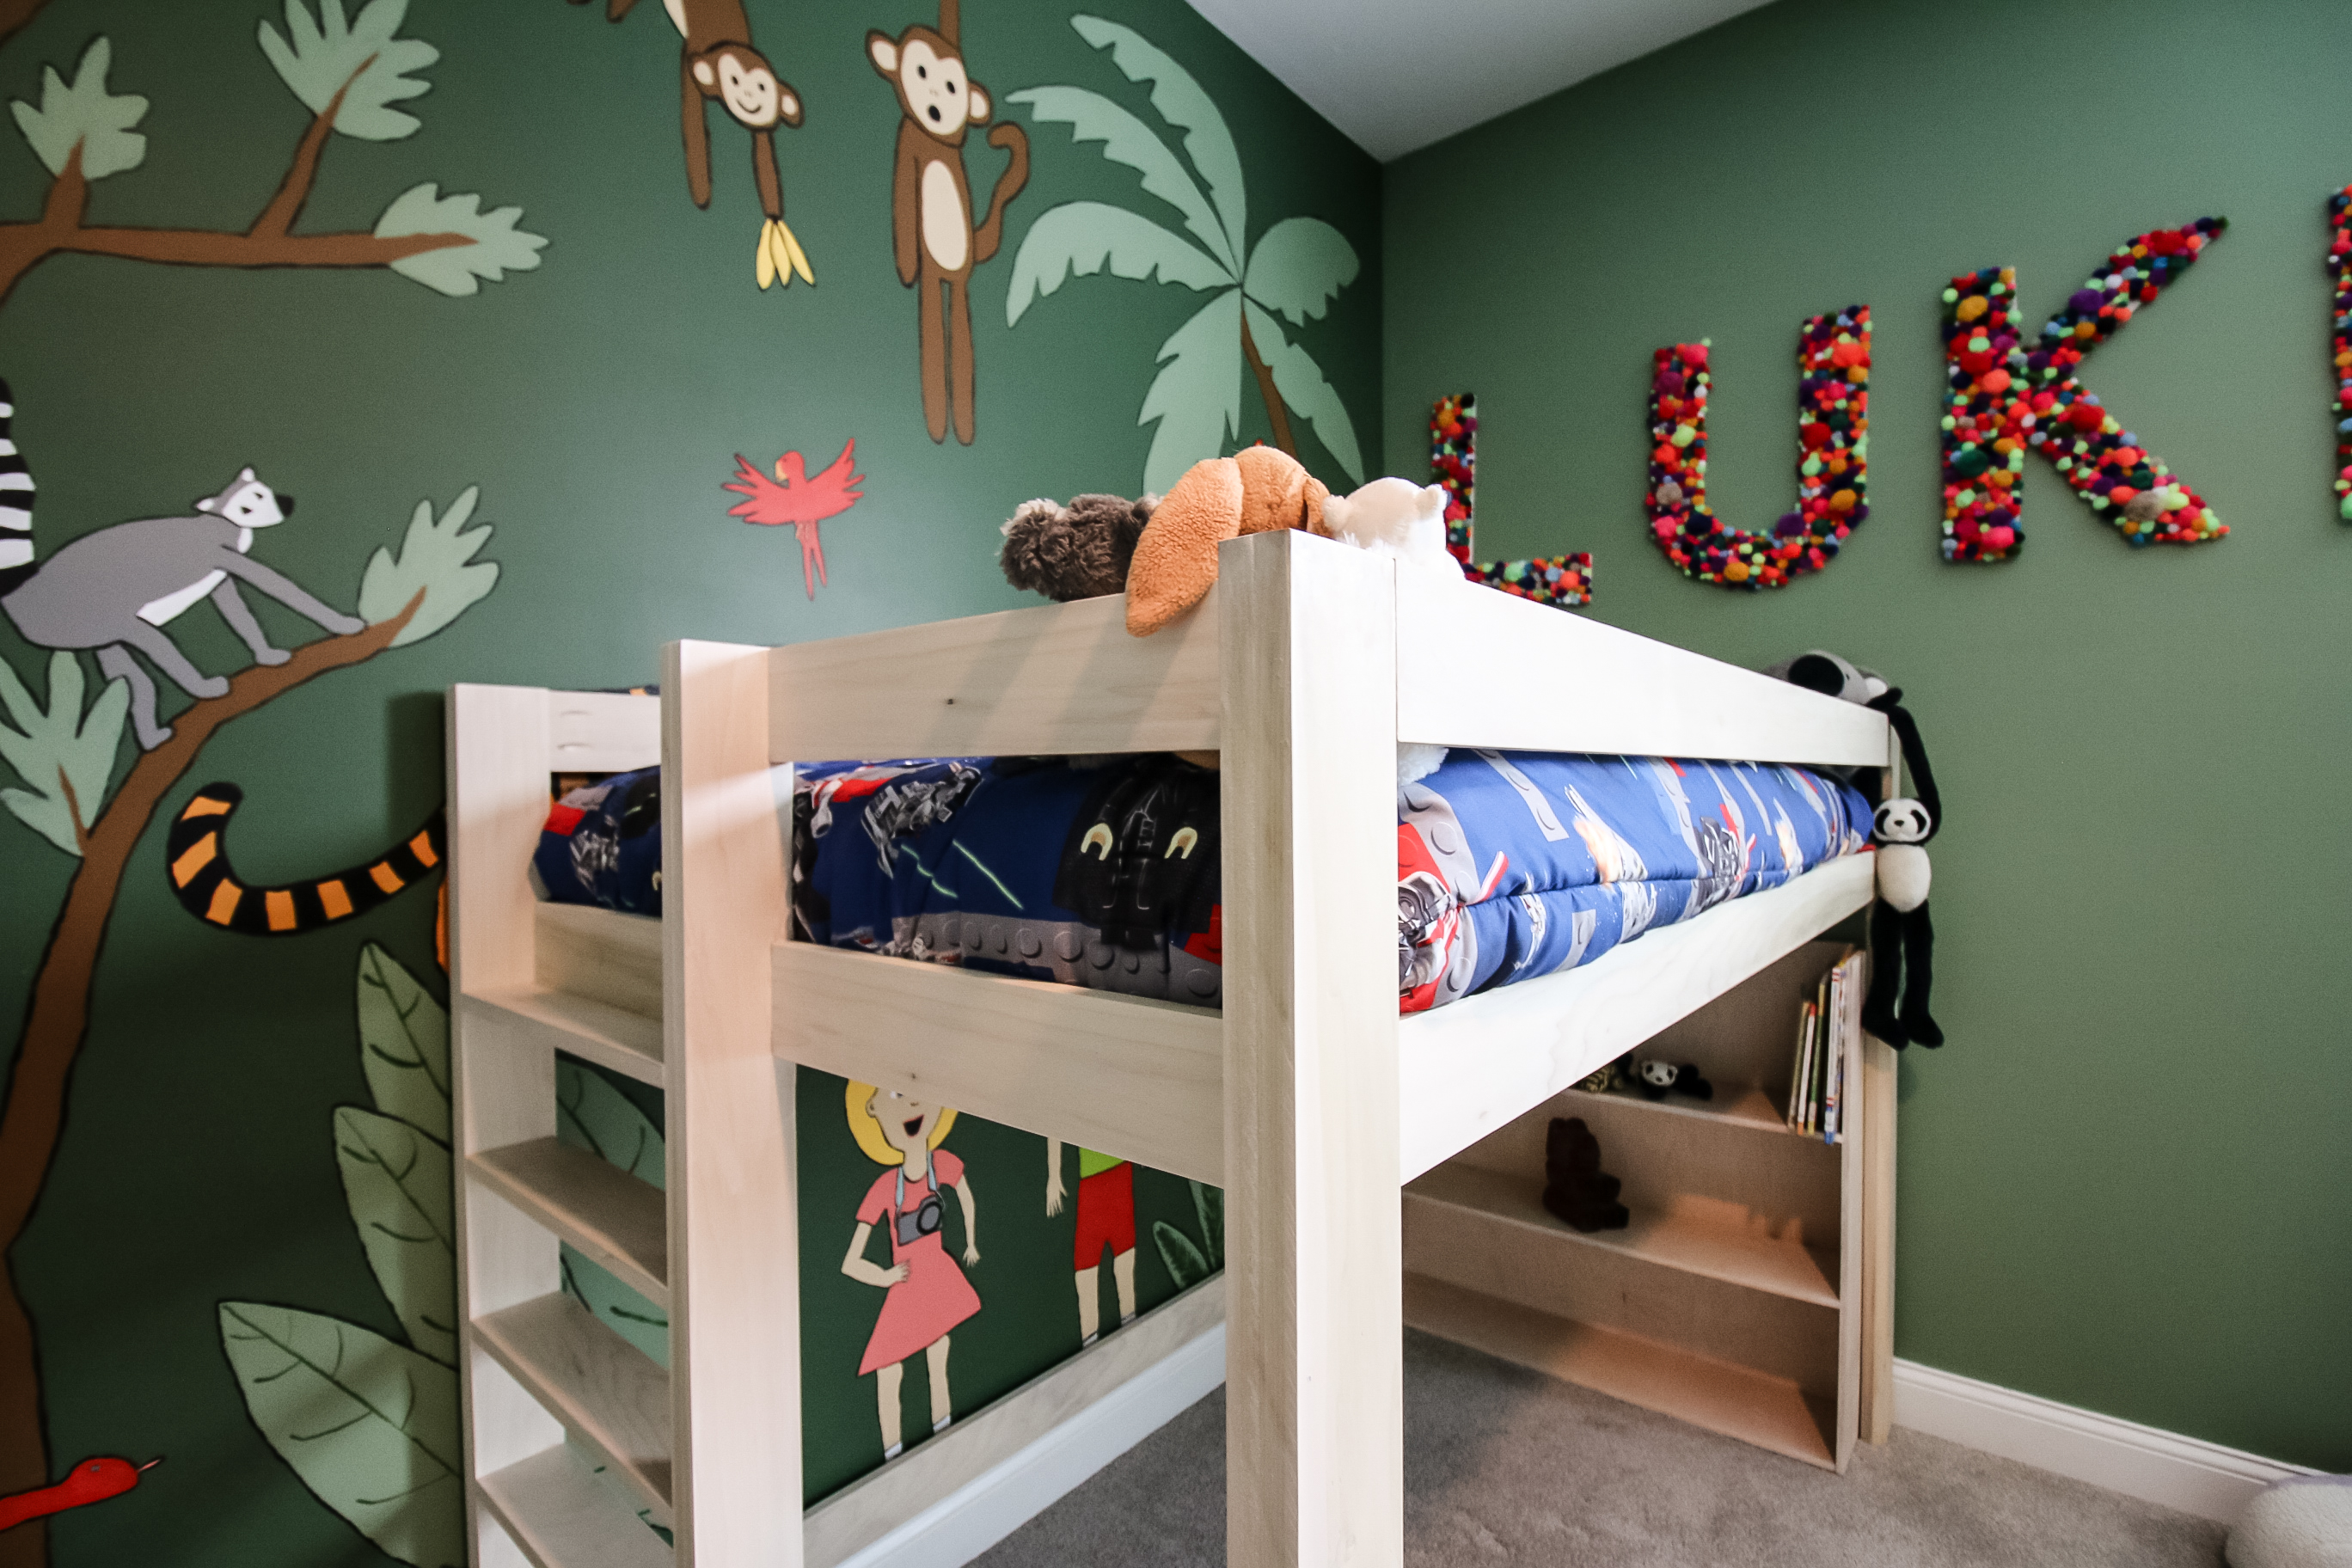
We got a Zinus mattress from Amazon and it fluffed up really nice in a couple of days. It's super lush and supportive and we really liked it when we tested it and our son loves it now too!
Finally, we got him a new set of LEGO Star Wars sheets and comforter to transform his bed into exactly what he likes!
DIY loft bed with storage
This DIY loft bed with bookshelf storage is the perfect addition to any kids' bedroom!
It saves space in the room, makes your kid feel cool, and creates a cool cave underneath for them to hang out. If you build this bed for your child, they are going to think you're the coolest parent in the world!
We added a play couch in the space underneath for him to curl up and read or play games. It's easy to pull out for when our kids want to build a fort or do something different under the bed!
After you've moved your kid out of their crib mattress, reuse it to build this porch bed swing for yourself!
Loft bed woodworking plans
If you love this DIY project, you're in luck because we have woodworking plans available!
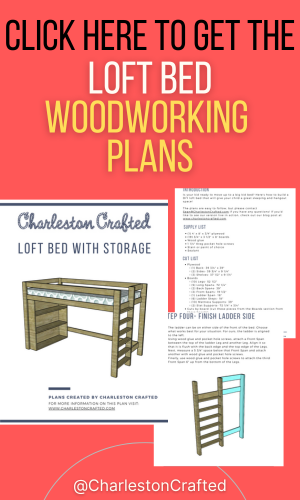
Our loft bed woodworking plans include a full material list, cut list and step-by-step instructions with computer model imagery to help you build one yourself!
Our loft bed plans can be downloaded and printed to help you get through the whole process!
Before you go...
While you're building furniture for your kids, why not add one of these to help save space and get organized!
The cost will be dependent on your area and where you source your wood. You can also save money by using common 2x4s instead of hardwood boards, but expect to spend a couple hundred dollars. However, this is waaaaaay cheaper than buying a pre-made loft bed!
Loft beds aren't difficult to build, but because you're building an elevated space for a child, you'll want to make sure you are confident in your skills and you aren't cutting any corners.
You need to have height for your child to be able to fit under the bed for any activities. It's best to make sure they can walk under it at least at first and that they can then duck under and sit as they grow. Make sure you take ceiling height into consideration if you think you have vertical space for a loft bed.

Looking for something?
We've been doing this since 2012 so we have a LOT of blog posts!
Search stuff like: Ceiling Projects | DIY Plant Stands | Thrift Flips

Hey there, I'm Sean, the woodworking enthusiast and builder behind CharlestonCrafted.com! Since 2012, I've been sharing the magic of turning raw materials into beautiful creations. I love teaching others the art and satisfaction of woodworking and DIY. I try to inspire fellow crafters to make something extraordinary out of nothing at all.


