Check out how we built a DIY dress up station for our daughter to store her costumes and jewelry! This is an easy DIY build you can do!
It's funny having two kids and watching them pick what they enjoy doing, even without prompting. Our daughter has loved putting on clothes and jewelry for as long as she could walk.
Over the last couple of years, she has accumulated quite a bit a costume jewelry and dress up costumes, mostly of her favorite Disney princess characters. Until now, they were all in a box (or strewn about) on the floor of her closet.
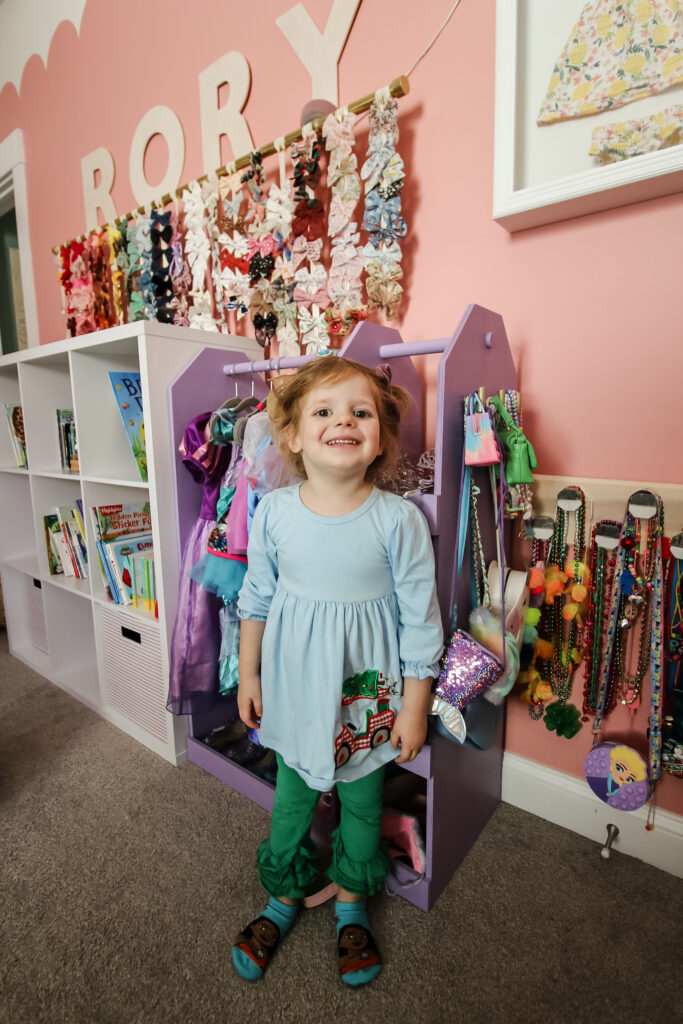
So, for Christmas, we designed and built her a DIY dress up wardrobe that could put all of her princess dresses, crowns, necklaces and shoes on display for her to choose from.
This easy DIY dress up storage solution is a great way to store dress up clothes and costumes for your kids to pick from!
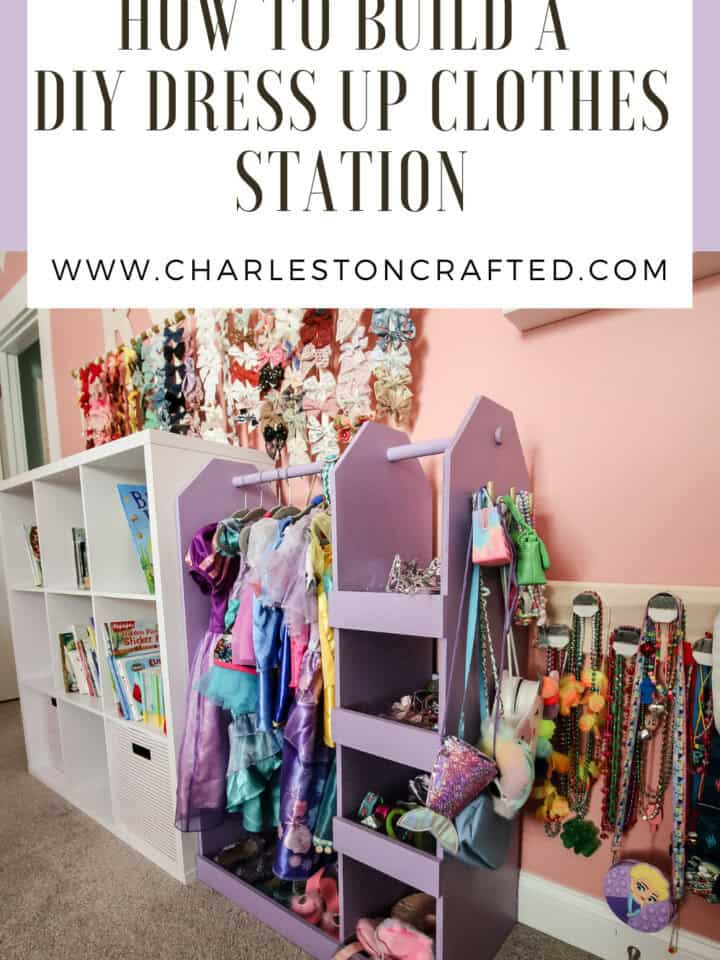
DIY dress up station
Our daughter really loves playing dress up but we needed a clothes storage solution to free up some floor space and have everything easy to pick from.
We designed this clothing rack with a specific place in mind for her room, but it is plenty big to be used in whatever space you need.
Materials needed:
Here's what you'll need to buy or have on hand to make this DIY dress up station! You can get the full material list, along with the cut list and step-by-step instructions in our printable PDF woodworking plans here!
- ½" plywood
- 1" wooden dowel
- 1" brad nails
- Paint or stain of choice
How to build a dress up center
We'll show you the general overview here of how to build our DIY dress up center, then be sure to grab the woodworking plans to get the full material list, cut list and instructions!
Let's show you how to build a dress up station that your kid will love!
Step one: Make cuts and sand
Start by cutting everything down according to the cut list in our DIY dress up station woodworking plans.
This includes cutting a slight angle off the top corners of the three vertical boards as well as drilling out the holes for the dowel in each of those as well.
When everything is cut, we went ahead and sanded here to make it easier. You'll have to sand a bit again later after adding wood filler to the nail holes, but this will smooth out the big surfaces.
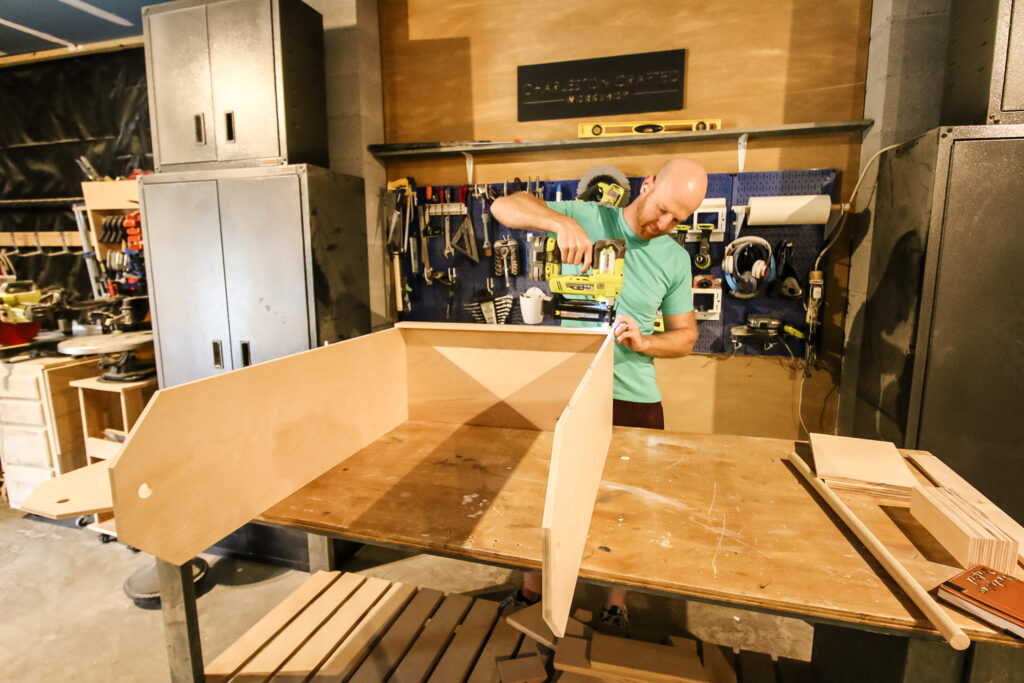
Step two: Build frame
Next, it's time to build the frame. The frame of the dress up station is made up of a base and two vertical sides that get glued and nailed together.
Then we attach a lip around the bottom and a third vertical divider in between the two on the outside.
To hold all the sides together, we slid the dowel rod through the hole on all three boards to secure it up.
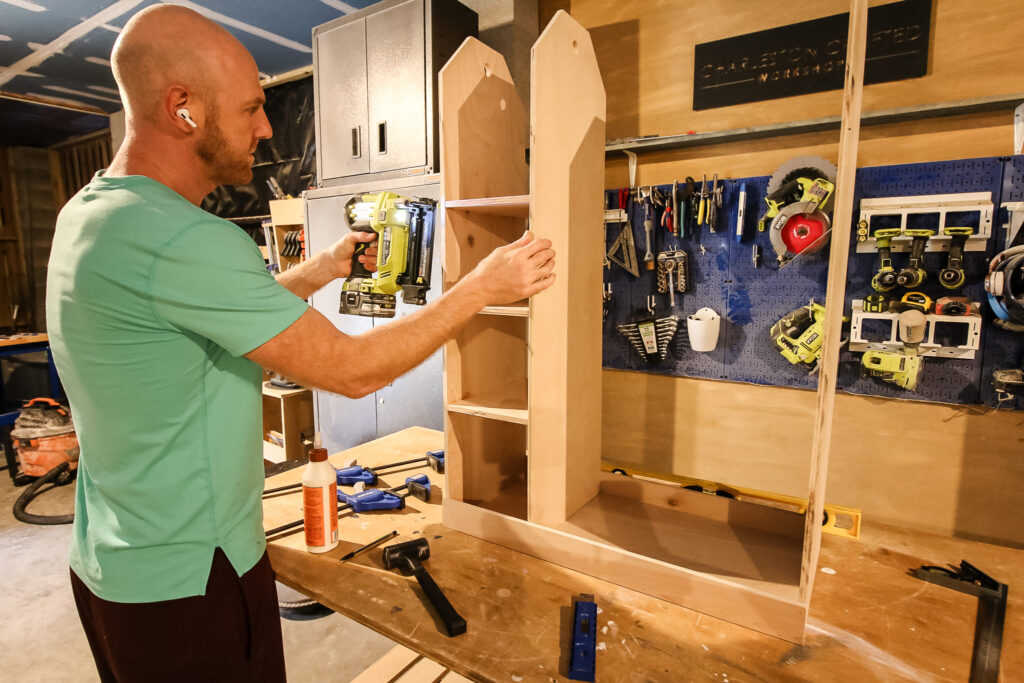
Step three: Add shelves
Next we added the shelves. We spaced them out 8", but you can go with more or less shelves and space them out how you need.
For each shelf, we used glue and nails to attach the base of the shelve between the two vertical boards that are close together.
Then we finished up by attaching a face to the front and back of each shelf to give them a storage area.

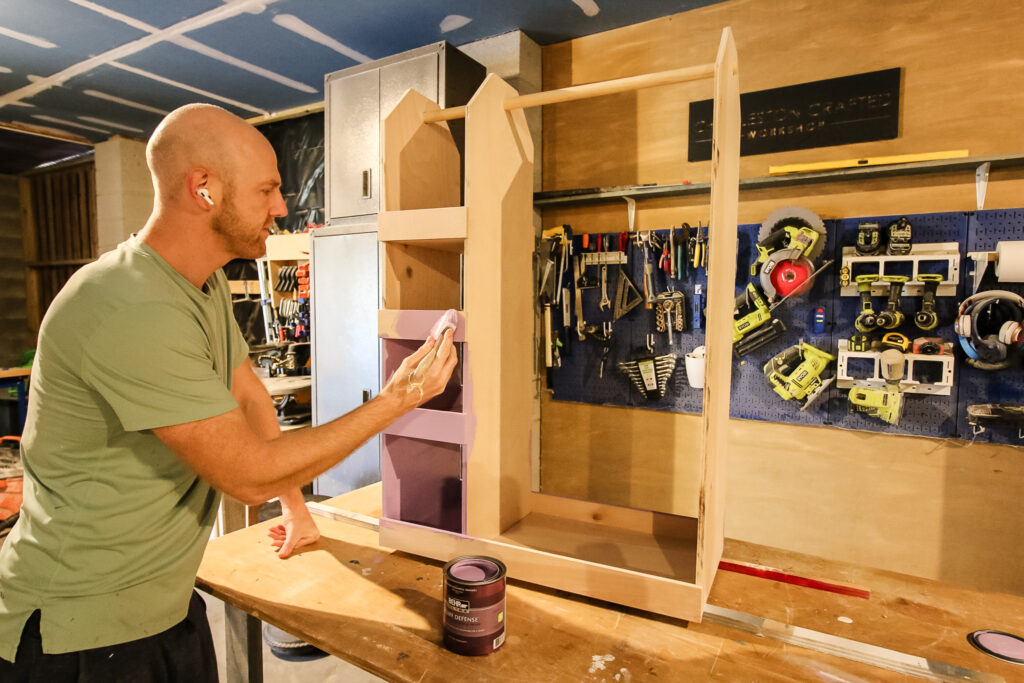
Step four: Paint
Once it was all constructed, we went back and filled all the nail holes with wood filler and then sanded it smooth.
Check out how we compared the four most popular wood fillers to see which is best!
Then we painted the entire dress up rack. We went with Behr's Evening Slipper, which is what we painted the roof of her DIY house bed and the rainbow mural in our play area!
Honestly, in hindsight, I wish I had painted all the pieces first before building. It was really hard to get into the shelving nooks.
Usually I don't like to paint first because I know we'll have to fill and sand nail holes and paint again, but in this case, it was really hard to paint in those tight spots.
But when it was all done, we added a coat of polyurethane and let it fully cure.
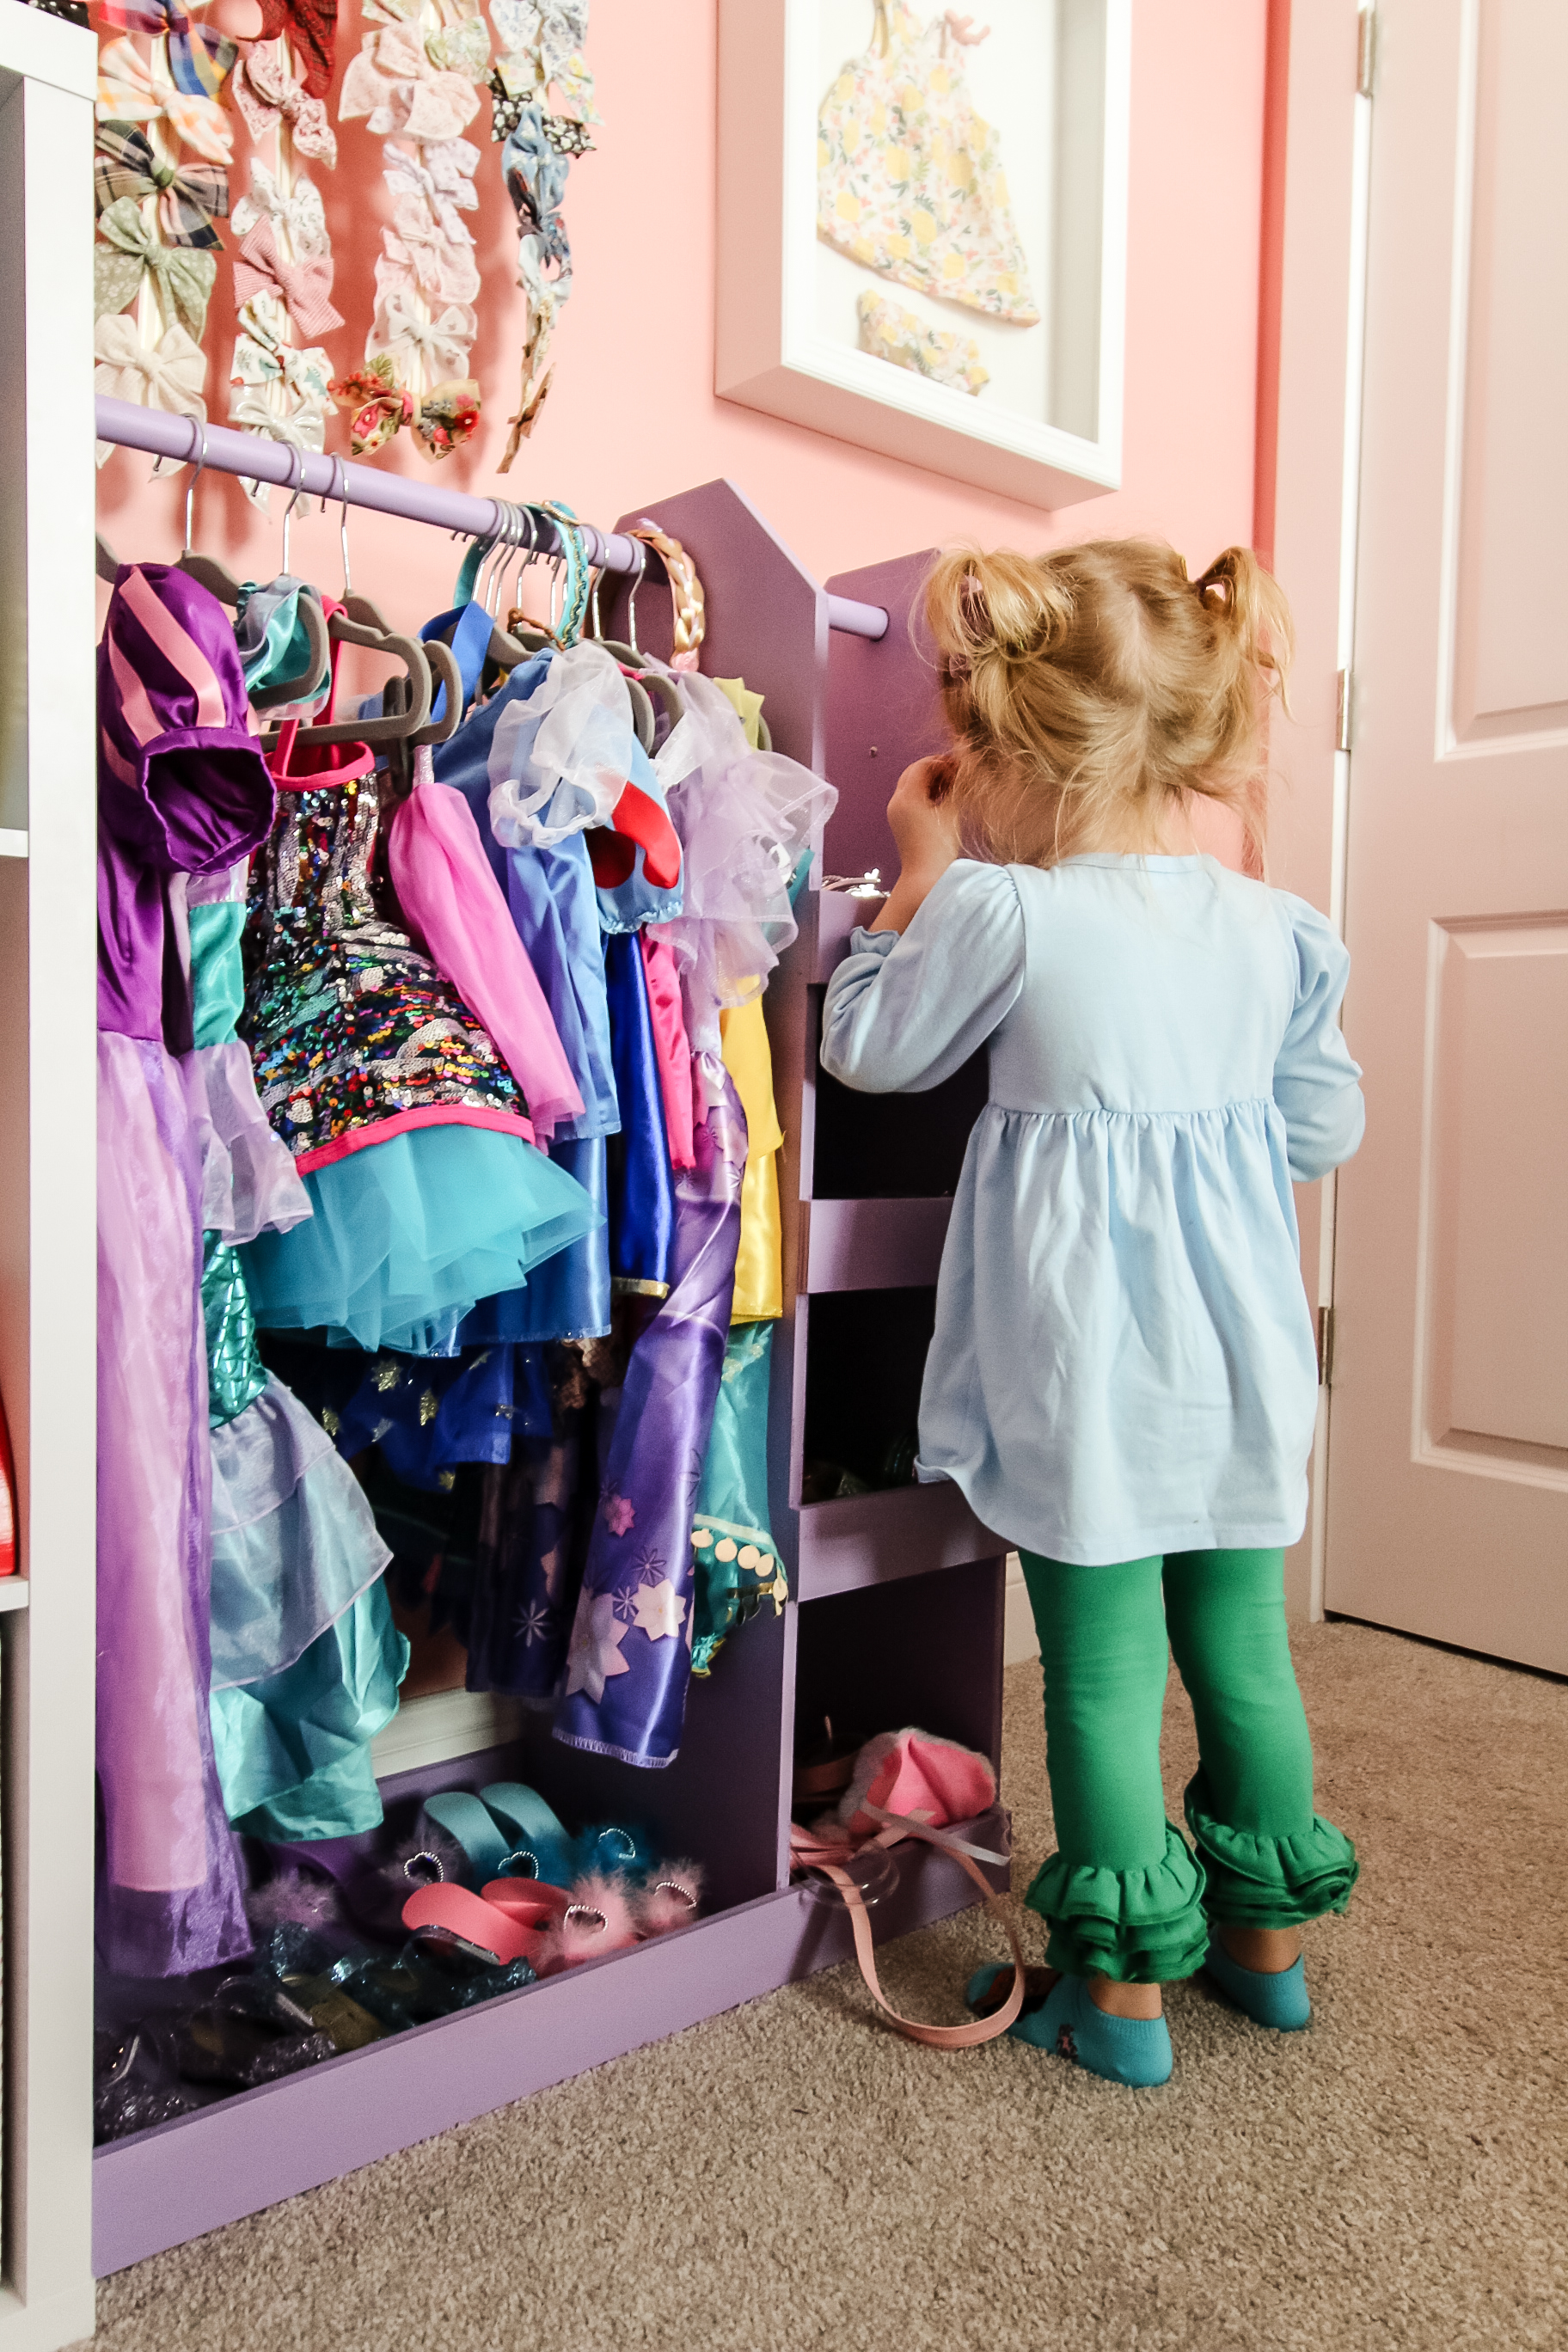
Step five: How to store dress up clothes
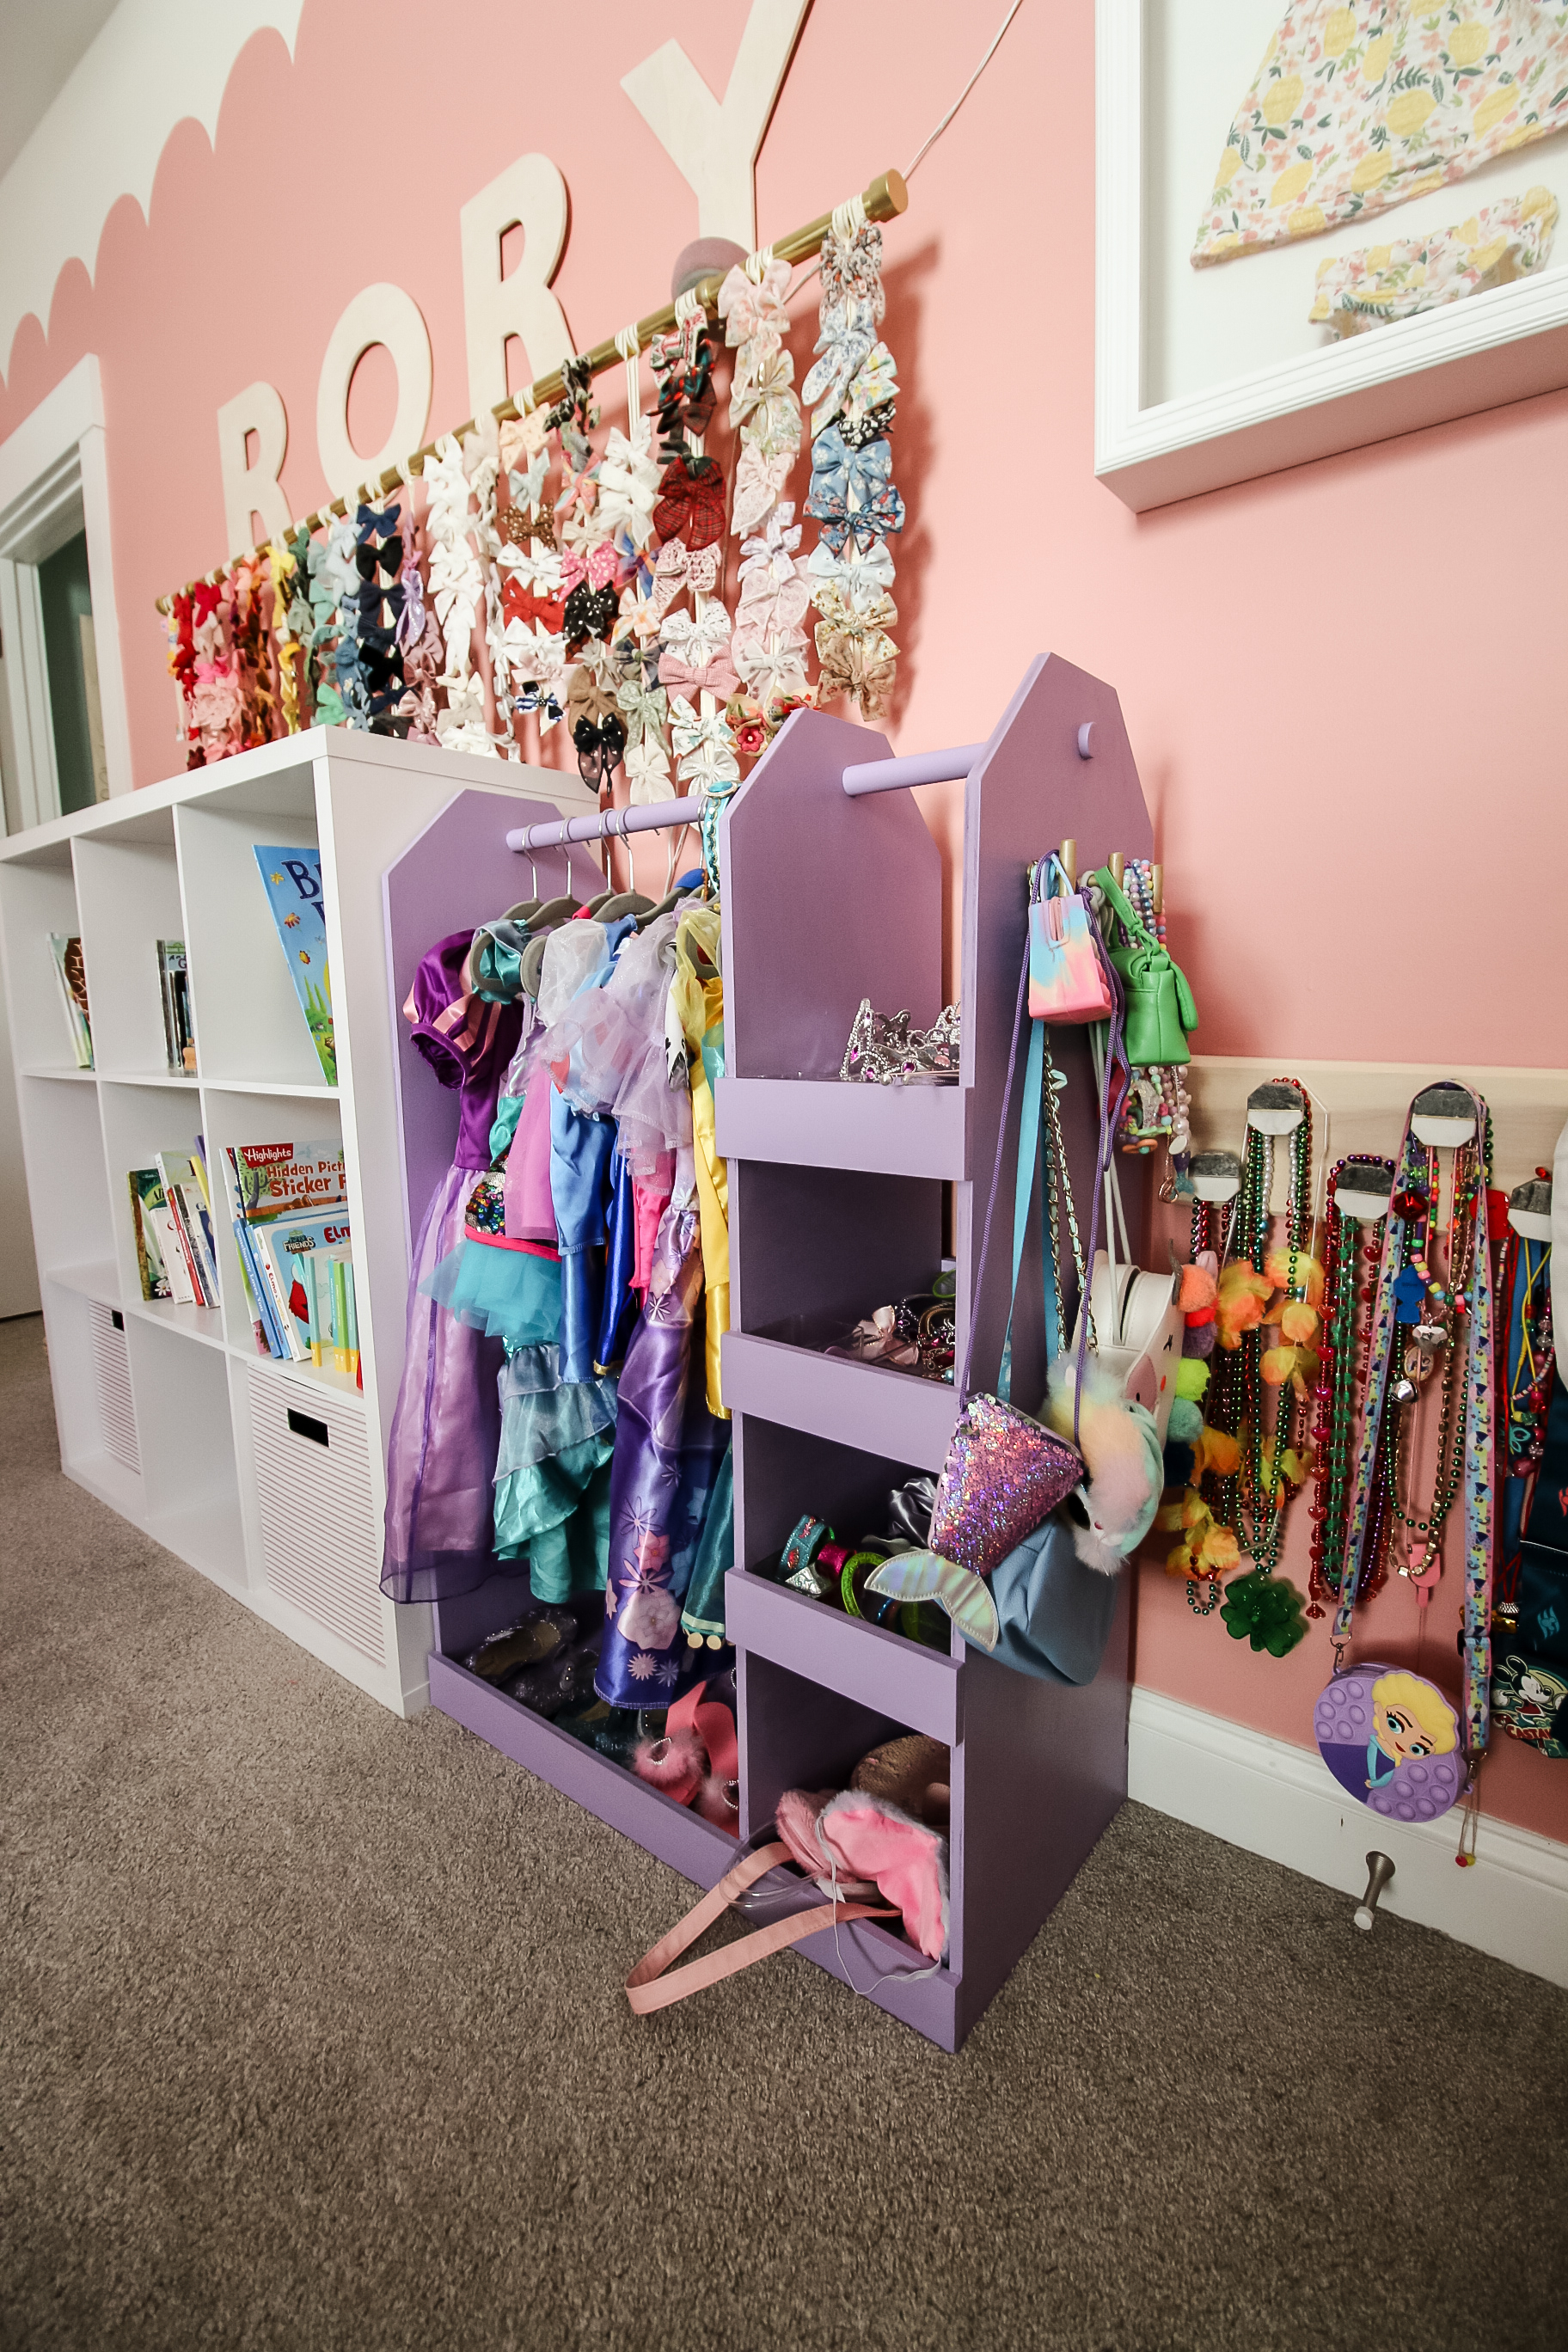
Storing dress up clothes and accessories is so easy with this DIY rack. Grab some small velvet hangers and hang up all of the costumes and dresses on the bar in the large section of the rack.
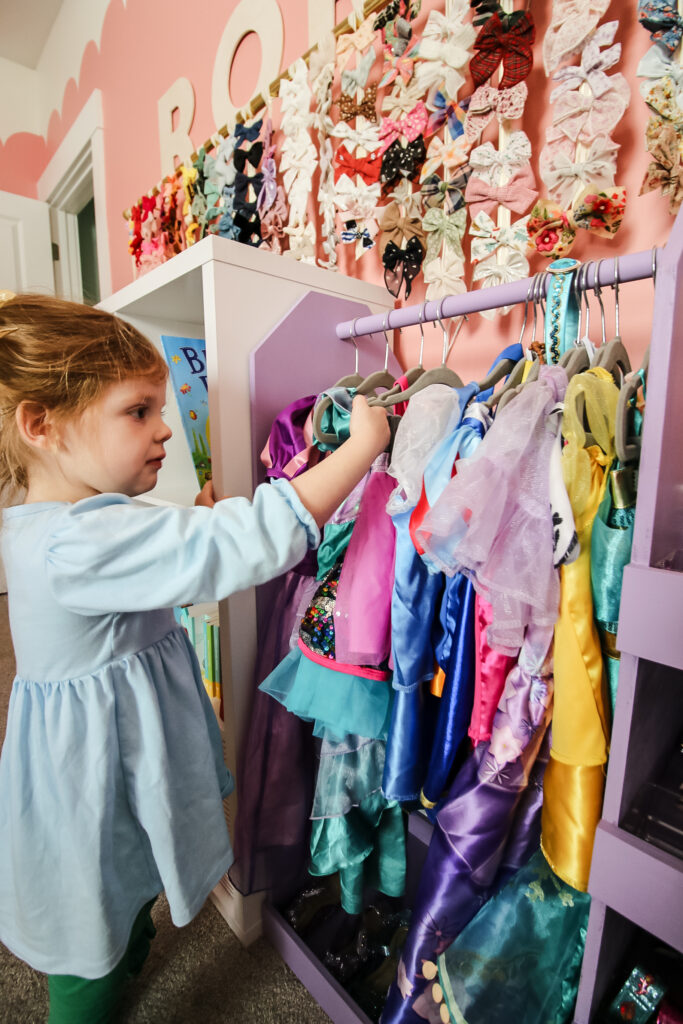
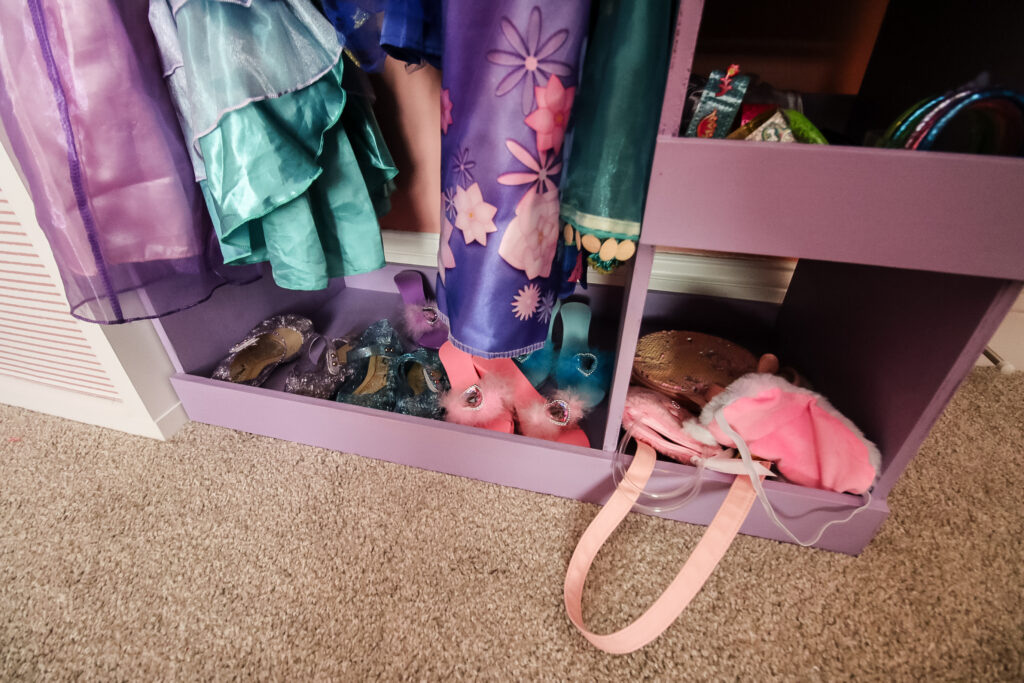
The bottom area under the dresses is a great place to store little shoes and sandals.
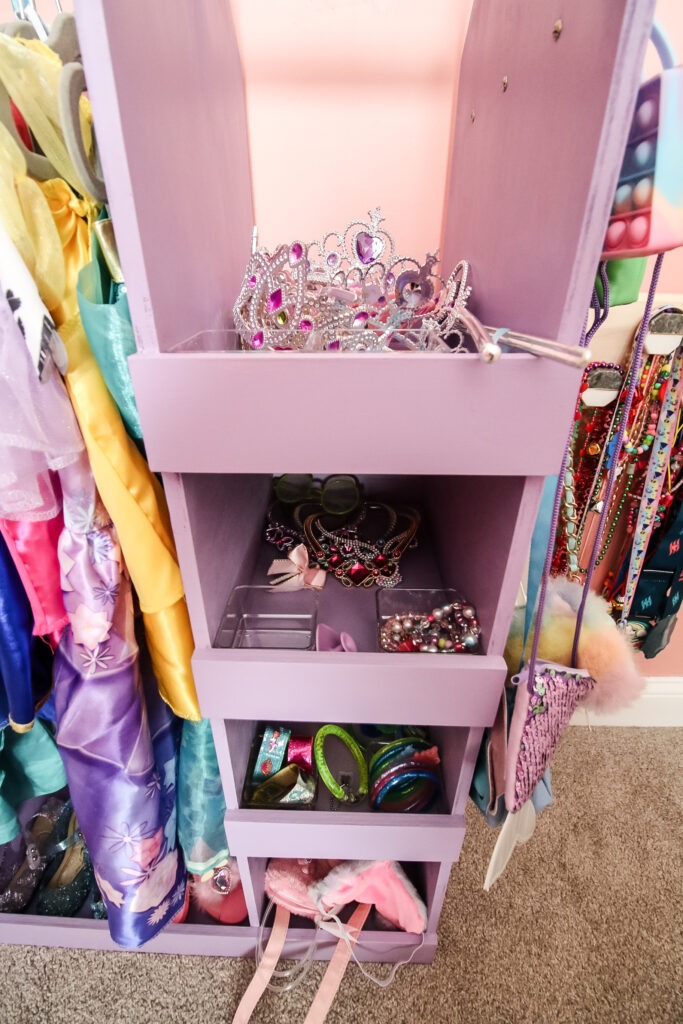
In the different shelves, we added some small clear bins for jewelry to stay separated. Bracelets and rings are perfect here. Then we stacked crowns and tiaras in the top shelf.
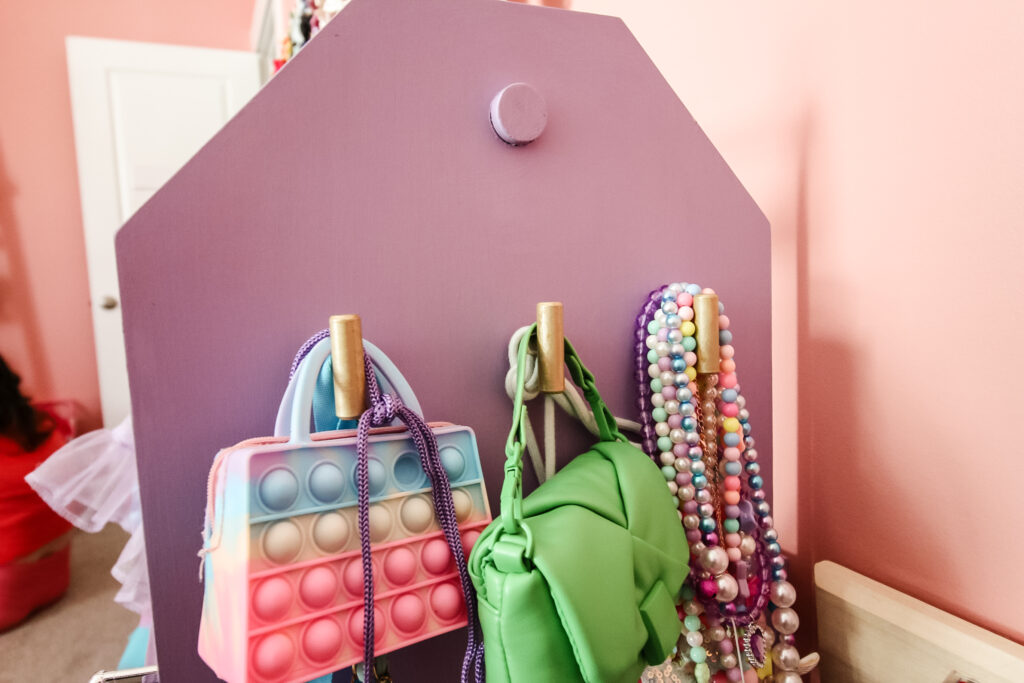
We also added three small knobs on the outside of the dress up rack to hang some necklaces. She already had a simple hook rail to hold necklaces and they are both still overflowing. Need to do something about that.
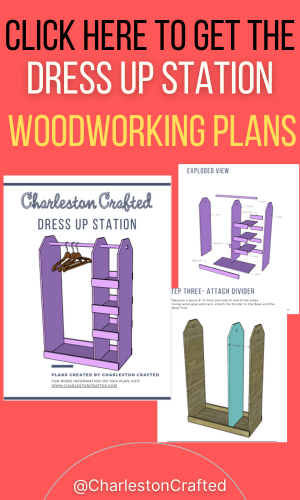
DIY dress up station woodworking plans
If you love this project, you should grab our DIY dress up station woodworking plans! Our plans have a complete material list, specific cut list and step-by-step instructions with computer model imagery.
Our plans highlight each step of the process and make it much easier to complete on your own. Plus, you can always reach out for support!
Before you go...
If you want to build some other things for your kids, here's a couple great ideas!

Looking for something?
We've been doing this since 2012 so we have a LOT of blog posts!
Search stuff like: Ceiling Projects | DIY Plant Stands | Thrift Flips

Hey there, I'm Sean, the woodworking enthusiast and builder behind CharlestonCrafted.com! Since 2012, I've been sharing the magic of turning raw materials into beautiful creations. I love teaching others the art and satisfaction of woodworking and DIY. I try to inspire fellow crafters to make something extraordinary out of nothing at all.


