If you're getting ready to build some cabinets for your next renovation, here's how to build a base cabinet with a drawer and doors for your space!
We're deep in our kitchen renovation and we built all of the new cabinets we needed. We reused the ones we could and built some duplicates.
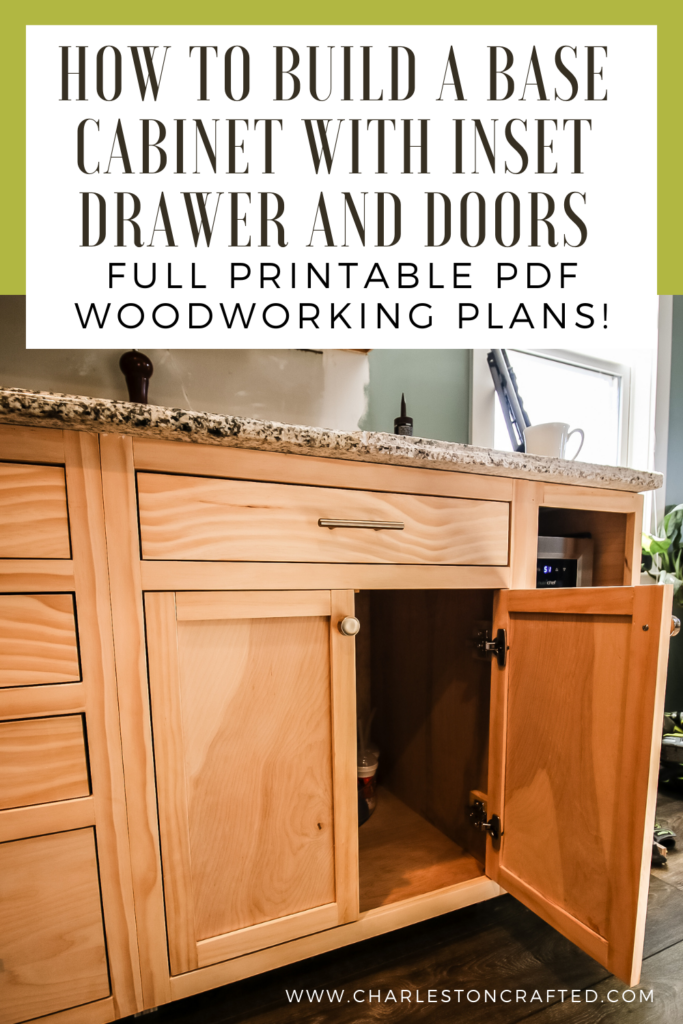
This base cabinet was built to duplicate one that we were keeping, but it's a fairly standard size and configuration.
A base cabinet with a single drawer up top and doors underneath for storage is a great option for a kitchen to keep utensils up top and appliances below.
DIY base cabinet with a drawer and doors
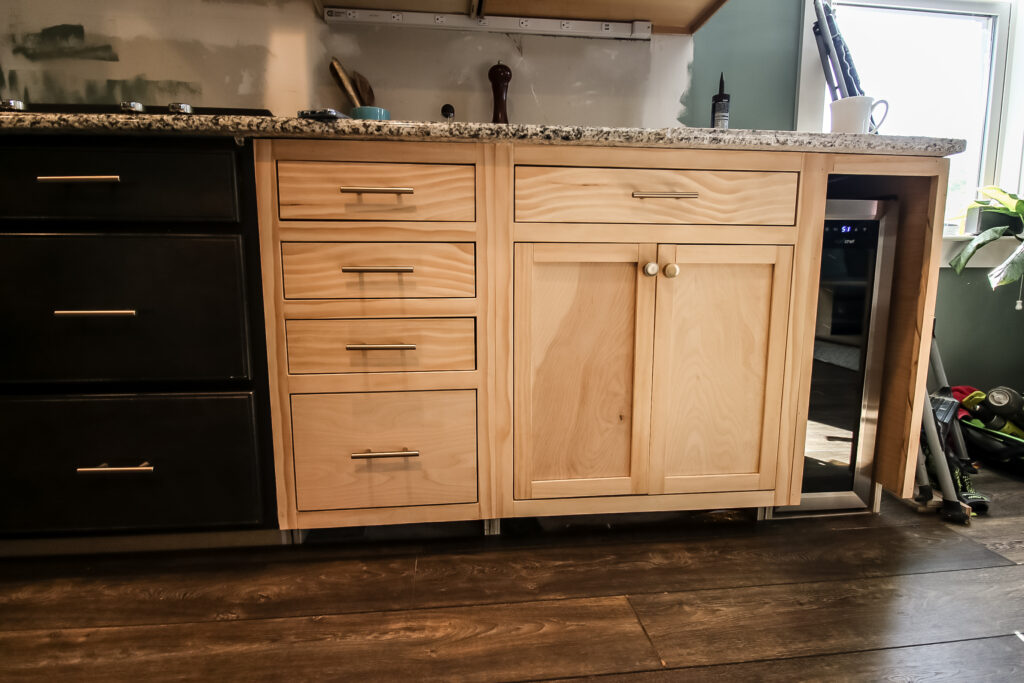
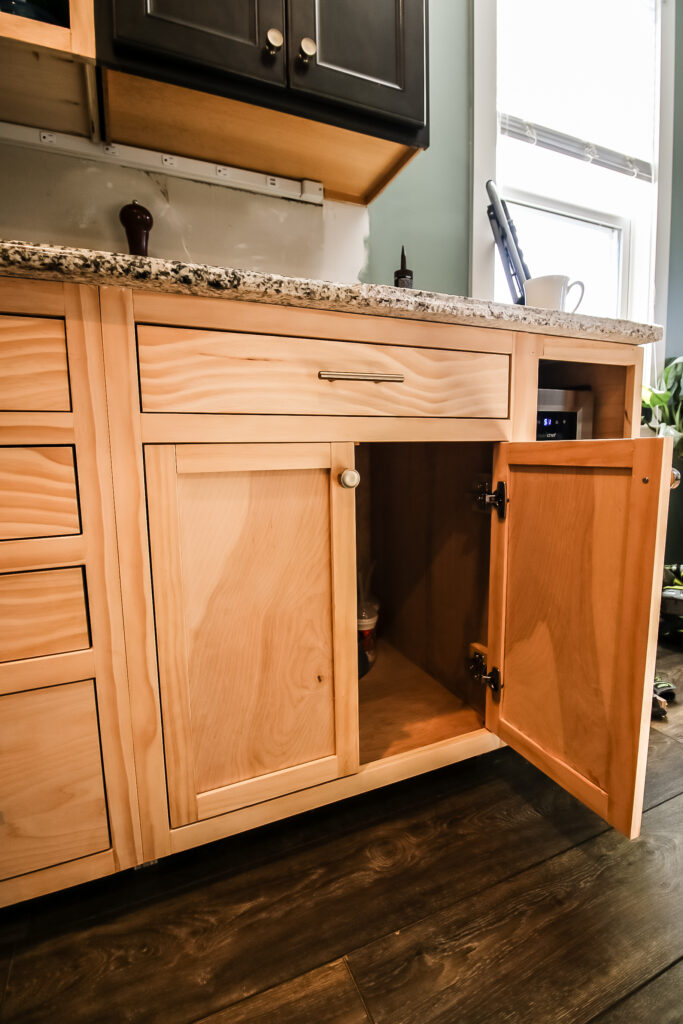
We built our base cabinet to have inset drawer and door face, which is definitely in line with the modern design we wanted for the kitchen. We'll be painting these too, but here's how they look built raw!
Check out how I built a DIY base cabinet with four drawers! See how they pair together 👇
Materials needed to build a base cabinet
To build a base cabinet, you need the following materials and tools. For building this specific cabinet we built, you can get the exact material list and cut list, along with the step-by-step instructions, in our printable PDF woodworking plans here!
- ¾" plywood (one sheet of plywood should be able to make you a couple of cabinets)
- 1x2 boards
- ¼" plywood
- ½" plywood
- Drawer slides
- Slow close hinges
- Wood glue
- 1 ¼" pocket hole screws
- 1" pocket hole screws
- 1" brad nails
- Pocket hole jig
- Concealed hinge jig
- Table saw or circular saw with straight edge guide
How to build a DIY base cabinet with drawers
Here's what you'll need to do to build our base cabinet with a single drawer and two doors, but make sure you grab the full instructions with more details.
I built several cabinets for our kitchen renovation, so I learned a lot of tips and tricks along the way, and I'll do my best to include them all in here!
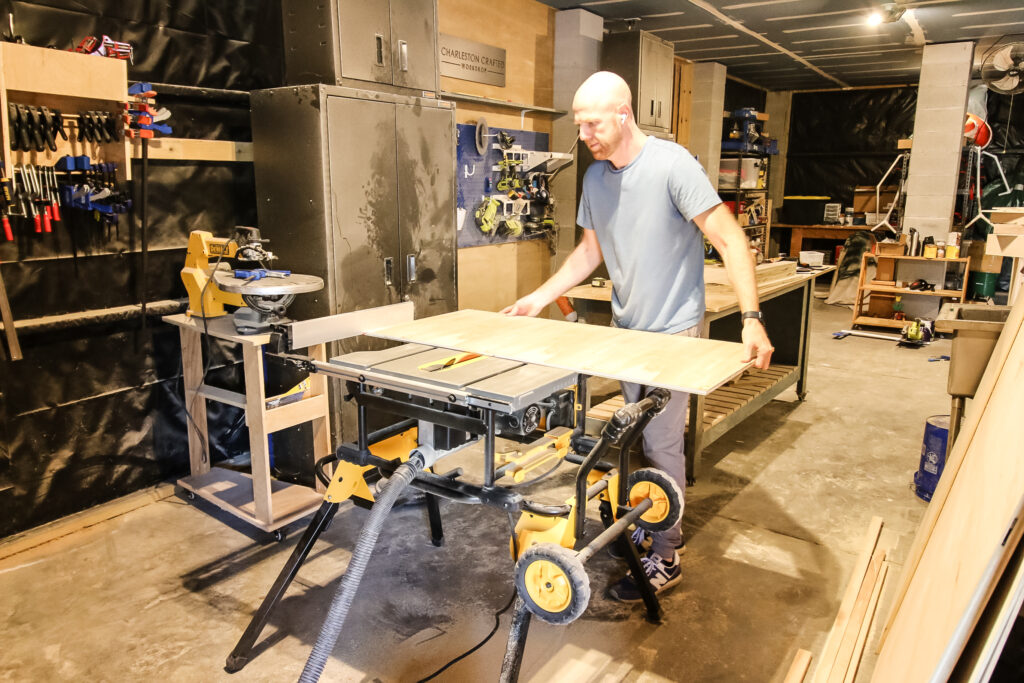
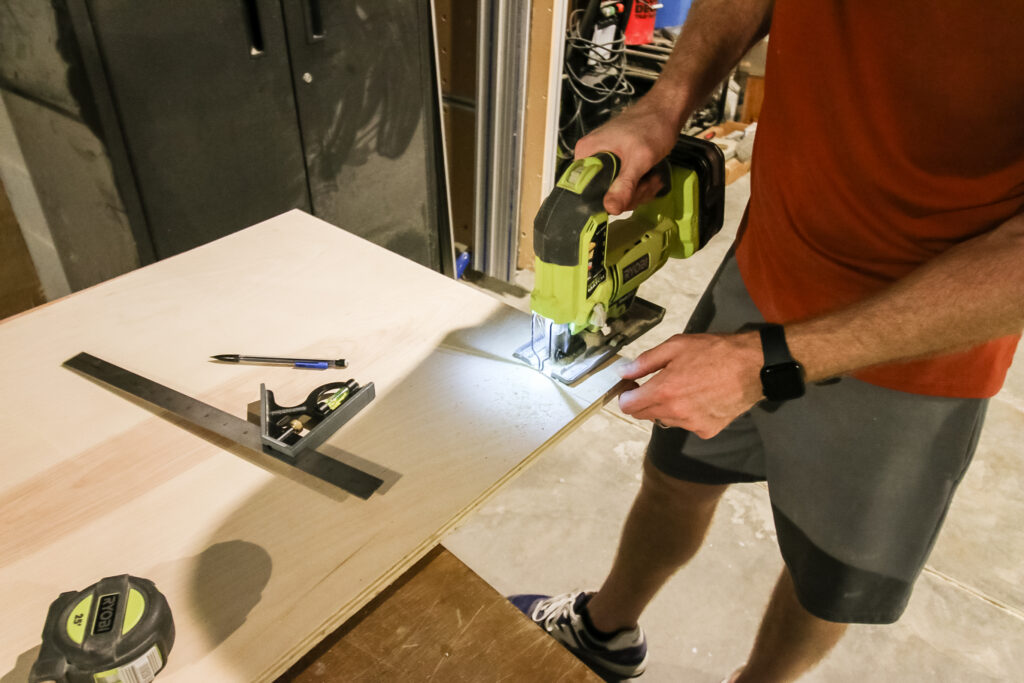
Step one: make cuts and drill pocket holes
The full cut list with dimensions is in the woodworking plans, so cut everything down and drill pocket holes based on the specifications there.
After all the cuts, I cut out toe kick areas from the side pieces as well.
Step two: attach bottom
I attached the bottom piece at the top of the cut out toe kick area. This spans the entire base and provides that support.
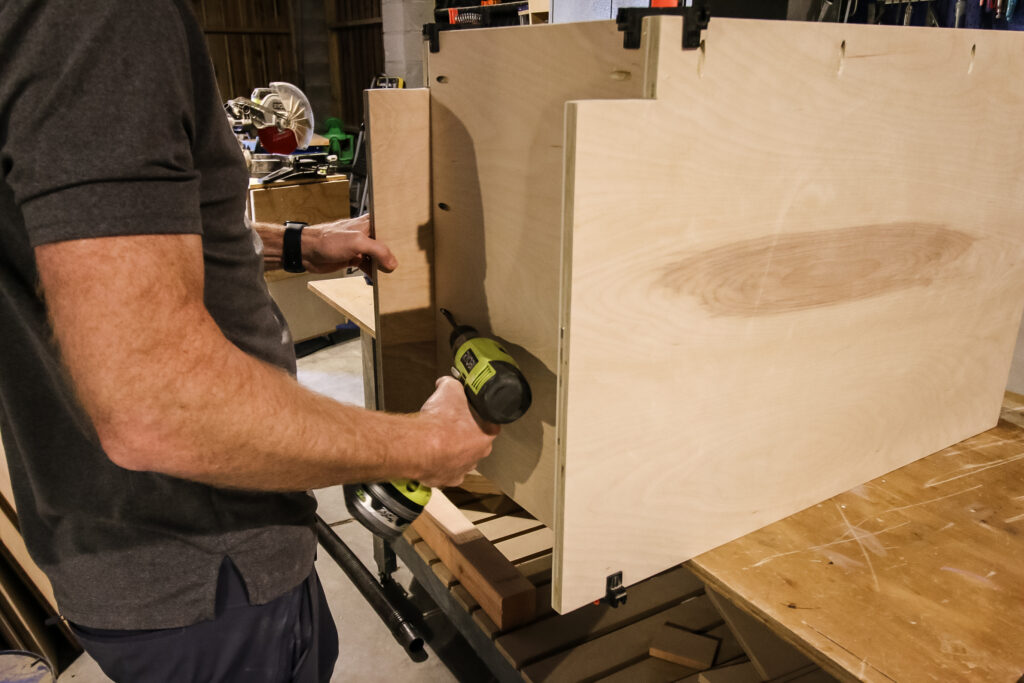
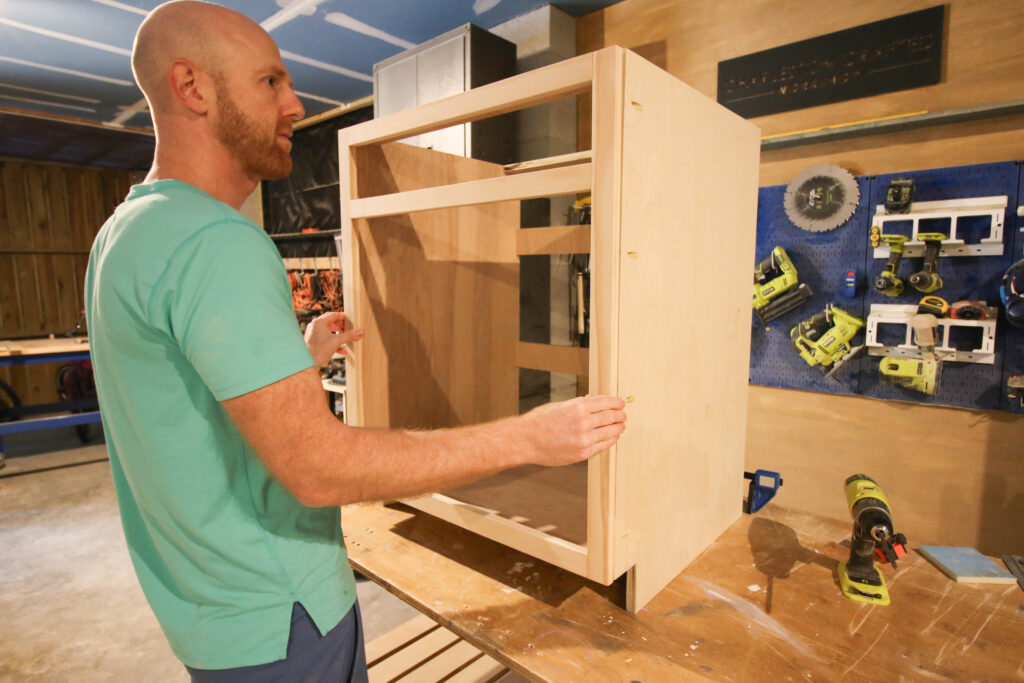
Step three: attach supports
To complete the cabinet box, I added some supports to the back and top.
The back supports are also important because they are how you attach the cabinet to the studs in the wall. Screwing through these back supports holds it in place.
Similarly, the top supports are important for the countertop to rest on. These aren't holding up the countertop per se, but it gives it a better area to rest on.
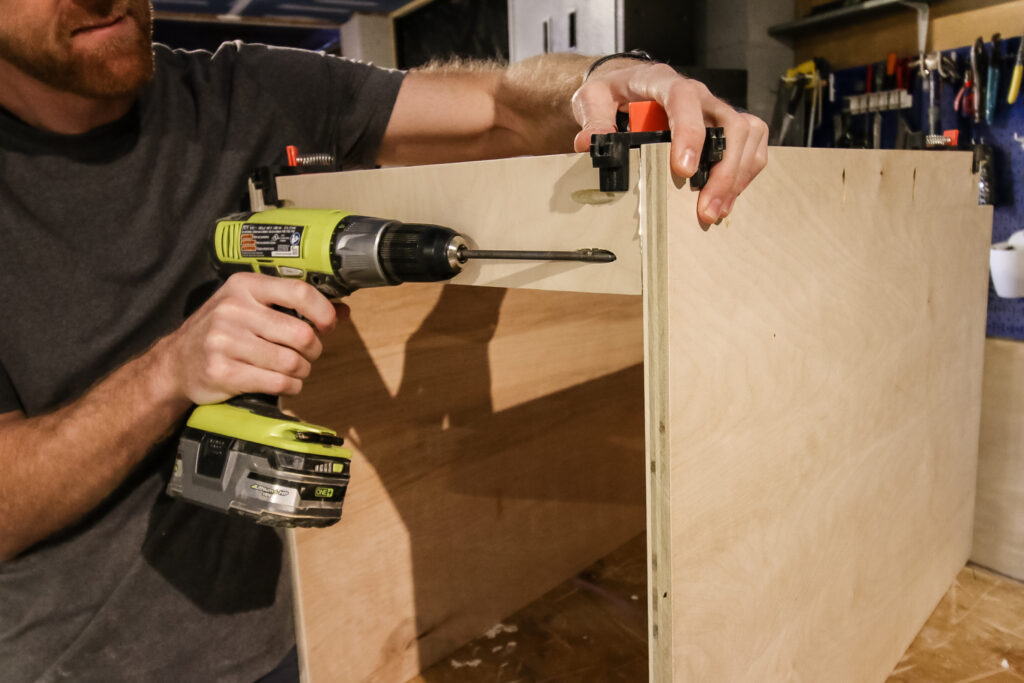
Step four: insert backer
Next I nailed on the backer, which is just a piece of ¼" plywood cut to the size of the inside of the cabinet. The backer essentially is just for looks and covers up the back supports and the wall behind the cabinet.
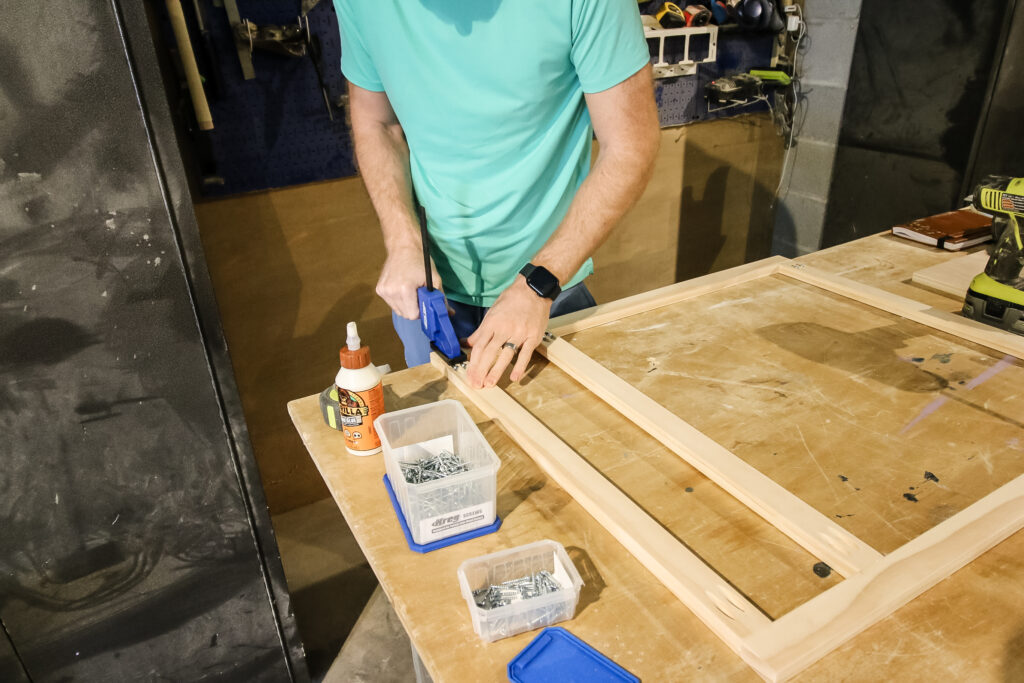
Step five: make face frame
Next I made the face frame. For this face frame, it has two vertical pieces and three horizontal pieces.
Two of the horizontal pieces go at the top and bottom, and one separates the cabinet and doors.
Face frames are easy to make, cutting down the wood to 1 ½" wide slats and using pocket holes to connect them together.
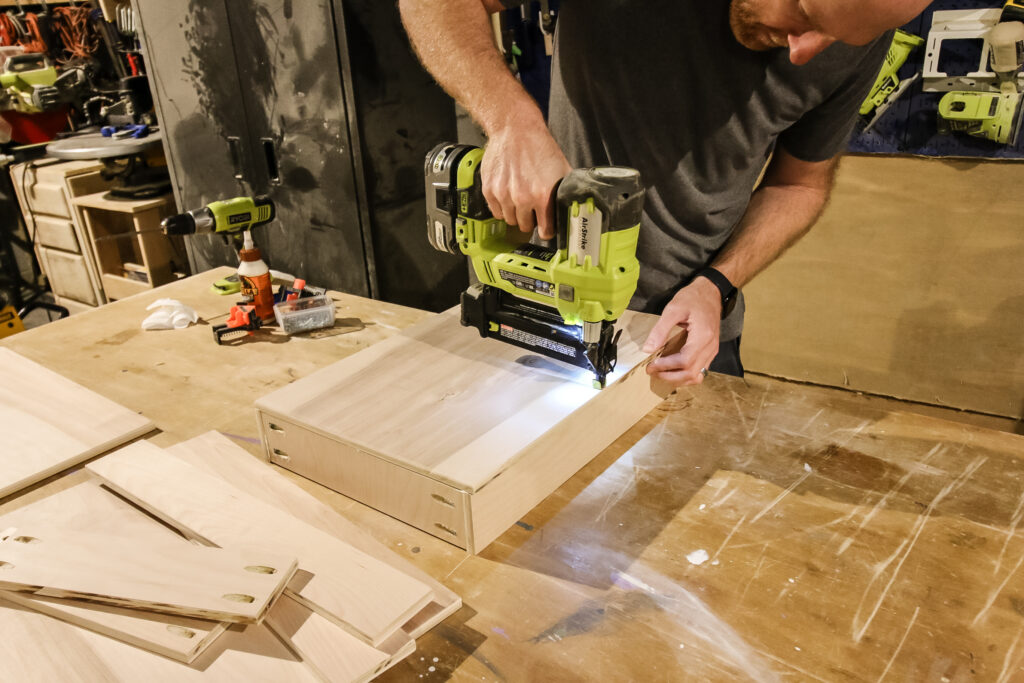
Step six: build drawer
Drawers are pretty easy to assemble for cabinets. The four sides are just connected with pocket hole screws on the front and back pieces, then a base piece is nailed to the bottom.
You'll add the drawer face later after the drawer is installed.
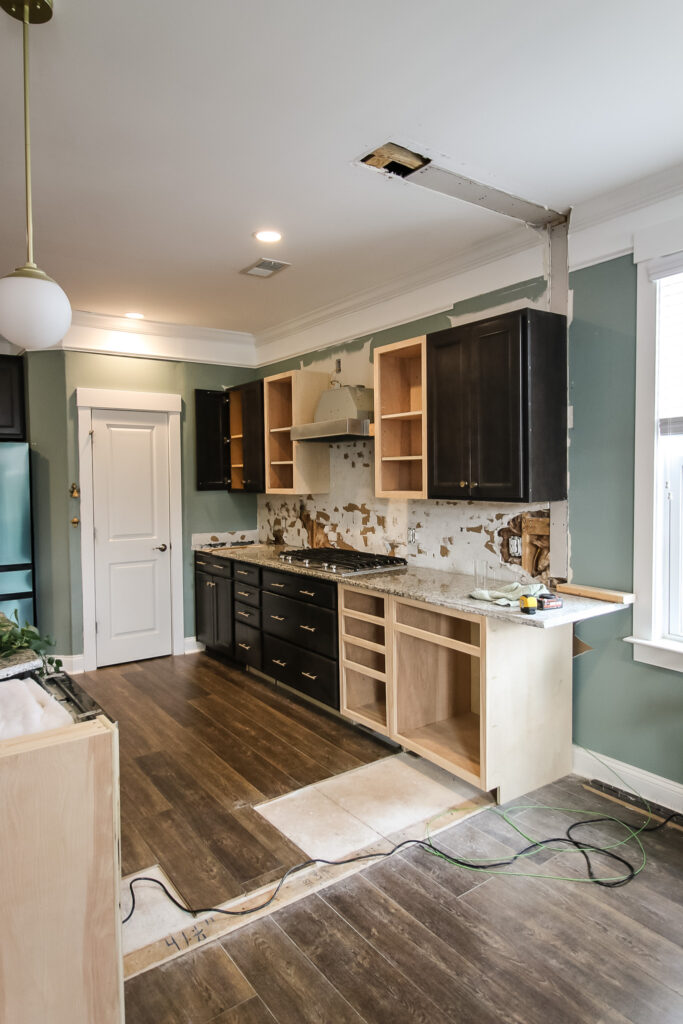
Step seven: install cabinet
Now that the cabinet is fully built and the pieces are ready, go ahead and install it in place. Secure it through the back support braces and into the studs.
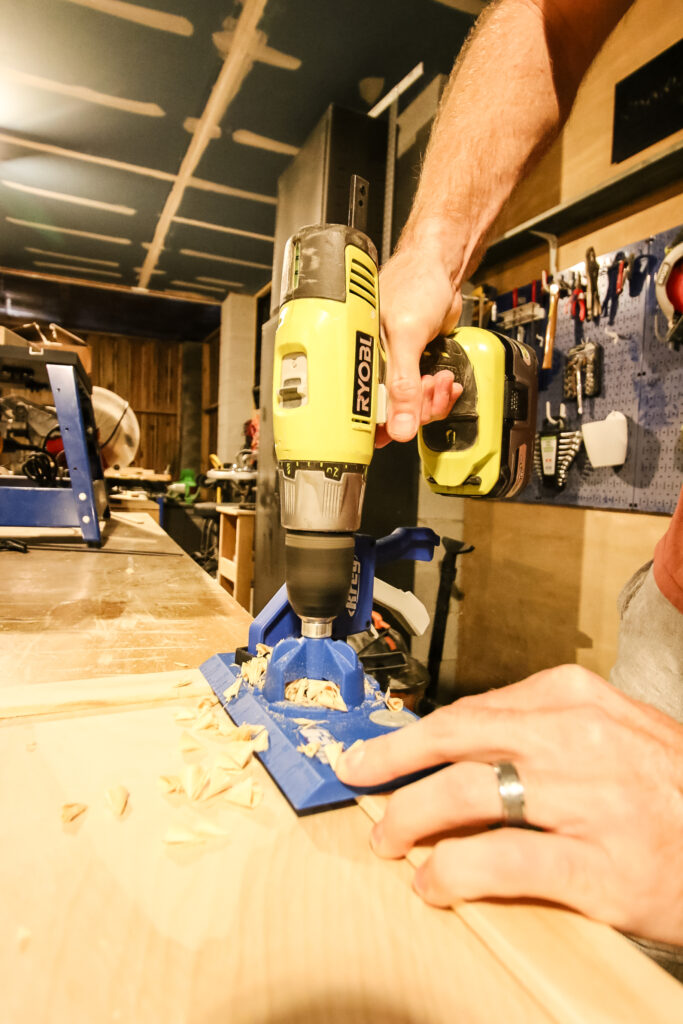
Step eight: mount drawer
Next, install the drawer itself into the casing for the drawer box. You'll have to add spacer blocks for the drawer slides to sit on because of the face frame, otherwise the drawer slides open right into the back of the frame.
I mount my drawer slide spacers with nails and then screw the hinges into that, using a Kreg Drawer Slide Jig. This makes it much easier to attach the hinges where you want them and then attach the drawer exactly in line.
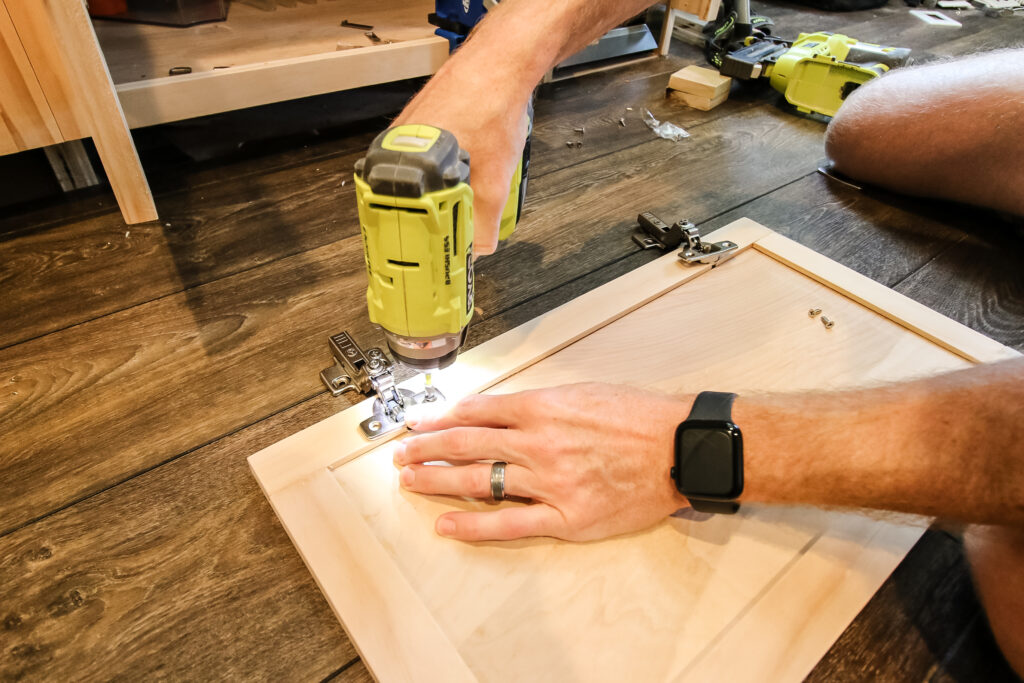
Step nine: make drawer and door faces
Finally, I made drawer and door faces. The drawer face is a simple piece of pine board cut to be ⅛th of an inch smaller than the drawer hole on all four sides. This allows it to slide in nice and easy.
The doors took a little more time. For these, I cut four pieces for the frame and then put them all through my router table.
I set the router table with a ¼" bit and the fence ¼" back. That way, the router bit would go right through the middle of the frame pieces and then a piece of ¼" plywood could slide in.
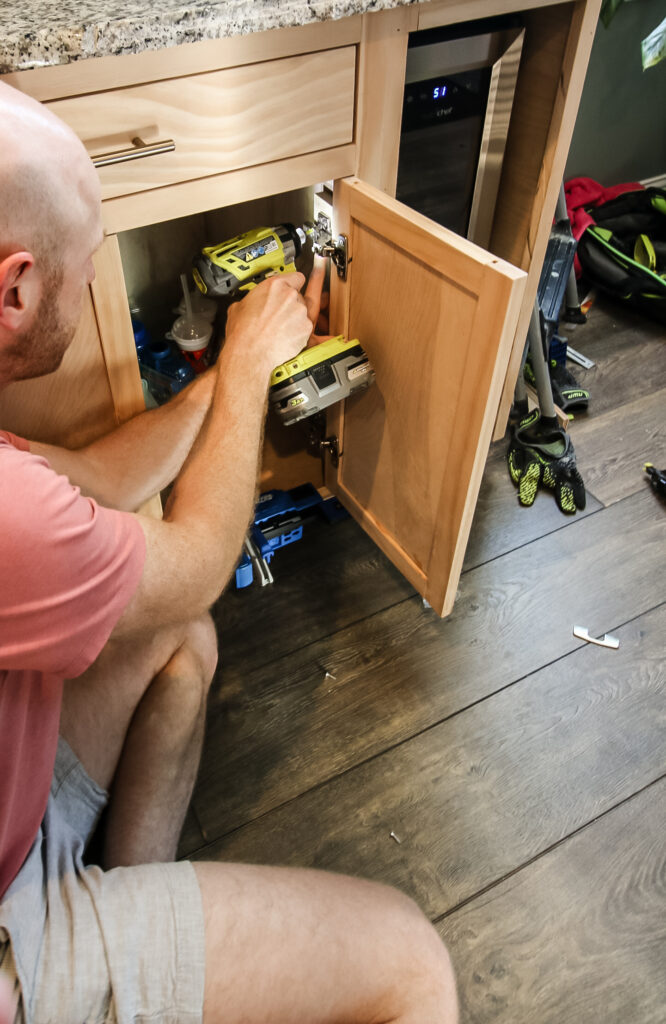
When all the pieces were ready, I put them all together with glue and clamped them up. Finally, I used a cabinet hinge jig to install them into the inside of the cabinet and finished everything up with knobs!
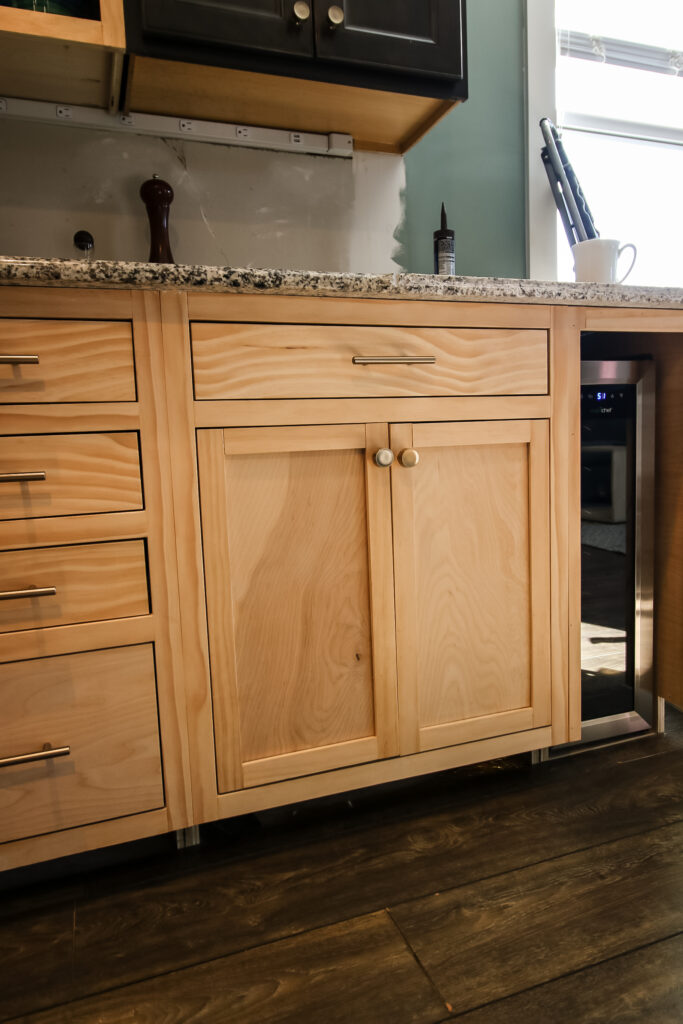
DIY base cabinet
Overall, it turned out great. I love that I was able to make the inset look, even with the doors.
Now, I just have to make about 38 more of these...
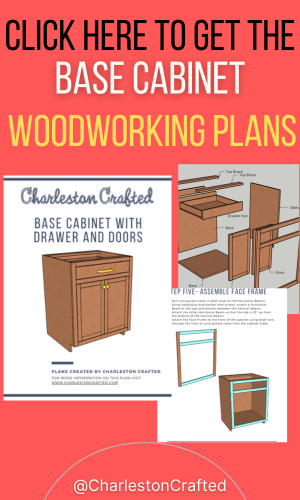
Base cabinet with drawer and doors woodworking plan
Are you ready to build your own DIY base cabinet with a drawer and doors? Grab our printable PDF woodworking plan to get you through it!
Our woodworking plans come with the full material list, cut list and step-by-step detailed instructions with computer model imagery to show you what you need to do to make it your own.
We also have a plan for our base cabinet with just drawers, range hood vent cover, upper wall cabinet, plus for our kitchen island! Or, you can get a bundle of our five core kitchen woodworking plans for a discounted price!

Looking for something?
We've been doing this since 2012 so we have a LOT of blog posts!
Search stuff like: Ceiling Projects | DIY Plant Stands | Thrift Flips

Hey there, I'm Sean, the woodworking enthusiast and builder behind CharlestonCrafted.com! Since 2012, I've been sharing the magic of turning raw materials into beautiful creations. I love teaching others the art and satisfaction of woodworking and DIY. I try to inspire fellow crafters to make something extraordinary out of nothing at all.


