
If you’re getting ready to build some cabinets for your next renovation, here’s how to build a base cabinet with drawers for your space!
Whether you’re about to renovate your kitchen, bathroom, or workshop, building your own cabinets is the perfect way to customize your space.
There are lots of kinds of cabinets, but one of the most common and useful cabinets is a base cabinet with drawers.
Drawers can be customized and used however you need them, so this cabinet is a staple.
We’ll show you in this post how to build a DIY base cabinet with drawers. Our cabinets include a face frame and inset drawer doors, which will give you an ultra-modern look!
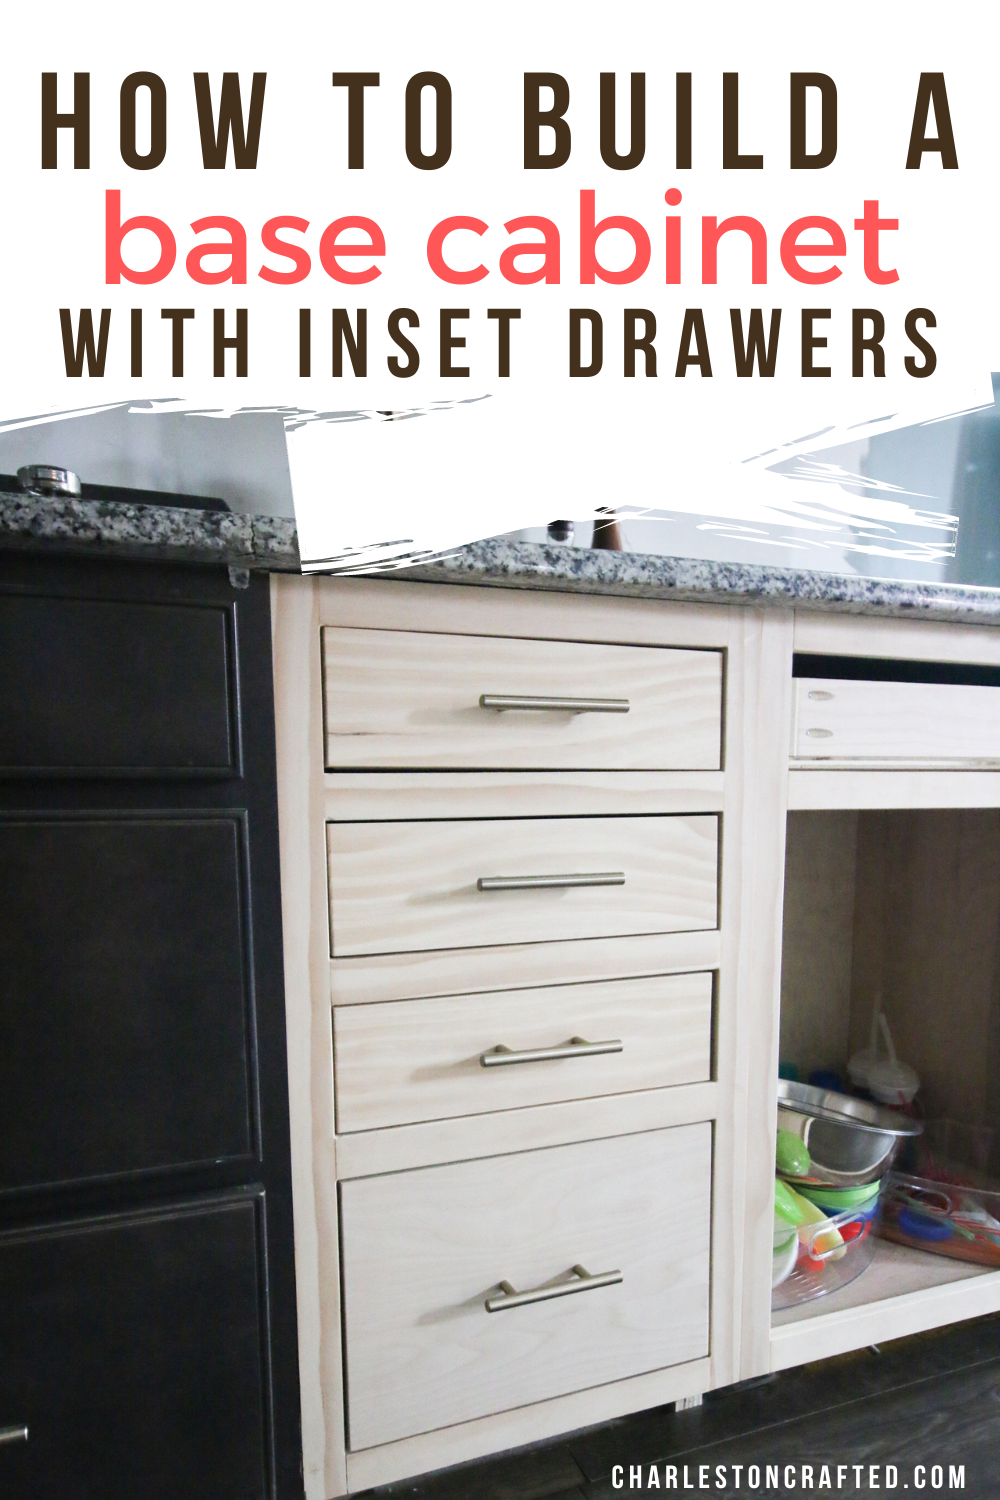
DIY base cabinet with drawers
We designed these cabinets as face frame cabinets specifically because we were trying to match the existing cabinets we wanted to keep from our old kitchen. We changed the layout of our kitchen from a peninsula to a wall of cabinets and and island, but we kept several staple cabinets.
If you’re building these from scratch, you could choose to leave off the face frame, but you’ll also have to adjust the size of the drawer faces.
Materials needed to build a base cabinet
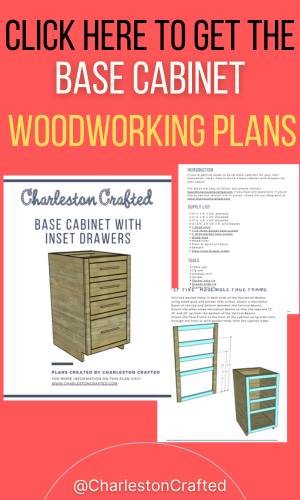
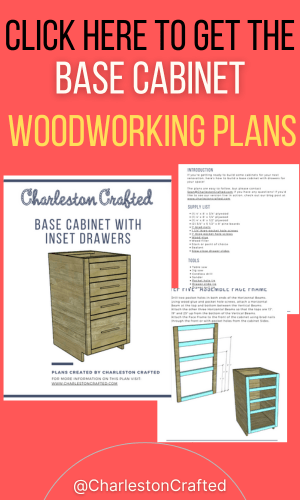
To build a base cabinet, you need the following materials and tools. For building this specific cabinet we built, you can get the exact material list and cut list, along with the step-by-step instructions, in our printable PDF woodworking plans here!
- 3/4″ plywood (one sheet of plywood should be able to make you a couple of cabinets)
- 1×2 boards
- 1/4″ plywood
- 1/2″ plywood
- Drawer slides
- Wood glue
- 1 1/4″ pocket hole screws
- 1″ pocket hole screws
- 1″ brad nails
- Pocket hole jig
- Table saw or circular saw with straight edge guide
- Jig saw
How to build a DIY base cabinet with drawers
Here’s what you’ll need to do to build our base cabinet with drawers, but make sure you grab the full instructions with more details.
I built several cabinets for our kitchen renovation, so I learned a lot of tips and tricks along the way, and I’ll do my best to include them all in here!
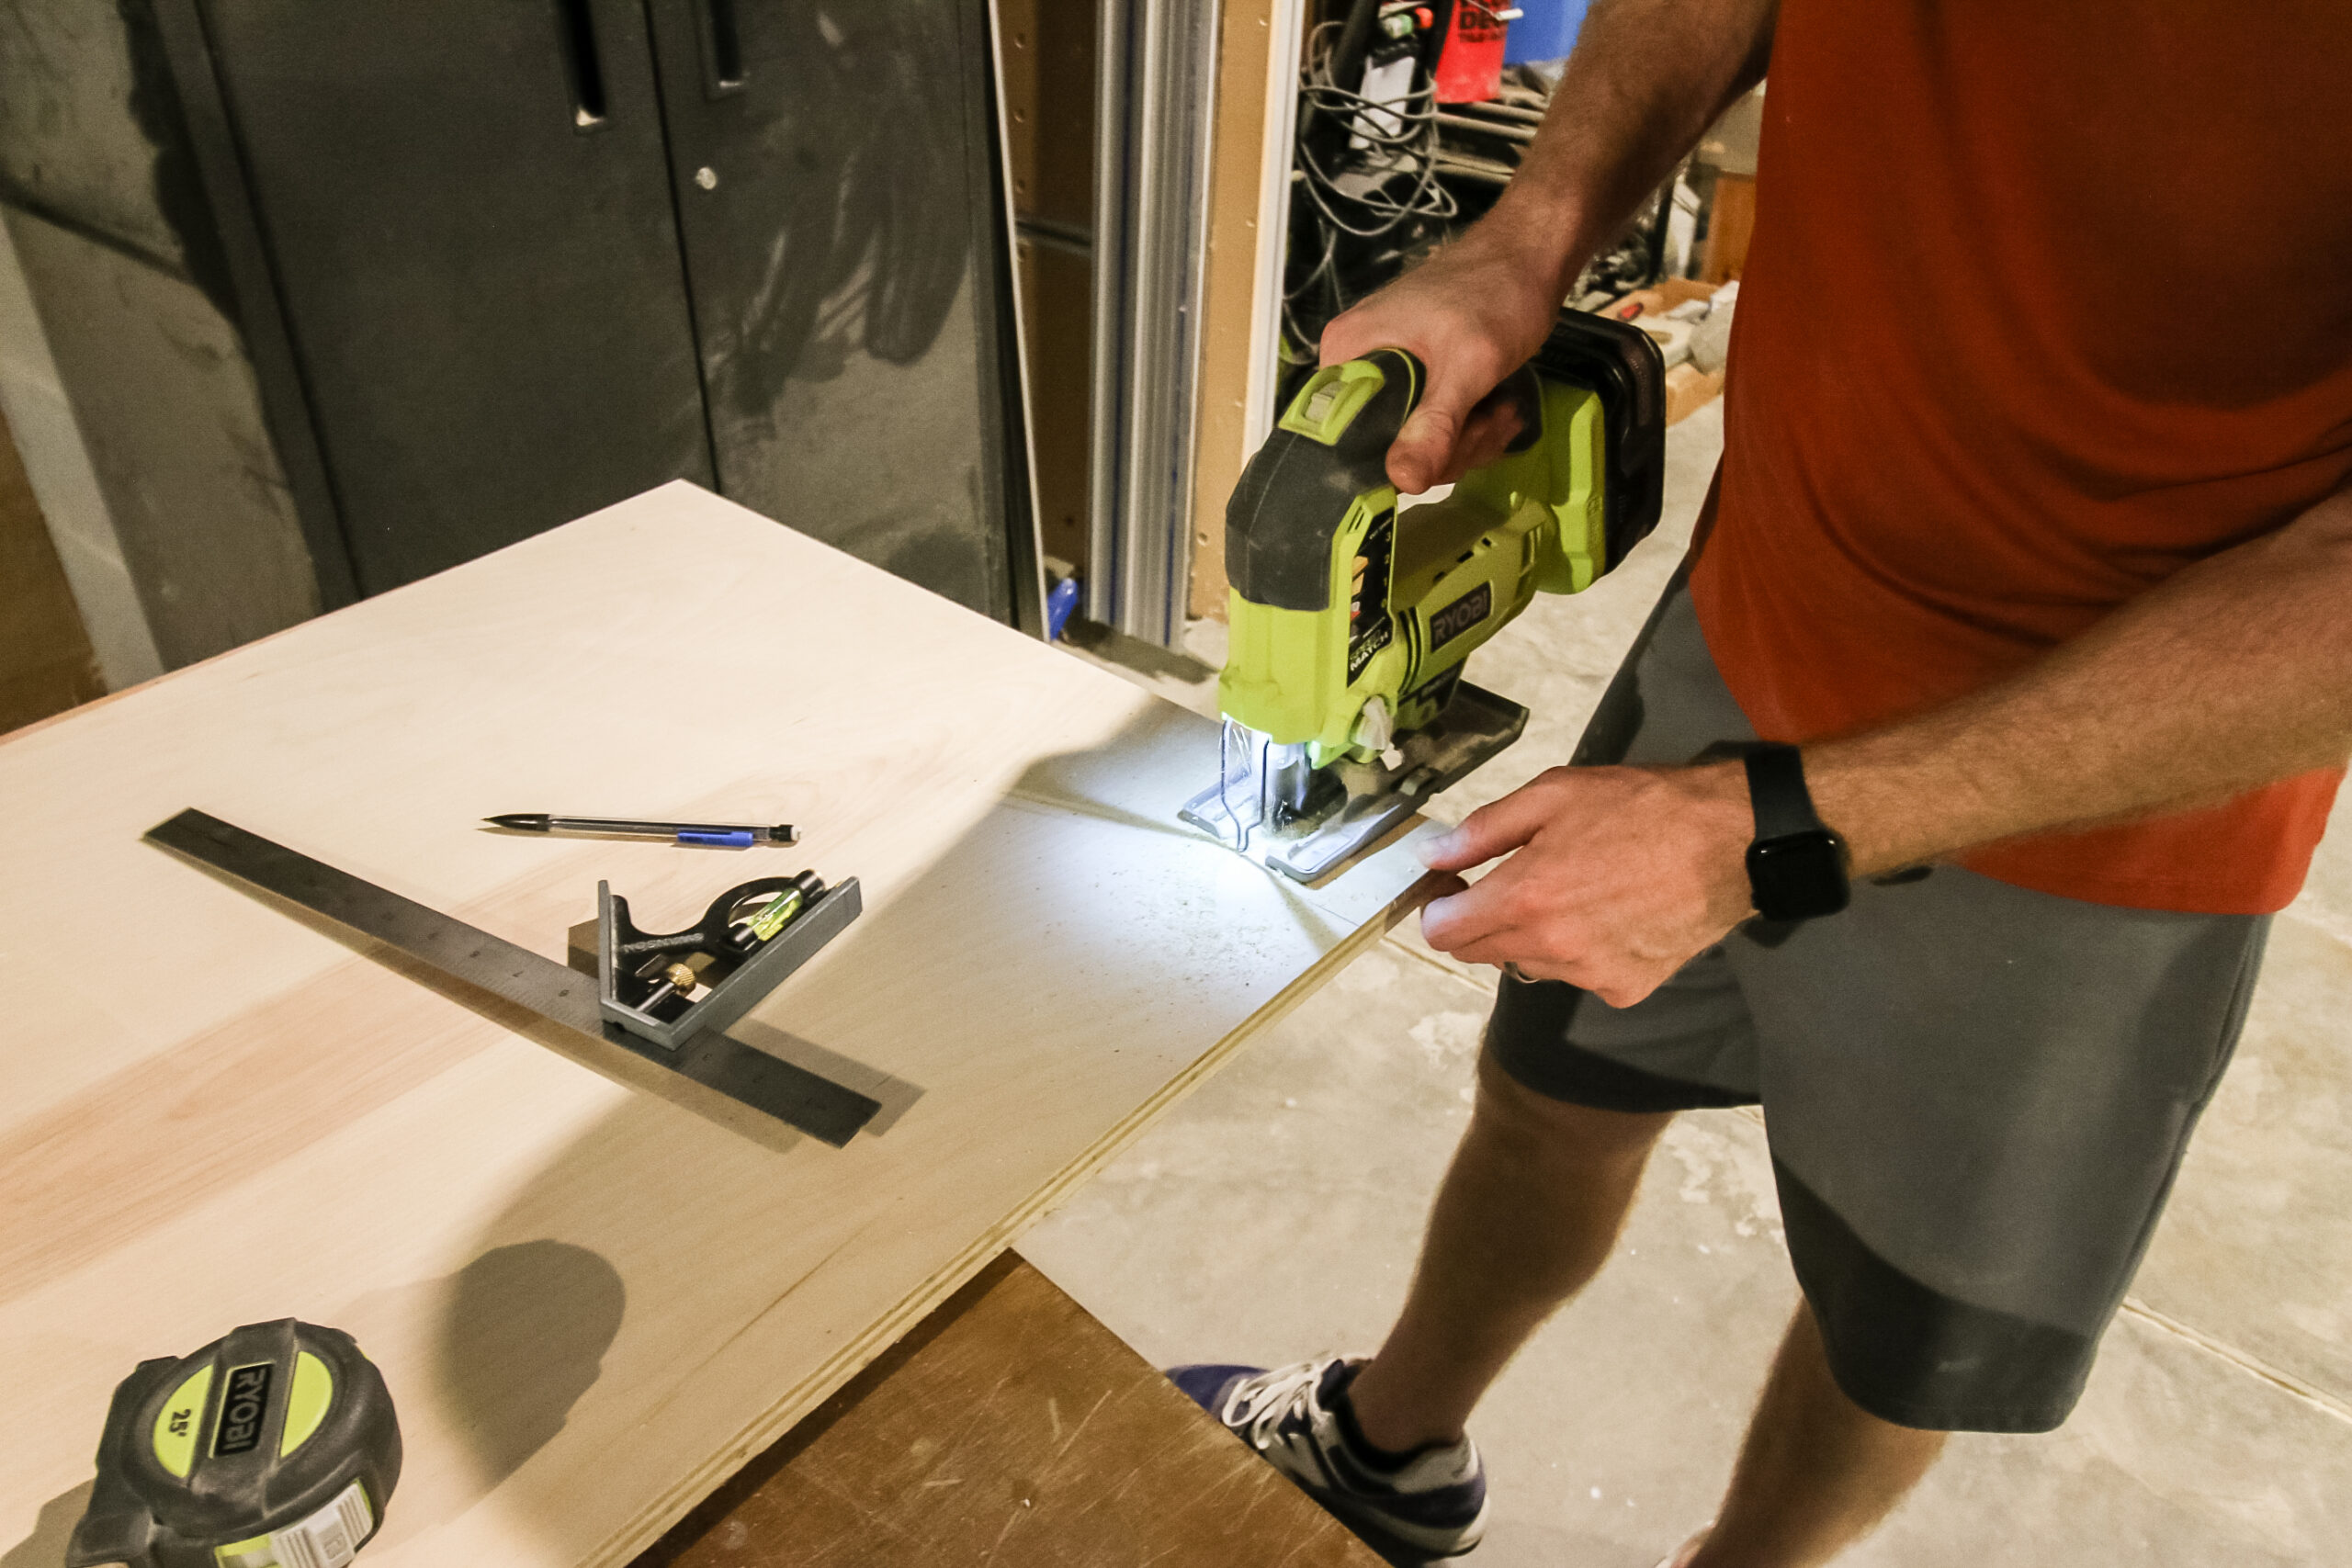
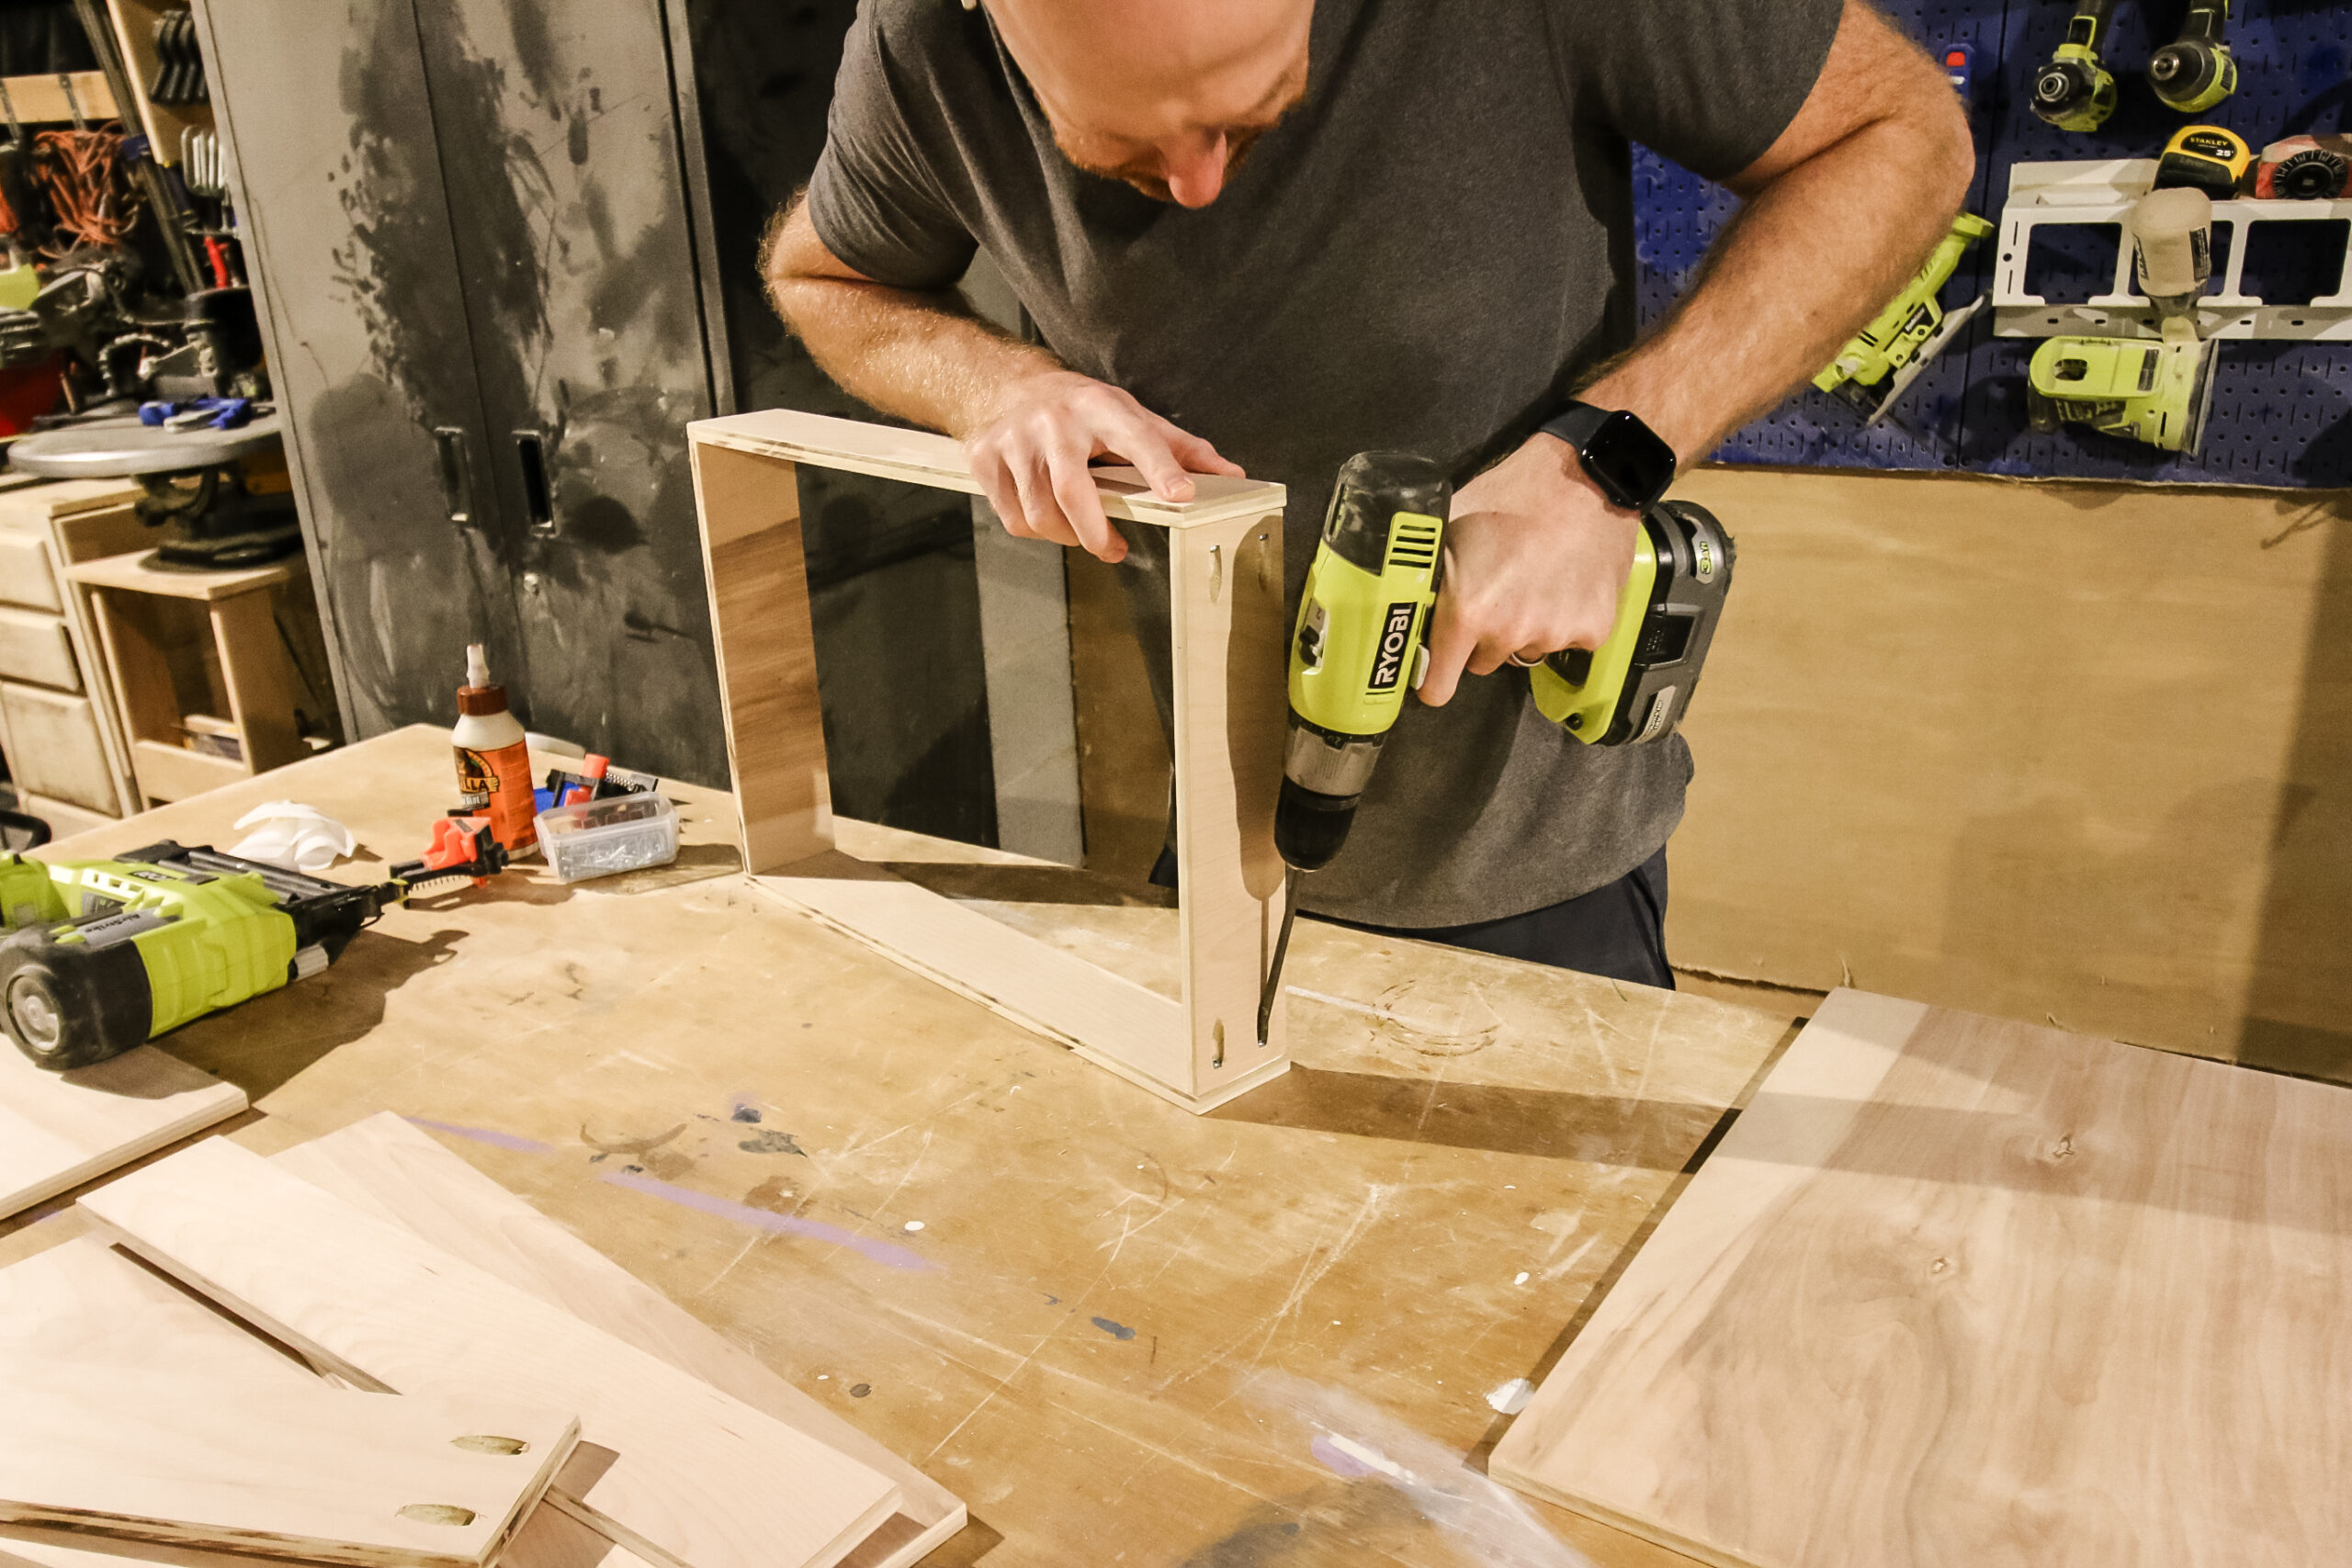
Step one: make cuts and drill pocket holes
We started by making all the cuts we needed for the cabinet before building it. We also cut a notch out at the bottom for the toe kick.
Some people like to build a simpler squared off box and then set it on a top of a 2×4 frame for the toe kick, but for me it seems just as easy to keep the sides as one piece and cut out the kick with a jig saw. I’ve got all the measurements in the plans for how to do that.
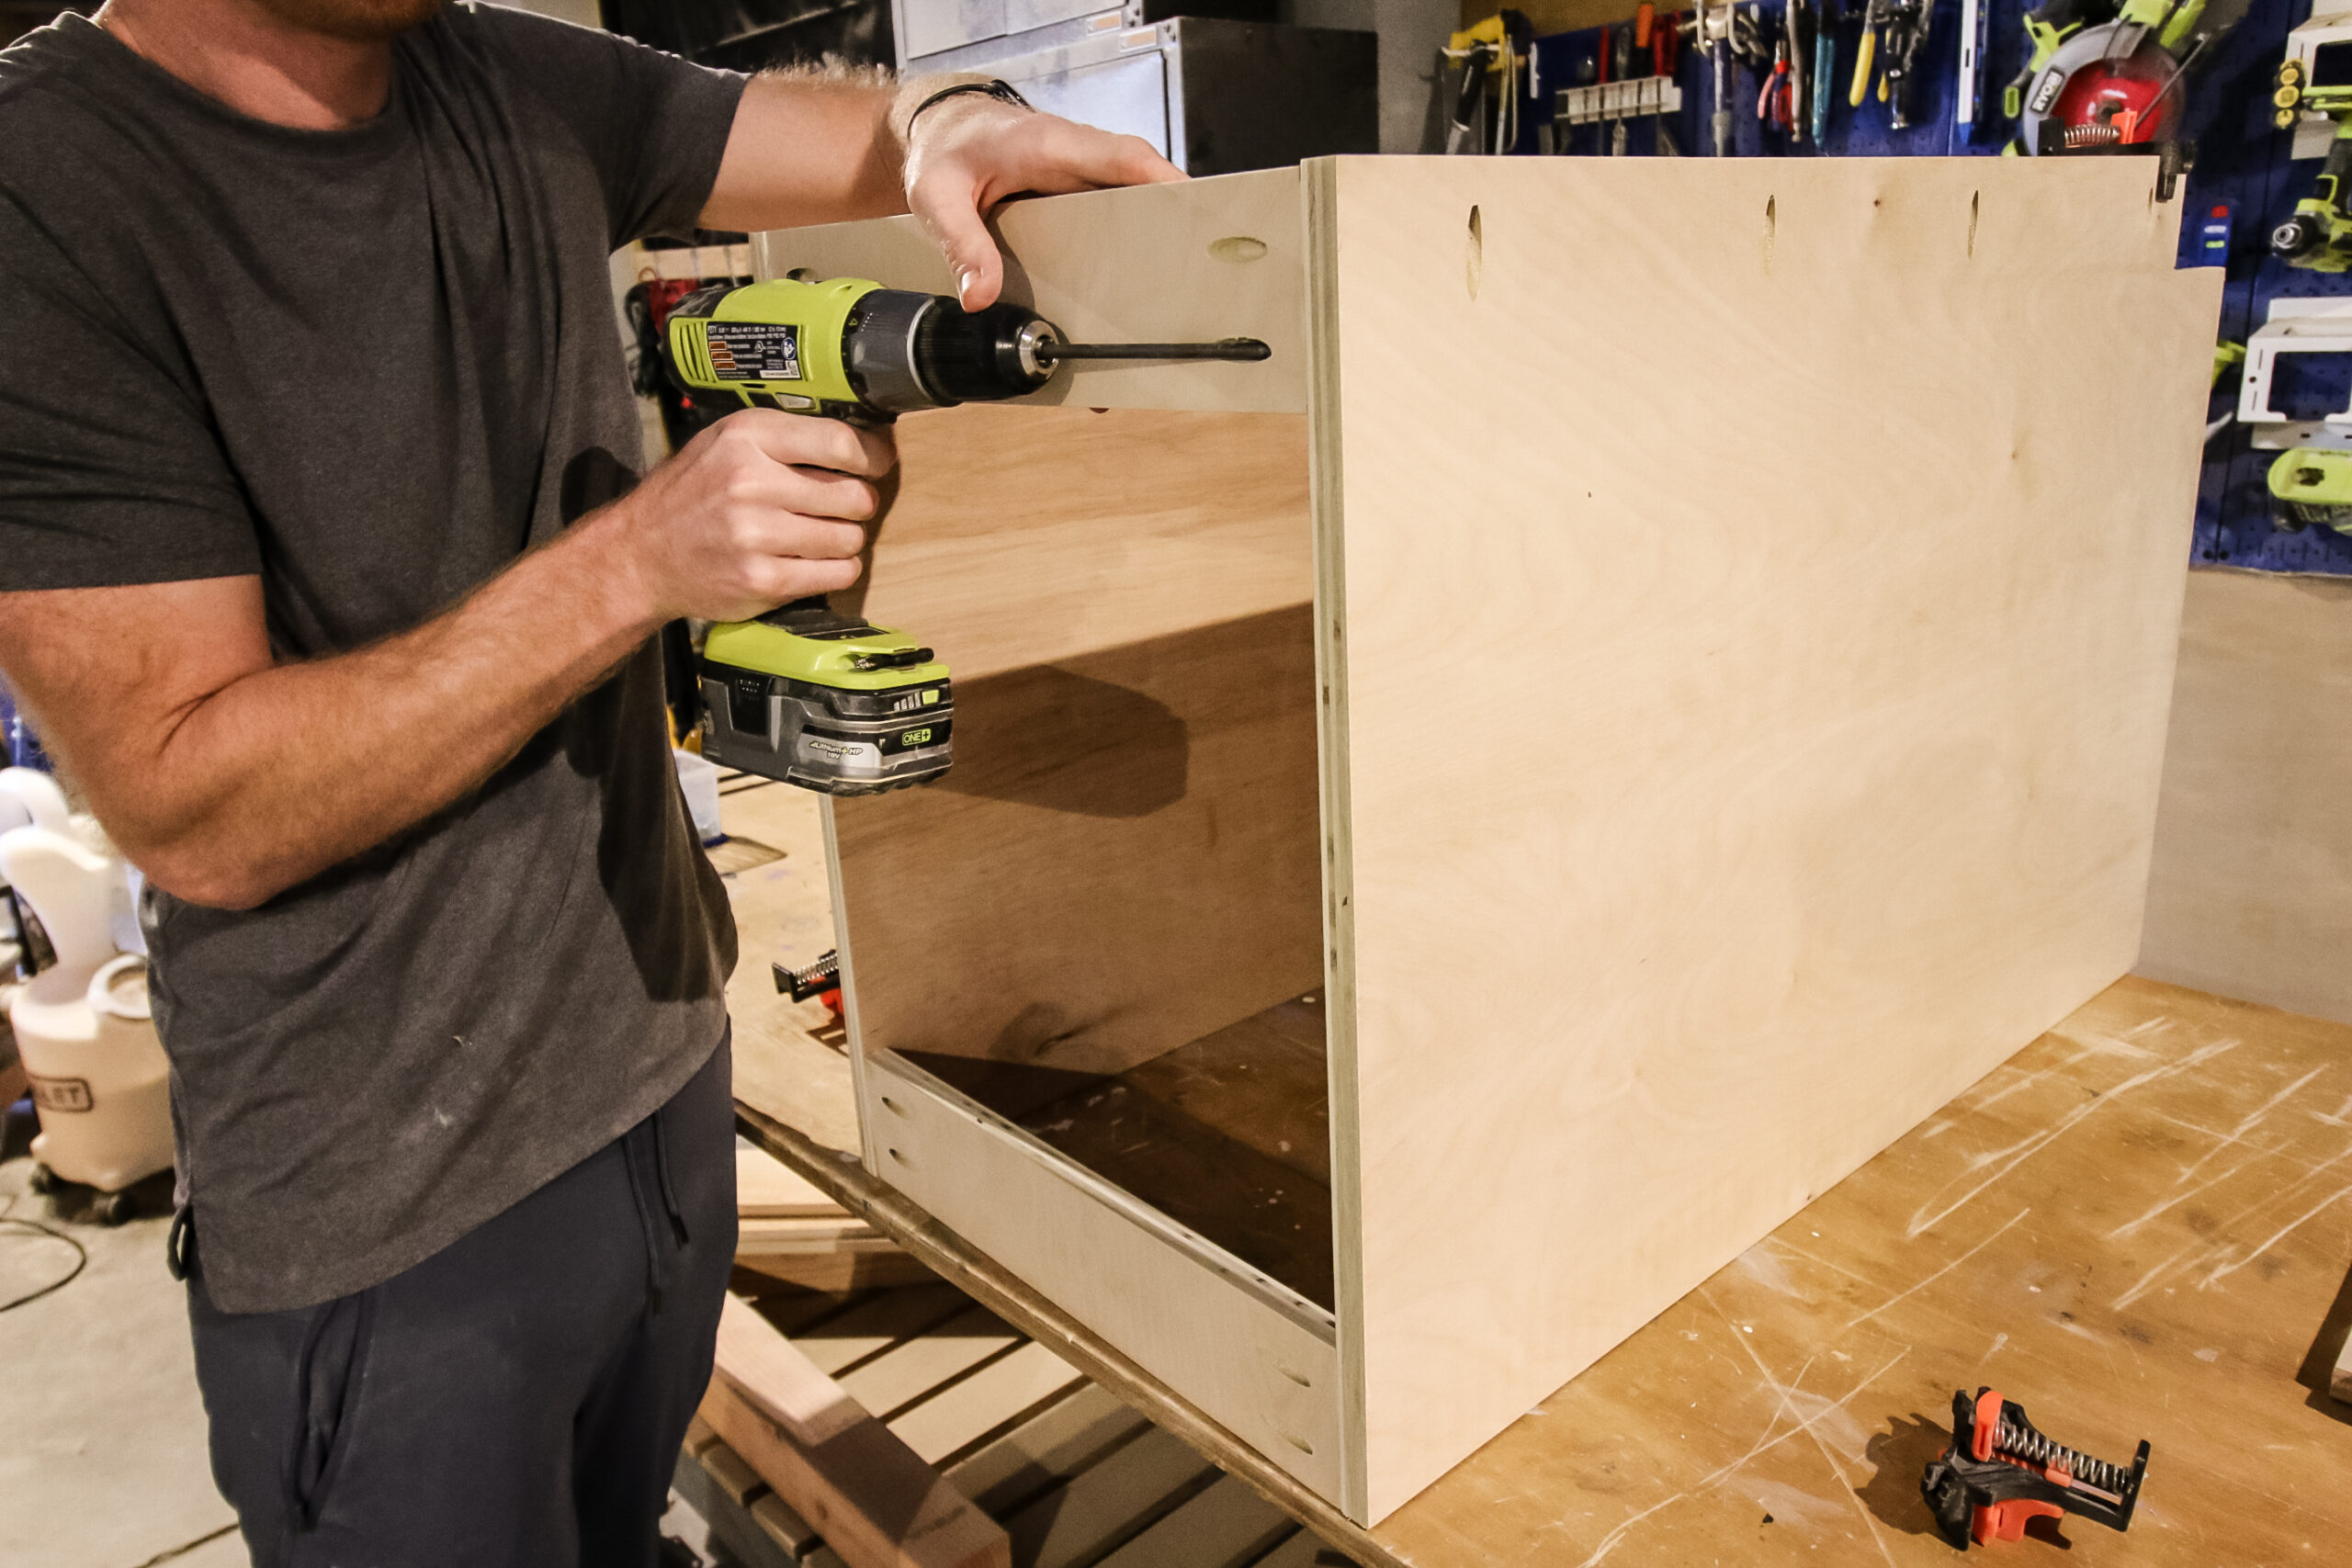
After everything is cut, we drilled the pocket holes to pull everything together. When drilling pocket holes on cabinets, you want to keep everything to the outside if possible so that the sides of the cabinets cover the holes of each other and the top holes are covered by the countertop.
Step two: attach bottom
We started by attaching the bottom to the two sides of the cabinet with pocket hole screws. To attach the bottom of a cabinet like this, we lined it up with the top of the toe kick and screwed it in.
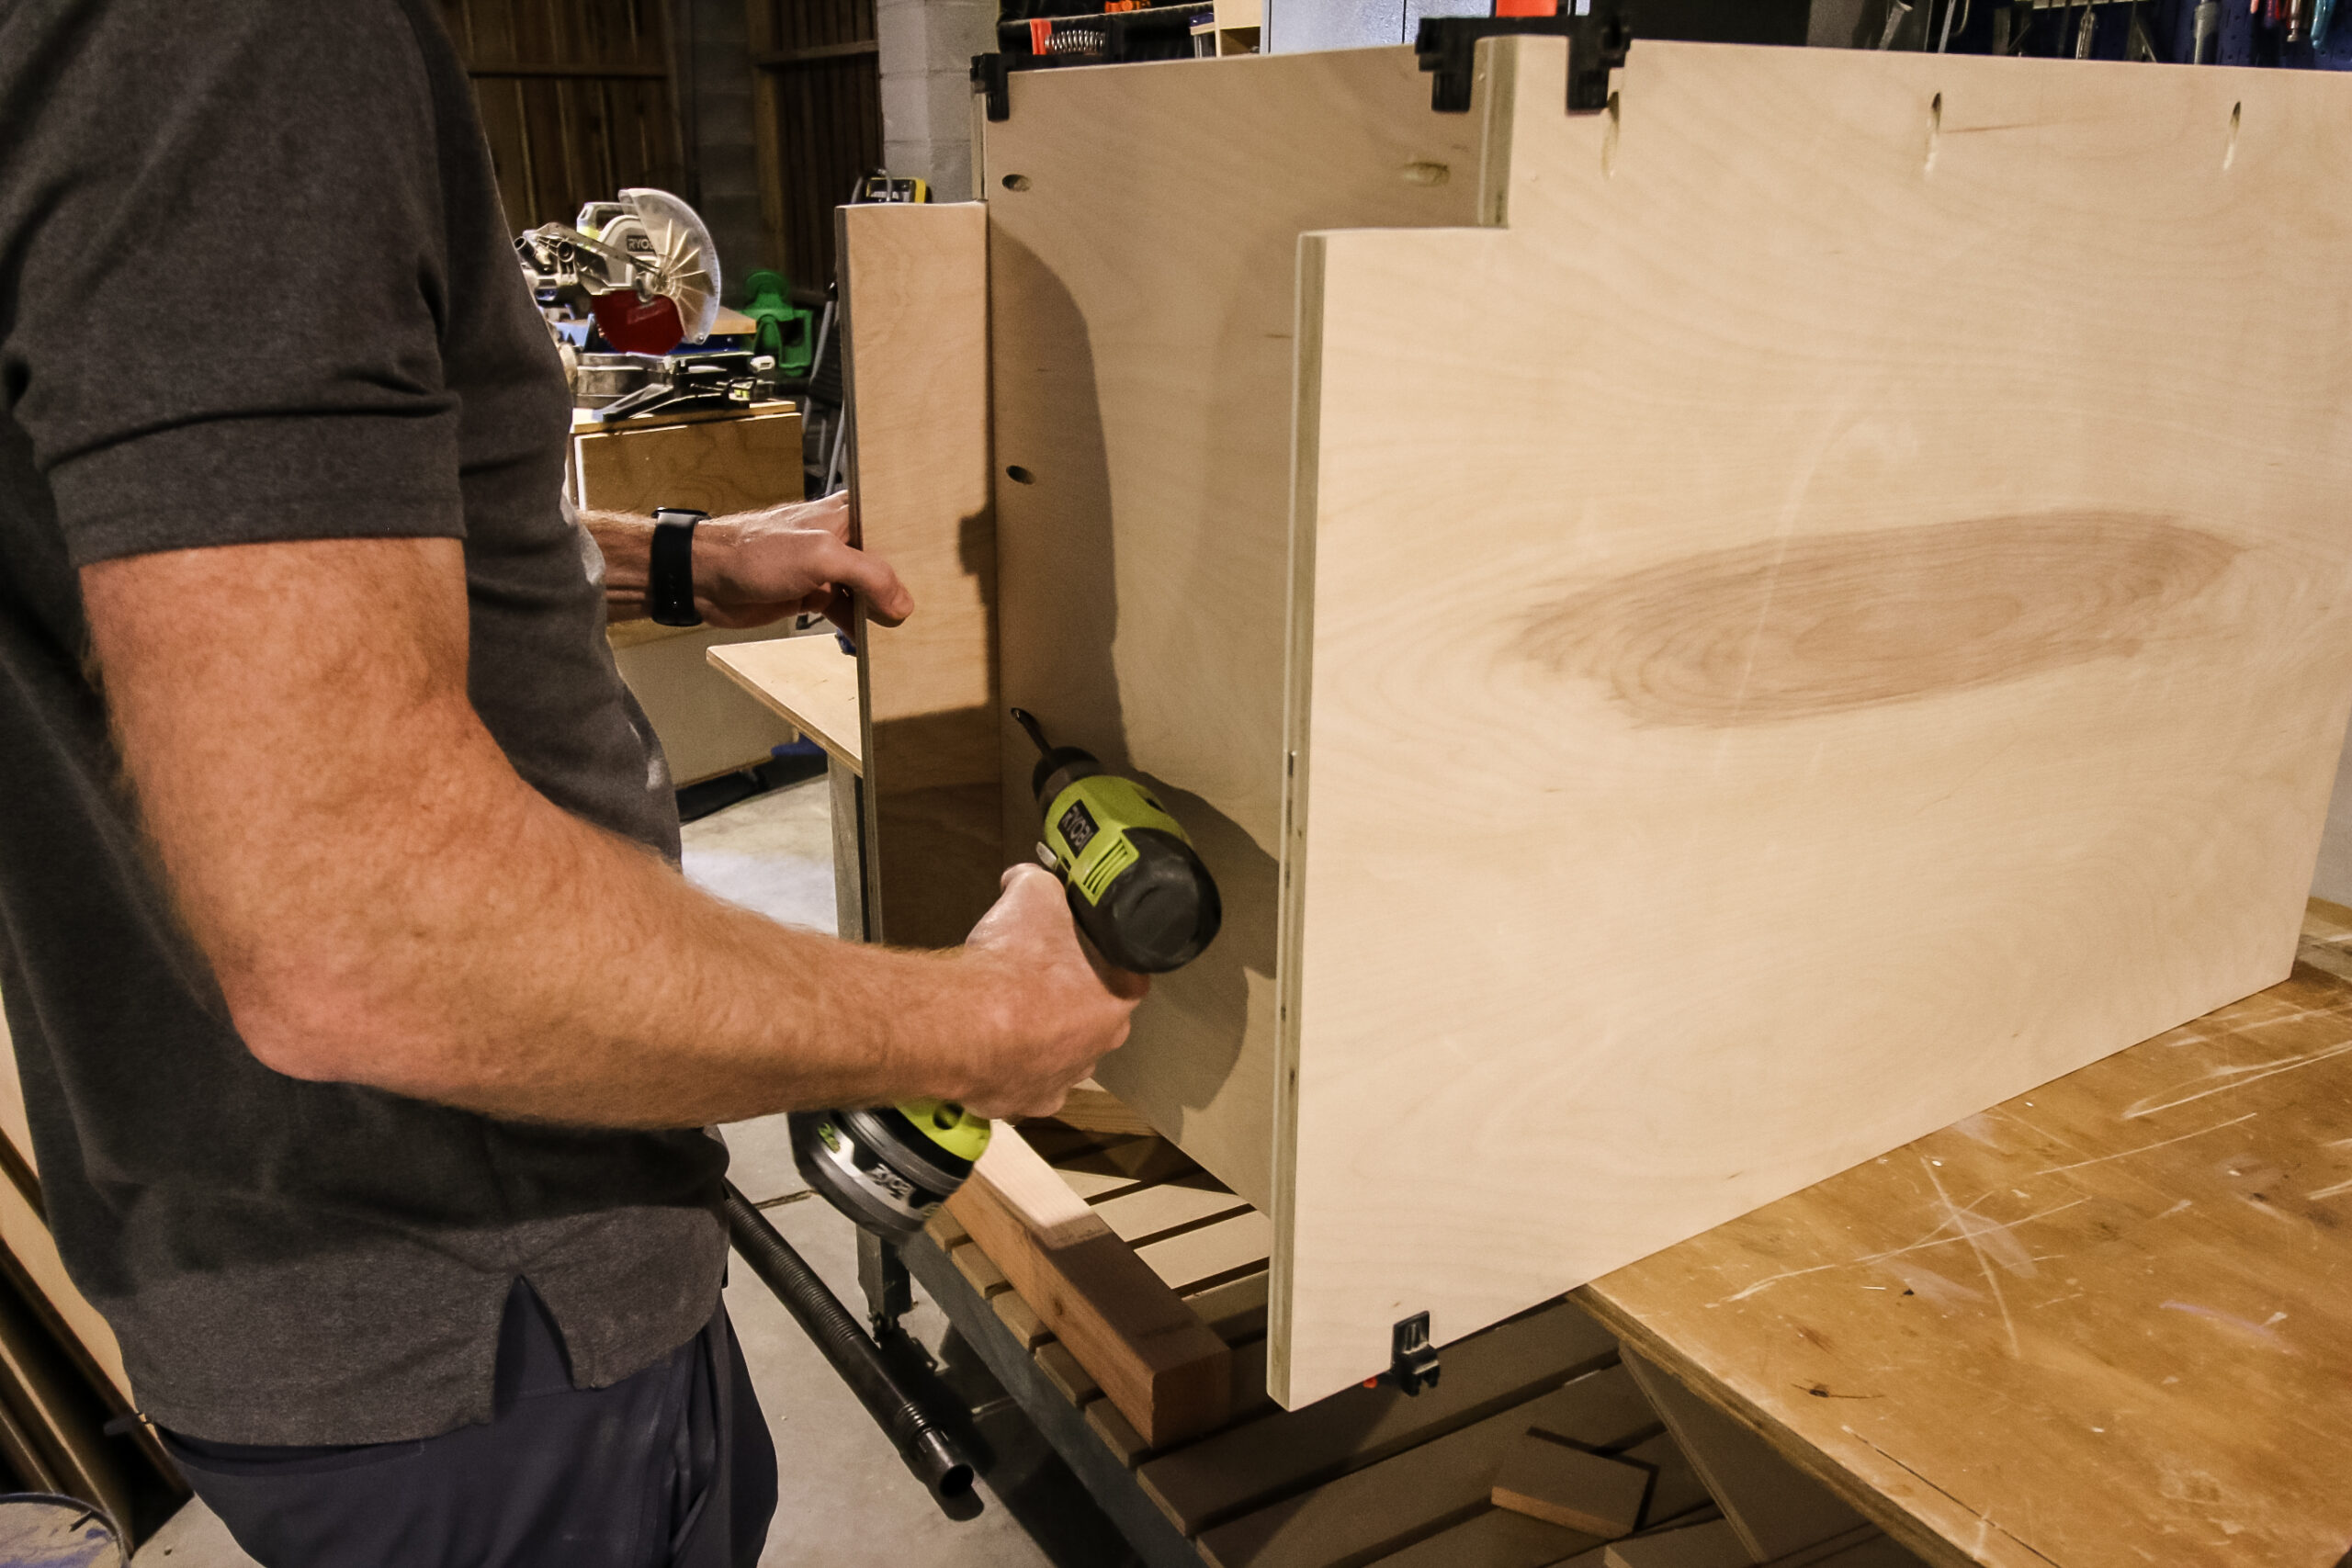
Step three: attach supports
Next we attached the supports. We attach two on the top and two on the back.
The top two supports obviously hold the cabinet together, but they also provide a bigger area for the countertop to sit on. The back supports are for holding the box together, but also provide a good place to secure the cabinet to the studs in the wall through the back.
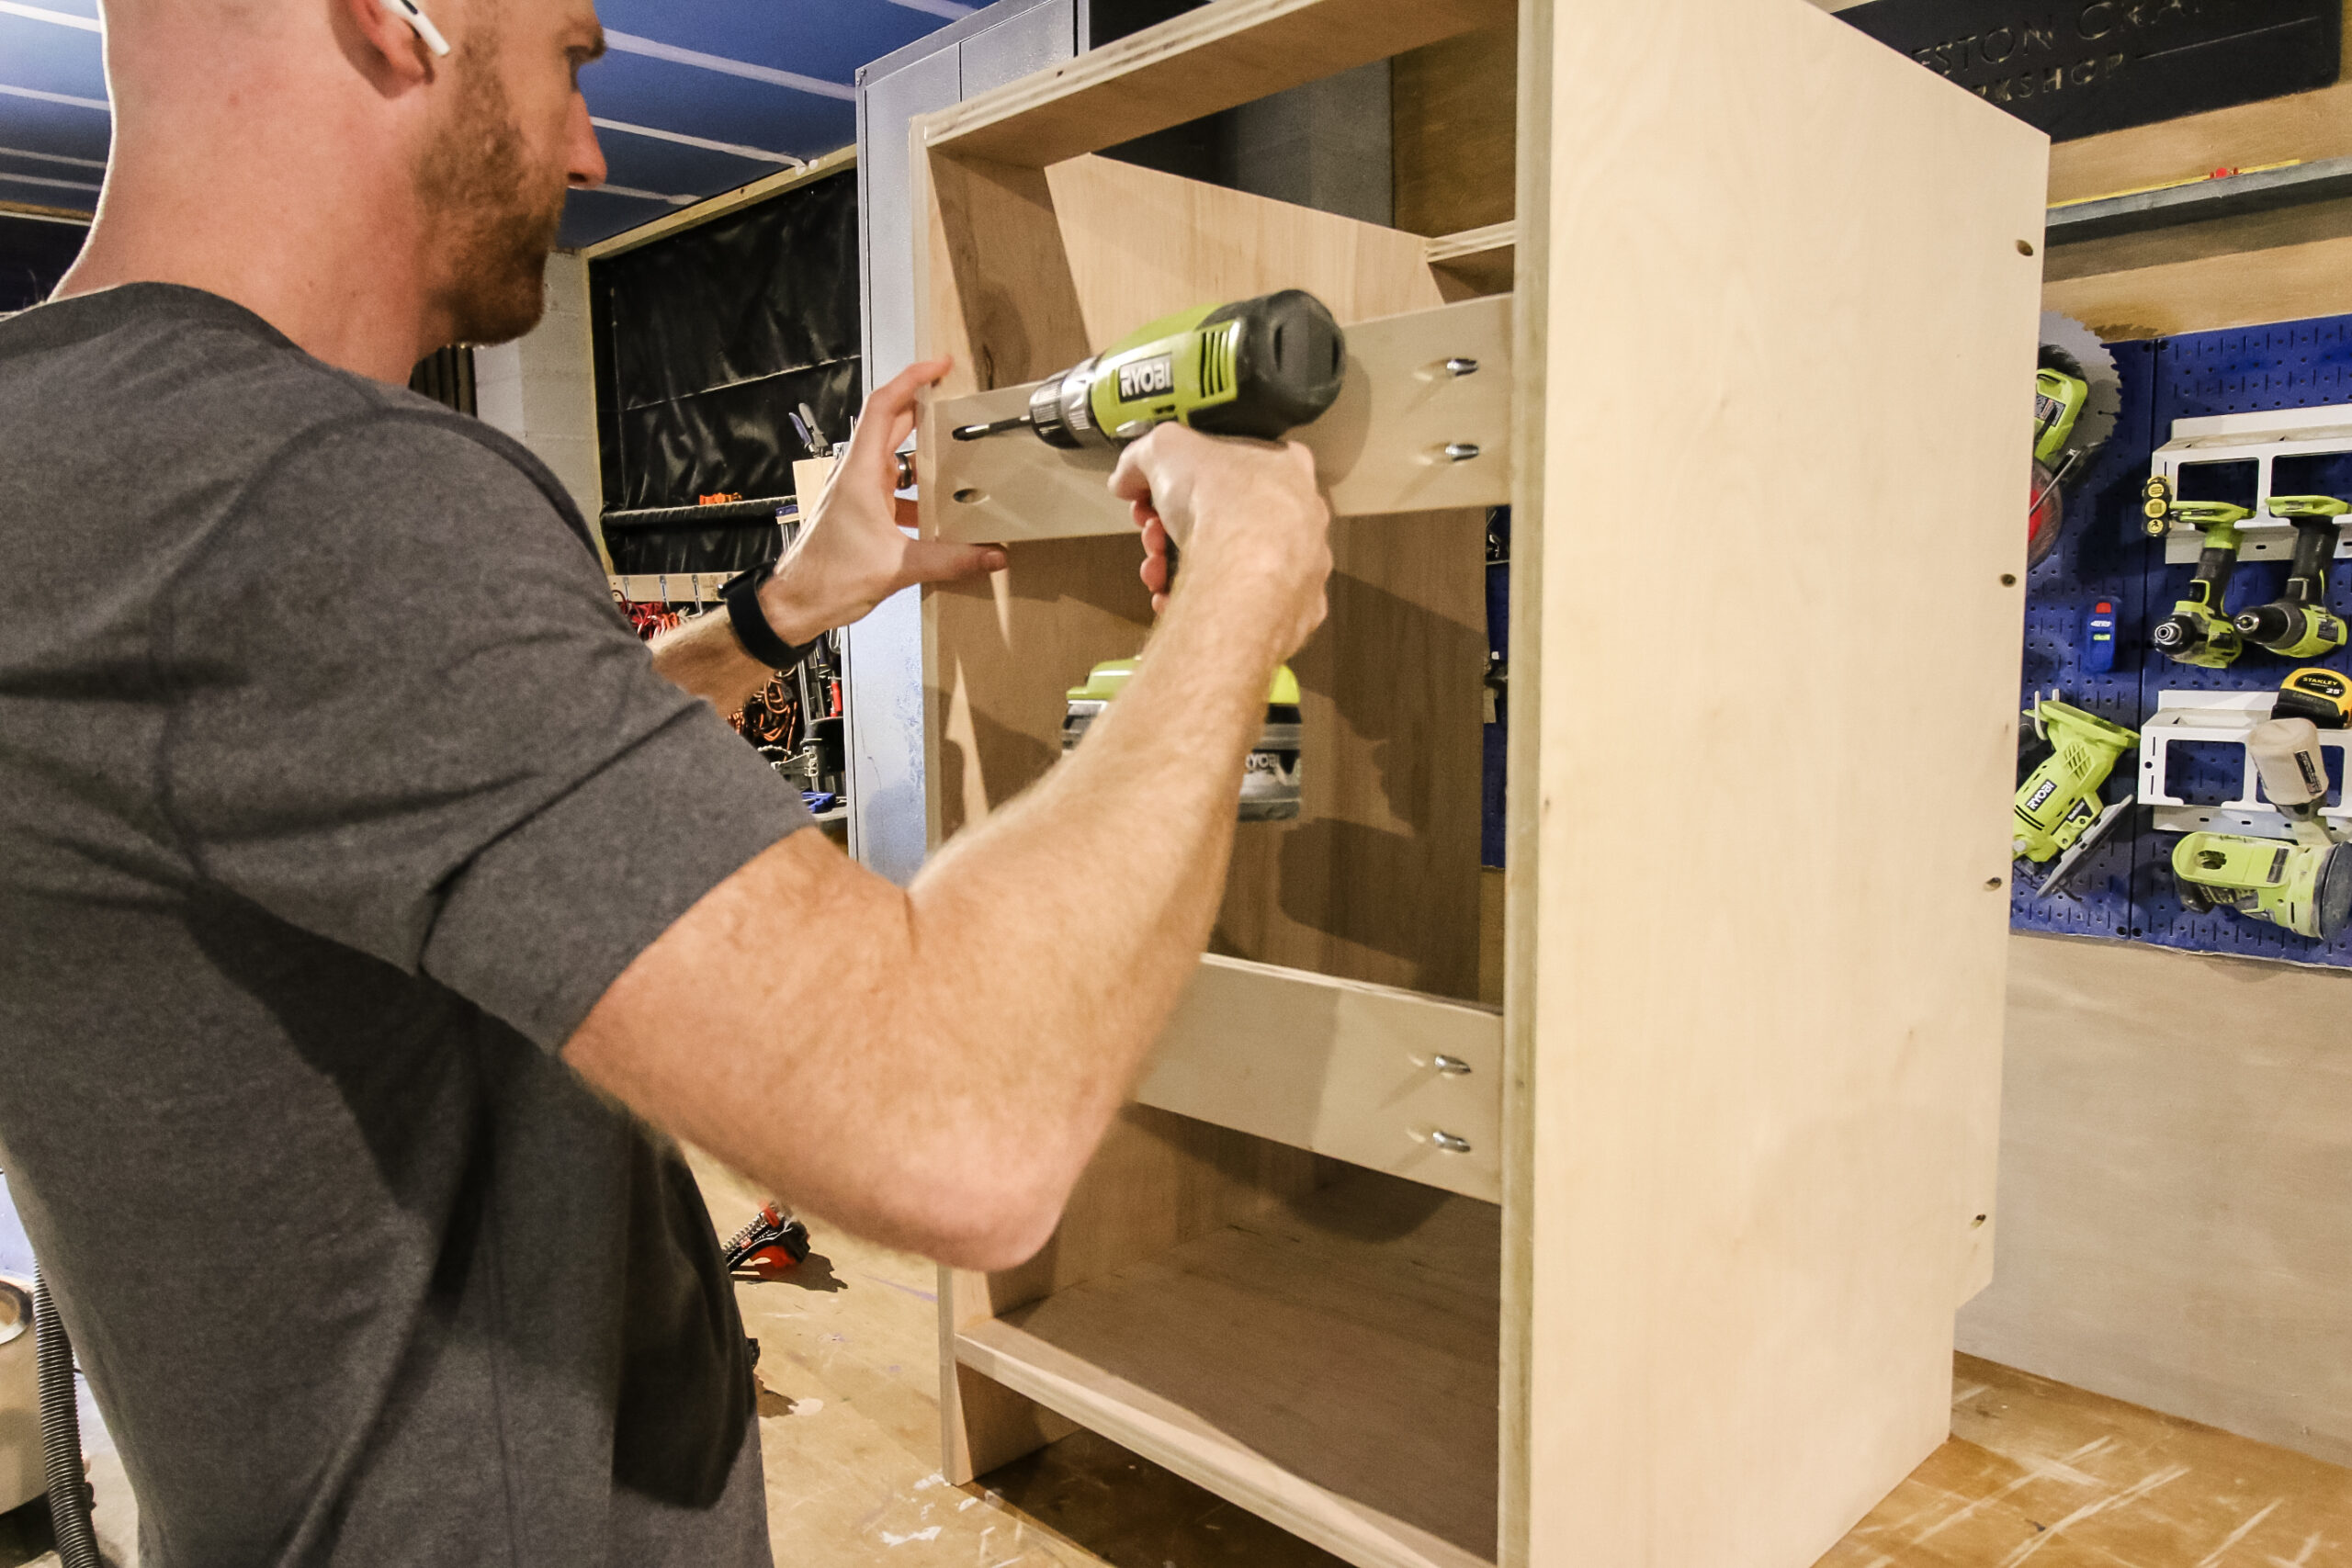
Step four: insert backer
The backer for this was just a custom cut piece of 1/4″ plywood that slides right into the back of the box and then tacks onto those back supports from the previous step. Now it looks like a nice solid box inside!
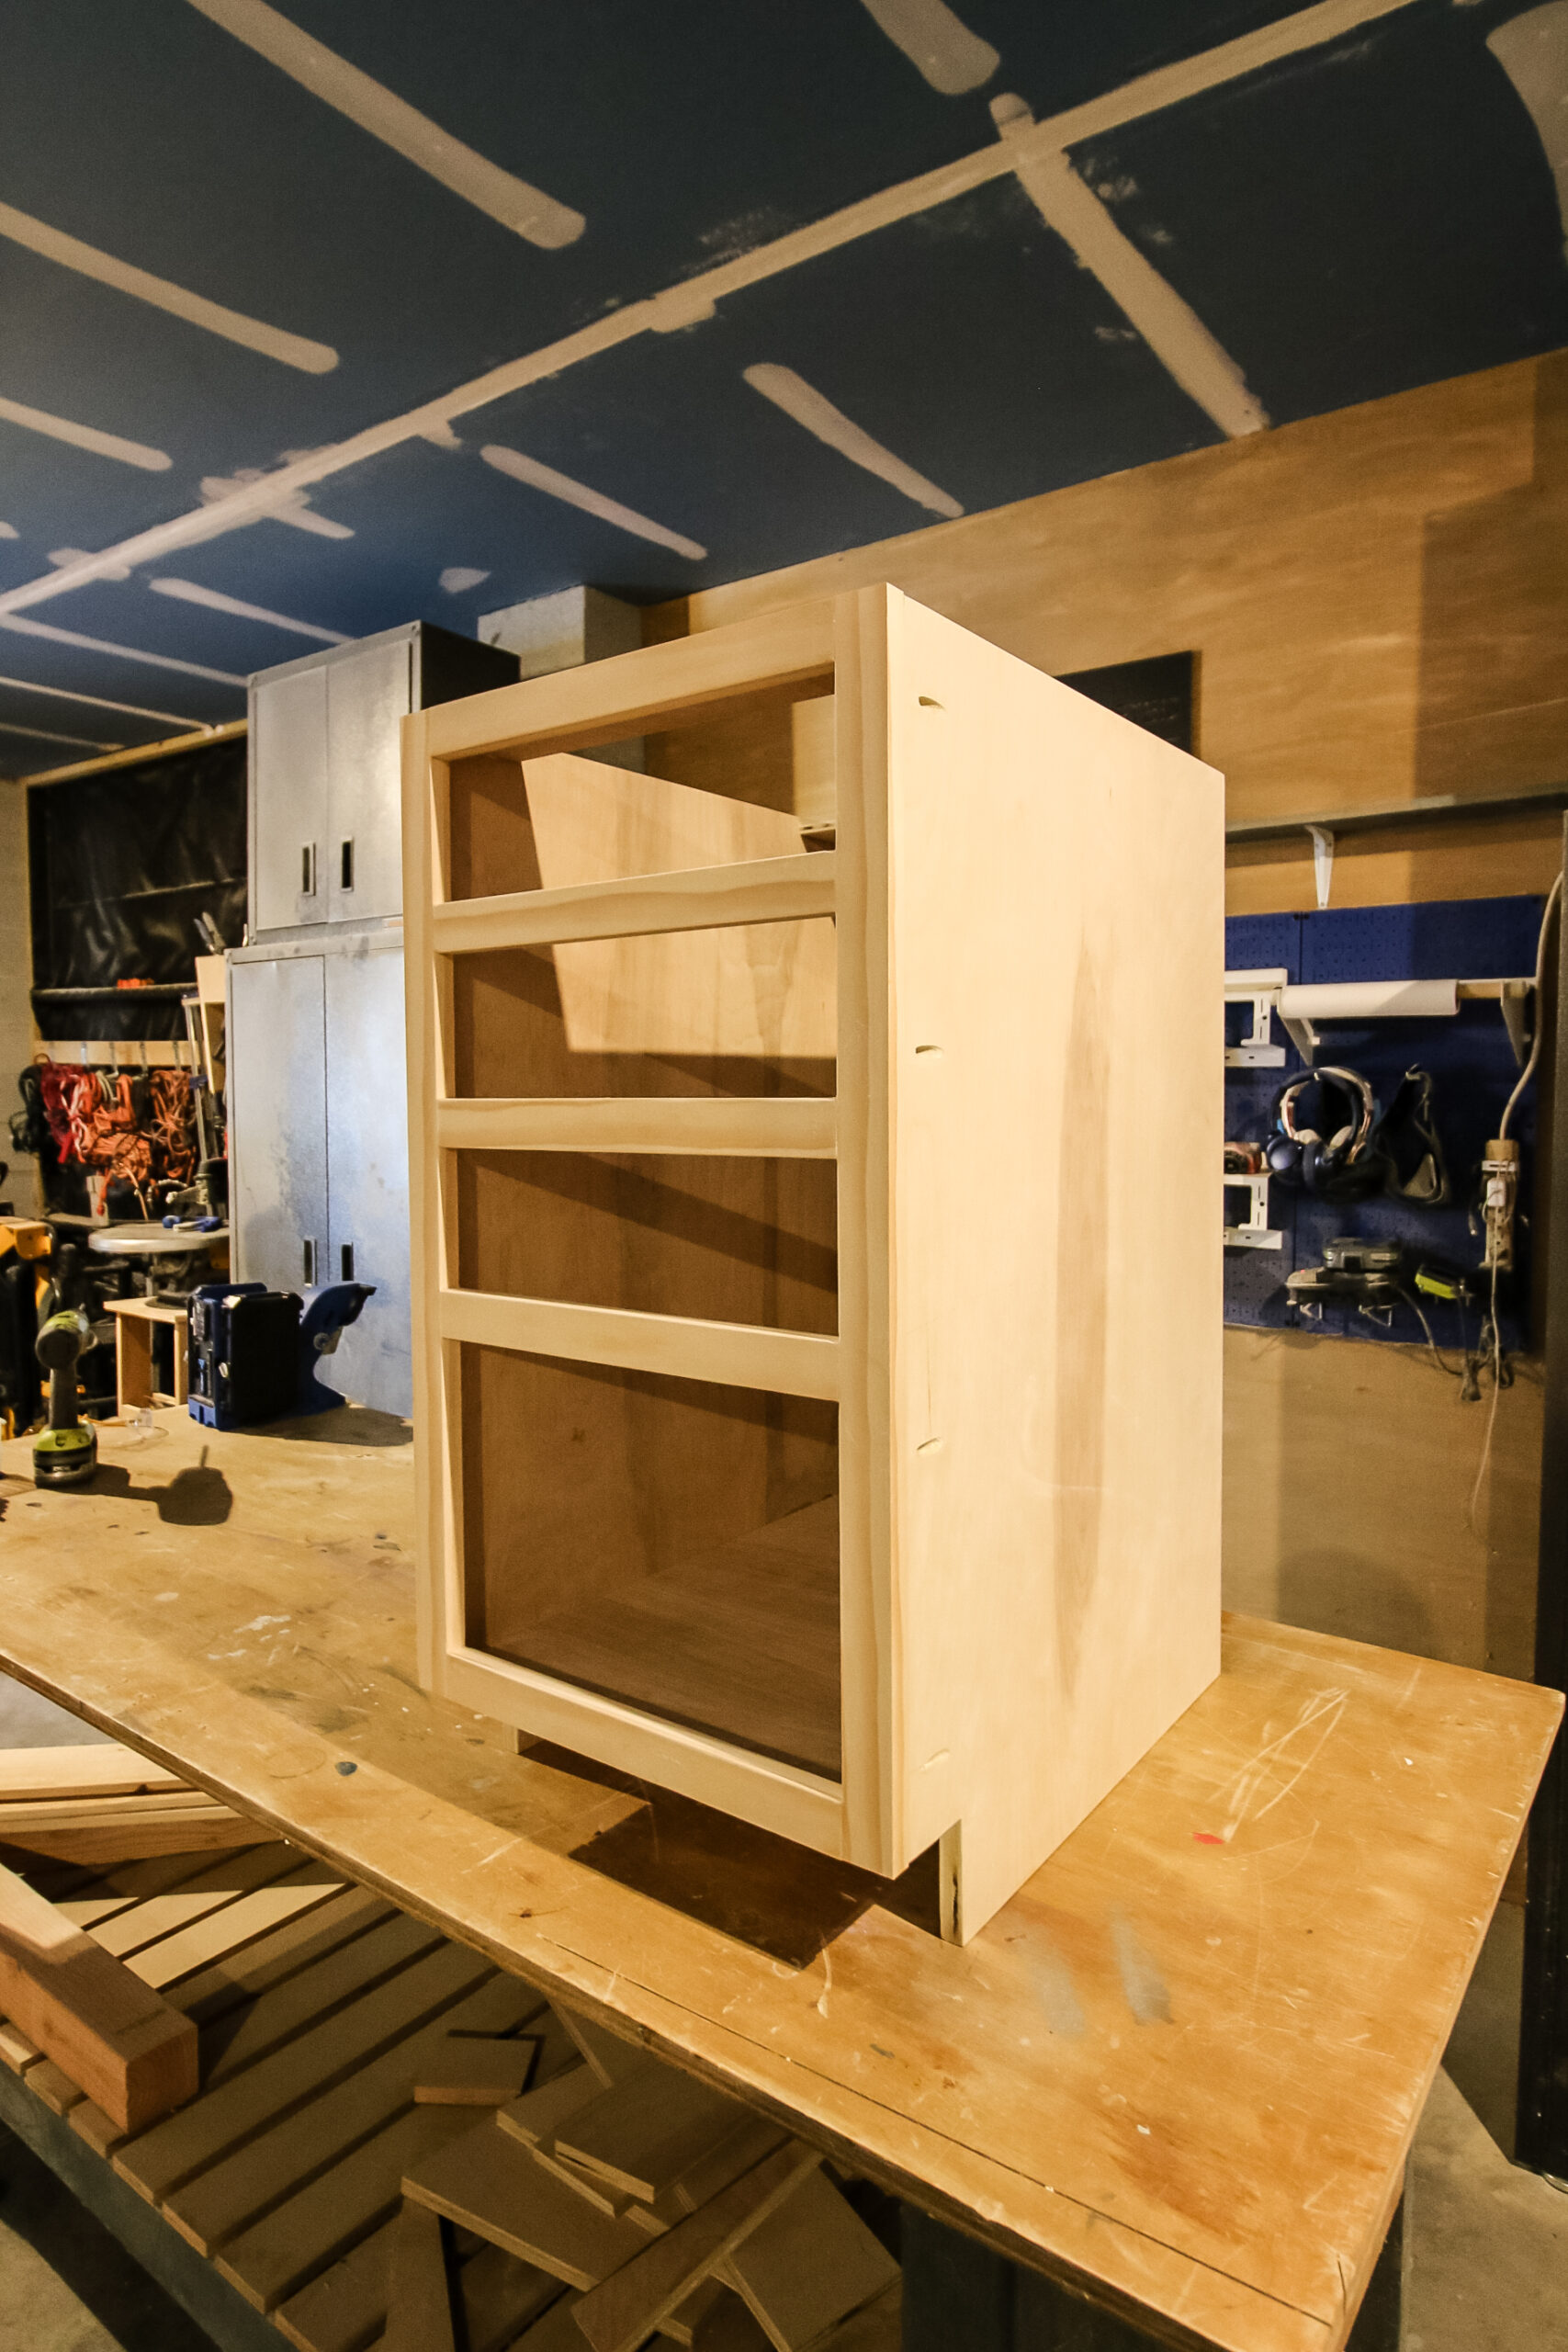
Step five: make face frame
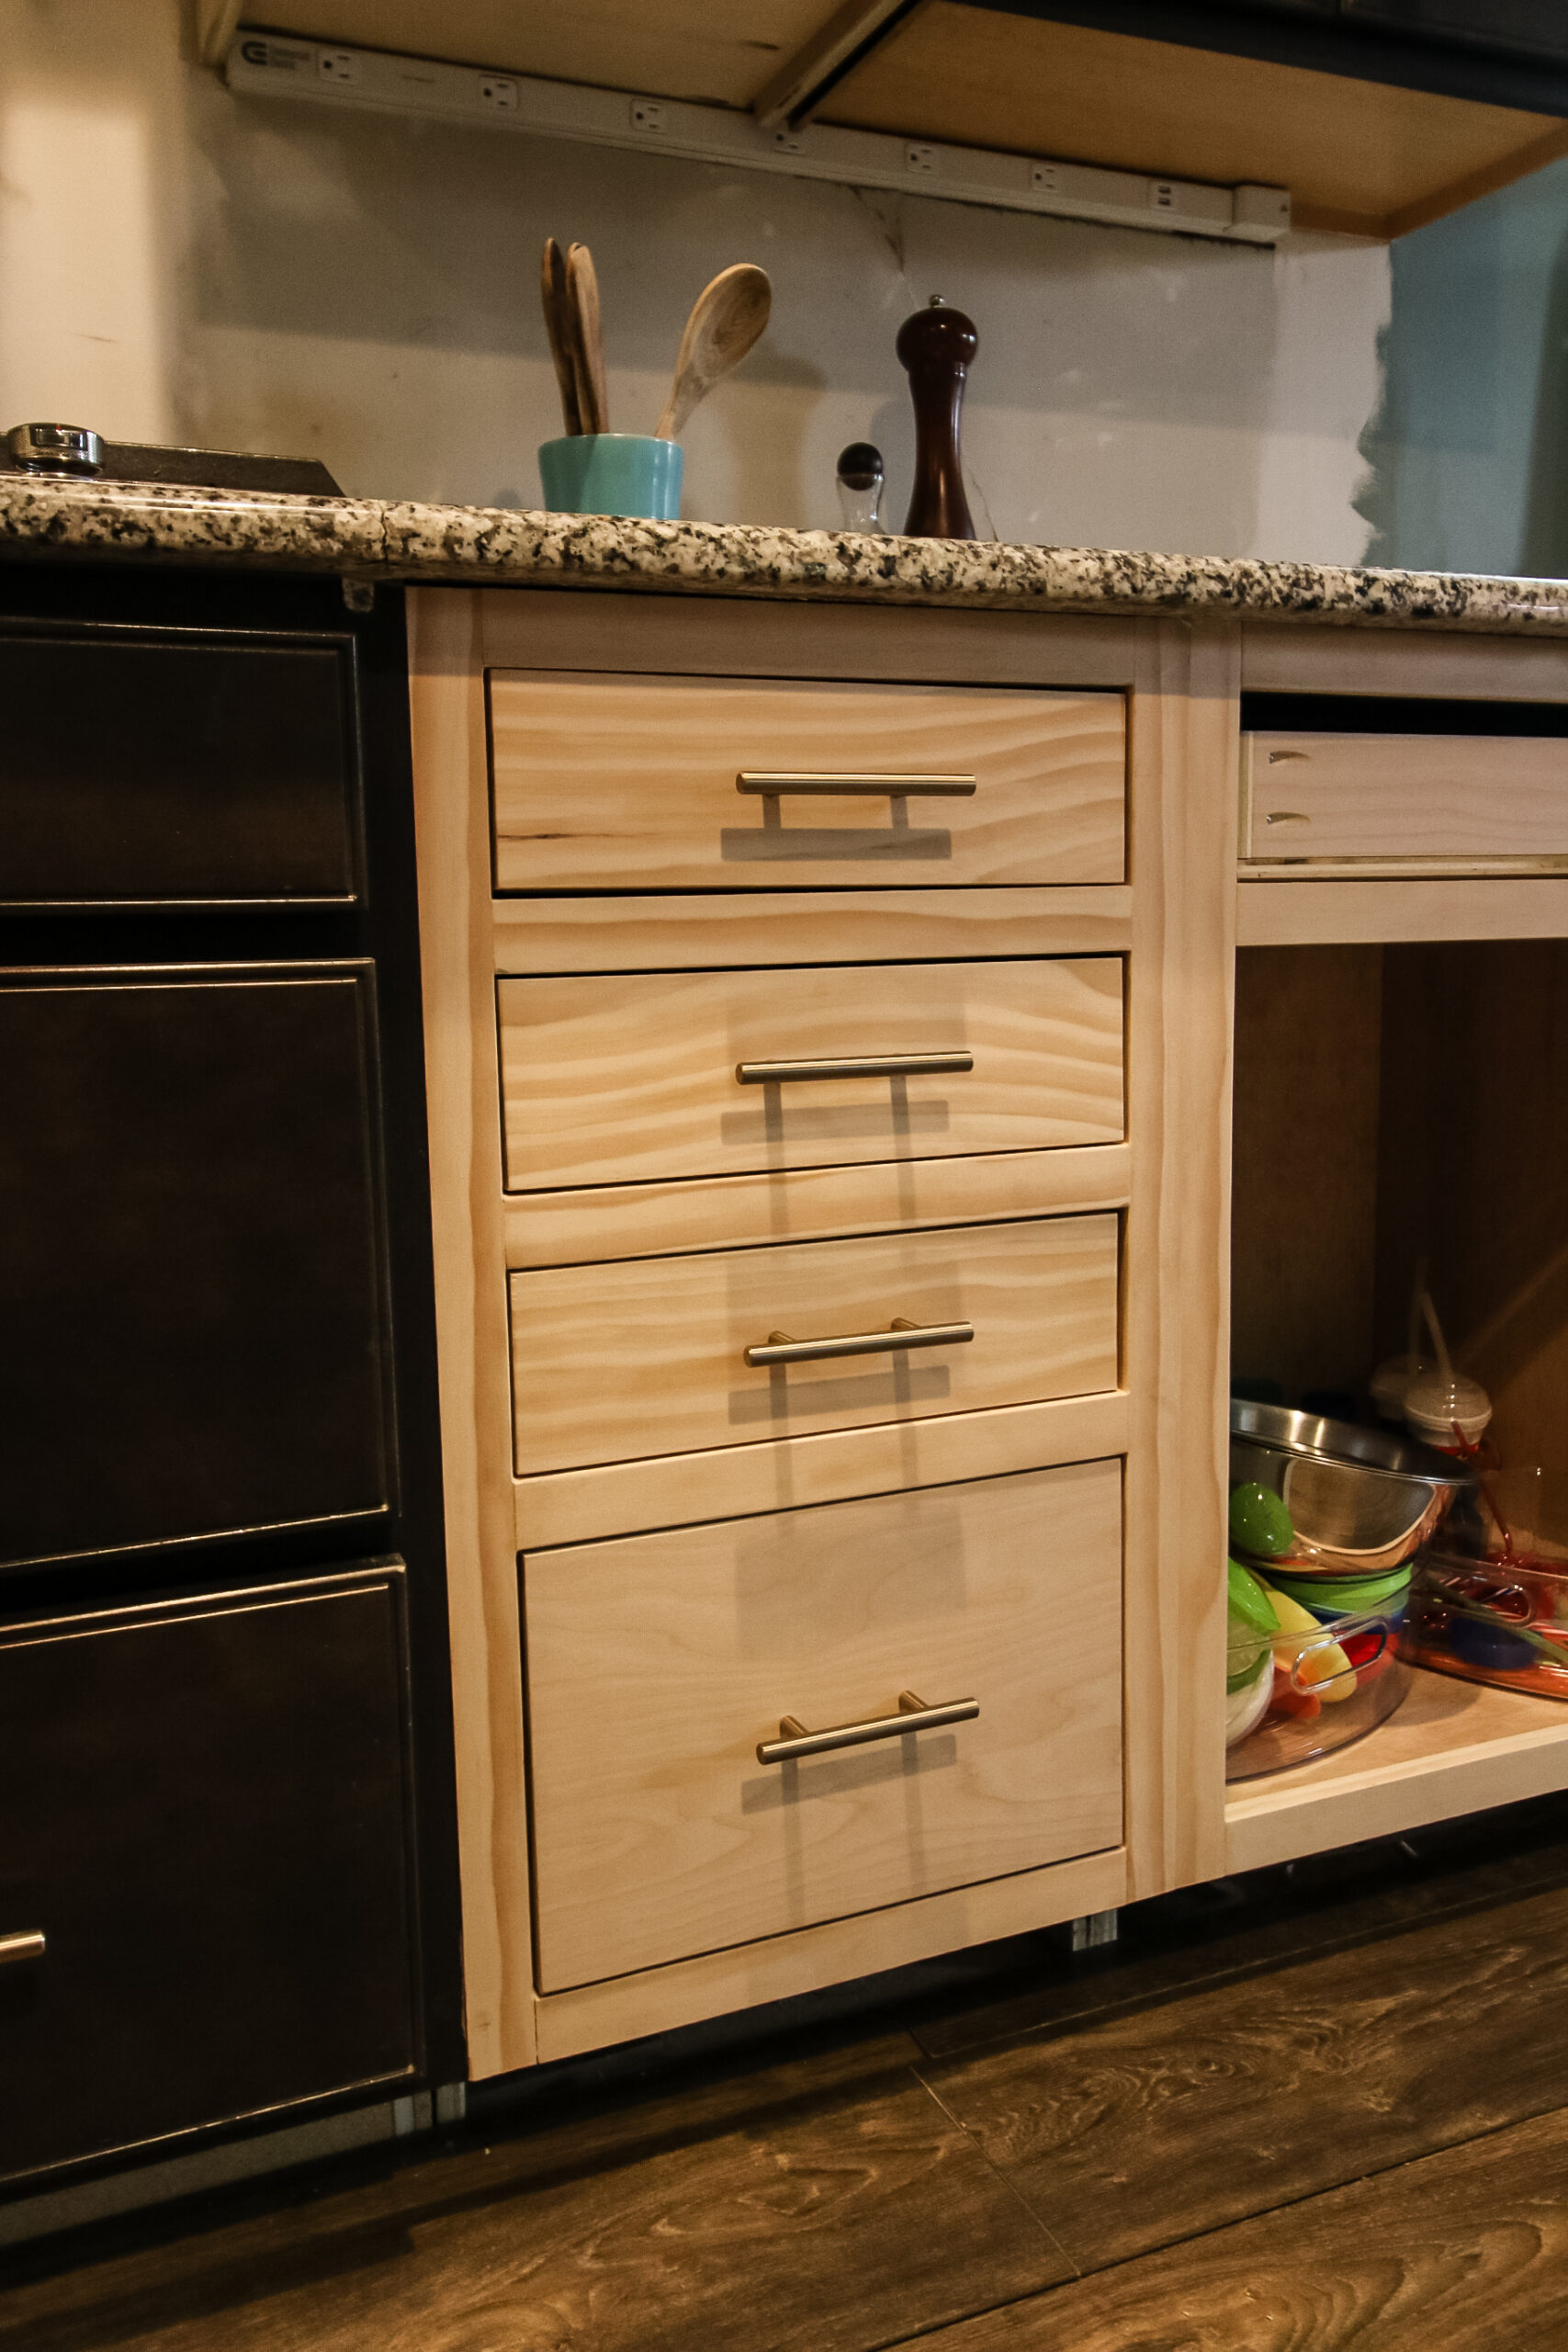
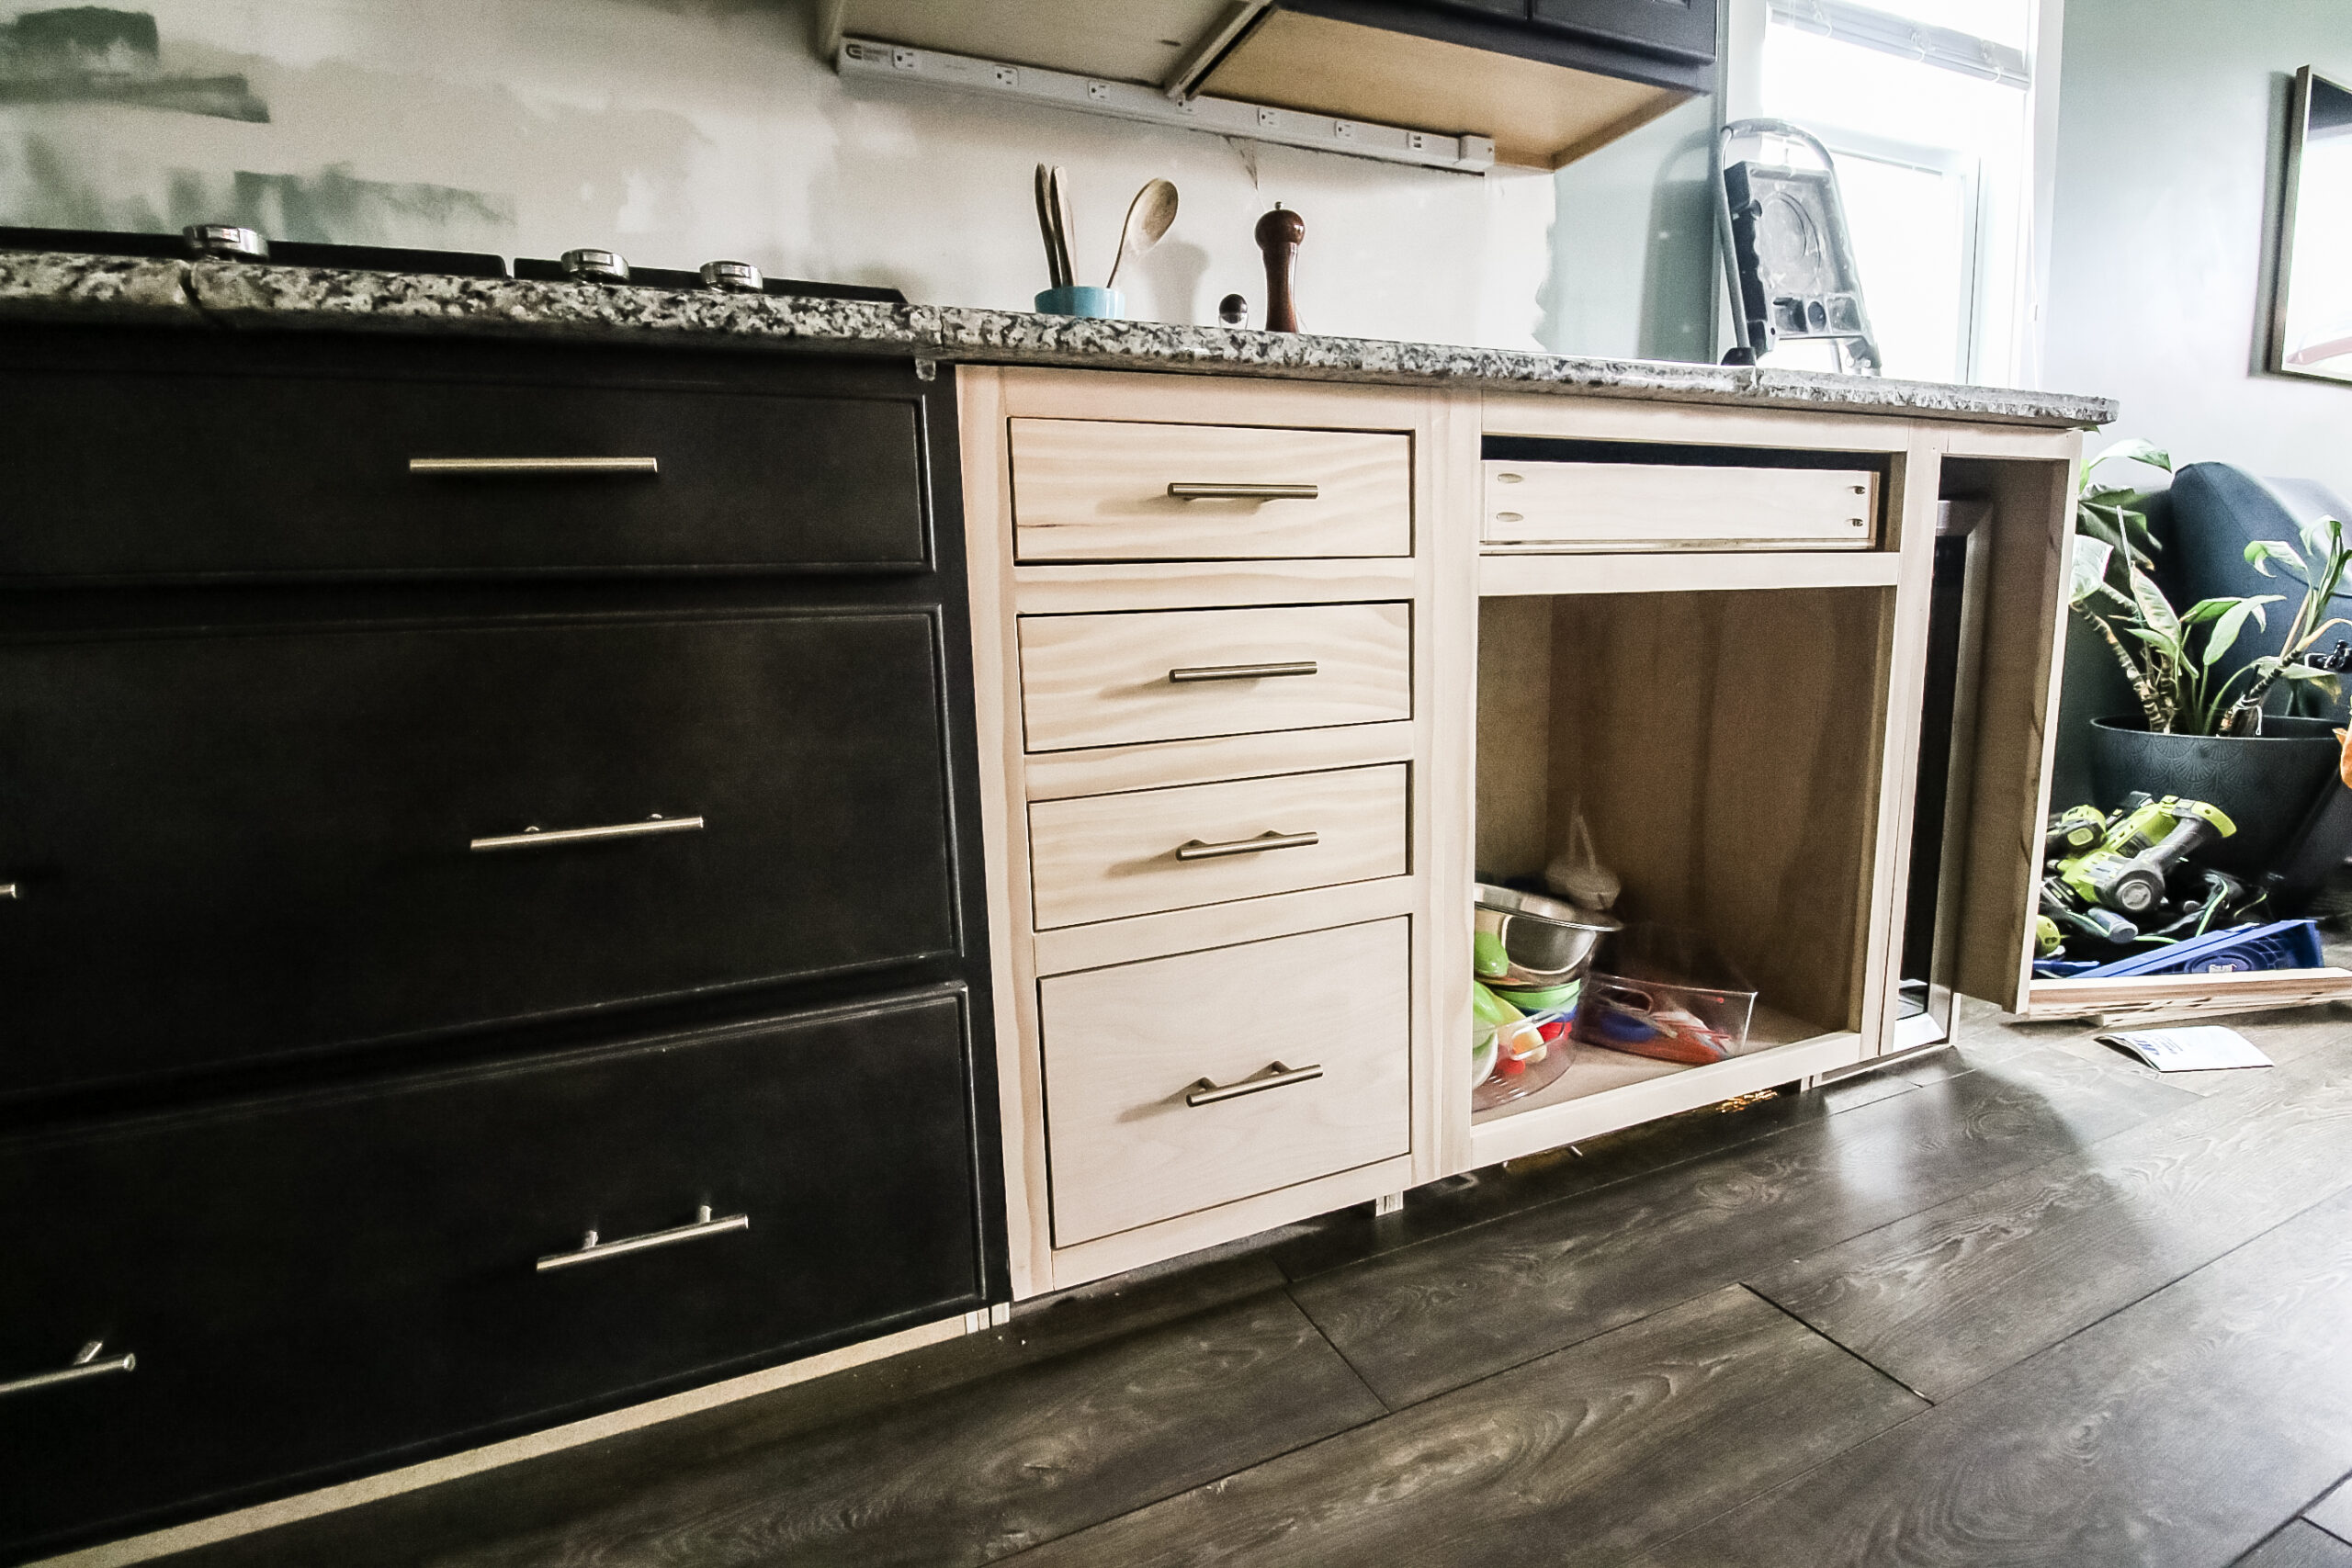
The face frame for a base cabinet with drawers has to be made custom to the number of drawers you’re doing. For this case, we have four drawers, with three being the same size and one on the bottom being slightly bigger.
The face frame is made from 1 1/2″ wide boards. We cut ours down custom from bigger boards, but you can also just use a 1×2 from the store.
Learn more about why a 1×2 is actually 3/4″ x 1 1/2″ here!

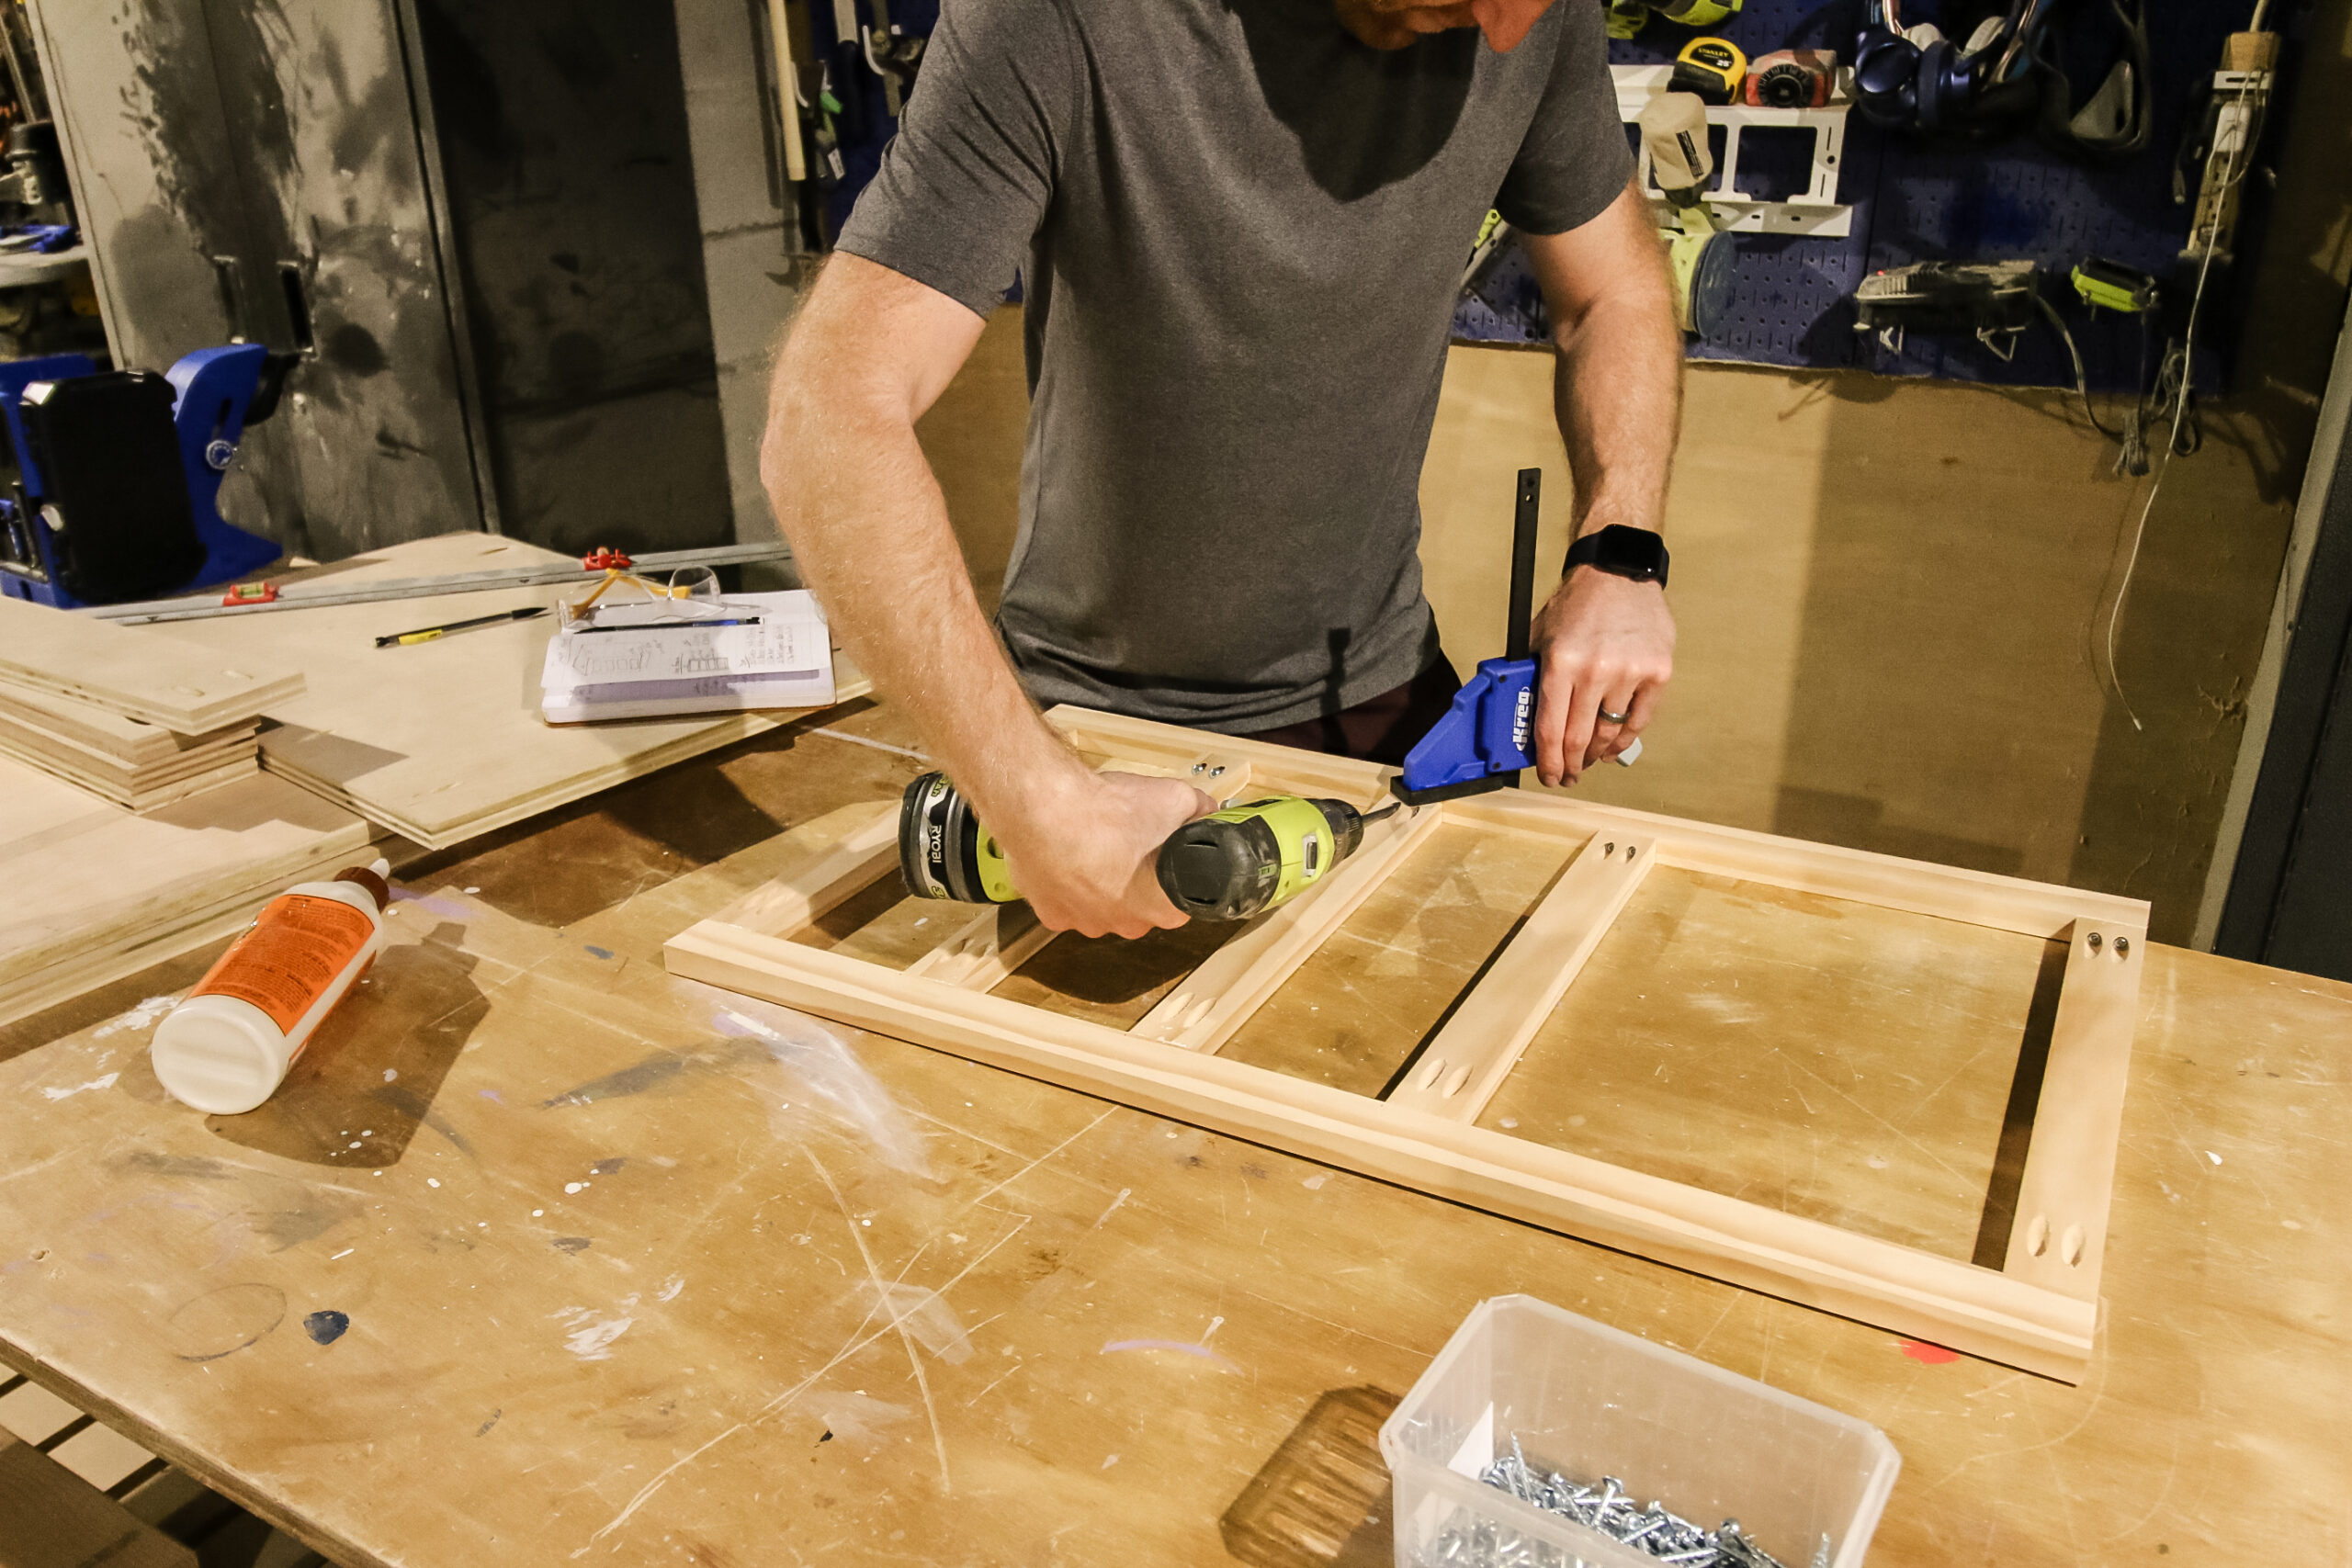
To make this face frame, we made side pieces that were the same height as the cabinet sides down to the toe kick, then added 5 horizontal beams between at the gaps we wanted for the drawer boxes.
To put together the face frame, we just drilled more pocket holes on the horizontal boards, then attached them with glue and pocket hole screws.
Then, the face frame attaches to the cabinet with the pocket holes drilled on the sides of the base cabinet sides and bottom panel.
If you’re ready, you can go ahead and slide the cabinet into place on the wall and continue onto another one or the drawers. You can easily stain or paint this cabinet to whatever your preference.
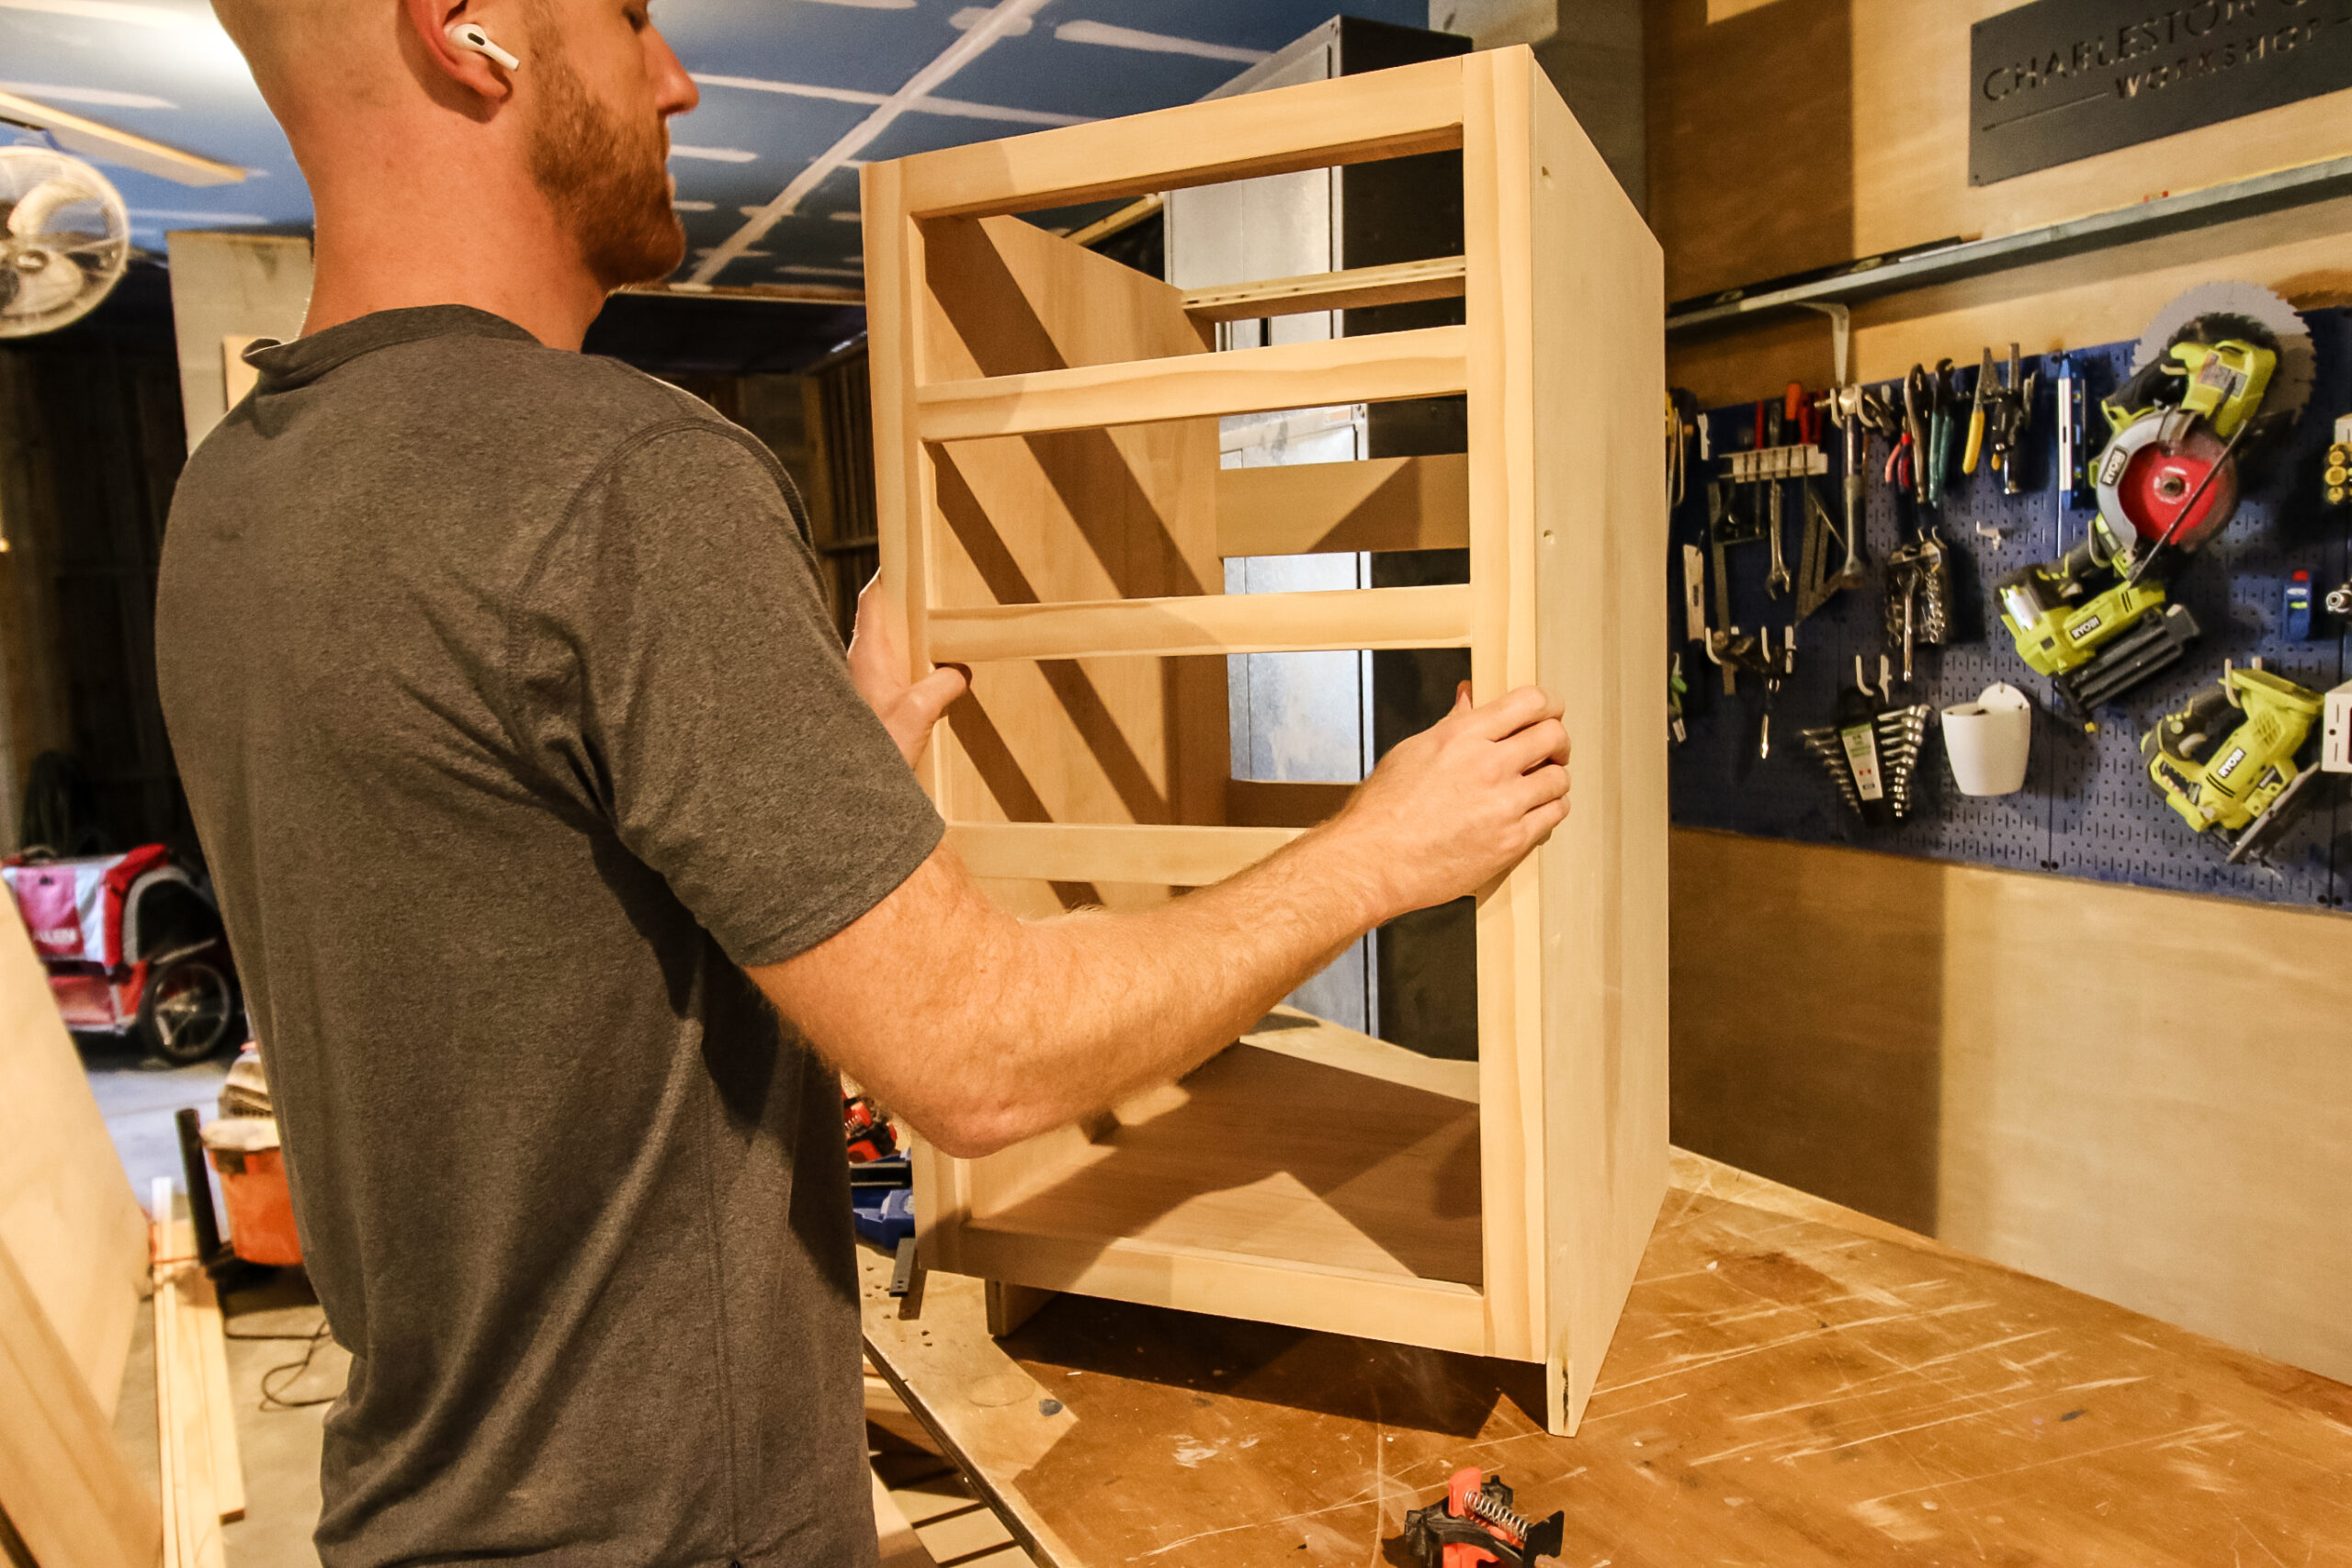
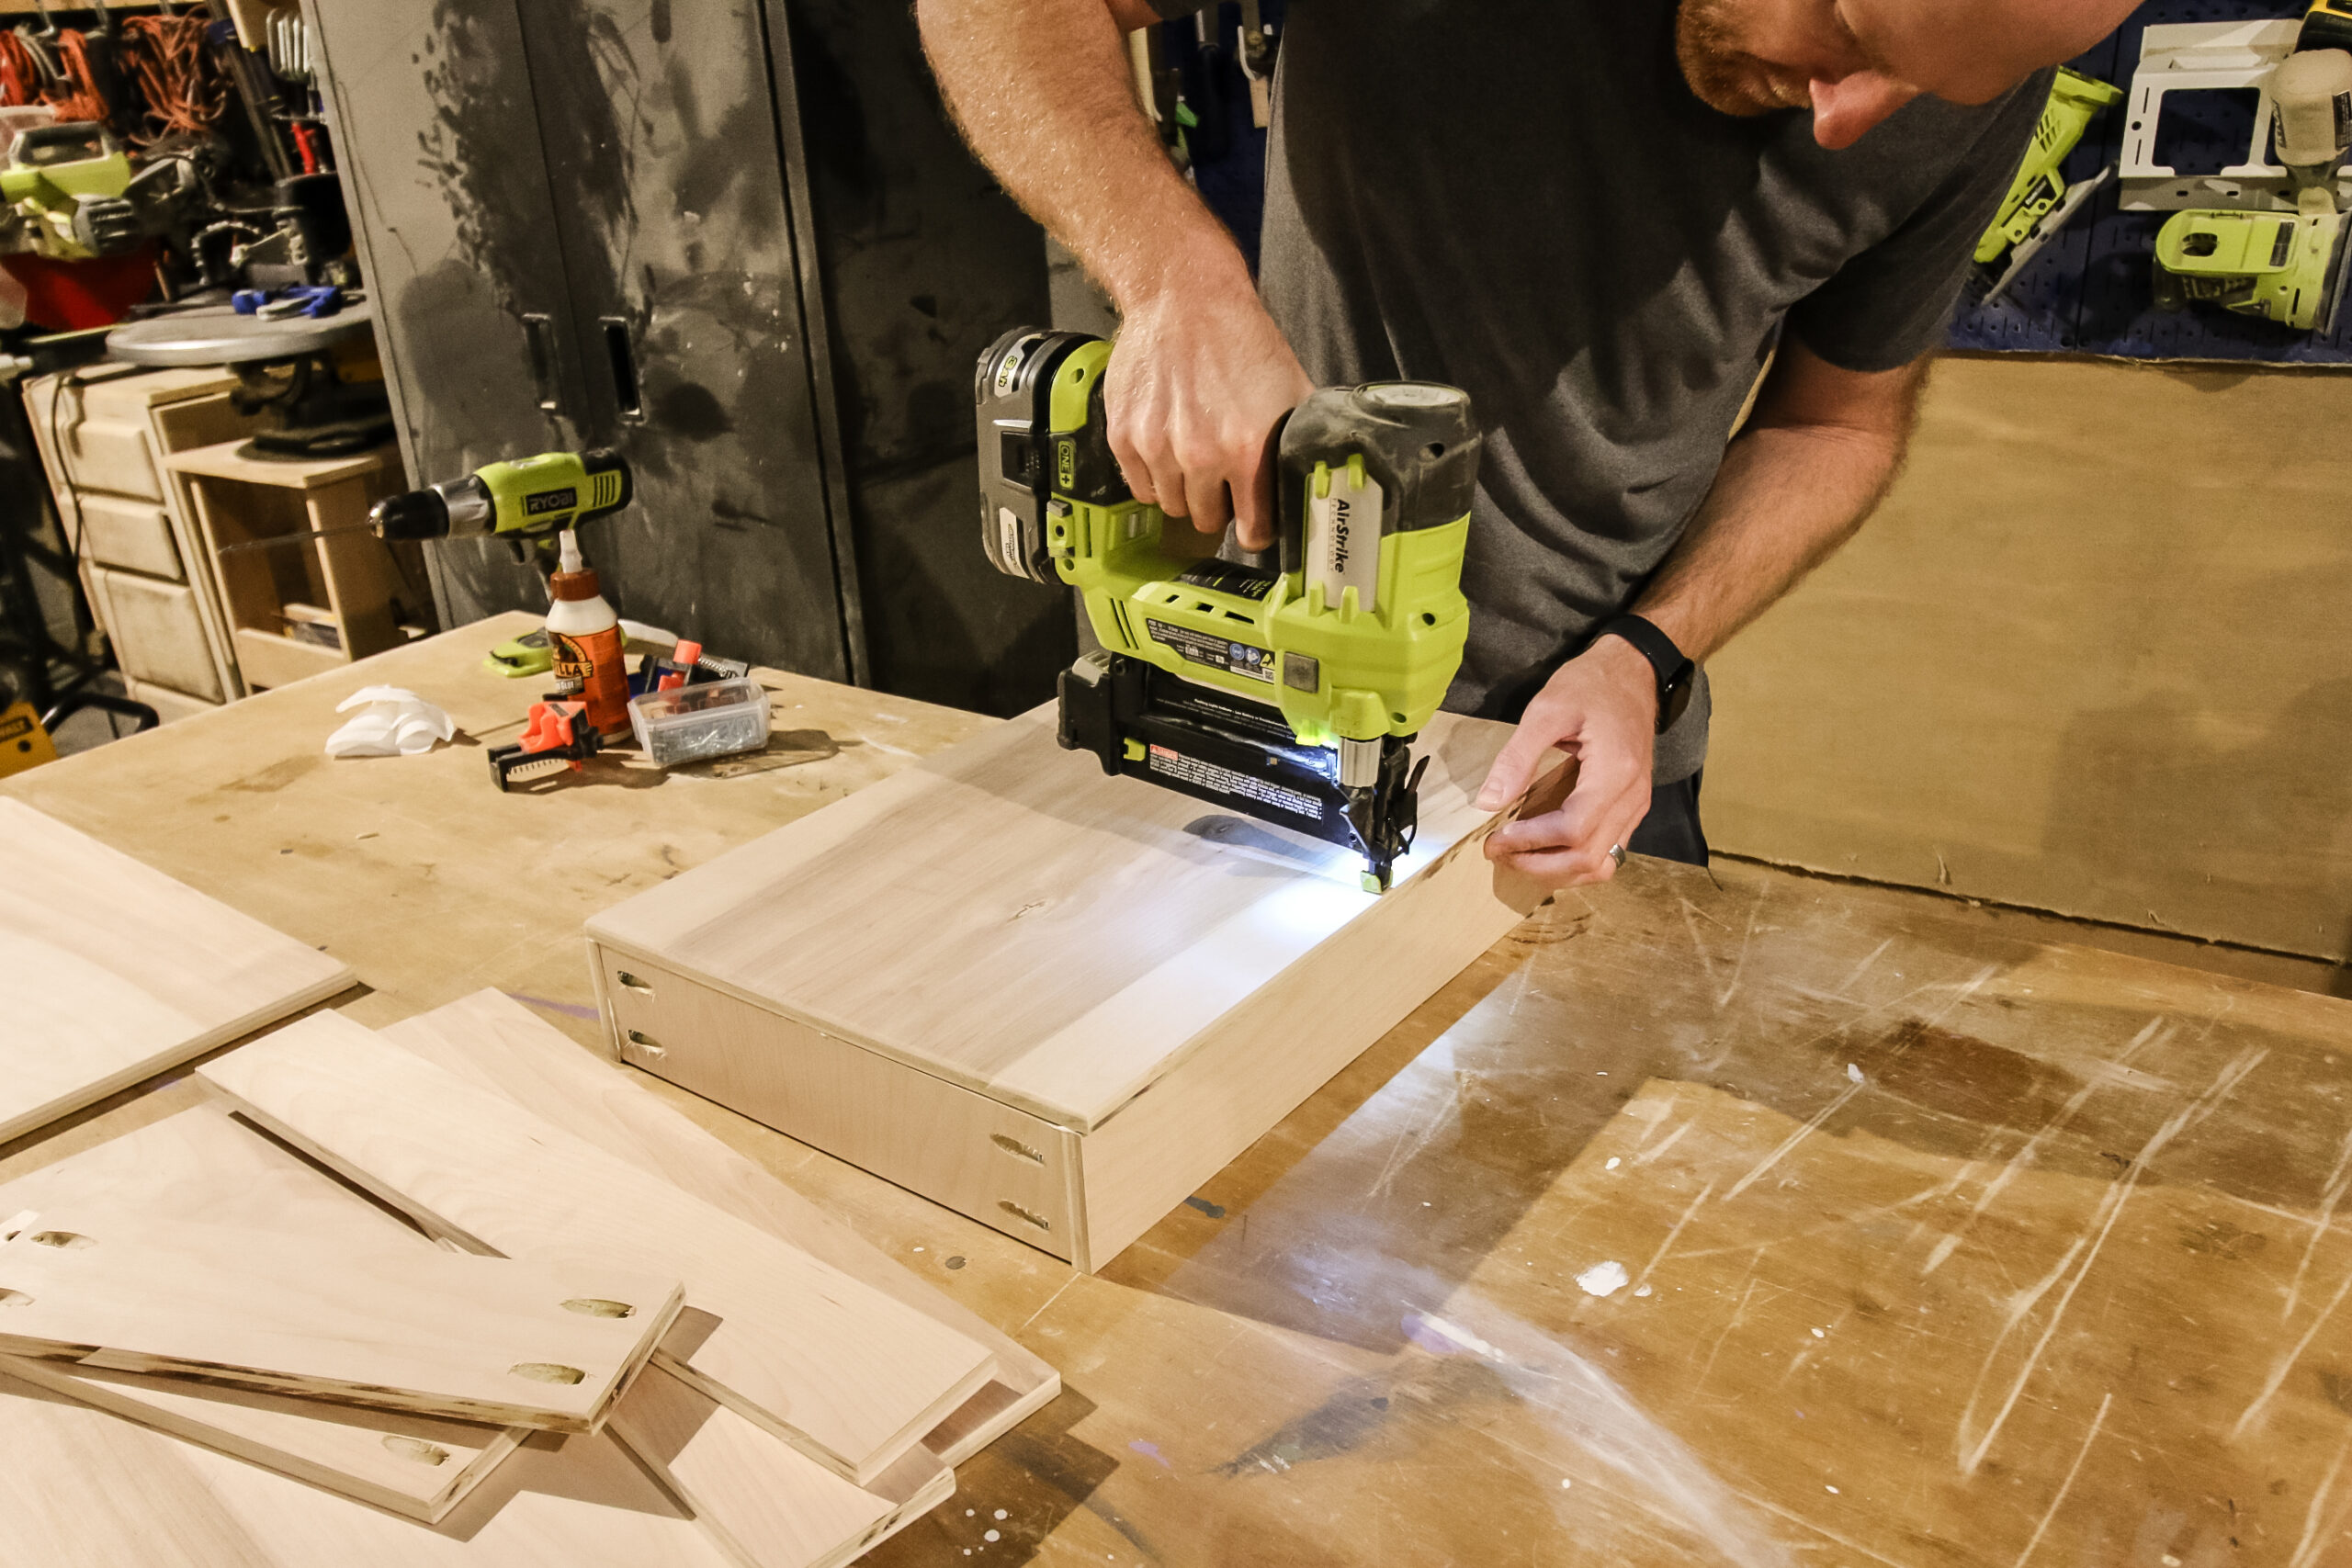
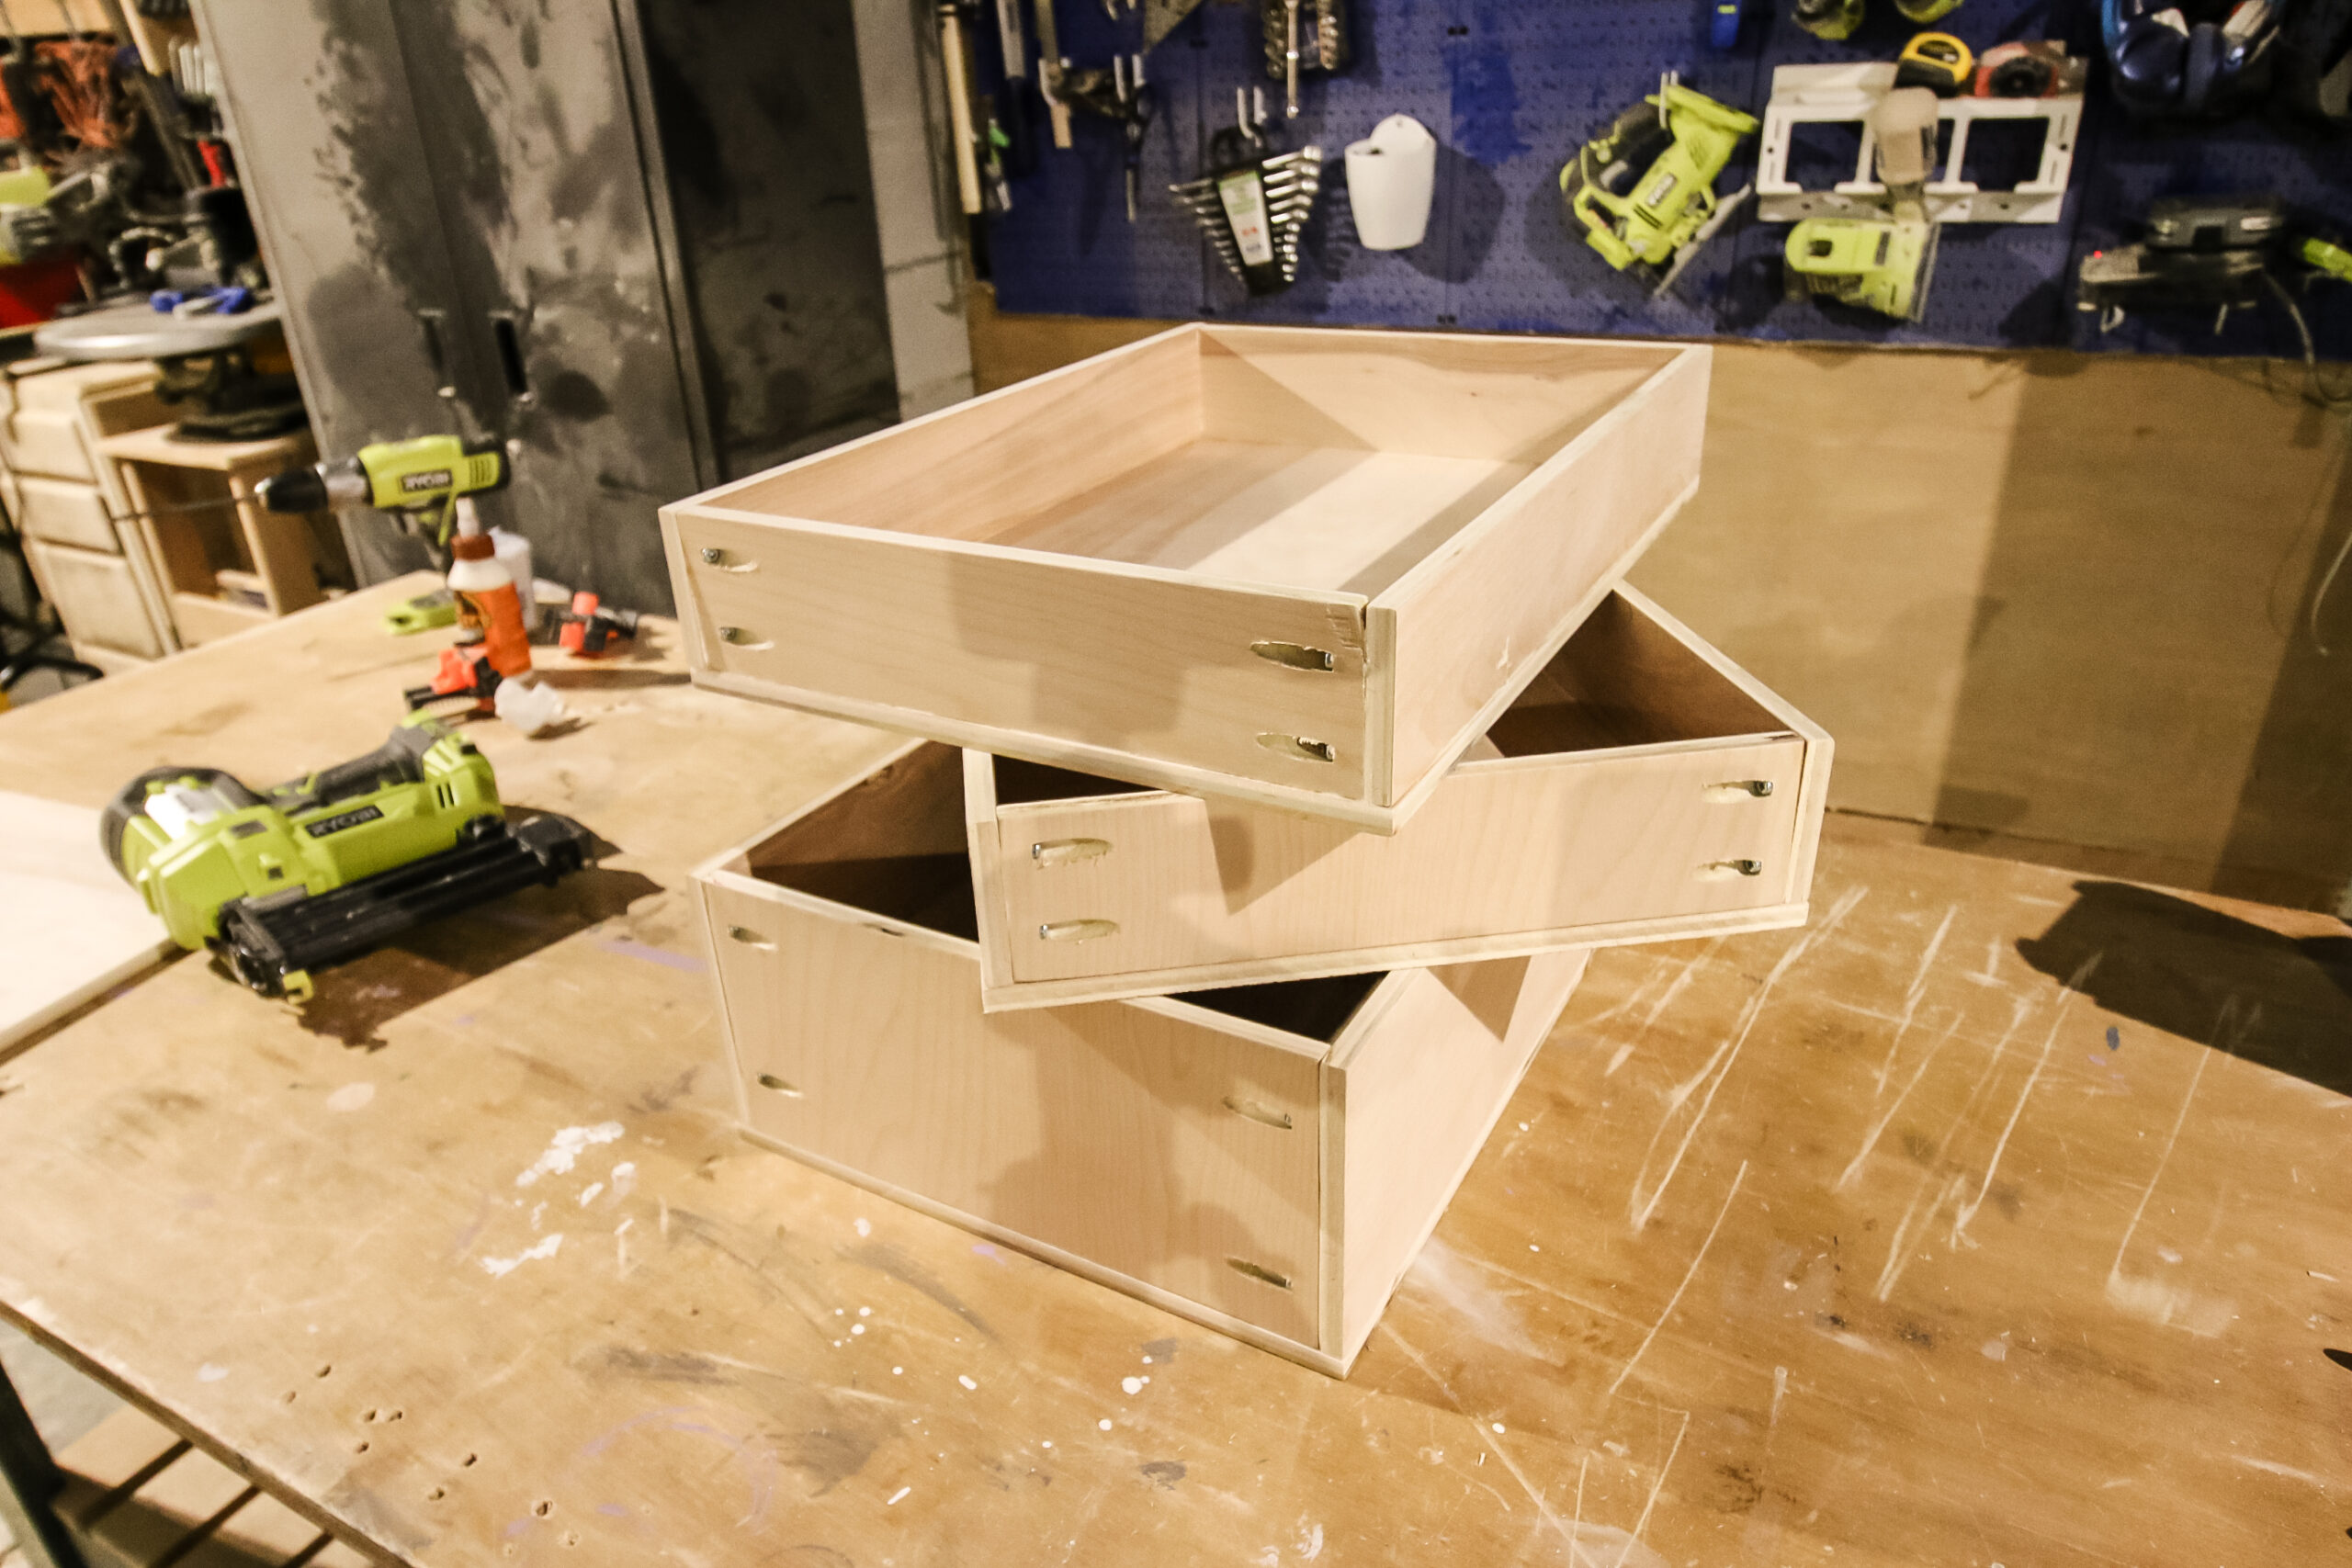
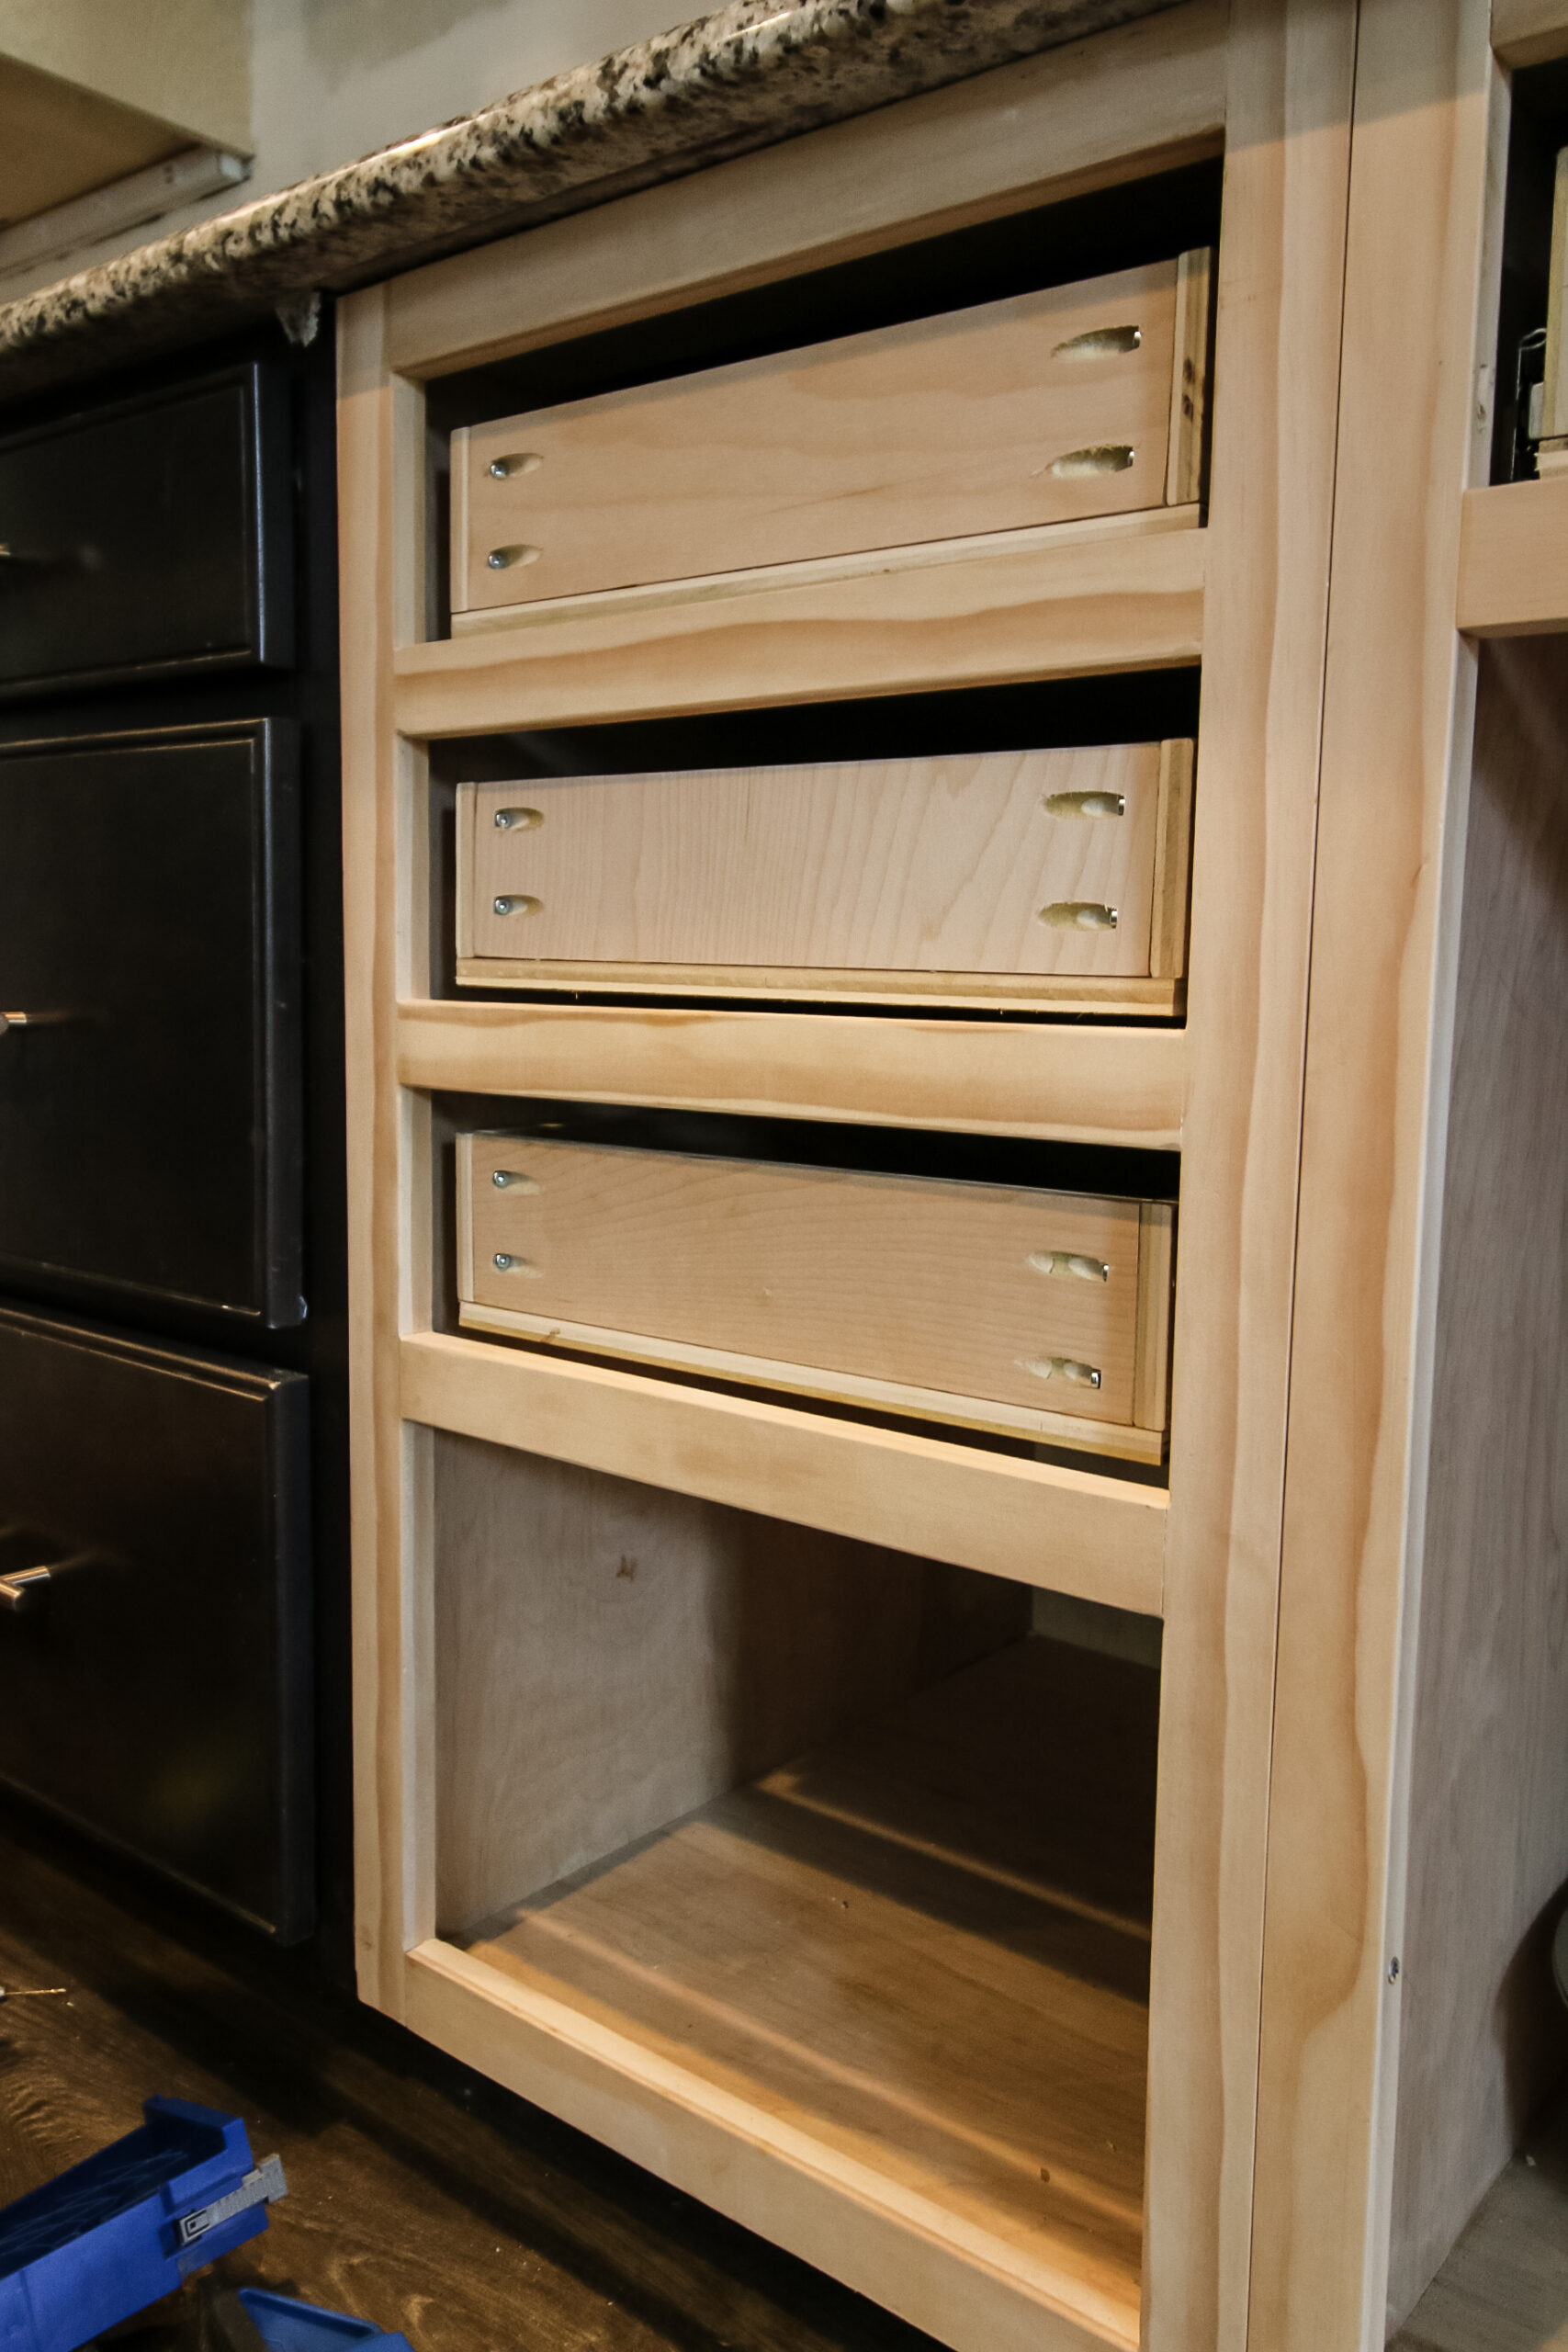
Step six: build drawers
Drawer boxes are very simple to build. Basically four sides and a bottom piece attached underneath.
We again mimicked the size of the drawers of the ones we were keeping, but they are made by two boards that are the length we wanted, then two boards connecting them in the front and back to make them the width we wanted.
Then, we just glued and nailed on a bottom piece underneath.
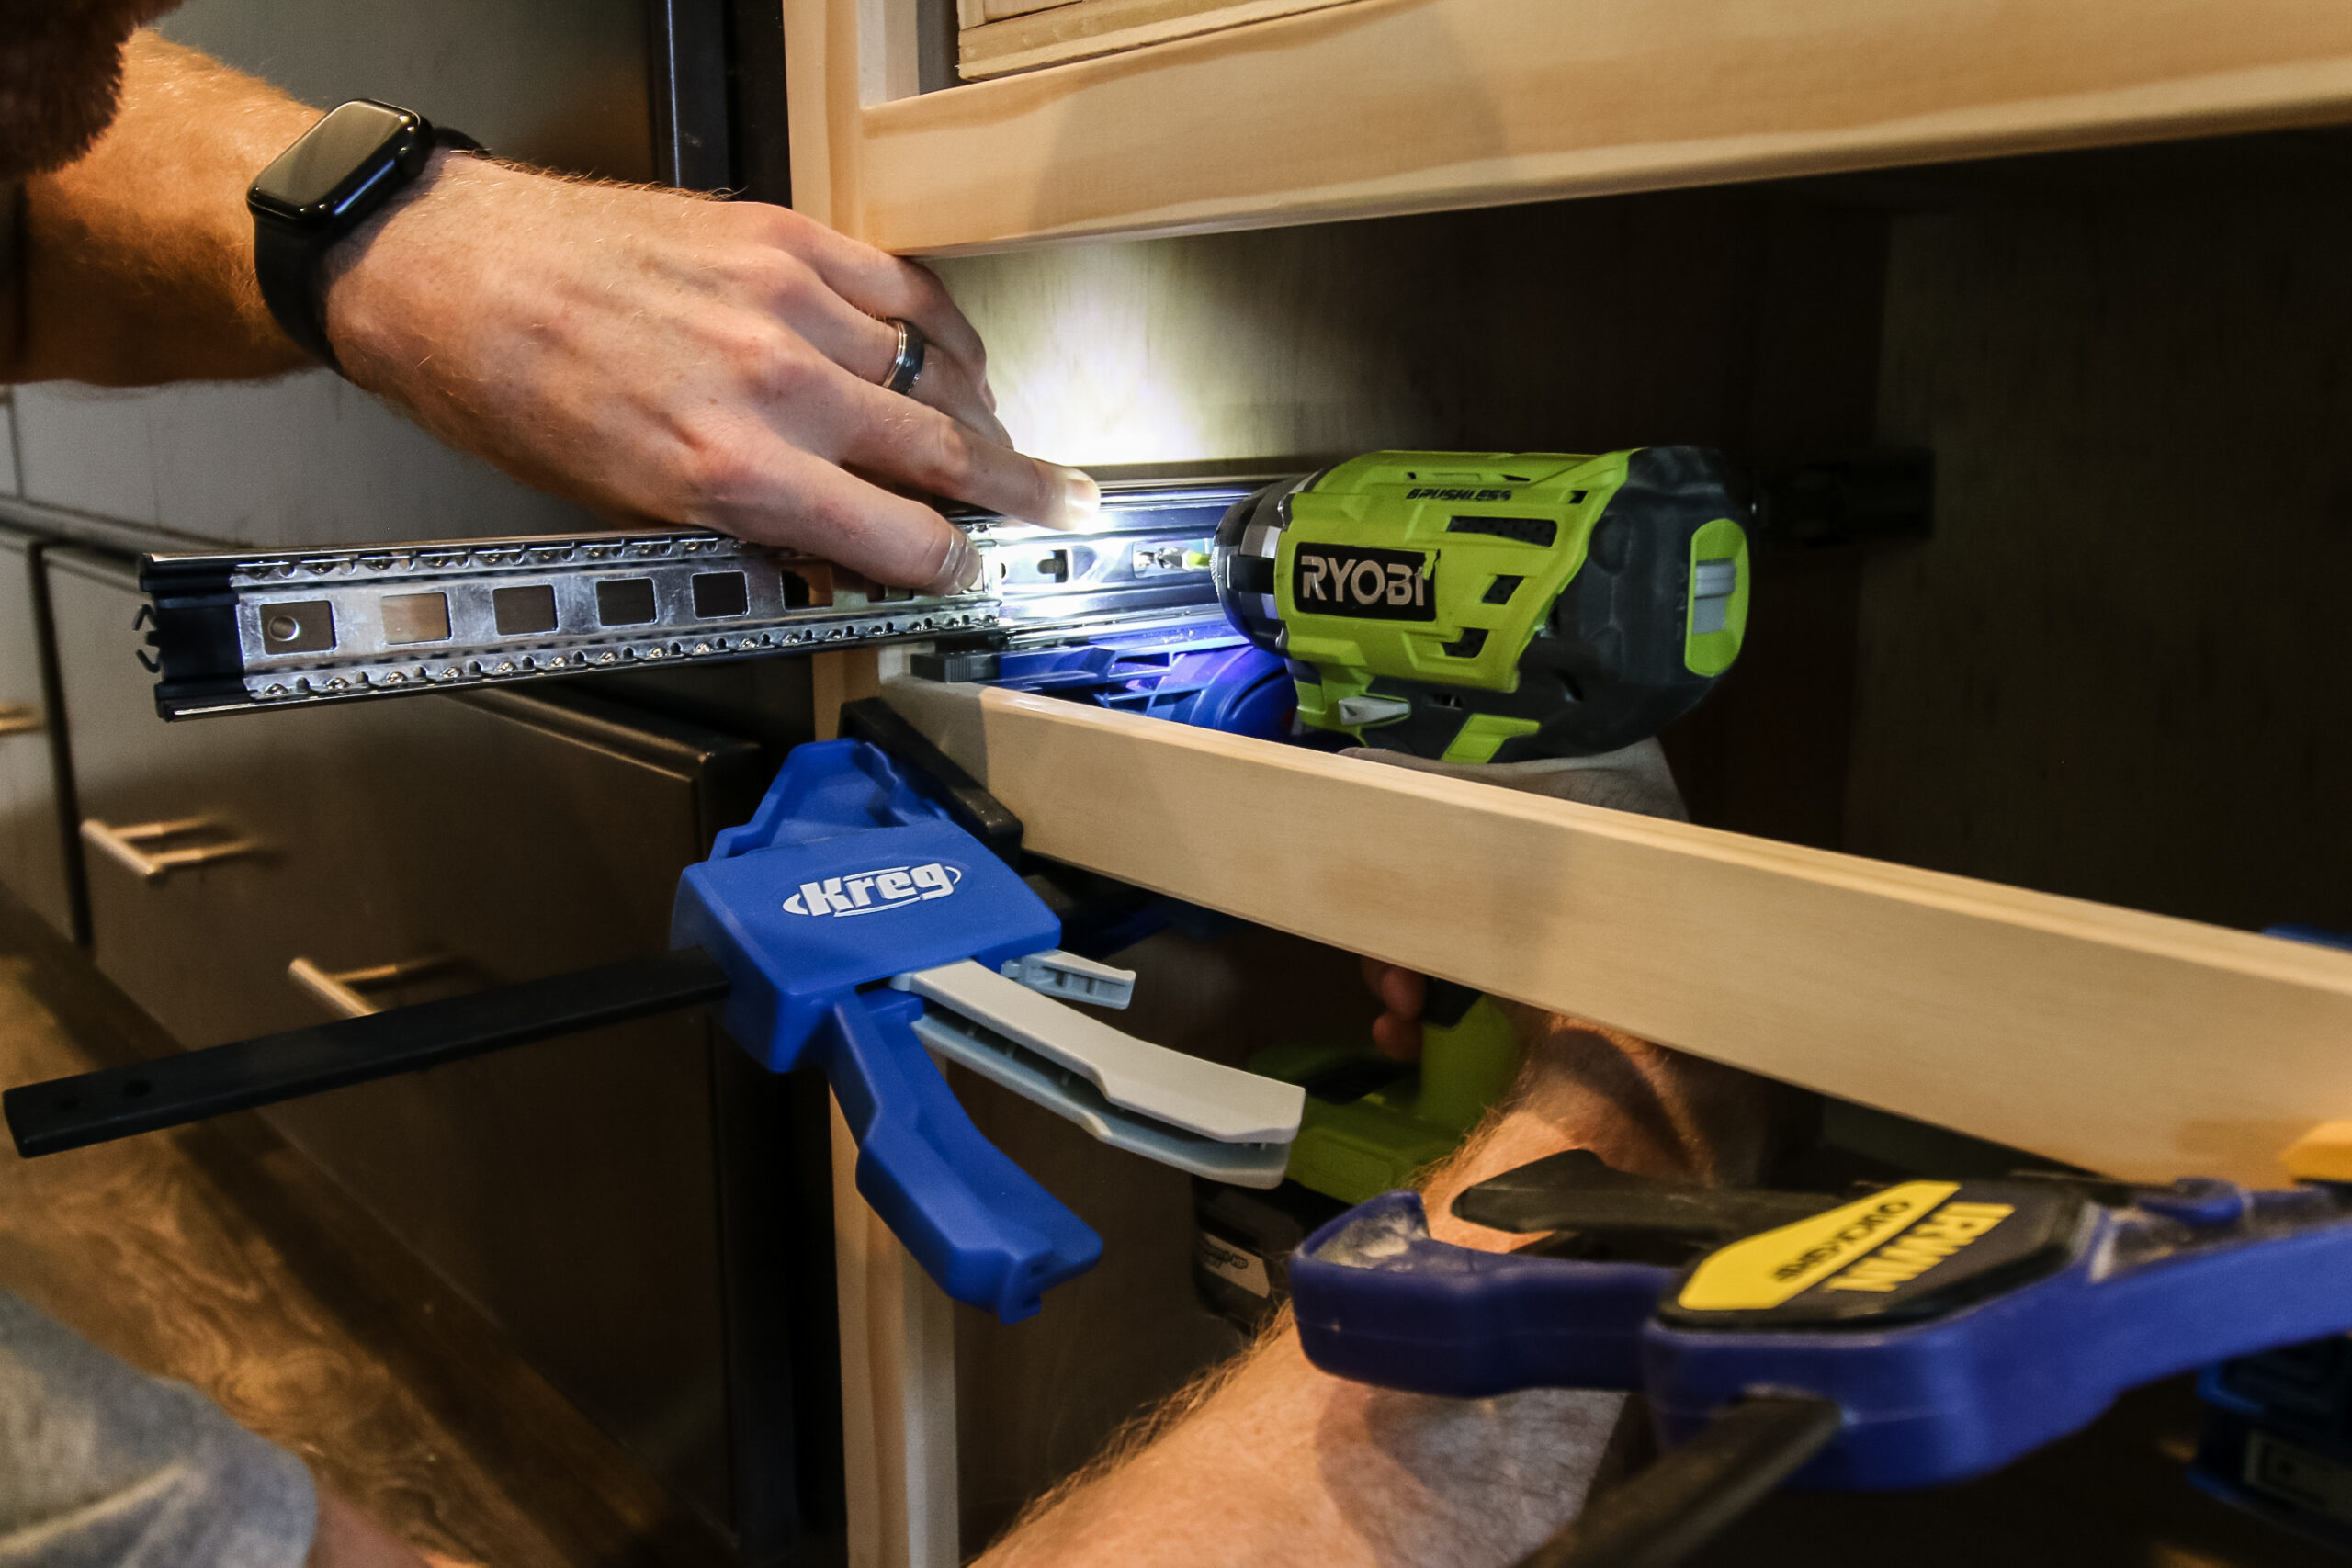
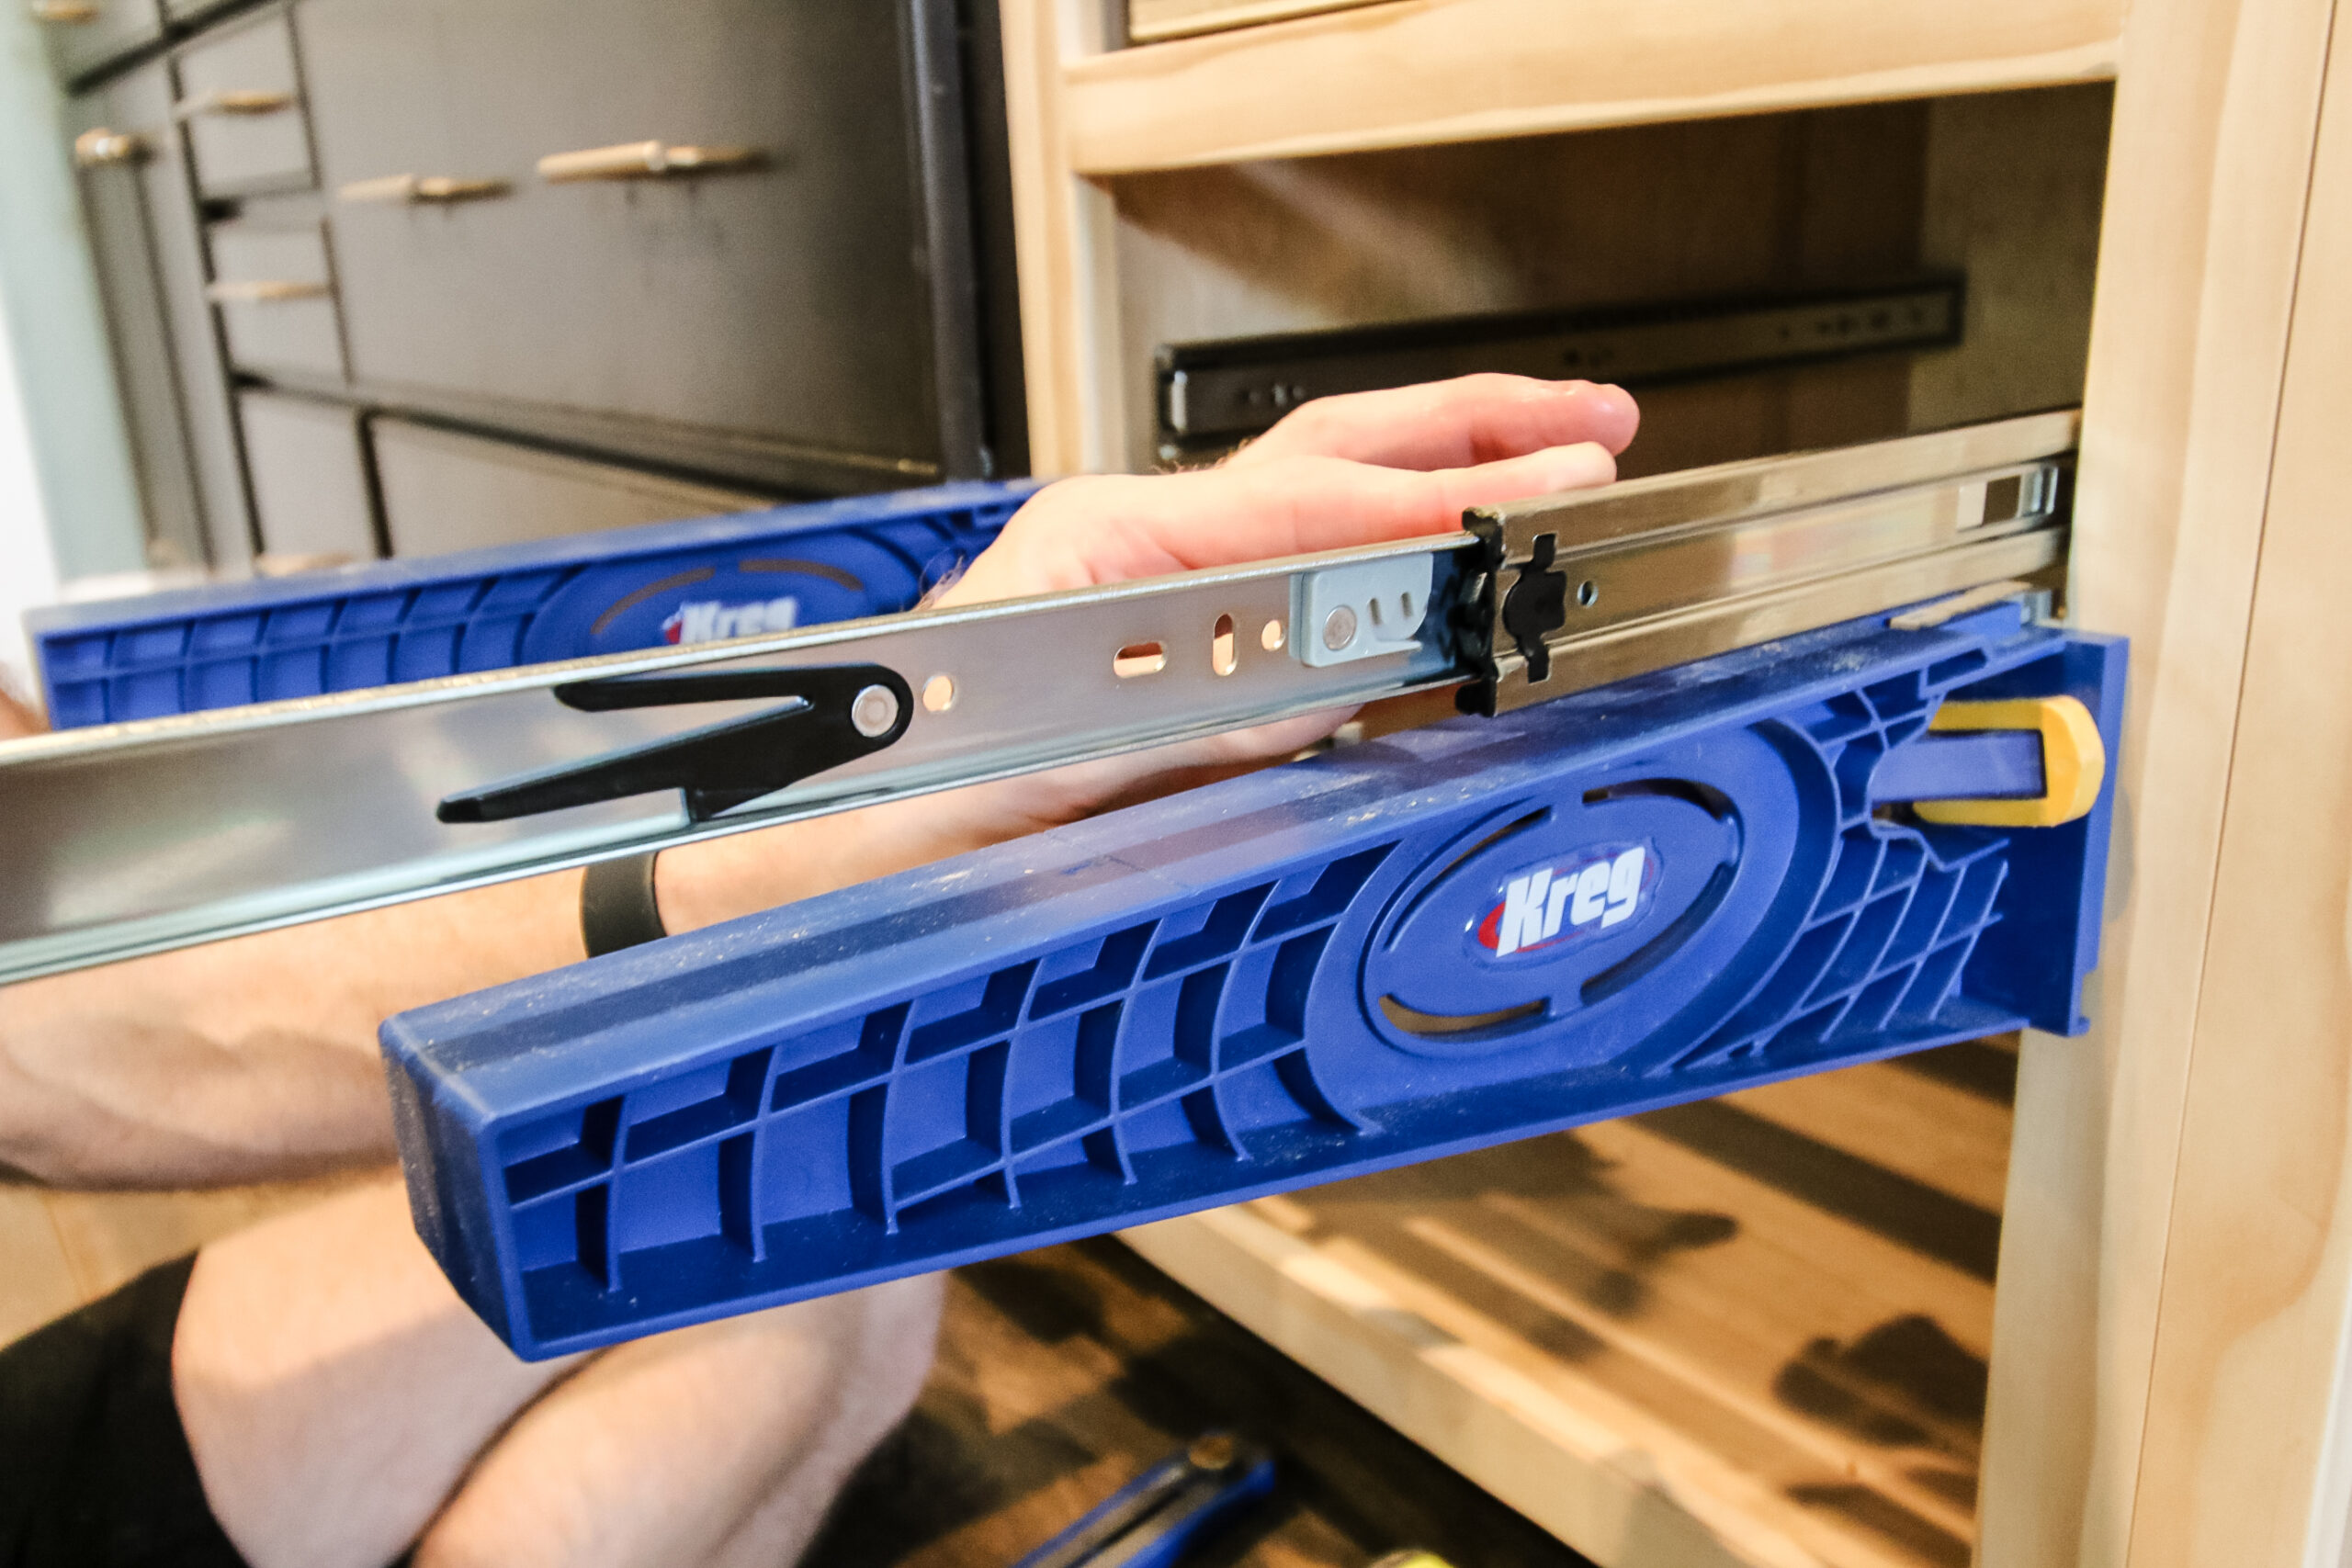
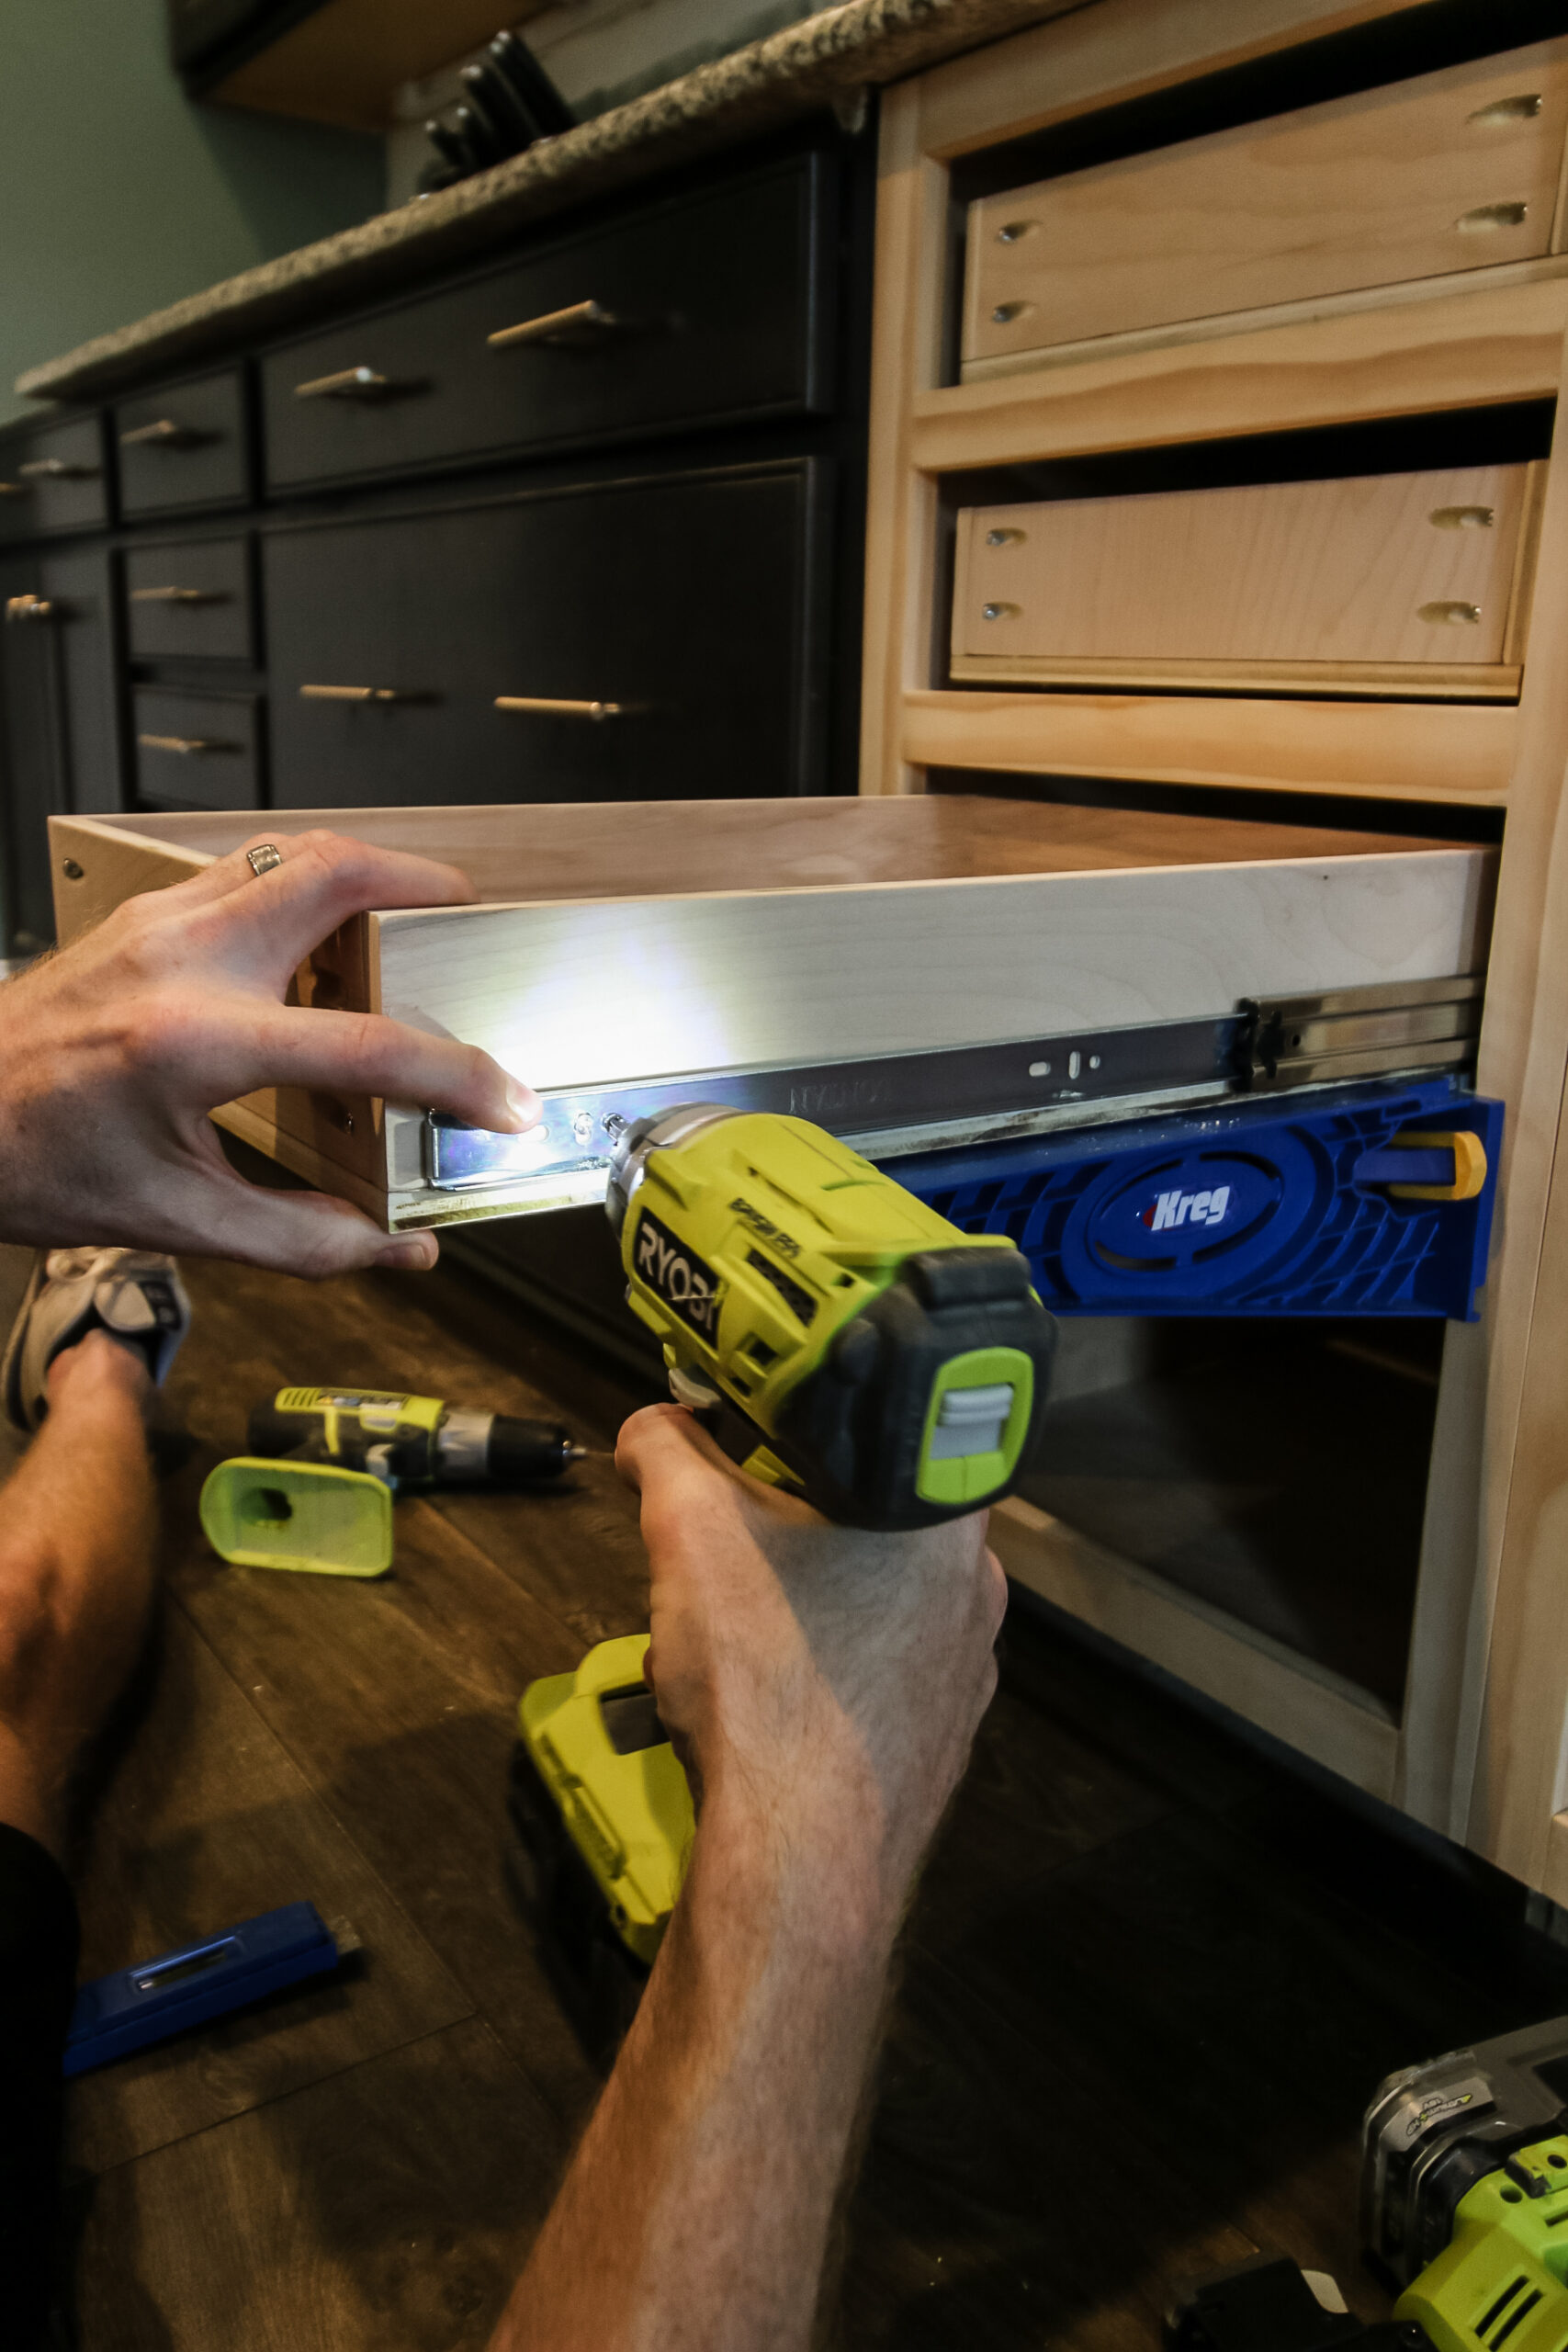
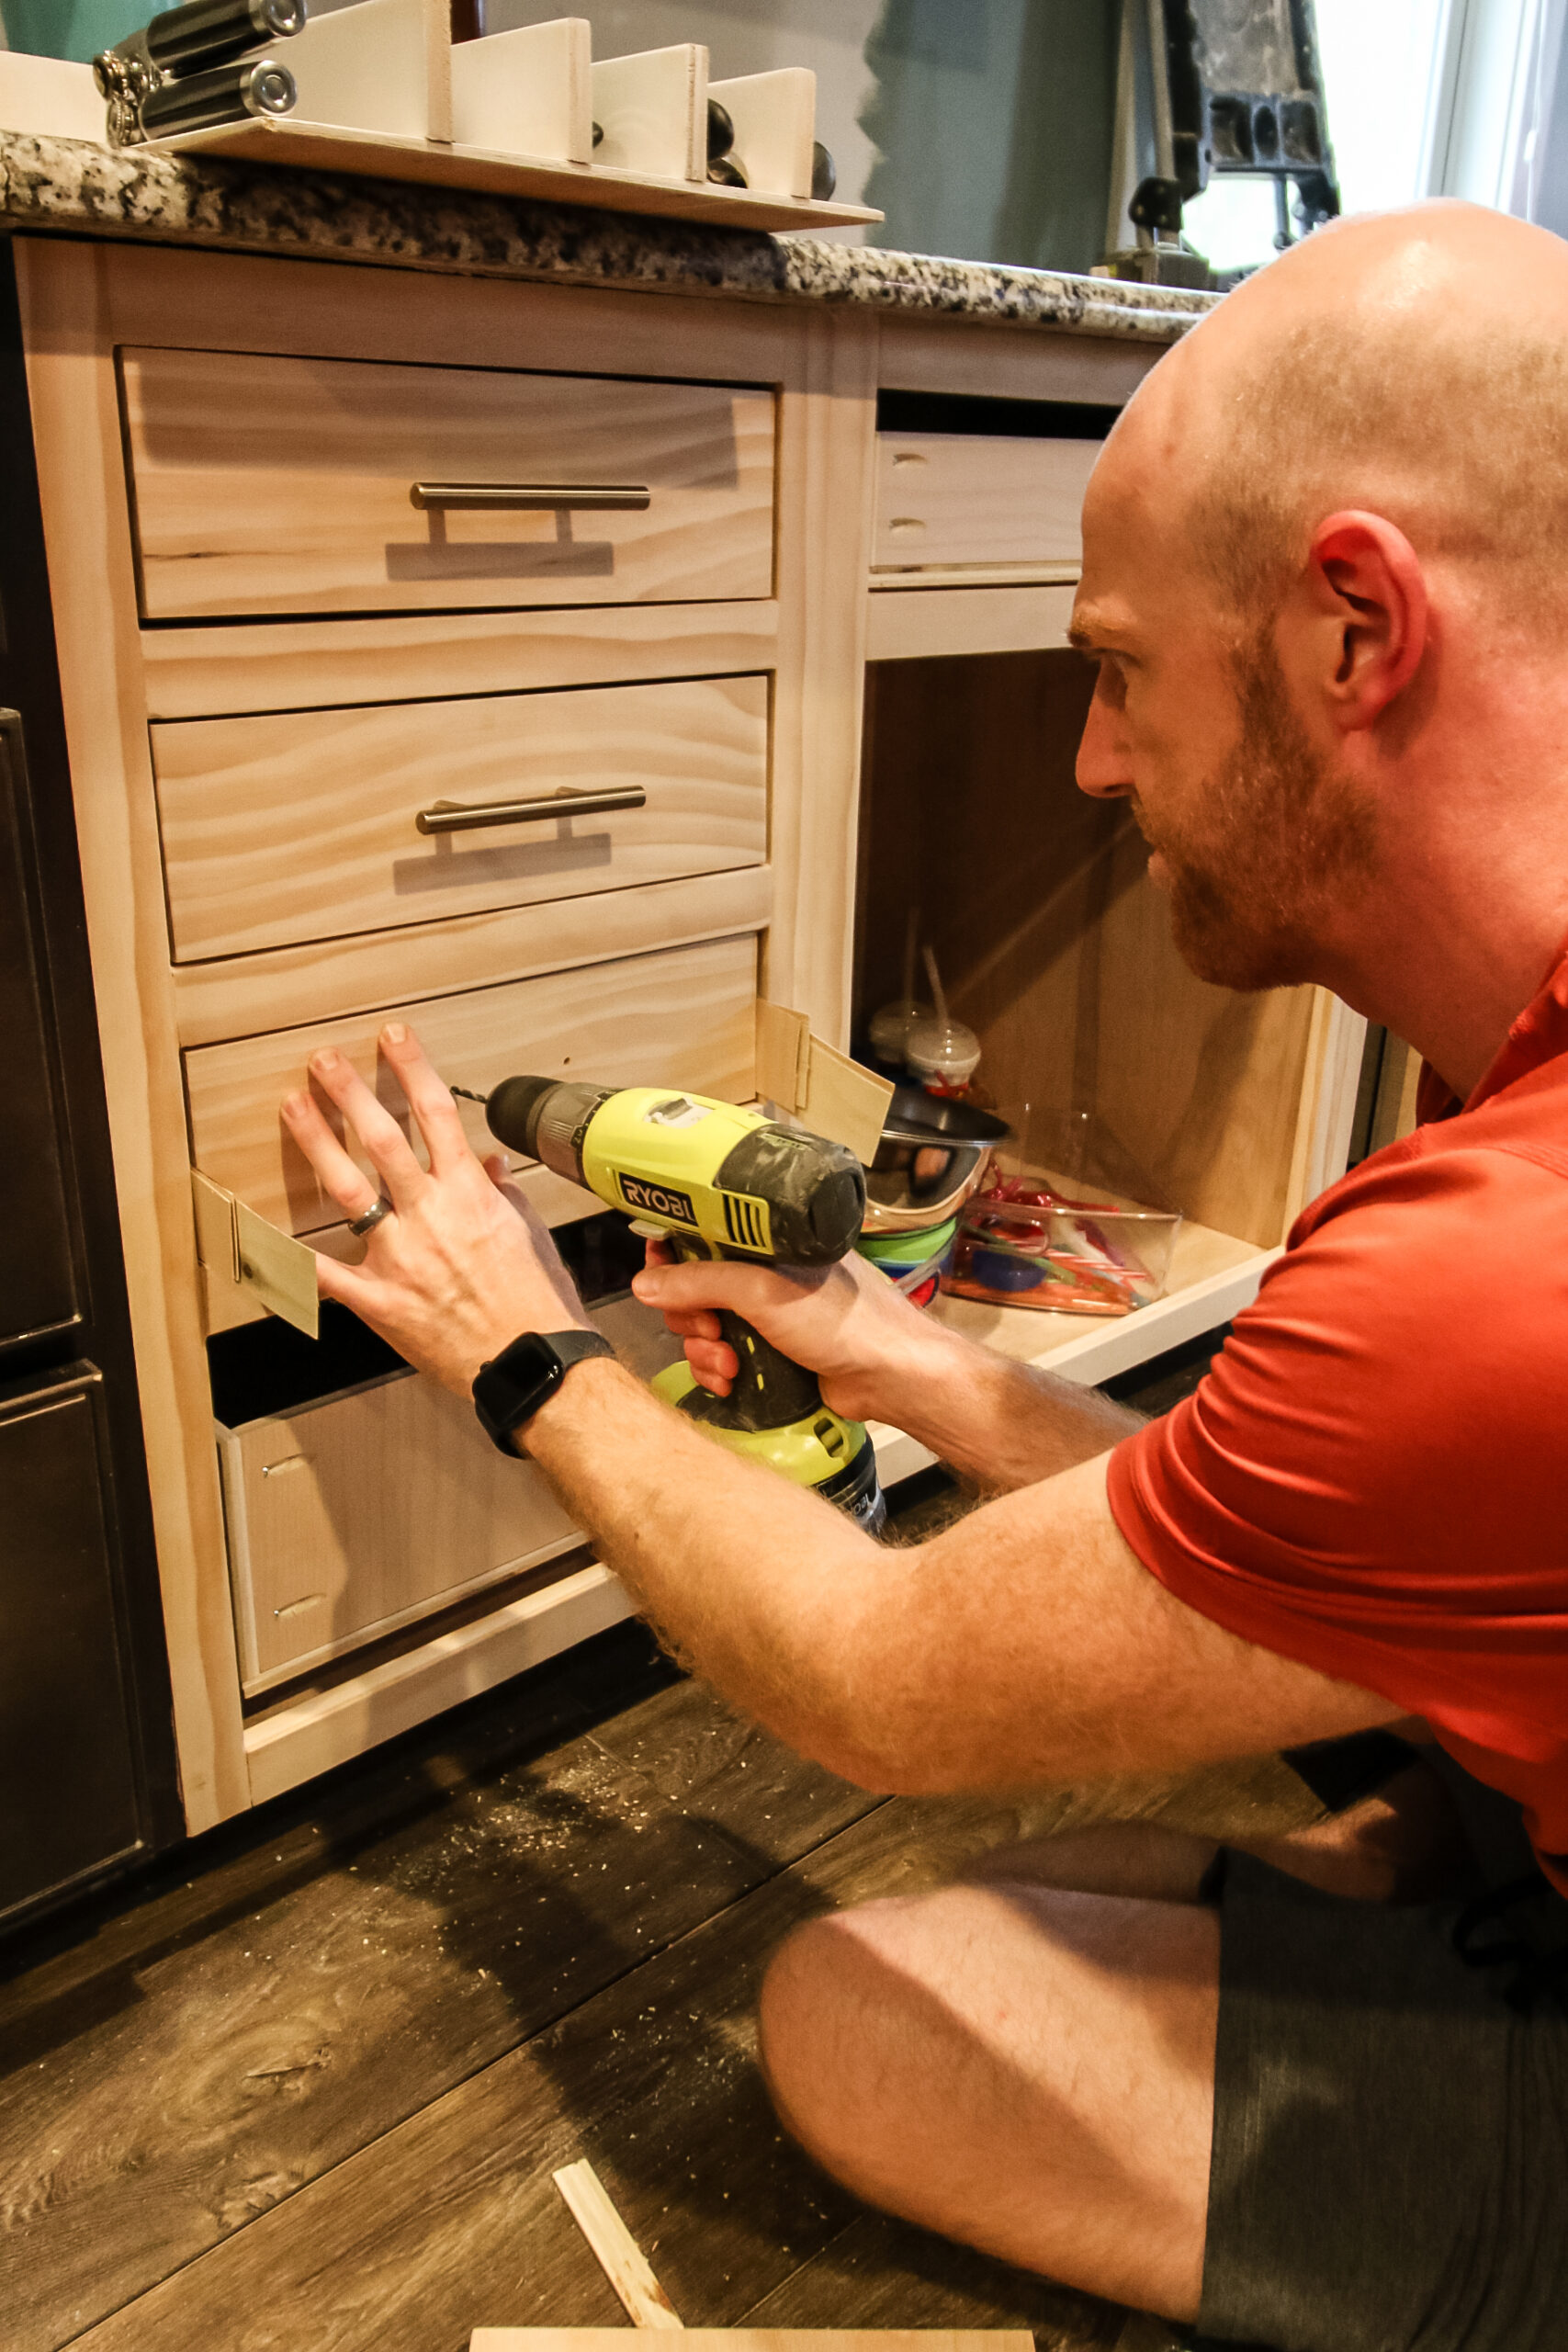
Step seven: mount drawers
We mounted the drawers using these slow close drawer slides. These are much easier to do when you’re initially building a cabinet than back when we first learned how to install slow close drawers in our old house.
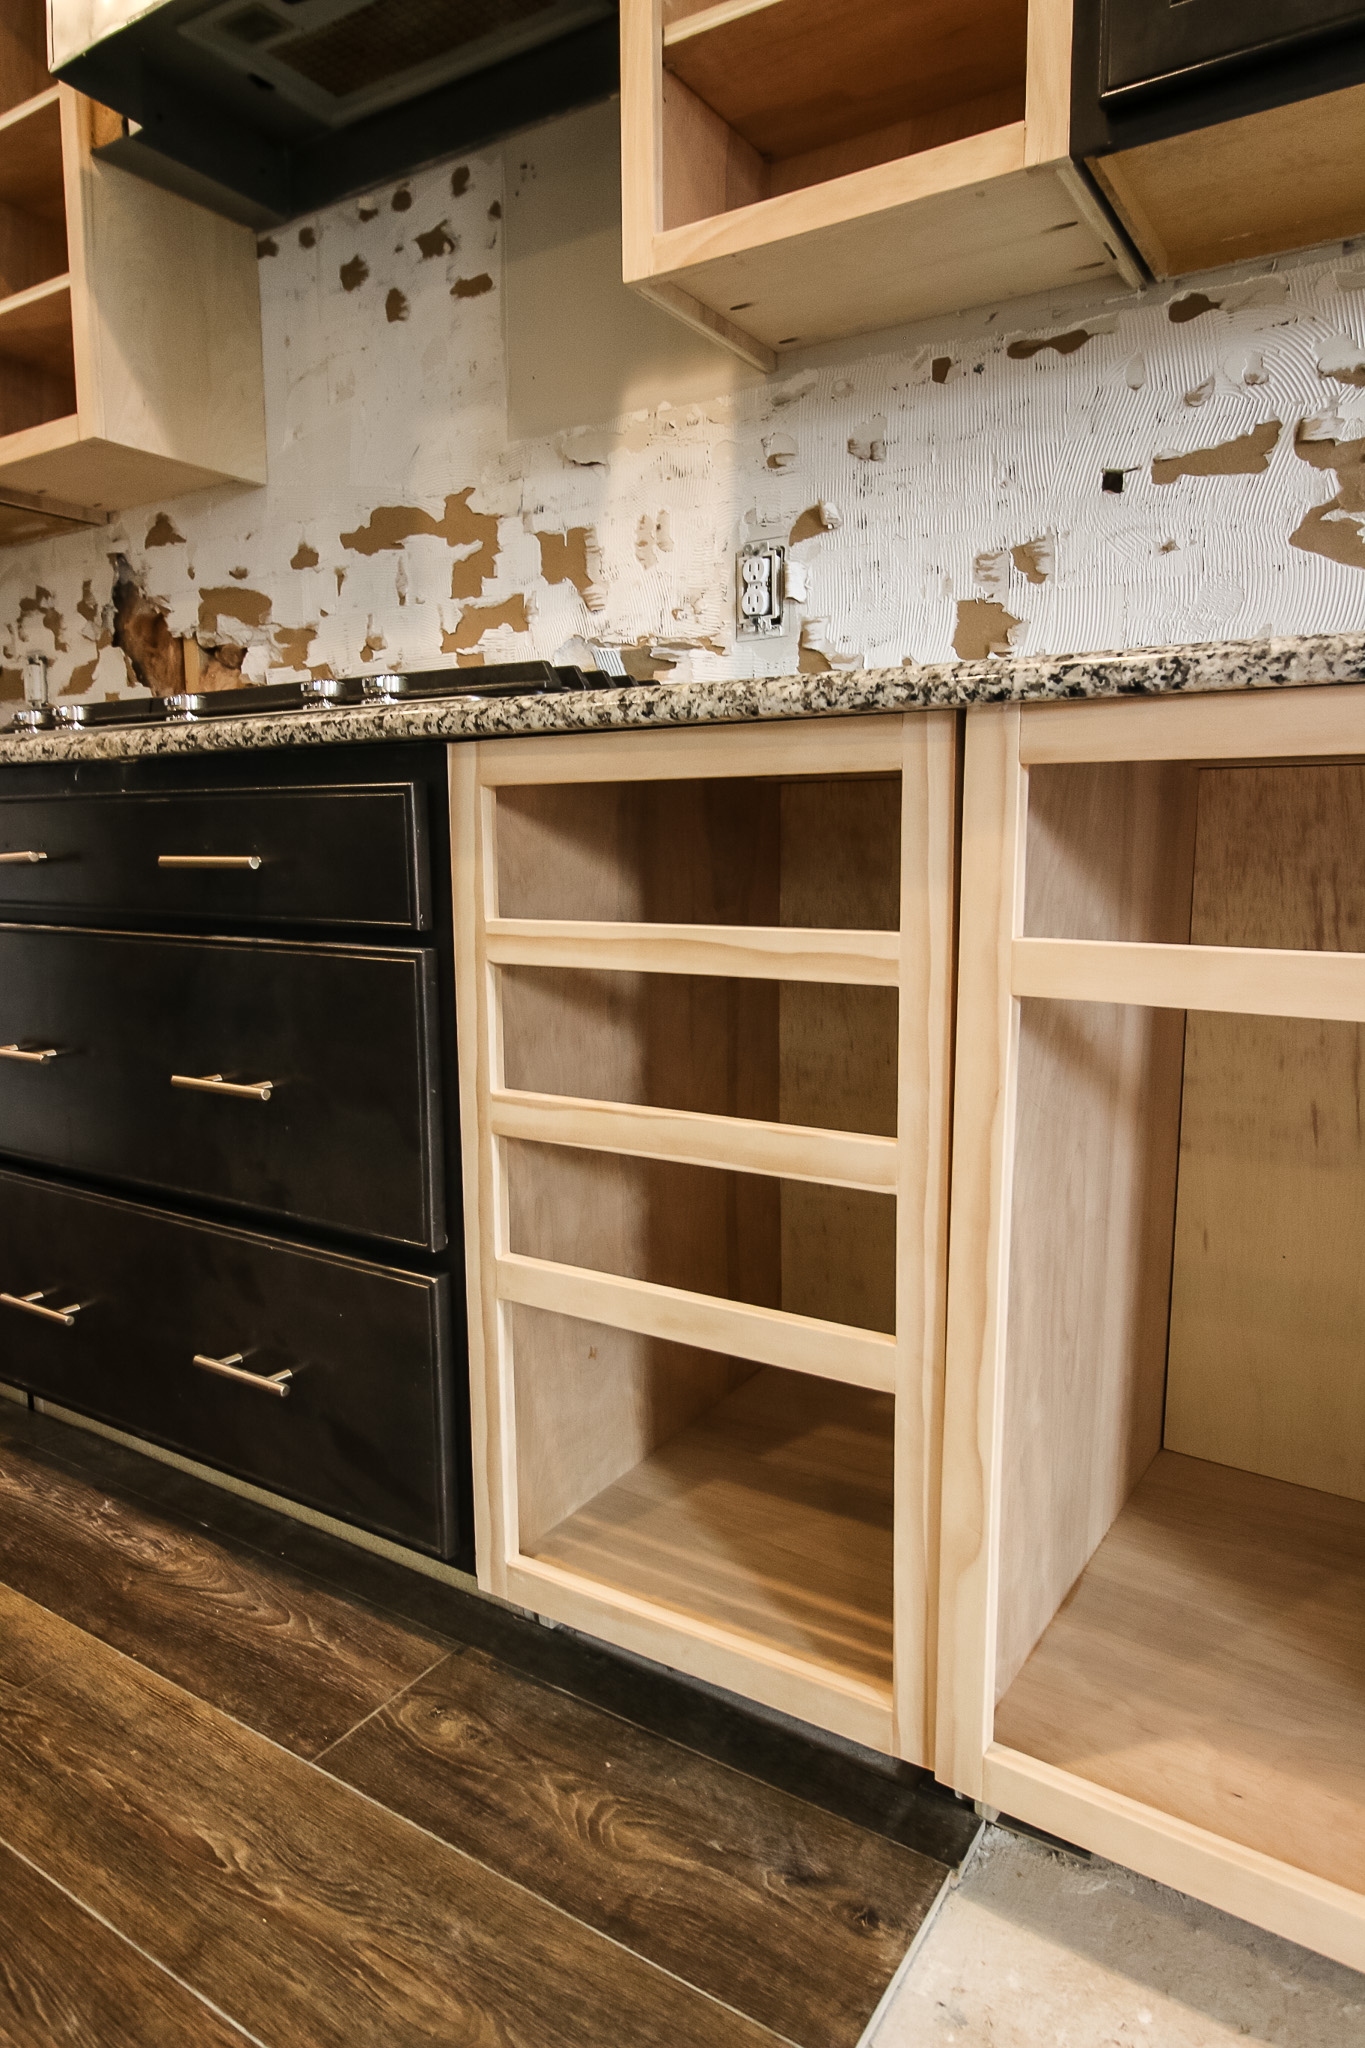
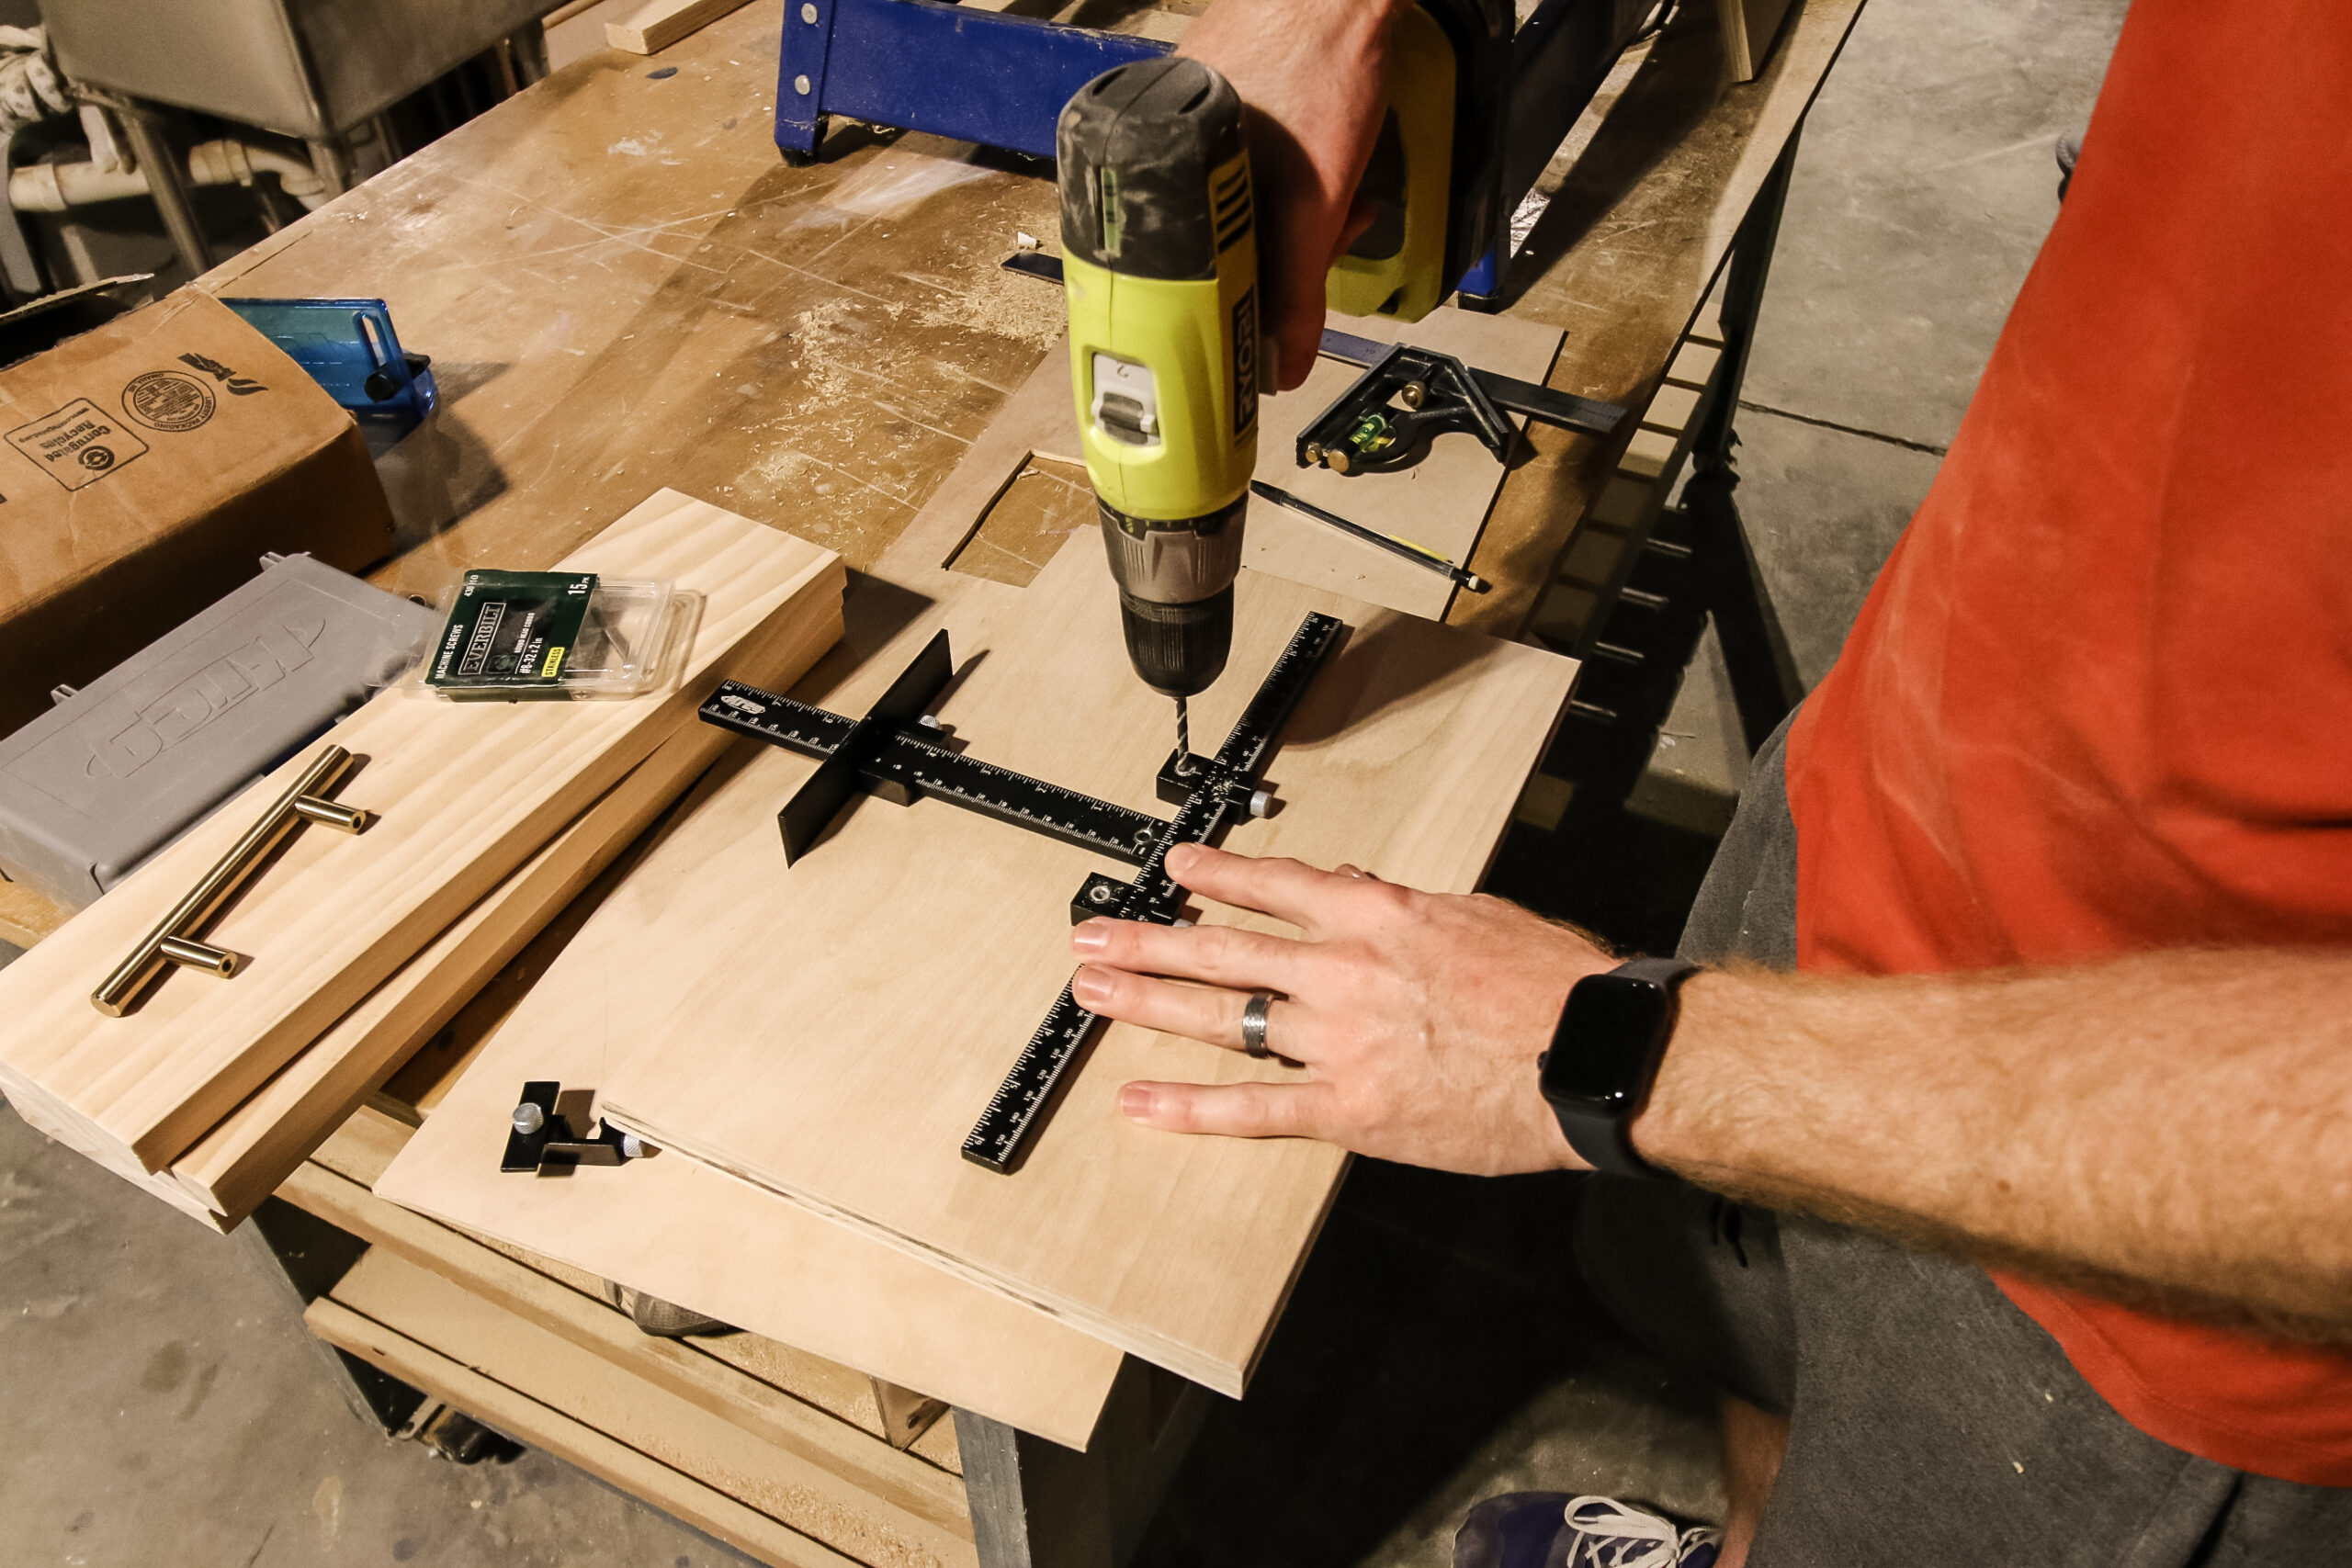
Step eight: make drawer faces
Finally, we had to make the drawer faces. We wanted to go with inset drawer fronts for a more modern trendy looks. These are a little more difficult because they don’t have much room for error.
But basically we went with flat front drawer faces for these, so they were just cut down to 1/4″ less than the height and width of the drawer box cut outs to leave a 1/8″ reveal on all four sides.
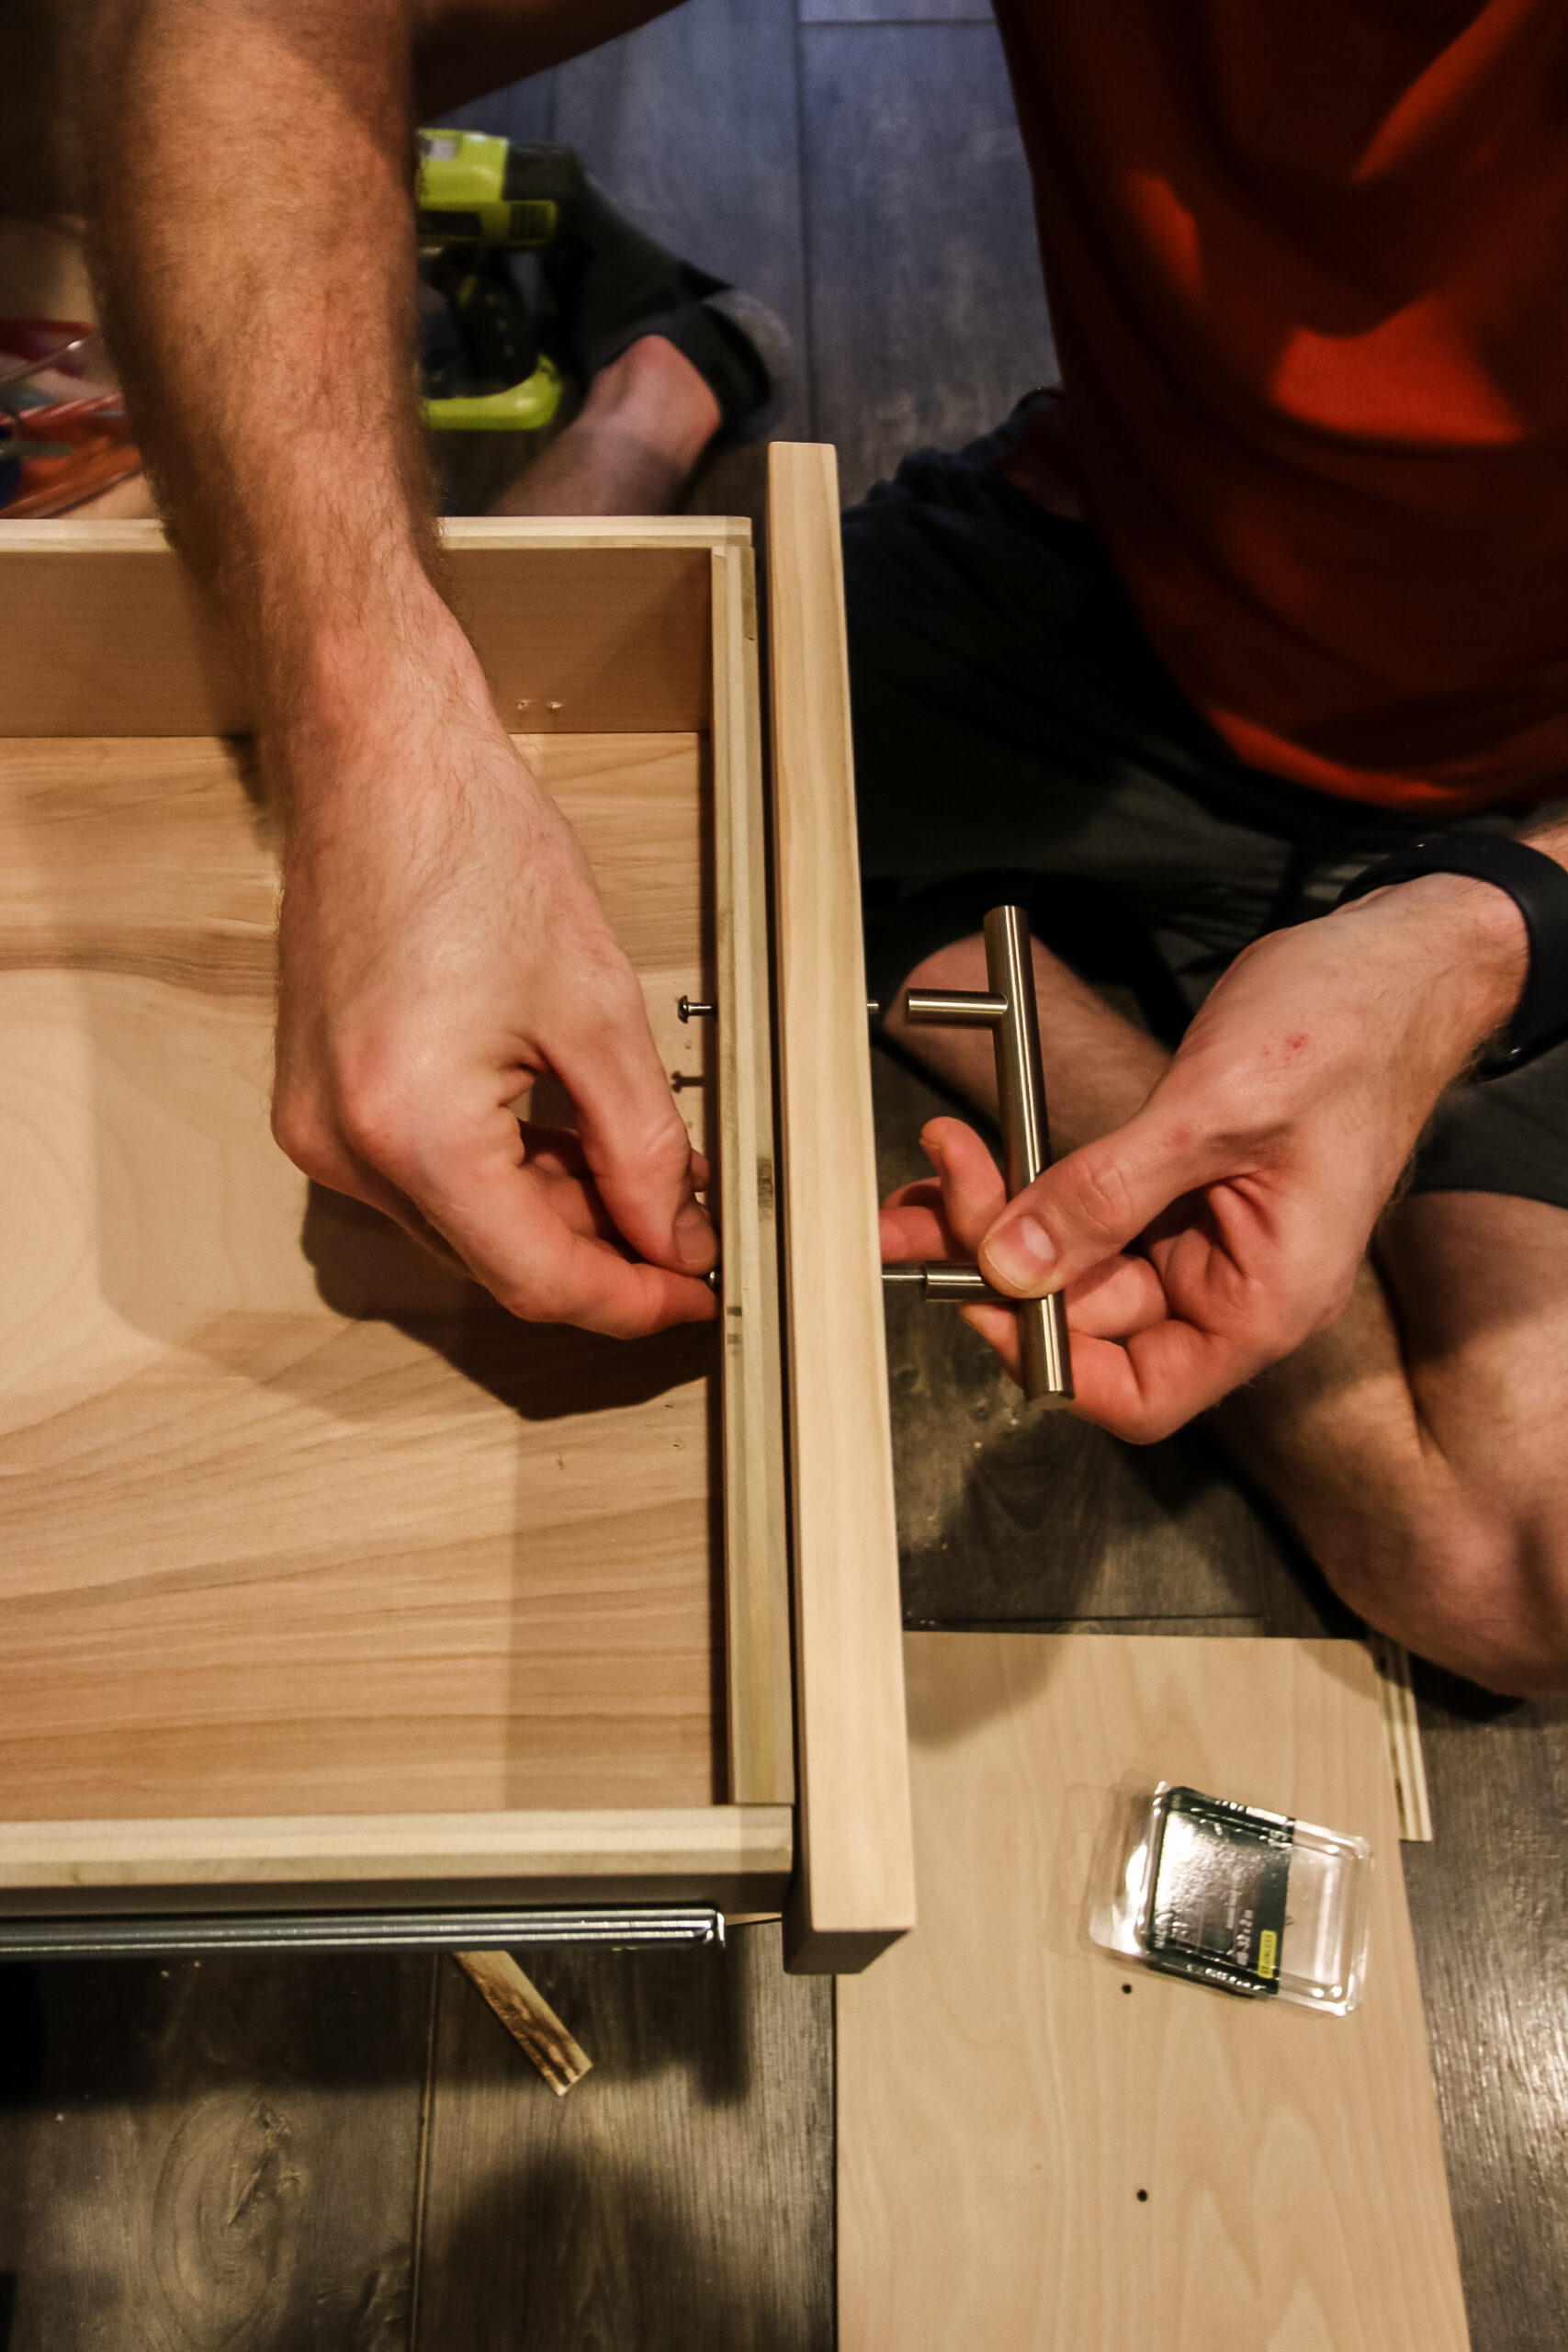
When these were done, we simply attached them to the drawer fronts with screws and added a pull.
Base cabinet with drawers woodworking plan
Are you ready to build your own DIY base cabinet with drawers? Grab our printable PDF woodworking plan to get you through it!
Our woodworking plans come with the full material list, cut list and step-by-step detailed instructions with computer model imagery to show you what you need to do to make it your own.
We also have a plan for a base cabinet with a drawer and doors and upper wall cabinet, plus one for a DIY kitchen island and a hood vent cover. Or, you can get a bundle of our five core kitchen woodworking plans for a discounted price!


Looking for something?
We’ve been doing this since 2012 so we have a LOT of blog posts!
Search stuff like: Ceiling Projects | DIY Plant Stands | Thrift Flips


Hey there, I’m Sean, the woodworking enthusiast and builder behind CharlestonCrafted.com! Since 2012, I’ve been sharing the magic of turning raw materials into beautiful creations. I love teaching others the art and satisfaction of woodworking and DIY. I try to inspire fellow crafters to make something extraordinary out of nothing at all.