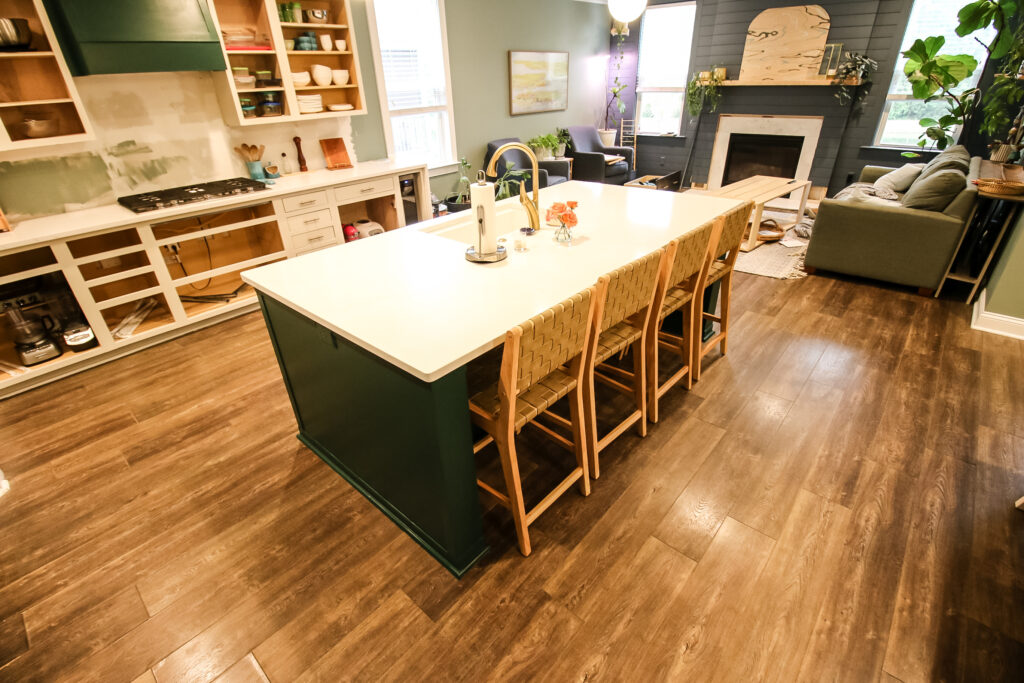
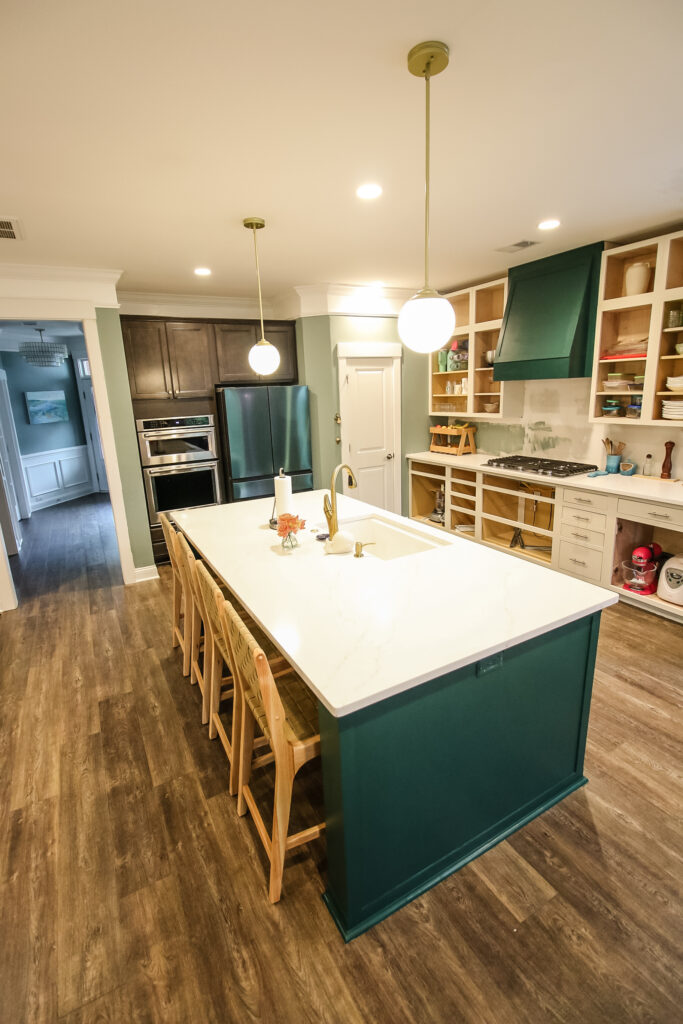
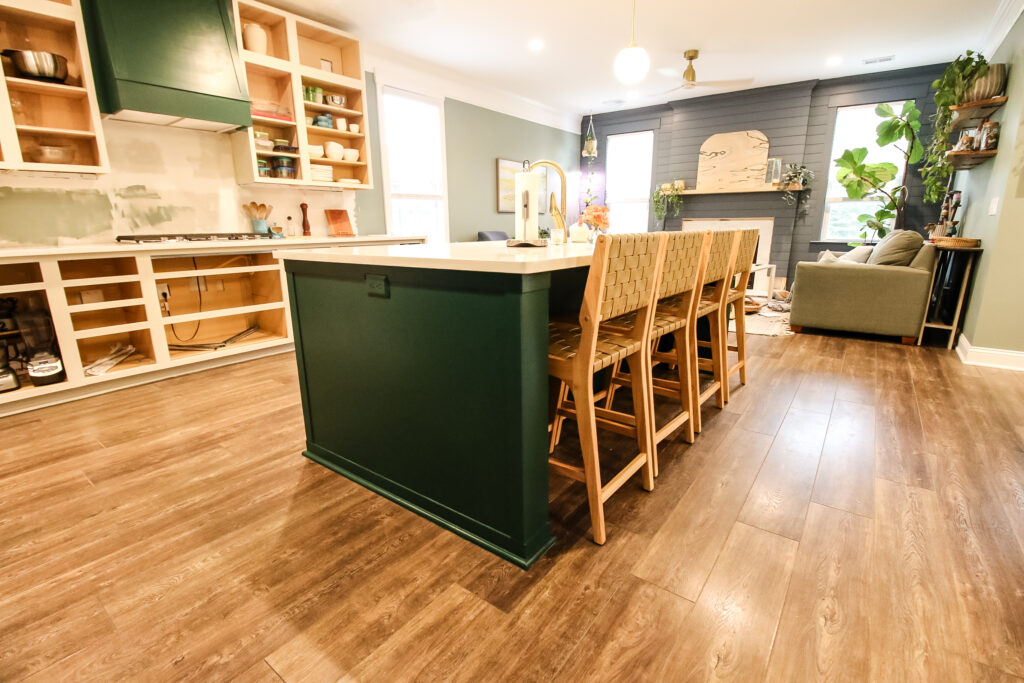
For our kitchen renovation, we wanted to have a big island that would hold our sink and allow seating for four barstools, so we designed our own DIY kitchen island!
If you're a DIY homeowner that wants to save money but have a beautiful home, you have to learn to do things you've never done before.
That's exactly what I did when doing our kitchen renovation. I tore about the old kitchen with the peninsula breakfast bar and rebuilt the layout exactly how we wanted.
That included building a big DIY kitchen island that holds our sink, dishwasher and has room for four barstools.
If you're looking for how to build a kitchen island for yourself, know that this one is fully customizable to your space. The main framework of this island can be scaled down (or up!) to fit the space you need.
Let's dive into how we built our kitchen island!

DIY kitchen island build
The basis of this DIY kitchen island build is an I-shaped frame, which means you can scale it to the exact width you need, depending on how many cabinets or seats you want in the island, or how big your space is.
I personally love how big this is and it makes it a great place to sit and entertain. Plus, the construction of this island was actually incredibly easy and it makes it easy to run plumbing and electrical as well.
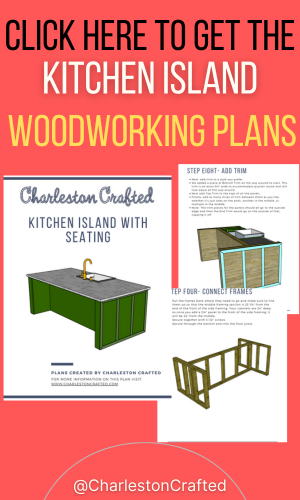
I'll break down the full tutorial here, but you can also grab my full woodworking plans for this build that include the full material list, cut list and step-by-step instructions so you can build it yourself!
You can pair this island with the base cabinet with drawers and base cabinet with doors that I designed for this project as well!
Materials needed to build a kitchen island:
Here's the tools and materials you'll need to knock out this project!
- ¾" plywood
- ¼" plywood
- 2x4s
- Circular saw or table saw
- 3" construction screws
- 1 ½" brad nails
- Wood glue
- Caulk
- Paint
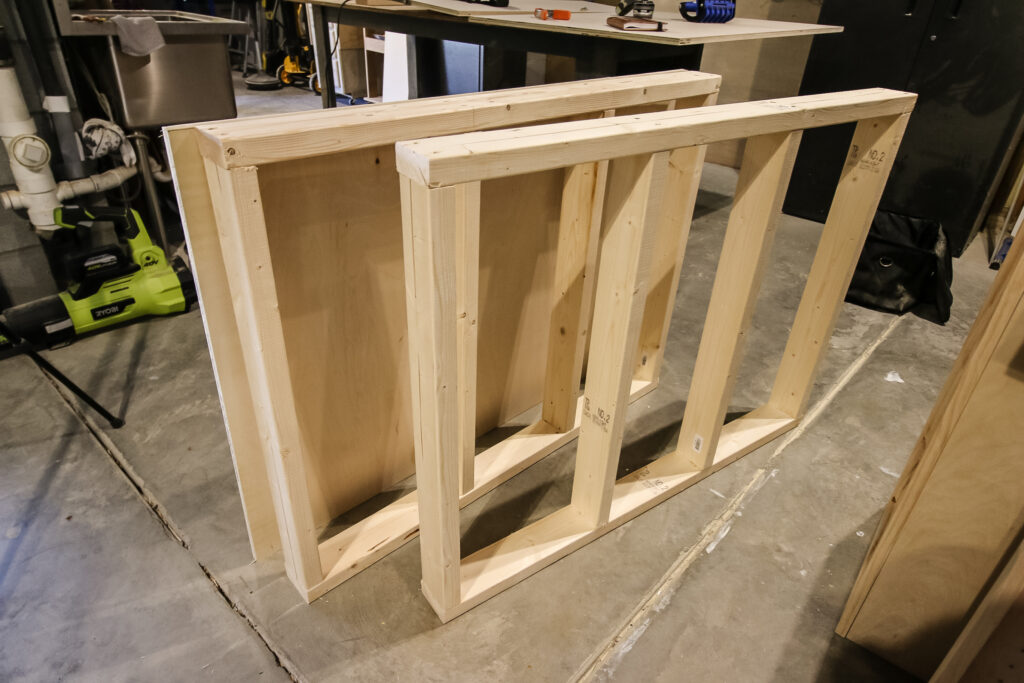
Step one: make cuts
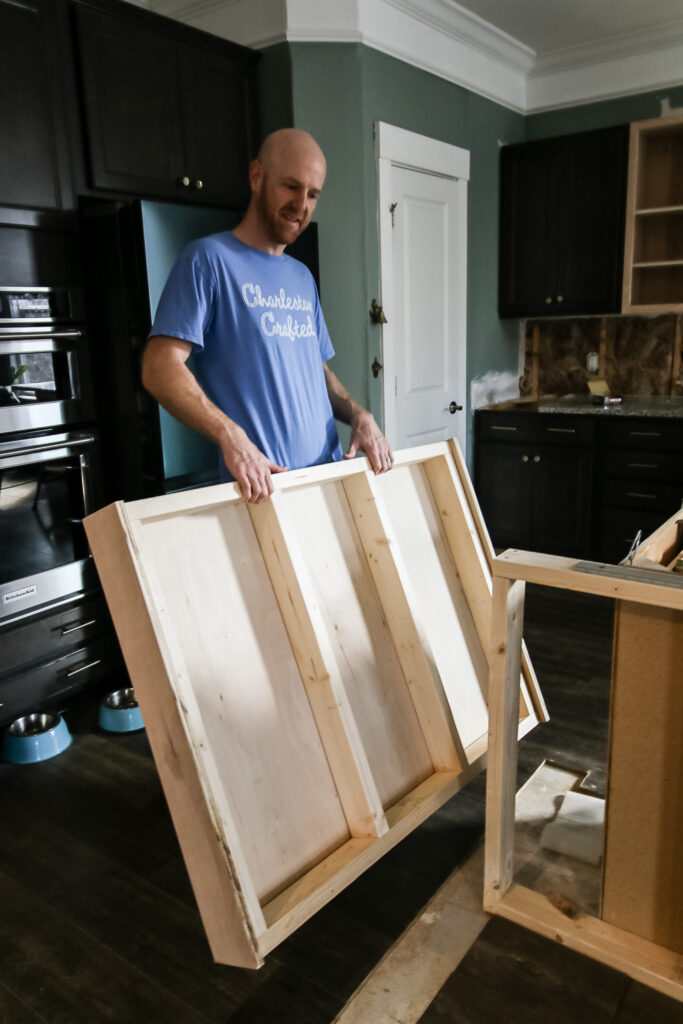
Start out by making all of your cuts for the inside framing of the island. There will be a middle and two side frames in total, and there are a lot of repetitive cuts for the vertical beams of the framing.
One cool thing about this project is you really don't even need to sand these frame pieces because they will be completely hidden!
Step two: assemble middle frame
Next, assemble the main middle frame. I designed our plan to have the vertical beams to be 16" apart like standard studs in the wall, just to keep it consistent and since it would be holding a lot of weight from the countertop.
Start out on the outside and work your way in. These vertical beams are connected with screws straight through the top and bottom boards and into the beams.

Step three: assemble side frames
Next you assemble the side frames. These are the same as the middle frames, except two smaller ones! I did make sure to have one stud just off center to allow for an electrical outlet to be put on the sides of the island and still be centered.
Step four: cut flooring
Next, take the three pieces of your island frame to your kitchen and put them exactly where they need to be. This is the time to make any adjustments!
Then, use painters tape to mark the outline of the island. After you have the marking, measure one inch out from the inside of the tape all the way around.
Then, grab a tool like the Dremel Saw Max or your circular saw and set the depth to be the exact thickness of your flooring. Then, cut out all the way around that line you drew and pull up the flooring pieces you cut out.
You'll now have space for the frame and the ¾" plywood panels that will go on each side, to fit in. You'll have a little extra space, but this will be covered by quarter round in the end.
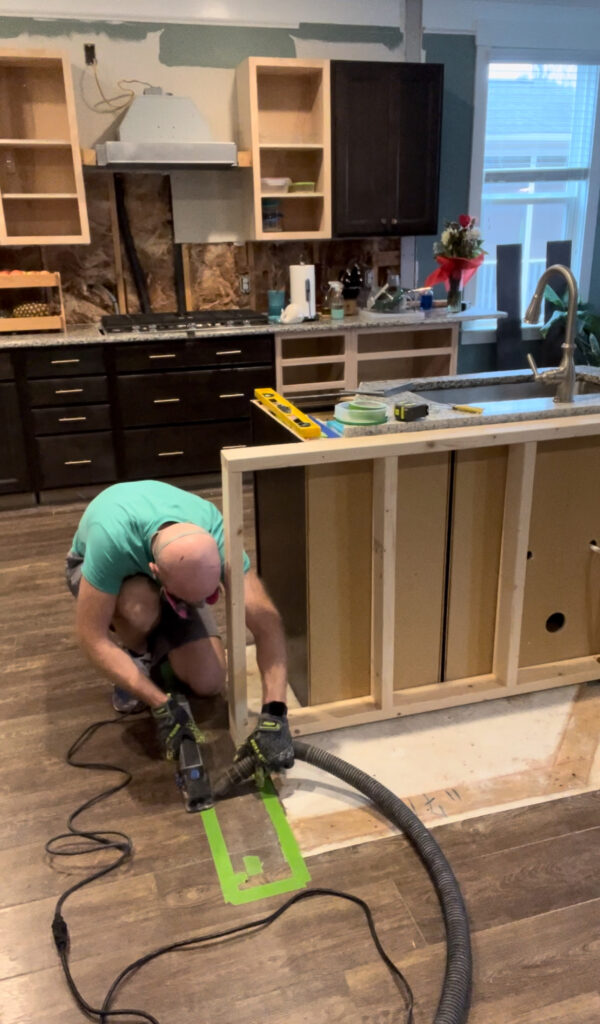
Step five: attach frames
Once you have the flooring removed, put the frames back where they need to go and make sure to line them up so that the middle framing section is 23 ¼" from the end of the front of the side framing. Your cabinets are 24" deep, so once you add a ¾" panel to the front of the side framing, it will be 24" from the middle.
Use long screws to screw through the middle panel into the side panels at the top and bottom, ensuring you keep the corners square where they meet. Then screw through the bottom into the floor to keep them from moving.
Once you have the frames in place, this is the time to have any plumbing and electrical work done while the framing is exposed.
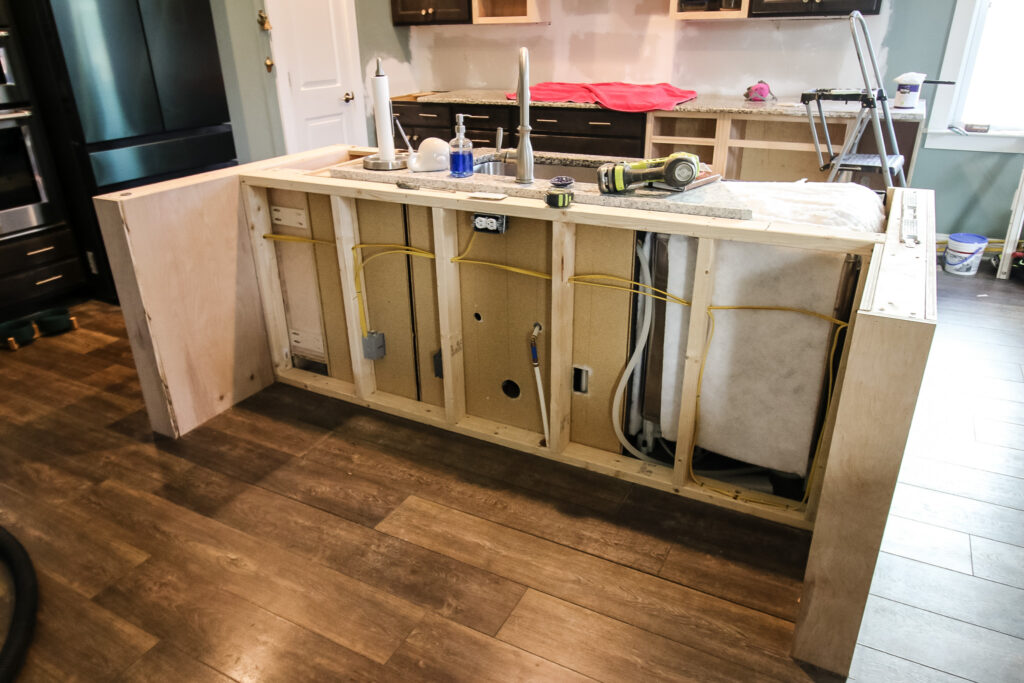
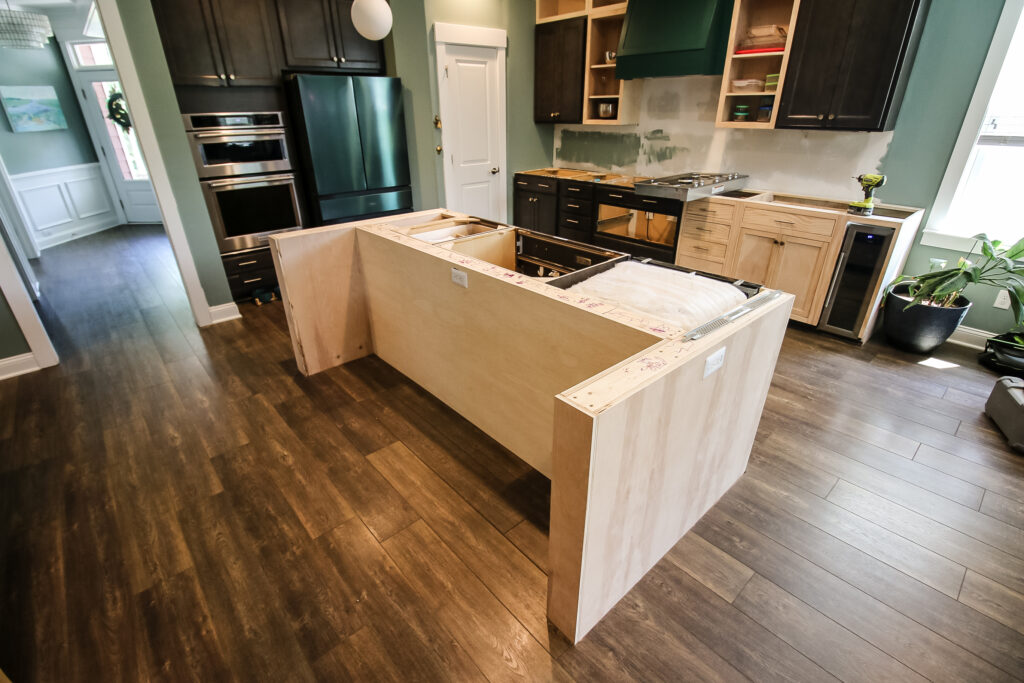
Step six: attach panels
Next, cut all your panels to fit and wrap around the island. Everything is ¾" plywood, and the full cuts are in my woodworking plans, but double check your own spacing here to make sure that you don't have something that is a little off after construction of the frame.
Attach all the panels with 1 ½" brad nails all the way around.
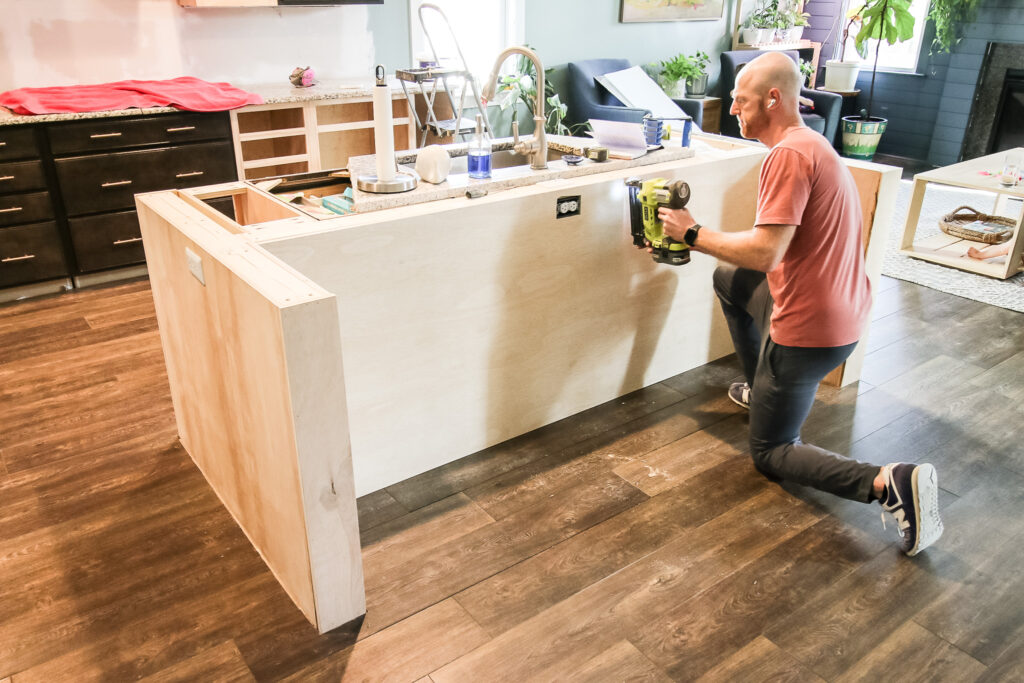
Step seven: add trim
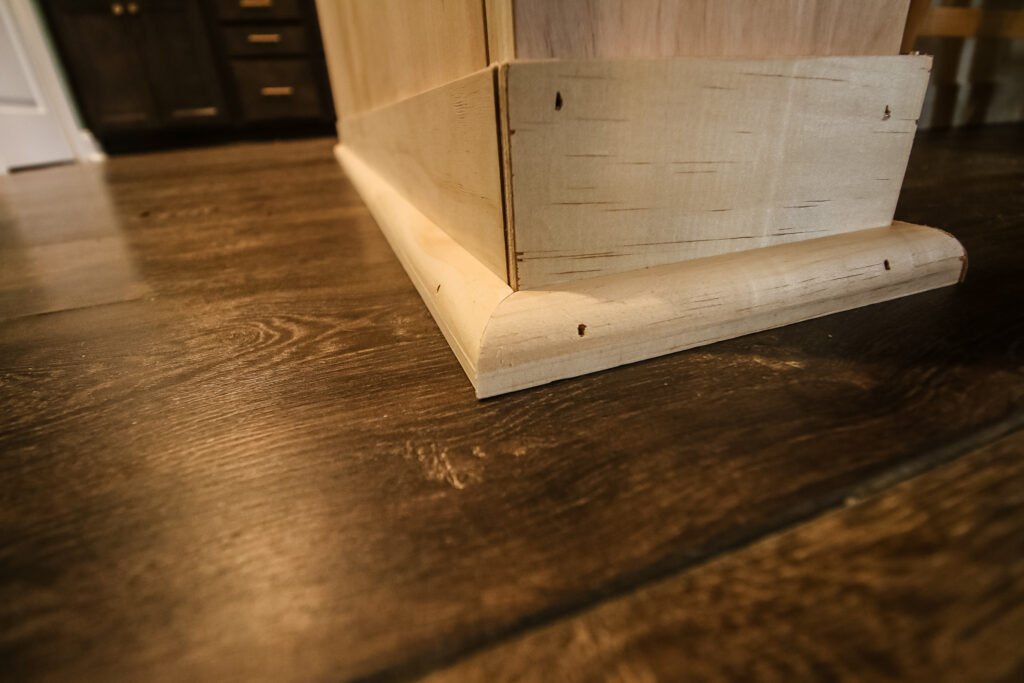
Finally add your trim. We chose just a simple 2" x ¼" strip of plywood to go around the sides of the island. We did it on the outside and on the inside seating area as well.
These strips we just tacked up with 1" brad nails.
We also attached quarter round on the bottom to cover up the gaps on the floor and finish everything up smooth.
Step eight: finish work
Time for the finish work! Go around and use wood filler to fill all the nail holes and caulk on the inner seams of the molding, around the quarter round and the inside corners under the seating area.
Once that's all dry, paint your island to your desired color!

DIY kitchen island with seating build
We are absolutely OBSESSED with how our kitchen island turned out and I know you can make one too!
This was a big project, but honestly not nearly as complicated of a build as some regular furniture projects. It's all pretty straightforward cuts and joinery.
This island is big and has seating for four, holds our dishwasher, sink and trash can cabinet. We matched the color to our range hood cover and honestly love it so much!
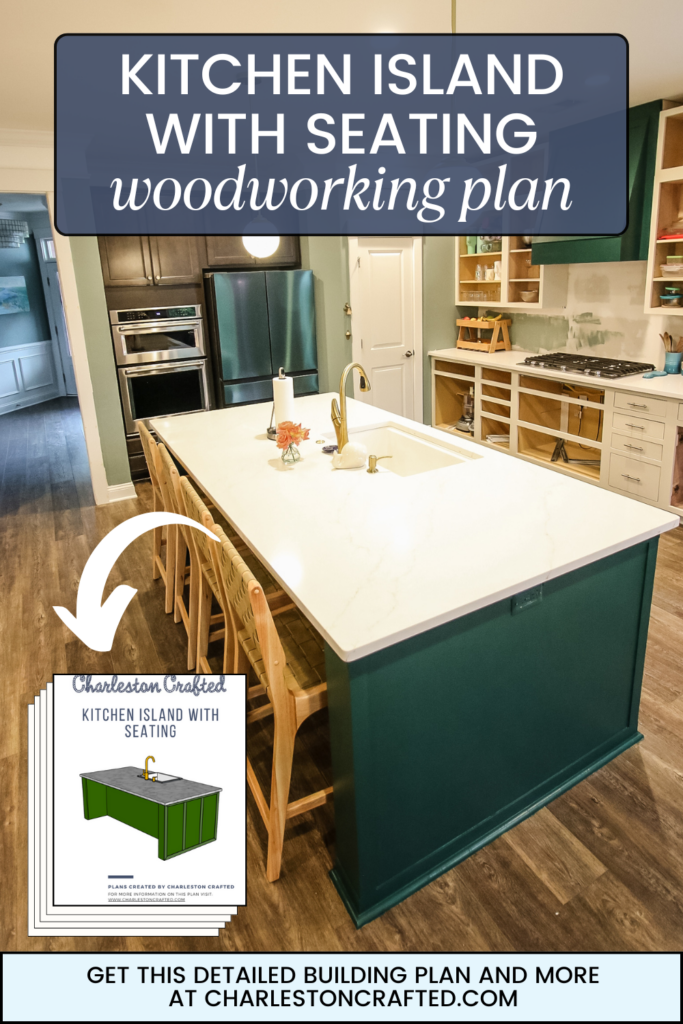
Kitchen island woodworking plans
Now that you've seen how it turned out, make sure you grab our DIY kitchen island woodworking plans to build your own!
Our woodworking plans come with the full material list, cut list, and step-by-step instructions with computer model imagery to make sure you can get the job done. Or, you can get a bundle of our five core kitchen woodworking plans for a discounted price!
And, like I mentioned, you can adjust this if you want an island that is less long, or not as deep by changing the measurements a little bit. Either way, this is a great frame work to help you build your own kitchen island!
This plan does not include the cabinets to put on the one side of the island. We used existing cabinets we had from our old space and you may need a different configuration for your needs. Plus, you can adjust the width of the middle frame if you need, so I leave the cabinets up to you.

Looking for something?
We've been doing this since 2012 so we have a LOT of blog posts!
Search stuff like: Ceiling Projects | DIY Plant Stands | Thrift Flips

Hey there, I'm Sean, the woodworking enthusiast and builder behind CharlestonCrafted.com! Since 2012, I've been sharing the magic of turning raw materials into beautiful creations. I love teaching others the art and satisfaction of woodworking and DIY. I try to inspire fellow crafters to make something extraordinary out of nothing at all.


