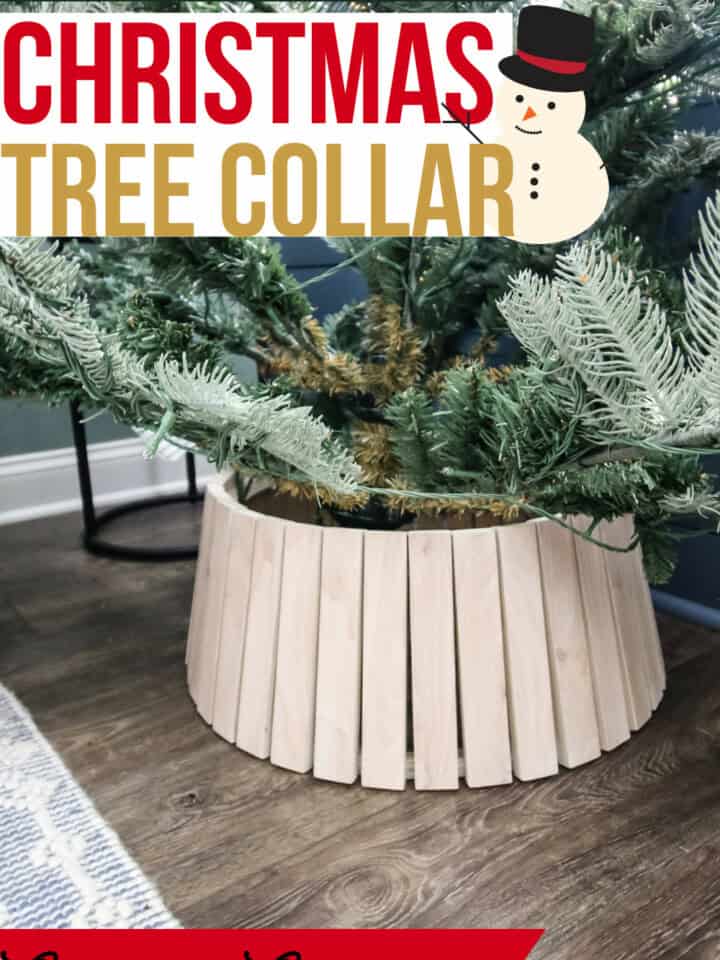
This DIY slatted wood tree collar will give your Christmas tree a modern look as you celebrate the holidays! Learn how to make this wooden tree collar yourself and get free plans!
This post was sponsored by Kreg Tool. Kreg has lots of great cutting solutions to help make your woodworking life easier. All opinions are our own. Thank you for supporting the brands that make Charleston Crafted possible!
We're gearing up for Christmas and you know the center of holiday decorating- the Christmas tree!
Setting up the Christmas tree is always a big deal in our little family and we wanted to give our tree a new look with a new tree collar!
The last couple of years, we have used our DIY Christmas tree box stand as a beautiful way to hold and elevate our tree. However, the train set we had to go around it didn't fit right, so we wanted to make something a little smaller.
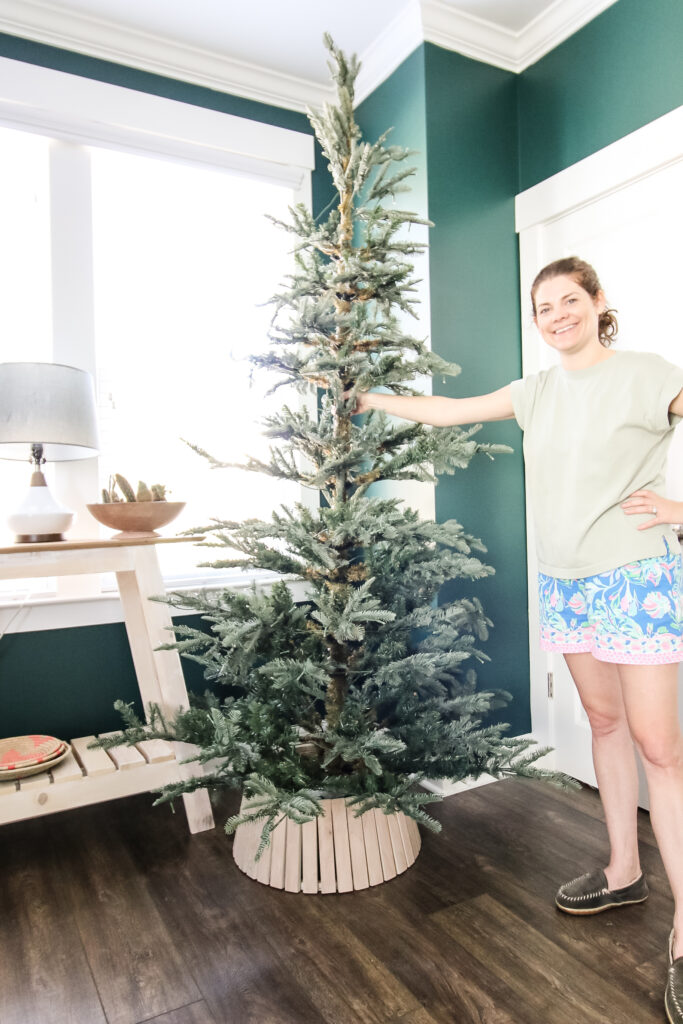
We were looking for something modern that would look great on display in our living room for a month, so we wanted it to go with the rest of the home. With that, we opted for a modern vertical slat tree collar that would fit around our Christmas tree base.
We were inspired by this slatted wood tree collar from West Elm, but knew we could make a DIY version for less than the $150 price tag.
For this project, we used a single sheet of ¾" plywood and cut everything down from there. This DIY wooden tree collar is a fun project that you can knock out before the holidays and have ready for your tree!
How to build a DIY wooden Christmas tree collar
Our modern DIY wood slat tree collar is a great project that can work for anyone. You may have to adjust measurements based on the Christmas tree stand you have, but it will work for anything. This plan is based on that standard round green tree stand that everyone has had for decades, but it can be adjusted for any.
Also, this DIY tree collar works for real trees and artificial trees! If you have an artificial Christmas tree, you can still slide the stand right in this collar and be ready to put on all your Christmas decorations.
Other DIY Christmas tree collar ideas:
- DIY Christmas tree box stand
- DIY galvanized bucket tree collar
- 7 DIY Christmas tree collar ideas
- How to make your Christmas tree look taller
- 5 DIY Christmas tree skirt ideas
Slatted Christmas collar tutorial
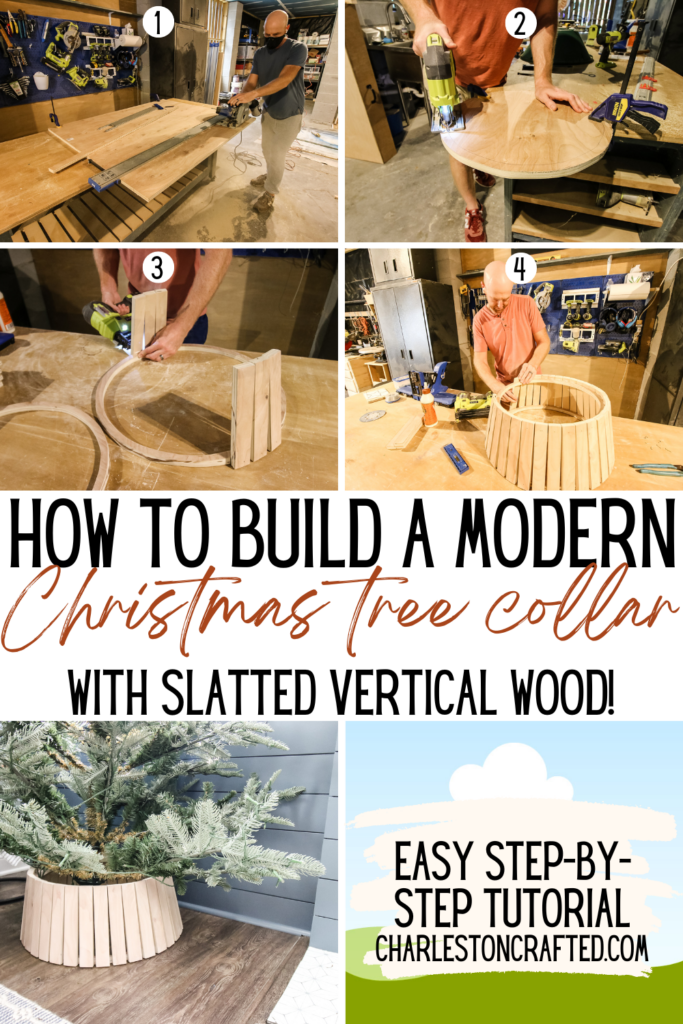
Here's how we built our DIY slatted wood Christmas tree collar. You can get the overview here and then click over and get the free woodworking plans with exact measurements and step-by-step images!
Step one: Cut plywood into strips
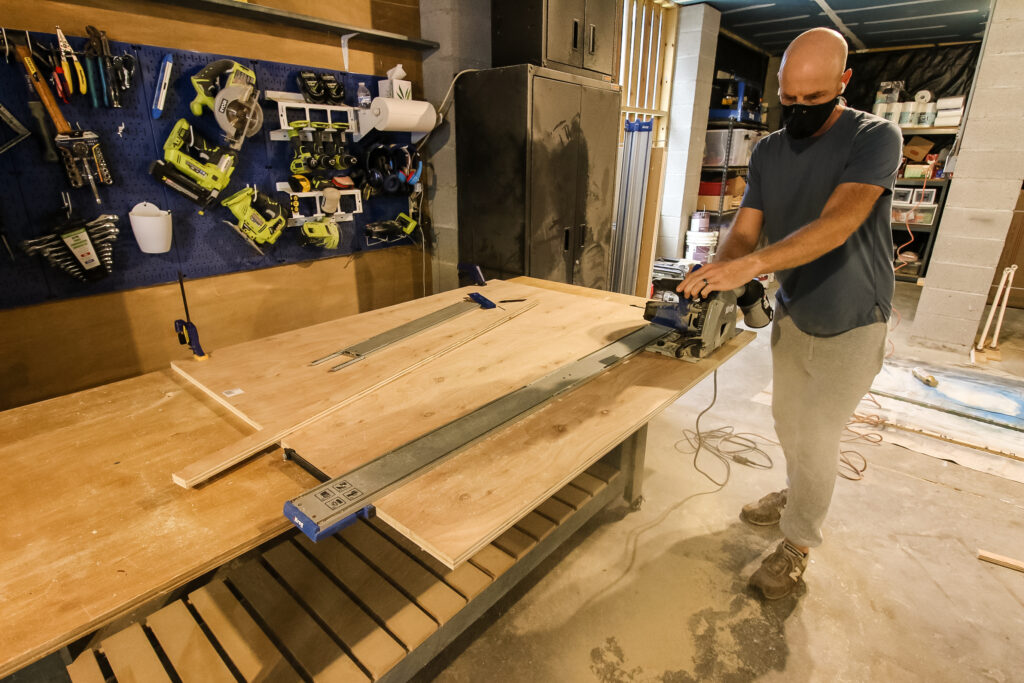
Start out by cutting down your plywood into strips. Because of the circles you'll cut next, you really need a full sheet of plywood for this project and a full sheet of ¾" plywood is super heavy!
Because of the weight, it's unsafe to try to run this sheet through a table saw, so you'll need to cut it down with a circular saw or plunge saw.
The best way to get a long, straight, accurate cut on a full sheet of plywood is by using the Kreg Straight Edge Guide.
We have always been huge fans of Kreg pocket hole joinery, but Kreg also makes a number of cutting solutions as well.
The Straight Edge Guide is easily adjustable and clamps onto a sheet of plywood on both ends. It has guides to set for your saw width so that you can accurately mark each time where you need to set the Guide to get an even cut each time.
With the Straight Edge Guide, you don't have to worry about your saw getting off the line and can easily make a long, straight cut each time.
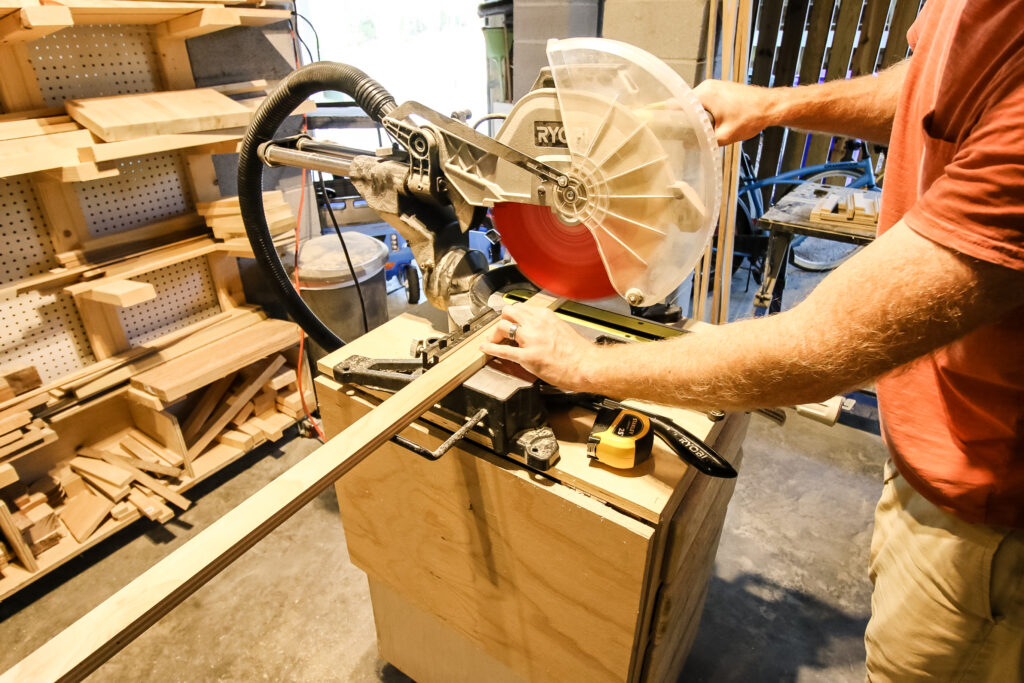
We cut off four strips of ¾" plywood and then cut them into the vertical slats on the miter saw.
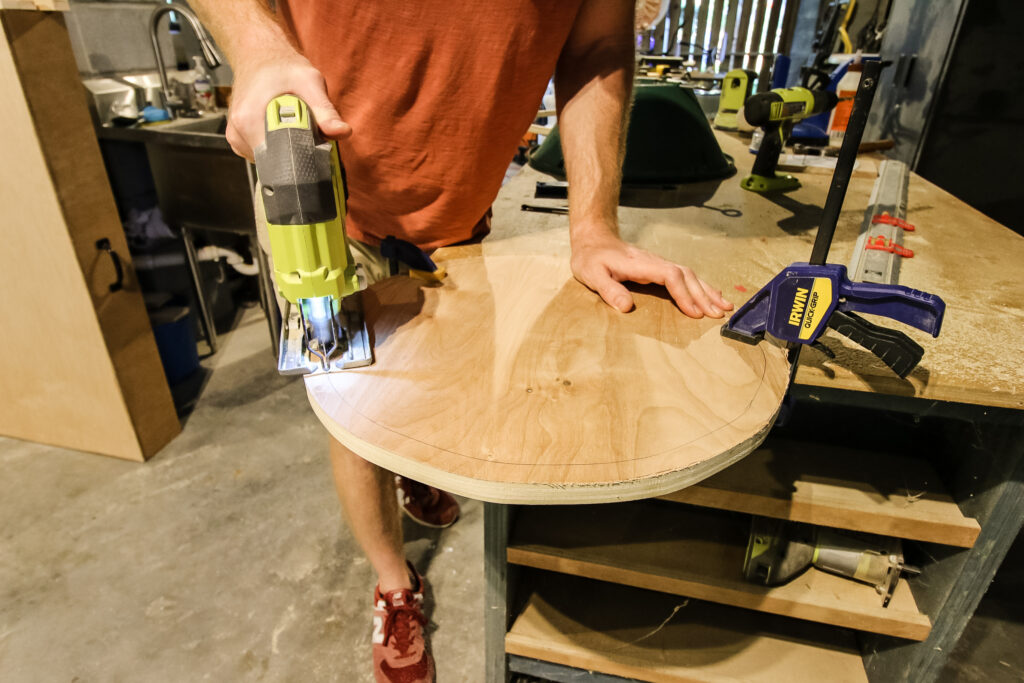
Step two: Cut plywood circles
Next, we cut the plywood circles that the slats would lean on.
We started by marking the outer diameter of the circle and then cut that out with a jigsaw.
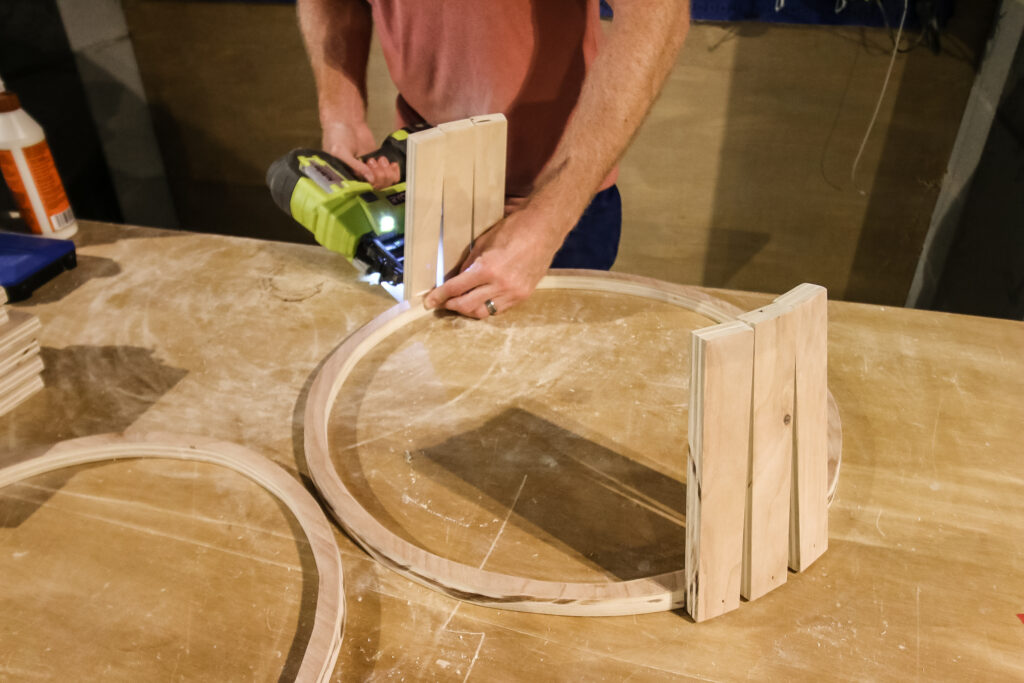
Then, using the Kreg Multi-Mark, we measured in ¾" all the way around and cut that section out as well to leave us with a ring. We repeated the process on a slightly smaller circle that would be the top section.

Then we cut off a slight angle all the way around the outside edge of each ring so that the slats could lean from one to the other.
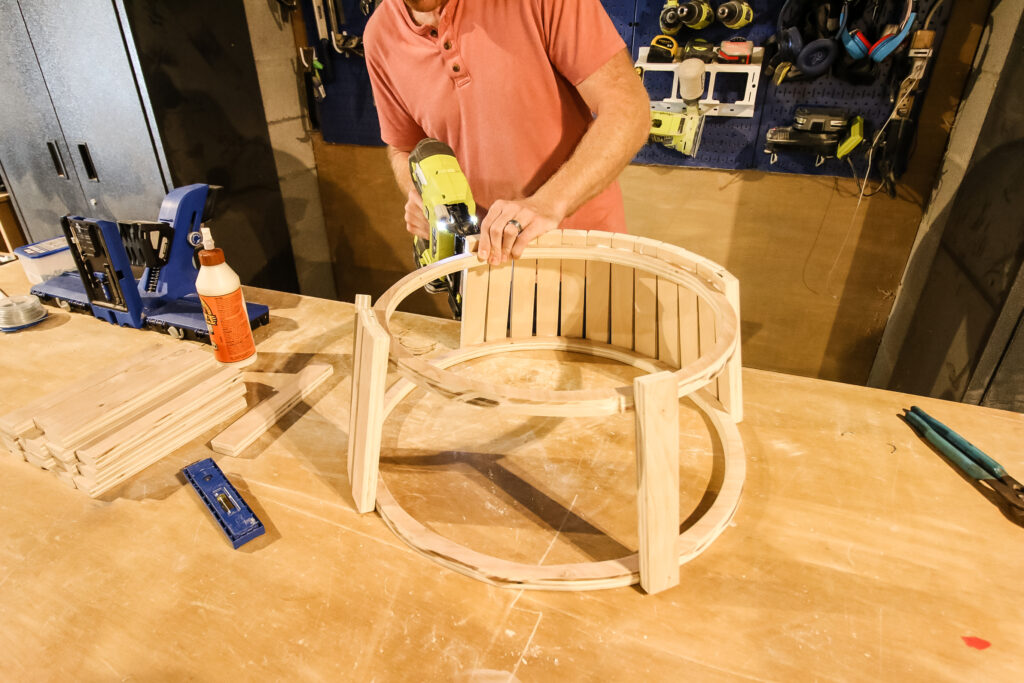
Step three: Assemble
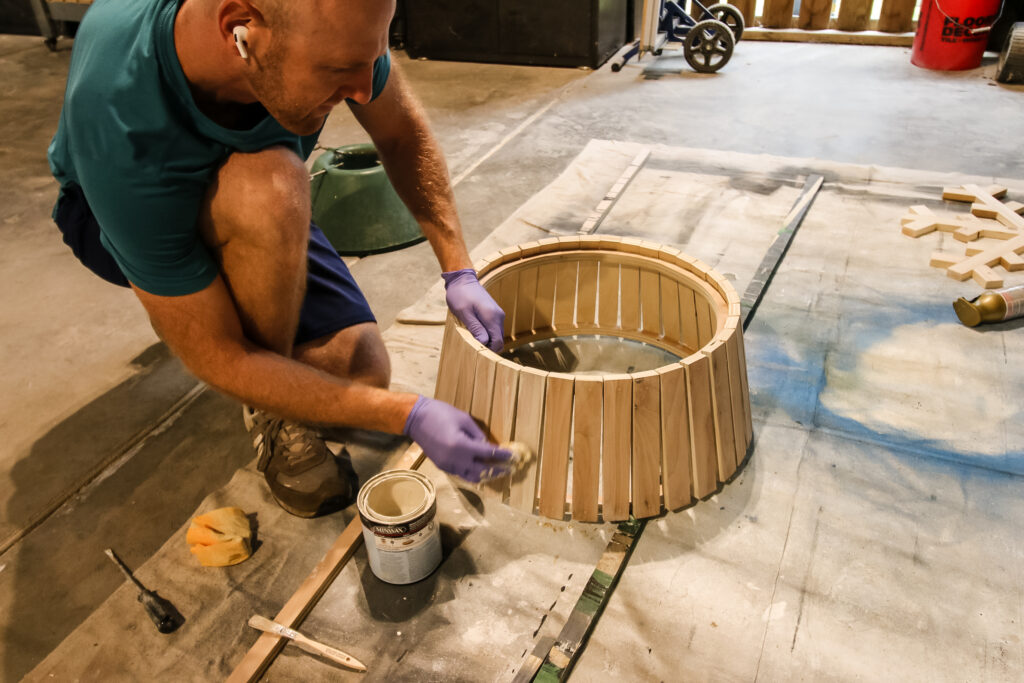
Finally, it was time to assemble. Each slat is glued and nailed onto each ring.
Since the smaller ring is on top, each slat touches around the top ring but has about ¼" spacing on the bottom. We glued each slat and nailed them to hold in place.
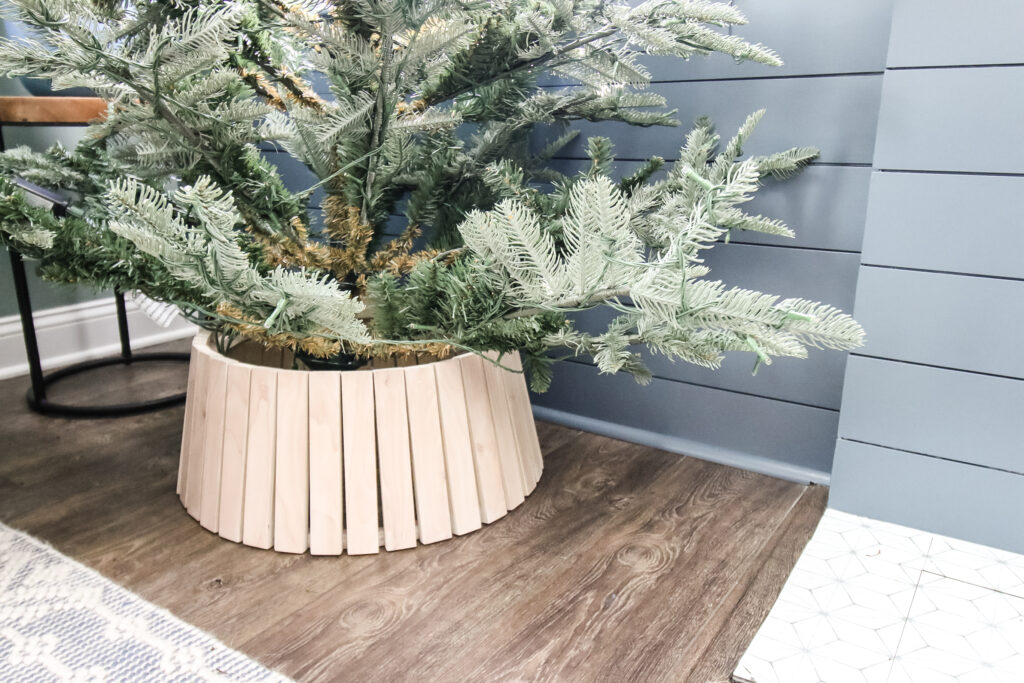
When it was finished, we added a light stain so that the tree stand would contrast off the dark floors.
Step four: Decorate
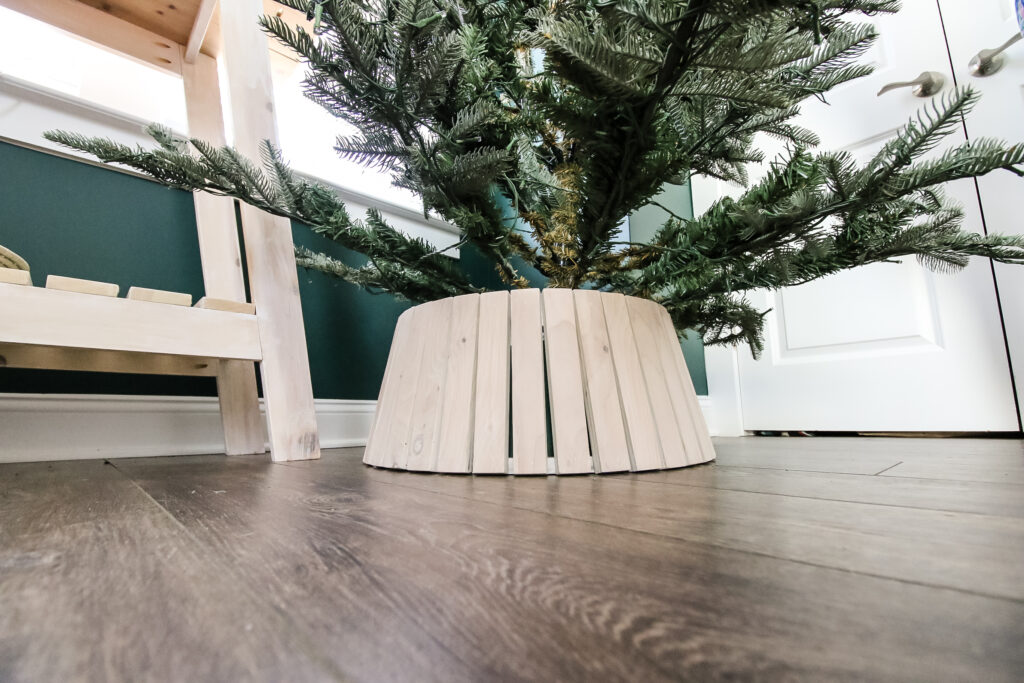
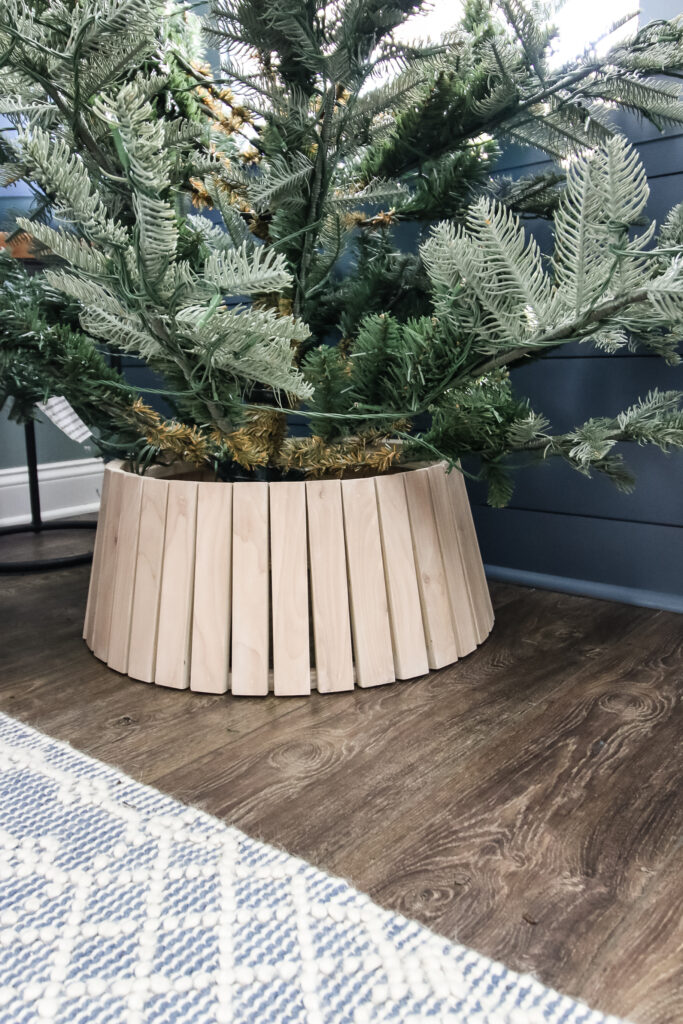
Time to put it in place! The slatted wood tree skirt fits right around the tree stand at the base of your tree, so it becomes virtually invisible and only the wooden collar is showing.
Start by putting the tree stand down, then sliding the collar over it. Then, drop your tree into place!
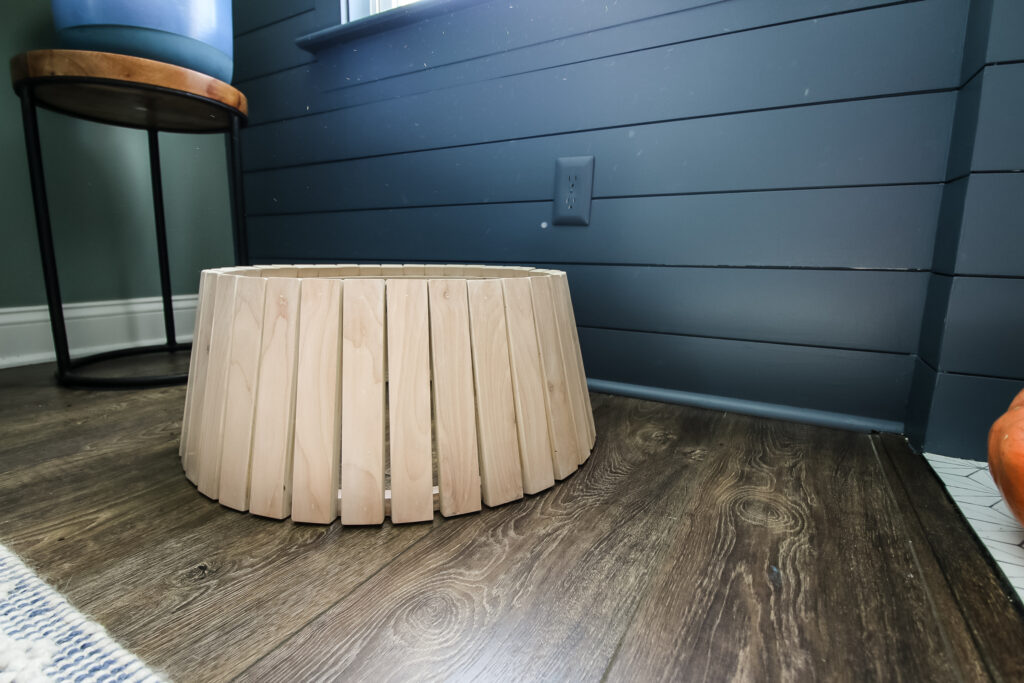
We love how this DIY slatted wood tree collar turned out and how it looks in our living room! This is going to be great as the focal point of our holiday decor!
Slatted wood tree collar woodworking plans
If you loved this project and want to make a slatted wood tree collar of your own, we have free woodworking plans!

Thanks to Kreg Tool, you can access our plans for free on their Projects and Plans site, where we have lots of other projects available to you! They also have lots of other great holiday project ideas, as well as some different tree stands and skirts!
Our woodworking plans are downloadable and include the supply list, cut list and more detailed instructions than you see in this post. Grab yours today!
How high should a tree collar be?
A tree collar should be high enough to cover the top of your Christmas tree stand! You don't want the tree stand to show over the collar, so measure it to be higher than that!
How do you measure for a tree collar?
You should measure for a tree collar to make sure the inside of the collar fits around your tree stand and covers it entirely. The inside width of the collar at the base needs to be slightly wider than the diameter of your tree stand and should be taller than the stand by a little bit.
Interested in the Kreg Jig? Click here to read our full Kreg Jig review and to see all of our Kreg Jig projects.
New to the Kreg Jig? Here is a step by step guide on how to use a Kreg Jig!
OR grab our FREE Kreg Jig Cheat Sheet here! Download the cheat sheet!

Looking for something?
We've been doing this since 2012 so we have a LOT of blog posts!
Search stuff like: Ceiling Projects | DIY Plant Stands | Thrift Flips

Hey there, I'm Sean, the woodworking enthusiast and builder behind CharlestonCrafted.com! Since 2012, I've been sharing the magic of turning raw materials into beautiful creations. I love teaching others the art and satisfaction of woodworking and DIY. I try to inspire fellow crafters to make something extraordinary out of nothing at all.


