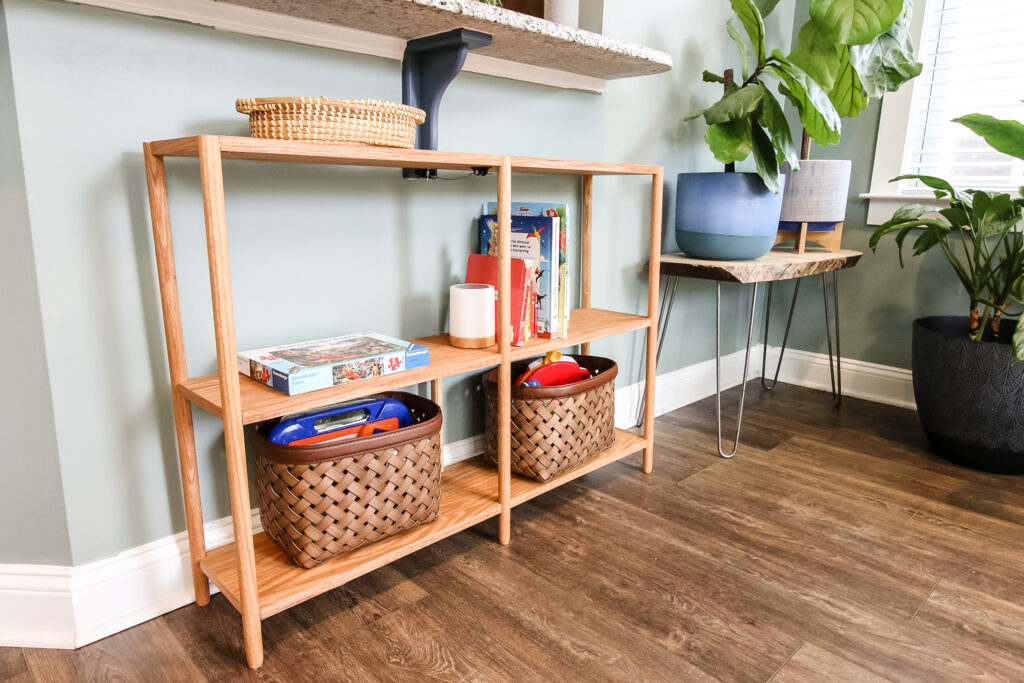
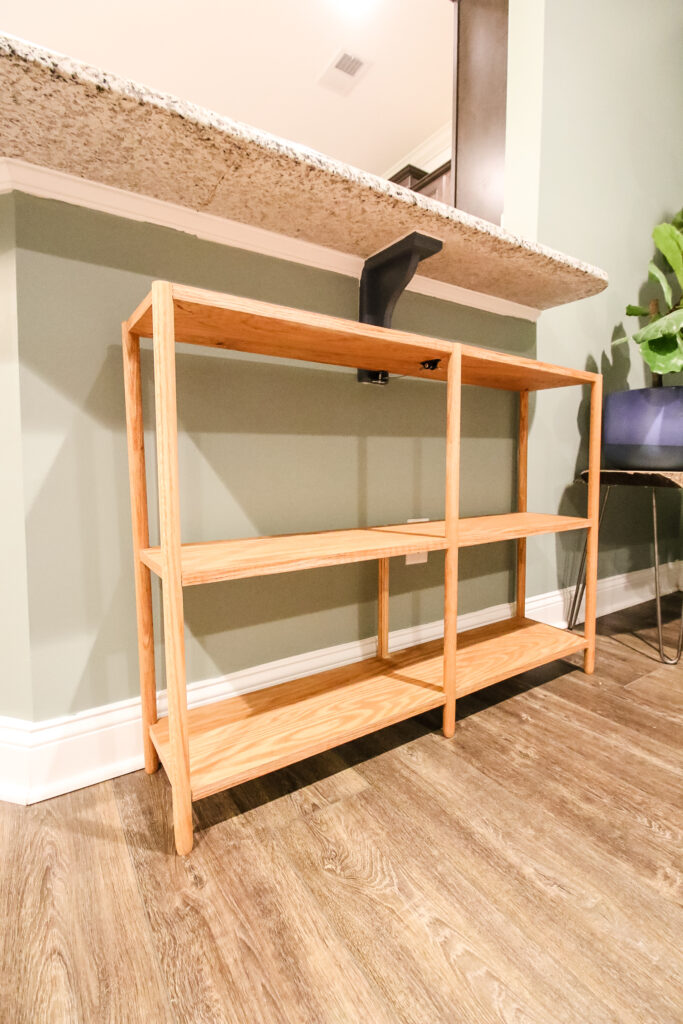
This DIY dowel rod bookshelf is a sleek piece of open furniture that has an interesting look while adding great storage to your room. The dowel rod legs round out the straight edges of the shelves and the whole project is quick and easy!
We're winding down our living room makeover and have been focusing a lot on making things look more open and less cluttered.
When we sold our massive IKEA entertainment center with shelving for dozens of pieces of decor and drawers for items and replaced it with our small DIY side table media console, we realized we did still need somewhere to put a few items in the living room.
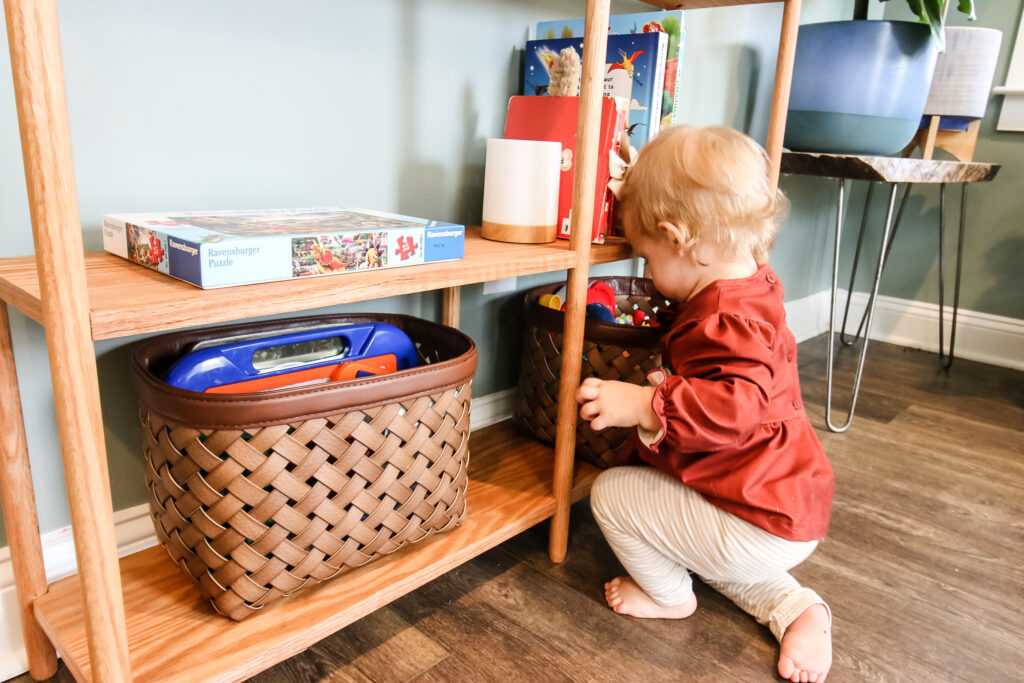
While our kids have two playrooms and their bedrooms, inevitable, some toys and books need to be downstairs for when we're cooking or can't entertain them.
We used to keep those small things in one of the drawers of the IKEA unit, but now had nowhere for them.
So, we designed this dowel rod bookshelf that would provide some open storage and look like a nice piece of furniture at the same time.
How to build a bookshelf with dowels
This project was a fun one and was able to help us tie our new DIY buffet table with fluted doors into our mid century modern side table media console by using the leftover scrap ¾" oak plywood that we had used for those two projects.
The wood tones tie together nicely in our room, now that we're aiming for more of a boho decor style.
Check our our modern boho laundry room makeover for more inspiration!

We opted for a similar design style for this bookshelf as we did our metal and wood console table in our half bathroom around the corner. For both of these, we inset the legs into part of the shelves instead of having the legs be on the outside.
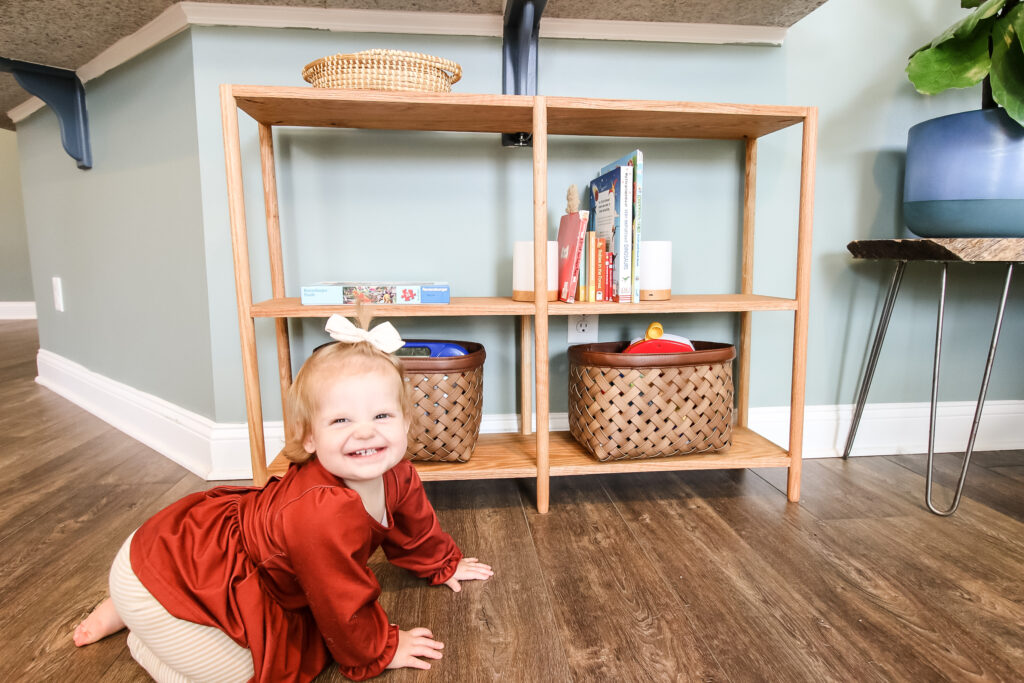
This dowel rod bookcase provided us with nice open shelving in our living room for toys, books and decor and is a great storage space for small things.
Materials needed to build this DIY dowel rod bookshelf:
- Half sheet of ¾" plywood
- (6) 1" dowels
- ¾" edge banding
- 1 ¼" pocket hole screws
- Wood glue
- Stain or oil of choice
If you want to build this project yourself, here's the general overview, but make sure you download our printable PDF woodworking plans that will provide you with the full details you need to make this your own.
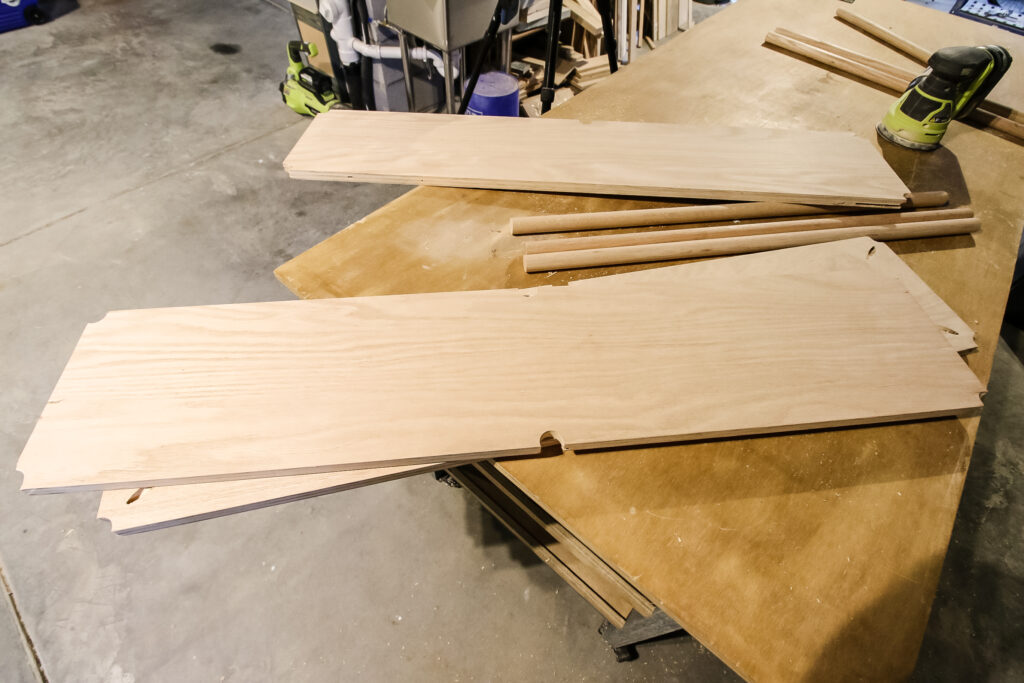
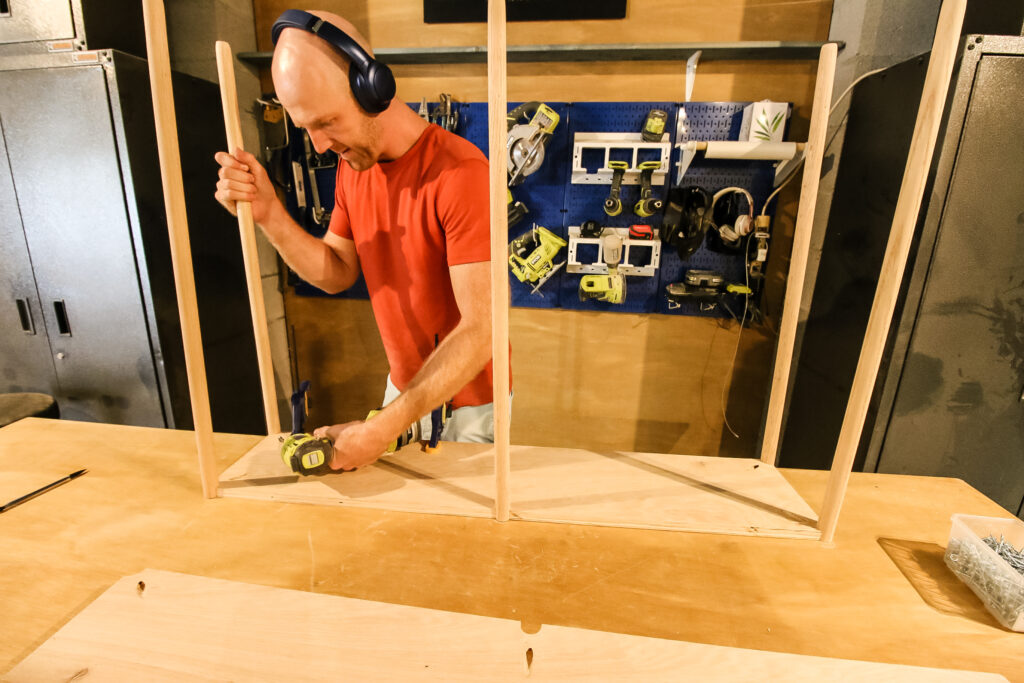
Step one: cut dowel holes
This dowel rod bookshelf has three shelves, with each shelf having a half hole cut out for a dowel rod leg.
You can really determine how much of the dowel you want inset into the legs yourself, but for us, it was about half the rod.
To do this, we marked ½" from each corner, as well as from the center point on the front and back edge of each shelf.
Then, we used a 1" forstner bit to cut out the hole.
Step two: add shelves
Each shelf is attached to the dowels with a single pocket hole screw and wood glue.
We drilled the pocket holes aimed at the half hole we previously cut out.
The best way to do this is with the Kreg 320 jig, which allows you to use a single pocket hole jig cutter and clamp it in any direction you need to.
We started by attaching the top shelf upside down flush with the top of the dowels, then moved on to the middle and bottom shelves.
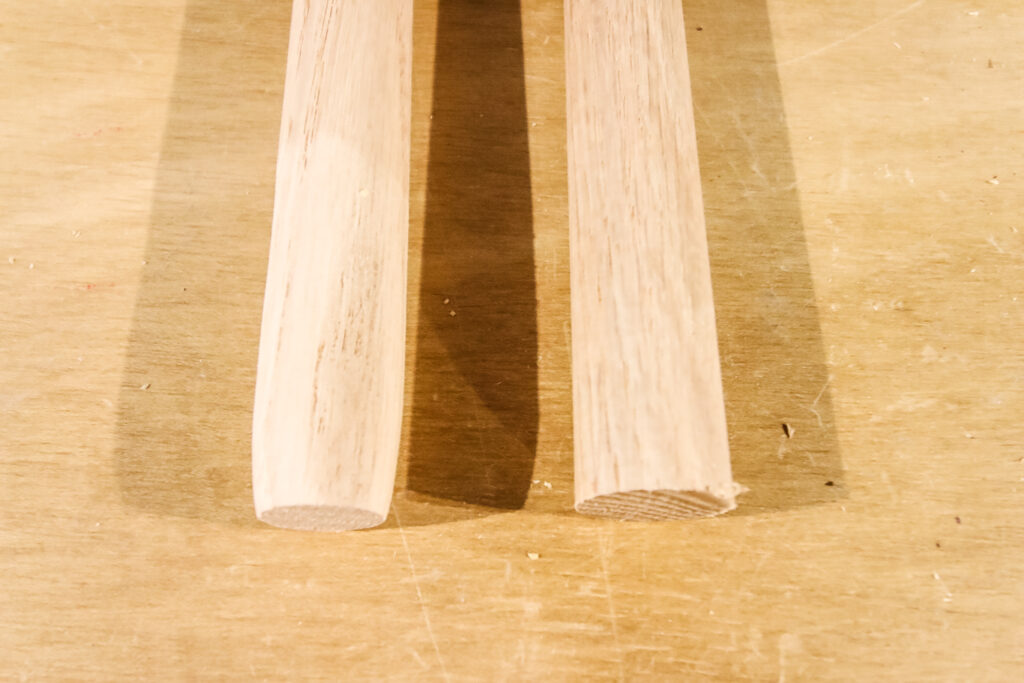
Our plans call for leaving a small gap at the bottom to show off tapered legs, but you can do that or not.
We "tapered" our dowel rod legs using a course grit sandpaper to create the appearance of a tapered leg.
Another cool option for tapering dowels is to follow the tutorial in this video, however, it does create a different look.
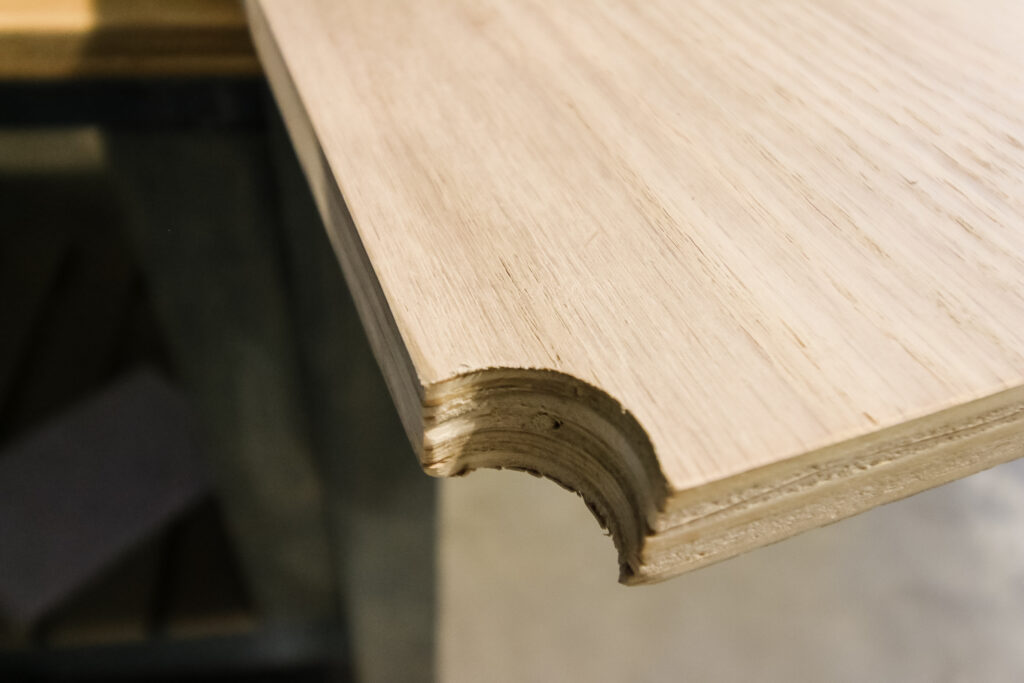
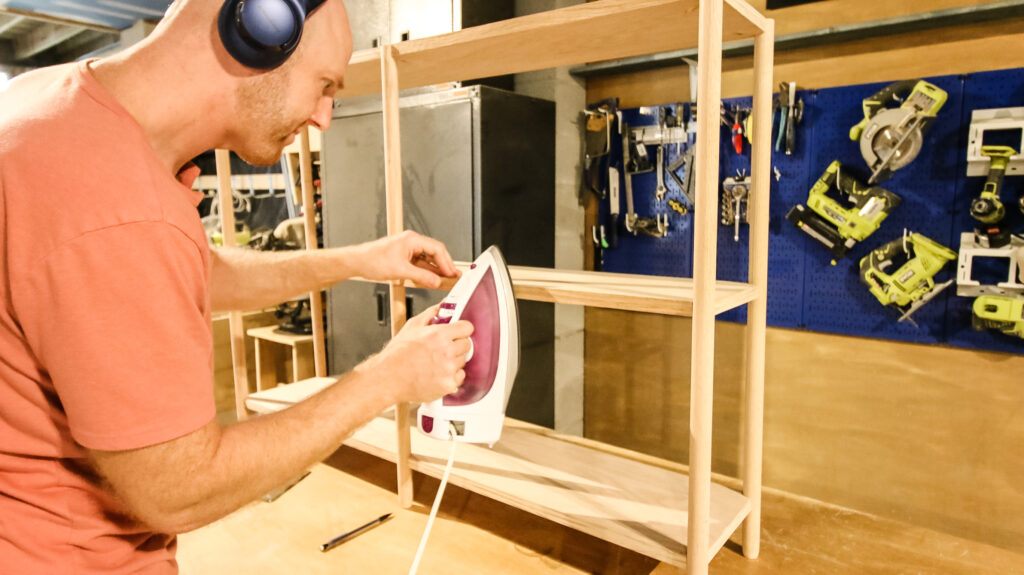
Step three: add edge banding
Once the shelf was put together, we used ¾" iron-on edge banding to cover the plywood edge around the shelves.
We didn't want the plywood edge showing and had leftover edge banding from the buffet table, so we added that here.
It's amazing how edge banding really makes plywood look like a solid board.
Using edge banding is a great way to add a cleaner, more finished look to a piece of DIY furniture. It also covers any holes in the sides of the plywood were there are gaps from the plywood creation process.
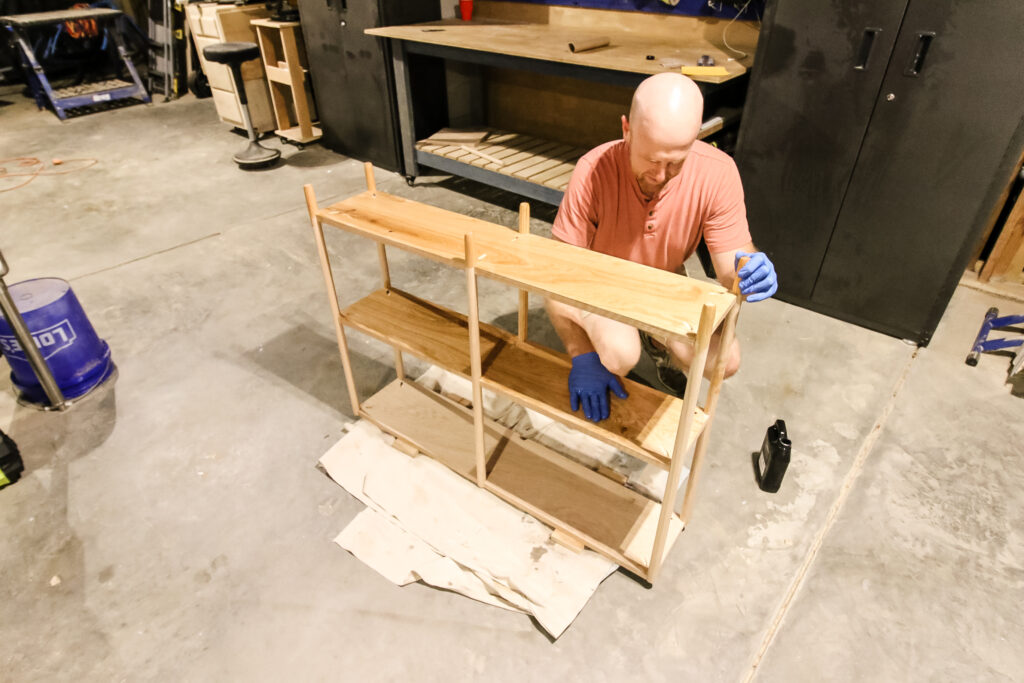
Step four: apply stain and finish
As with the other two oak plywood projects in this room, we used Walrus Oil to finish off this modern bookshelf.
We love the look that Walrus Oil gives to oak wood and it really works for a boho style room.
Check out our post on how different finishes look on oak!
The oil make the shelf pop and it looks great. It was important to use the same wood (in this case oak) for the shelves, dowels and edge banding to give it a consistent look.
You could stain this any way you'd like to match the decor in your home.
DIY dowel rod bookshelf woodworking plans
Like this project? It's a super simple one that also looks great and can have a huge impact in your home.
Our DIY dowel rod bookshelf plans include the material list, cut list, and step-by-step instructions with computer model imagery for you to build this project yourself!
Grab the plans today and build a beautiful shelf for your home.
Other DIY bookshelf projects to tackle
If you're looking for any other types of bookshelves to tackle, we've got several, all with PDF woodworking plans available. Make sure to check out our:
- Dollhouse-shaped bookshelf
- Tree-shaped bookshelf
- Montessori forward-facing bookshelf
- Montessori toy shelf

Looking for something?
We've been doing this since 2012 so we have a LOT of blog posts!
Search stuff like: Ceiling Projects | DIY Plant Stands | Thrift Flips

Hello, I'm Morgan, half of the creative force behind CharlestonCrafted.com! With a passion for DIY that dates back to 2012, I've transformed three homes and now I'm dedicated to helping others craft their dream spaces. Let's turn your house into a home together!


Ivory says
Wow, what a cutie pie, your cute baby girl. And the open bookshelf not bad either. Loving it! Thanks for sharing