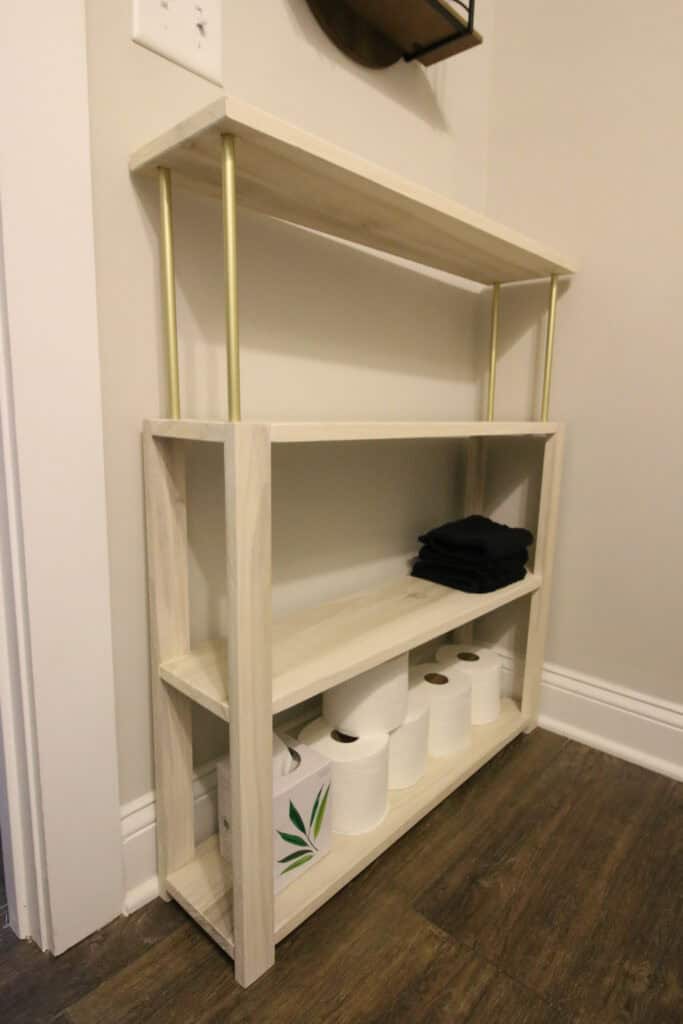
This DIY metal and wood console table is perfect for a bathroom, entryway or small space. It is great for holding towels, wash clothes, tissues and much more. It uses down rods from light fixtures and wood of your choice.
Adding the unique element of metal to a wooden table is a pop people aren't expecting.
Here are a ton more DIY console table ideas!
This table also features specially cut out corners for the legs to nestle into. Let's dive into this project for you to take a look at!
Check out all of our DIY woodworking projects for the bathroom!
How to make a DIY metal and wood console table
We'll give you the overall idea here in this post of how we made the table and share some of the tips and tricks.
If you love the table, I'd love for you to grab the printable PDF woodworking plans! Our plans come with the full material list, cut list and step-by-step instructions with imagery to help you out!
Making cuts
We always find it's easier to make all your cuts first whenever possible. If you have a dedicated cut list, it's easy to make them all up front.
This works well as part of a batching system. Make the cuts, then sand and stain, then assemble.
This DIY metal and wood table calls for just a couple of boards and down rods from a light fixture.
We used the spare down rods from when we bought these two orb pendant lights. We loved the muted gold tones and are using that throughout the house, so adding them to the console table was a perfect fit.
If you don't have extra down rods laying around, you can purchase them online. You can also get other metal rods or use wooden dowels.
The wooden elements of this project call for four legs and four shelves.
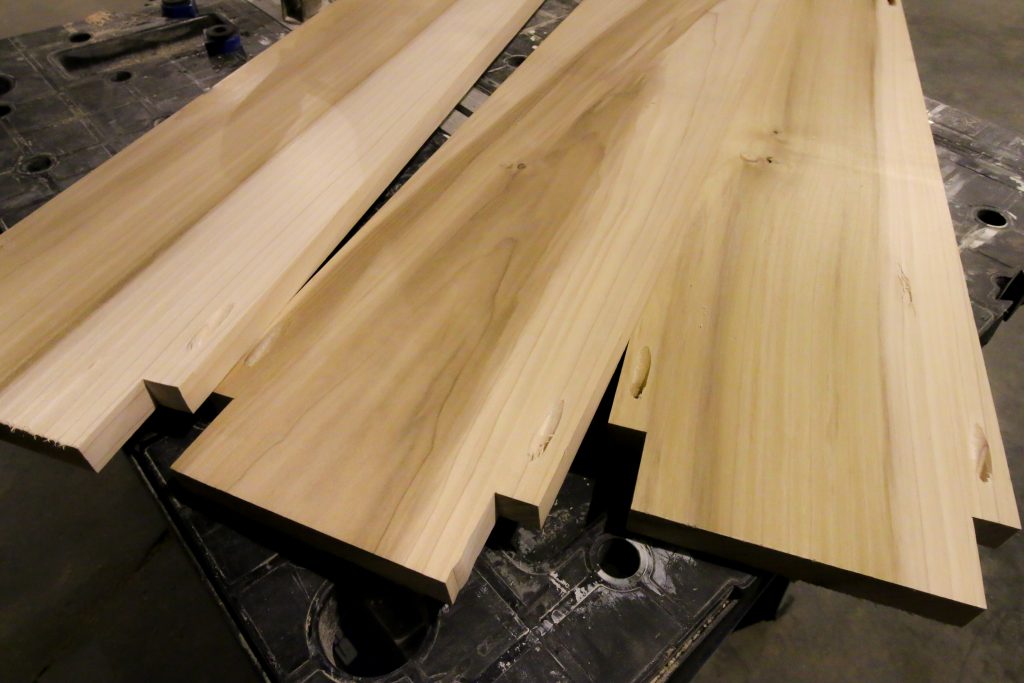
Cutting Shelves
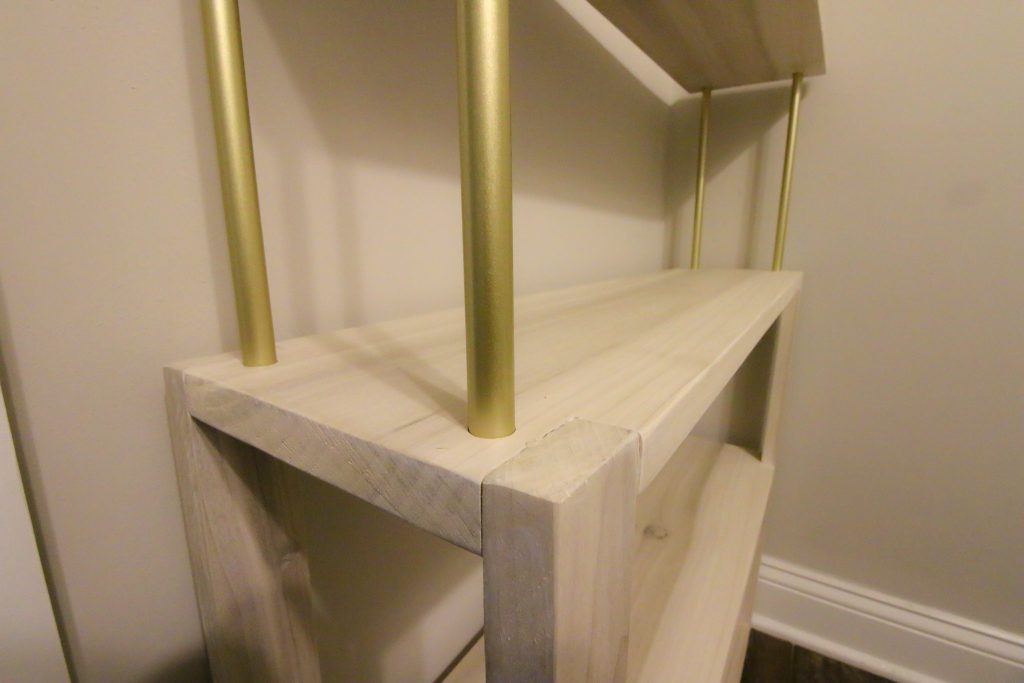
Once all the boards were cut, we made special cuts for the design.
We wanted to set the legs into the shelves instead of on the outside.
To do this, we cut notches in all four corners of three of the boards that were the size of the leg width.
The top shelf, which didn't have the corners cut off, needed holes drilled for the down rods.
We drilled completely through that shelf and halfway into one of the other shelves for the down rod to sit in.
If choosing to stain, paint or oil your project, it's best to do it before assembling, especially if your project isn't 100% made of wood.
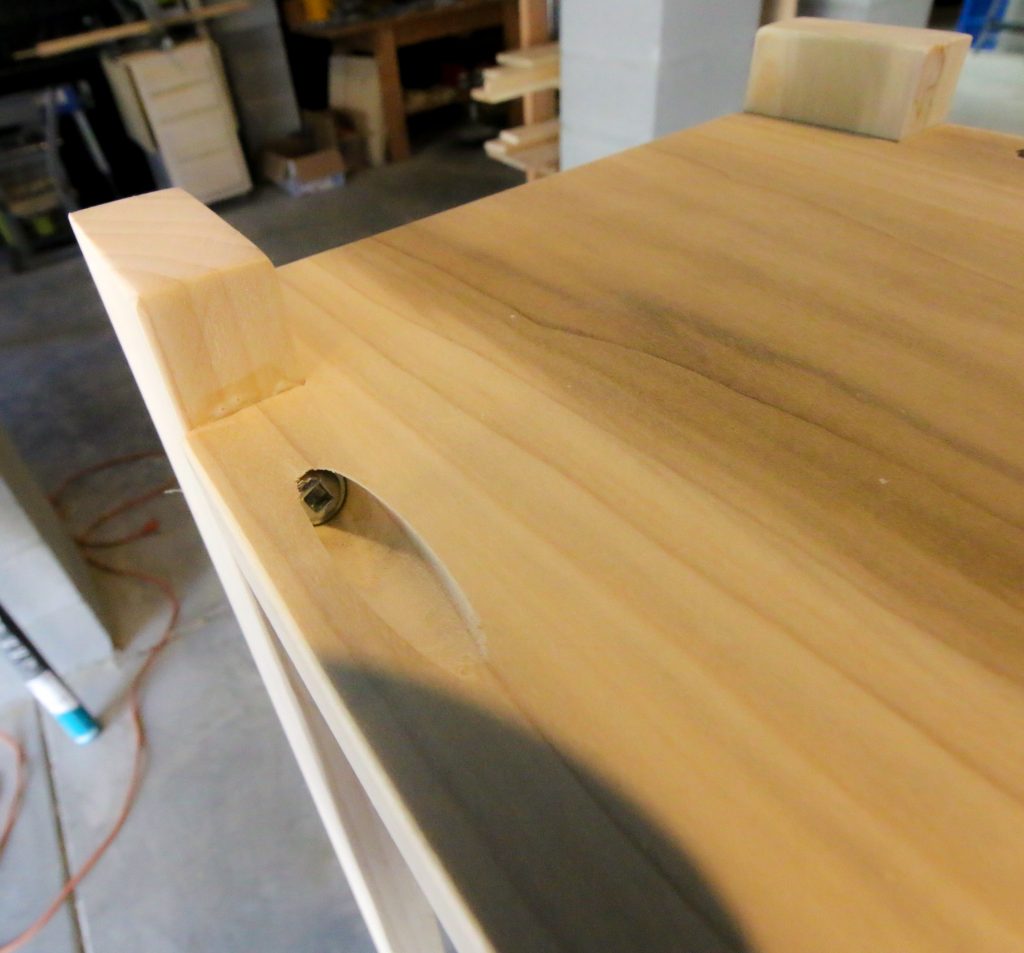
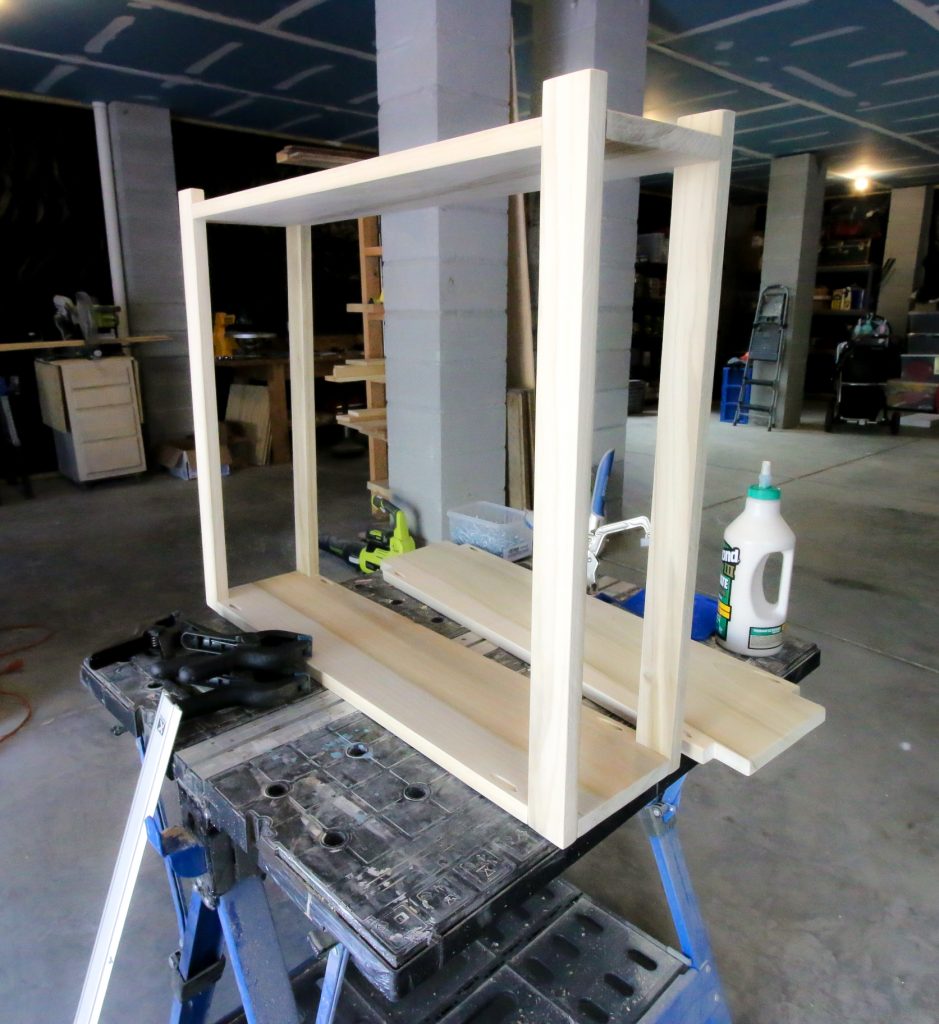
Assembling the metal and wood shelf
On each of the three shelves with the cut out corners, we drilled four pocket holes. These were used to attach the shelves directly to the legs.
Then we assembled the base, putting the legs and shelves together.
Inserting metal rods
Once the base was secured, we added a glob of all purpose glue into the four holes on the upper shelf.
Then we put a down rod into each hole.
Once they were in place, we added more glue to the inside of the holes on the top shelf and threaded the down rods through those.
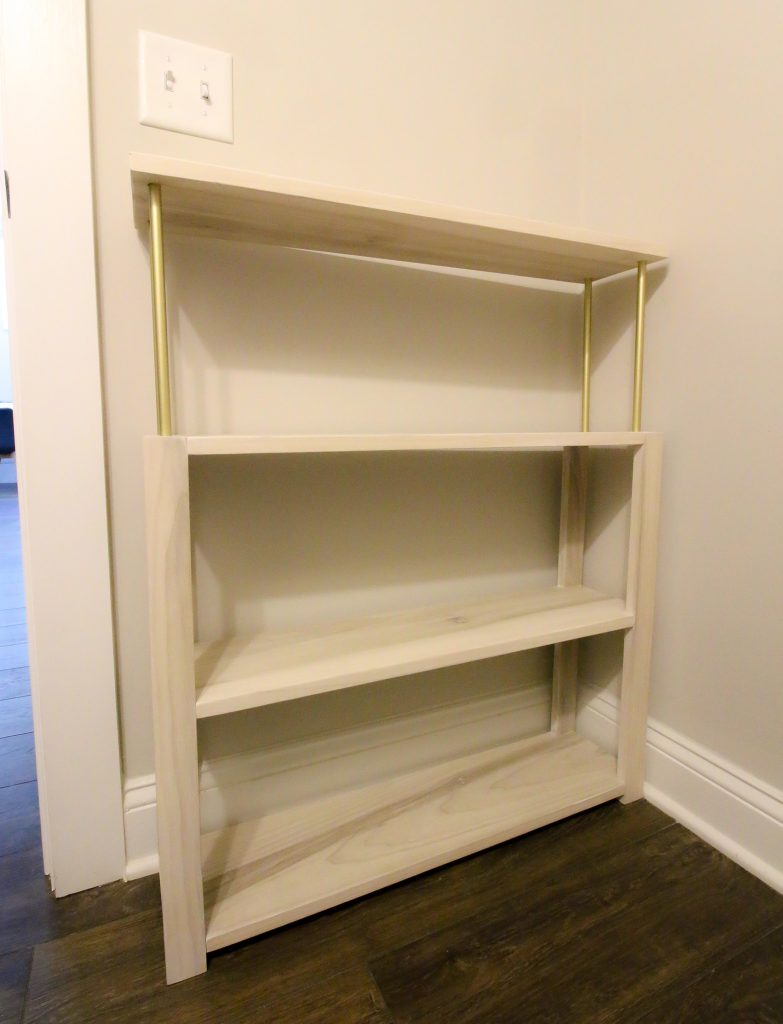
HOT TIP: we used painter's tape on the down rods to keep the top shelf from sliding down. Once the glue sets, you can remove the tape with no problems.
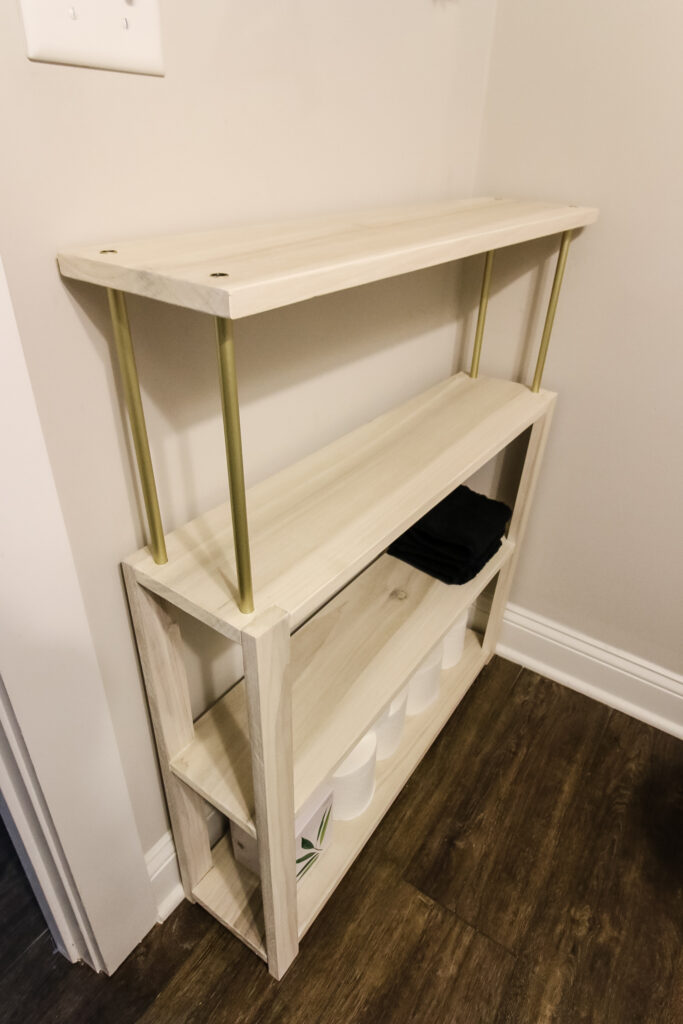
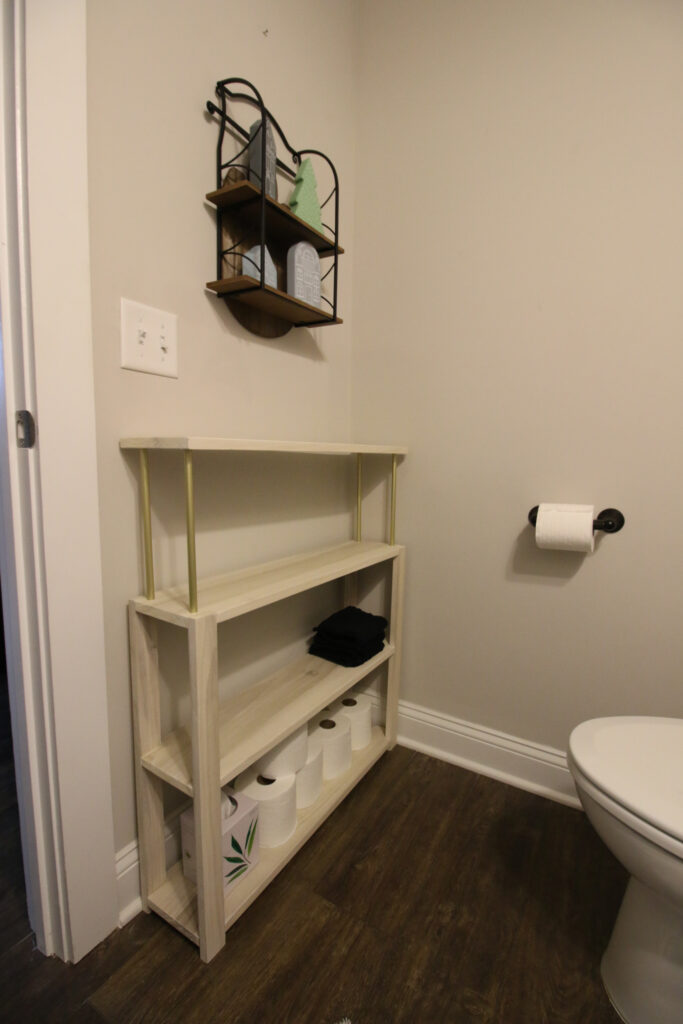
Final DIY metal and wood console table
We love how this table turned out. It's in the half bath on the main floor and is perfect for guests to put their toiletries.
We love how the gold plays off the other elements of the house and the white washed wood works with the rest of the house.
PDF plans for how to build this console table
If you want to build this DIY metal and wood console table for your home, you're in luck.
We've got downloadable PDF plans for this project available for you. Get the material list, cut list and instructions in our plans!
We'd love to see what you came up with, so when you're done, make sure to tag us on Instagram with your finished project!

Looking for something?
We've been doing this since 2012 so we have a LOT of blog posts!
Search stuff like: Ceiling Projects | DIY Plant Stands | Thrift Flips

Hey there, I'm Sean, the woodworking enthusiast and builder behind CharlestonCrafted.com! Since 2012, I've been sharing the magic of turning raw materials into beautiful creations. I love teaching others the art and satisfaction of woodworking and DIY. I try to inspire fellow crafters to make something extraordinary out of nothing at all.


Ivory says
This project is amazing. How creative. Thanks for sharing.