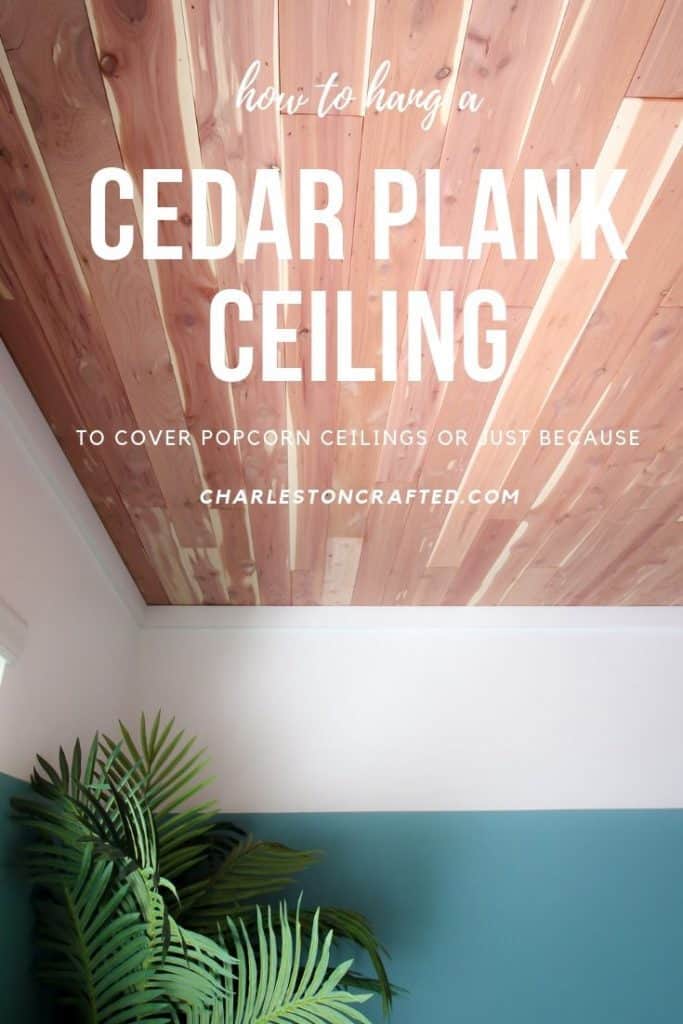
Want to install a tongue and groove cedar plank ceiling? You'll love this easy step by step tutorial! We installed this ceiling in our guest bedroom and the results are just stunning!
This is the first post from our guest bedroom makeover. You can also see how we did our color block wall, triangle bracket bookshelf and coastal MCM side tables. Then be sure to check back for the rest of the room!
We are finally kicking off our blog series on our guest bedroom makeover! This is the final room in our house that we haven't touched AT ALL, and this was so much fun.
We were reminded yet again how easy it is to make a huge impact with a few little updates.
We also got the feeling at the end of this project that this was our best room yet, which we've said after most rooms.
We continue to improve and we hope you guys feel the same way!
The first project was to install tongue and groove cedar planks to create our ceiling!
And Y'ALL! I cannot over-state how obsessed with the results that I am.
I have to admit, I was nervous several times during this process.
I was deathly afraid of making this small room feel darker or like a mountain cabin.
But somehow, the cedar planks make the ceiling feel higher and brighter.
They REALLY freshen up the outdated popcorn texture. But, they also add their own texture, color, and interest with the cedar.
We recently hung a coffered ceiling in our nursery, also to cover up popcorn.
I thought that I couldn't love anything more than I love that ceiling.
Well, this project gives that one a run for it's money.
Both are interesting and textural and beautiful. I can't believe they were DIY - and cheap DIY at that!
Click here to pin this project to your Pinterest board!
A cedar ceiling will always be beautiful, but we used these planks to cover a popcorn ceiling!
This made it functional, too. Check out all the ways we have covered popcorn ceilings here.
How to install a tongue & groove cedar plank ceiling
For this project, we partnered with our friends at CedarSafe and used their tongue and groove cedar planks to create our ceiling.
We started out by measuring our space and calculating how many boxes of planks we would need using their calculator.
After receiving our planks, we let them acclimate in the room for a few days.
This is an important step (especially in extreme summer or winter months) as the wood can expand and contract.
Cedar ceiling installation instructions
Installation of any tongue and groove planks, including CedarSafe, is super easy.
Tongue and groove planks are very DIY friendly, meaning anyone can do it.
The CedarSafe planks are very lightweight and easy to work with as well, making them friendly for a drywall ceiling.
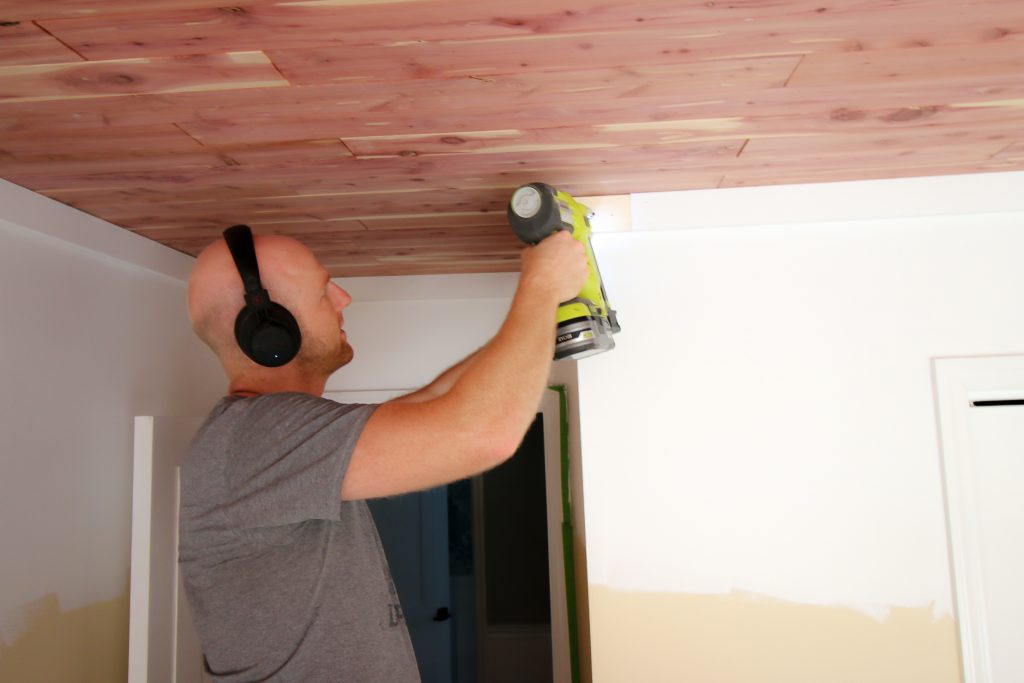
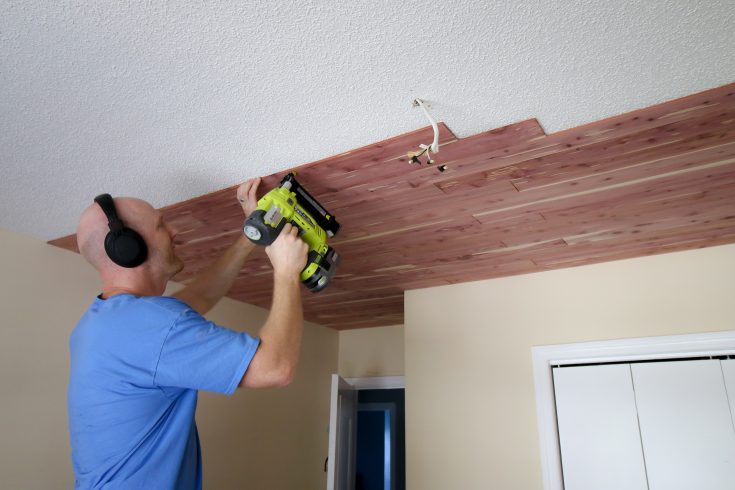
We started out by making a single row from one wall to almost the end of the other.
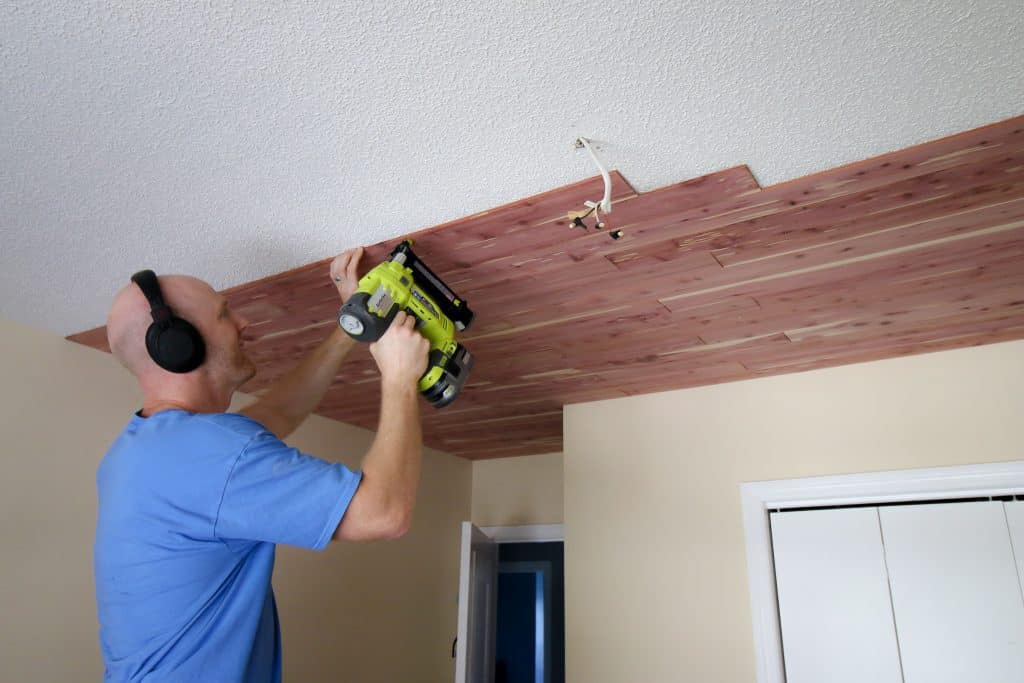
Each board was nailed into place using a brad nailer. It's best to alternate the direction of the nails to allow them to hold better.
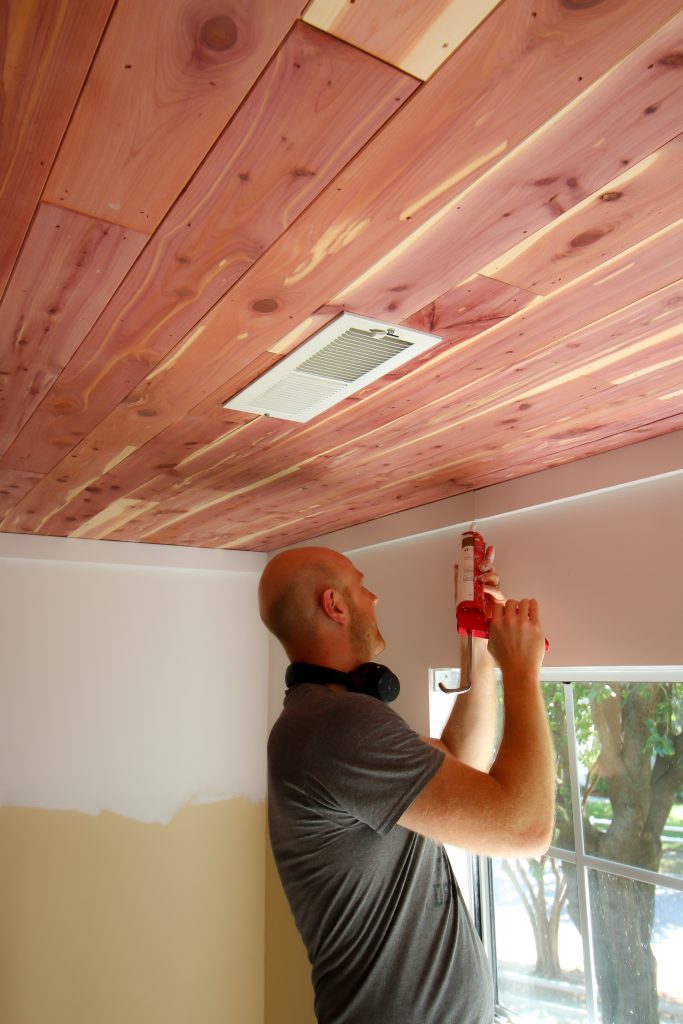
You can also add a bead of construction adhesive to the back of each plank to give extra security.
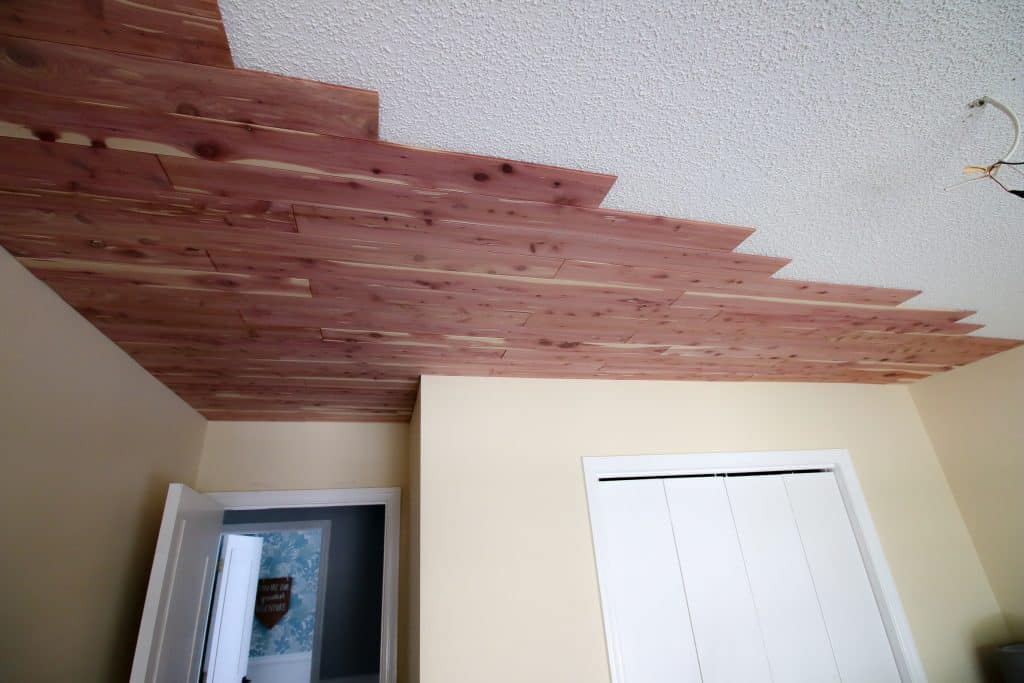
To reduce time and effort, the easiest thing to do is to leave whatever gap there is after using your last full plank and go back and start the next row.
This will end up creating an effect that will allow you to go make bulk cuts all at once instead of after each row.
On each end of a tongue and groove plank, there will be a lower lip on the board to the left and an upper lip on the board to the right.
Push these together flush as you work from left to right.

Once you move to your next row, use a shorter first plank than on the previous row in order to give it a staggered effect.
Feed the tongue side of a plank into the groove and push flush, then nail into place.
For subsequent planks, first push the tongue and groove edge into place, then slide the lips together on the ends.
Finish this row shy of where the previous row finished.
Continue until you can no longer make anymore rows with full planks. Then go back and cut custom lengths to fit the ends of each row.
Continue all the way until the wall, where you may have to trim boards width-wise. We had to trim the boards in our last row in half.
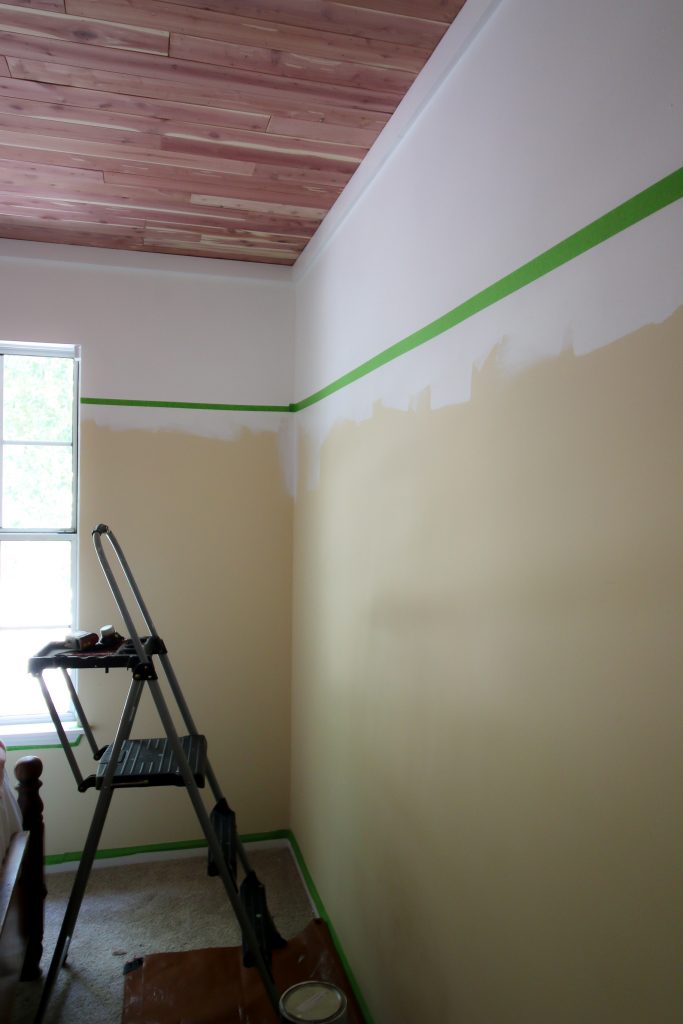
Add molding
There are a few ways that you can add molding to cover any imperfections you'll leave around the edges.
You can add crown molding, including special cedar crown molding. We chose to add 1x3 boards instead.
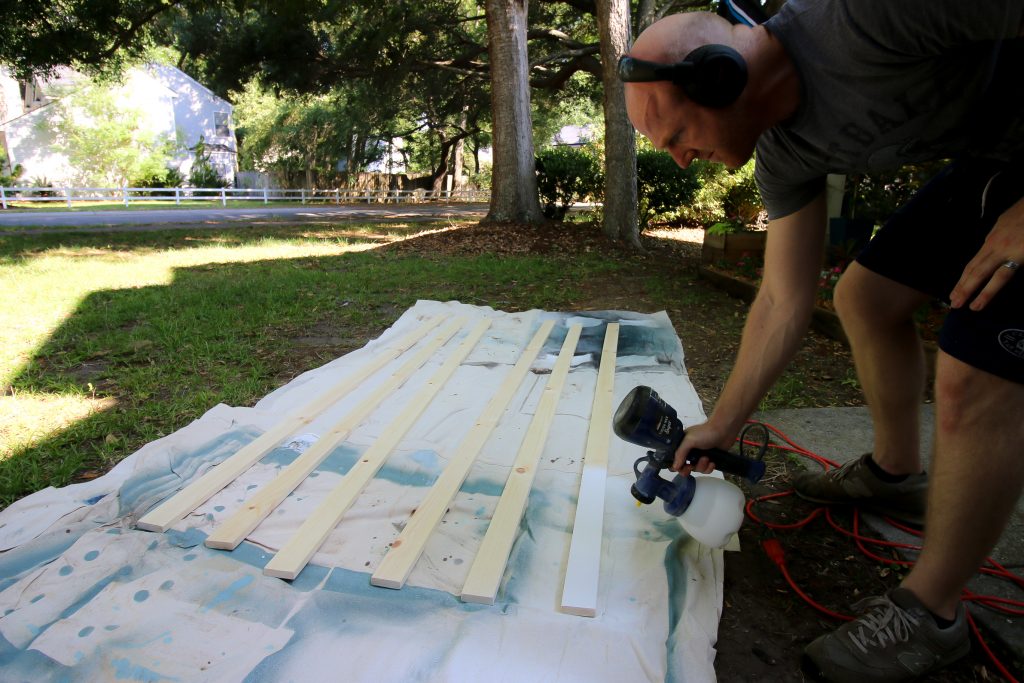
We painted all our boards white, then cut them to length for the space.
We beveled the edges of our boards to create perfect corners instead of boards bumping end to end. Then we caulked the seams.
Finishing touches
We were originally planning to paint the new cedar ceiling white.
All the ceilings in our house are white, so we thought this would match well with things like our DIY coffered ceiling across the hall in the nursery.
Plus, our walls were going to have a white color block at the top, so we thought this would flow well.
However, once we saw how the cedar looked, we decided to leave it. It looked amazing. Plus, we wanted to see how the cedar weathered.
Should I stain a cedar ceiling?
You do not need to stain or seal a cedar ceiling!
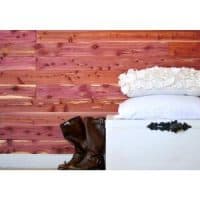
CedarSafe planks will turn more brown when exposed to air and we loved that look on our over the toilet storage.
We also decided that we couldn't un-paint it once we had painted it, so we left it, and I think we're going to keep it natural now.
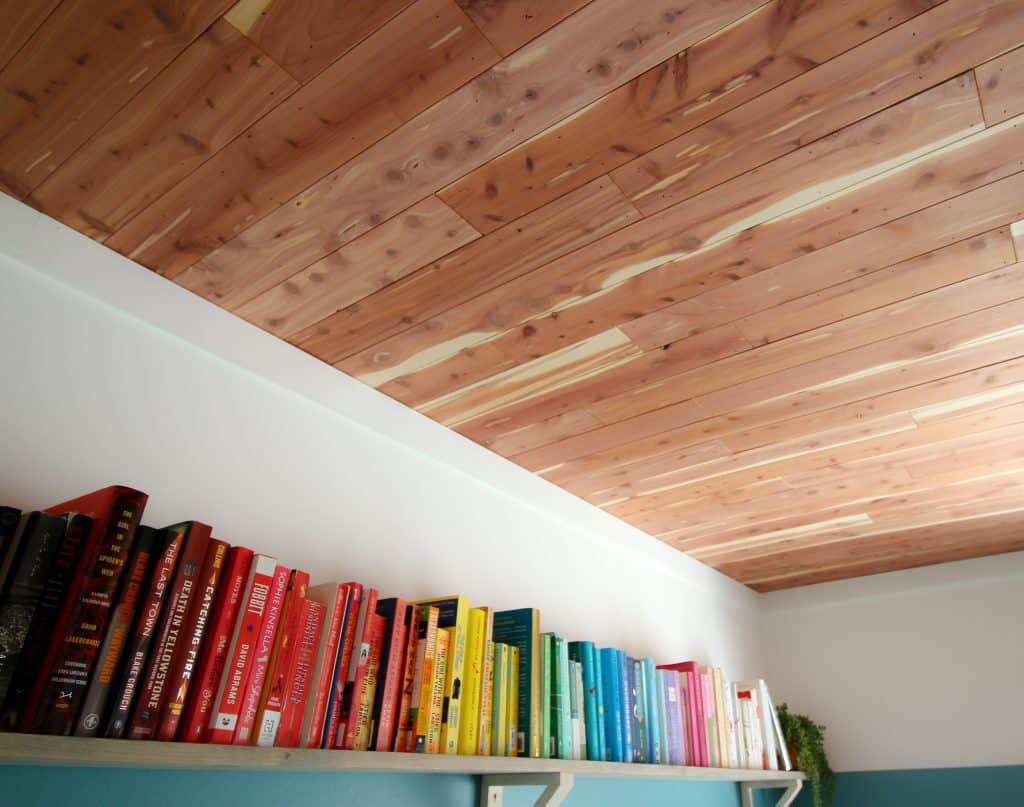
I love the color variations and the knotty cedar look. It's really unusual yet striking.
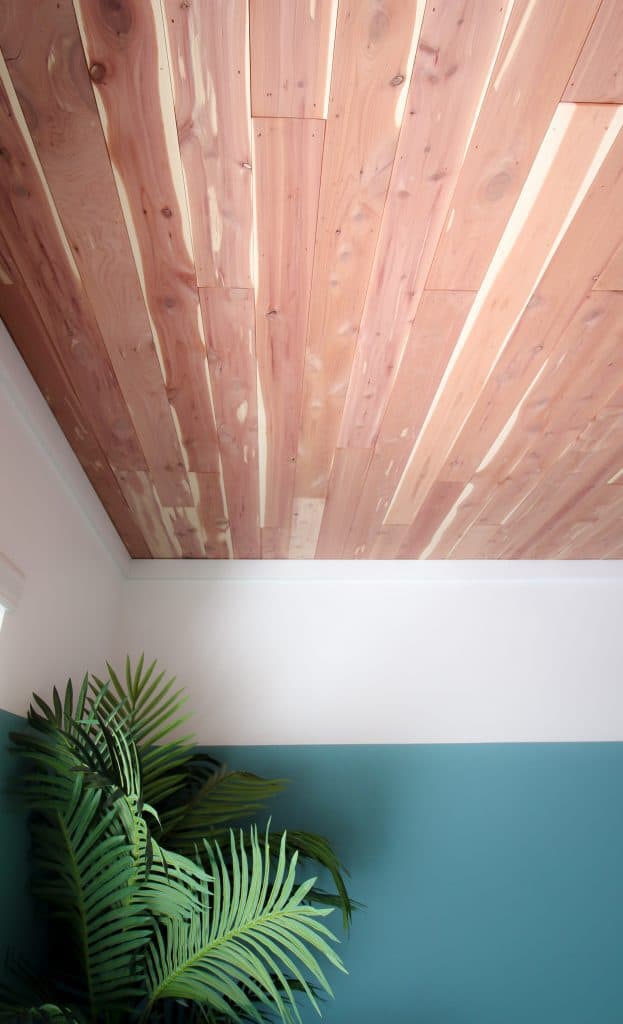
We absolutely love how our ceiling turned out and this set the vibe for the room!
We are going natural in this room and the ceiling kicked it off.
We love the look and can't wait to continue to share our guest room makeover with you!
How much does it cost to install a tongue and groove ceiling?
The cost to install a tongue and groove ceiling will depend on the product you use and the size of your room.
We used CedarSafe tongue and groove planks and used their project calculator to determine how many boxes of planks we would need.
You can easily do this for your project to figure out how much you need.
What nails to use for tongue and groove ceiling?
We used brad nails for our shiplap ceiling.
They have a very small head and make the smallest hole in your cedar wood plank.
What nail gun did you use for the tongue and groove ceiling?
We use the Ryobi Airstrike Cordless Brad Nailer. We have used a nail gun with an air compressor in the past (borrowed from a neighbor) and the cordless brad nailer is much easier to handle.
This brad nailer is cordless since it uses a battery and light enough to handle with one hand. We really love it!
Are shiplap and tongue and groove planks the same?
No! Shiplap boards are milled flat on each long side, so they can stack right next to each other. Tongue and groove planks join together and interlock!
However, shiplap and tongue and groove planks can have a similar finished look.
If you love the look of shiplap, cedar planks are a really fun way to mix that look up and give it a more raw and natural wood feel.
How do you nail cedar tongue and groove?
To nail the tongue and groove boars to your walls or ceiling, simply use a brad nailer! Once the board is where you want it, add nails on each end to hold firmly in place.
How to Install Tongue and Groove Plank Ceiling
This tutorial will show you how to install a tongue and groove plank ceiling in any room in your house.
Materials
Tools
Instructions
- Calculate square footage of ceiling and order appropriate amount.
- Start with nailing a row of planks until you can no longer fit a full plank, inserting the lips of each board together as you go.
- Start the next row using a shorter board than you started the last row with.
- Insert the tongue of the board into the groove of the board already nailed in, then nail into place. Continue until you are short of the end of the previous row.
- Continue, then go back and add custom length pieces to fit the gaps at the end of your previous rows, then continue with a new row.
- Add molding on the wall to cover the edges for a finished look.
Recommended Products
As an Amazon Associate and member of other affiliate programs, I earn from qualifying purchases.


This post was sponsored by CedarSafe, an easy, DIY-friendly, green, 100% natural product that is made entirely in the USA. All opinions are our own and our opinion is that we love CedarSafe planks. Thank you for supporting the brands that make Charleston Crafted possible!

Looking for something?
We've been doing this since 2012 so we have a LOT of blog posts!
Search stuff like: Ceiling Projects | DIY Plant Stands | Thrift Flips

Hey there, I'm Sean, the woodworking enthusiast and builder behind CharlestonCrafted.com! Since 2012, I've been sharing the magic of turning raw materials into beautiful creations. I love teaching others the art and satisfaction of woodworking and DIY. I try to inspire fellow crafters to make something extraordinary out of nothing at all.


margote says
Do you have a tutorial on diy wainscoting?
Sean says
As a matter of fact, we do- https://www.charlestoncrafted.com/easiest-way-to-install-diy-wainscoting/
Vincent Saccio says
When you put up your cedar ceiling did you nail into the ceiling joists or did you just nail into the wall board with the help of some adhesive. The cedar you used is 1/8", am I correct. Thanks
Sean says
Yep, it is really thin, I think 1/4" though. We just nailed and used minimal adhesive. It holds great because it is very lightweight.
Eleanor R Kuntzi says
We have radiant heat in the ceiling - is there a way to install without nailing?
Sean says
You could use construction adhesive, but you'd need to figure out a way to keep it up while the adhesive dries.
Dennis Esterberg says
Thanks, Very nice tutorial. I am interested in the paint sprayer that you used for the molding. Do you haver a recommended one?
Morgan says
Hey Dennis, this is the one we used- https://amzn.to/3aEmK3W and I would highly recommend.