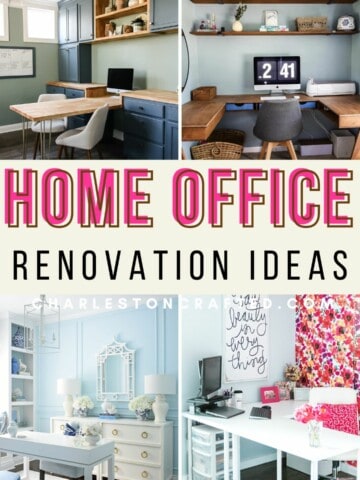
Check out how we transformed our owner's suite bathroom in just one long weekend. This makeover shows how far some paint and new fixtures can go to completely changing a space.
This post was sponsored by National Hardware, where you can get all of the hooks and brackets used in this post. All opinions are our own. Thank you for supporting the brands that make Charleston Crafted possible!
This post kicks off our process in making over the owner's suite in our home! For the last year and a half, we've been working on projects all over our house, but every night have to retreat to the most builder-basic space we could have imagined.
Our plan is to do the whole space, including the bedroom, bathroom and closets, but we had to prioritize where to start based on how things would look in the end.
We determined that the best way to do that was by working in the bathroom. While we don't love all the tile and vanity choices made in the space by the original builders, we decided not to completely overhaul those things right now and instead focus on a simple makeover of the aesthetics of the space.
Check out my tips for how to make a small bathroom feel luxurious!
So, let's dive into how we transformed our bathroom in a weekend!
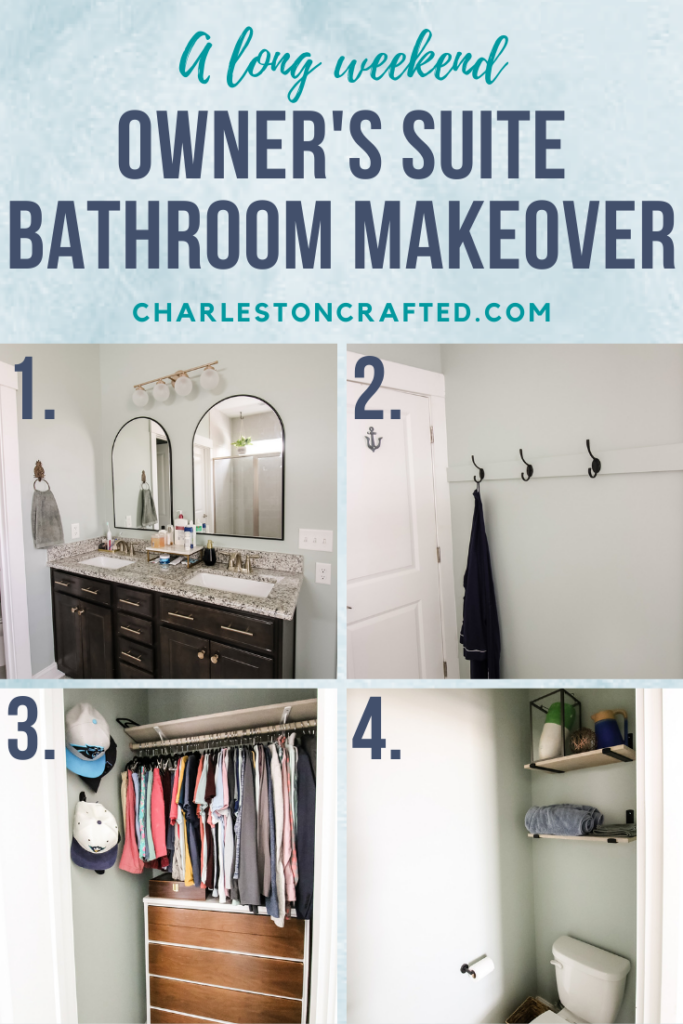
Owner's suite bathroom makeover
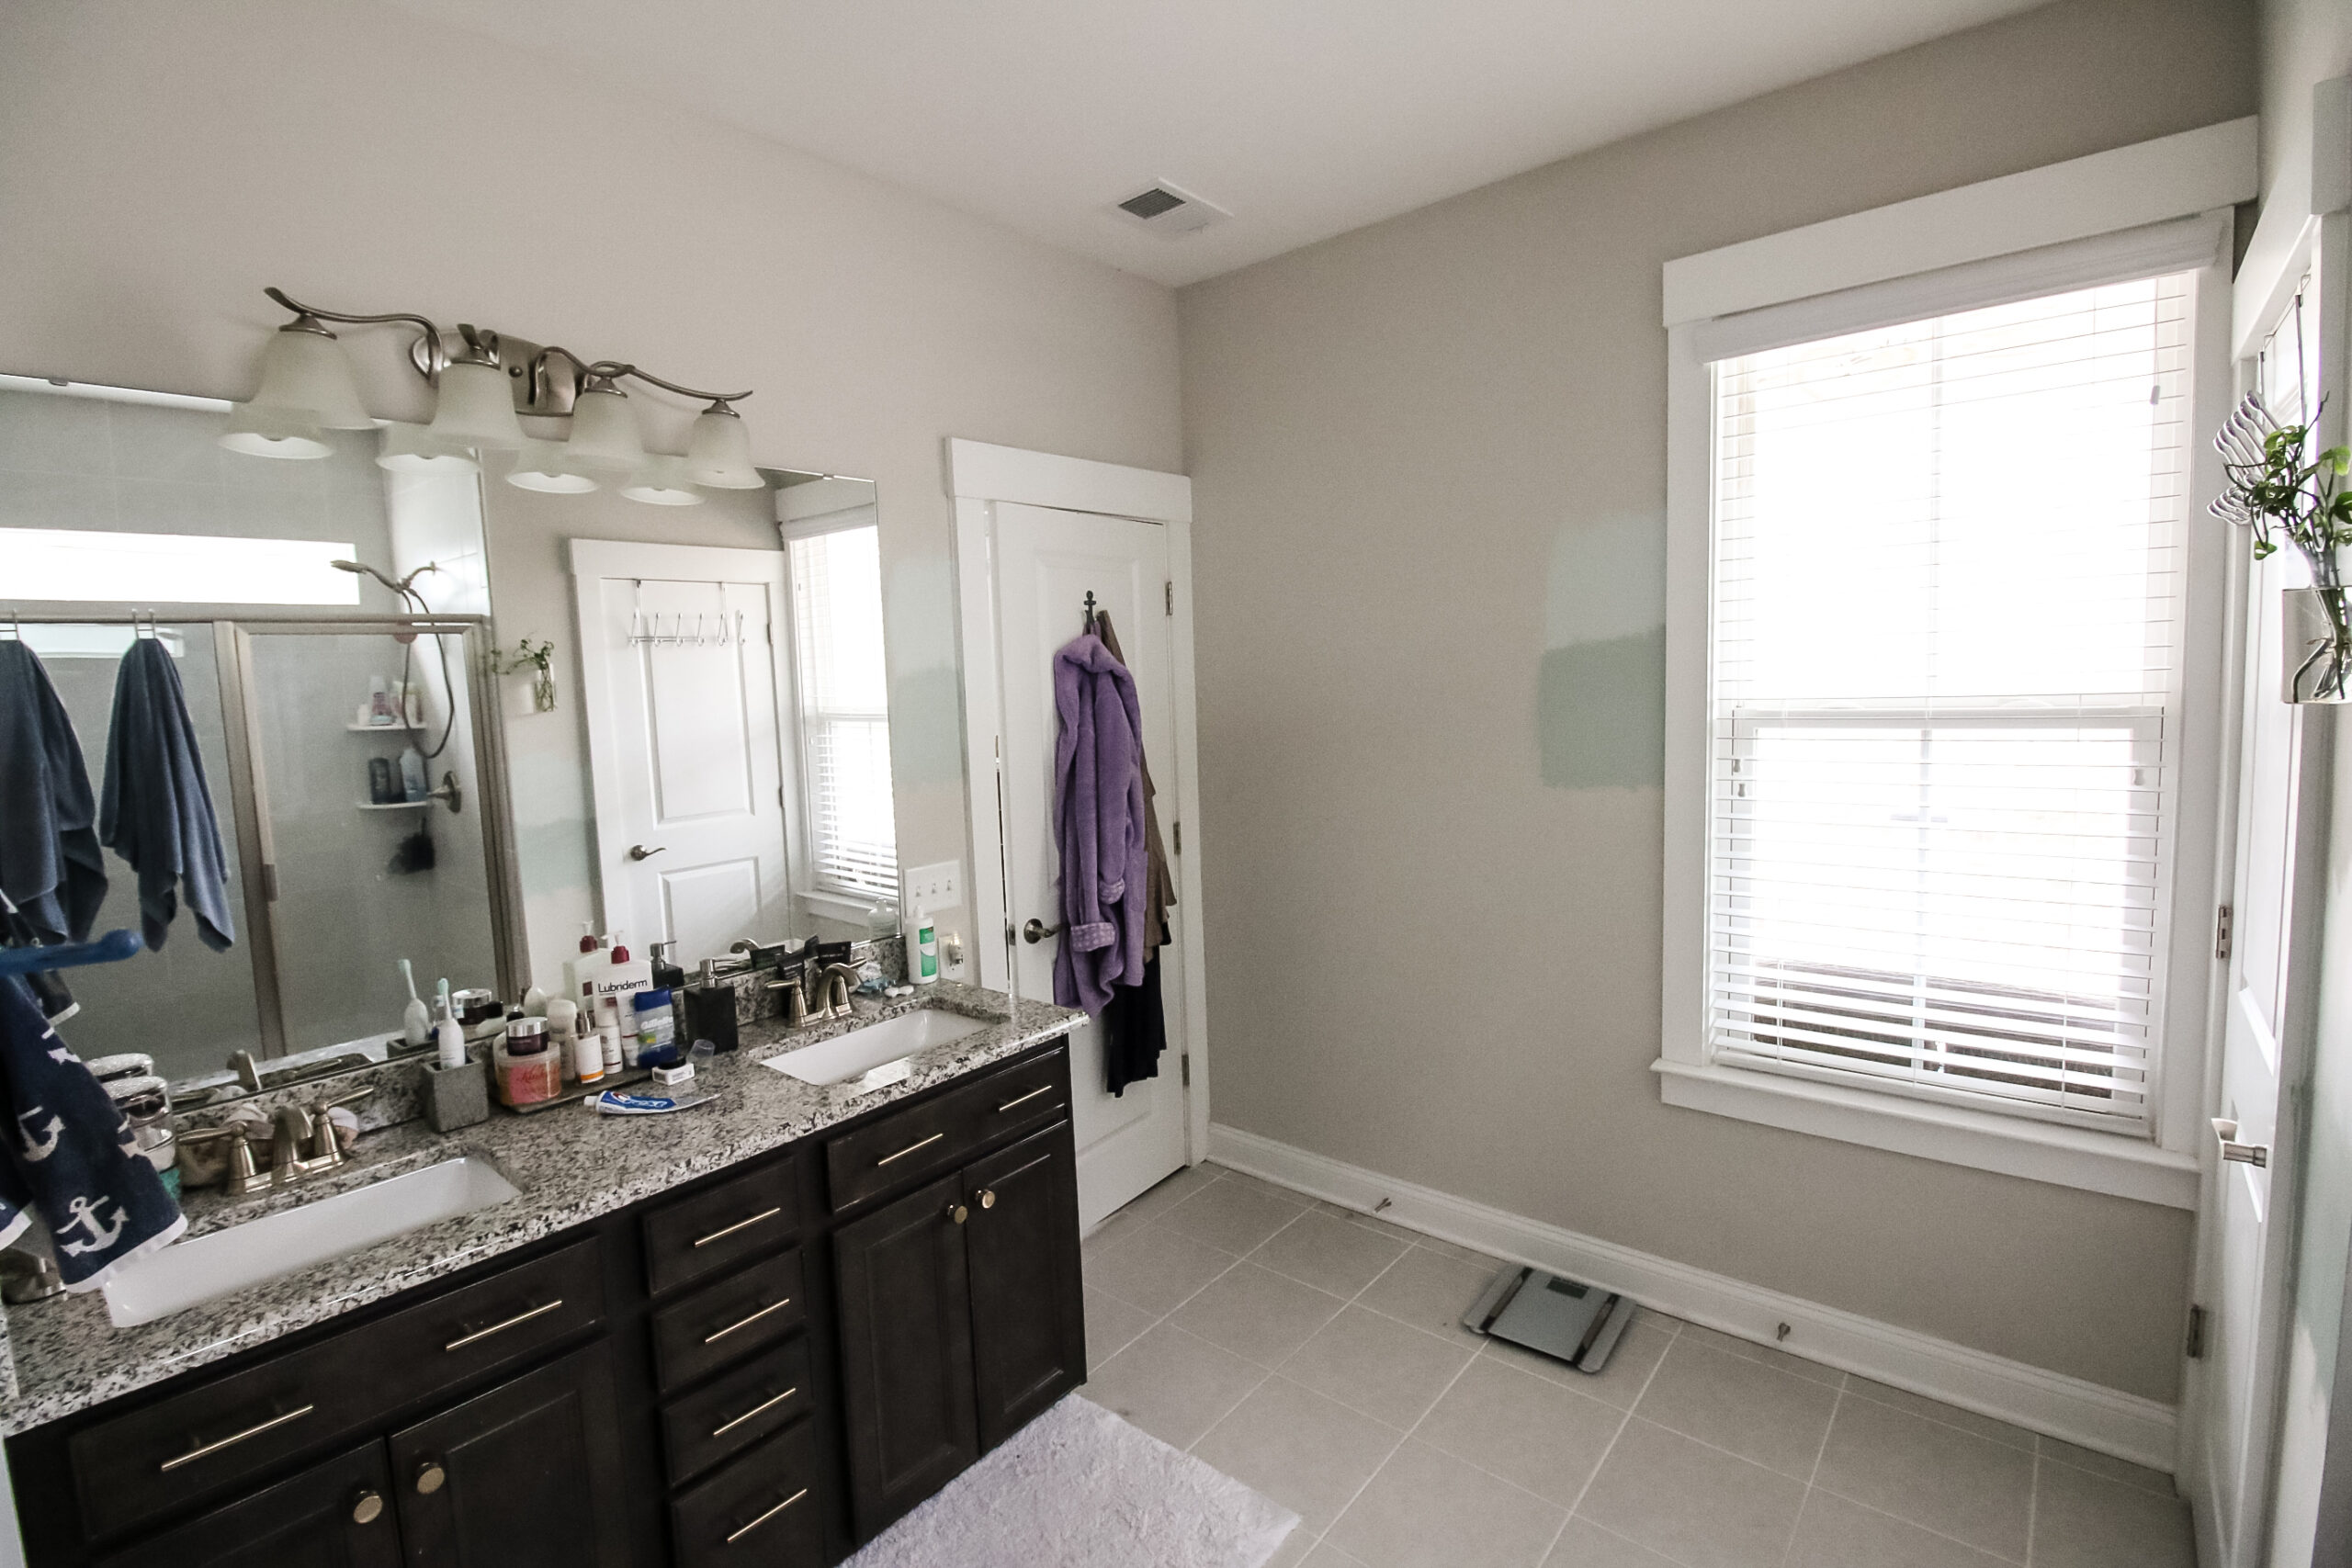
We'll outline this post based on how we decided to tackle each project. But here's a little look at what the space looked like before.
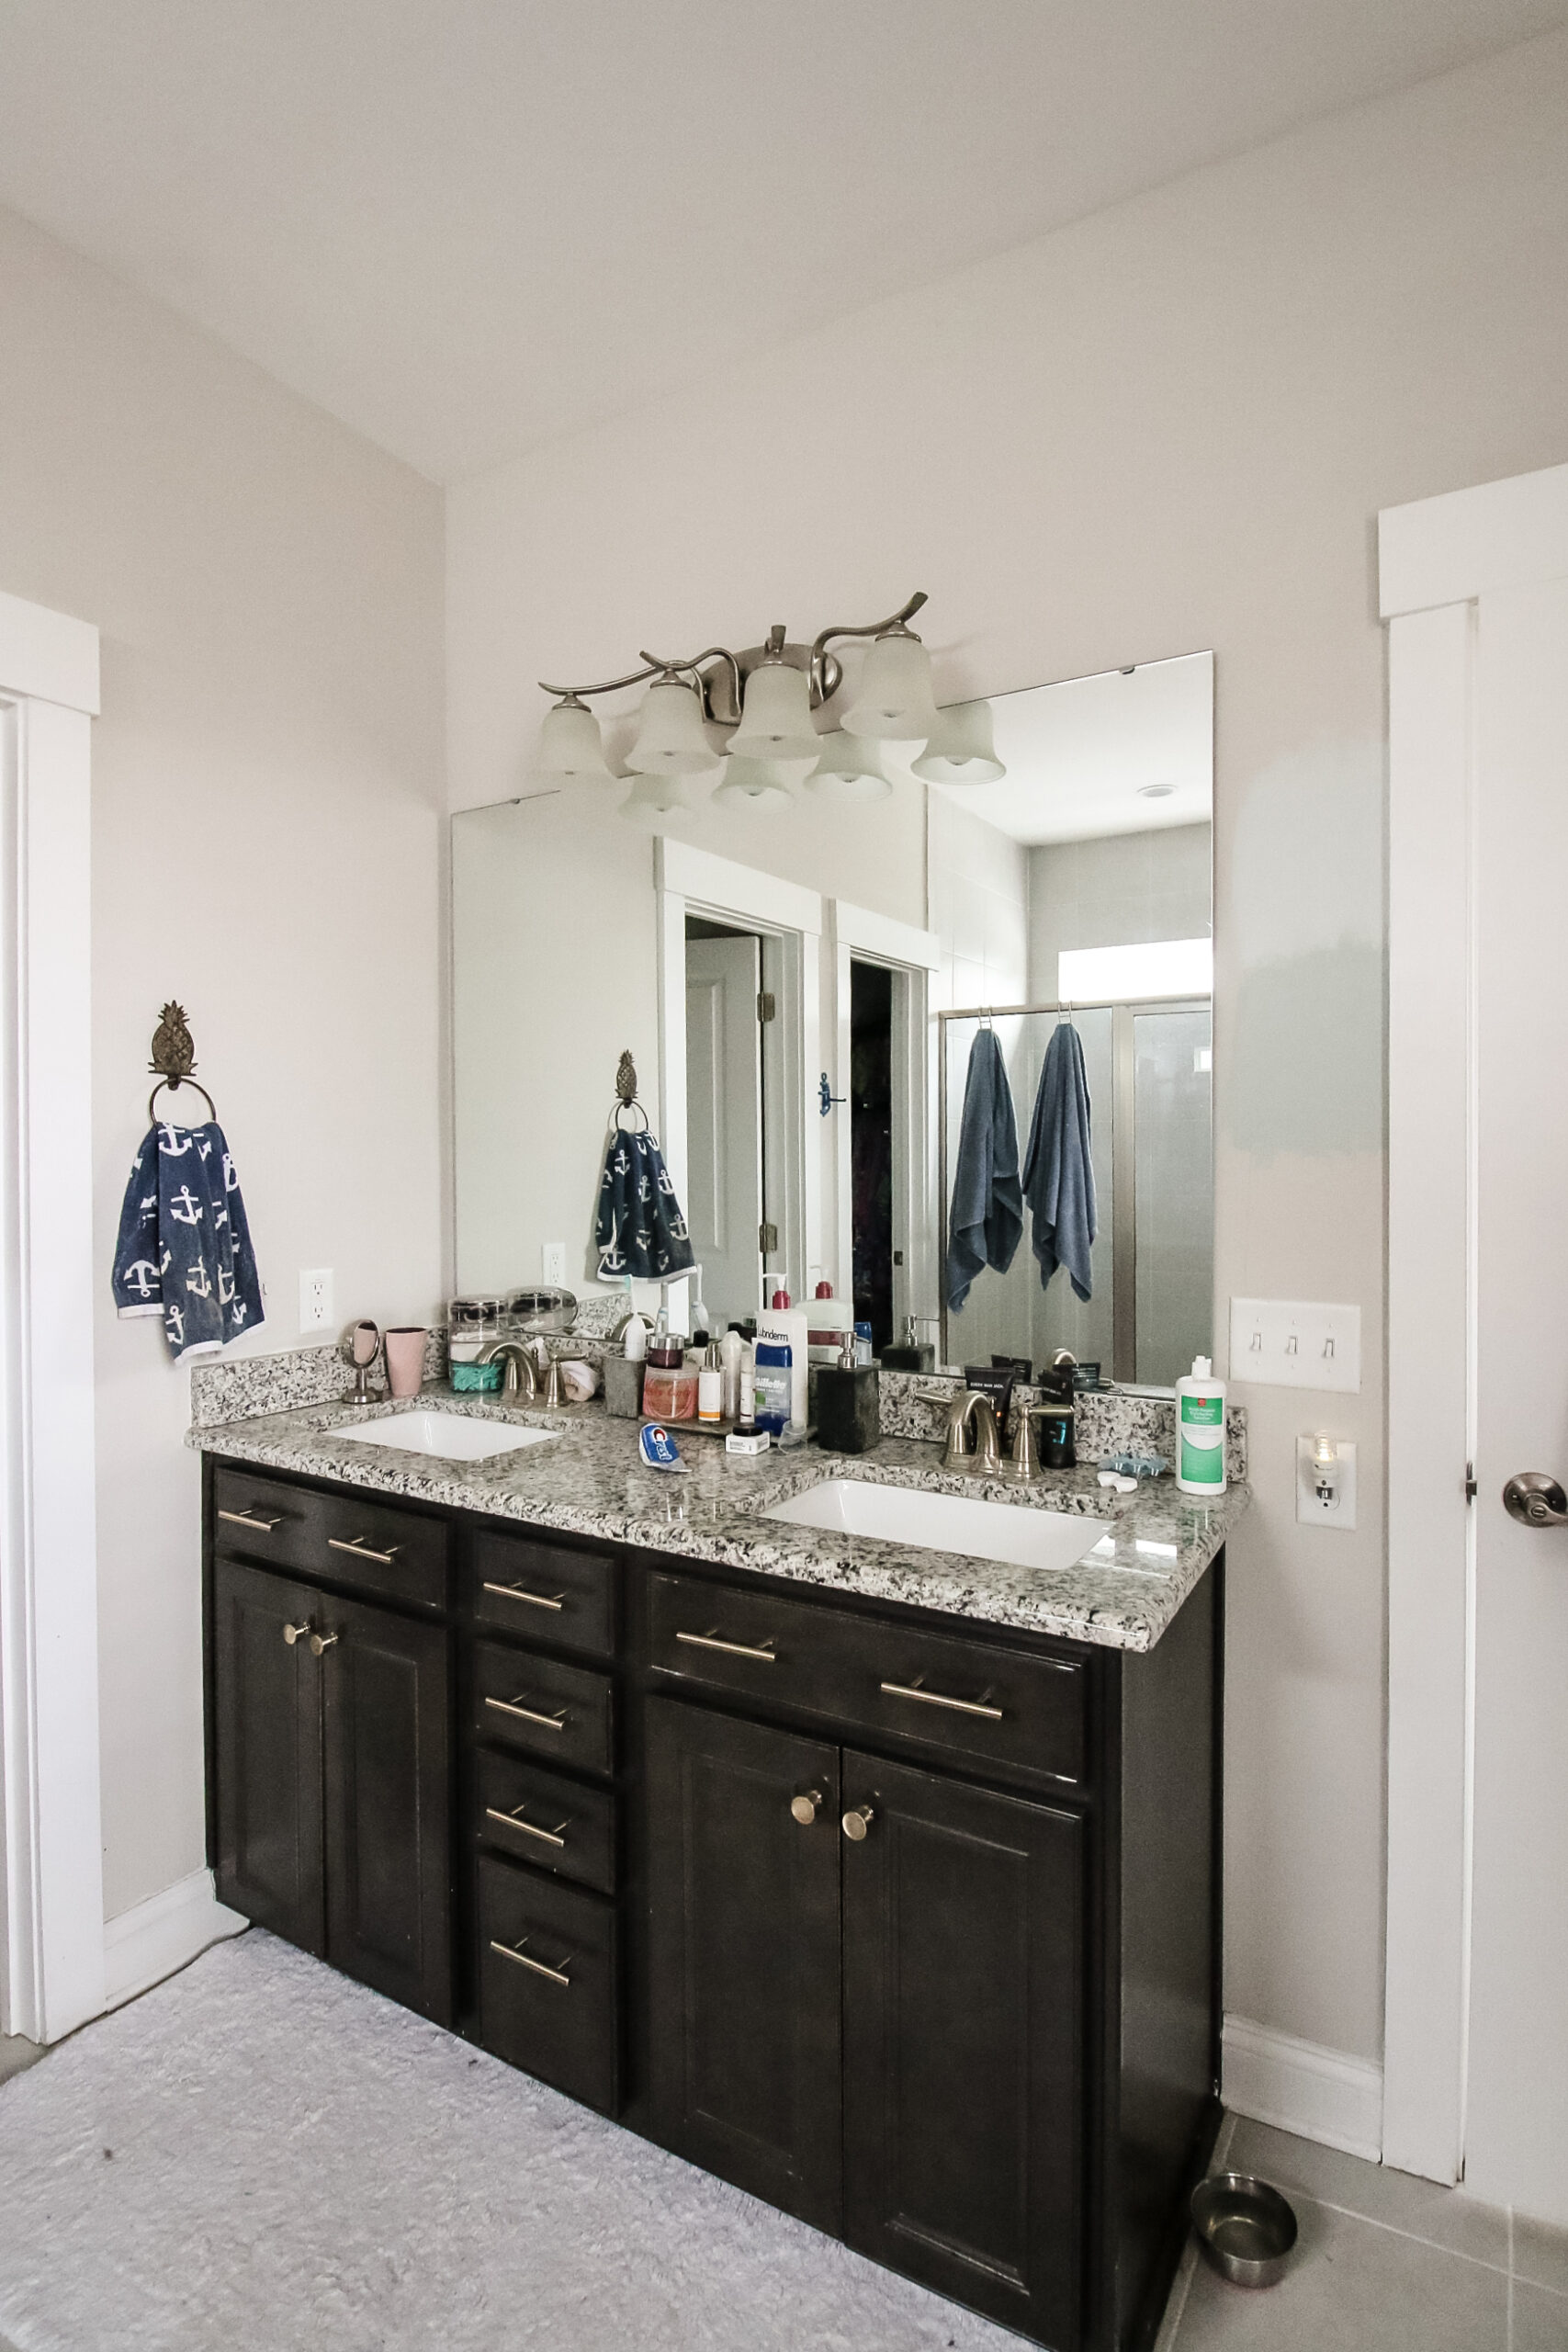


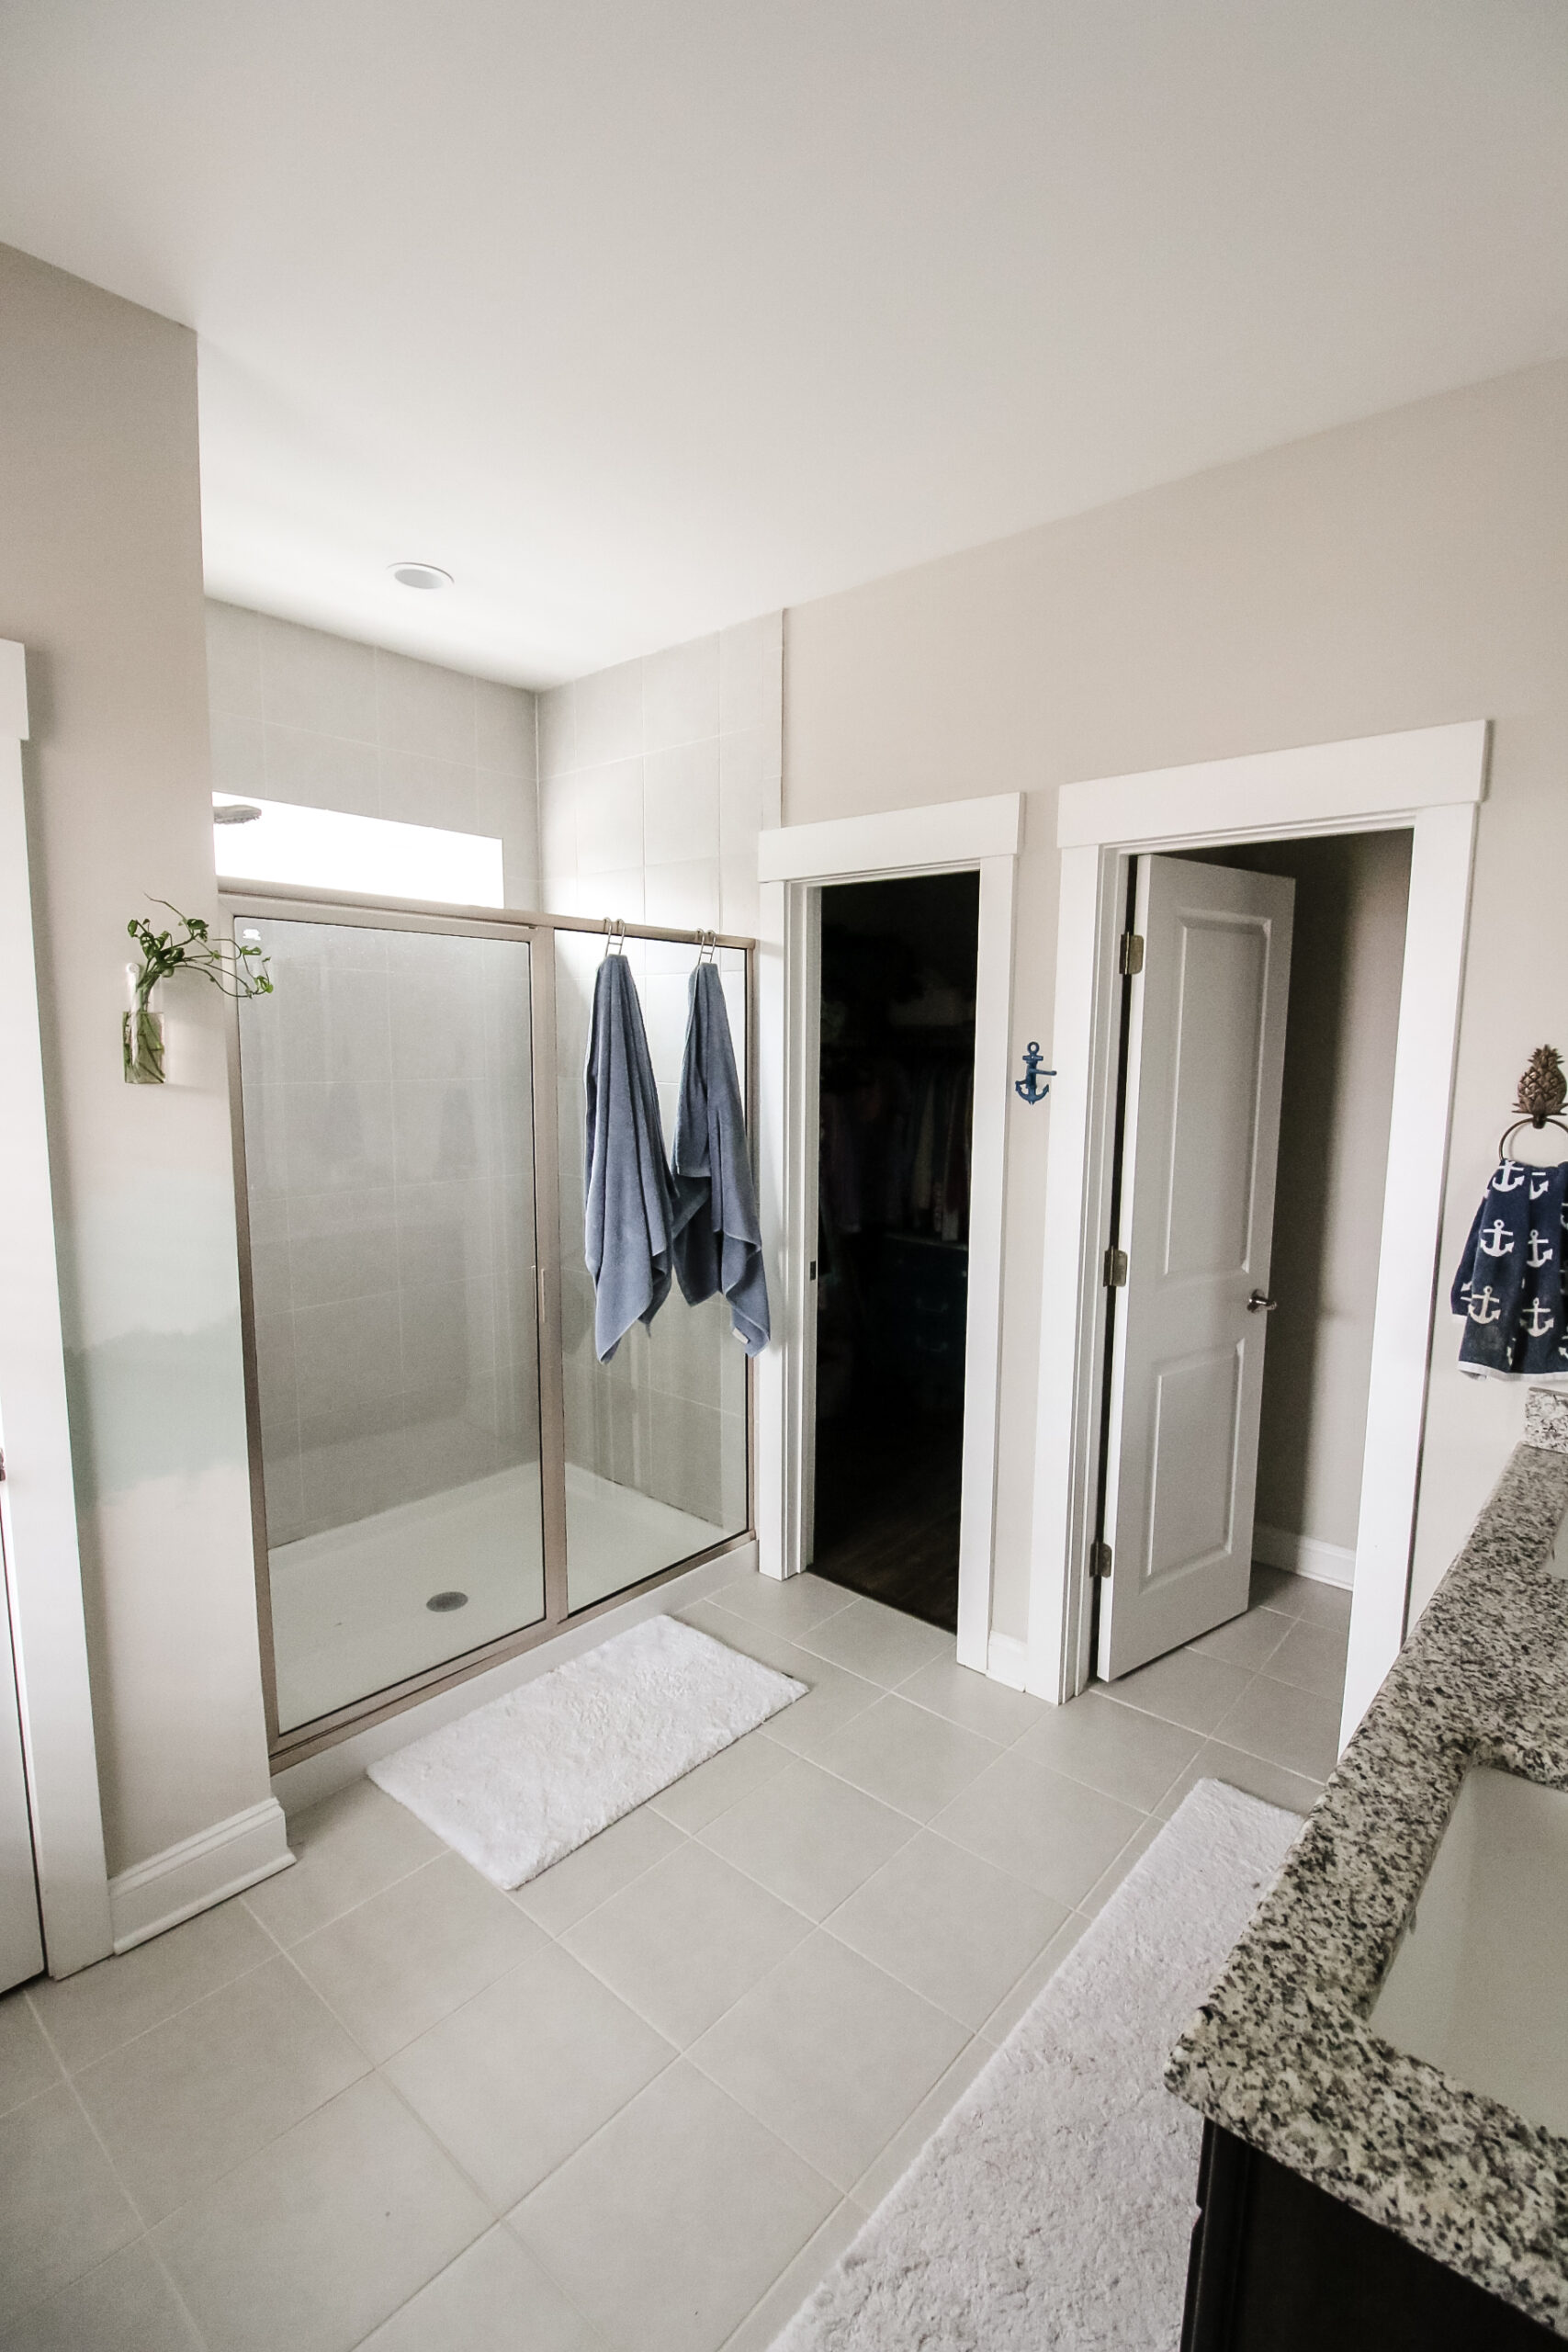
We started by removing the old builder-grade rectangle mirror and light fixture, filling all the holes and painting.
We opted for Behr's Riverdale paint color as a calmer, more soothing tone from the rest of the house. It's still on the same paint strip as the paint we did on our whole downstairs, just one shade lighter for a spa-like vibe.
Vanity area
We started by organizing under the sinks because we were going to be moving things under here that were previously in the linen closet in our bathroom so we could transform that into Sean's closet.
Stay tuned this week for tips on how to organize bathroom cabinets and drawers!
As mentioned, we didn't do anything to the vanity itself or the countertop, even though they aren't our style. If we go into a deeper($$$) makeover, we'll overhaul this in the future.
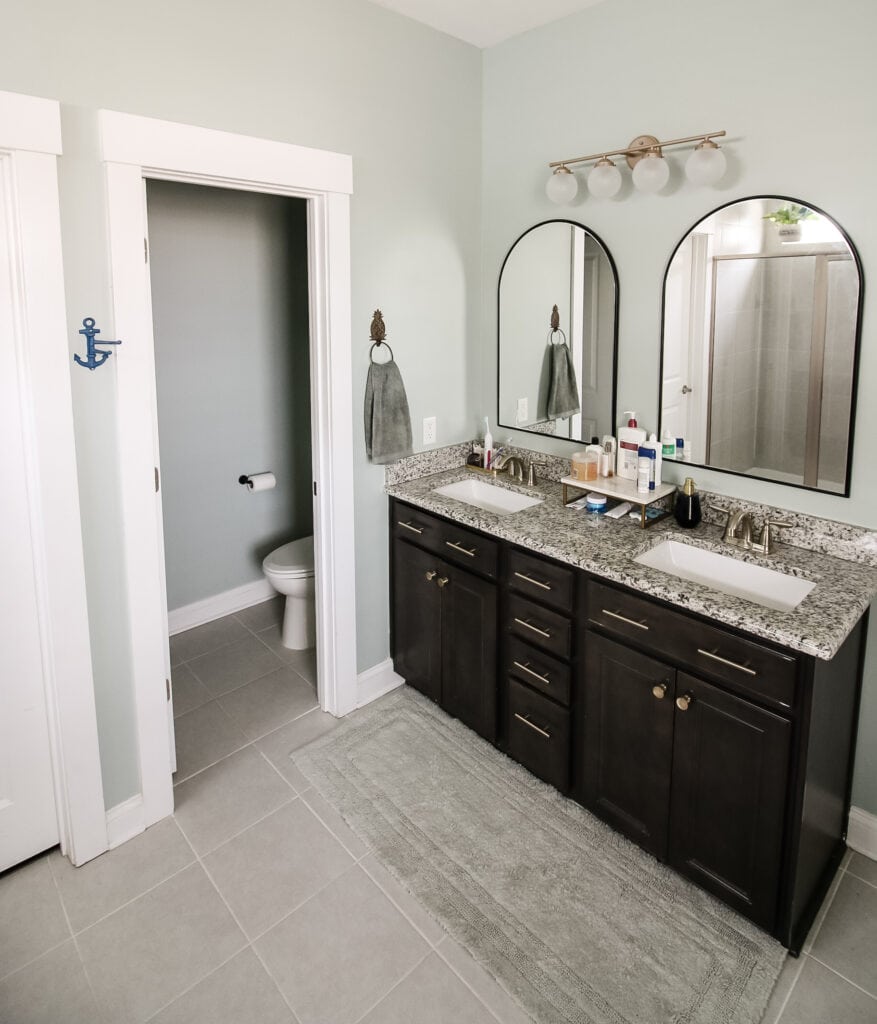
For now, we added two arched top mirrors and a frosted globe light fixture. This really mimics what we did in our half bathroom!
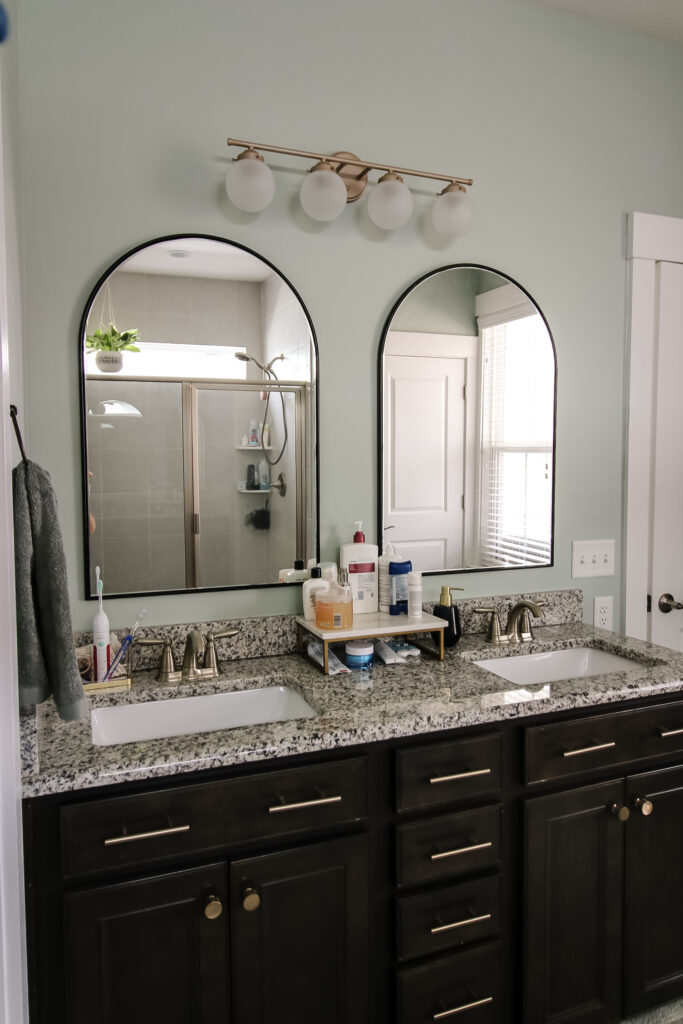
We also went to Target and bought new accessories for the counter and got rid of the stone ones that we got as wedding presents. They were seven years used and clashed hard with the stone look counters.
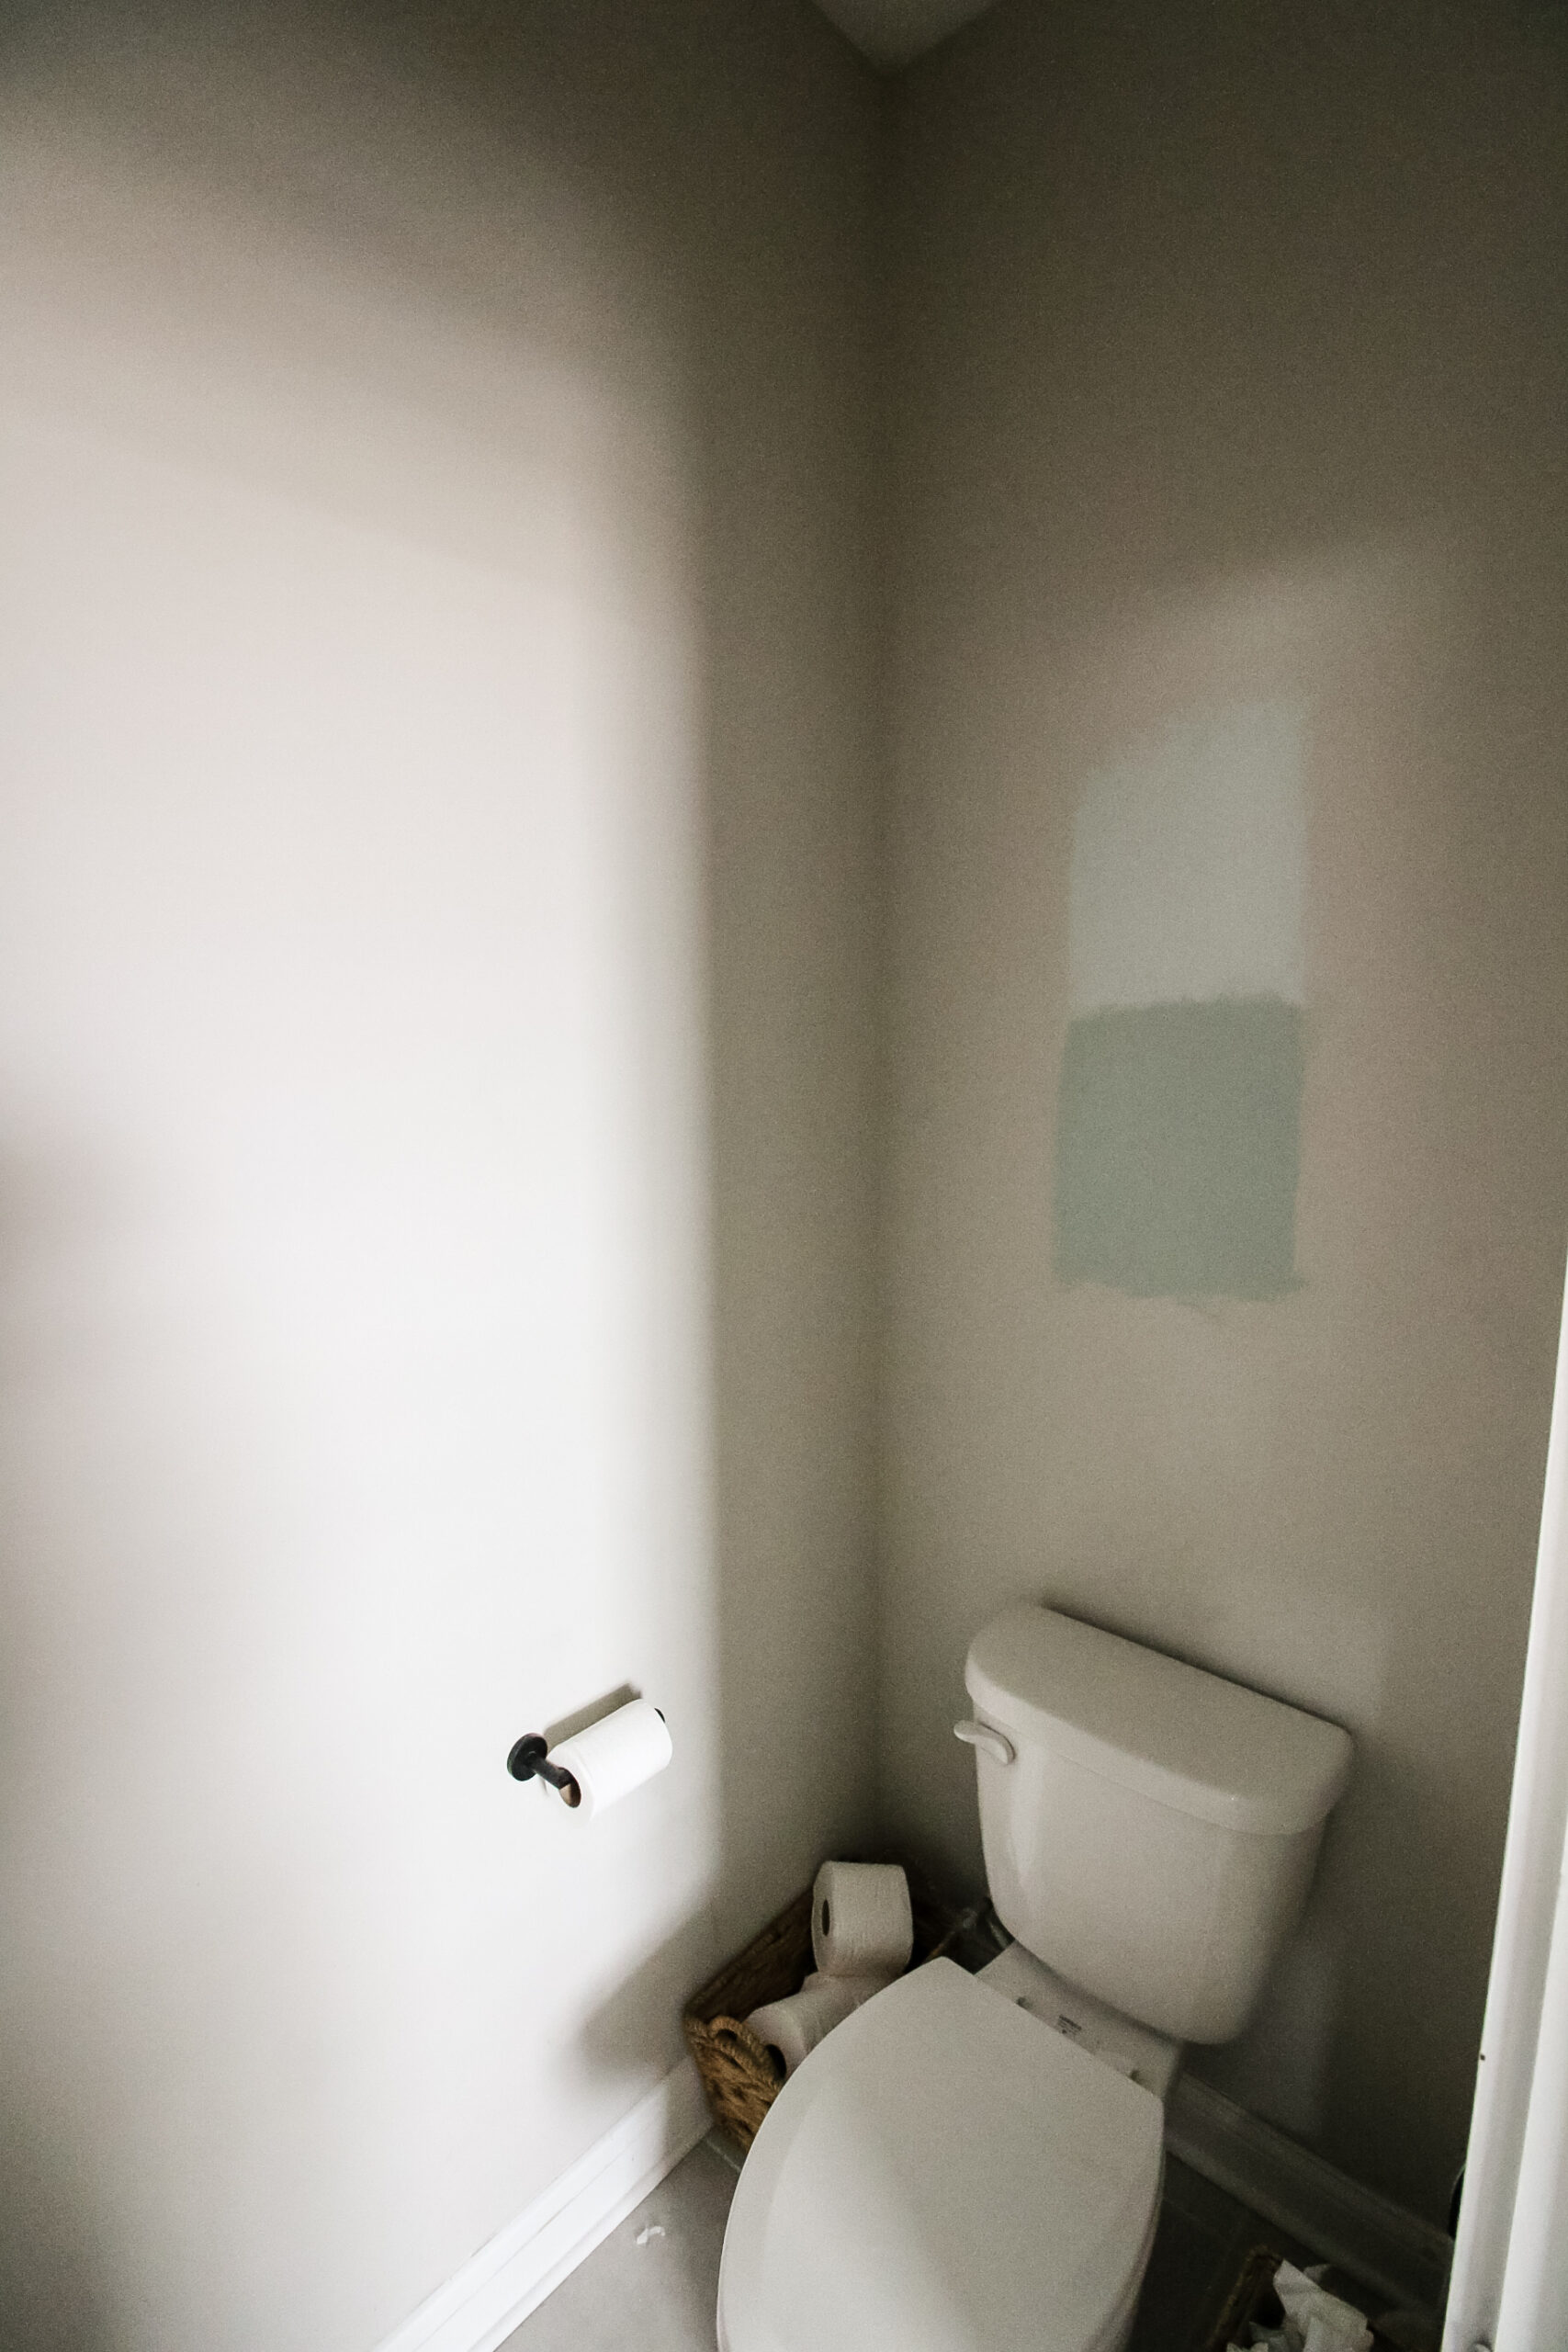
Toilet room
Off the bathroom, we have what we call the "toilet room" for lack of a better term.
In here, we painted but wanted this sterile space to be a little more functional. So, since we were losing the linen closet where we kept our extra towels, we decided to hang up some floating shelves.
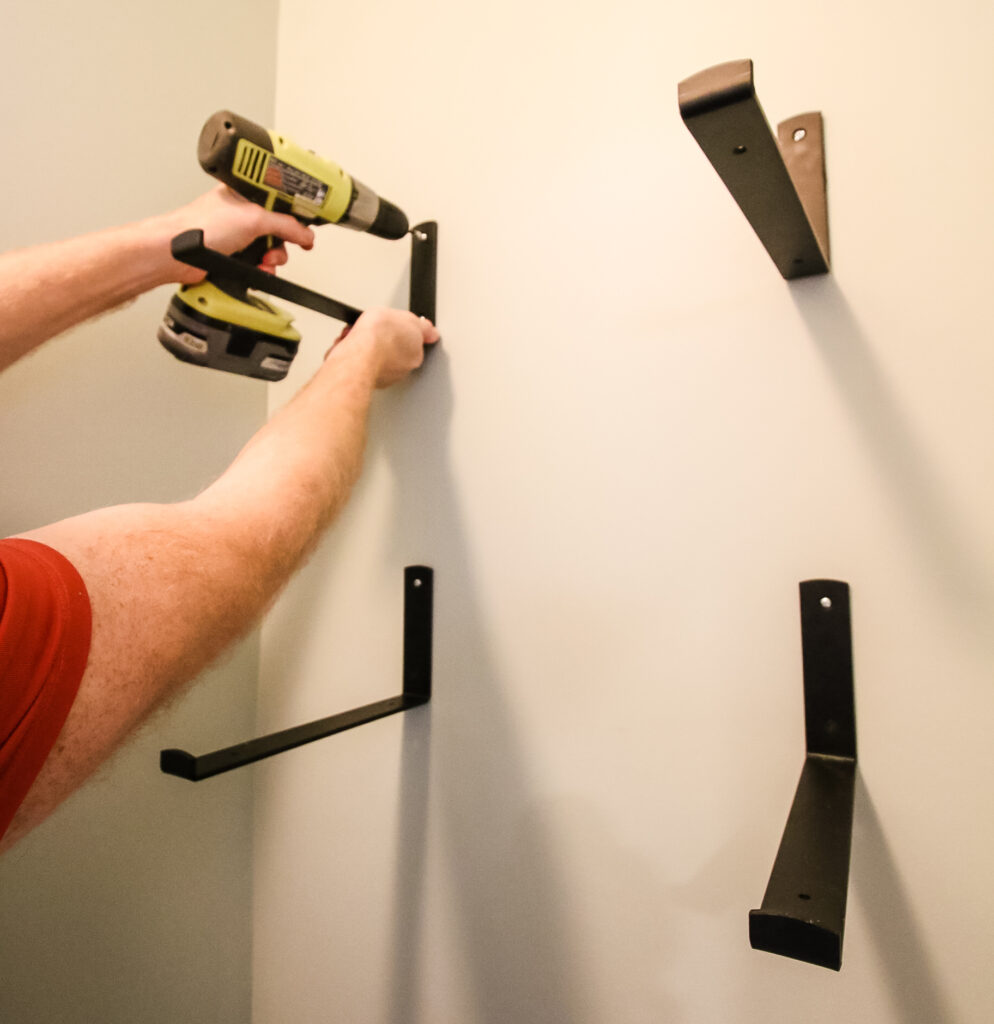
We used the National Hardware "Made By Me" floating shelf hardware kit to add two shelves above the toilet.
Check out how we did the same thing in our 24 hour half bath makeover last year!

These are easy to install, just adding anchors into the wall and screwing them in place.
After cutting and staining a couple of boards to put in place, they were ready to go super quick!
You could also refresh the grout if it's looking bad with a grout pen. Here's how!
Linen closet turned clothes closet
Now that everything was finally out of the linen closet, we were able to start transforming this space into a clothes closet.
Click here to see the easiest way to remove wire shelves and replace them with wood!
We started by removing the wire shelves and patching and painting.
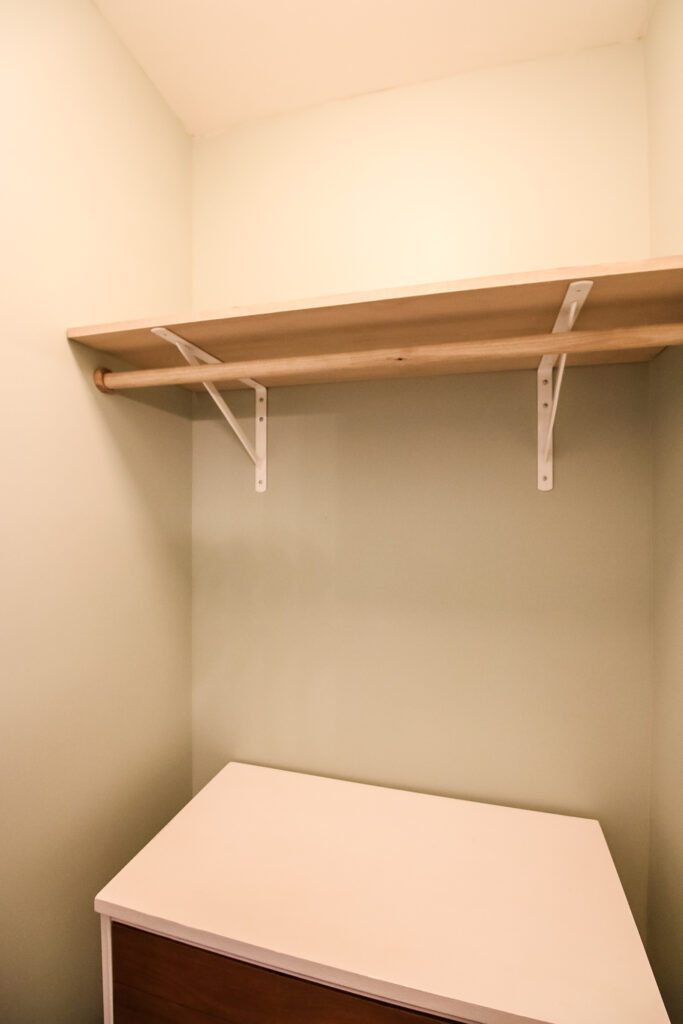
With a blank slate, we slid in a midcentury modern dresser we transformed a few years ago and then added a wooden dowel rod to hang clothes.
Above the rod, we added National Hardware's heavy-duty shelf brackets to add an upper shelf. Thanks to the heavy duty brackets, this will be able to hold pretty much anything we need, including hiding kids Christmas presents...
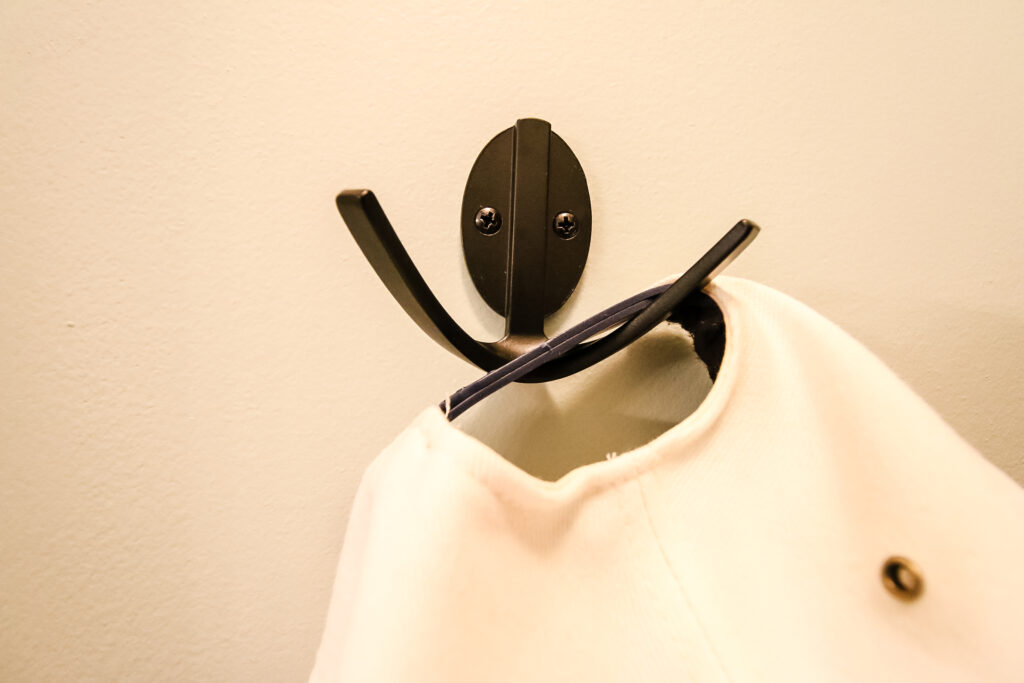
Finally, we added a couple of National Hardware modern double robe hooks to hold hats. Yes, hats are really important when you're bald.
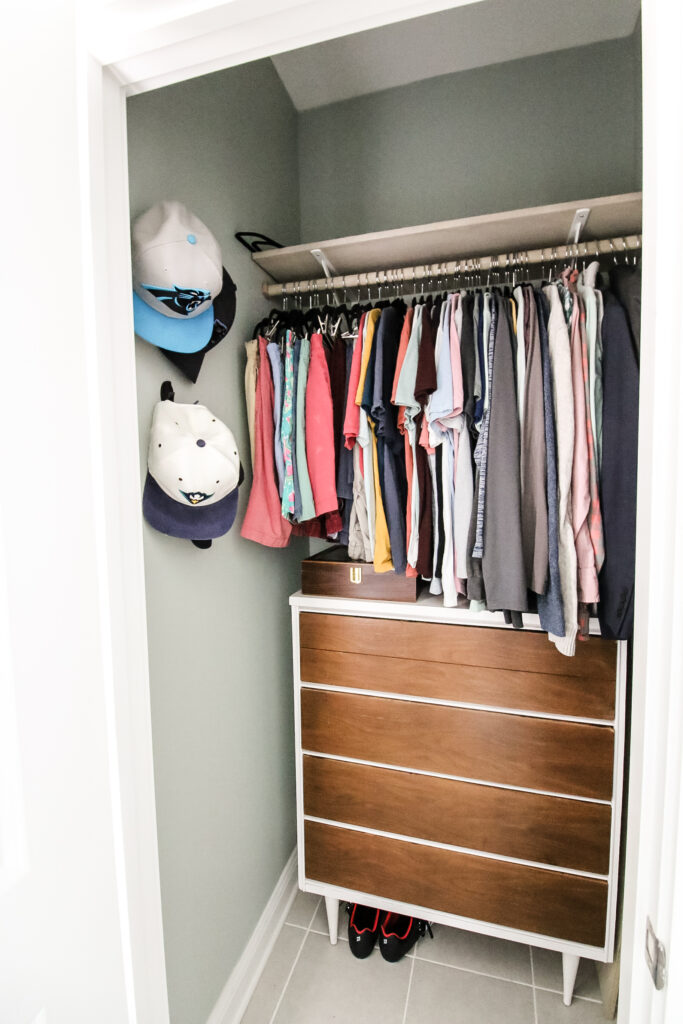
The hooks look great and hold a couple of hats each. These were easy to install with two screws and make storing hats a breeze, just like when we used these on a DIY entryway shelf last year!
We used the brass version of these in our DIY mudroom lockers last month!
Hook rail
Next up was a place to hang wet clothes and robes after they've been used. We were using a cheap metal over the door clothes hanger that was left here by the previous owners, so we decided to make something nicer.
We started by cutting down and nailing up a leftover piece of shiplap from our fireplace makeover. After caulking it, we painted it to match the wall.
Then, it was simple to screw in some hooks. We screwed in three of National Hardware's modern coat and hat hooks to give us ample places to hang things after working in the garage or doing a workout.

This is a simple way to do a hook rail, with literally just a board and hooks, but it makes a big difference in your space. Including the rail gives the hooks a more anchored look than just drilling them directly into the wall!
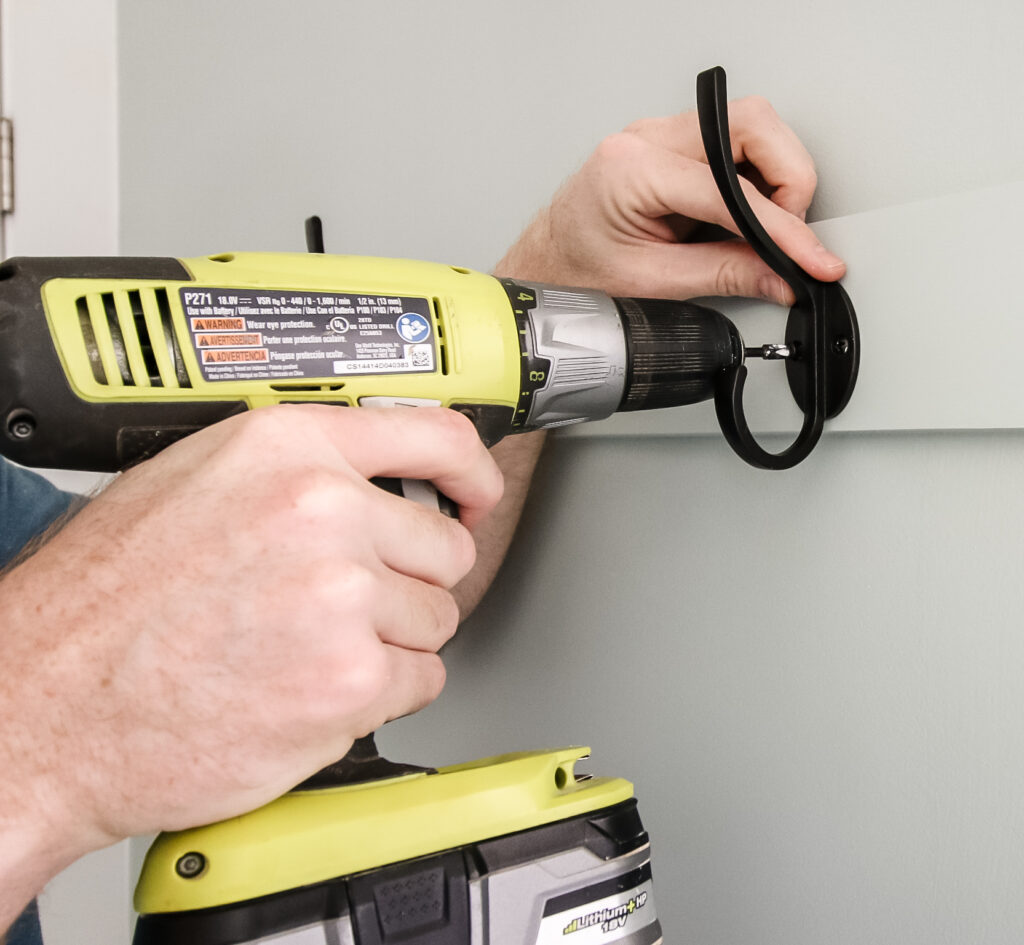
Hanging plant in shower
Finally, as you know, we are crazy plant people. This bathroom gets a lot of good natural light, but there's no where to actually put a potted plant on the ground.
So, we used National Hardware's new modern ceiling plant hook to hang a plant down from the ceiling in the shower.
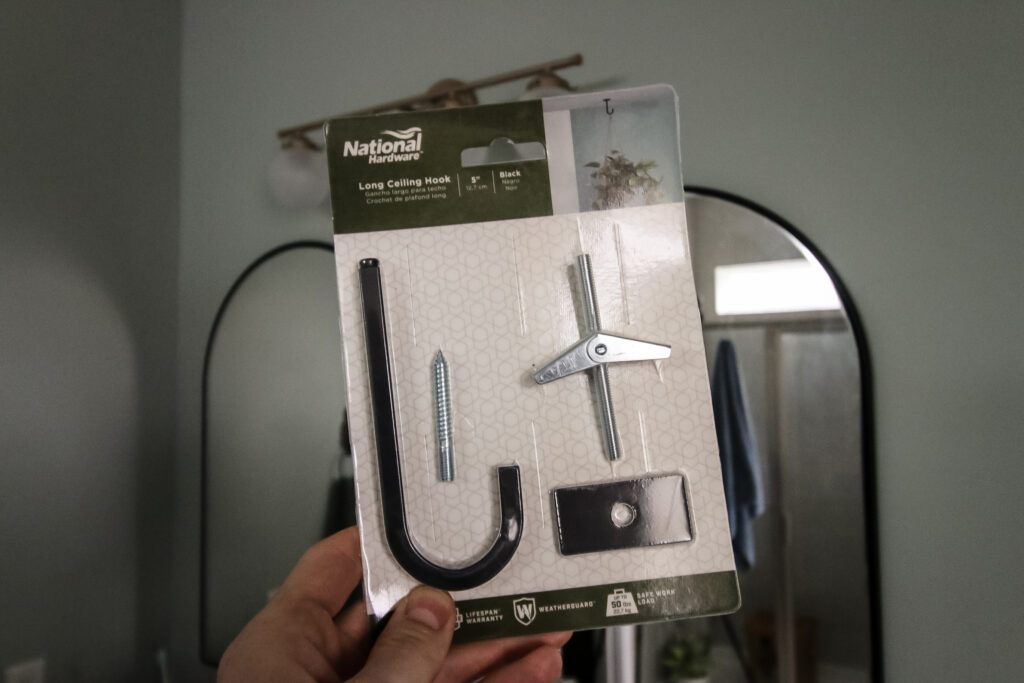
This was super easy to do, just drilling a hole in the ceiling and screwing the hook in. We love the modern look of these that look much better than the hooks we used downstairs to hang our floating plant shelf.
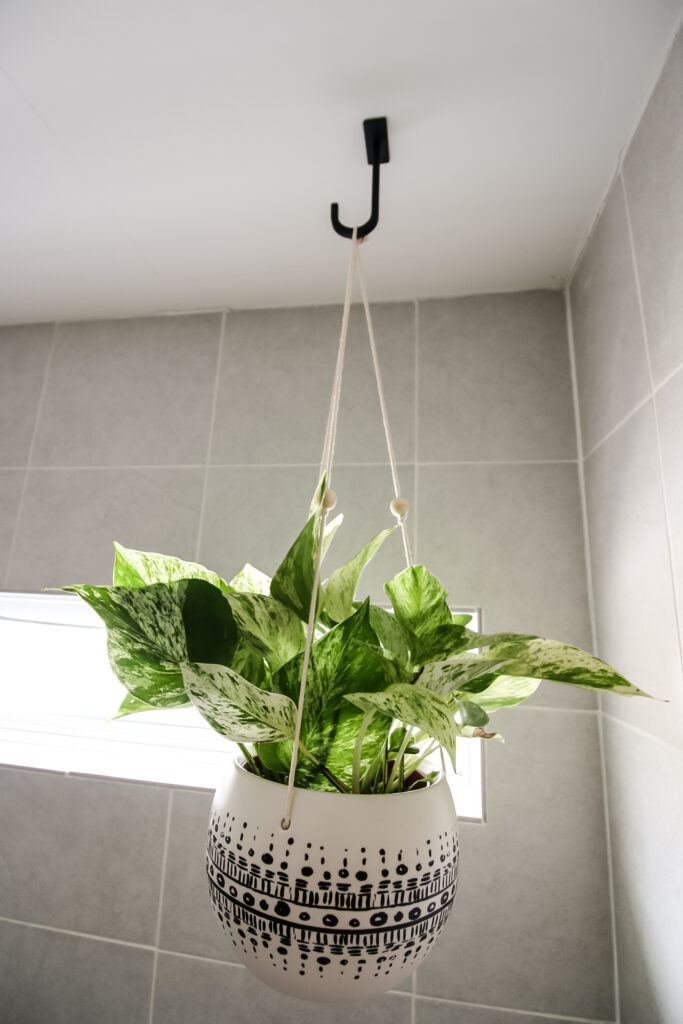
Since it's in the shower, we picked a marble queen pothos, a plant that will do well with high humidity and good light. The hook holds up to 50 pounds, so plenty of wiggle room with this potted plant!
Up next
Up next, we'll be diving into the walk-in closet that is also part of this space and transforming that into a functional place for all of Morgan's clothes and accessories.
Then, we'll be diving into the overall bedroom makeover.
Stay tuned!

Looking for something?
We've been doing this since 2012 so we have a LOT of blog posts!
Search stuff like: Ceiling Projects | DIY Plant Stands | Thrift Flips

Hey there, I'm Sean, the woodworking enthusiast and builder behind CharlestonCrafted.com! Since 2012, I've been sharing the magic of turning raw materials into beautiful creations. I love teaching others the art and satisfaction of woodworking and DIY. I try to inspire fellow crafters to make something extraordinary out of nothing at all.