A DIY pallet Christmas tree is a great holiday decor craft for your yard! Learn all about what you need to make one!
With the holidays approaching, it's always a good time to try out making new decorations for your yard.
Using free materials makes any DIY project better. That's why wooden pallets are so great for projects!
A DIY Christmas tree made from a pallet is an easy DIY project that you can do in an afternoon.
Here's how to make a DIY pallet tree!

DIY pallet Christmas tree
Wooden pallets make great materials for any craft for the outdoors. If you want to make a Christmas tree out of pallets, you can follow this simple tutorial to make as many as you want!
This DIY scallop planter is another great project to make from a pallet!
How to build a pallet Christmas tree
Building a pallet Christmas tree will take just a couple of hours. The most difficult part is disassembling the actual pallet.
To break apart the pallet and build the tree, you'll need a few tools that hopefully you have on hand or can borrow.
Materials needed to build a pallet Christmas tree:
- Wooden pallet
- Hammer
- Pry bar
- Saw
- Brad nailer, nails or screws
- Wood glue
Here's where to get free pallet wood for any of your pallet projects!
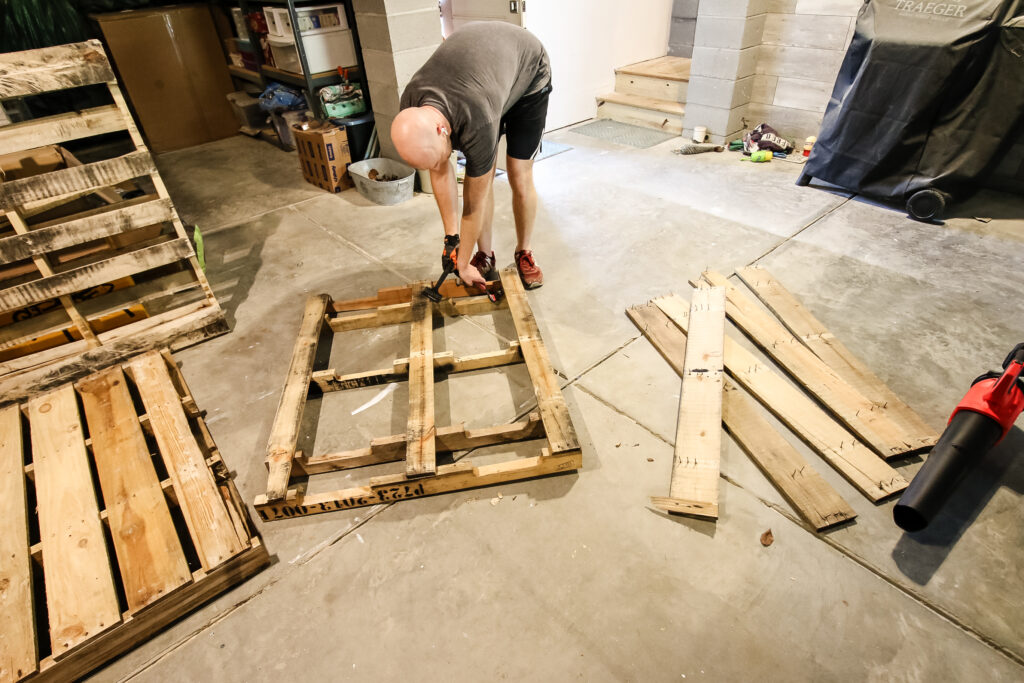
Step one: dismantle pallet
Start out by breaking down the pallet itself. You'll want to make sure you select a pallet that isn't super dirty or damaged so that it's more easy to work with.
Hammer the pry bar underneath the slats and use leverage back and forth to pull the board up with the nails. You'll need to do this on each part of the slat that's nailed into the structural beams.
We've also used this pry bar to take apart old fence posts and to take off base molding. It's very versatile!
After you've taken all the slats off, flip them over and use your hammer to bang the nails back through the other way.
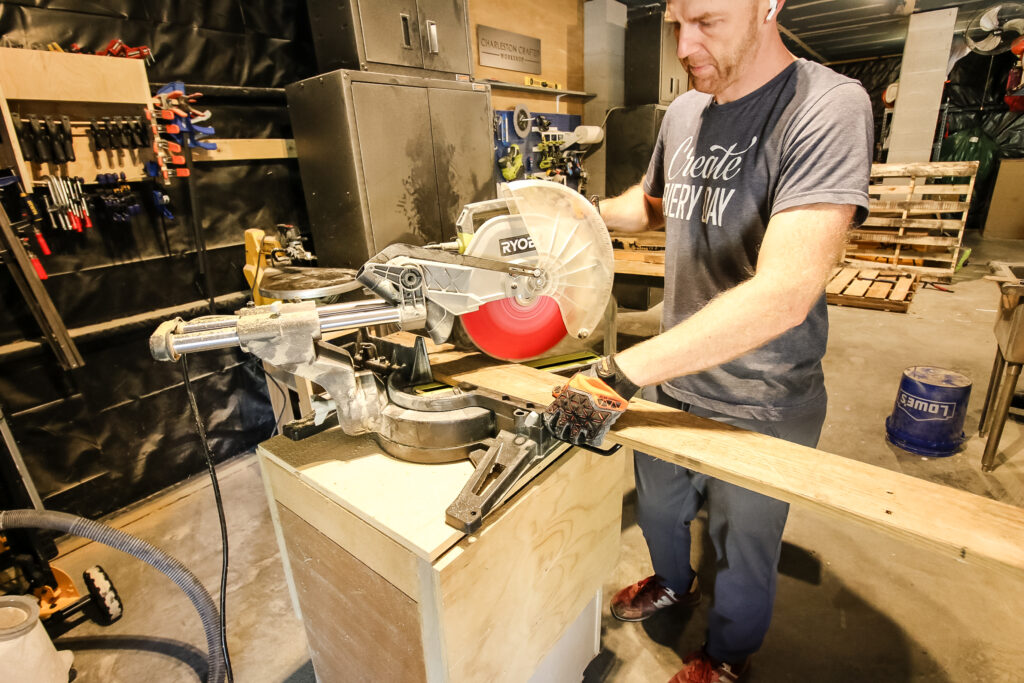
Step two: cut tree branches
Once you have all the boards, cut everything down. You'll need to cut two boards that are 8" long and 7 boards that are 13" long.
For each of these boards, cut one end to have a 30 degree mitered angle. These will be pointing down all the way down on each side.
You'll also need two of the support boards, one for the back and one for the base. Cut one of the boards in half for the base and leave the other whole. Overall, you'll have 12 pieces of wood.
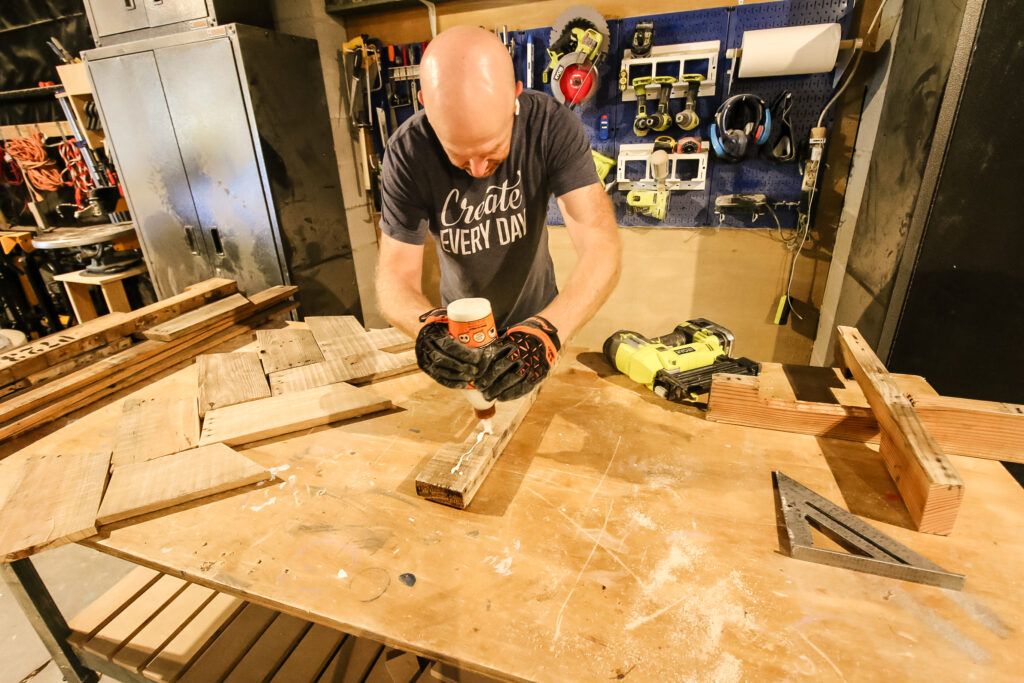
Step three: assemble tree
Start by putting wood glue down the entire length of the back board and spreading it around.
Then, lay down one of the 13" boards at the top and angle it so the 30 degree end is flush down and the opposing top corner is at the top of the back board. This will be the top of the tree.
Use a brad nailer or hammer and nails or screws (whatever you have and feel comfortable with) to attach the board through to the backer.
Next, line up one of the 8" boards on the side of the first board so that it is flush on the outside edge. Use nails to secure it into the base.
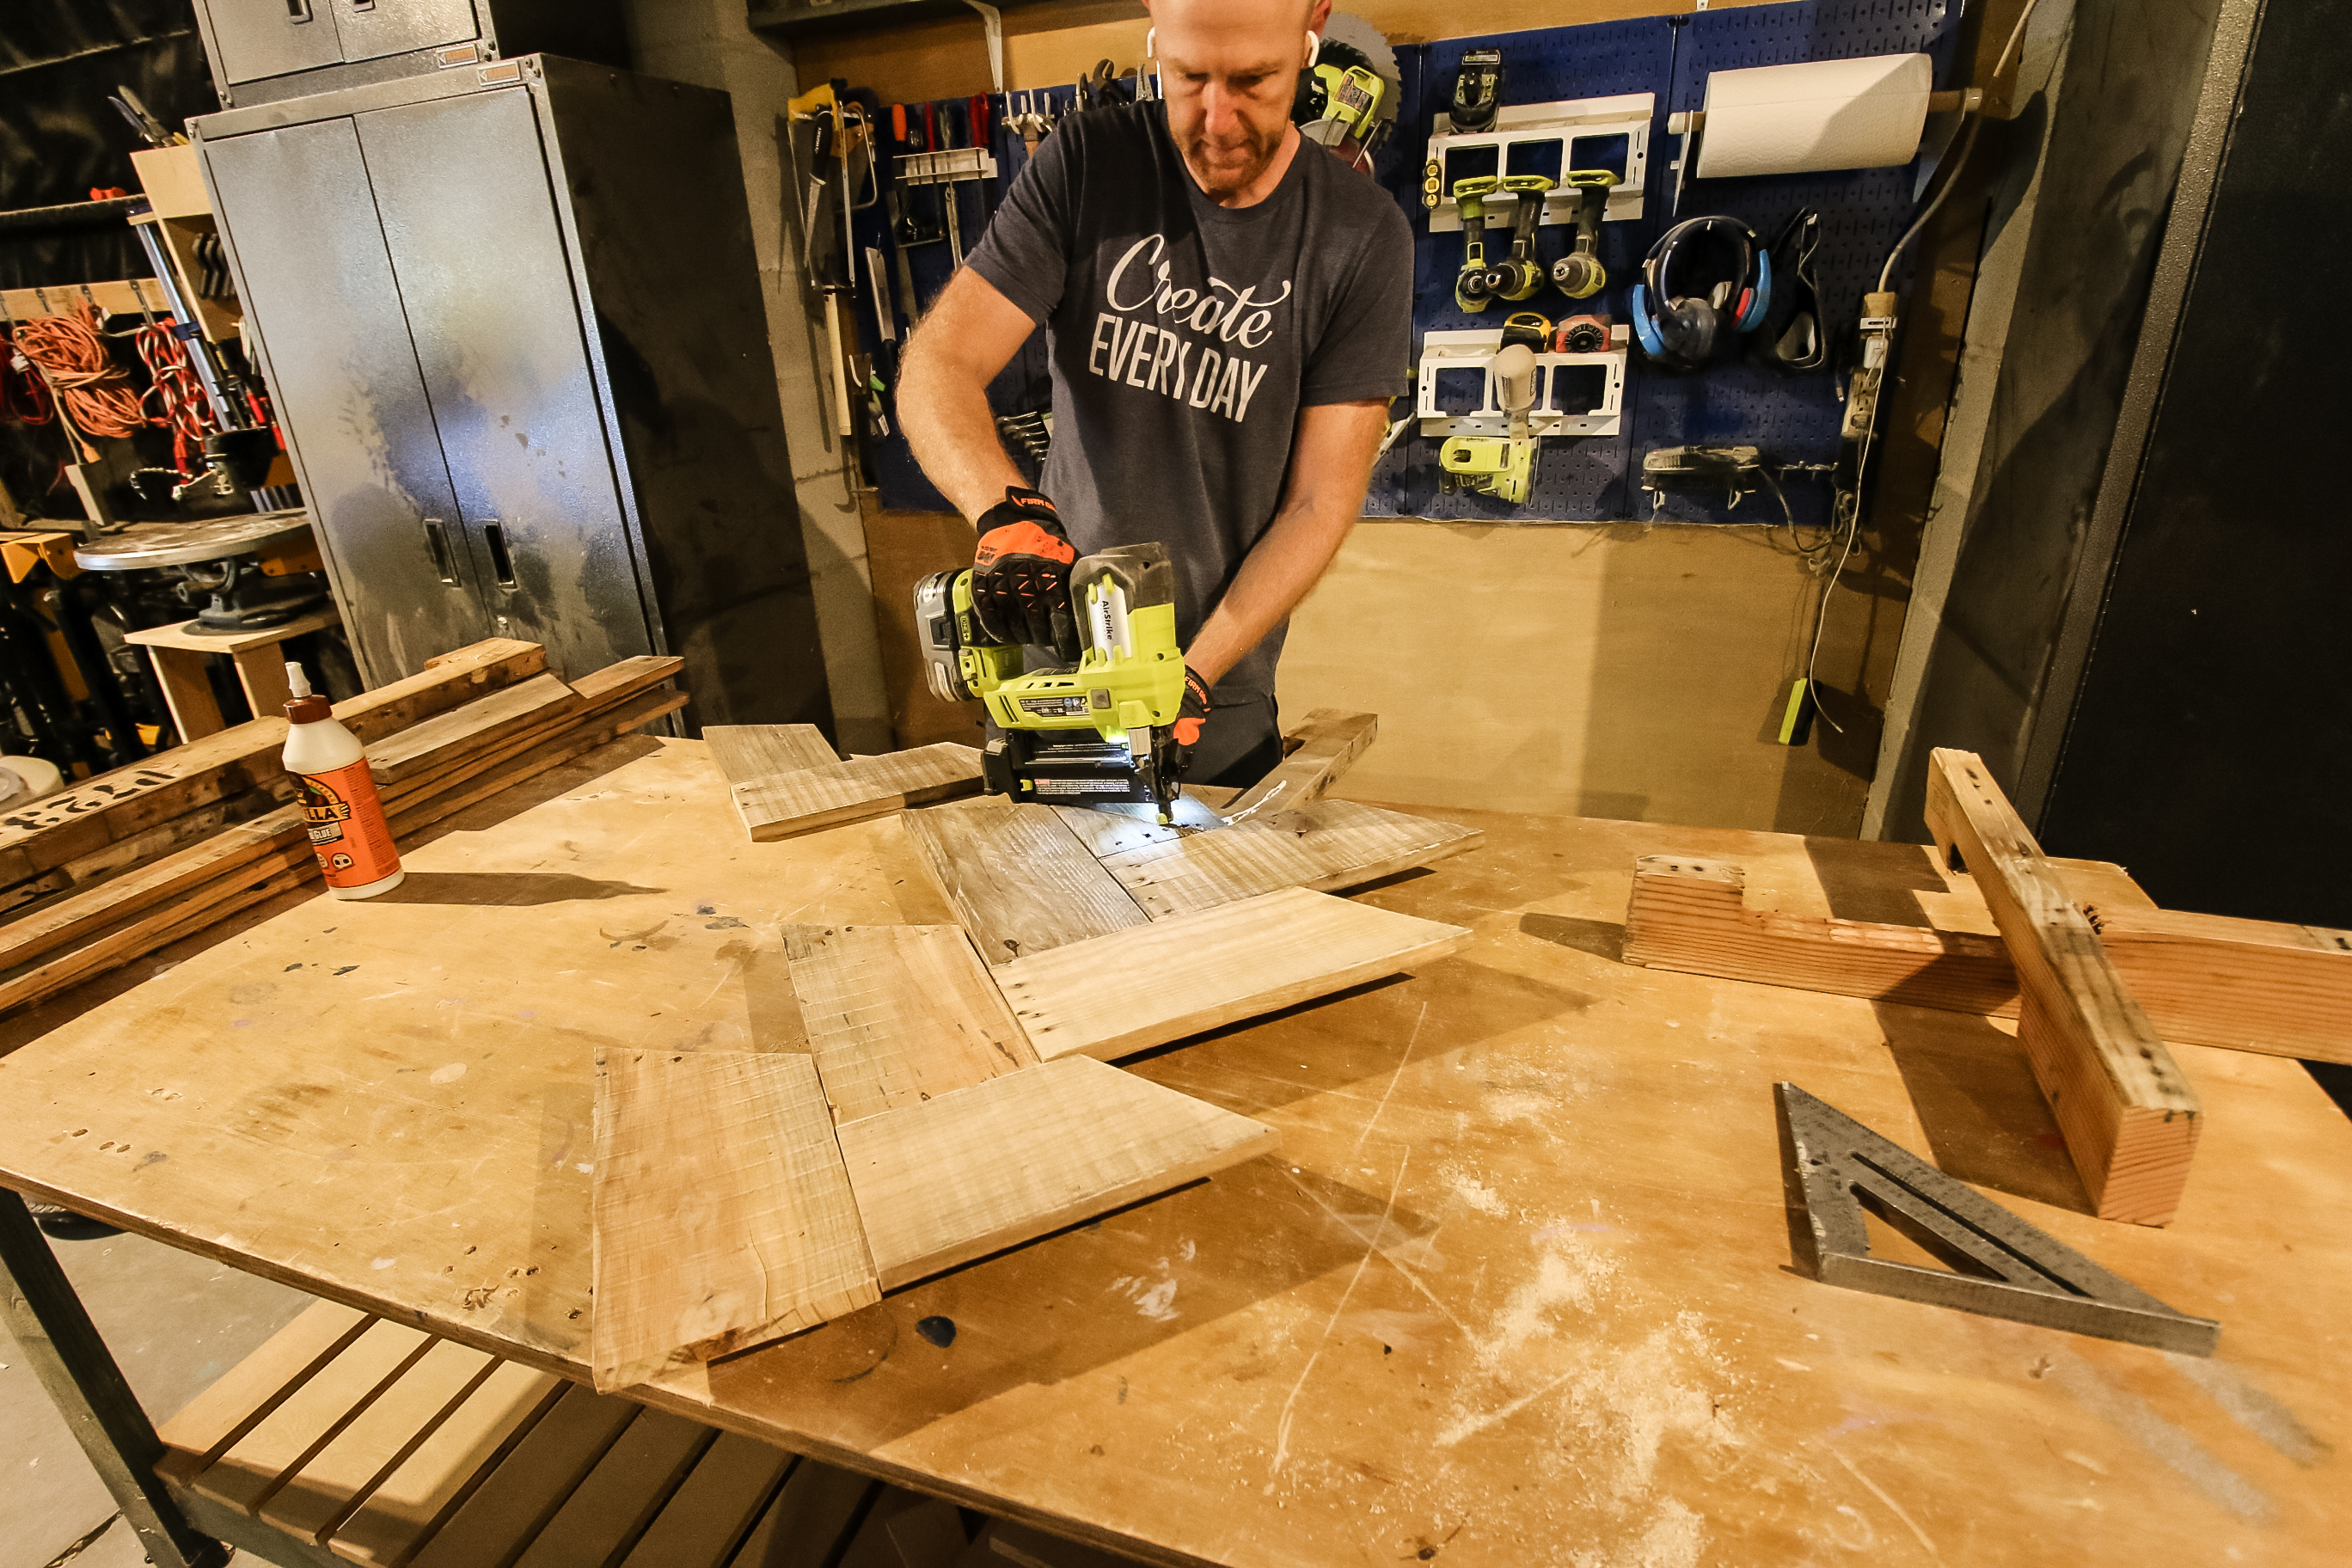
Now, stick the next board into that 90 degree angle created by the first two boards and attach it the same way. Continue down until you've used up your boards and reached near the end.
Finish off with the other 8" board at the end.
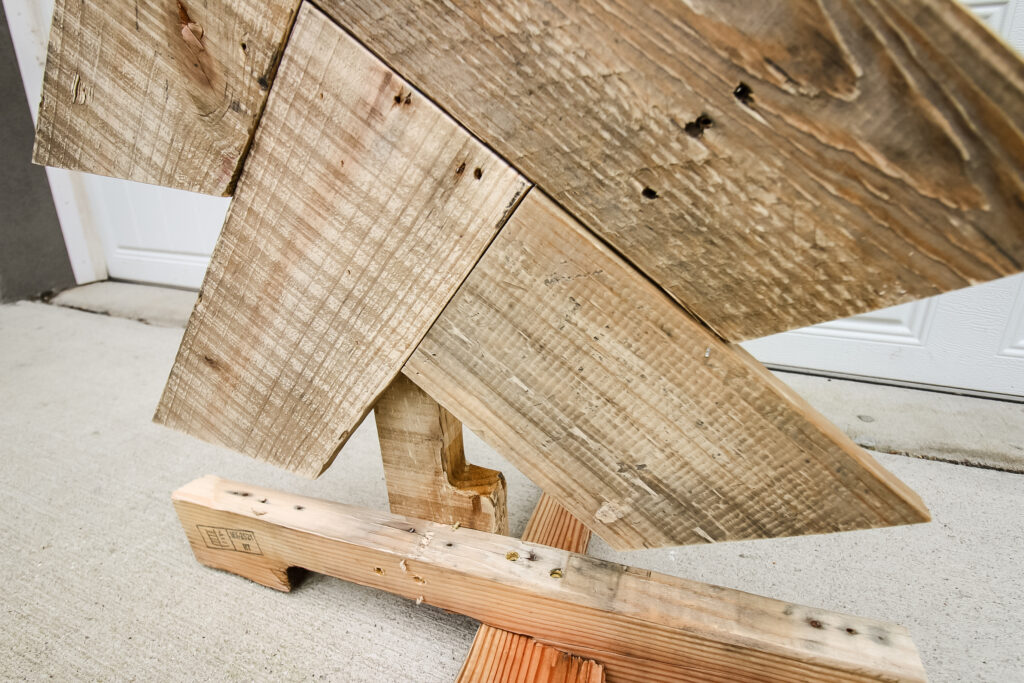
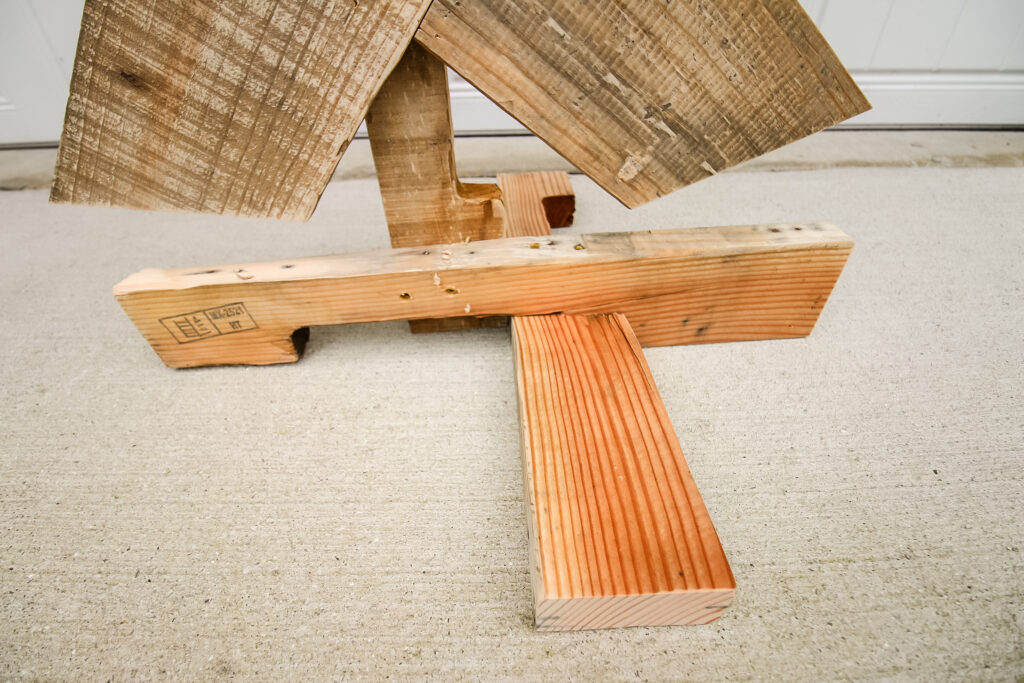
Step four: attach base
Take the pieces of cut support boards and attach them together using screws to create an cross bottom tree stand.
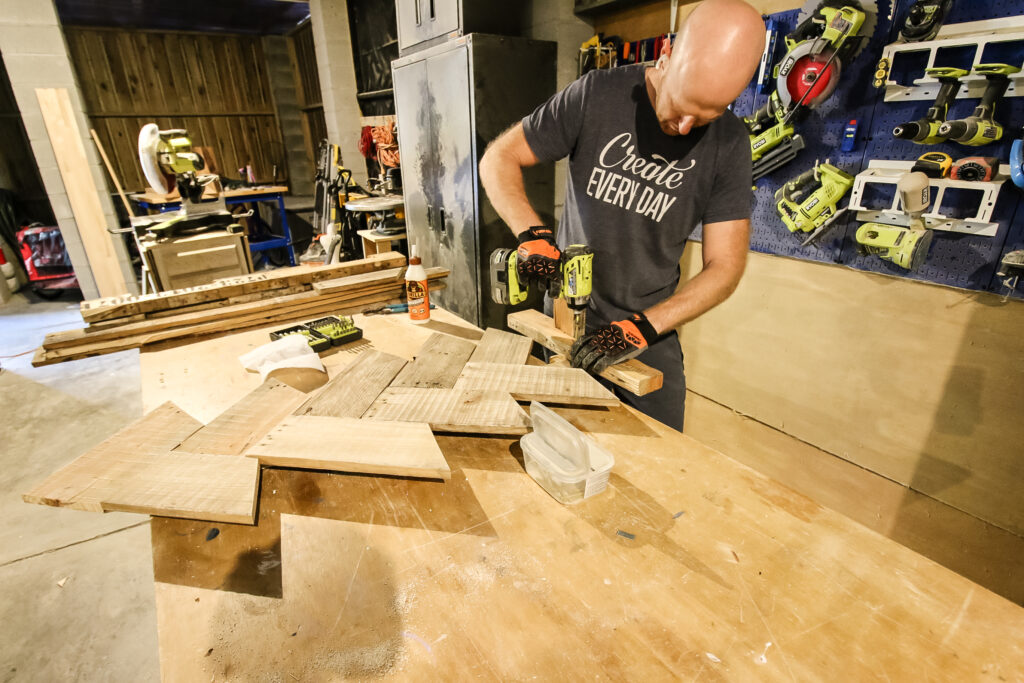
If your pallet was like ours and has sections cut out, you can lay them criss cross on each other and screw together. If yours is just straight beams, cut one of them in half again and attach one to each side.
Next, attach this base to the bottom of the tree trunk backer. Use wood glue and screws.
Step five: adornments
If you want, you can paint your pallet Christmas tree green to look like a tree. The kind of paint to use on a pallet Christmas tree would be something outdoor quality so it can withstand the elements.
You can also use staples to attach a string of lights to the tree and even hang ornaments from them!
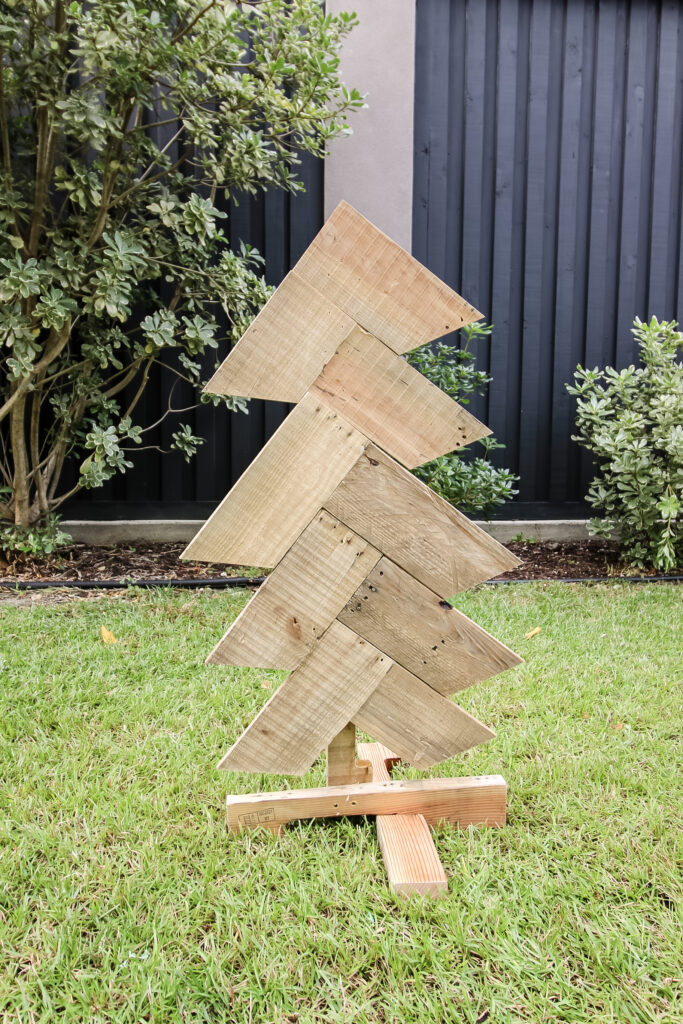
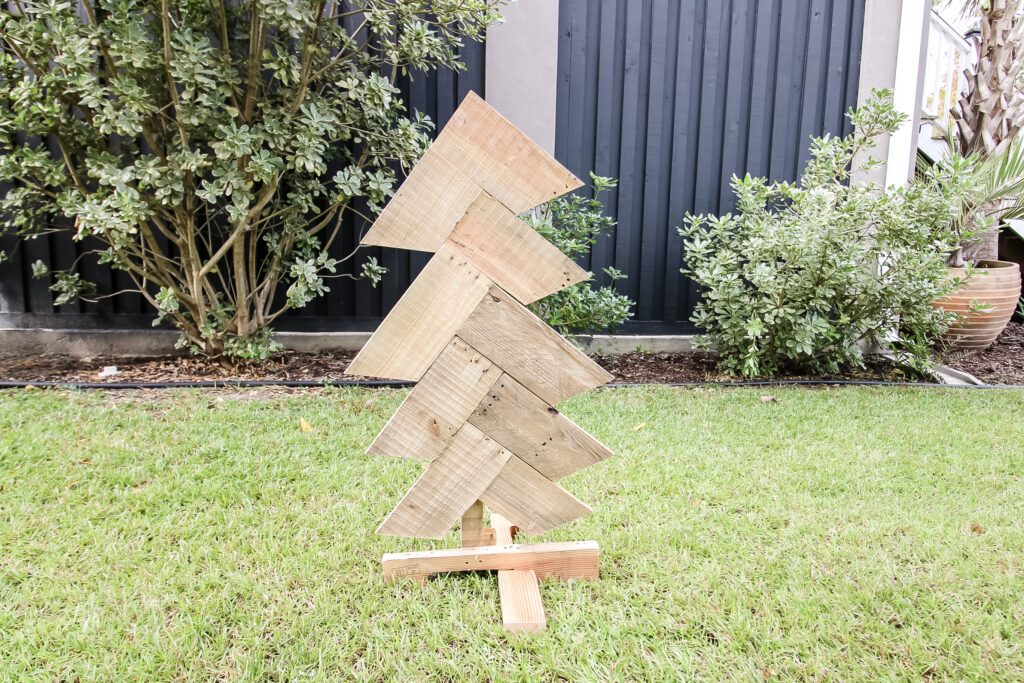
Christmas tree made from pallet wood
A DIY pallet Christmas tree is a really fun and easy free holiday project!
This is a great way to get the kids involved too as they can help with the assembly.
Any wood Christmas tree projects are always going to be a hit in the house this holiday season!
Before you go...
We have several other wooden Christmas tree ideas. Make sure you check them out!
- Wood slat Christmas tree (you can make this one with pallets too!)
- Wooden tabletop Christmas trees
- Driftwood Christmas tree


Looking for something?
We've been doing this since 2012 so we have a LOT of blog posts!
Search stuff like: Ceiling Projects | DIY Plant Stands | Thrift Flips

Hey there, I'm Sean, the woodworking enthusiast and builder behind CharlestonCrafted.com! Since 2012, I've been sharing the magic of turning raw materials into beautiful creations. I love teaching others the art and satisfaction of woodworking and DIY. I try to inspire fellow crafters to make something extraordinary out of nothing at all.


