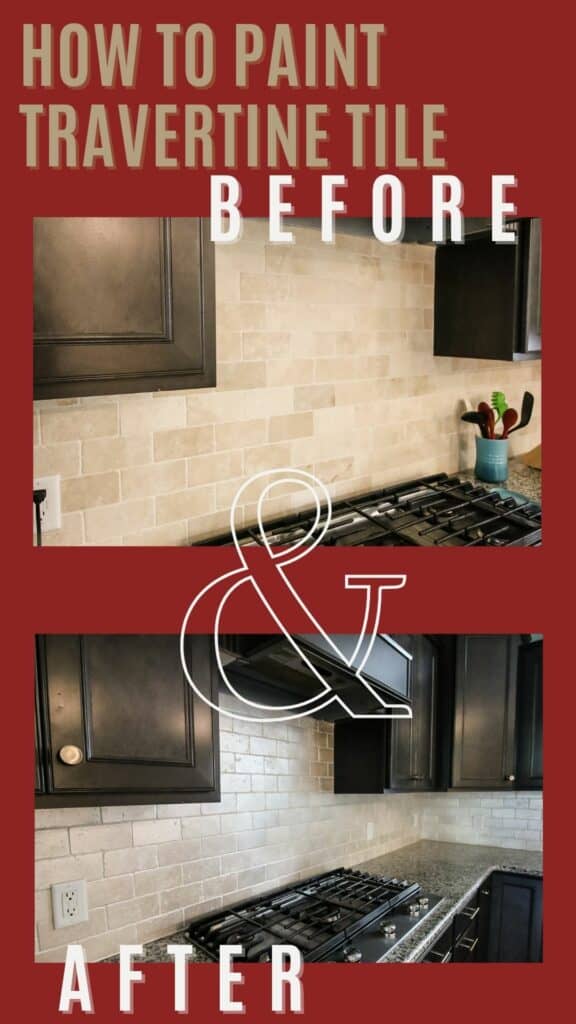
Tired of your stone backsplash? Here's a step by step guide to how I painted my travertine tile backsplash!
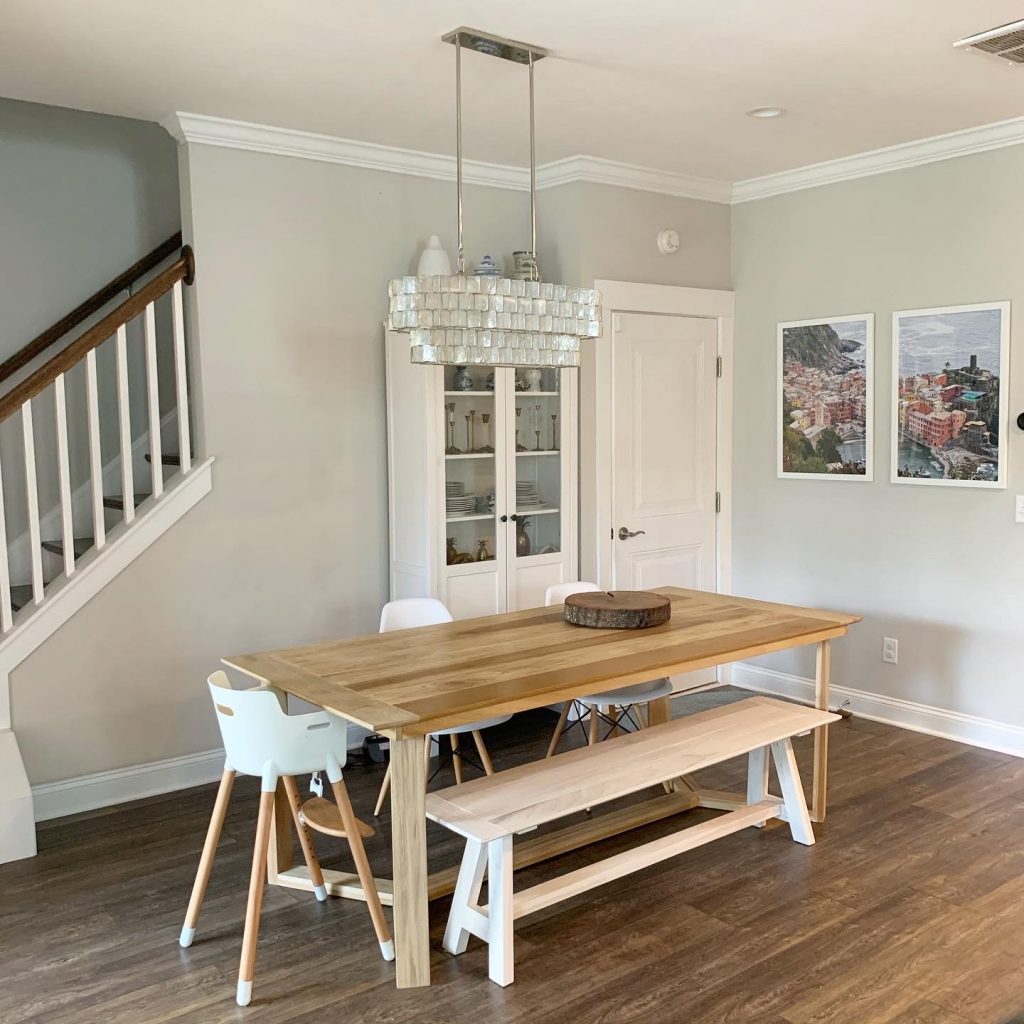
We are currently in the middle of a great room refresh. We are making some small and big changes to our dining and living rooms to make them feel more our personal style.
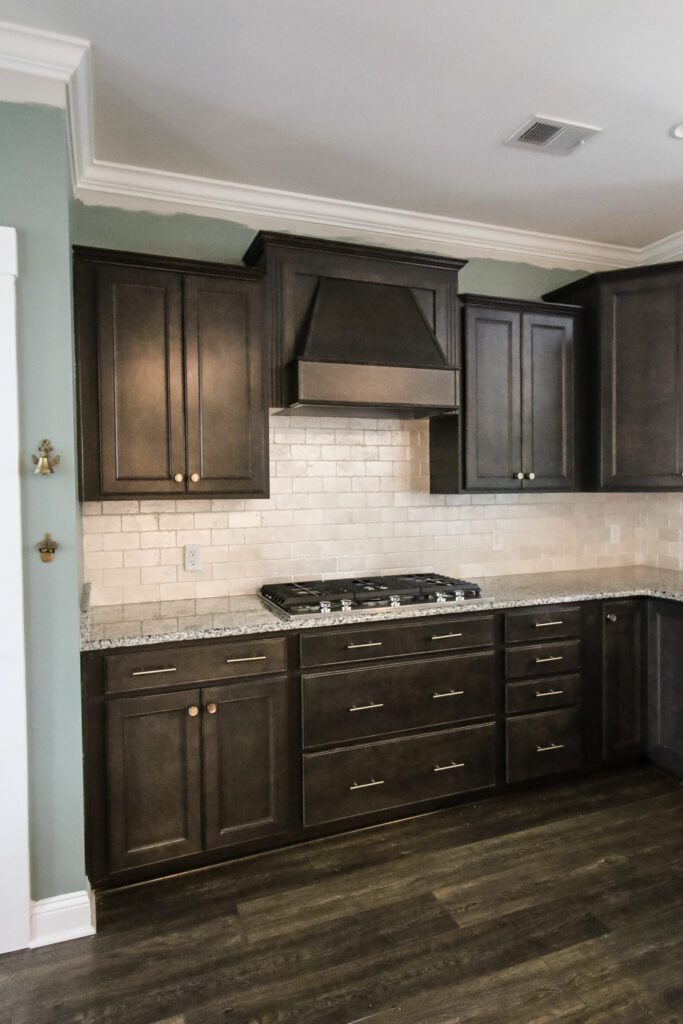
Really, we aren't making many changes to the kitchen. We added new cabinet hardware and lighting when we moved it. We painted the walls in the kitchen but that's about it.
While I don't love the finishes in our kitchen, we are planning to completely renovate the space in the next 12 to 24 months, so I didn't think it was worth the labor-intensive project of painting the cabinets.
Read about how we painted the kitchen cabinets in our last house!
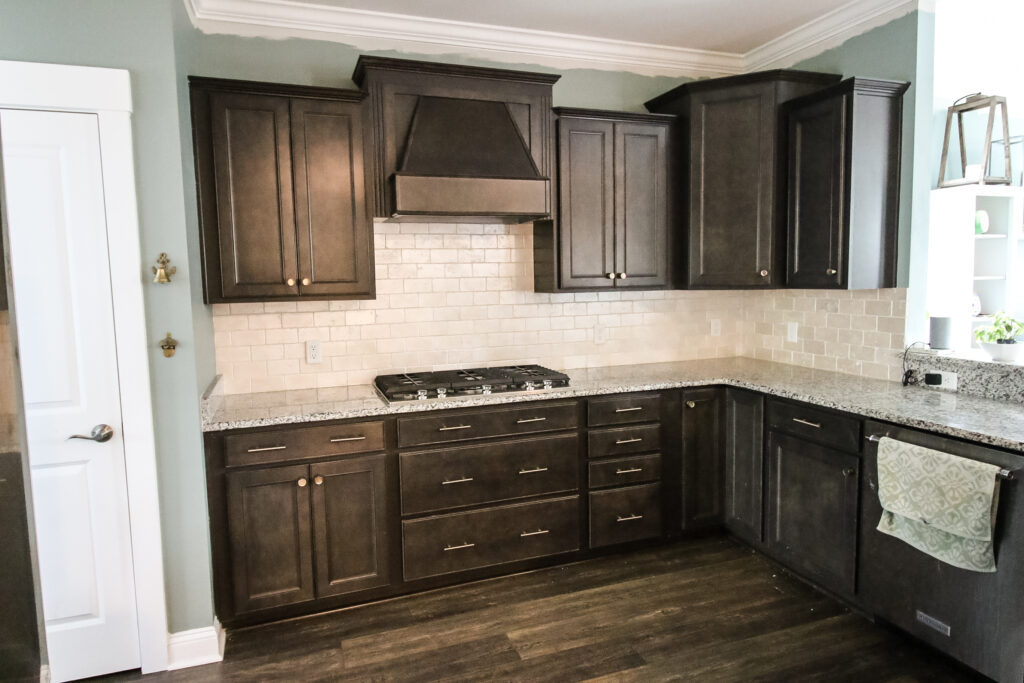
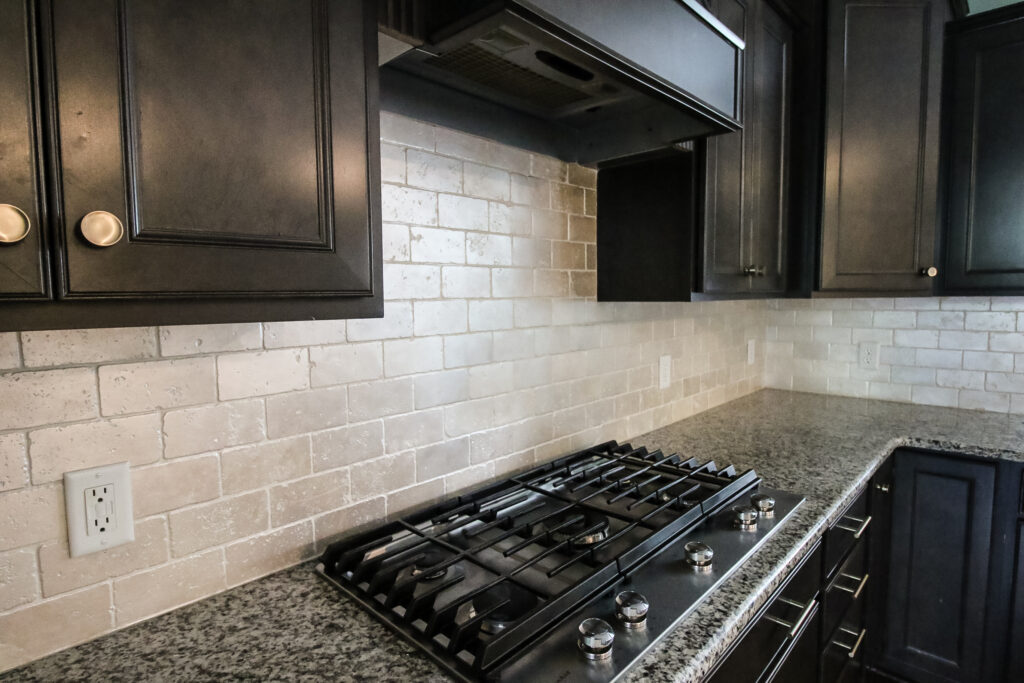
But, one thing I really really didn't like in this kitchen was the backsplash.
I will preface this by saying - if you have this tile in your home, I am sorry. This is not a diss on you! Travertine was extremely popular during the era of tuscan style home decor and that's great if you love it.
I just hate it.
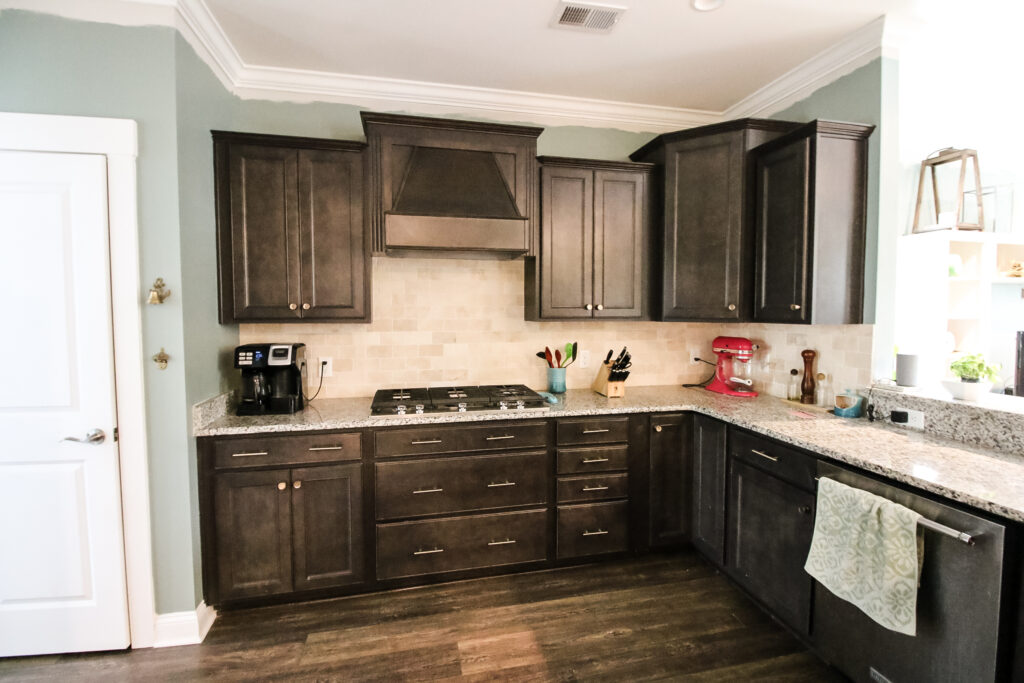
And maybe I don't hate all travertine backsplashes. But the tones in this one feel like they really clash with the cabinet and countertop options. (I don't like the countertops either but I decided since we will do a full kitchen makeover before too long, not to both trying to do something with them.)
Anyways, I decided it was worth trying to paint the backsplash.
Actually, in our first condo, we painted a faux backsplash. Like, we painted a grid of tile on the drywall.
That was a TON of work. Adding a few coats of paint to paint the travertine backsplash that was already here was MUCH easier.
Check out a TON of DIY kitchen backsplash ideas!
My inspiration
I really wanted to capture the look of capiz here with our backsplash. We have 2 big capiz chandeliers in our downstairs and I wanted to bring that iridescent feeling into the kitchen.
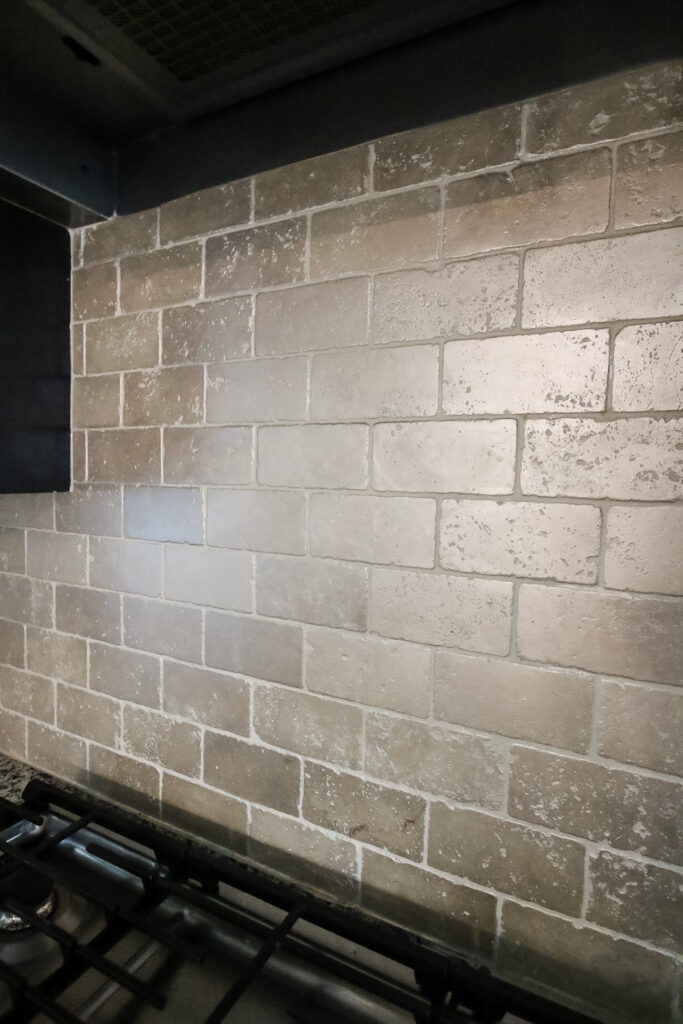
One thing that I actually liked about the travertine is the natural variation in tone of the tile. So, they are in various shades of tan, light to medium.
We also considered going for a metal-look using this technique Turn Glass Into Metal.
I feel like that is similar to capiz, which is a natural sea shell material that also has a bit of variation to the tones.
We were lucky to have some left over tiles from this backsplash that the previous owner left behind for us. I used them to practice and test my paint for color and durability.
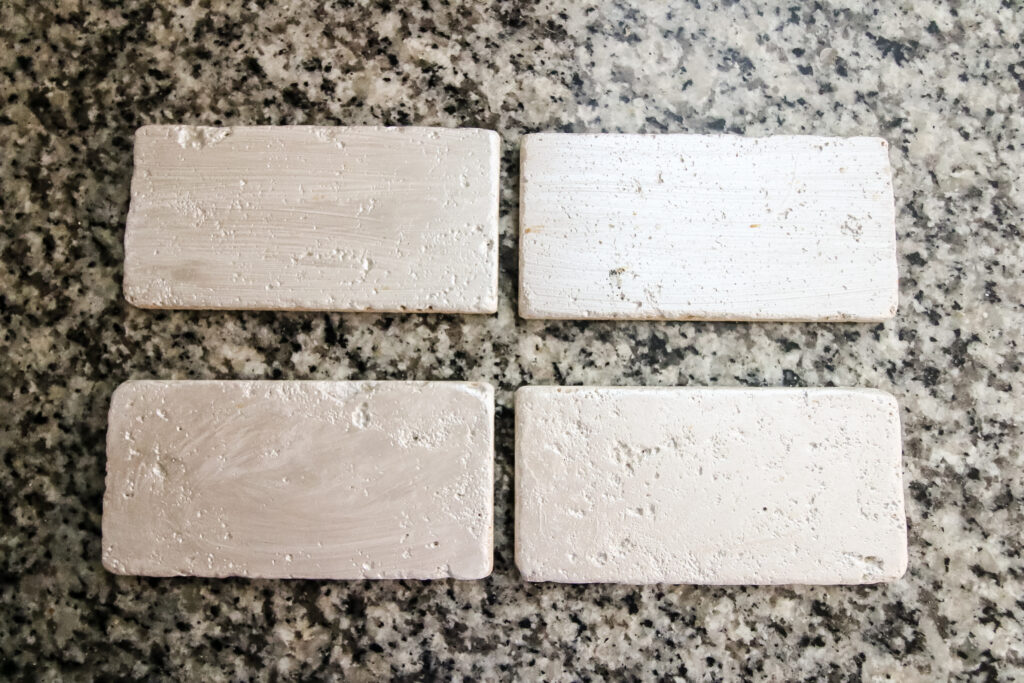
You can see in the samples that 2 I painted with a primer and 2 I painted without a primer.
The primed samples were much whiter and had a colder, more uniform tone. I much preferred the ones with no primer that had more warmth and tile showing through.
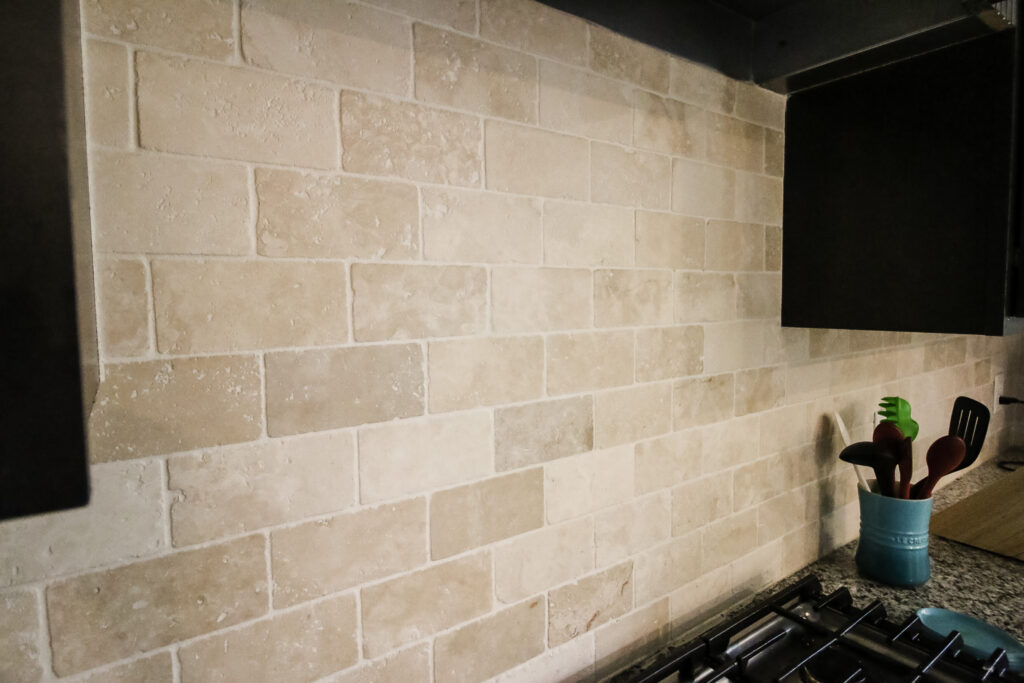
So, what I basically did was whitewash the stone backsplash with an iridescent paint.
The results honestly blew my expectations out of the water. I think that it looks phenomenal and, while subtle, so so much better.
Plus, I did the whole project in one nap time. Seriously, less than 2 hours total, start to finish. You can't beat that!
Let's get into the nitty gritty.
How to paint a stone tile backsplash
Materials needed:
- Sponge or other cleaning tool
- Primer (optional, I did not use)
- Iridescent paint (or paint in color of choice)
- Tile sealant
- Rubber gloves
- Lint free cloths
- Painters tape
How to paint a tile backsplash:
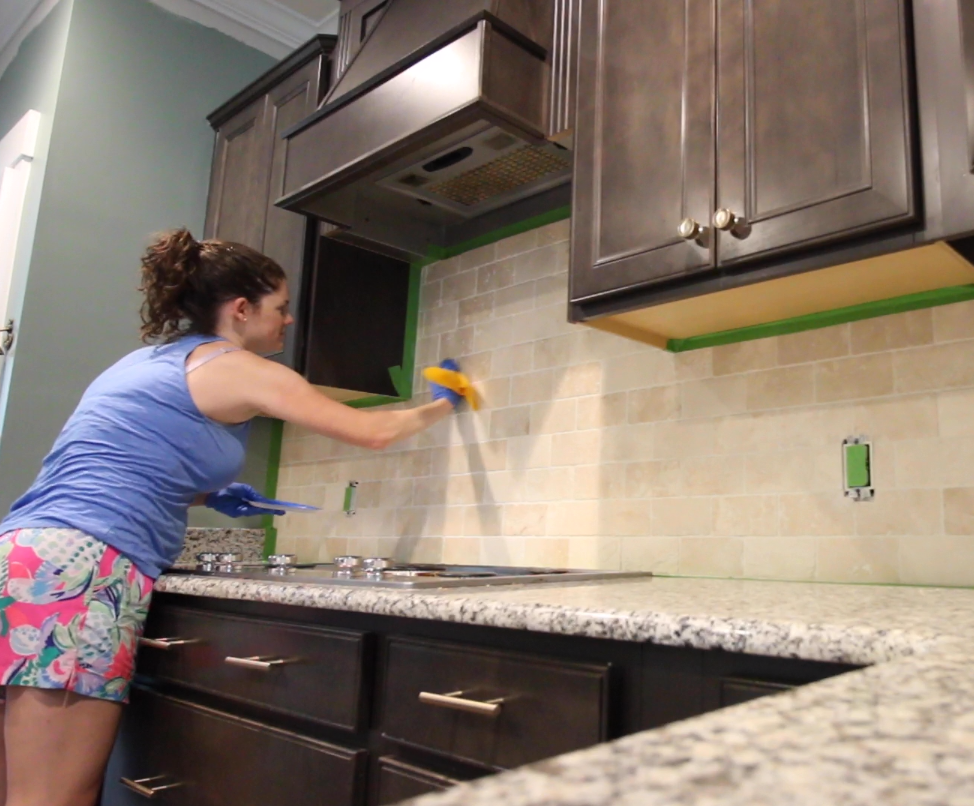
STEP 1: Clean
The first step is to thoroughly clean your backsplash. A backsplash is made to get dirty and protect your drywall from splashes and splatter.
But, you don't want to paint any of that existing grime into place.
So, clean it thoroughly.
You want to use water + dish soap to clean off the grease.
I used our Dremel Versa power cleaner, but a sponge or whatever cleaner you prefer works, too.
A note on sanding: if you are painting over a glossy or glass tile, you will want to lightly sand the tile to rough up the surface to help the paint adhere. Paint over glossy surfaces chips very easily. On travertine or similar stone, you do not need to sand.
Once you are done, use painter's tape to tape off your countertops and the underside of the cabinets to protect them from paint.
STEP 2: Prime
Next you want to apply a primer. Note: I didn't do this! As I mentioned, I did sample tiles and determined that I wanted more of a white wash look.
But, if you want complete coverage and a consistent color over stone, you will want to use a high quality stone grade primer.
The primer that I sampled was Kilz interior exterior primer. This is my go to high quality primer! It gave great full coverage.
STEP 3: Paint
Now is the time to paint! I tested both a brush and a lint free cloth and actually preferred the look of the lint free cloth.
We went with an acrylic paint in iridescent white to give it shine but also keep the texture. I rubbed the paint on with circular motions to mimic the pattern of capiz.
If you want a smooth look, use a mini foam roller or a foam paint brush.
It took 5 coats of paint to get the coverage that I like - which was 3 tubes of paint.
Travertine stone is very porous and it absorbs paint. If you use primer, you will need only a coat or two of paint.
Talking about grout lines - I painted right over them. And it looks totally fine. If you want to tape them off, it's going to be a lot more work!
STEP 4: Seal
One the paint is dry, apply a stone or tile sealant. This is the one I used. I used a lint free cloth to rub it on and then let it dry completely before handling.
Can stone tile be painted?
Yes! Stone tile is easy and cheap to paint.
What kind of paint do you use on stone tile?
I used acrylic paint on my tile, but regular latex wall paint works well, too.
How do you paint stacked stone backsplash?
Painting any sort of stone backsplash is easy! Just:
- Clean
- Prime
- Paint
- Seal
How do you paint natural stone tiles?
Travertine is a form of natural stone, so the same process applies: clean, prime, paint, seal!
How to change kitchen tile color without replacing
The easiest way to change the color of your kitchen tile without replacing it is by painting the tile! This is a simple and budget friendly update.
How do you cover stone backsplash?
You can easily cover a stone backsplash with paint!
Can you paint the grout?
Yes - it's much easier to paint the tile and the grout all one color.
What type of paint do you use to paint stone tile?
You can use acrylic or latex paint to paint stone tile!
Can stone tile floors be painted?
Yes, stone floors can be painted, but you will want to use a sealant made for flooring to prevent chips and peeling.
Can I partially paint or whitewash my stone tile?
Yes! Just skip the primer and use a translucent paint, like I did, for a white washed stone tile look!
Should I seal my paint?
I definitely suggest applying a sealant after painting your tile. This will help it hold up to wiping clean with your kitchen cleaner.
Does painted tile last?
Yes, our painted tile has lasted really well! I wrote a whole review sharing a one year update you can read.
Video tutorial
Be sure to check out our video tutorial showing how I painted the tile backsplash!
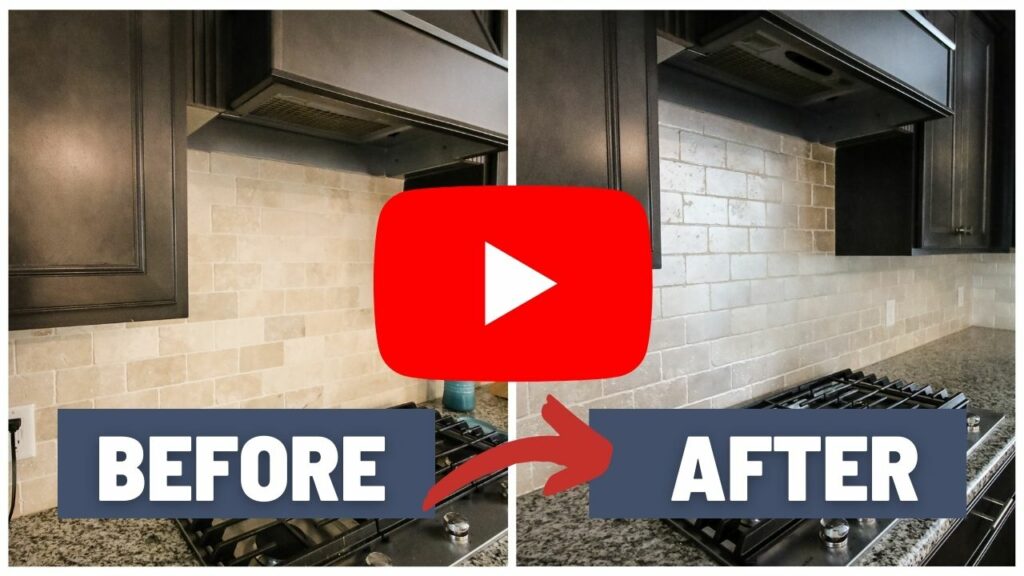
How to paint a stone backsplash
Here's how easy it is to paint your stone backsplash for a totally new look!
Materials
- Sponge or other cleaning tool
- Primer (optional, I did not use)
- Iridescent paint (or paint in color of choice)
- Tile sealant
- Rubber gloves
- Lint free cloths
- Painters tape
Tools
- Mini foam roller + covers
Instructions
- Clean - thoroughly clean your backsplash with soap and water. Let dry.
- Use painter's tape to tape off the counter top and cabinets.
- Prime - apply a stone primer if you want full solid coverage.
- Paint - paint with a foam brush, foam mini roller, or a lint free cloth. Apply coats as needed for desired coverage.
- Seal - Once dry, apply a stone-grade sealant!
Recommended Products
As an Amazon Associate and member of other affiliate programs, I earn from qualifying purchases.


Any more questions?

Looking for something?
We've been doing this since 2012 so we have a LOT of blog posts!
Search stuff like: Ceiling Projects | DIY Plant Stands | Thrift Flips

Hello, I'm Morgan, half of the creative force behind CharlestonCrafted.com! With a passion for DIY that dates back to 2012, I've transformed three homes and now I'm dedicated to helping others craft their dream spaces. Let's turn your house into a home together!