• Skip to primary navigation
  • Skip to main content
  • Skip to primary sidebar
Charleston Crafted
  • DIY
  • Woodworking
  • Popular Posts
  • Blog
  • About
  • Shop
menu icon
go to homepage
  • DIY
  • Woodworking
  • Popular Posts
  • Blog
  • About
  • Shop
search icon
Homepage link
  • DIY
  • Woodworking
  • Popular Posts
  • Blog
  • About
  • Shop
×
Home » Nursery

DIY Changing Table Topper

Published: Oct 22, 2018 · Modified: Feb 4, 2023 by Sean · As an Amazon Associate, we earn from qualifying purchases. This site contains affiliate links. ·

Today we're bringing you our DIY changing table topper! Last week, we shared our IKEA Hemnes dresser mid century modern hack, but since we're using it as a changing table, we needed a topper. This DIY changing table topper is super easy to build and can be easily scaled for any dresser.

Click here for all of the progress on our jungle nursery!

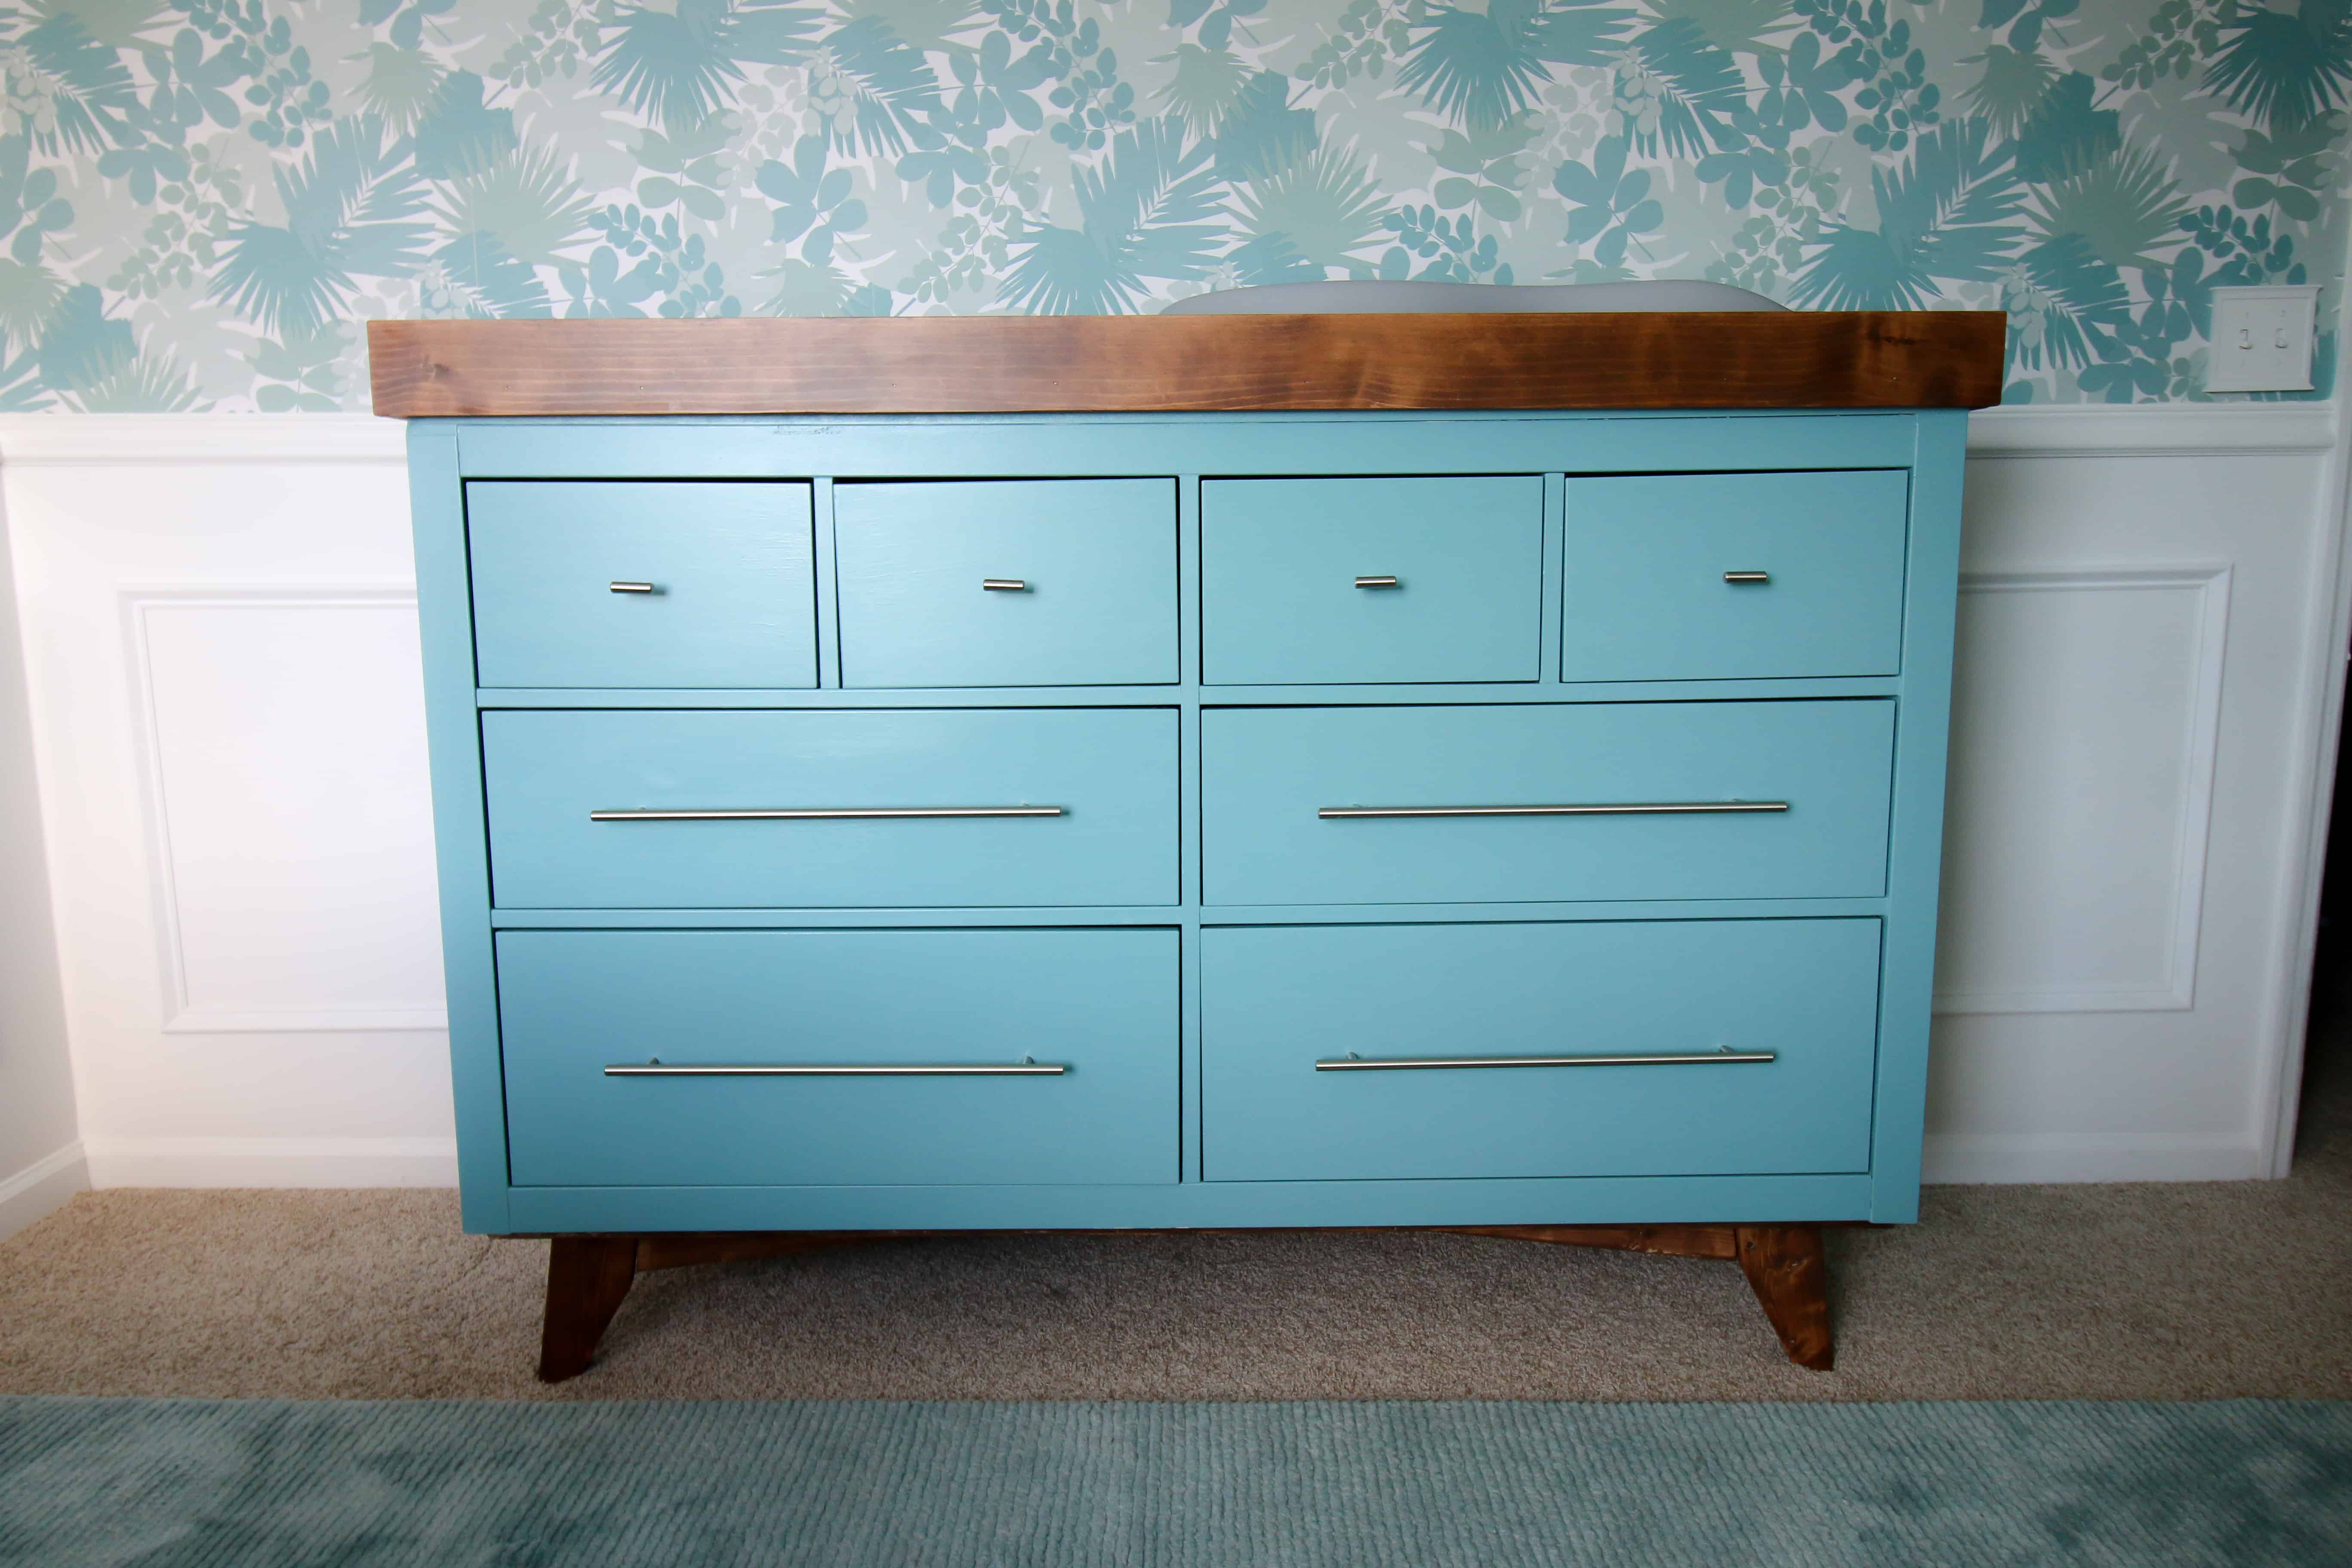
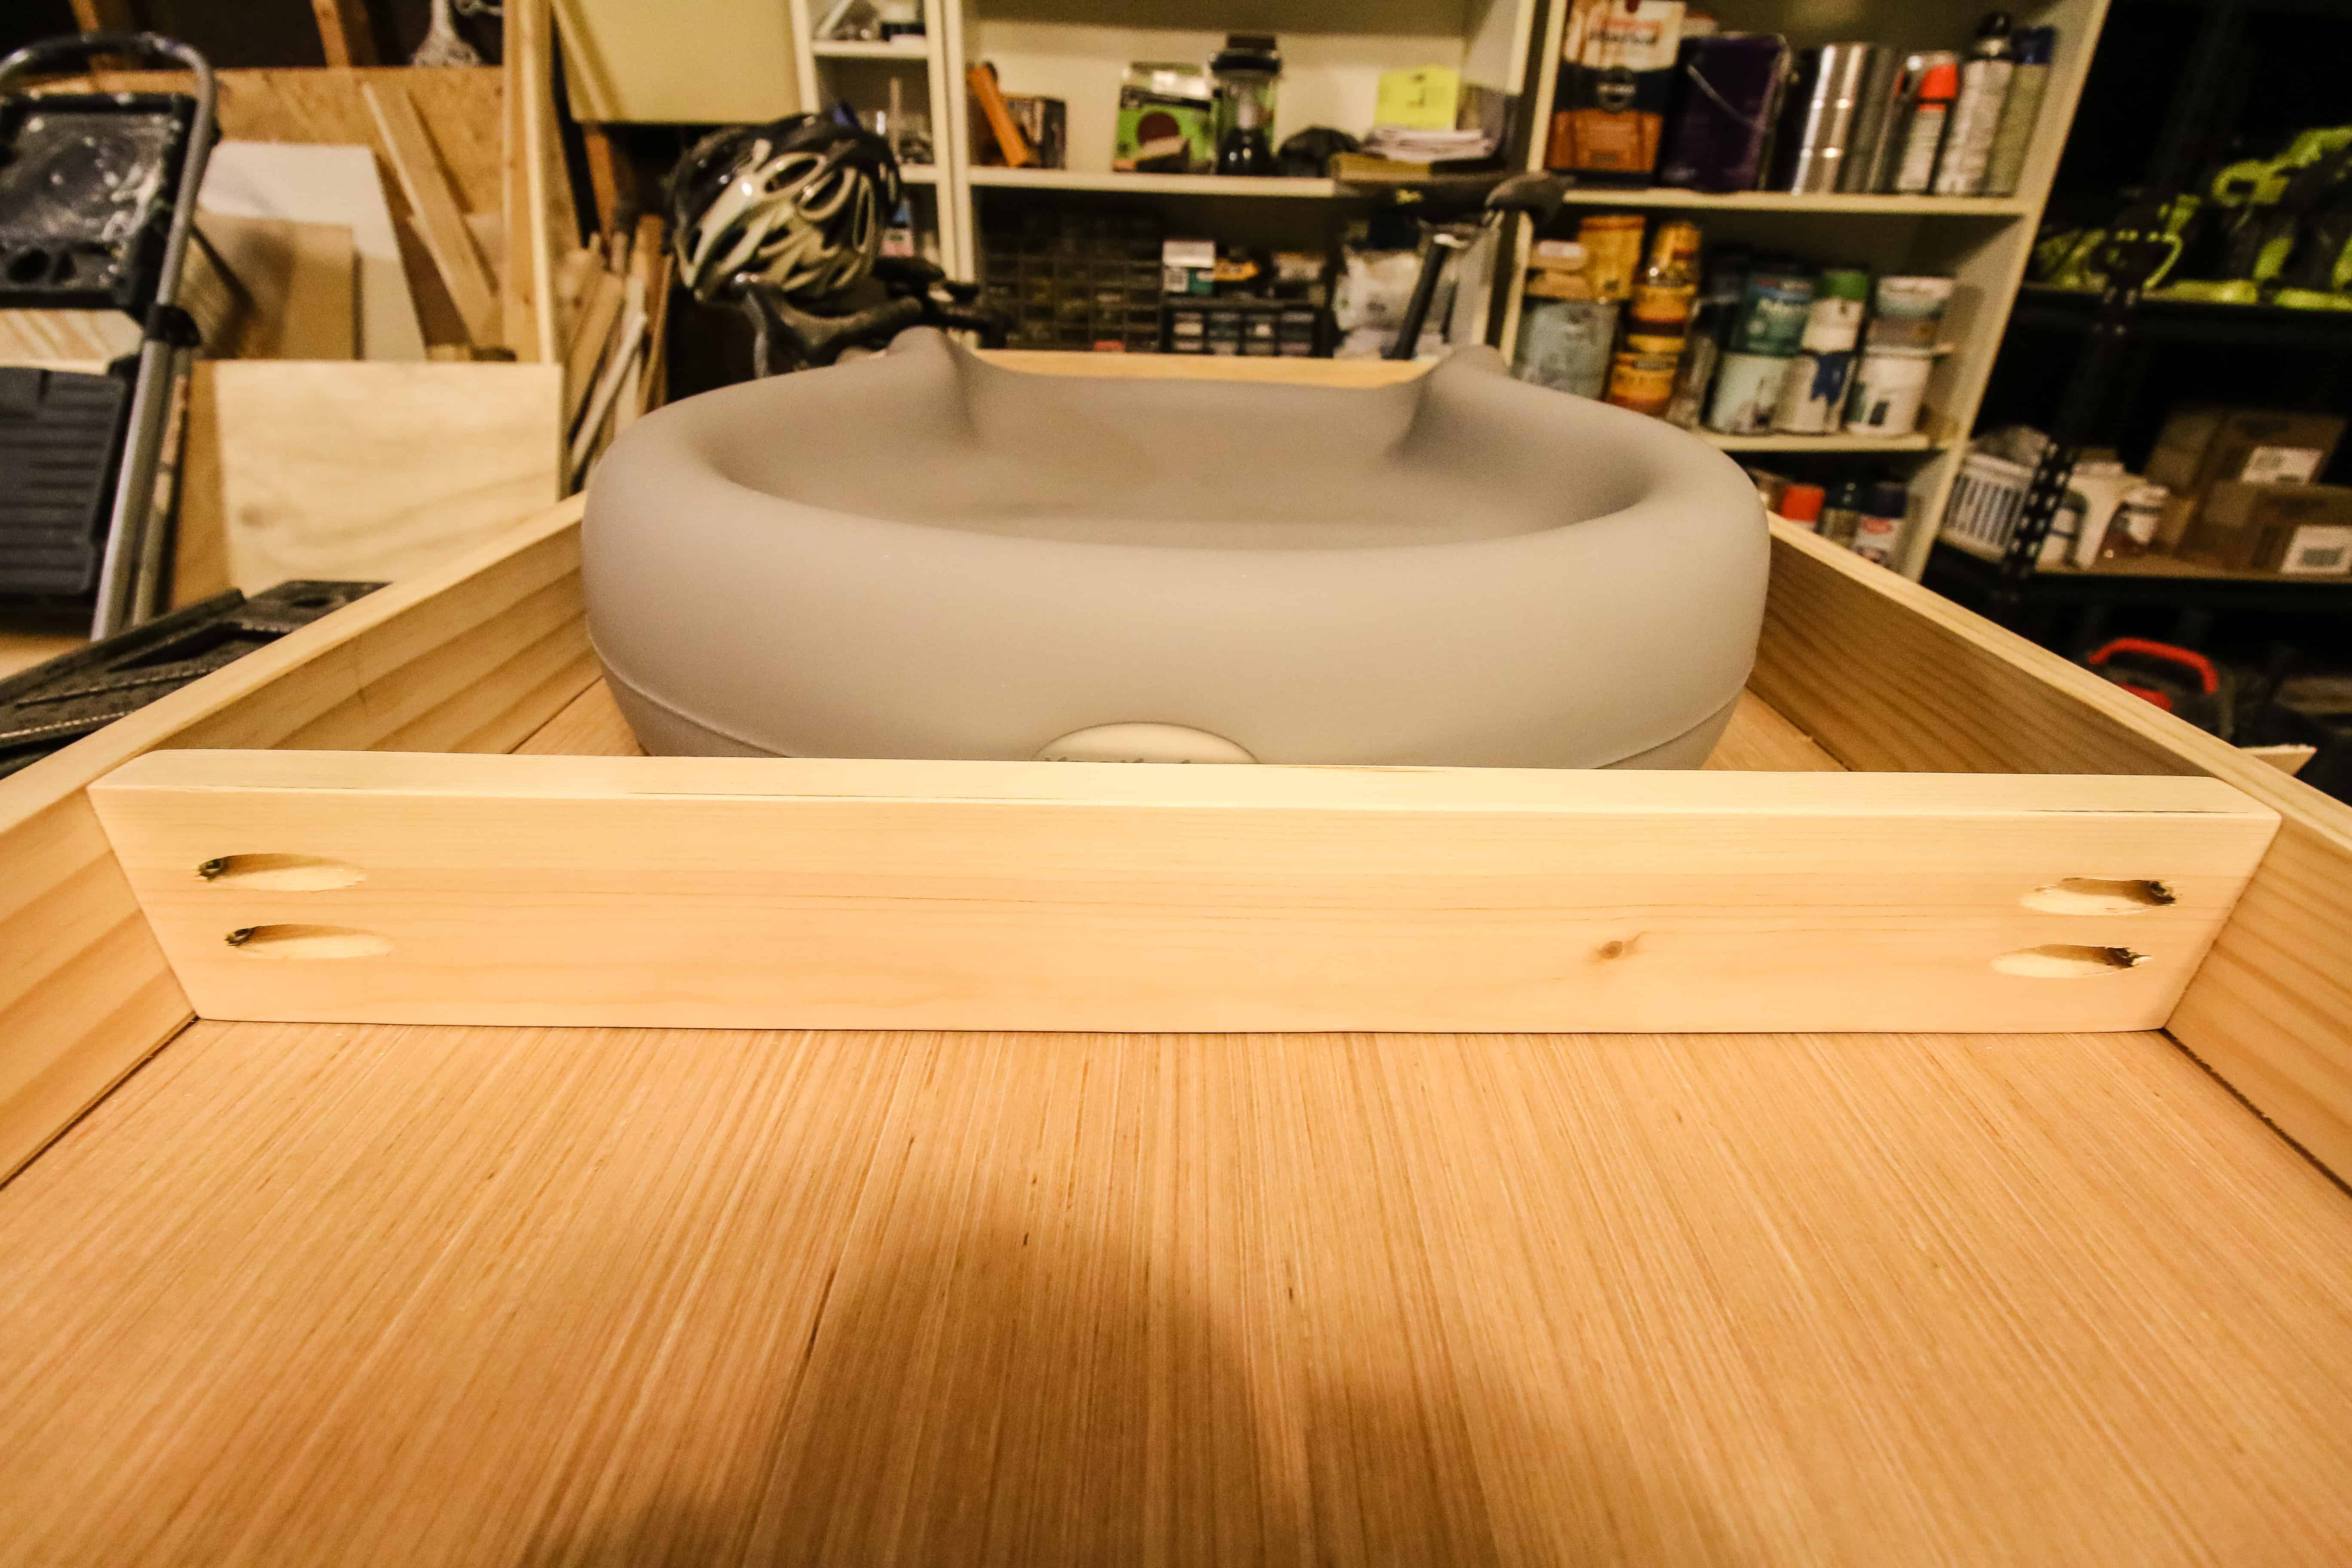
Our changing pad is the Keekaroo Peanut Changer in grey.

DIY Changing Table Topper

DIY Changing Table Topper

Most changing table toppers sit on top of a dresser, but I wanted to design this topper to sit around the top of the dresser. I don't want this changing table topper to move, so it sits around the outer edge of the dresser.

The way to do this is to build the topper with a false bottom and the inner dimensions matching the dimensions of the top of your dresser.

Constructing the DIY Changing Table Topper

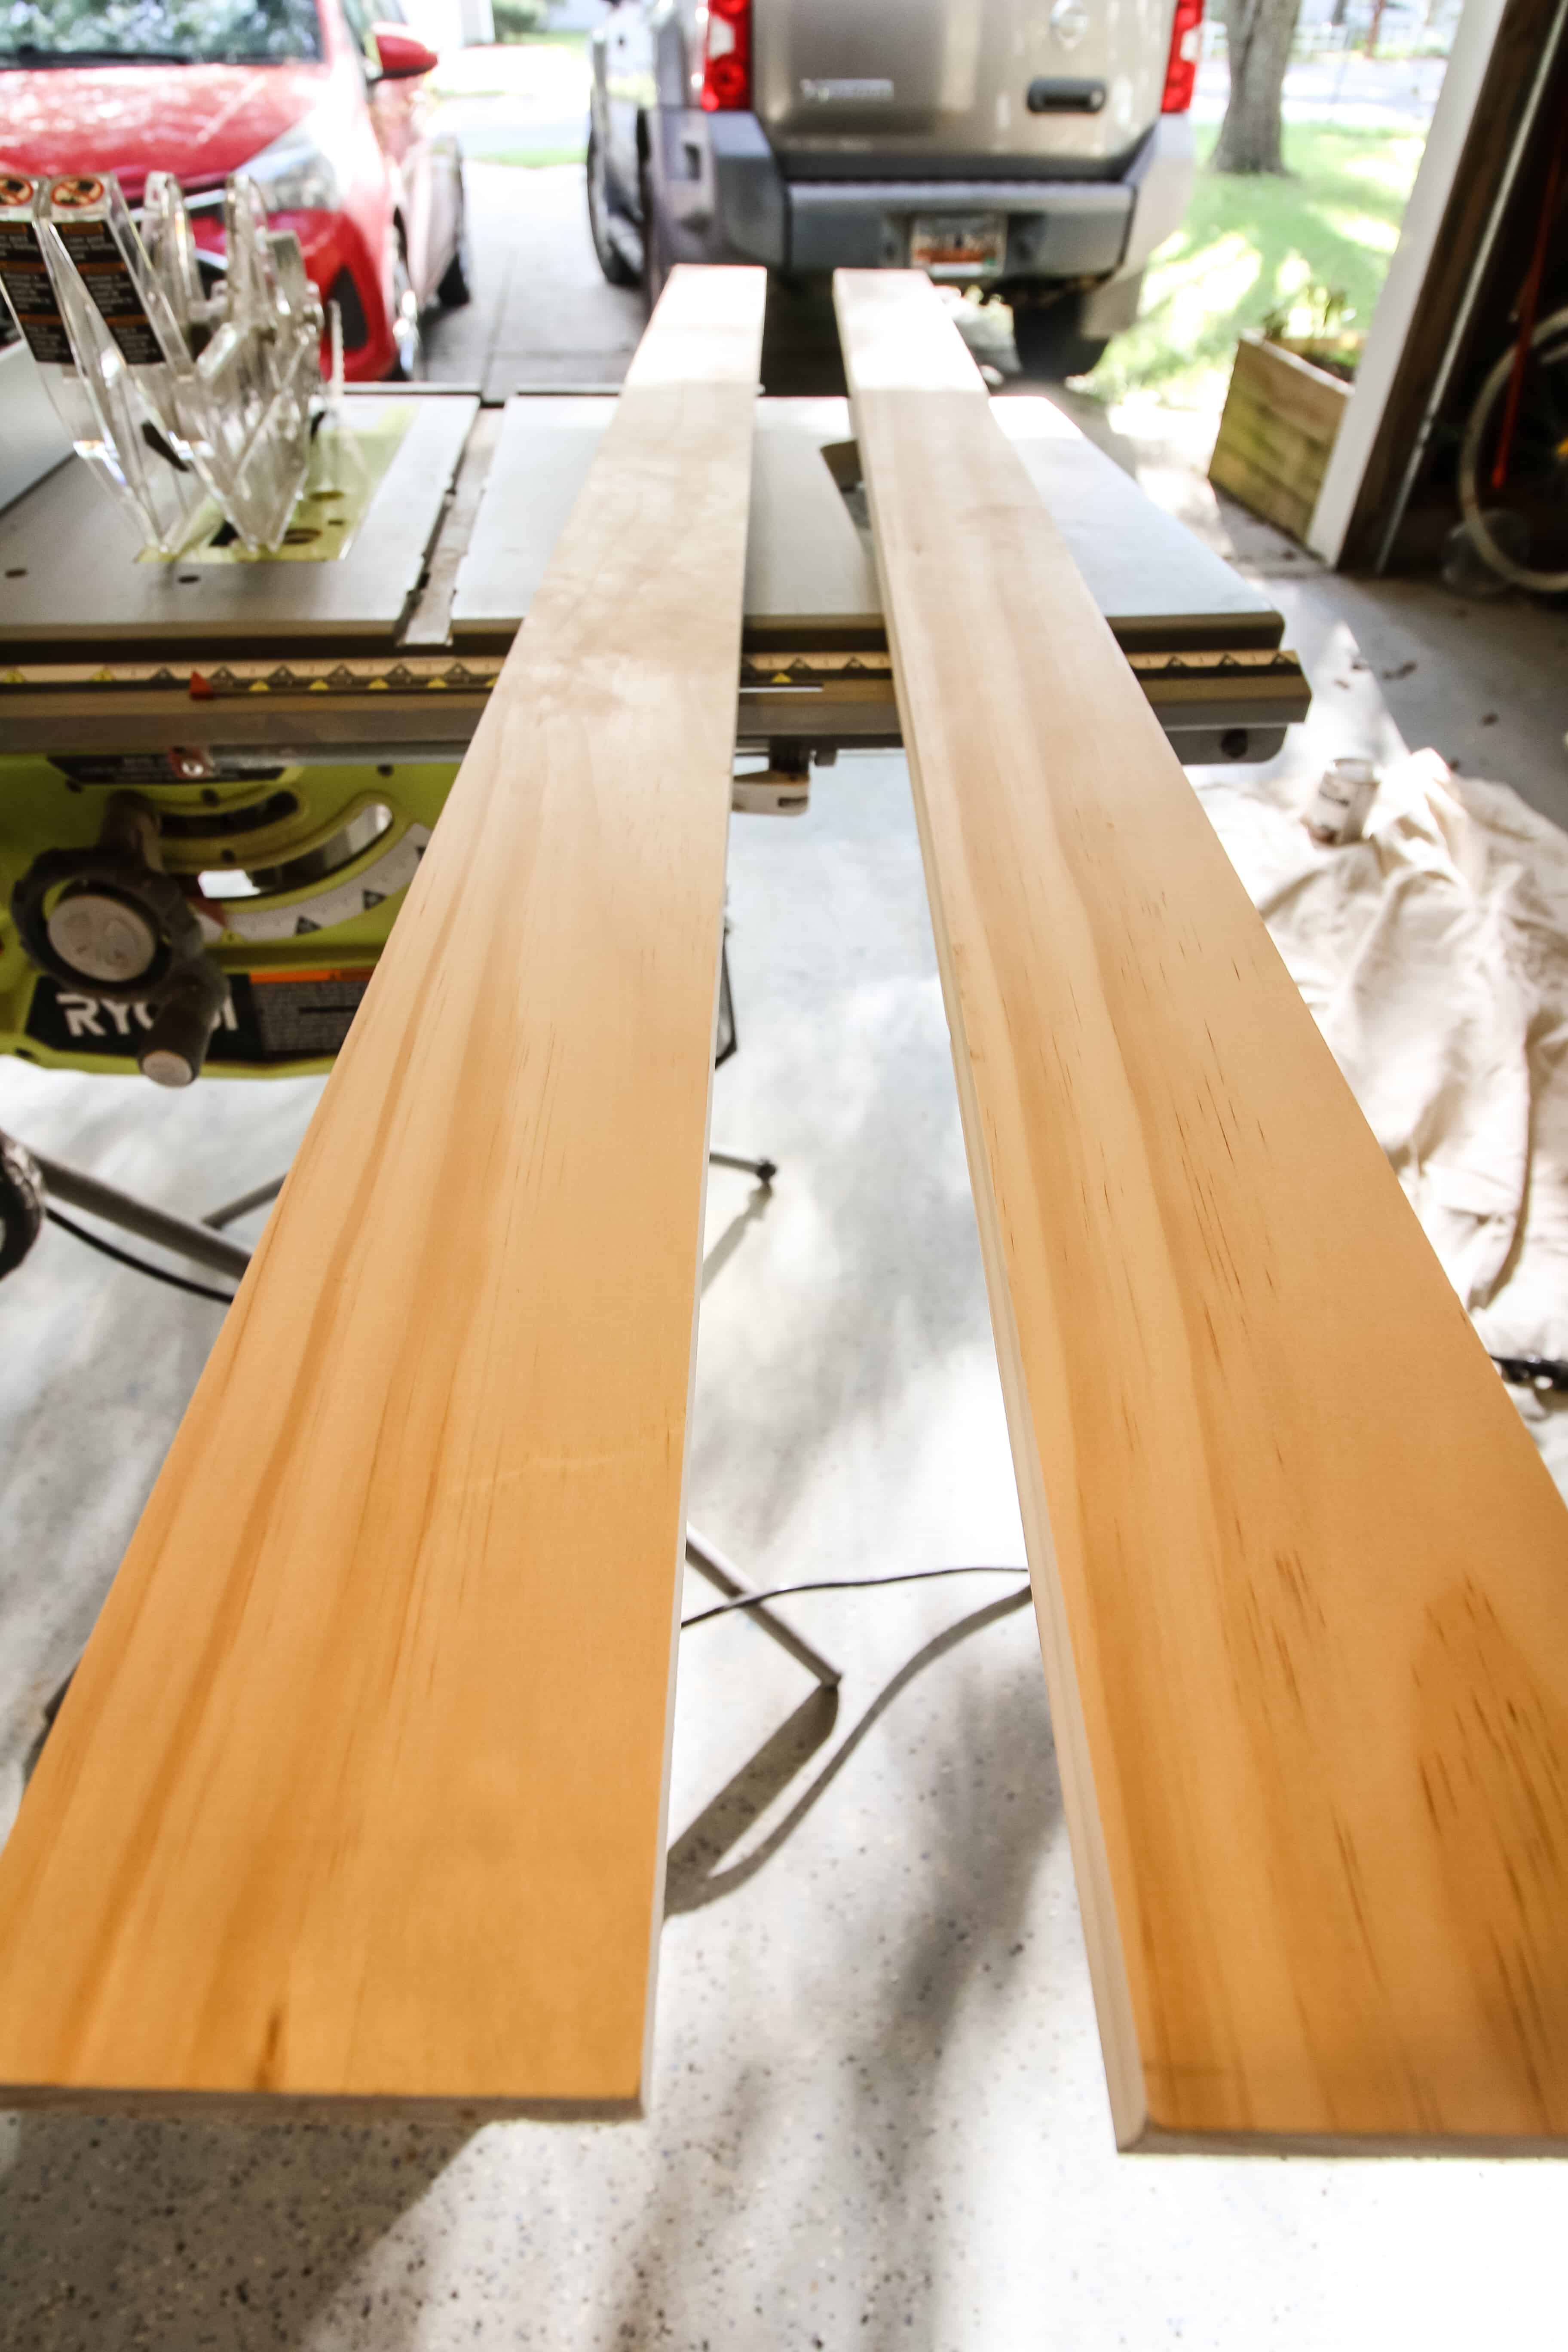
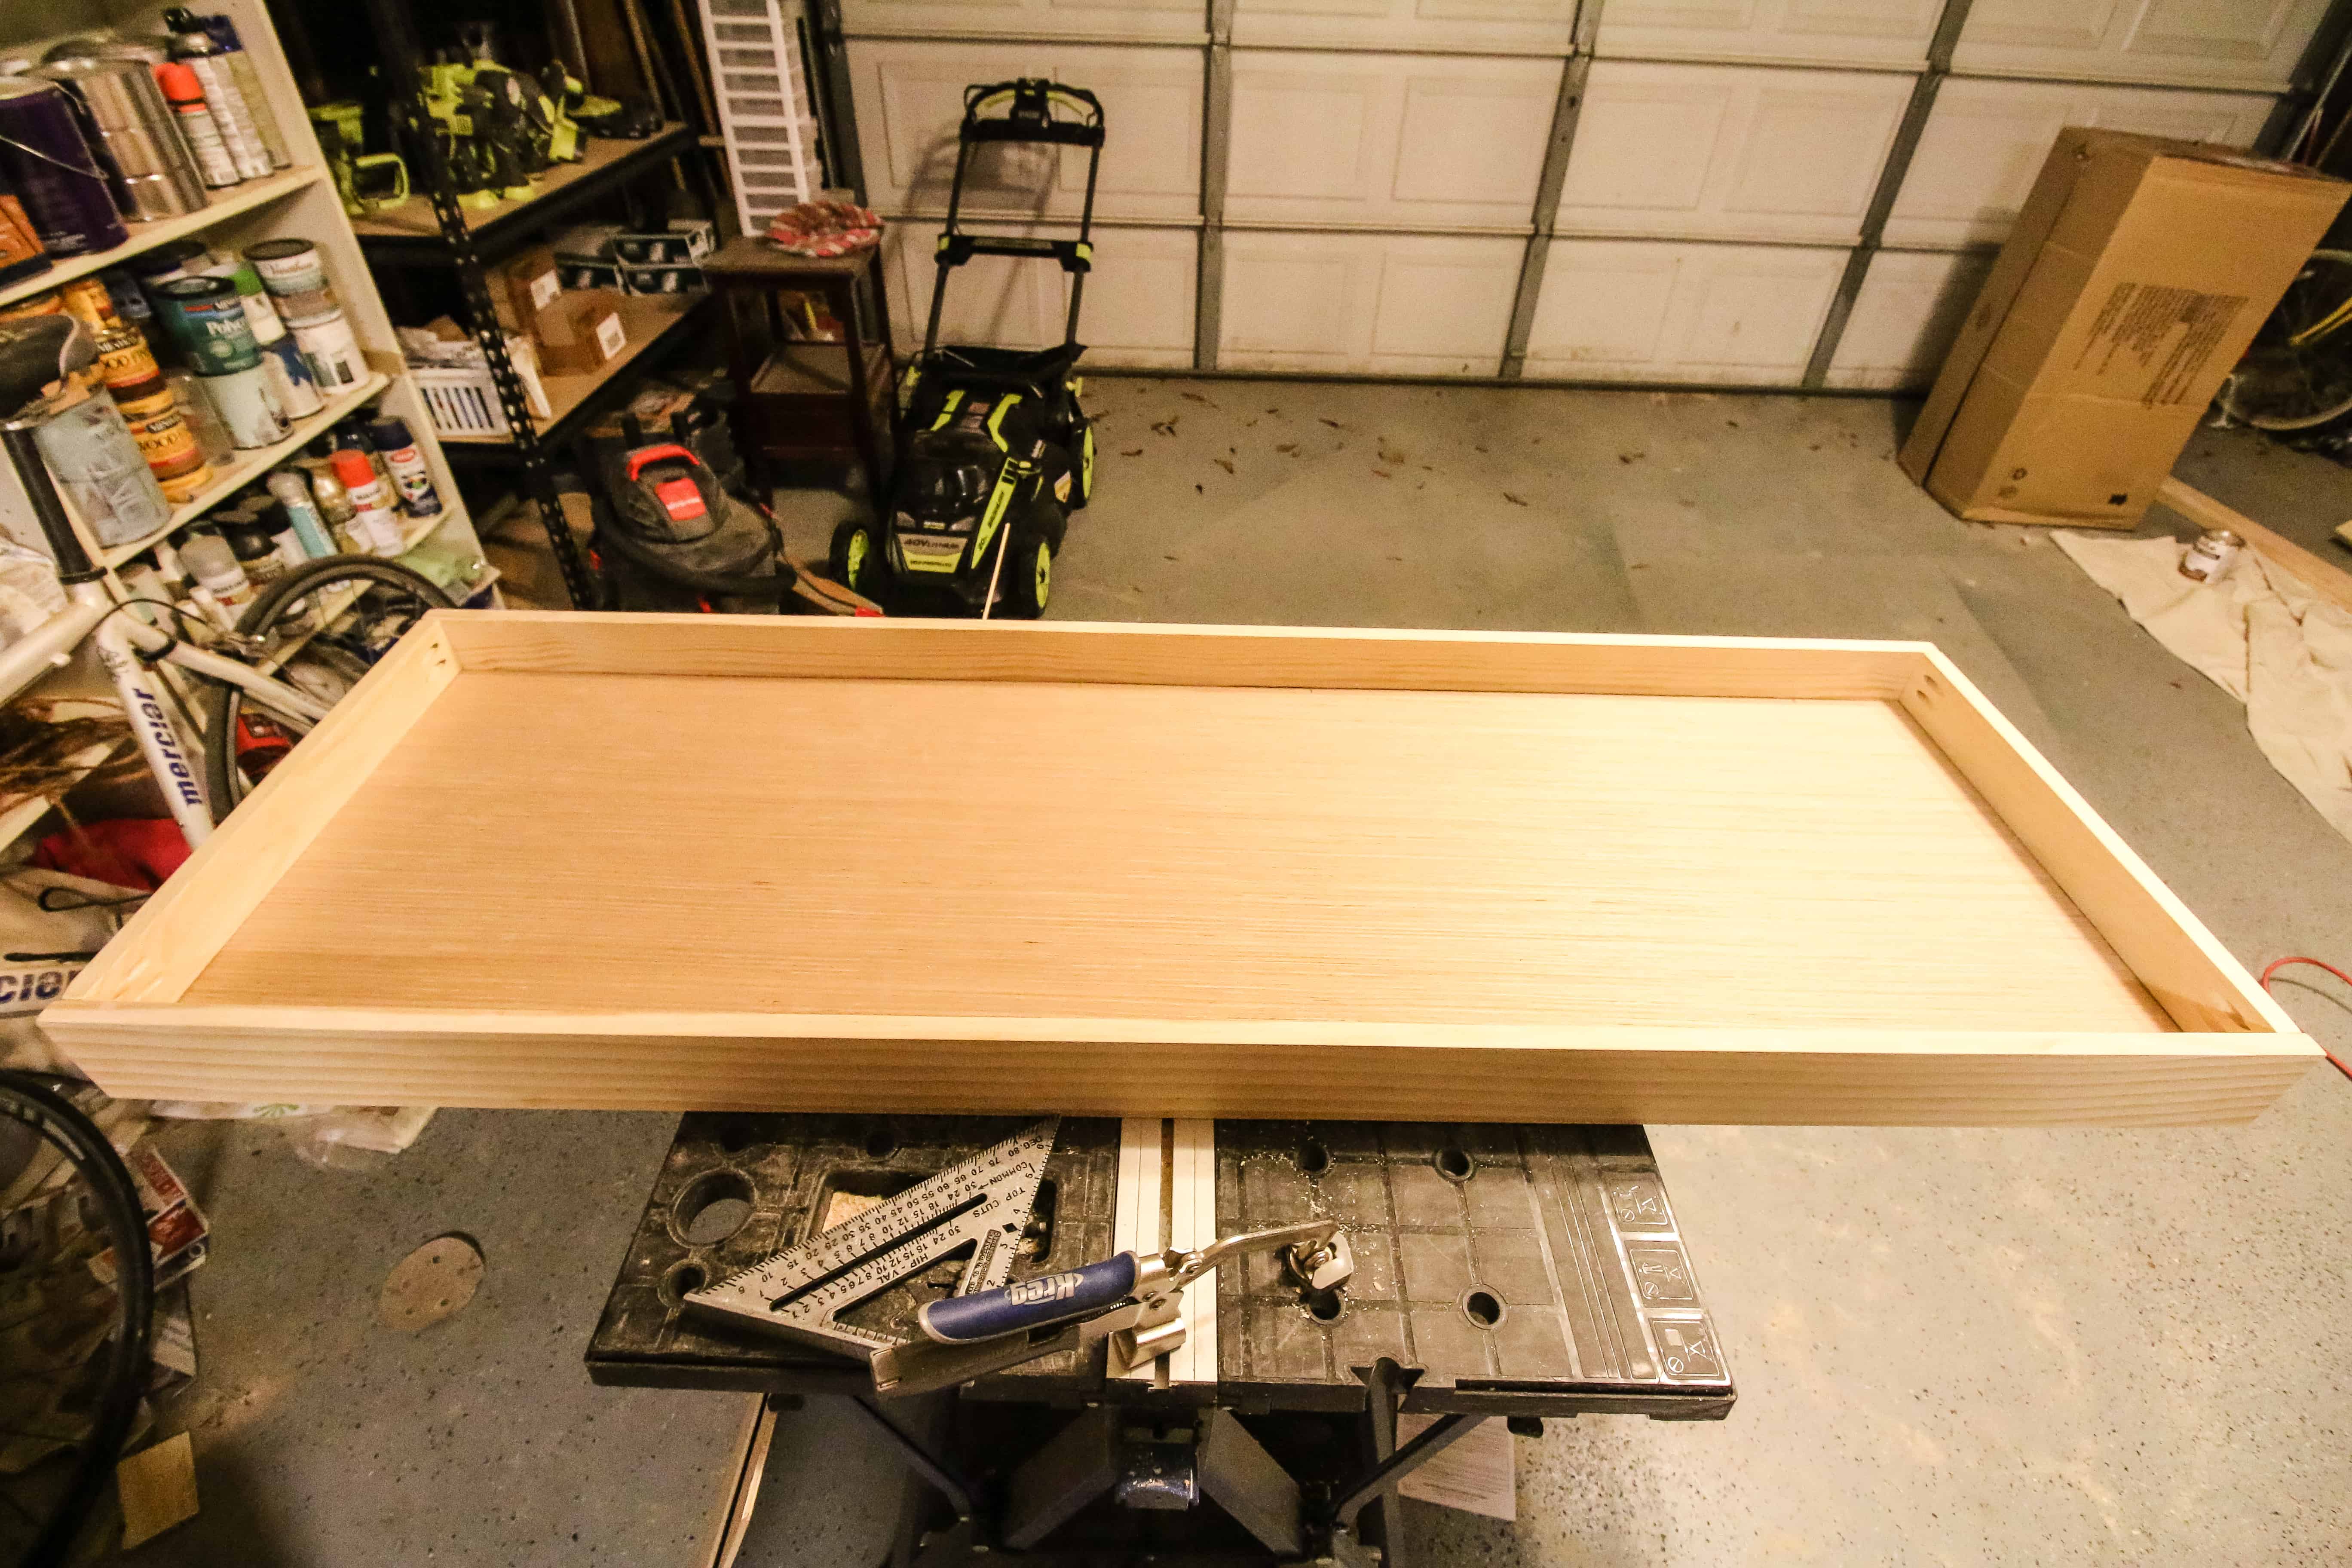
For ours, I cut two 1x4s at 60 inches and two at 19 inches.

DIY Changing Table Topper

On the two shorter boards, I drilled pocket holes near the top half of the boards on both sides.

DIY Changing Table Topper

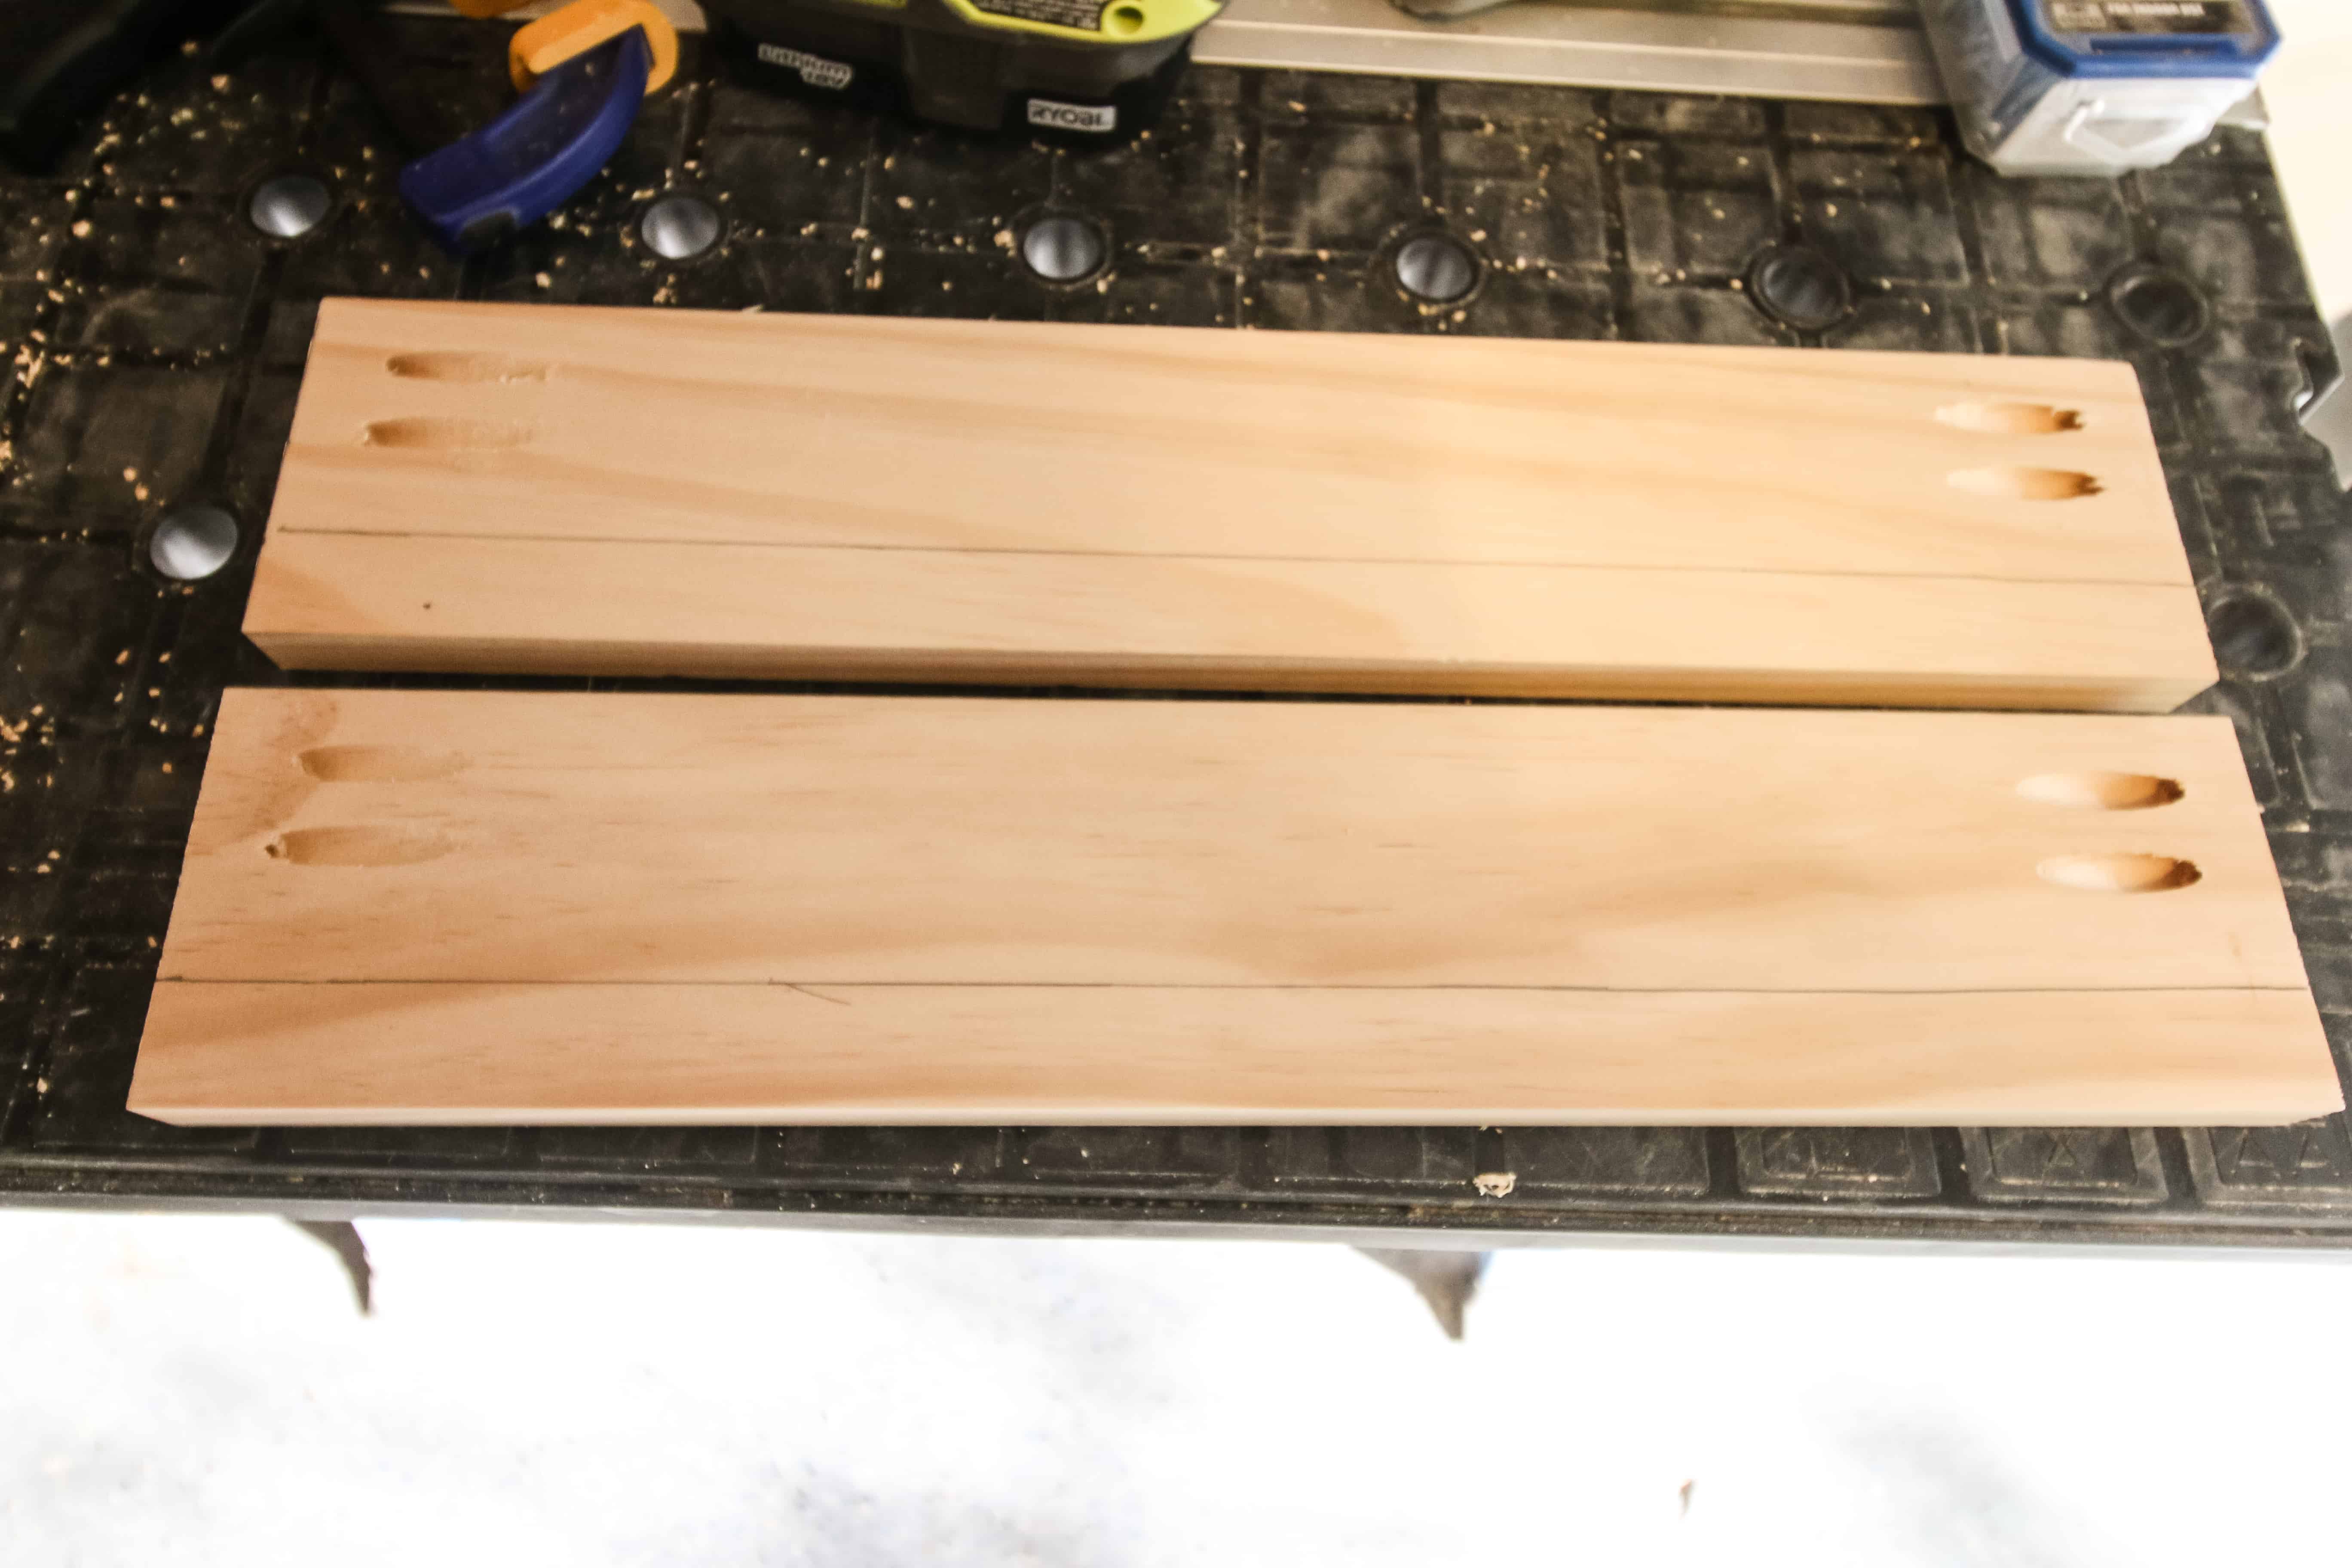
In order to create the false bottom, I routed out a small ⅛ inch deep line an inch from the bottom on all four boards.

DIY Changing Table Topper

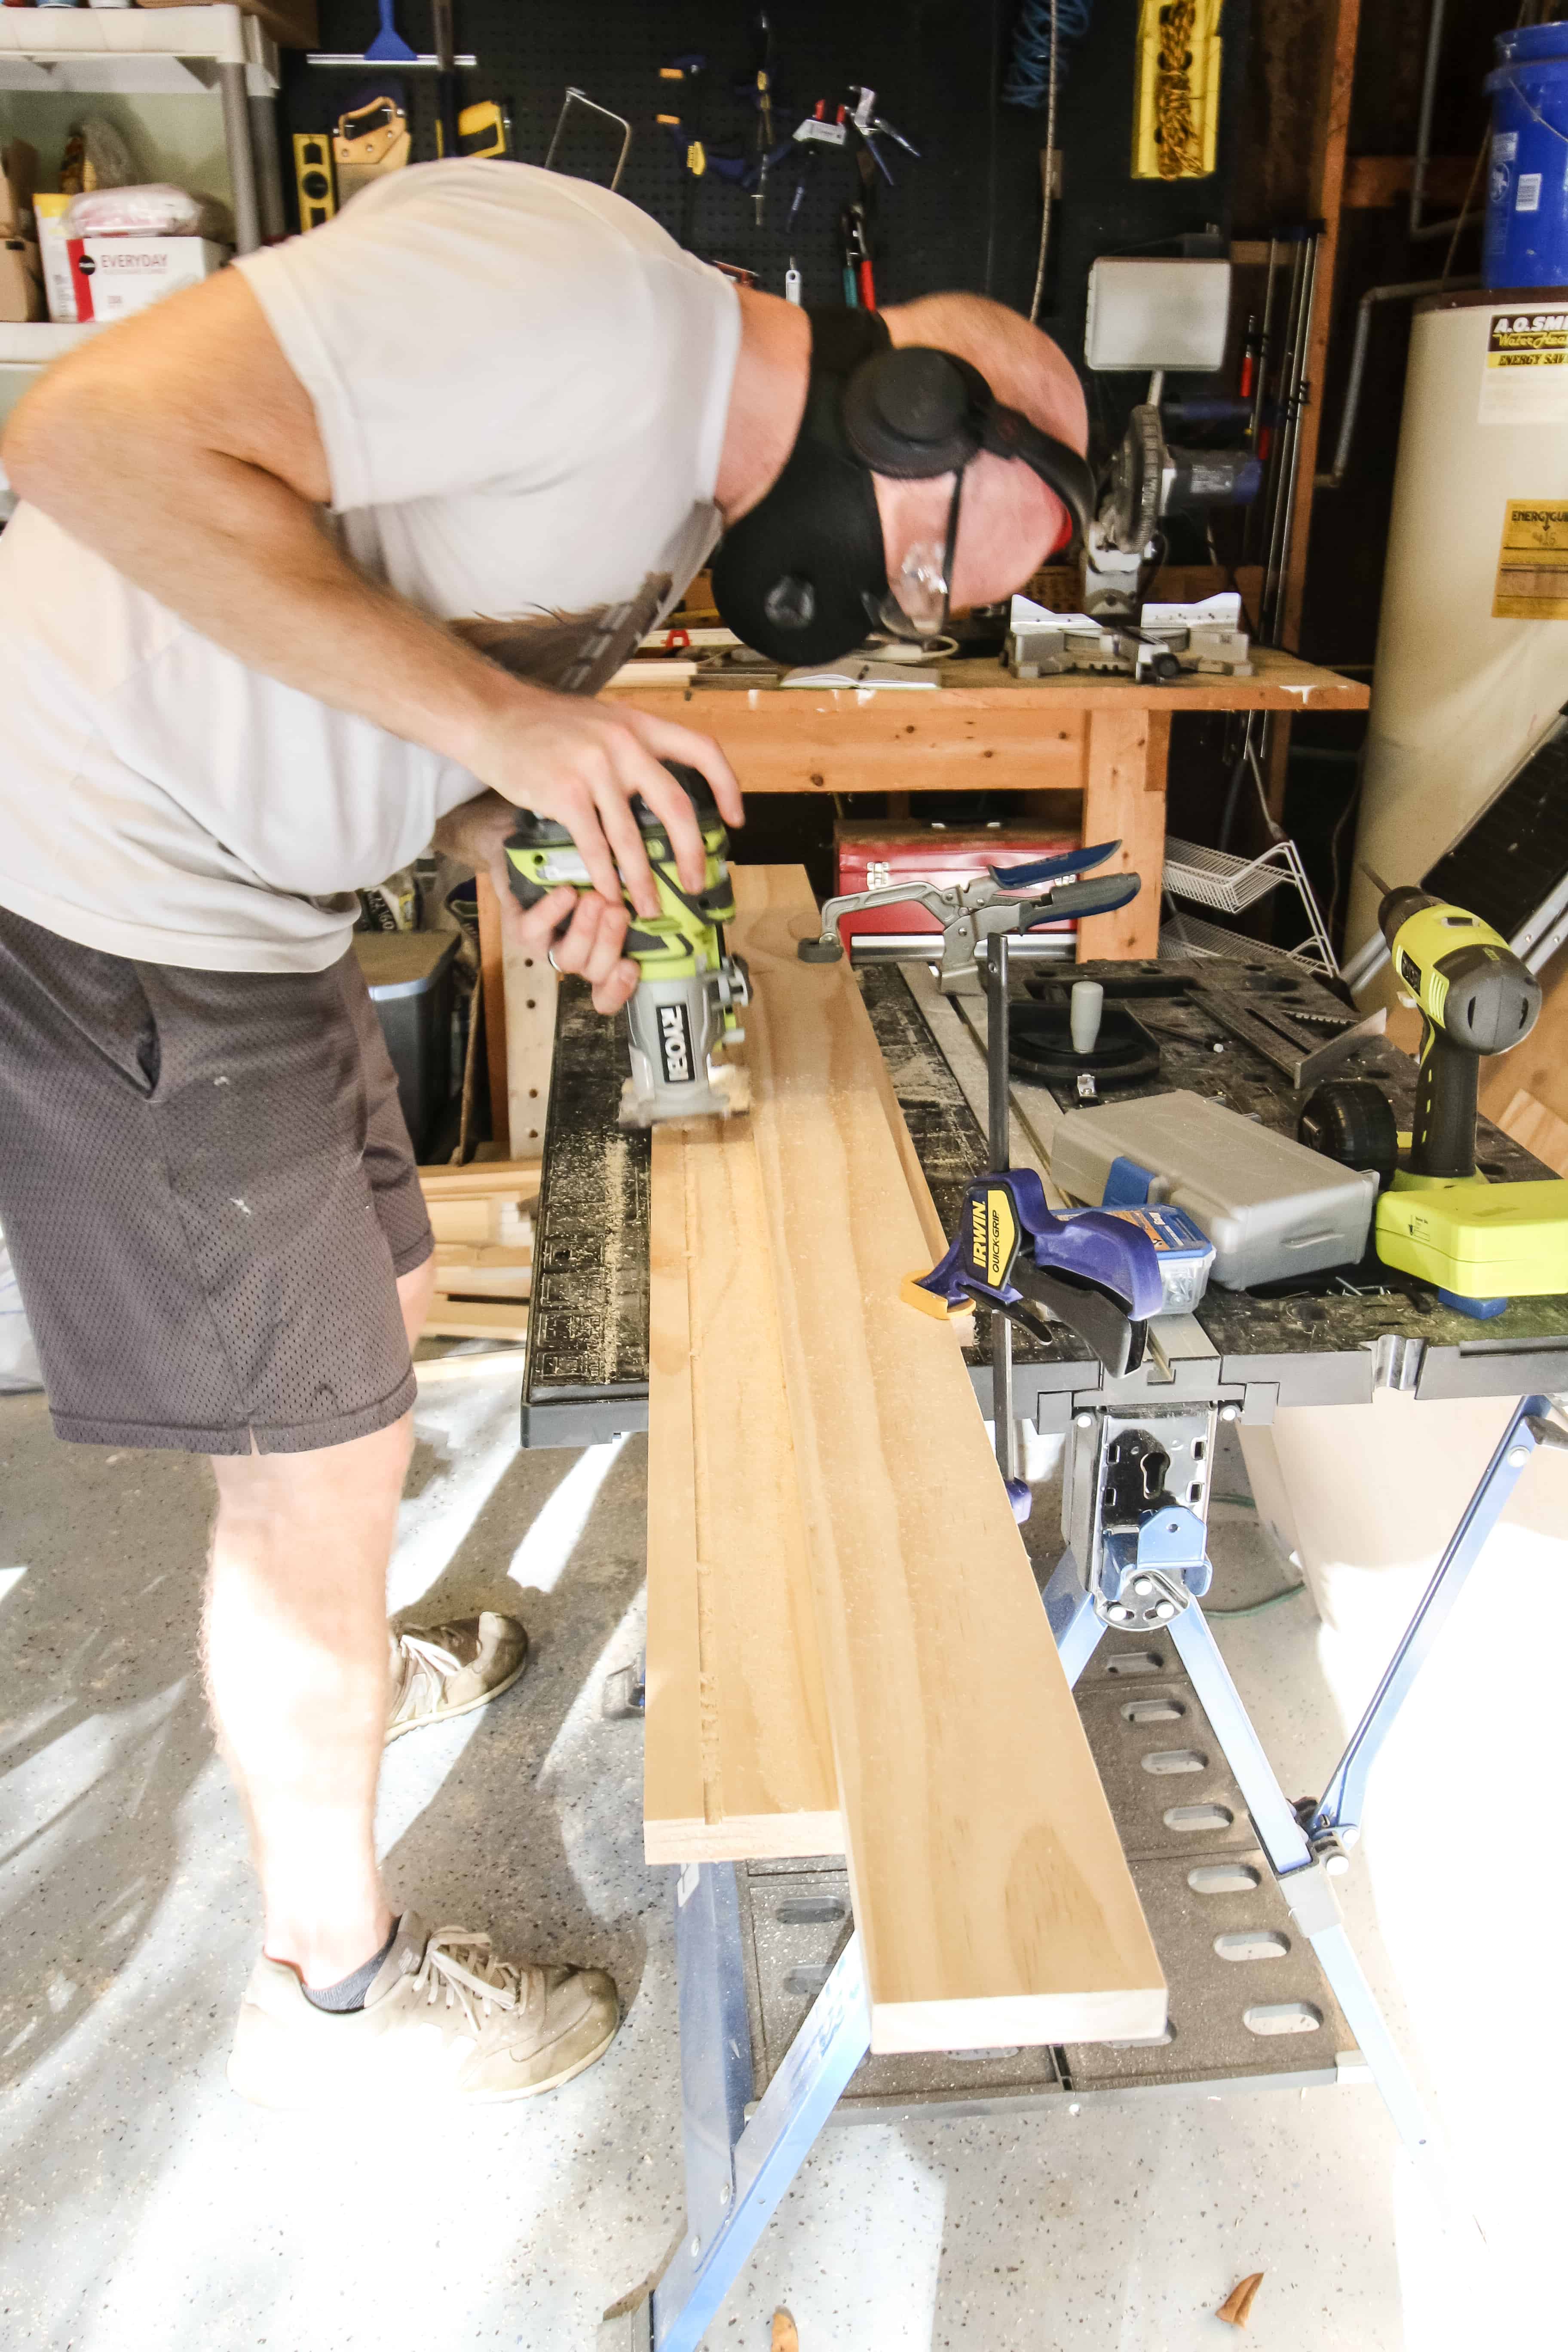
I screwed one of the short boards into the inside of the two long boards. Then, I slid a piece of ¼ inch plywood through the grooves and attached the other short board to the outside.

DIY Changing Table Topper

I then attached a 1x3 to the middle to keep the changing pad in place.

DIY Changing Table Topper

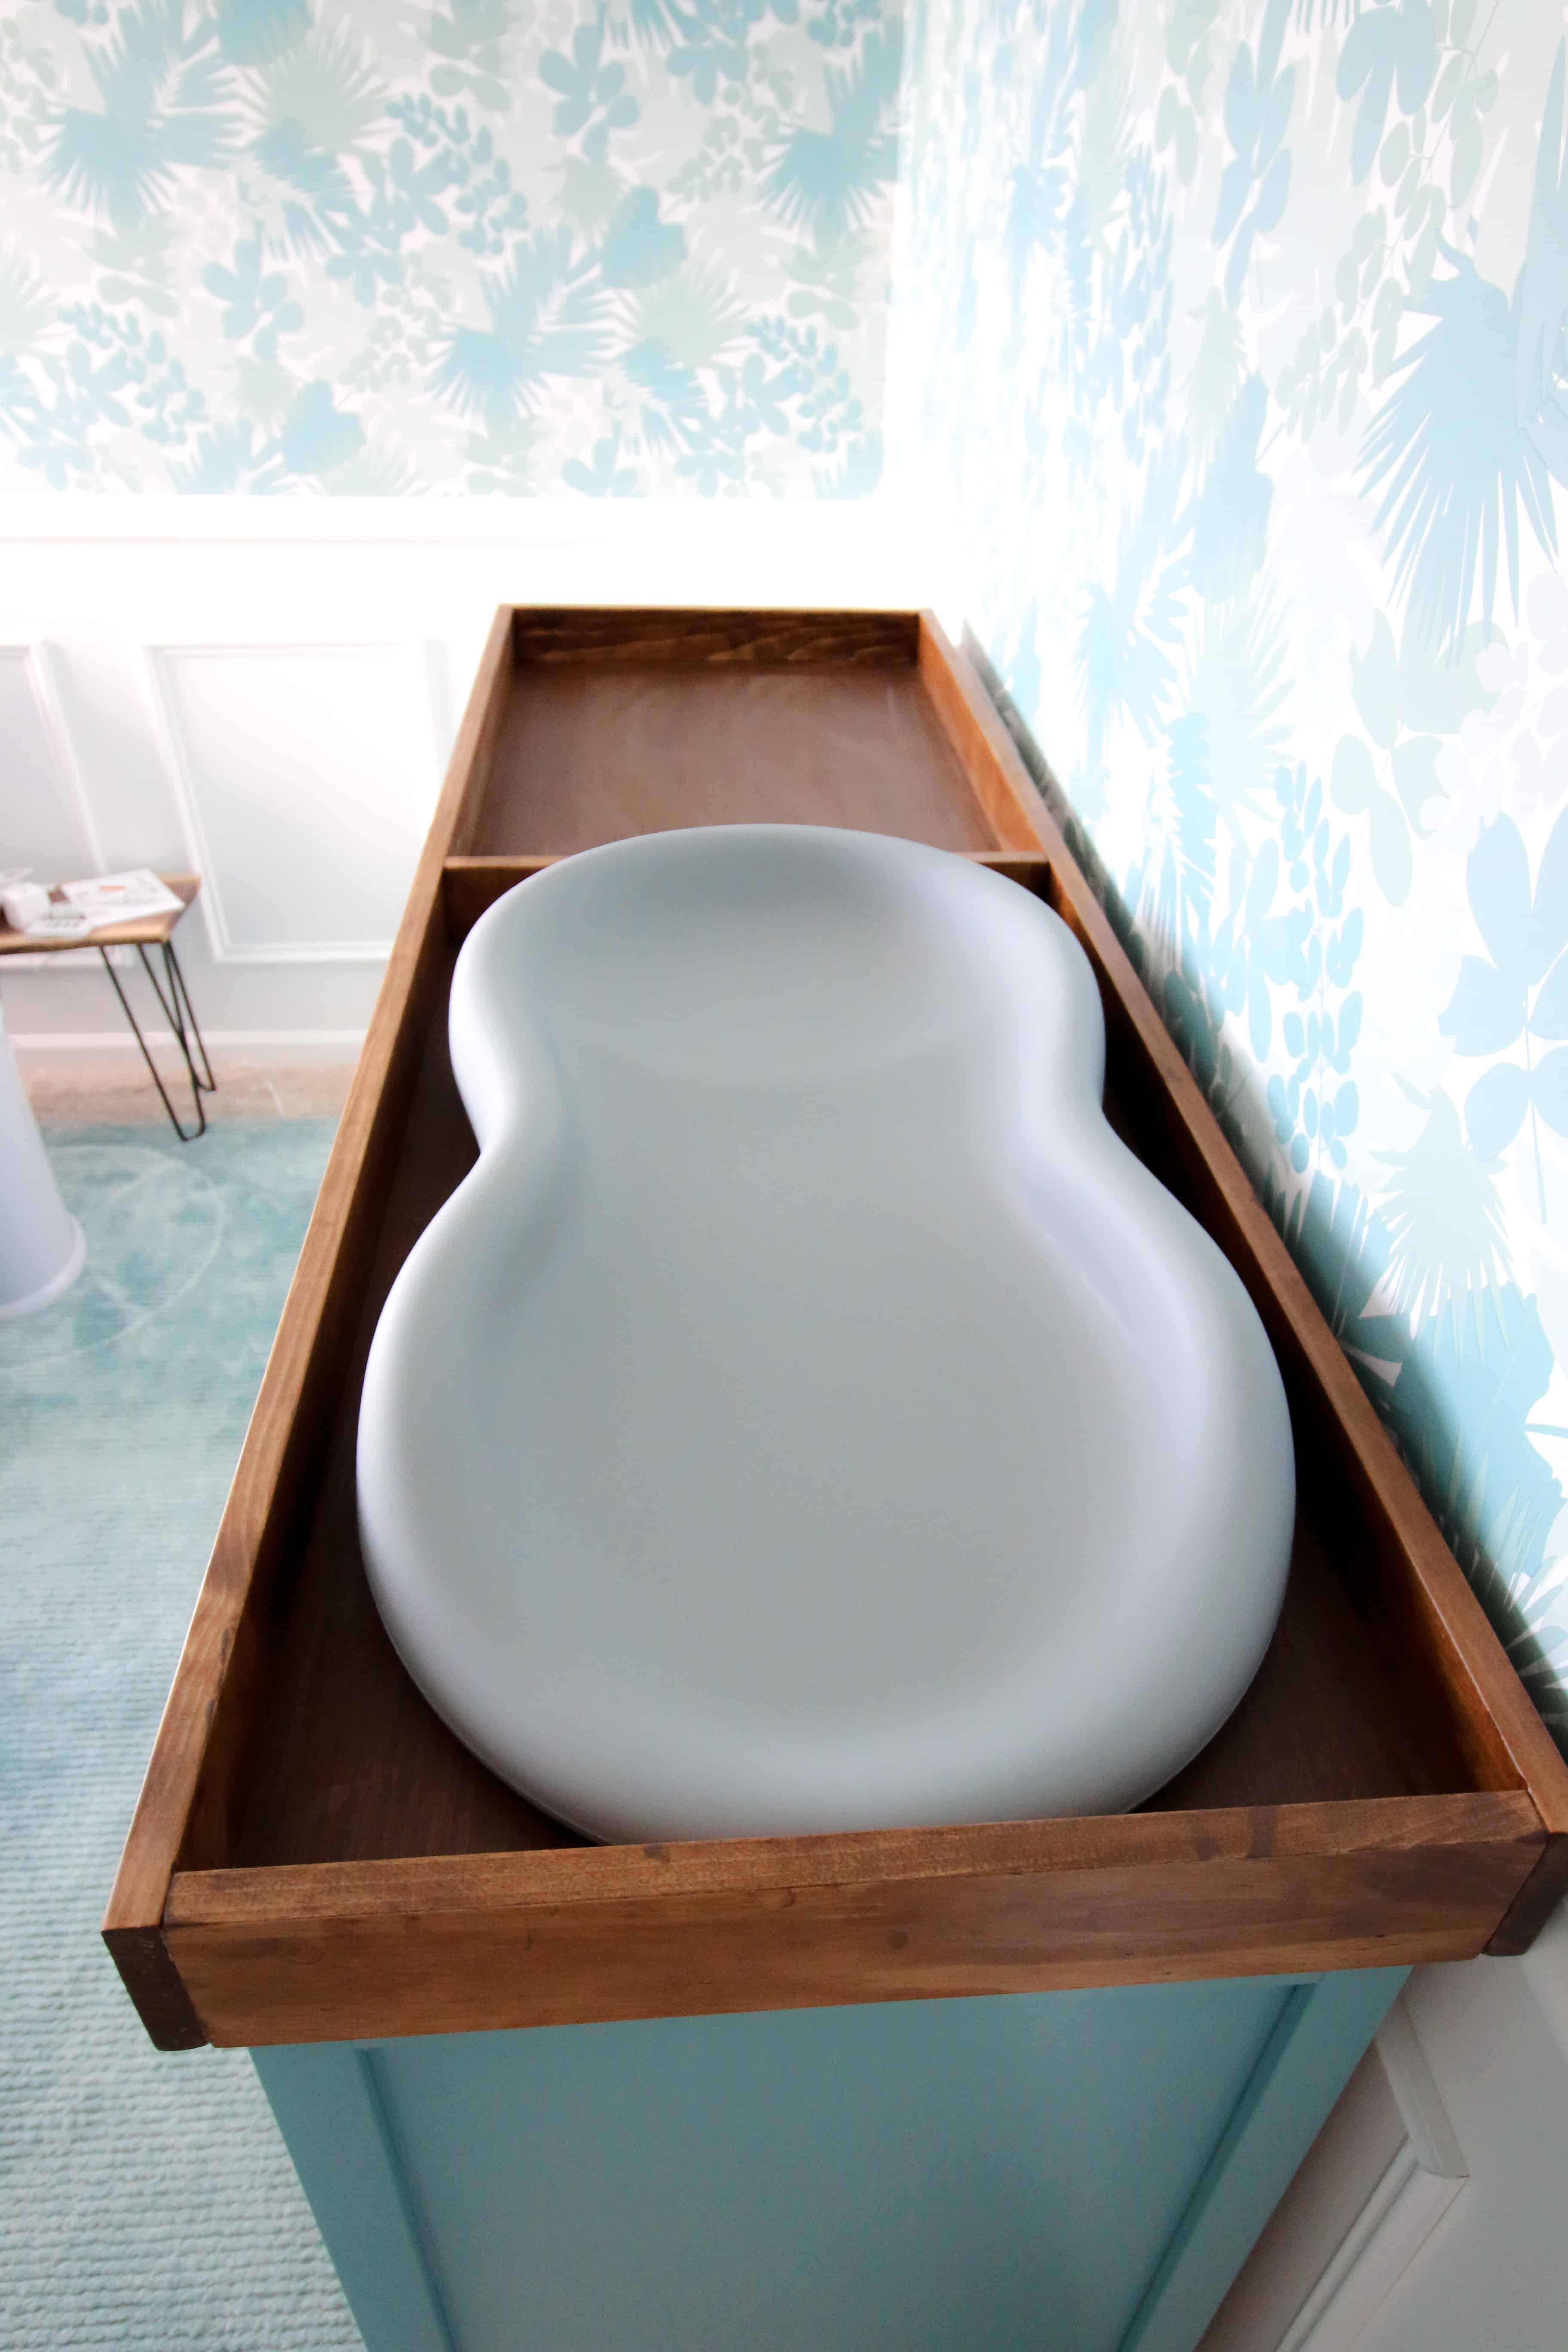
We stained the whole thing with Rust-Oleum's Varathane Early American to match the legs on the dresser and the nursery closet system.

Read our full review of Early American wood stain by Varathane!

DIY Changing Table Topper

Final Look

Our DIY changing table topper looks fantastic!

DIY Changing Table Topper

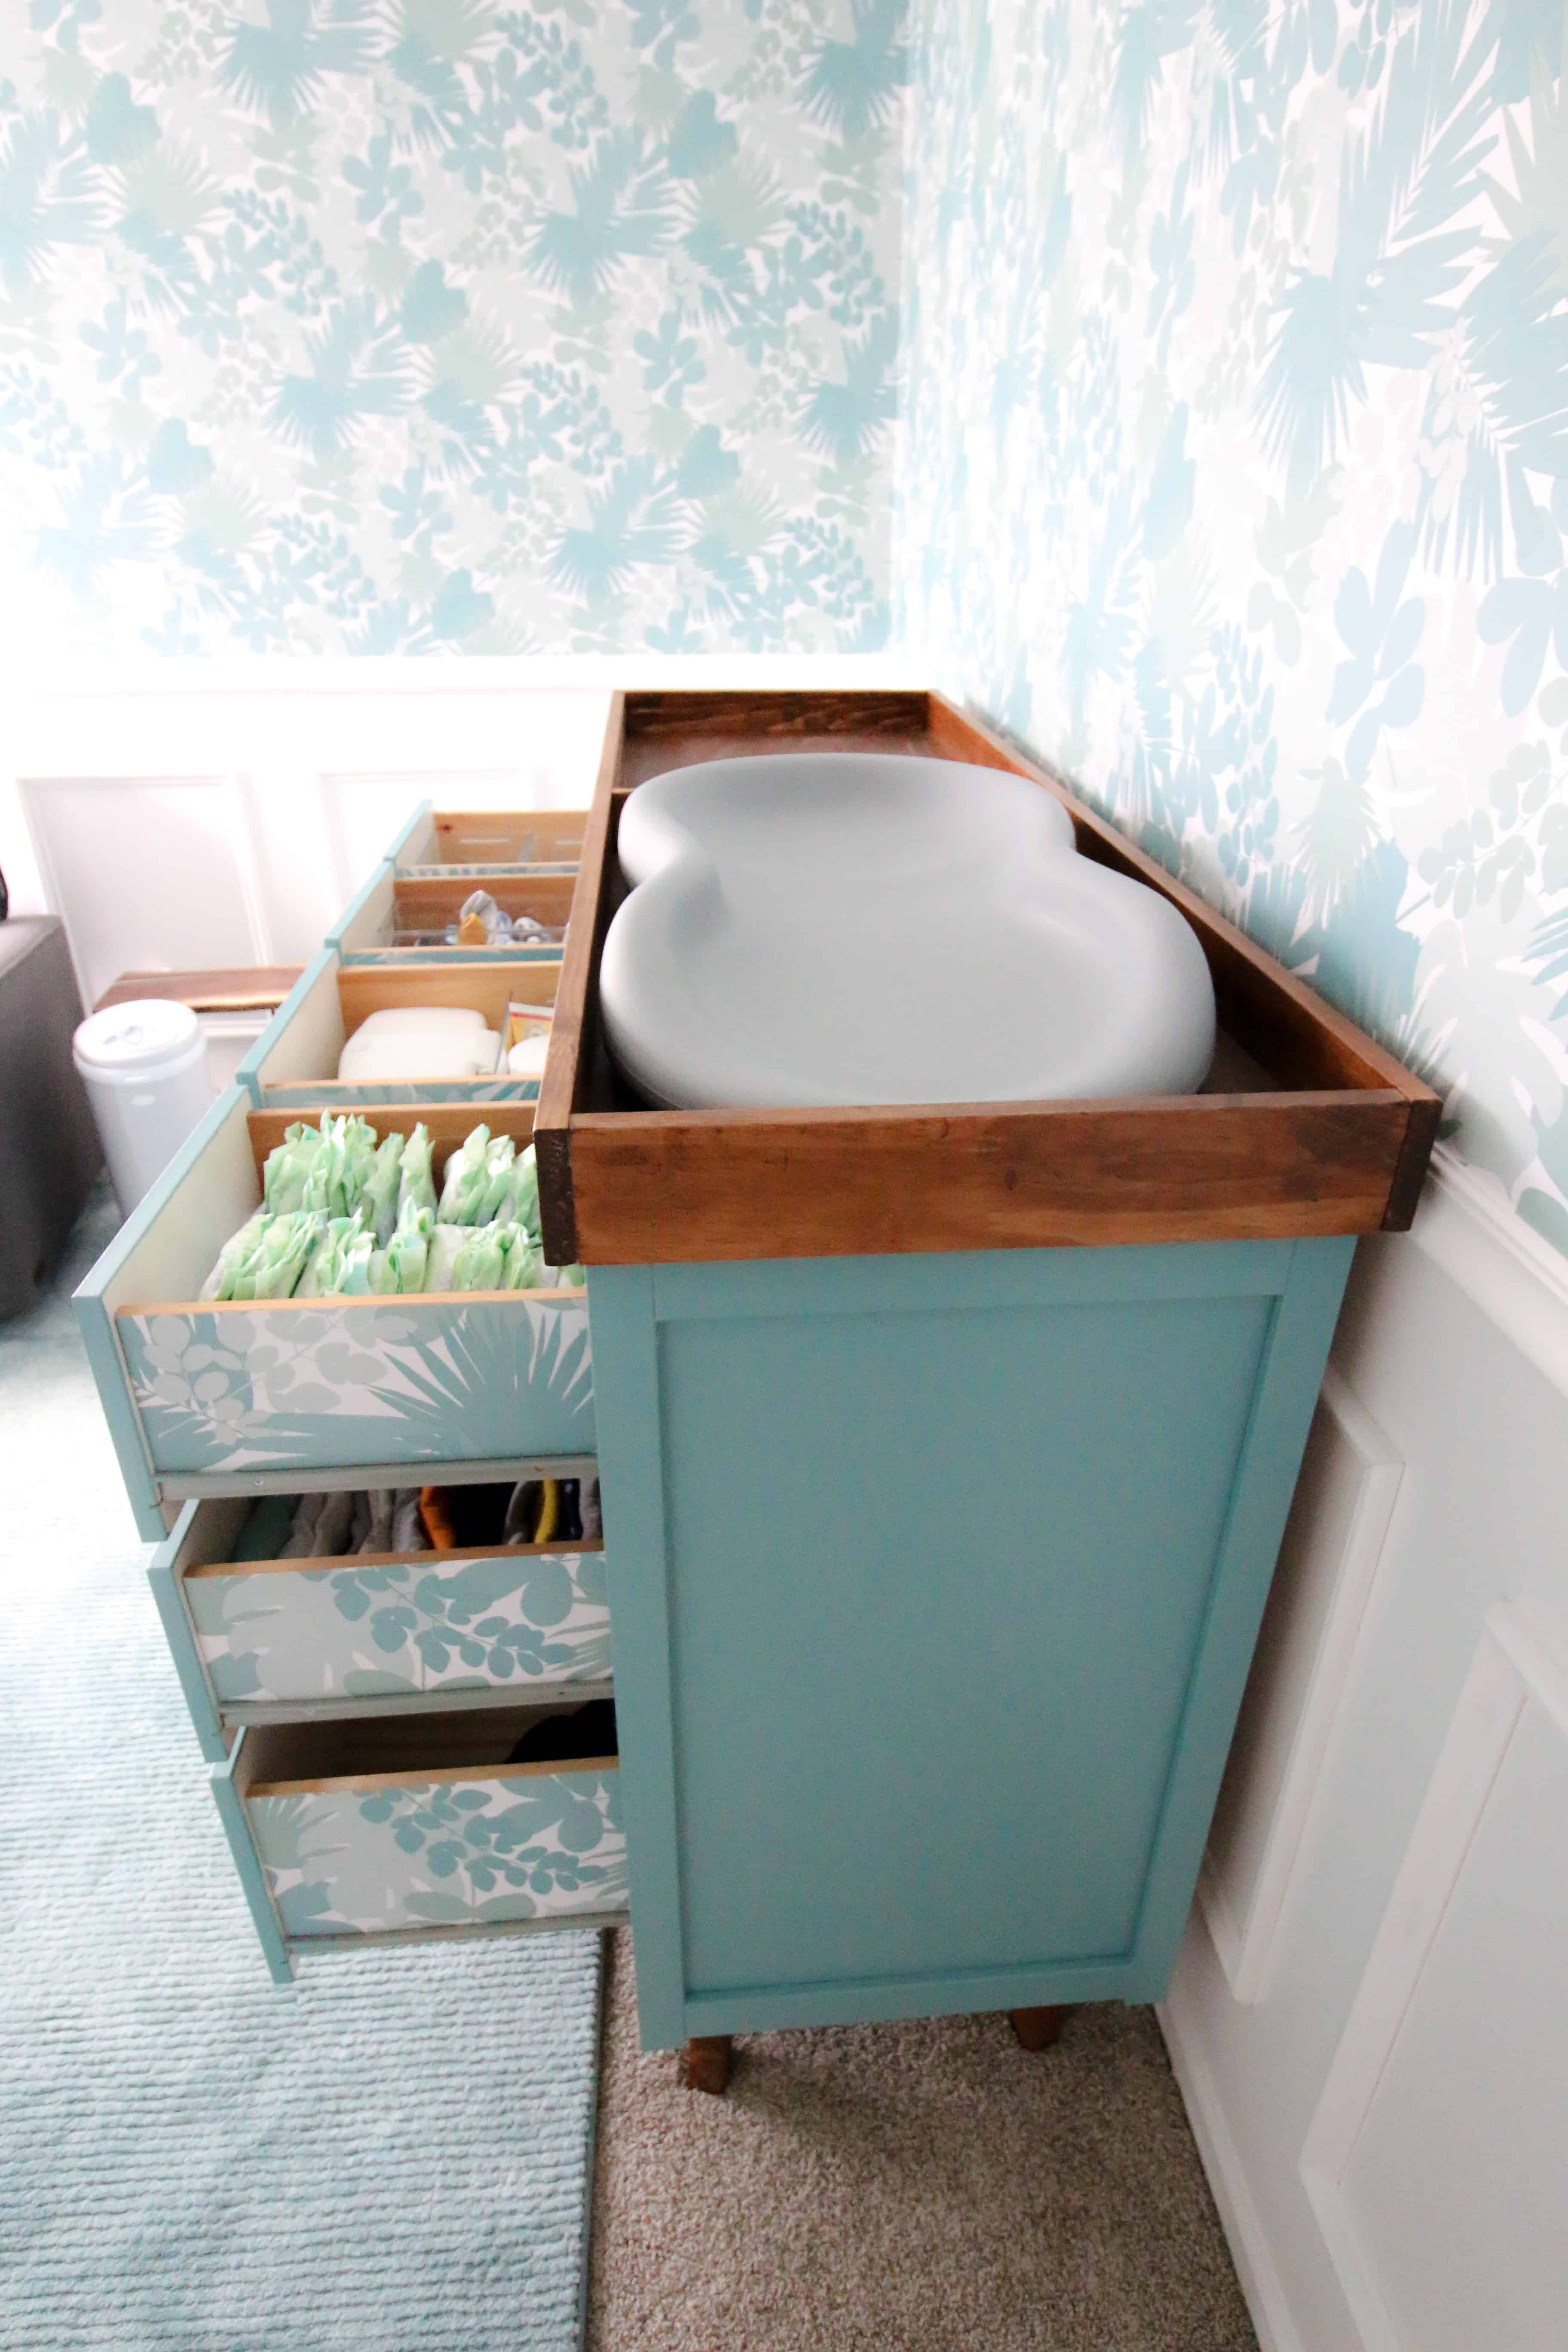
It sits perfectly around the outer edge of the dresser so it can't move thanks to the false bottom. We added some felt pads underneath so that it wouldn't scratch the dresser.

We love the look of our DIY changing table topper and the whole look of our dresser. It fits perfectly into the nursery!

Be sure to click over and check out our Jungle Theme Nursery Reveal!

 Charleston Crafted Logo heart
 Charleston Crafted Logo facebook
 Charleston Crafted Logo insta
 Charleston Crafted Logo pinterest
 Charleston Crafted Logo twitter

Charleston Crafted email newsletter sign up

Sean headshot cropped
Sean

Hey there, I'm Sean, the woodworking enthusiast and builder behind CharlestonCrafted.com! Since 2012, I've been sharing the magic of turning raw materials into beautiful creations. I love teaching others the art and satisfaction of woodworking and DIY. I try to inspire fellow crafters to make something extraordinary out of nothing at all.

More Nursery

  • woodworking projects to make for babies
    15 best woodworking projects for babies
  • double hook curtain rings to hold baby hair bows
    How to make a DIY baby headband organizer
  • pink scalloped nursery
    Tour our modern pink nursery!
  • DIY newborn hospital outfit shadow box
    How to make a newborn coming home outfit shadowbox

Reader Interactions

Comments

  1. Melanie & Daniel says

    July 11, 2020 at 7:19 pm

    Hello

    How did the height of the tray rails worked out for you ? Was it sufficient ?
    We are making a tray ourselves and were thinking to make the rails higher than the pads (we also have the same Keekaroo changing pad). If you were to do it again, would you think higher rails would be safer or cumbersome ?

    • Sean says

      July 13, 2020 at 8:57 am

      We used a standard 1"x4" board and it is totally sufficient. I would not recommend bigger or it will get in the way of changing. I don't think adding a higher lip would keep the baby any safer either. Just make sure to use the strap and buckle that comes with the Keekaroo!

      • Melanie & Daniel says

        July 13, 2020 at 9:44 am

        Thank you so much for your quick feedback !

  2. Maria says

    November 15, 2020 at 4:16 pm

    I love this! I’ve been wanting to cut off excess top on my hemnes dressers for a long time now! Can you share the easiest way for me to accomplish this in the house while it’s attached to dresser? When I assembled I used wood glue so I don’t want to attempt removal. Can (My friend) use a circular saw and buzz it off? Would we have to take it outside to do so avoid a huge mess? Thank you!!

    • Sean says

      November 16, 2020 at 10:23 am

      Hey Maria, I would use a circular saw and draw a line on the top of the dresser to follow. You can do it in the house and it will make a little bit of a mess, but you can always vacuum it up.

Trackbacks

  1. Changing Table Topper – Free Woodworking Plan.com says:
    December 6, 2018 at 8:07 am

    […] adapt your childs dresser into a changing table without altering the furniture at all. Build this changing table topper that will not slide off the […]

  2. How To Easily Convert A Dresser Into A Changing Table With Drawers - Tulamama says:
    May 29, 2020 at 12:30 pm

    […] Image: Charleston Crafted – Helpful DIY instructions on how you can DIY a changing table […]

Primary Sidebar

Charleston Crafted about us image

Hey y'all!

We are Morgan & Sean McBride and we are crafting our home together in Charleston, South Carolina.

More about us

Popular Posts

  • DIY Coffered Ceiling
    DIY Coffered Ceiling
  • How to Make DIY Concrete Pumpkins via Charleston Crafted
    How to Make DIY Concrete Pumpkins
  • How to Make a Cupid's Arrow Valentine's Day Wall Hanging with felt on the Cricut
    How to make a Cupid's Arrow Valentine's Day Wall Hanging
  • Our Tropical Oasis - A backyard Hammock area - Charleston Crafted
    Our Tropical Oasis

Recent Posts

  • fisherman aesthetic home inspiration
    Fisherman Aesthetic Decor for Your Home
  • Senix Tools Review- Charleston Crafted
    Are Senix power tools any good?
  • Your Weekend To-Do List: 15 Things to Do for Summer Home Upkeep
    Your Weekend To-Do List: 15 Things to Do for Summer Home Upkeep
  • How to build a DIY gate pergola- Charleston Crafted
    How to build a DIY gate pergola

Privacy Policy

Footer

↑ back to top

Navigation

  • Home
  • Blog
  • Contact Us
  • Terms of Use
  • Disclaimer

Newsletter

  • Sign up for emails and updates
  • Follow us on Instagram
  • Work with Us

Browse by Category

  • Woodworking
  • Home Projects
  • Paint Colors
  • Room Reveals

© 2025 The Charleston Crafted Blog LLC DBA “Charleston Crafted” and “CharlestonCrafted” (also known as N/A) / All Rights Reserved.
Official Website: (Charleston Crafted)
Registered in USA (Co. Reg. No.: 565586)
Address: Charleston, USA 29414, South Carolina
Contact Phone: Not applicable — contact is via email: sean@charlestoncrafted.com

DISCLAIMER: The content on this website is provided for general informational purposes only and is not intended as professional advice. The Charleston Crafted Blog LLC and The Charleston Crafted Blog LLC make no representations or warranties—express or implied—regarding the accuracy, completeness, or suitability of the information contained herein. Any reliance you place on this information is strictly at your own risk. In no event shall The Charleston Crafted Blog LLC or The Charleston Crafted Blog LLC be liable for any loss or damage, including without limitation, indirect or consequential loss or damage, arising from the use or inability to use this website. This website is the official website of The Charleston Crafted Blog LLC.

AFFILIATE DISCLOSURE: This website contains affiliate links. If you click through and make a purchase, we may earn a commission at no extra cost to you.

As an Amazon Associate, I earn from qualifying purchases.

Site Editor: Morgan Smith McBride

Copyright © 2025 Charleston Crafted