• Skip to primary navigation
  • Skip to main content
  • Skip to primary sidebar
Charleston Crafted
  • DIY
  • Woodworking
  • Popular Posts
  • Blog
  • About
  • Shop
menu icon
go to homepage
  • DIY
  • Woodworking
  • Popular Posts
  • Blog
  • About
  • Shop
search icon
Homepage link
  • DIY
  • Woodworking
  • Popular Posts
  • Blog
  • About
  • Shop
×
Home » Garden & Yard

How to Make a Basil Planter - Grow Fresh Herbs Easily

Published: Aug 3, 2015 · Modified: Dec 23, 2023 by Morgan · As an Amazon Associate, we earn from qualifying purchases. This site contains affiliate links. ·

Discover how to make a basil planter and grow fresh herbs with ease. Our guide covers all you need for a thriving herb garden at home.

Imagine transforming your culinary experiences with a touch of Italy, right in the heart of your condo. That's what we're doing!

Ever since we got back from Italy, we've been obsessed with basil. We’ve been putting it on everything!

We are making tons of caprese now and adding basil left and right. It's such a wonderful little herb.

But constantly buying basil can be expensive and we live in a condo – so we don't have a garden (except for the struggling little one hanging on the porch). 

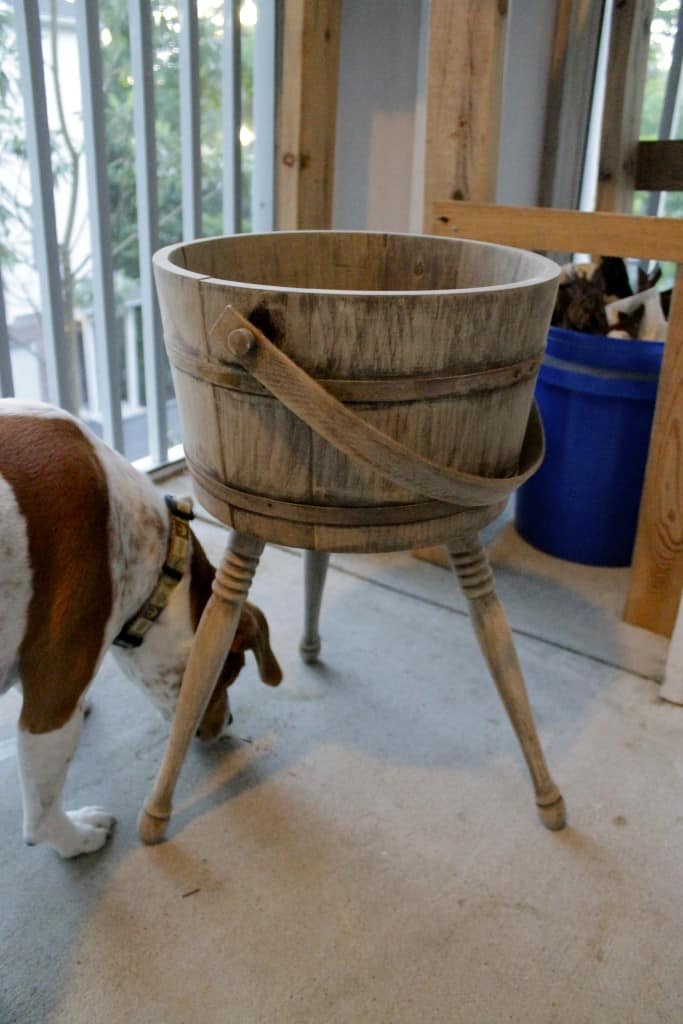
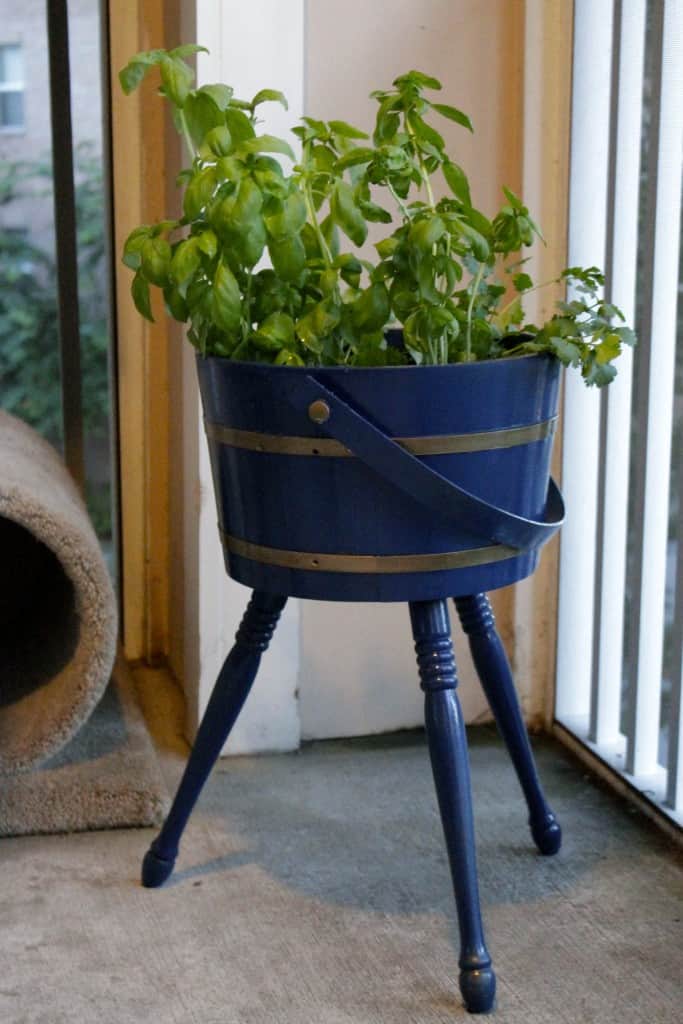
We do, however, have this cool planter that I rescued from the trash a few years ago. 

It’s been overlooked since – so we finally decided to put it to good use and plant basil in it!

How to make a basil planter

Transforming an Ordinary Planter into a Basil Haven

Here is our step-by-step to make a basil planter!

A photo of the planter before the refurbishment.
A photo of the inside of the planter before the refurbishment.
A photo of the top of the planter before the refurbishment.
A photo of the bottom of the planter before the refurbishment.

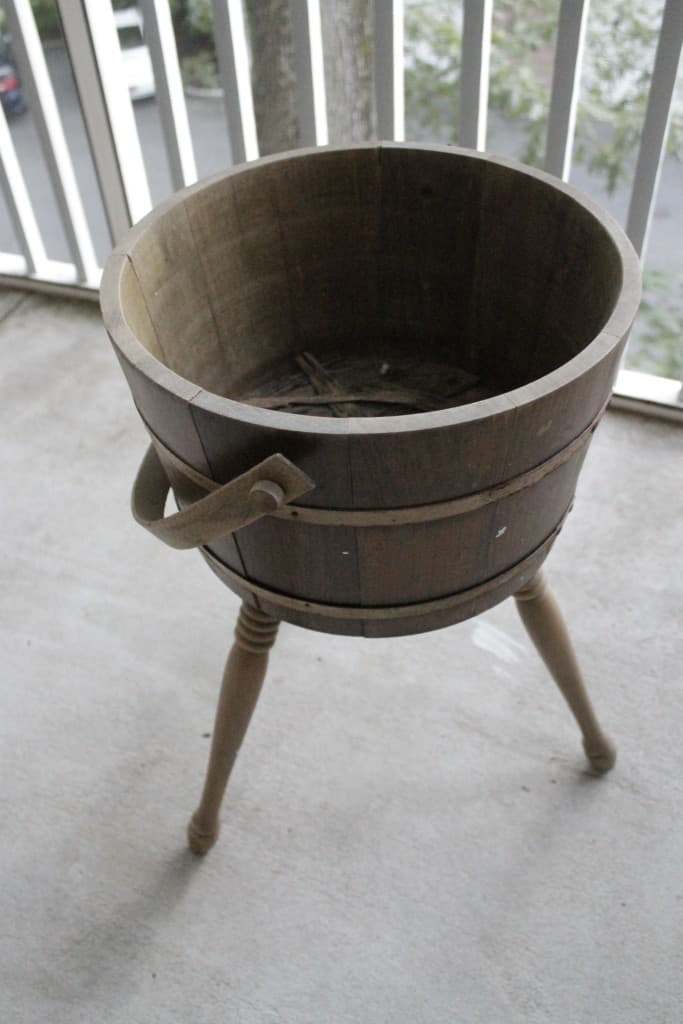
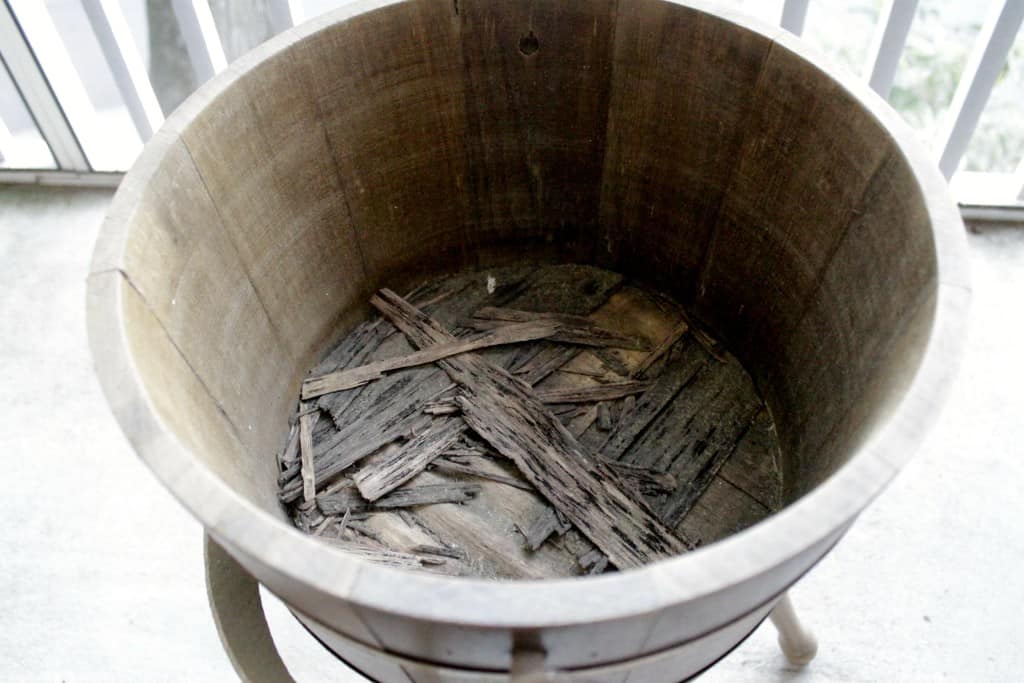
So, we began the makeover by carefully stripping out this lining.

A photo of the sanded inside of the planter.

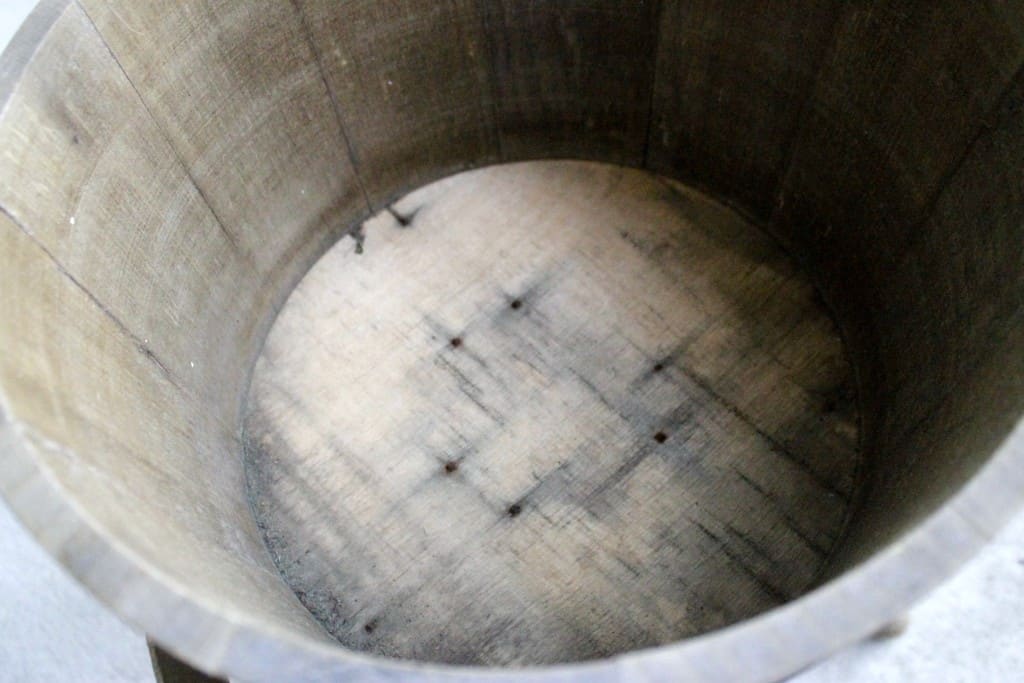
We then sanded down the whole thing using 100-grit sandpaper sheets.

A photo of the sanded outside of the planter.

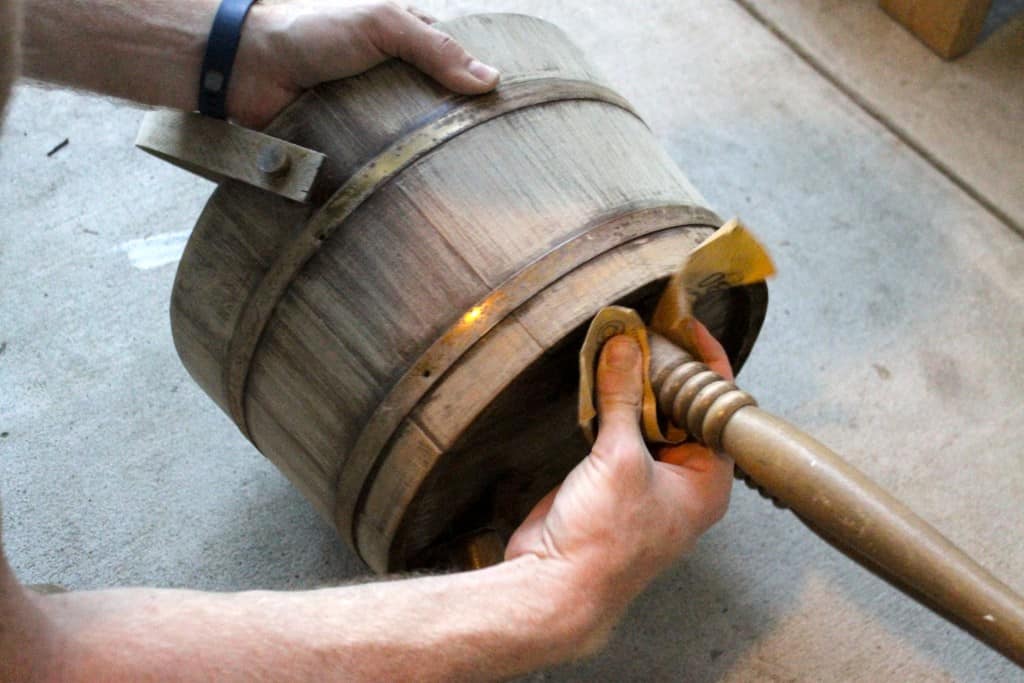
This took a while because we couldn't use our electric sander since it was all curves. We had to meticulously do it by hand!

Another photo of the sanded outside of the planter.

A Lick of Paint

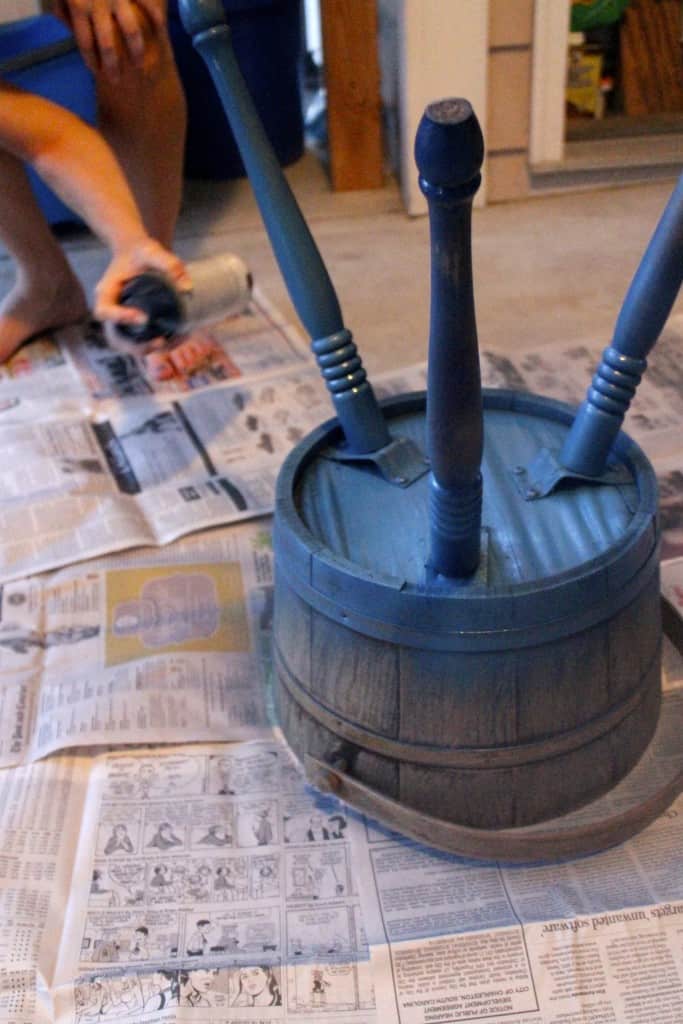
With the planter smoothly sanded, we moved on to painting. We chose a vibrant blue shade that reminded us of the Mediterranean skies. 

Spraying the planter with this color brought it to life. It took a couple of coats over two days, but watching the transformation was exciting.

A photo of the planter being painted.

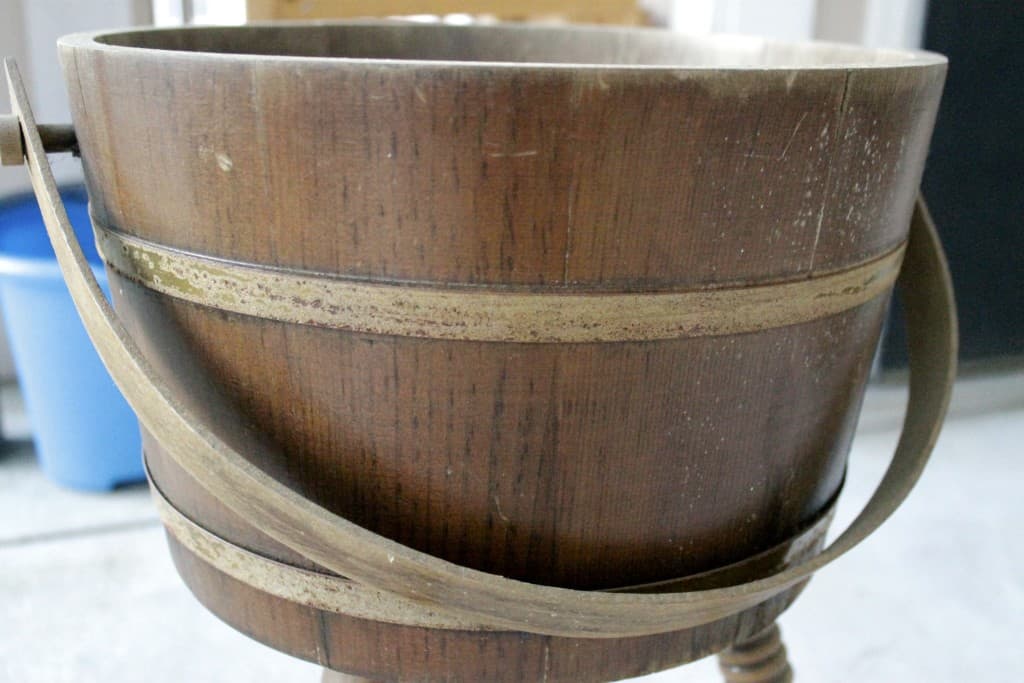
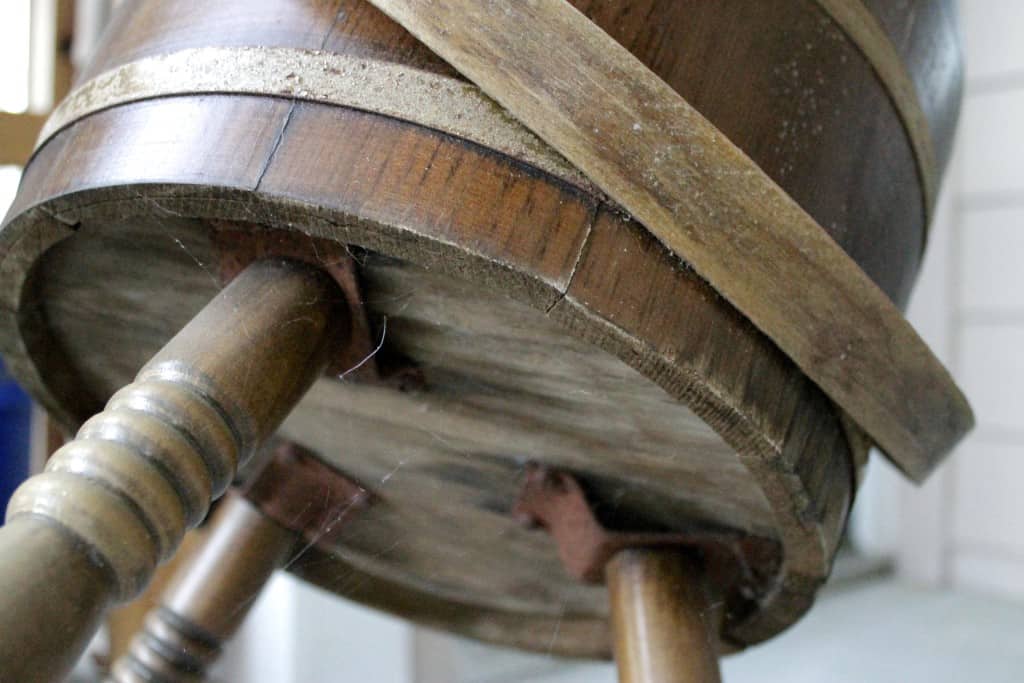
The Tricky Barrel Hoops

Then came the most challenging part: the barrel hoops. 

These metal rings gave our planter a unique, pirate-ship-like appearance.

We thought about trying to restore them, but they were really in rough shape, so we decided to just paint them gold. 

The problem was, we’d already covered them in a layer of blue paint. 

As a result, our metallic gold spray paint just wouldn’t stick.  

Our solution? We carefully taped off the hoops and sprayed a heap of gold paint onto a paper plate. Using foam brushes, we applied the paint onto the hoops.

A photo of adding tape to the planter's hoops.
A photo of the planter's hoops covered with tape.
A photo of gold spray paint being sprayed into a tray.
A photo of gold paint being brushed onto the planter.

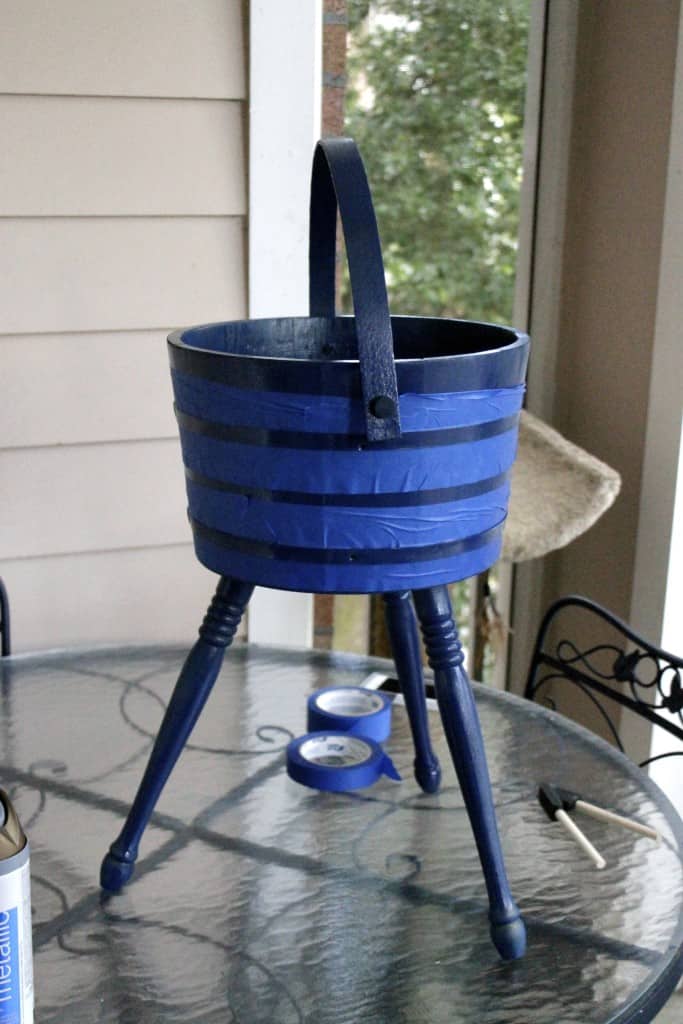
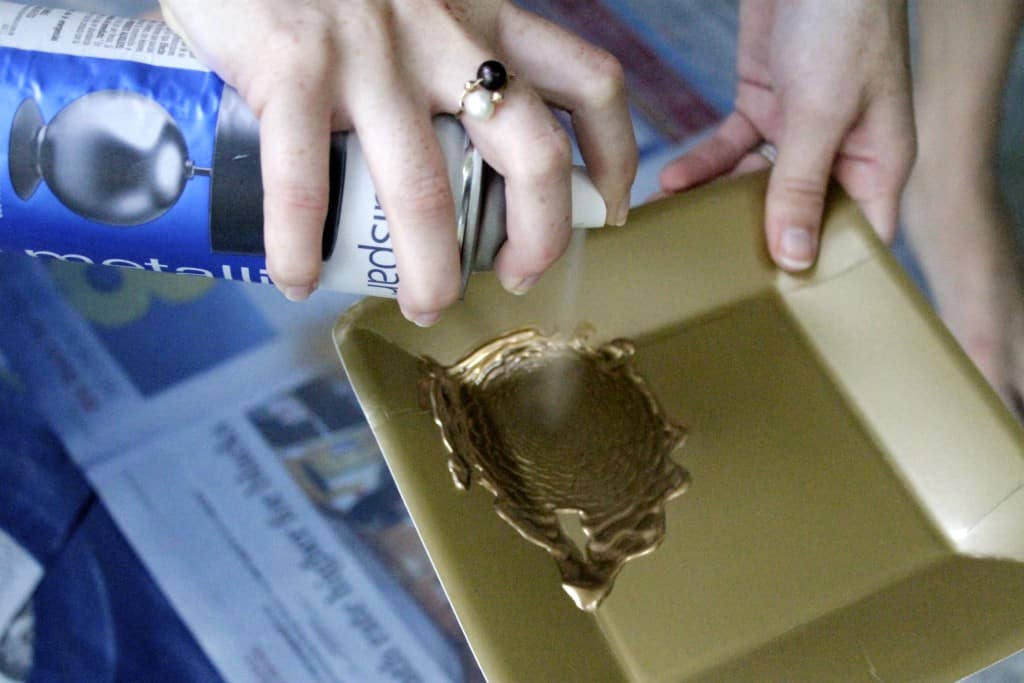
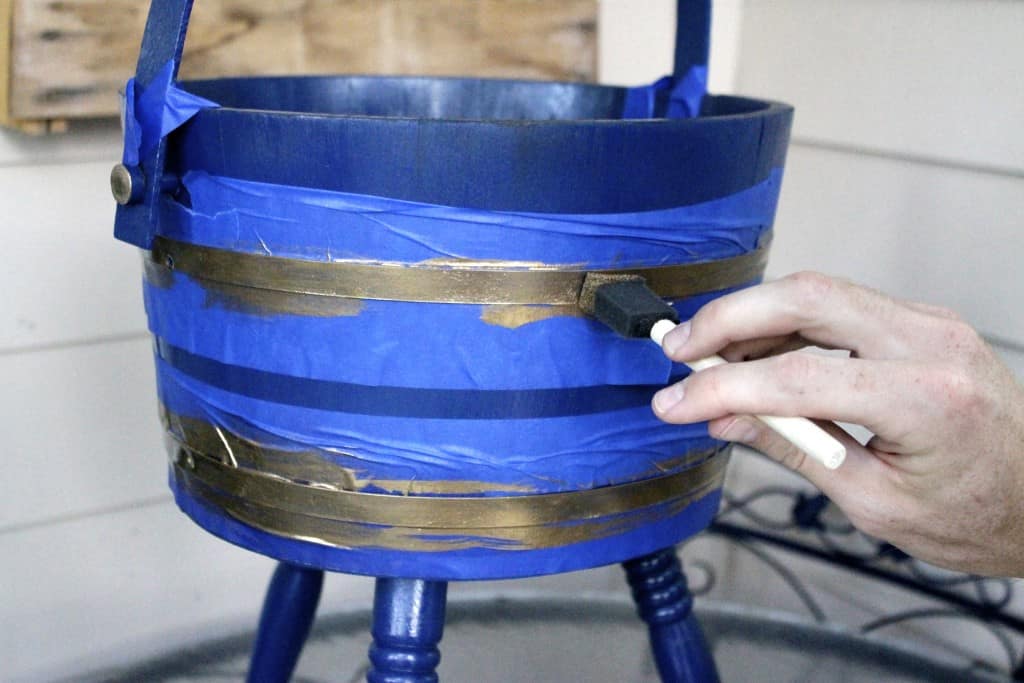
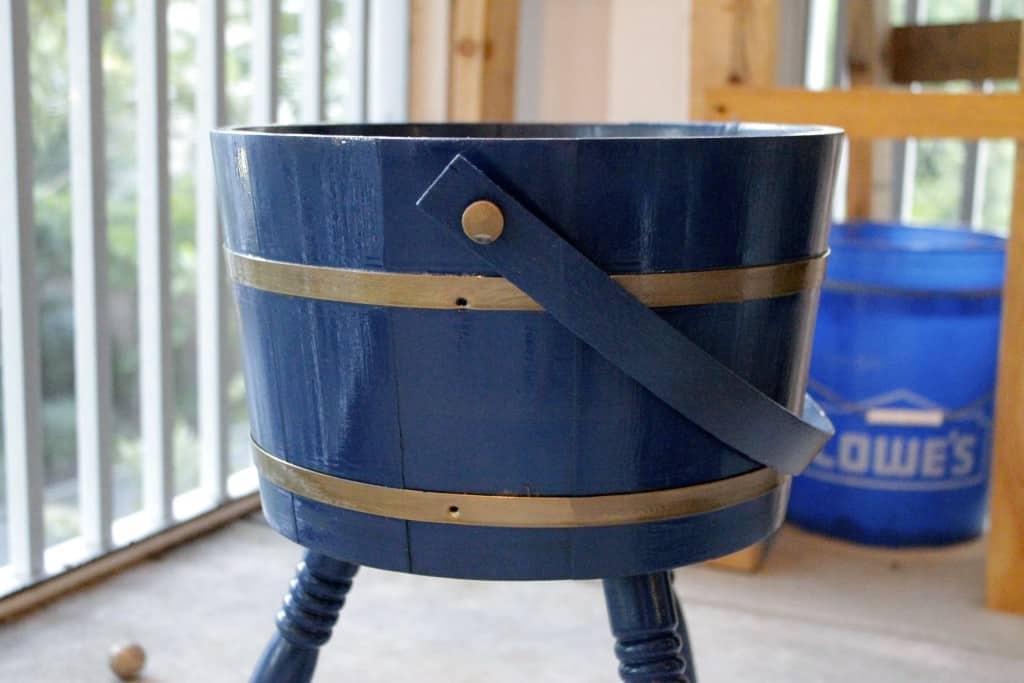
This technique worked wonders, giving the hoops a rich, golden sheen that contrasted beautifully with the blue.

A photo of the finished planter's paint.

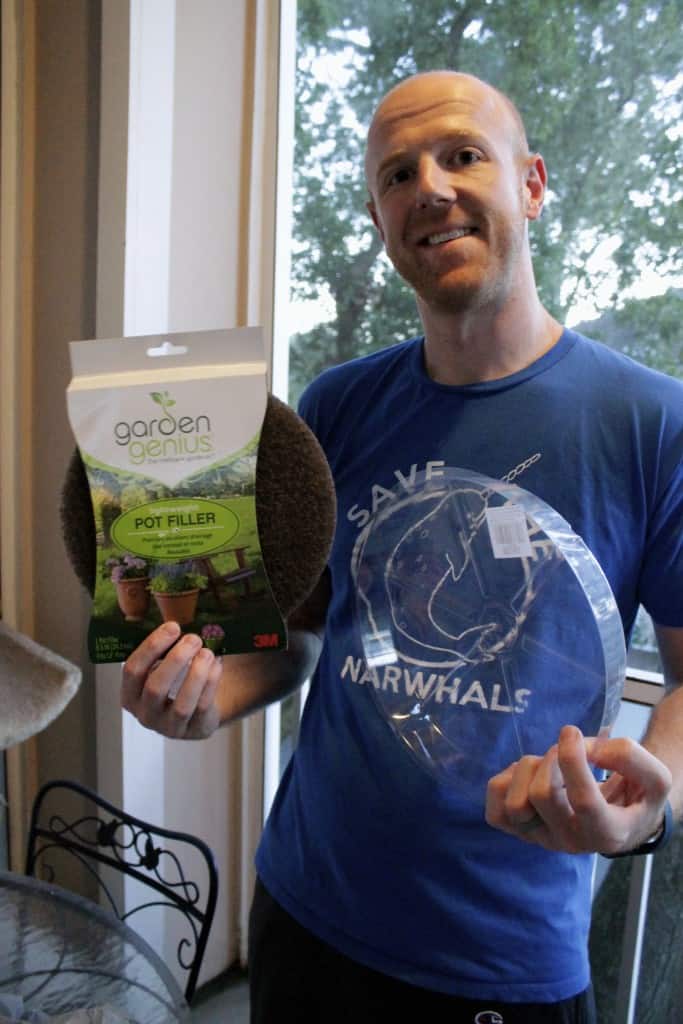
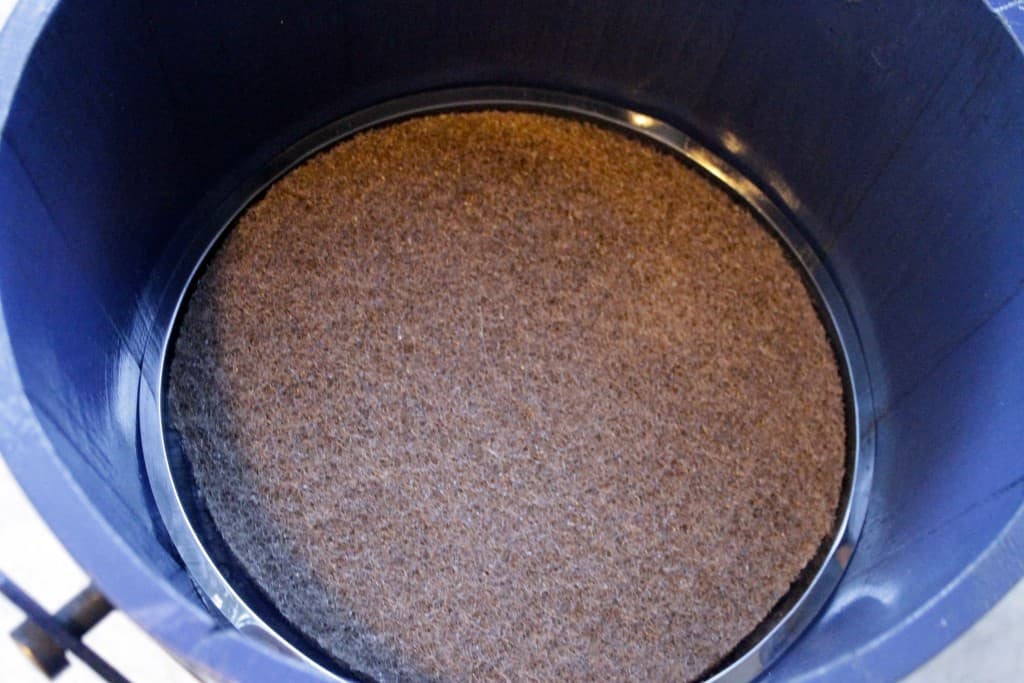
Adding the Pot Filler

Before planting, we prepared the base of the planter. We placed a layer of pot filler and a plastic tray at the bottom. 

This was crucial to prevent water from seeping through and damaging the planter's base – a little trick we learned to extend its life.

A photo of a man holding up a packet of plant filler.
A photo of the plant filler in the bottom of the planter.

Planting the Herbs

The most rewarding part was finally here – planting our herbs.

We decided to plant both basil and some cilantro – we also do a lot of Asian-inspired dishes.

A photo of the soil being added to the planter.
A photo of the basil plants being planted into the planter.

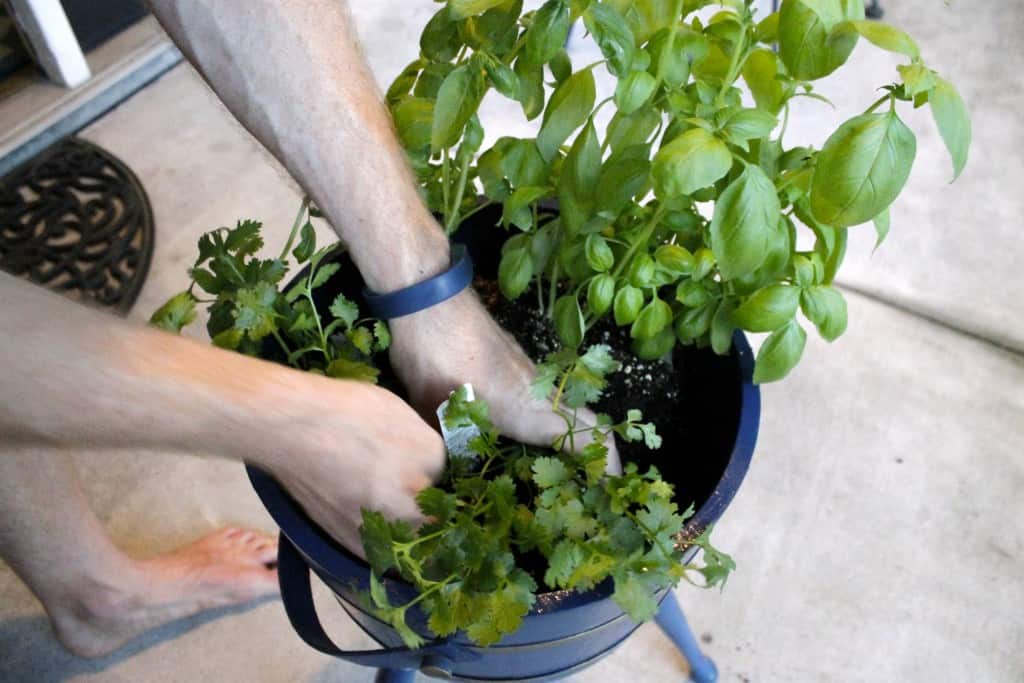
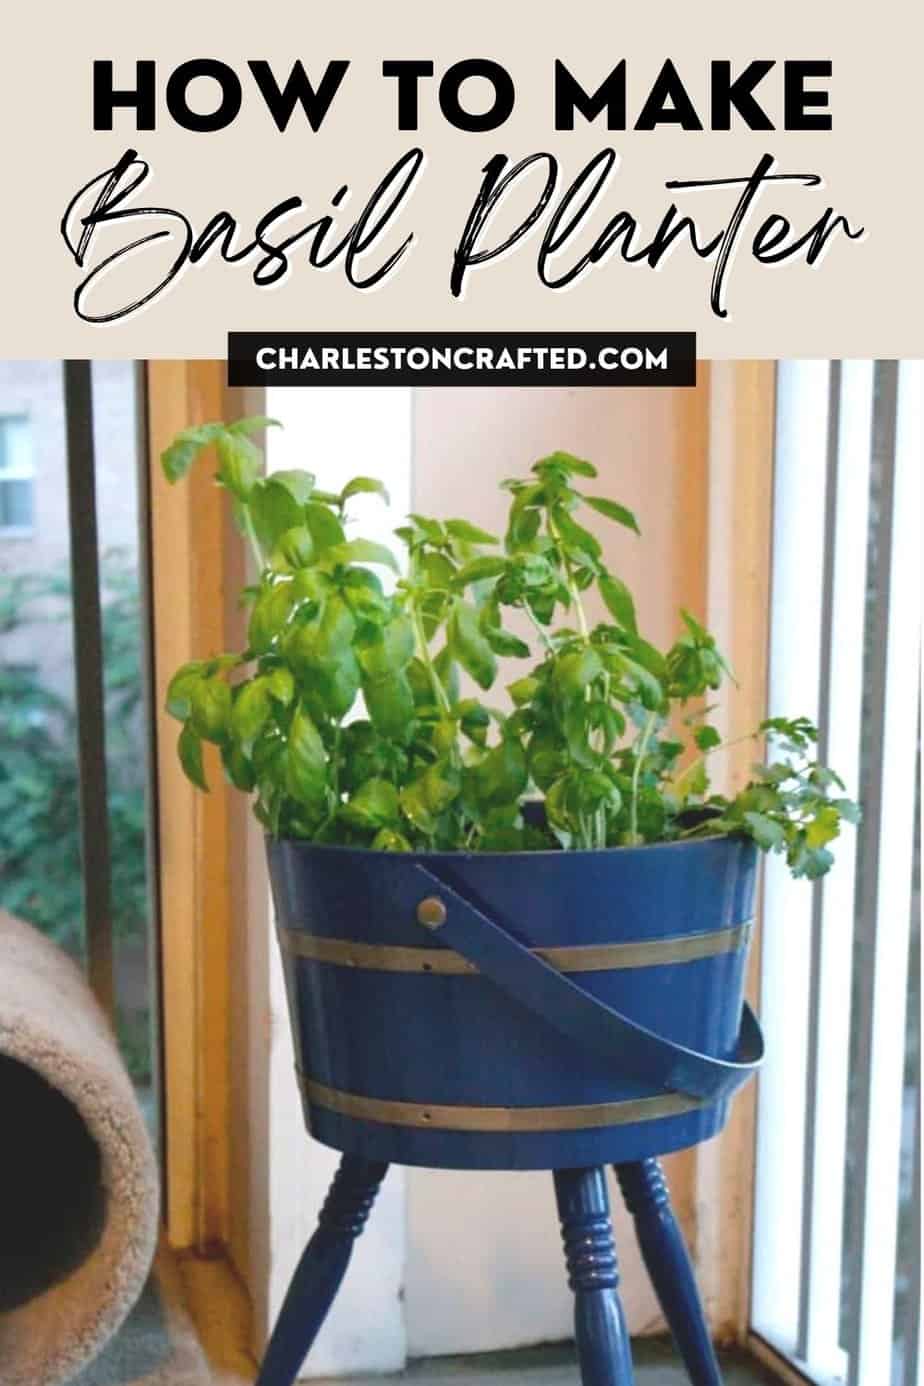
They looked great! The green leaves certainly added life to our newly refurbished planter.

The Finished Planter

Now, our planter sits proudly on our porch, a little piece of Italy right outside our door. 

I Want ALL the Basil - Charleston Crafted

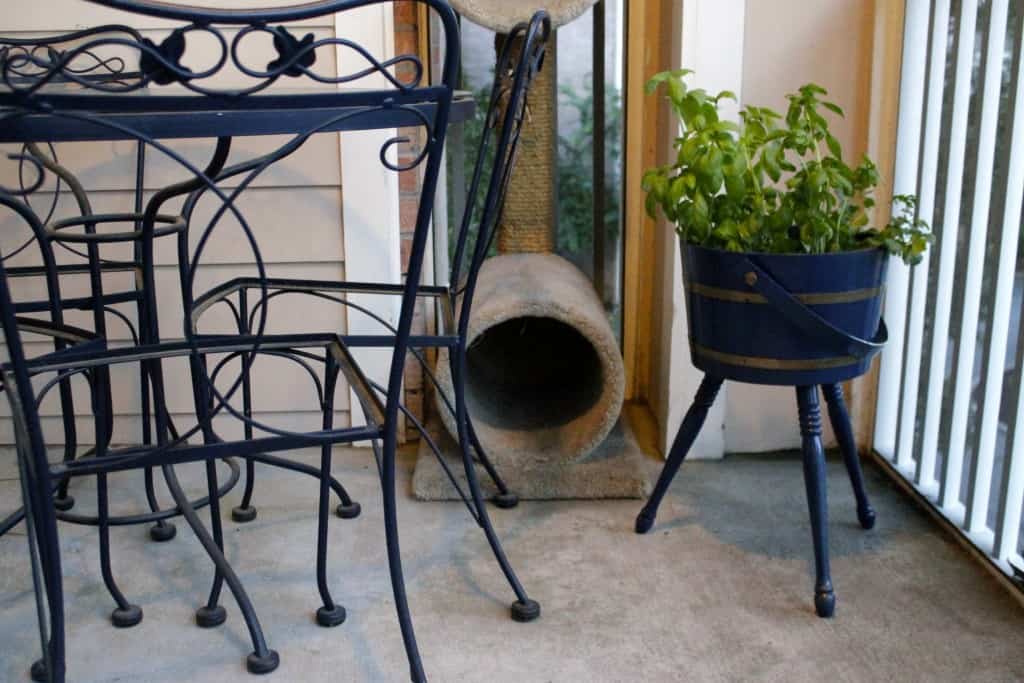
It really is nice being able to pick fresh basil whenever we want – we do it all the time!

And it makes us want to have a house so bad – so that we can plant a garden of different herbs!

A photo of the finished planter.

Sadly, the cilantro burned up outside pretty quickly, so we ended up pulling it out, and it’s now rocking some green onions that are doing great. 

Expert Basil Planting Tips

  • Easy Planting: Buy small basil plants from the supermarket for planting. It’s much easier than starting from basil seeds. 
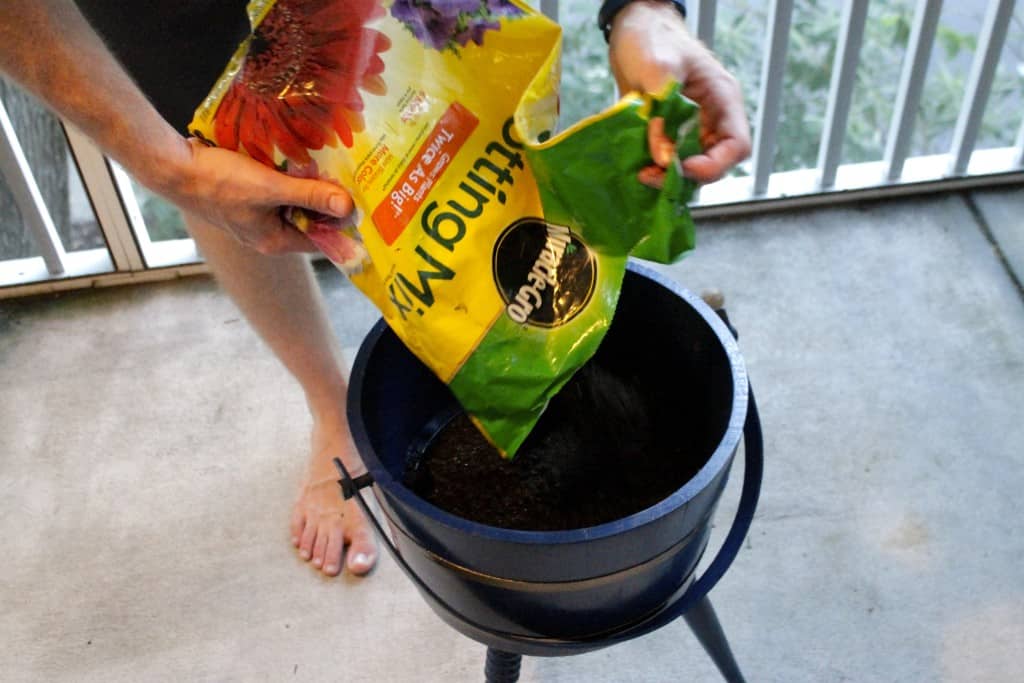
  • Optimal Soil Choice: Use high-quality potting soil for your basil planter, especially when growing basil in pots. This is for better drainage and nutrient absorption.
  • Indoor Gardening Success: For growing basil indoors, put your planter in a spot with lots of sunlight. Basil thrives in warm, well-lit environments.
  • Frequent Harvesting: Regularly trim basil leaves to encourage bushier growth and more fresh basil production. This method is essential in container gardening, as it helps keep the plant healthy.
  • Moisture Management: When planting basil in a pot, ensure consistent moisture without overwatering. Basil prefers slightly moist soil, so a regular, moderate watering schedule is important.

Want More Garden Projects?

See these home how-to garden guides:

  •     Building Your Own Raised Garden Bed
  •     Creating a Whimsical Topsy-Turvy Pot Planter
  •     17 Creative DIY Ideas for Outdoor Plant Stands
  •     Crafting a Wooden Tomato Cage for Your Garden
Charleston Crafted Signature

Follow us on:
Pinterest | Instagram | TikTok | YouTube | Facebook | Amazon Storefront | LTK Shop

Looking for something?

We've been doing this since 2012 so we have a LOT of blog posts!
Search stuff like: Ceiling Projects | DIY Plant Stands | Thrift Flips

Charleston Crafted logo banner
Morgan headshot cropped
Morgan

Hello, I'm Morgan, half of the creative force behind CharlestonCrafted.com! With a passion for DIY that dates back to 2012, I've transformed three homes and now I'm dedicated to helping others craft their dream spaces. Let's turn your house into a home together!

More Garden & Yard

  • How to build a DIY gate pergola- Charleston Crafted
    How to build a DIY gate pergola
  • the best faux plants for your porch
    The best faux plants for your front porch
  • How to keep your neighbors grass out of your garden - Charleston Crafted
    How to keep your neighbor's grass out of your garden
  • DIY Faux Tropical Window Box That Looks Real (But Won’t Die!)

Primary Sidebar

Charleston Crafted about us image

Hey y'all!

We are Morgan & Sean McBride and we are crafting our home together in Charleston, South Carolina.

More about us

Popular Posts

  • DIY Coffered Ceiling
    DIY Coffered Ceiling
  • How to Make DIY Concrete Pumpkins via Charleston Crafted
    How to Make DIY Concrete Pumpkins
  • How to Make a Cupid's Arrow Valentine's Day Wall Hanging with felt on the Cricut
    How to make a Cupid's Arrow Valentine's Day Wall Hanging
  • Our Tropical Oasis - A backyard Hammock area - Charleston Crafted
    Our Tropical Oasis

Recent Posts

  • fisherman aesthetic home inspiration
    Fisherman Aesthetic Decor for Your Home
  • Senix Tools Review- Charleston Crafted
    Are Senix power tools any good?
  • Your Weekend To-Do List: 15 Things to Do for Summer Home Upkeep
    Your Weekend To-Do List: 15 Things to Do for Summer Home Upkeep
  • How to stain wood with RIT dye - step by step instructions
    How to stain wood with RIT dye

Privacy Policy

Footer

↑ back to top

Navigation

  • Home
  • Blog
  • Contact Us
  • Terms of Use
  • Disclaimer

Newsletter

  • Sign up for emails and updates
  • Follow us on Instagram
  • Work with Us

Browse by Category

  • Woodworking
  • Home Projects
  • Paint Colors
  • Room Reveals

© 2025 The Charleston Crafted Blog LLC DBA “Charleston Crafted” and “CharlestonCrafted” (also known as N/A) / All Rights Reserved.
Official Website: (Charleston Crafted)
Registered in USA (Co. Reg. No.: 565586)
Address: Charleston, USA 29414, South Carolina
Contact Phone: Not applicable — contact is via email: sean@charlestoncrafted.com

DISCLAIMER: The content on this website is provided for general informational purposes only and is not intended as professional advice. The Charleston Crafted Blog LLC and The Charleston Crafted Blog LLC make no representations or warranties—express or implied—regarding the accuracy, completeness, or suitability of the information contained herein. Any reliance you place on this information is strictly at your own risk. In no event shall The Charleston Crafted Blog LLC or The Charleston Crafted Blog LLC be liable for any loss or damage, including without limitation, indirect or consequential loss or damage, arising from the use or inability to use this website. This website is the official website of The Charleston Crafted Blog LLC.

AFFILIATE DISCLOSURE: This website contains affiliate links. If you click through and make a purchase, we may earn a commission at no extra cost to you.

As an Amazon Associate, I earn from qualifying purchases.

Site Editor: Morgan Smith McBride

Copyright © 2025 Charleston Crafted