Looking for a fun way to give cash on Christmas? These 4 ways to make a DIY money ornament are sure to make someone smile when they see the Christmas tree!
At the holidays, cash always makes a great gift. It might not always be the most exciting gift, but money as a gift always plays, especially to your kids.
But it's boring to just put cash in a box and wrap it up. A creative way to give money is with a money ornament!
Money Christmas ornaments are a way to display or hide cash on your Christmas tree as a gift for someone in your home.
These are easy to find online, but there are also great ways to make a money ornament! This makes it a free option and allows for your creativity and makes you feel good that you made something.
This post will show you four ways we made money ornaments for our kids this year!
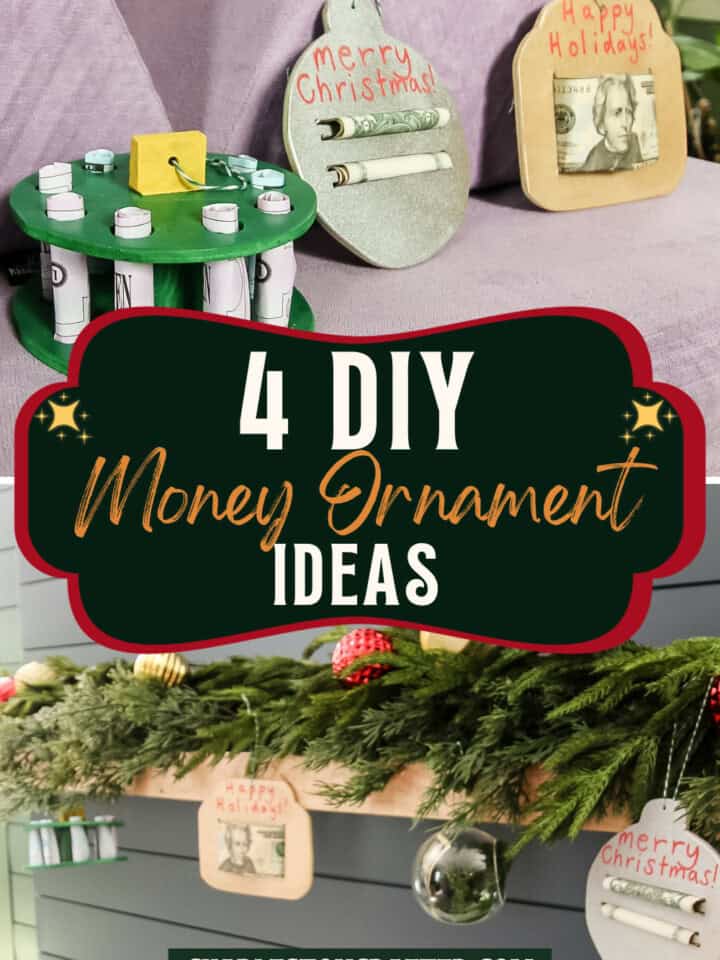
4 DIY money ornament ideas
A creative way to gift money is through a money ornament hanging in the tree. Many people make and sell money ornaments printed on their CNC machine.
However, most people don't have access to a CNC to make perfect cuts, but you also might not want to pay someone $10+ for an ornament that you then have to fill with money.
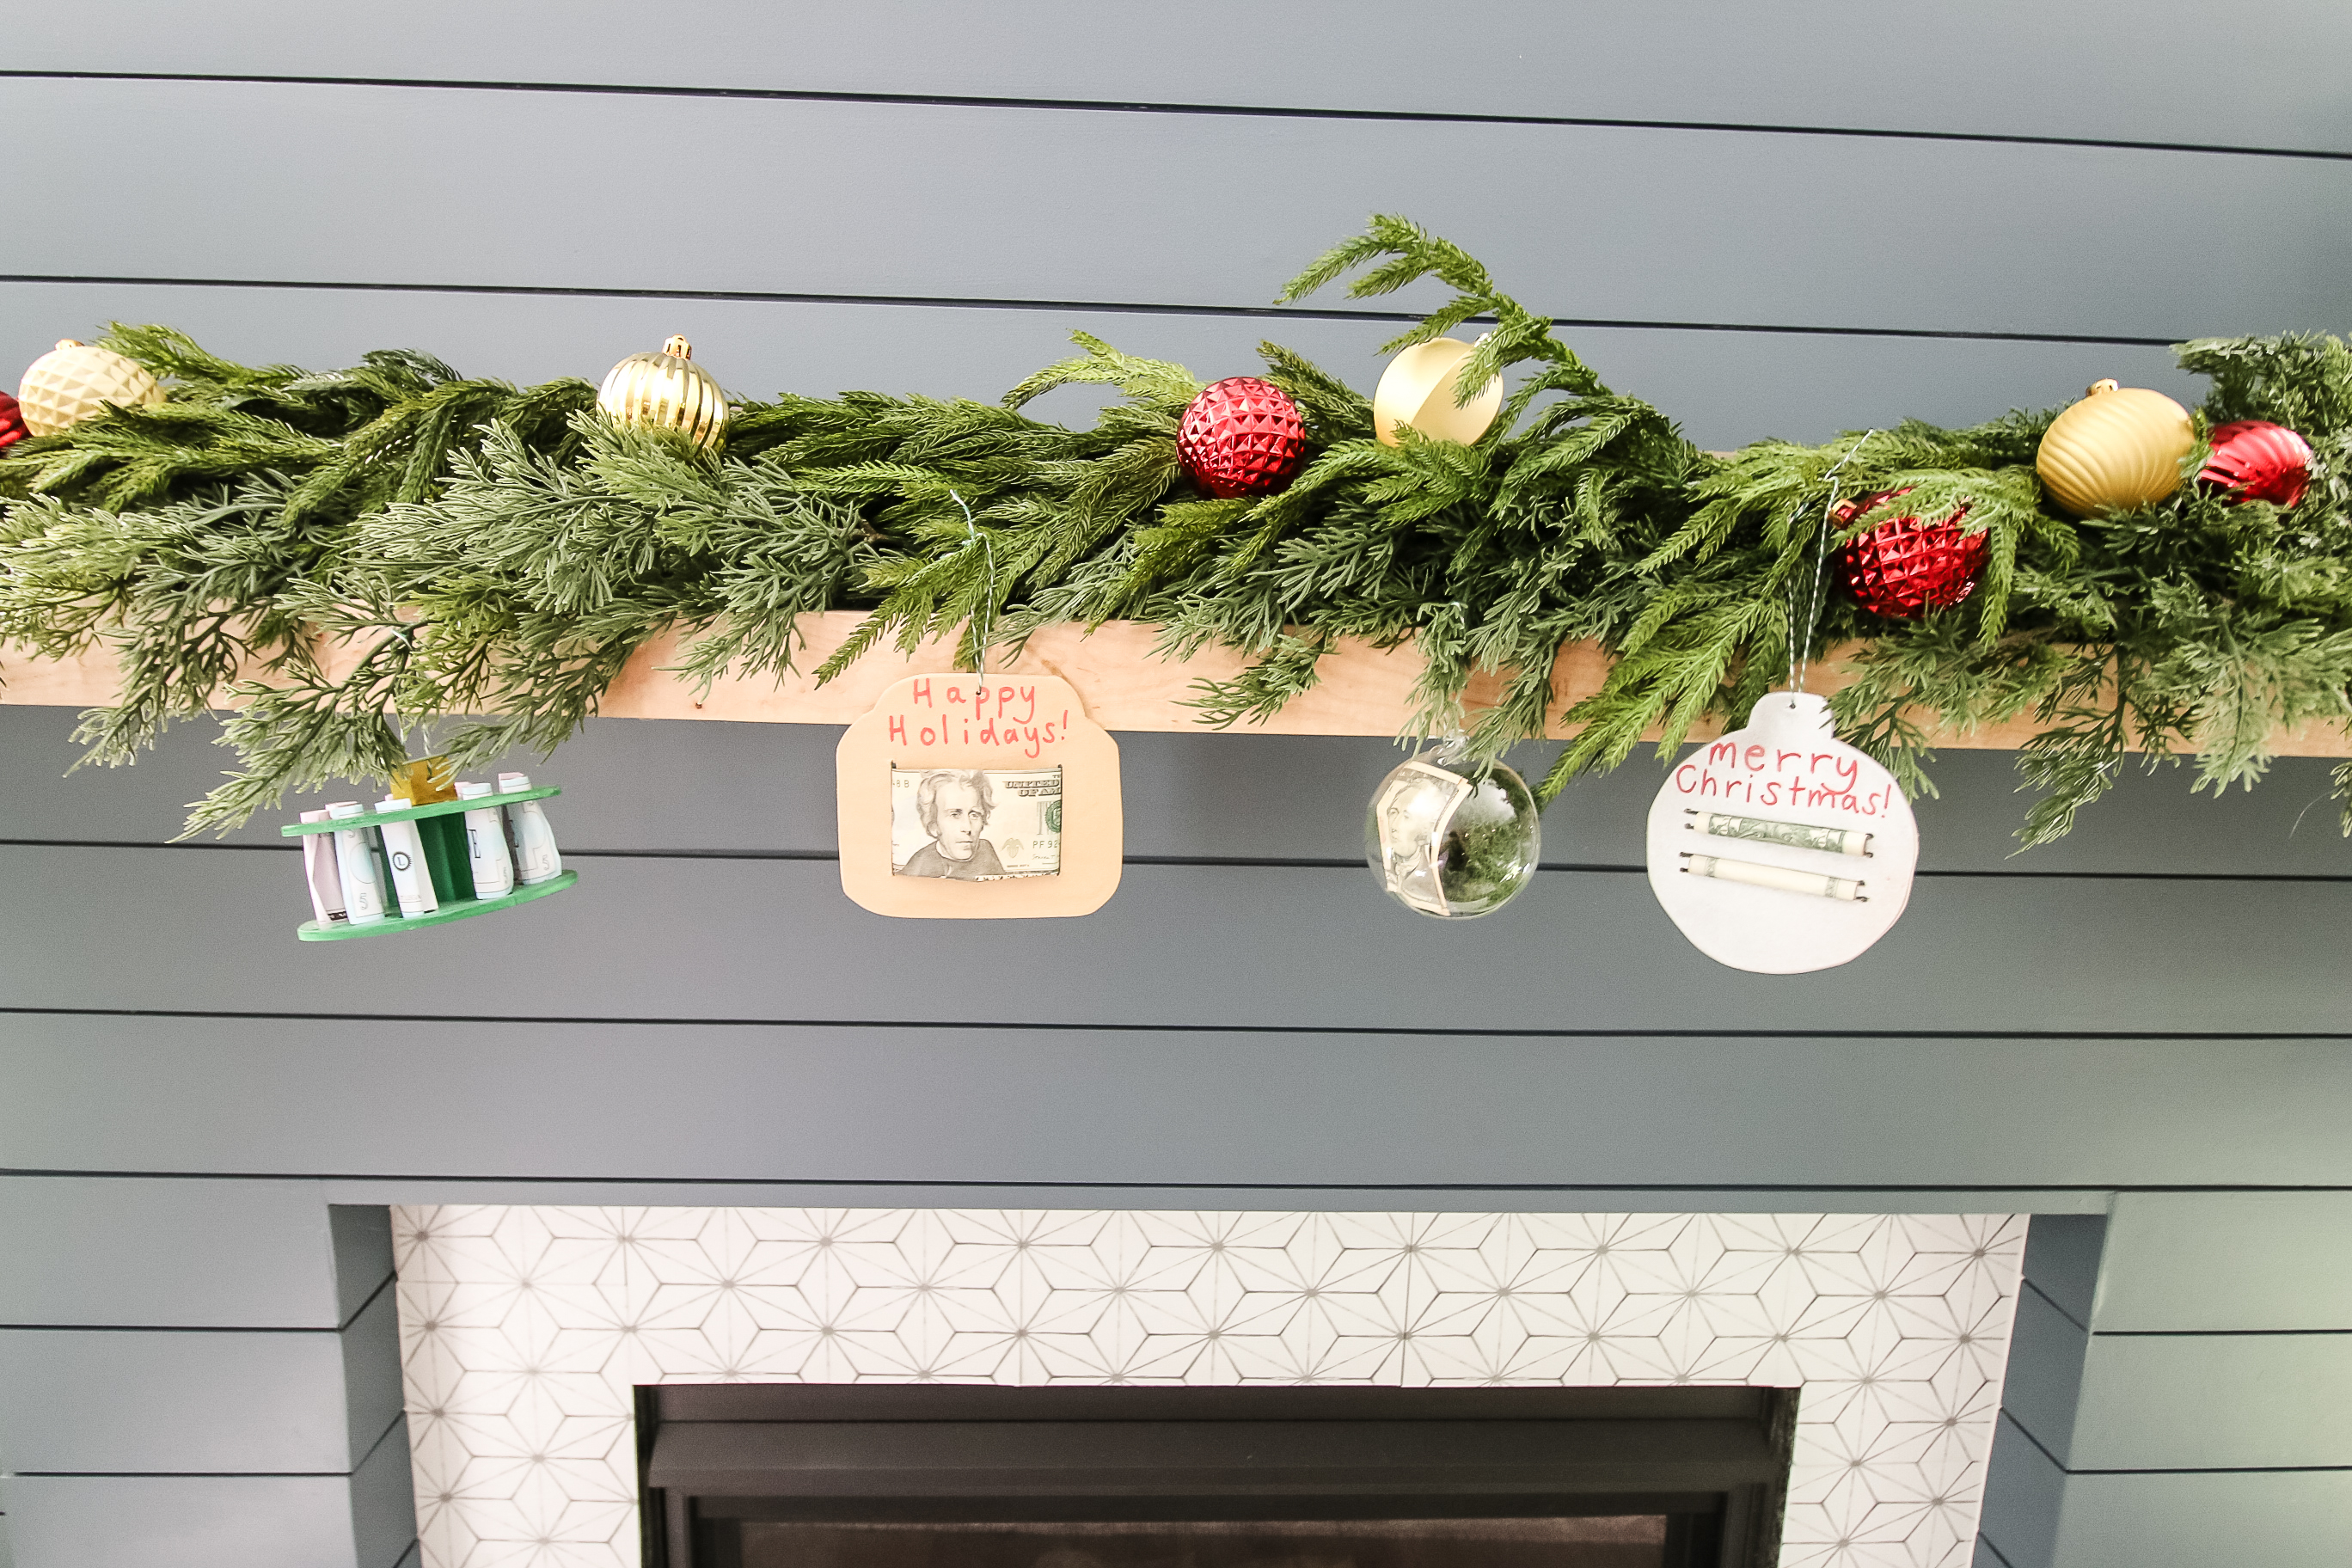
These 4 ways to make DIY money ornaments are made with scrap wood and a jigsaw or just a simple plastic clear ornament.
Here's how to make moss filled Christmas ornaments!
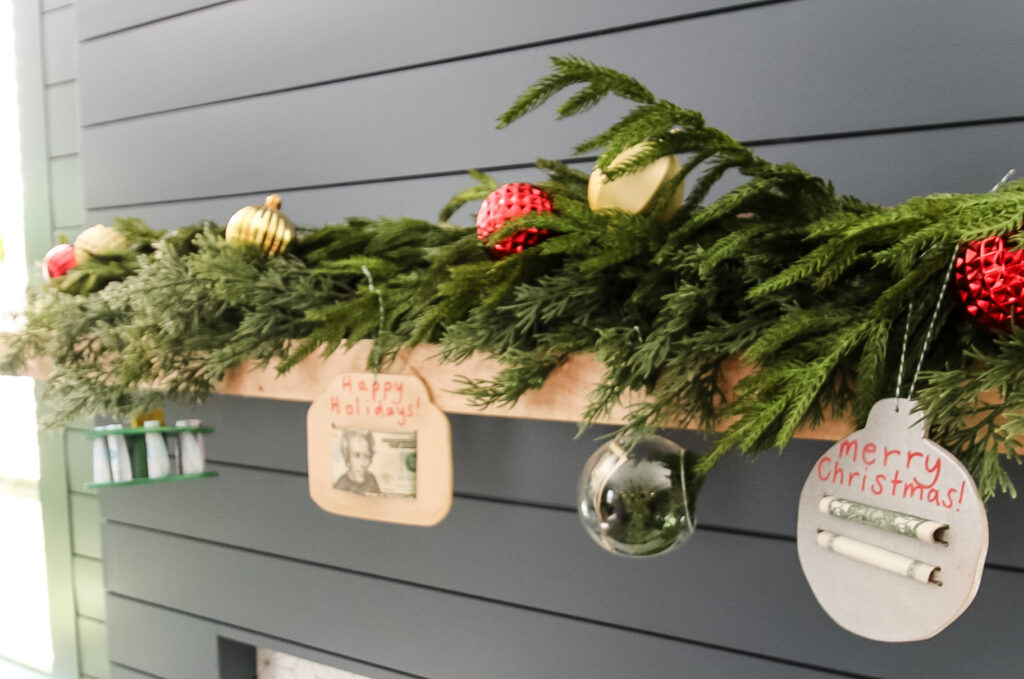
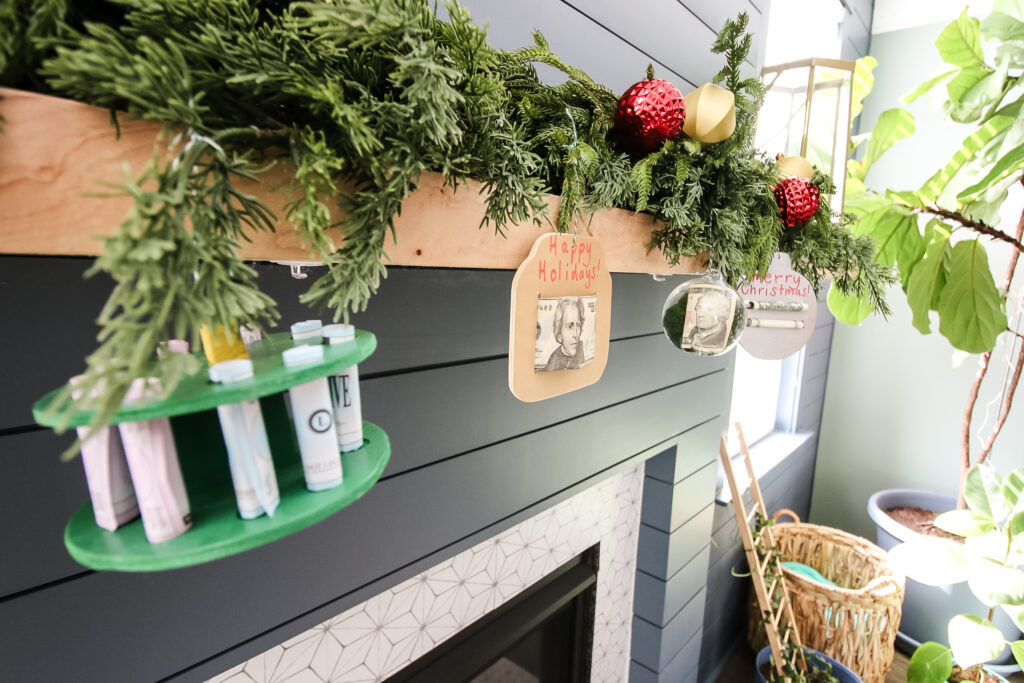
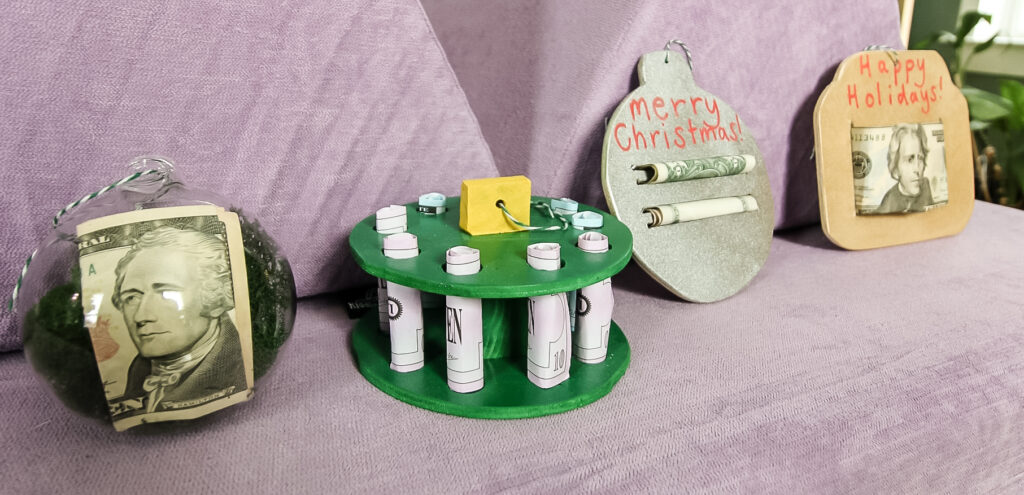
Forward facing money ornament
For this money ornament, the idea is to make a thin wooden ornament that will showcase the bill facing forward. This works best if you want to give a single, large bill.
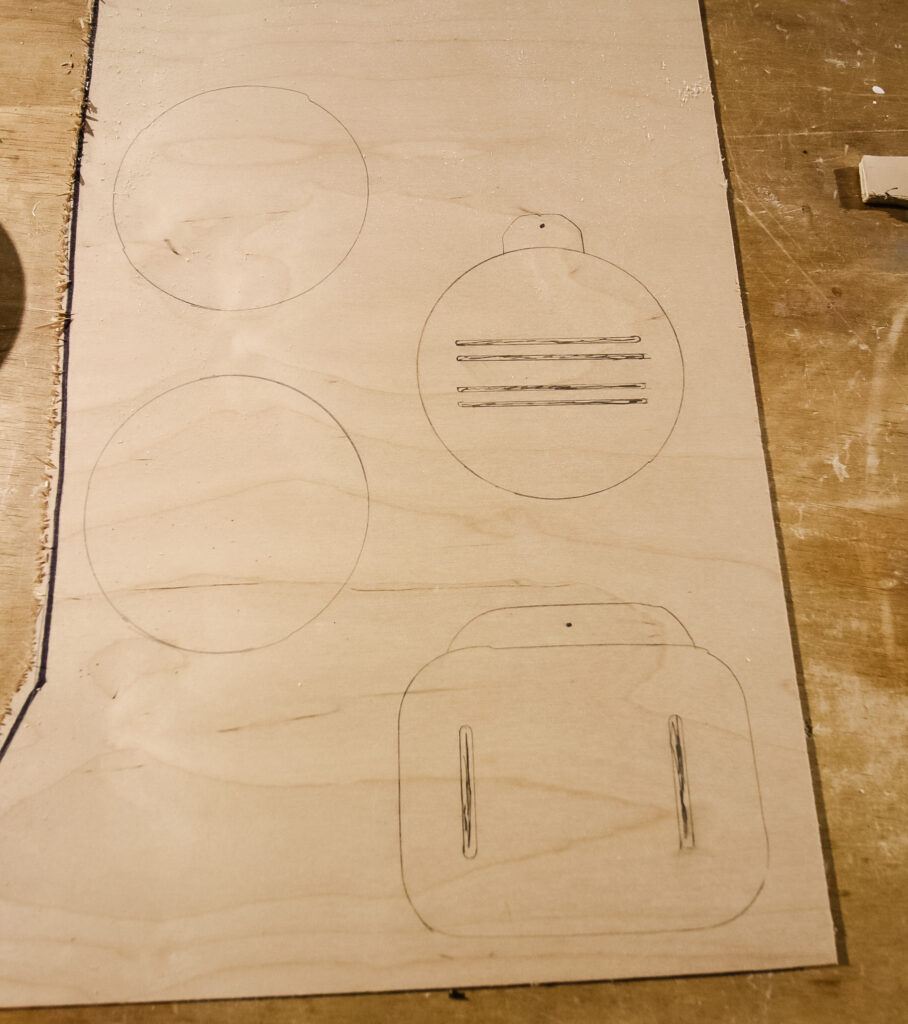
To make a forward facing money ornament, trace out a form onto ¼" plywood that is roughly rectangular shaped. We used the bottom of a box of screws.
Then trace out a small curve on top as well. Cut this out using a scroll saw or jig saw.
Next, use a small drill bit and the same saw to cut slits near the far sides of the ornament, just wide enough for a bill to fit through.
We spray painted ours gold and added some holiday cheer with a paint pen and hung it with a small string tied through a hole at the top.

If you need to raise up your tree, here's a DIY Christmas tree box stand tutorial!
Rolled up jingle bell money ornament
This next DIY money ornament is designed to look like an oversized jingle bell and has two areas to roll up cash. This one is good for two medium sized bills.
We traced the bottom of a paint can on a piece of ¼" plywood and then added a small rectangle at the top.
Then we did the same method as the first ornament and drilled four small holes in one side and then cut out four slits the width of a dollar bill.
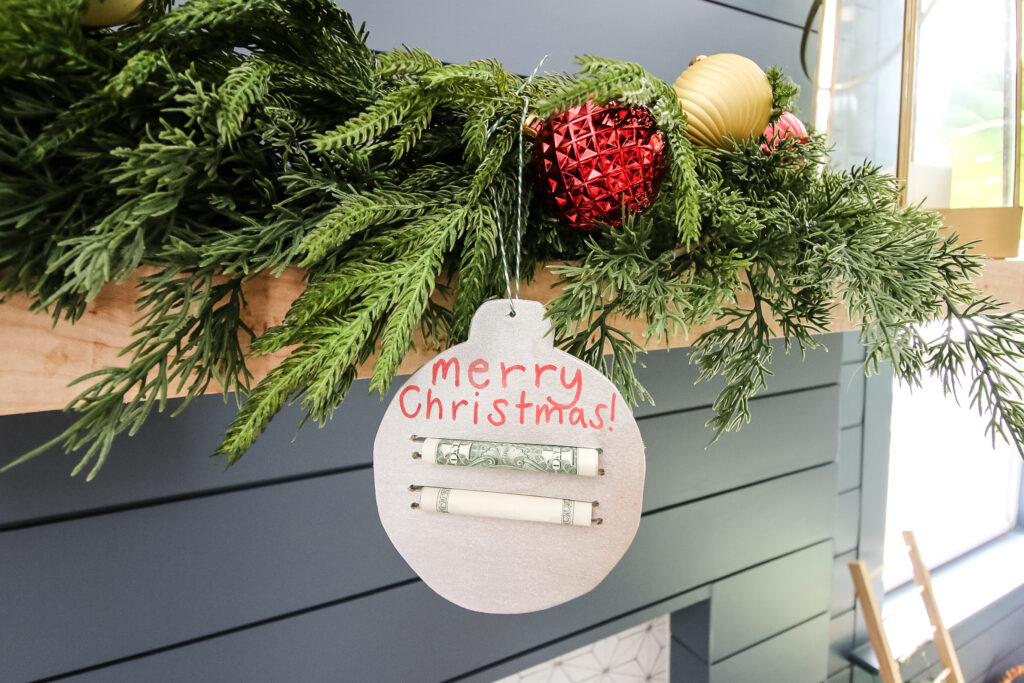
Again, we painted ours and wrote a message, but for this one you roll up the two bills around the two slits in the ornament.
Feed the bill in one slit and out the next one and roll it up on itself. Do this for the other slit as well.
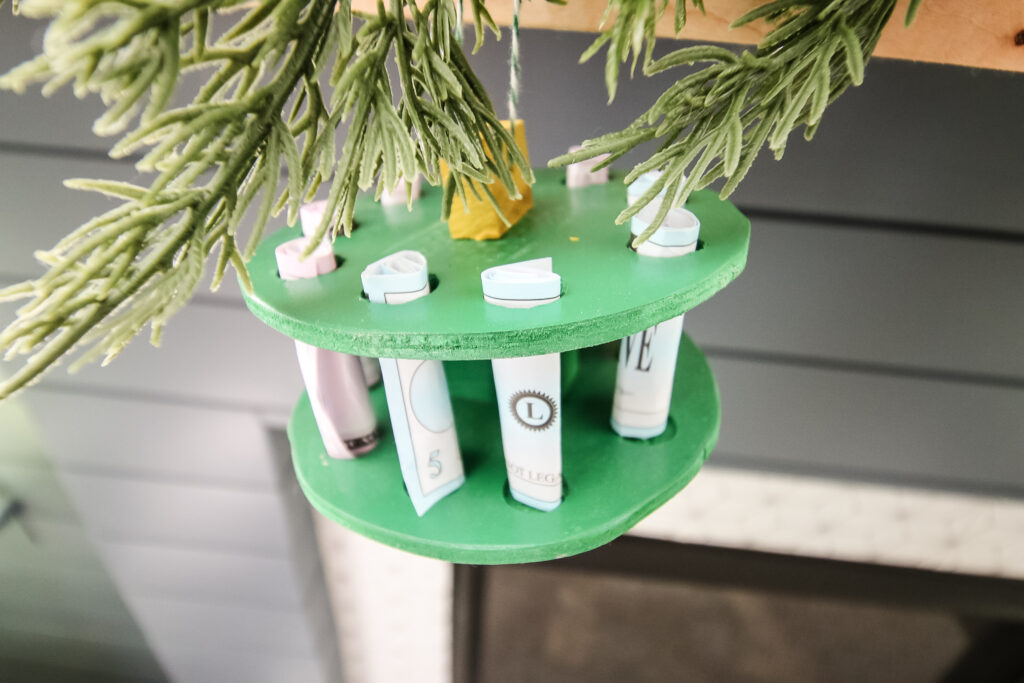
Tubes of bills money ornament
If you want to give a bunch of different cash bills, this one is probably your best bet. It's best for smaller amounts of money (unless you're a baller).
Trace the paint can again onto ¼" plywood twice and cut out both circles with a jigsaw.
Then, stack the two circles on top of each other and use a ½" drill bit to drill through the first one and a slight indent in the bottom one.
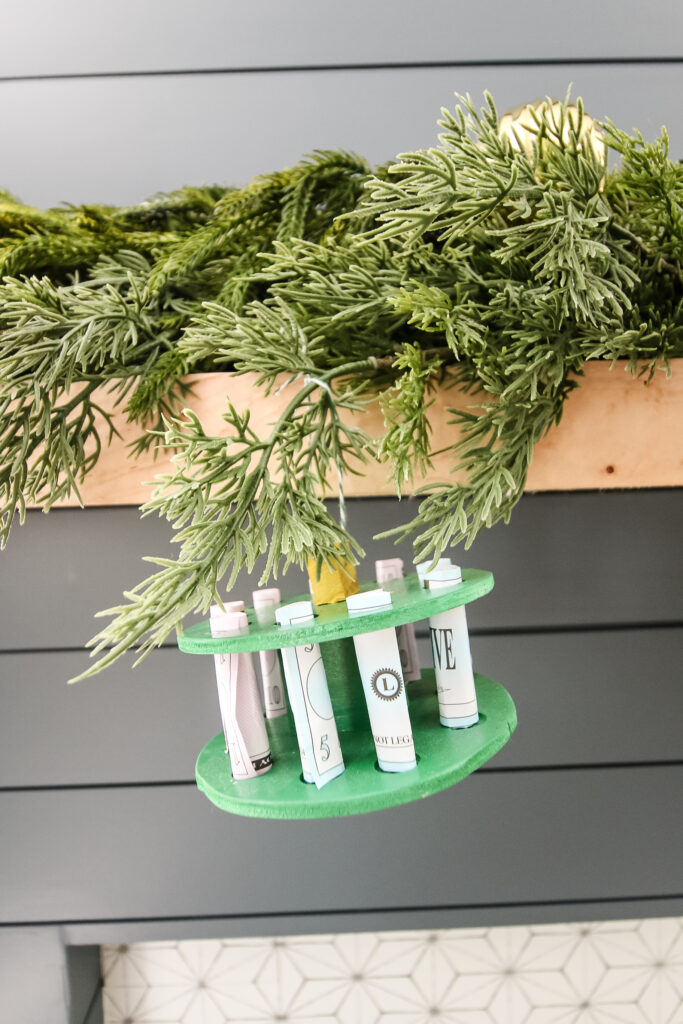
Grab a small scrap of wood and glue that between the two circles as well as a small piece on top and cover it with spray paint.
Now, roll up your bills and feed them through the top hole and rest them in the bottom indent. Hang it up with a string through a hole on the top piece of wood.
Stuffed inside clear ball money ornament
Finally, the other easiest DIY money ornament is to get a clear ornament and fill it with money!
You can do this one a variety of ways. They have ornaments that open in half width wise, so you can open it and fill your ball with money. You can also use terrarium style ornaments that have a hole in the back!
You can also just slide bills into the top of the ornament and close it up, but this will make for a more adventurous ordeal to get the money out! That could either be fun or difficult, depending on the recipient.

If you want to have more of a hidden money situation so they don't know what's inside, consider also filling the ornament with confetti or strips of paper.
You can also add their name to the outside with a stencil or paint pen to make it personalized!
DIY Christmas money ornaments
These are some great ways to make DIY Christmas money ornaments to surprise someone special on Christmas morning.
These are a lot cheaper and easier than buying CNC printed money ornaments and you can customize exactly what you want to say on each.
There are lots of great ways to give money for Christmas, even if it isn't the most glamorous gift, but trying making a money Christmas ornament this year!
Before you go...
Here's a couple more of our absolute favorite DIY Christmas ornaments that you will love making this year!

Looking for something?
We've been doing this since 2012 so we have a LOT of blog posts!
Search stuff like: Ceiling Projects | DIY Plant Stands | Thrift Flips

Hey there, I'm Sean, the woodworking enthusiast and builder behind CharlestonCrafted.com! Since 2012, I've been sharing the magic of turning raw materials into beautiful creations. I love teaching others the art and satisfaction of woodworking and DIY. I try to inspire fellow crafters to make something extraordinary out of nothing at all.


