Our easy guide on how to reupholster a seat will help you transform your old bench into a stunning piece in just a few simple steps!
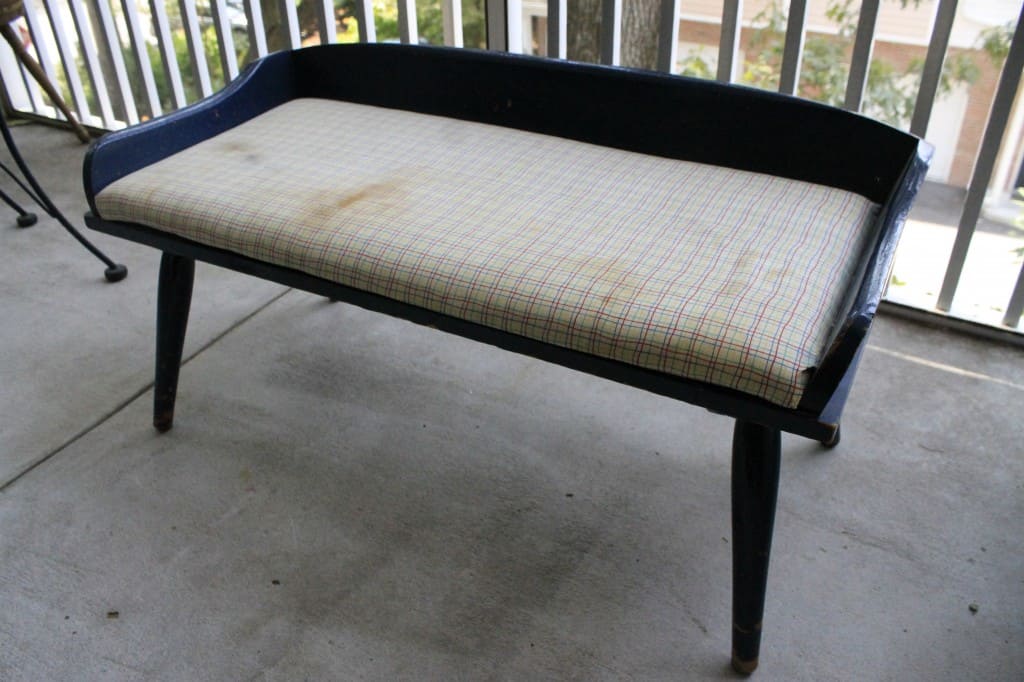
There’s a certain magic in discovering a hidden gem of furniture at a thrift store, isn't there? But then, you see it – the fabric.
Perhaps it's a relic from a smoke-filled era, a testament to a pet-loving previous owner, or simply a victim of years of neglect.
It's easy to think it's a lost cause. But wait! It's not the end of the road for your thrifty find.
Reupholstery, my friends, is more straightforward than you think, and the transformation? Absolutely breathtaking!
So, grab that overlooked piece of furniture, roll up your sleeves, and let’s turn that 'yuck' into 'wow'!
Keep reading, and I’ll give you everything you need to know about reupholstering a bench seat.
How to Reupholster a Bench Seat
Supplies needed:
Before you begin restoring a bench, here’s what you need:
- The plywood (or other wood) seat
- Seat foam (size of the seat)
- Batting (slightly larger than seat)
- Upholstery-grade fabric (slightly larger than the seat)
- Heavy-duty stapler and staples

Steps to Reupholstering a Bench Seat
STEP 1: Remove the Seat
First, we’re going to salvage as much of the original seat as we can.
This means removing the fabric from the seat whilst keeping the rest of the furniture as intact as possible.
Usually, the actual seat will unscrew from the rest of the furniture. Just unscrew things slowly so as not to damage anything.
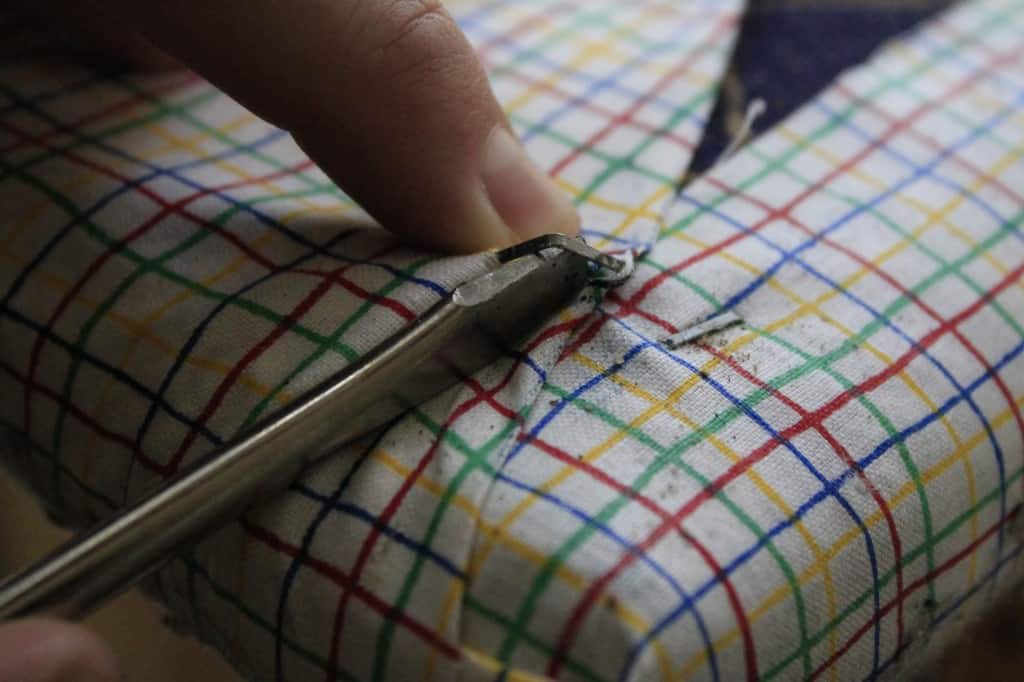
STEP 2: Remove the Old Fabric
Alright, it's time to say goodbye to that old fabric!
Use a flathead screwdriver or pliers to carefully pry out old staples. Be careful not to stab yourself.
Once all the staples are removed, gently peel off the fabric.
If it's glued down, you might need a little patience to get it all off.
Don't worry about ripping the old fabric - you won't be needing it anymore!
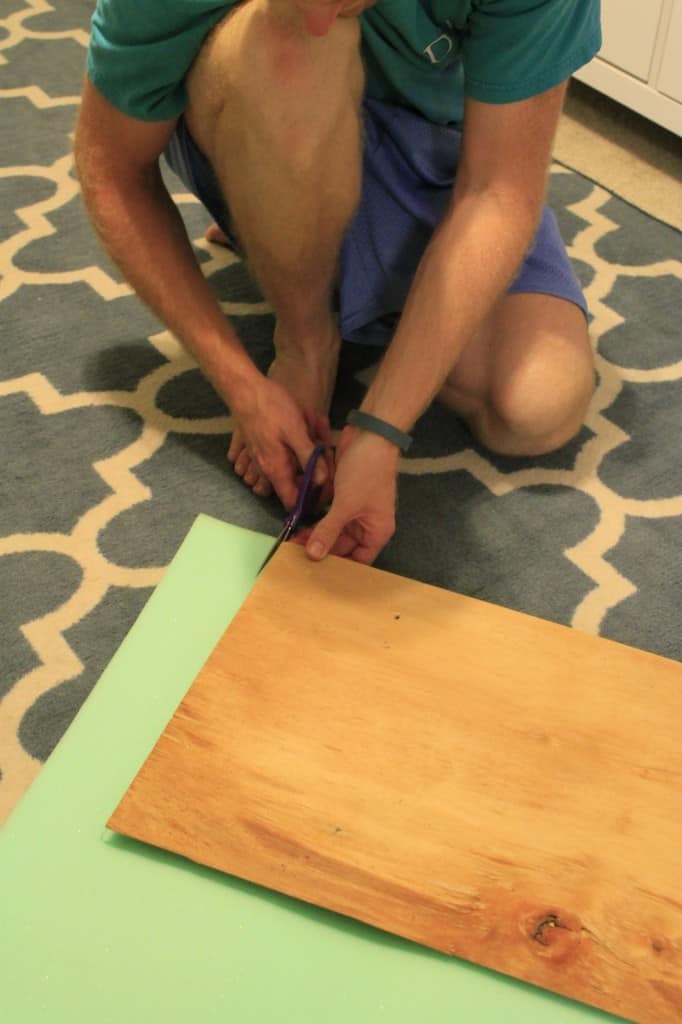
STEP 3: Cut the New Foam
Now for some fun with foam!
Using the seat you removed from the furniture, cut the foam to the exact size using a pair of sharp scissors.
If you couldn’t remove the seat, no problem! Just use a tape measure to get the exact measurements of your seat.
Then, using these measurements, draw the outline with a marker pen on your foam. Cut along the lines, and voilà, your foam is ready!
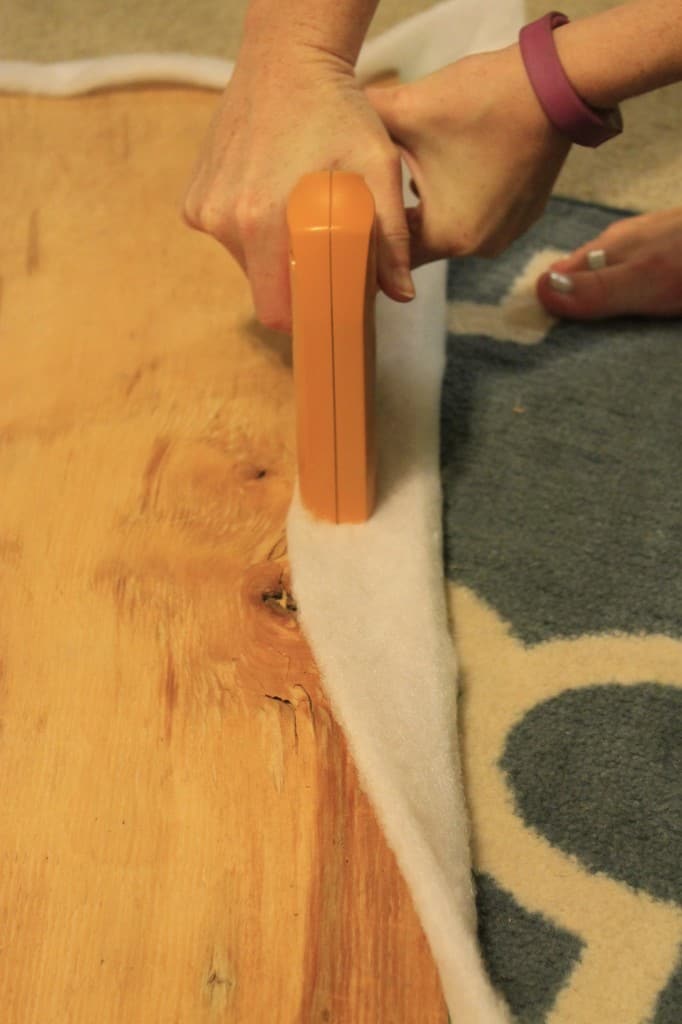
STEP 4: Staple the Foam in Place
Time to staple the foam in place!
Lay down the foam and the seat on top of the batting. Then, pull it about an inch or two around the board and staple it into place.
I recommend putting a staple on one side, then pulling the fabric very tight and putting a staple on the opposite side.
After that, staple the rest of the way across, then repeat for the other two sides (if your seat is rectangular).
Remember, the tighter the better, as this will give your seat a nice, firm feel.
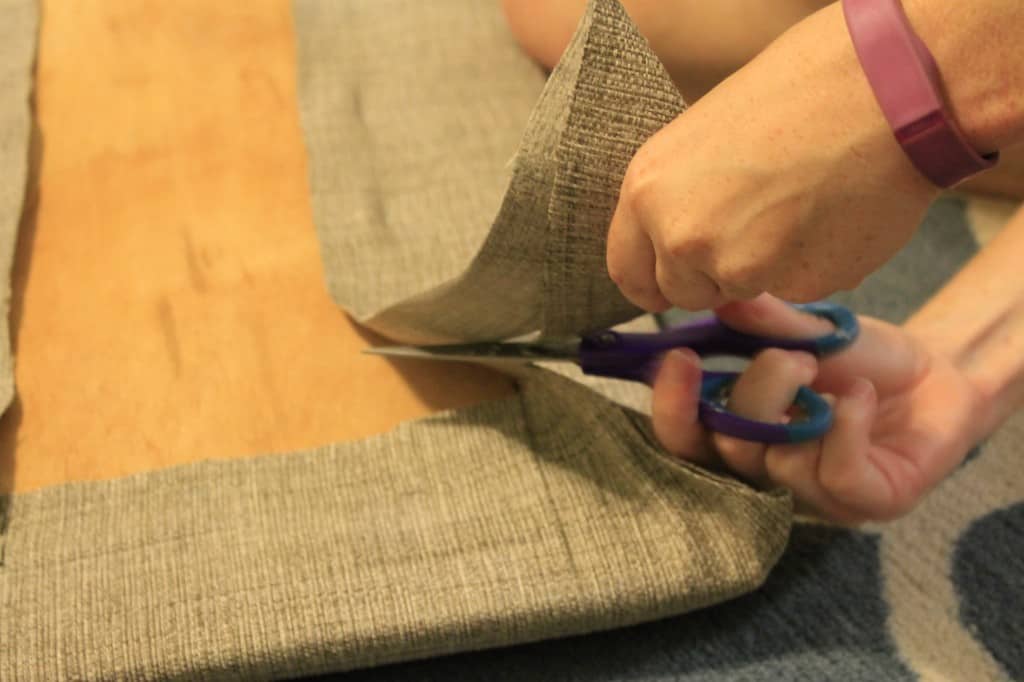
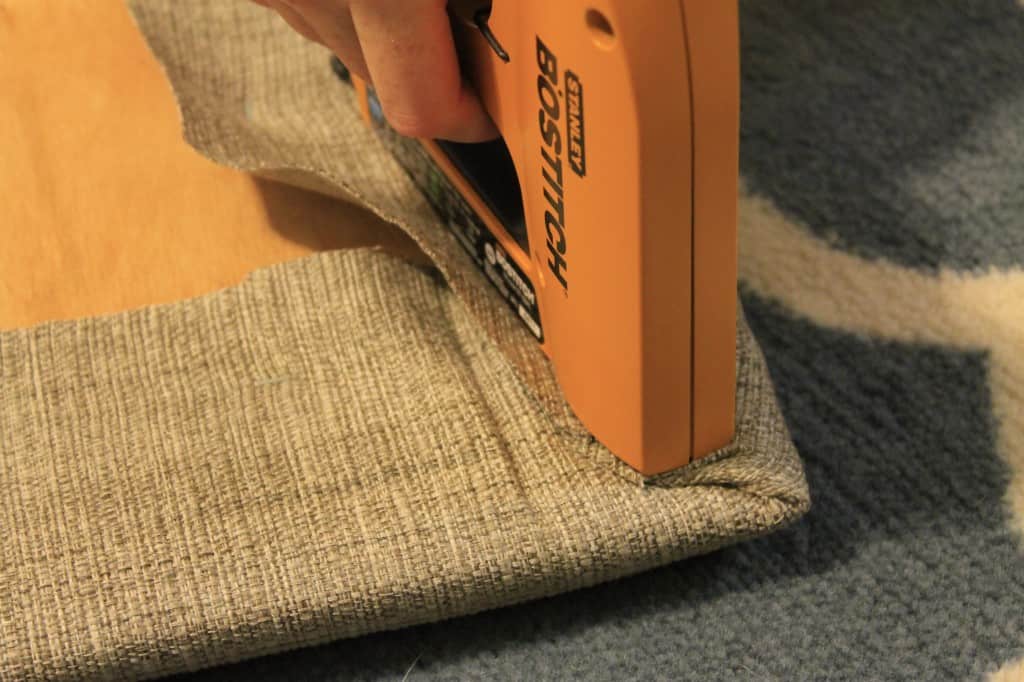
STEP 5: Staple the Fabric in Place
Now, repeat this with the fabric.
Cut the fabric to size first, aiming for a little larger than the foam.
Staple the fabric around the back of the seat, pulling it tight as you go.
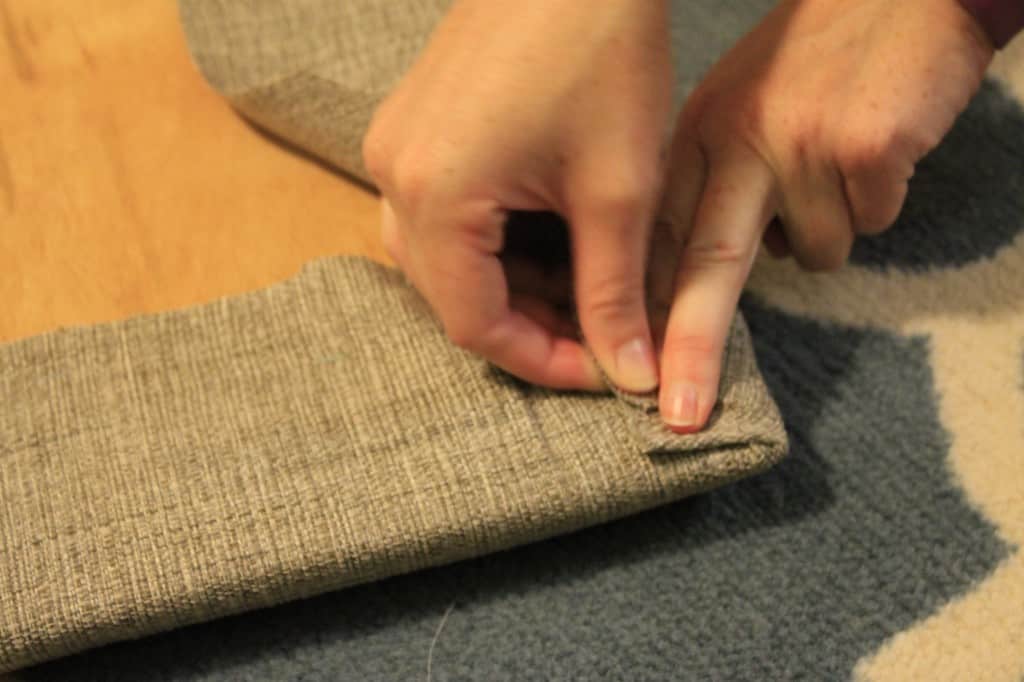
Fold the corners like you would a gift-wrapped present.
This bit requires a bit of finesse, so take your time to get those corners looking sharp.
Trim any of the excess bench fabric then staple securely.
STEP 6: Reattach the Reupholstered Seat
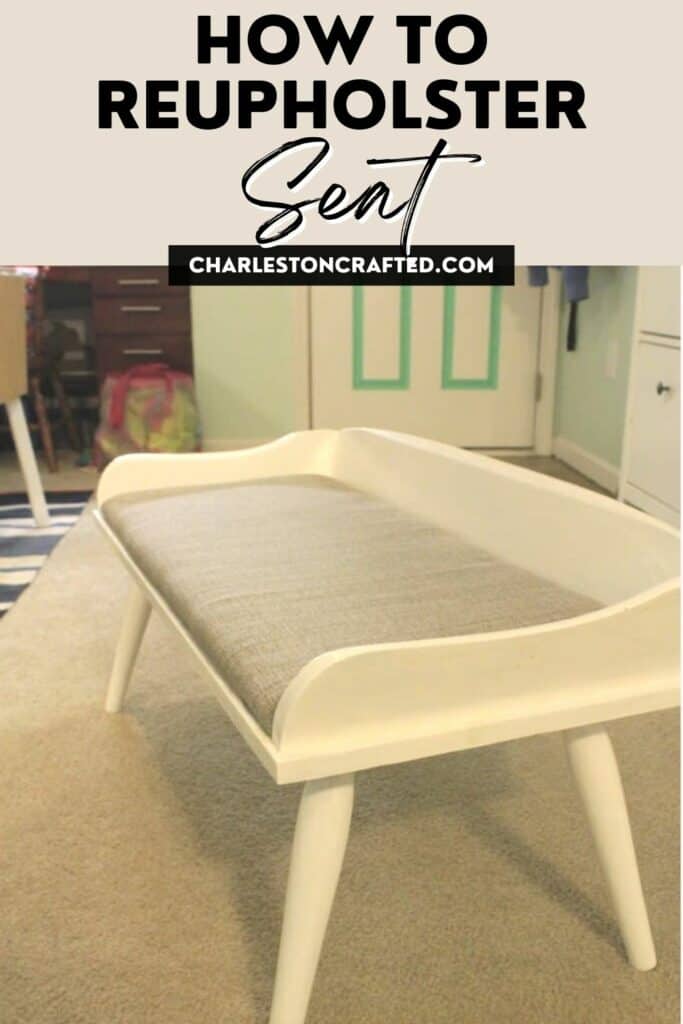
You should now have a newly reupholstered seat.
It's looking great, isn't it?
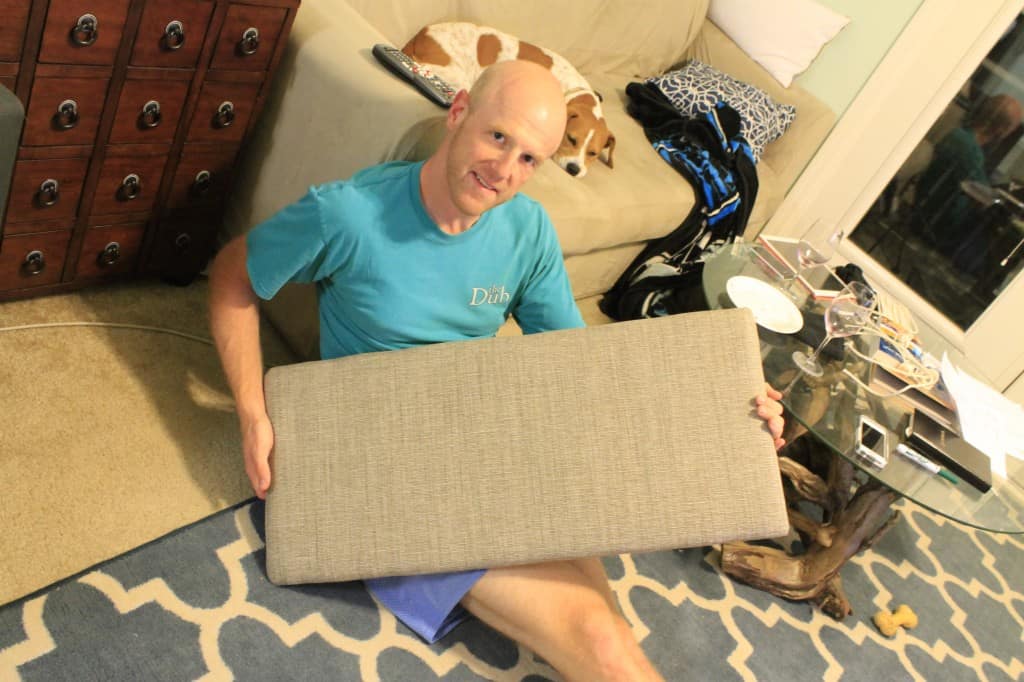
You can now carefully attach it back to the rest of the furniture.
Make sure it's secured properly - we don't want any wobbly seats!
And there you have it, a beautifully reupholstered bench that looks as good as new.
Reupholstery is a really easy way to upgrade a piece of furniture. You have to try it!
Expert Reupholstering Tips
- Practice on a Small Project First: I recommend that your first few projects be simple – like dining room chair seats or this bench seat. After that, you can build your way up to more complex pieces.
- Keep it Simple: I don’t suggest you use fabric with stripes or large patterns. Liming these up perfectly is very stressful. Stick to solids or smaller patterns!
- Choose Durable Fabric: Especially if your bench gets a lot of use, opt for a fabric that can withstand wear and tear. Materials like heavy cotton, canvas, or even certain synthetics are good choices.
Choosing the Right Seat Foam
High-density foam can be kind of expensive, so I buy it at Joann’s with a coupon.
You can usually get away with a thinner sheet of foam than you think – just choose the high-density stuff – it’s really comfy.
However, if you need a really large piece, you can try using an egg crate mattress pad.
These are much cheaper per square foot, but not as comfy as the high-density craft/home improvement store foam.
Want More Home Improvement Guides?
Have a look at these home how-to guides:
- A Guide to Swapping Out Cabinet Hardware
- Installing Beadboard Ceiling Panels
- Frosting a Glass Door: DIY Privacy
- Setting Up a Cat Door on an Interior Door

Looking for something?
We've been doing this since 2012 so we have a LOT of blog posts!
Search stuff like: Ceiling Projects | DIY Plant Stands | Thrift Flips

Hello, I'm Morgan, half of the creative force behind CharlestonCrafted.com! With a passion for DIY that dates back to 2012, I've transformed three homes and now I'm dedicated to helping others craft their dream spaces. Let's turn your house into a home together!