• Skip to primary navigation
  • Skip to main content
  • Skip to primary sidebar
Charleston Crafted
  • DIY
  • Woodworking
  • Popular Posts
  • Blog
  • About
  • Shop
menu icon
go to homepage
  • DIY
  • Woodworking
  • Popular Posts
  • Blog
  • About
  • Shop
search icon
Homepage link
  • DIY
  • Woodworking
  • Popular Posts
  • Blog
  • About
  • Shop
×
Home » Home Repairs

How to replace caulk on stairs

Published: Sep 7, 2021 · Modified: Apr 2, 2022 by Morgan · As an Amazon Associate, we earn from qualifying purchases. This site contains affiliate links. ·

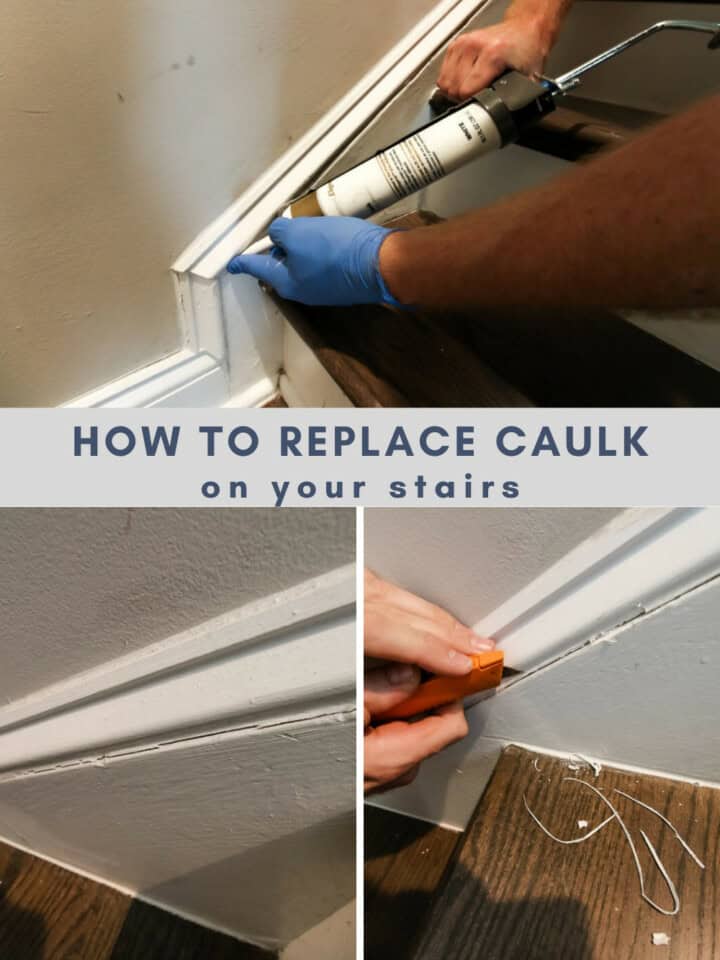
Removing and replacing dried, cracking caulk on stairs is easier than you think. In just a few minutes, you can improve the appearance of your stairs by fixing the caulk border with the wall. Here's how.

Like many home improvement projects, replacing caulk on baseboards in your home is one of those tasks that gets overlooked for years.

It can seem either unnecessary, or, in many cases, you don't even notice it needs done.

It's different on the stairs, where you're usually looking down at the stair treads as you walk up and the caulk is more in your line of sight.

If your caulk is chipped, cracked, peeling or damaged on the stairs, it's easy to learn how to replace it.

How to replace caulk on stairs - Charleston Crafted

Fixing caulk on stairs

Cracked caulk repair is an easy DIY project.

Typically, caulk will crack after a few years because it has dried up and, as the house moves a bit, will come apart from the wall.

Cracked caulk on stairs before

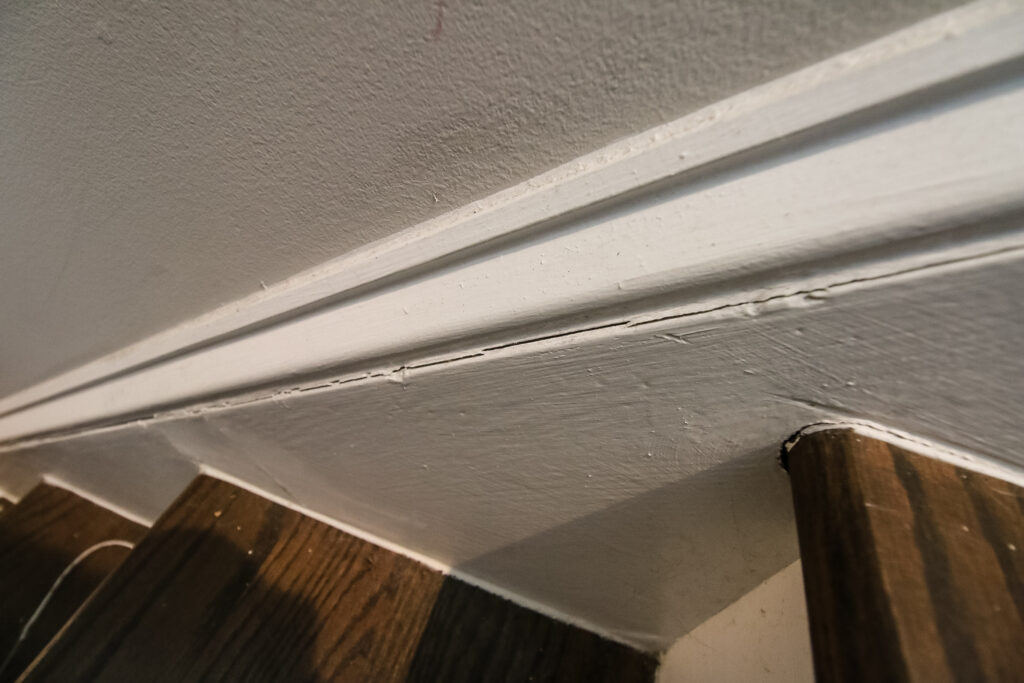
On the stairs, this is a more frequent need because you're putting pressure on the stair treads as you walk on them, causing movement on the stair stringer. This will separate the caulk between the stair stringer and the wall more easily.

Click here to see how to replace the wooden balusters on your stairs with iron!

What you need to replace caulk on stairs

A caulk repair DIY project is simple and doesn't require many tools.

Here's what you need for the easiest way to fix the cracked caulk on your stairs with the least amount of tools and supplies.

  • Caulking gun
  • Tube of silicone caulk
  • Utility knife, exacto knife or razor blade
  • Rubber gloves
  • Paper towels

How to remove old caulk from stairs

Removing old caulk is very simple. It's already cracked and damaged, so you don't need much effort to remove it.

Use a knife to cut the caulk away from the stair stringer and the wall or trim molding.

Cutting away dry, cracked caulk on stairs

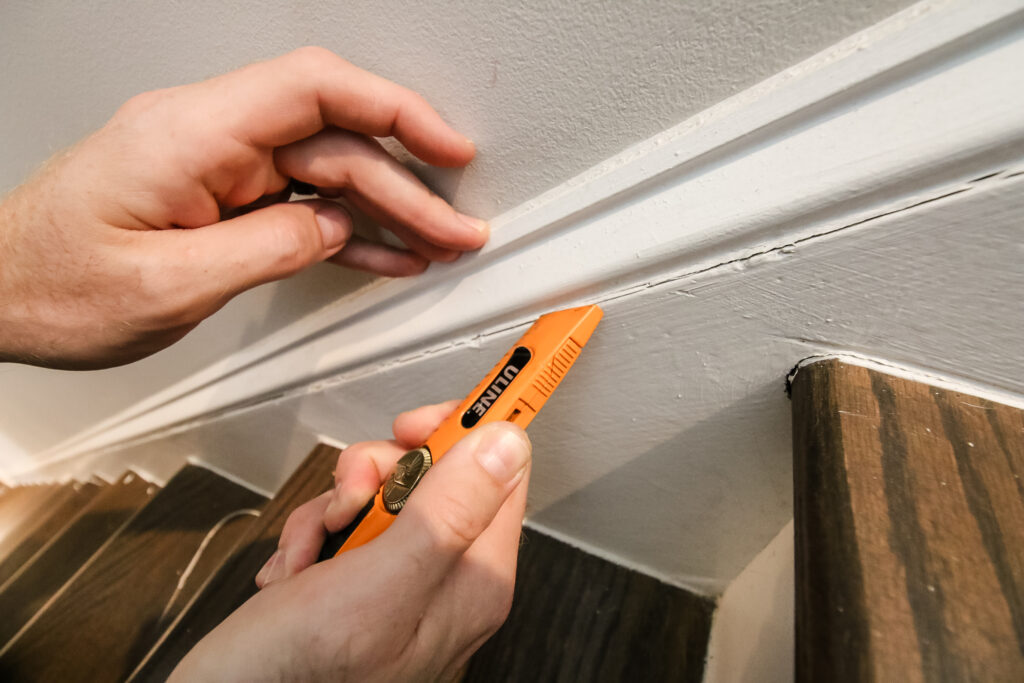
Do your best to run the blade straight up and down where the caulk comes in contact with the wall and repeat on the stringer.

Cutting away old cracked caulk on stairs

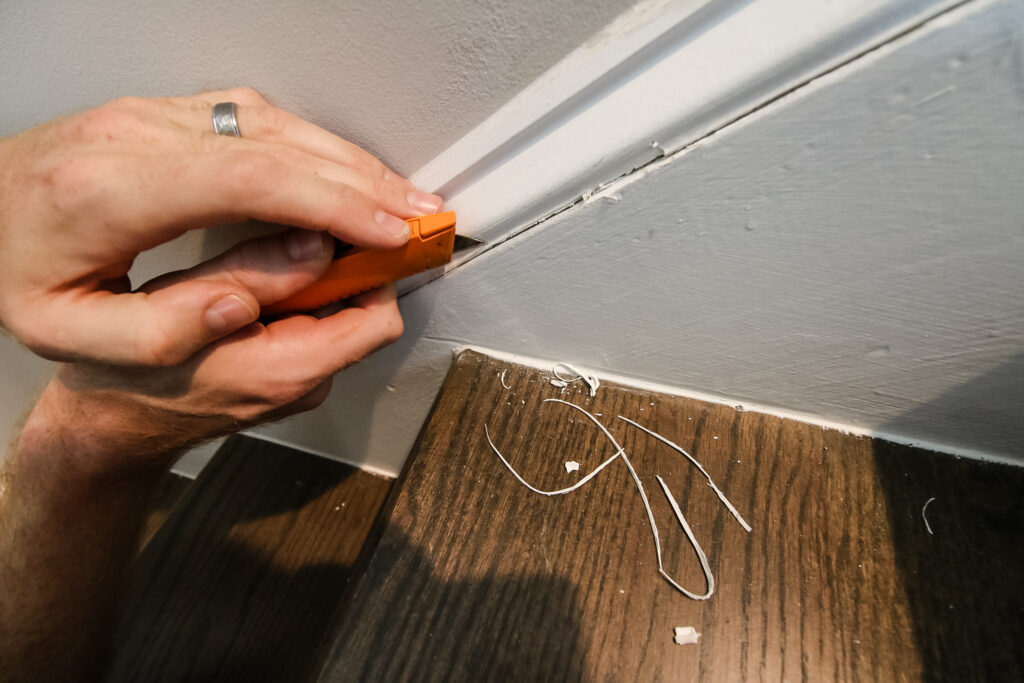
Once you have the caulk cut, simply tear it out. It will likely be a string of caulk up to a ¼" wide. Pull from the end and pull out all the old, dry caulk.

Keep tearing away at the old caulk until you have it all out.

Tearing out old caulk on stairs

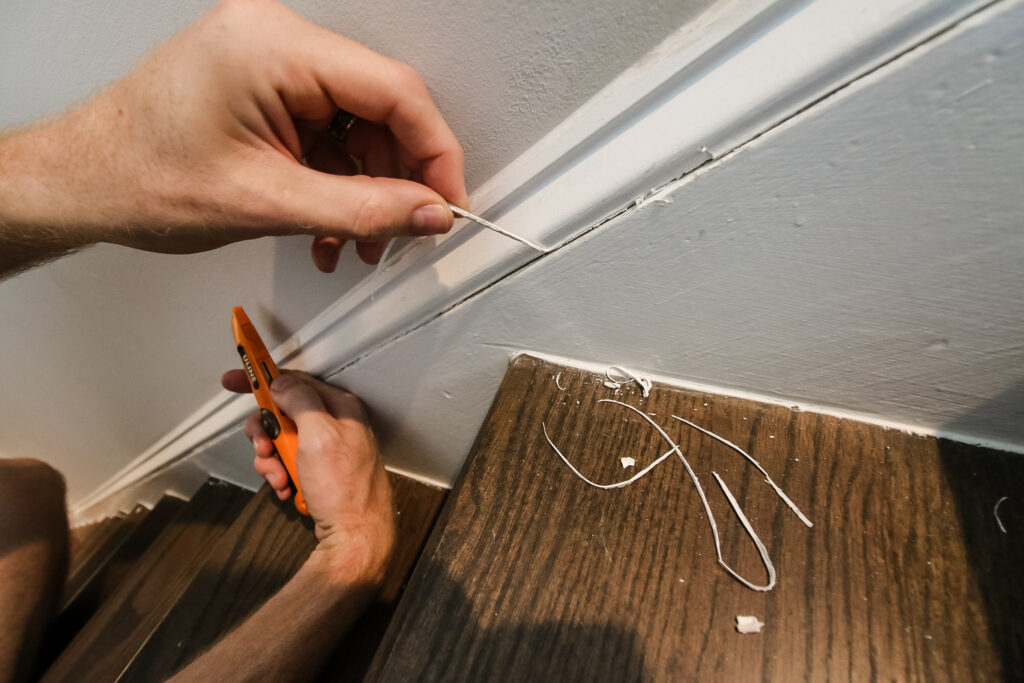
Use the knife to scrape off any excess caulk you find, then clean the surface with a damp rag.

How to apply new caulk to stairs

Once the old caulk is removed, you should see a visible gap between the stair stringer and the wall itself. This is where you'll apply the new caulk.

Use a knife or scissors to cut the tip off of the caulk tube at a slight angle. Then, used the metal point on the caulk gun to poke a hole through the foil in the tube.

Load the caulk tube into the caulking gun, put on the rubber gloves and get ready to go.

Start at the bottom of the staircase and squeeze the trigger to get the caulk to come out.

Applying new caulk to stairs

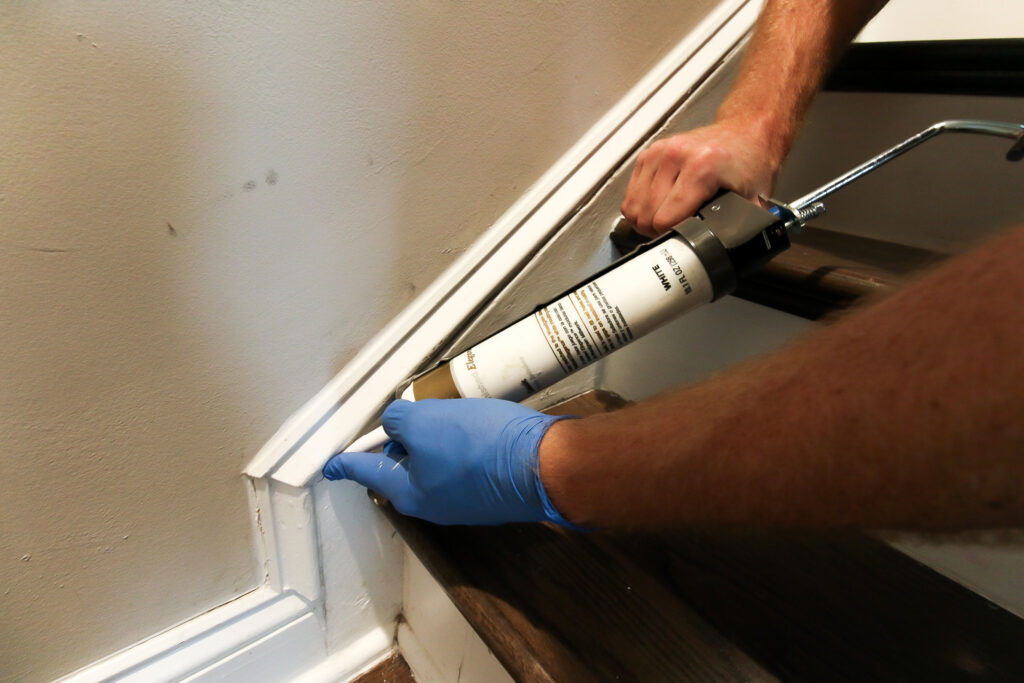
Place your finger right where the tip of the caulk tube meets the wall, then pull the caulk up the staircase, applying a small bead of caulk along the way.

Using your finger here will help push the caulk into place and also smooth it out as you go. This minimizes using too much putty and minimizes clean up.

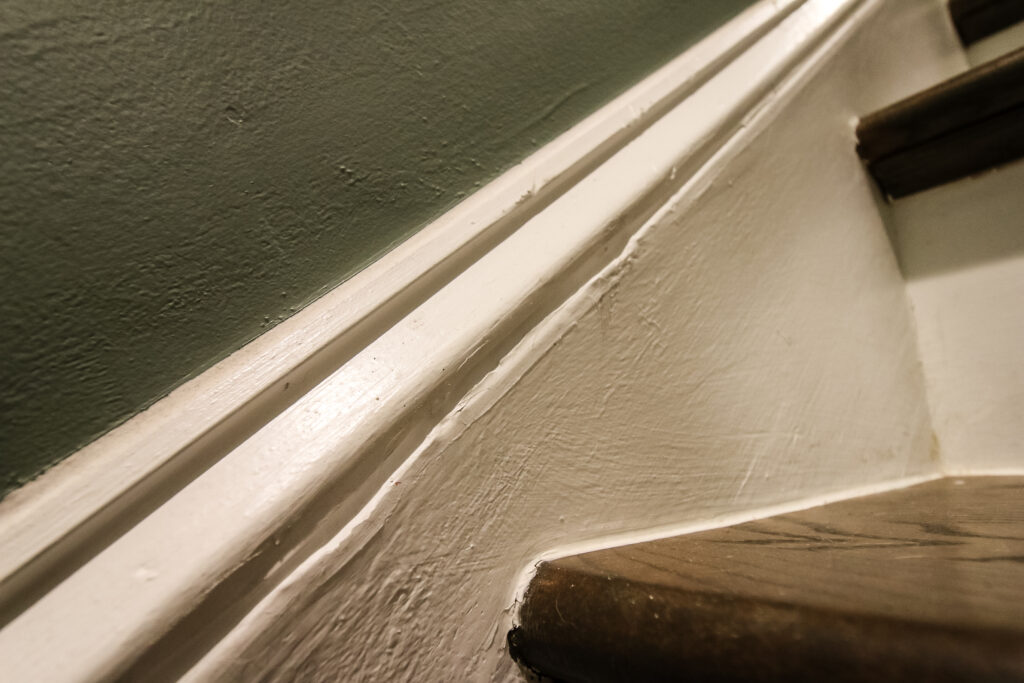
Continue until you reach the top of the stairs and finish off everything you've previously removed.

After you're done with a line, use a damp paper towel to clean up any areas of excess.

Finished caulk on stairs

Once done, the caulk will be dry to the touch in a couple of hours, but you should wait 24 hours at least before applying any painter's tape for painting the wall.

When to replace old caulk

There are two main times when you would replace cracked caulk on stairs.

The first time is just if it has cracked and is unsightly.

The other main time time to replace old caulk is when painting the wall. This is a good time to fix any imperfections.

Applying painter's table to wall to paint before caulking

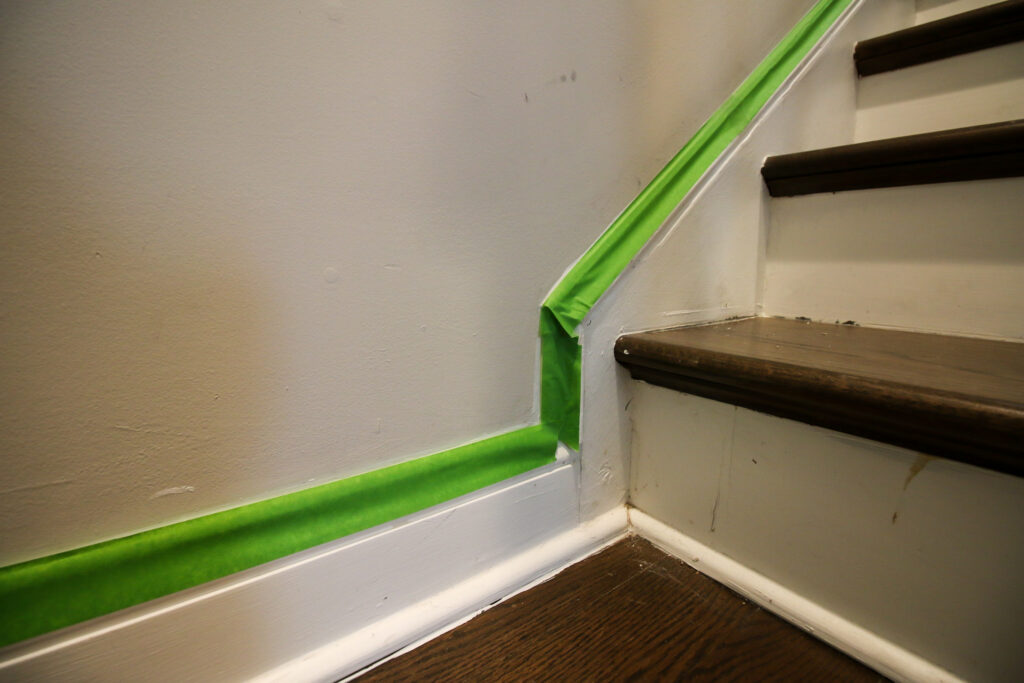
It's best to replace the caulk AFTER painting, so you can create a nice clean edge between the wall and the stringer.

If you replace the caulk before, you will give yourself a cleaner, smoother surface to apply painter's tape, but it will look better if you do it after.

Check out all of our staircase projects:

  • How to replace caulk on stairs
  • How to paint stair risers
  • How to replace wooden balusters with metal balusters
  • How to hang a stairway gallery wall
  • How to replace handrail brackets
Charleston Crafted Signature

Follow us on:
Pinterest | Instagram | TikTok | YouTube | Facebook | Amazon Storefront | LTK Shop

Looking for something?

We've been doing this since 2012 so we have a LOT of blog posts!
Search stuff like: Ceiling Projects | DIY Plant Stands | Thrift Flips

Charleston Crafted logo banner
Morgan headshot cropped
Morgan

Hello, I'm Morgan, half of the creative force behind CharlestonCrafted.com! With a passion for DIY that dates back to 2012, I've transformed three homes and now I'm dedicated to helping others craft their dream spaces. Let's turn your house into a home together!

More Home Repairs

  • How to fix a door that won't latch - Charleston Crafted
    How to fix a door that won't latch
  • How to install an undermount sink - Charleston Crafted
    How to install an undermount bathroom sink
  • How to use wood filler on trim - Charleston Crafted
    How to use wood filler on trim
  • How to extend AC drain pipe - Charleston Crafted
    How to extend your AC drain pipe

Primary Sidebar

Charleston Crafted about us image

Hey y'all!

We are Morgan & Sean McBride and we are crafting our home together in Charleston, South Carolina.

More about us

Popular Posts

  • DIY Coffered Ceiling
    DIY Coffered Ceiling

  • How to Make DIY Concrete Pumpkins via Charleston Crafted
    How to Make DIY Concrete Pumpkins

  • How to Make a Cupid's Arrow Valentine's Day Wall Hanging with felt on the Cricut
    How to make a Cupid's Arrow Valentine's Day Wall Hanging

  • Our Tropical Oasis - A backyard Hammock area - Charleston Crafted
    Our Tropical Oasis

Recent Posts

  • How to create a whole house color scheme
    How to create a whole house color scheme

  • DIY modern rolling storage table - Charleston Crafted
    DIY modern rolling storage table

  • how to organize a pantry with zones
    How to Organize Your Pantry in Zones (And Why It’s a Game Changer)

  • Keep outdoor rug from blowing up - Charleston Crafted
    How to keep your outdoor rug in place

Privacy Policy

Footer

↑ back to top

Navigation

  • Home
  • Blog
  • Contact Us
  • Terms of Use
  • Disclaimer

Newsletter

  • Sign up for emails and updates
  • Follow us on Instagram
  • Work with Us

Browse by Category

  • Woodworking
  • Home Projects
  • Paint Colors
  • Room Reveals

© 2025 The Charleston Crafted Blog LLC DBA “Charleston Crafted” and “CharlestonCrafted” (also known as N/A) / All Rights Reserved.
Official Website: (Charleston Crafted)
Registered in USA (Co. Reg. No.: 565586)
Address: Charleston, USA 29414, South Carolina
Contact Phone: Not applicable — contact is via email: sean@charlestoncrafted.com

DISCLAIMER: The content on this website is provided for general informational purposes only and is not intended as professional advice. The Charleston Crafted Blog LLC and The Charleston Crafted Blog LLC make no representations or warranties—express or implied—regarding the accuracy, completeness, or suitability of the information contained herein. Any reliance you place on this information is strictly at your own risk. In no event shall The Charleston Crafted Blog LLC or The Charleston Crafted Blog LLC be liable for any loss or damage, including without limitation, indirect or consequential loss or damage, arising from the use or inability to use this website. This website is the official website of The Charleston Crafted Blog LLC.

AFFILIATE DISCLOSURE: This website contains affiliate links. If you click through and make a purchase, we may earn a commission at no extra cost to you.

As an Amazon Associate, I earn from qualifying purchases.

Site Editor: Morgan Smith McBride

Copyright © 2025 Charleston Crafted