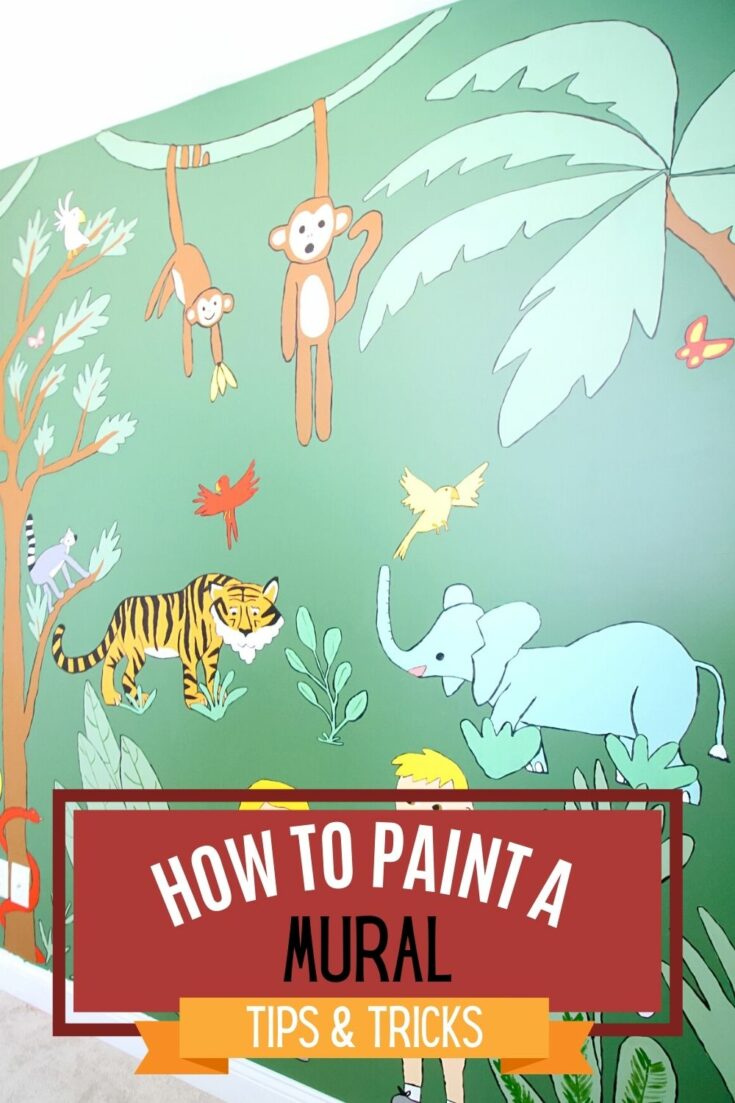
Want to paint a mural but don't know where to begin? Here are the steps I took to paint a jungle mural in my son's bedroom!
One thing on my life bucket list has been to paint a mural.
And I know, a mural can be a lot. They are bold and specific and not for the faint of heart.
You know where bold, playful design is perfect for? A two year old's bedroom.
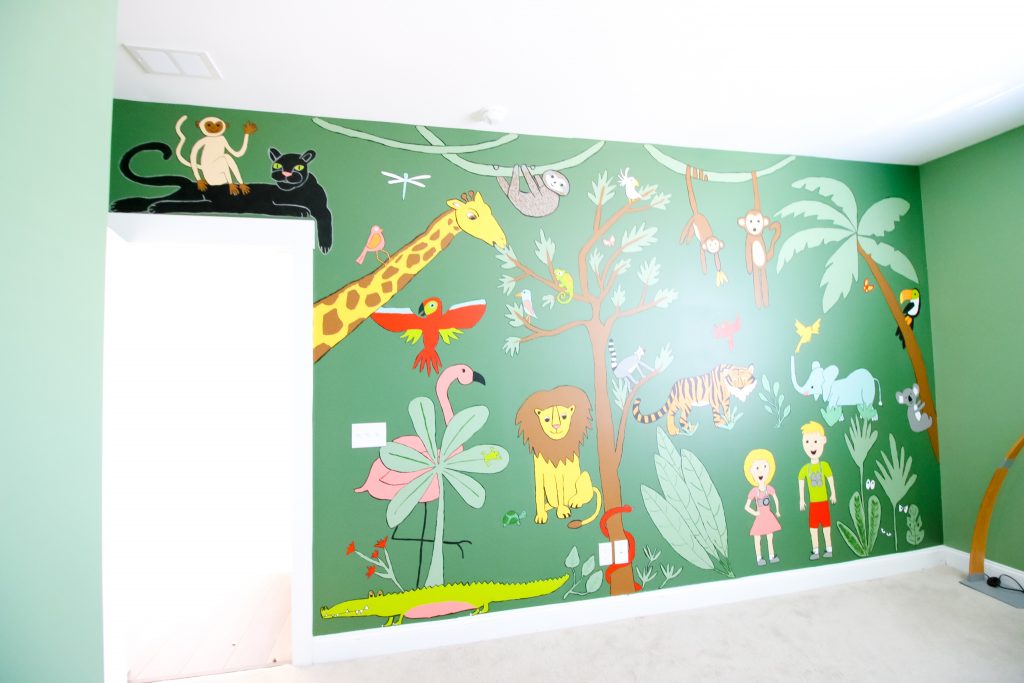
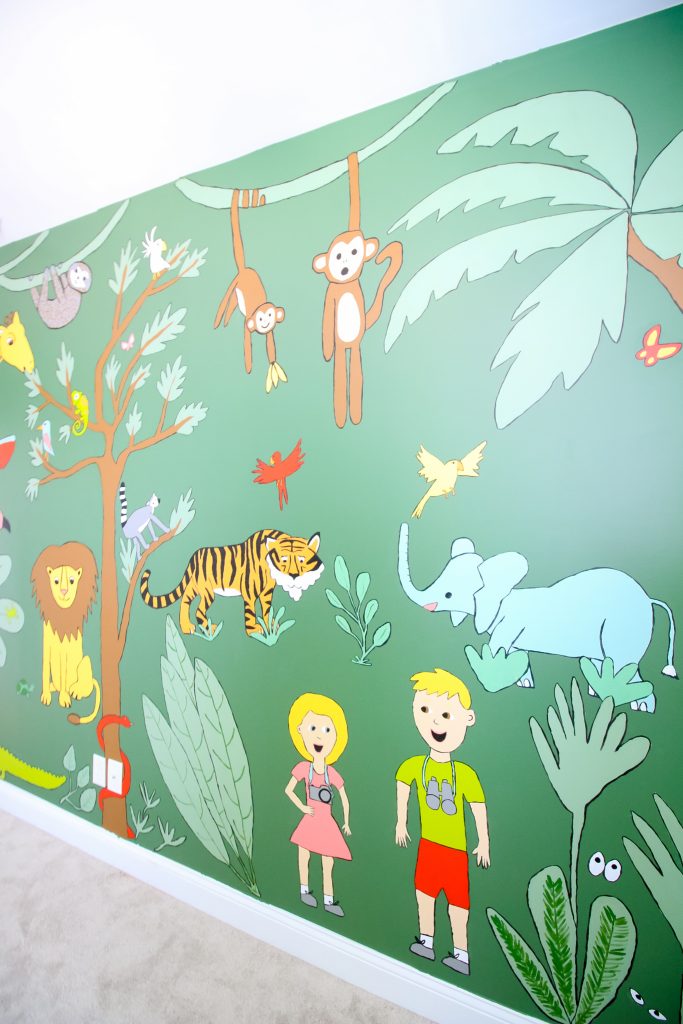
Luke is obsessed with animals and I couldn't pass up this opportunity to paint a bold jungle animal mural on a wall in his bedroom.
His bedroom is large - so I had a 14 foot long and 10 foot tall wall to work with. That's a lot of mural space!
How to paint a mural on a bedroom wall
Supplies needed to paint a mural:
- Sample sized paints in various colors
- Gallon + of base paint color
- Paint roller
- Paint brushes of various sizes
- Painter's tape
- Drop cloths
- Plate or cup for color mixing
- Chalk
- Paper towels

STEP 1: Planning a mural
The first step in painting a mural is to design your mural.
I didn't really do a professional design. Instead, I gathered inspiration and sketched. You can see my inspiration pin board here.
If it makes you feel more comfortable, you can draw your entire mural out first.
I'd draw a grid on a paper and create the wall to-scale. So, a line for either every 6 inches or 12 inches. And then draw your design there.
You can then trace this same grid onto the wall to best copy your design to scale.
While planning your mural, you will also want to make a list of the paint colors that you will need to achieve the look that you are going for.
Check out my tutorial on how to paint a rainbow mural!
STEP 2: Gather your mural painting supplies
To paint your mural you will need lots of paint!
You will also need a roller and roller tray if you need to paint the whole wall a single color as a base coat.
For painting the mural, I used simple craft paint brushes.
You also will need drop cloths or tarps to protect your flooring.
You might want to have paper towels and a cup of water on hand for easy clean up.
If you plan to paint a lot of straight lines or next to an adjoining wall, painters tape will help to keep lines crisp and clean.
If your wall is tall, you will want a ladder. I suggest a platform ladder so you have access to large areas of the wall without having to move the ladder as frequently.
STEP 3: Prepare the wall
Take a moment to examine the wall for any cracks, dings, or hole. Fill them with spackle and sand the area so you can be painting a clean surface. This will get the walls ready to paint.
Here's my guide to spackling holes in the wall!
STEP 4: Base Coat
Start by painting the base coat of your mural. I painted my entire wall Trailing Vine by Behr. This was 2 shades darker than the other walls in this room.
I love a dark background for a mural as it lets the bold colors pop, but you can use any color you prefer.
If you don't plan to paint a base coat, at least clean the wall with a rag to get off any dust or grime that has accumulated.
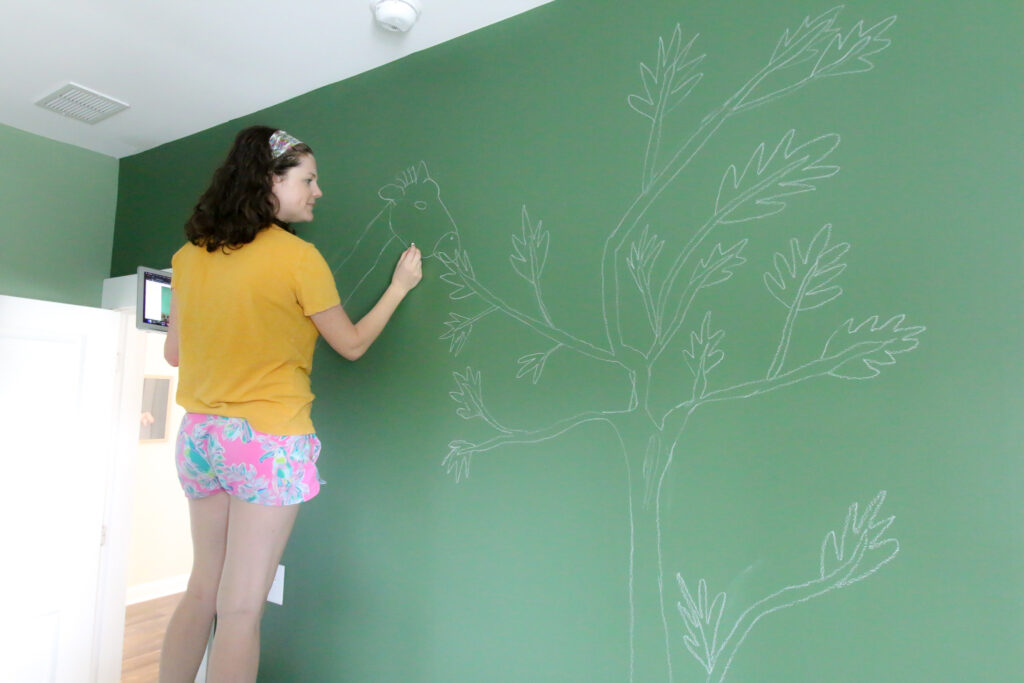
STEP 5: Sketch your design
I used white chalk to sketch the design on my mural. Chalk is easier to erase than pencil. If your wall is light, you can use a colored chalk.
You could sketch your whole design prior to painting. I started by sketching the larger and forefront items, painted those, and then filled in smaller features.
Other mural techniques
If you don't want to freehand your sketching like I did, there are 2 options for you.
- Draw a grid on the wall and copy your sketch from the grid using those lines as guides. This helps with scale and placement.
- Use a projector to project your design onto the wall and trace over it that way.
These techniques are great, I just preferred freehanding my mural!

STEP 6: Start painting
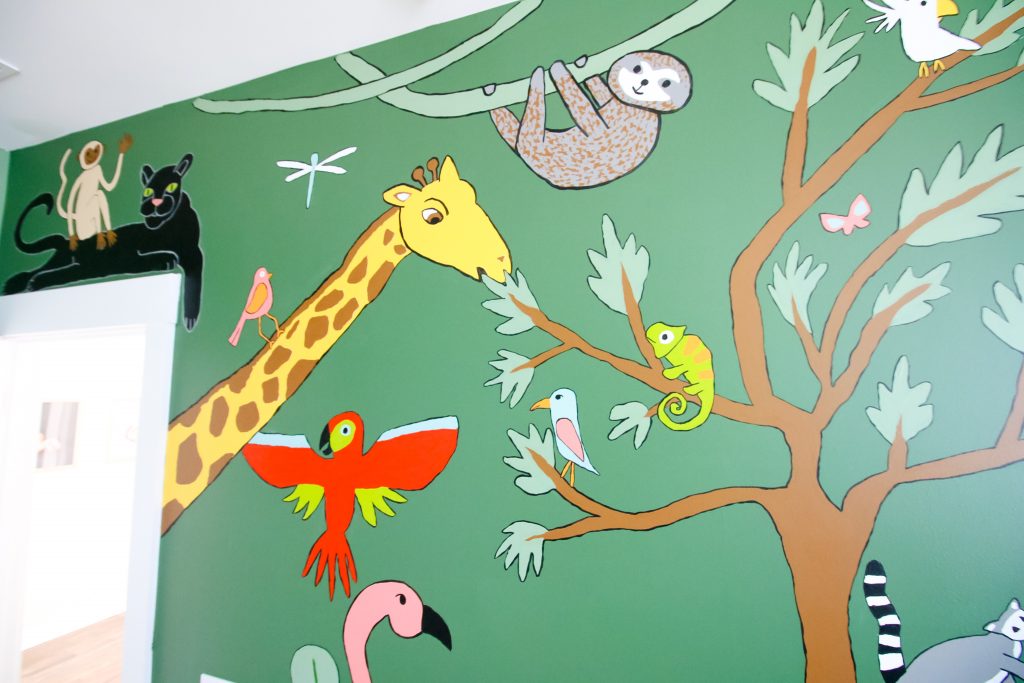
Start painting your design! If you have a lot of colors like I do, I found it easiest to paint by color.
So, do all the white at once, then all the red, then all the yellow.
Of course, this won't work perfectly, but the more you can batch by color, the faster your painting will go.
Especially since my background color is so dark, some of the colors took a few coats of paint. It's annoying, but it's better to do a good job and take longer than skimp and regret it later.
Remember to step back regularly and take a look at your painting. This can help you recognize if anything is looking wonky with plenty of time to fix it.
If you make a small mistake, a damp paper towel will take it right off. If the paint dries, just paint base coat over it and try again!
STEP 7: Outline if you wish
This will 100% depend on your painting technique, but I found that the animals that I painted popped a lot more off the wall mural when I outlined them in black.
When you start painting, it will look a bit like blobs of color. Outlining or adding fine detail turns those blobs into an actual design! Outlining gives each feature a more finished look.
STEP 8: Clean up the chalk
In the end, I used a slightly damp rag to wipe off any chalk residue for a clean, crisp finish.
Frequently asked questions - how to paint an indoor mural
What type of paint do you use to paint a mural?
I used regular latex paint to paint this mural. That's just basic wall household paint.
All of the paint that I used is Behr and much of it was Behr Marquee, which has a built in primer.
I had a gallon of the background wall paint and then had quarts of other colors. I definitely could have gotten by with sample sizes of many of the colors.
A great cost saving tip for a mural is to only buy sample sizes of colors you don't plan to use much of.
If you are painting a smaller area or just need a color for an accent, you can definitely use quality acrylic paints from the craft store, too.
What sheen of paint do you use for a mural?
I used eggshell as that is my go to. I would stick to flat, matte, or eggshell. Anything with any more gloss to it will really show imperfections.
What colors of paint did you use?
All of the colors that I used were by Behr. The colors are:
- Trailing Vine
- Laurel Tree
- Watermelon Punch
- Top Tomato
- Green Neon
- Smiley Face
- Spring Stream
- Leather Work
- Tostata
- Toucan
- Ultra Pure White
- Black
Murals are permanent. I am scared!
Paint is temporary! Worst case scenario, you paint over it.
You want to sell your house? You paint over it.
Paint is cheap and easy to put up.
Design the home you love! Be fearless!
You may need to sand down your mural a bit before painting over it, but it is easy to cover.
How to paint a mural
Want to add a mural to a room in your home? Here's some tips to get the best results, even if you aren't a master artist!
Materials
- Latex wall paint in colors of choice
- Paper plate or Solo cup to use as pallette
Tools
- Drop cloth
- Roller + roller tray
- Paint brushes of various sizes
- Ladder
Instructions
- Plan your design. Sketch it on paper in as much detail as you'd like.
- Prepare your wall. Patch any cracks or holes and sand if needed.
- Paint your base coat. If no base coat is needed, wipe the wall down with a slightly damp rag.
- Use chalk to draw your design on the wall. You can draw a grid to perfectly mimic your plan, use a projector to trace your design, or freehand it.
- Paint in your design, batching by color as much as possible. Some colors may need multiple coats.
- Add outlines or fine details.
- Marvel at your work!
Recommended Products
As an Amazon Associate and member of other affiliate programs, I earn from qualifying purchases.
-
 Aluminum Heavy-Duty PRO Slim-Fold Work Platform Ladder
 -
Canvas Drop Cloth, Size: 6’ x 9’, Natural
-
Foam Paint Brush Value Pack
-
Paint brush set
-
Bates Paint Roller - Paint Brush, Paint Tray, Roller Paint Brush, 9 Piece Home Painting Supplies, Foam Brush, House Painting Tray, Painting tools, Roller and Paint Brushes, Interior Paint Brushes


Any more questions about how to paint a wall mural?

Looking for something?
We've been doing this since 2012 so we have a LOT of blog posts!
Search stuff like: Ceiling Projects | DIY Plant Stands | Thrift Flips

Hello, I'm Morgan, half of the creative force behind CharlestonCrafted.com! With a passion for DIY that dates back to 2012, I've transformed three homes and now I'm dedicated to helping others craft their dream spaces. Let's turn your house into a home together!