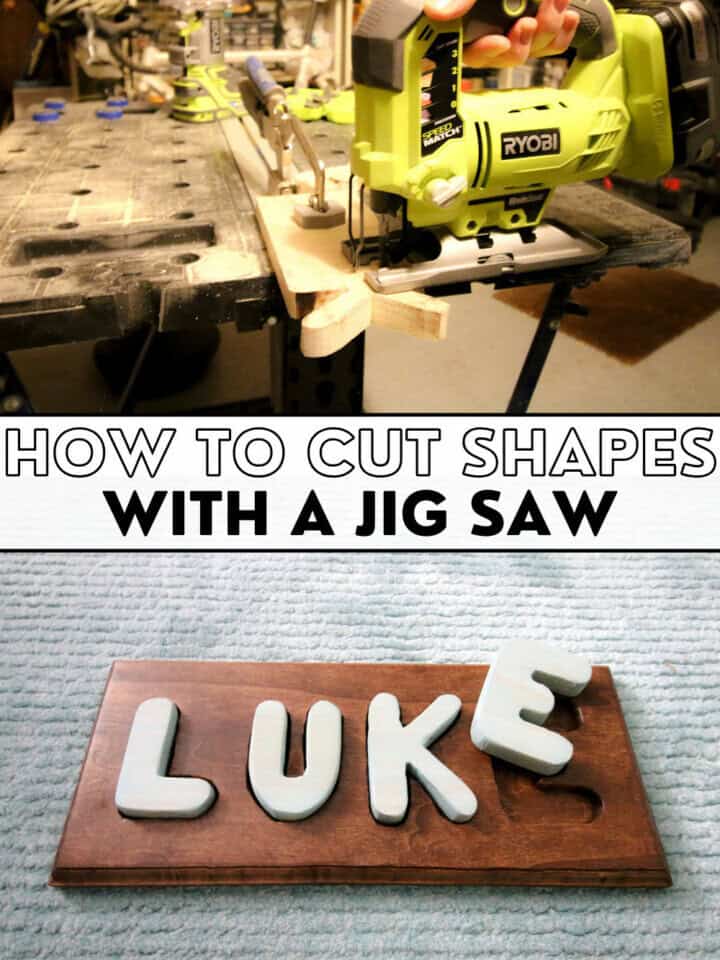
Looking to do a fun wood project with shapes? It's easy to cut shapes with a basic jig saw. Here's how!
If you want to cut shapes for your next woodworking project, a jig saw is a great way to do it.
Jig saws get their name from their use in building jigsaw puzzles and how they were used to cut out the intricate curved patterns and designs of a puzzle. So, they are great for cutting shapes.
We've used our jig saw many times to cut shapes out, either to cut a shape to put on something, or cutting a shape out of something. There's lots of ways to use it.
The best tool for cutting shapes out of wood
There are other tools, like a scroll saw, that might be more precise at cutting a specific shape out of wood, but those are large, expensive tools. A jig saw is inexpensive, works on a battery system you probably already have, and is fairly small.
Here's what you need to do to cut shapes out of wood with a jig saw.
Projects we've cut shapes out with a jig saw
Here's just a few projects we've done where we cut out shapes with a jig saw!
- DIY name puzzle
- How to make money ornaments
- DIY gold leaf star Christmas tree topper
- How to make a DIY lacing toy
- How to make wooden ghosts
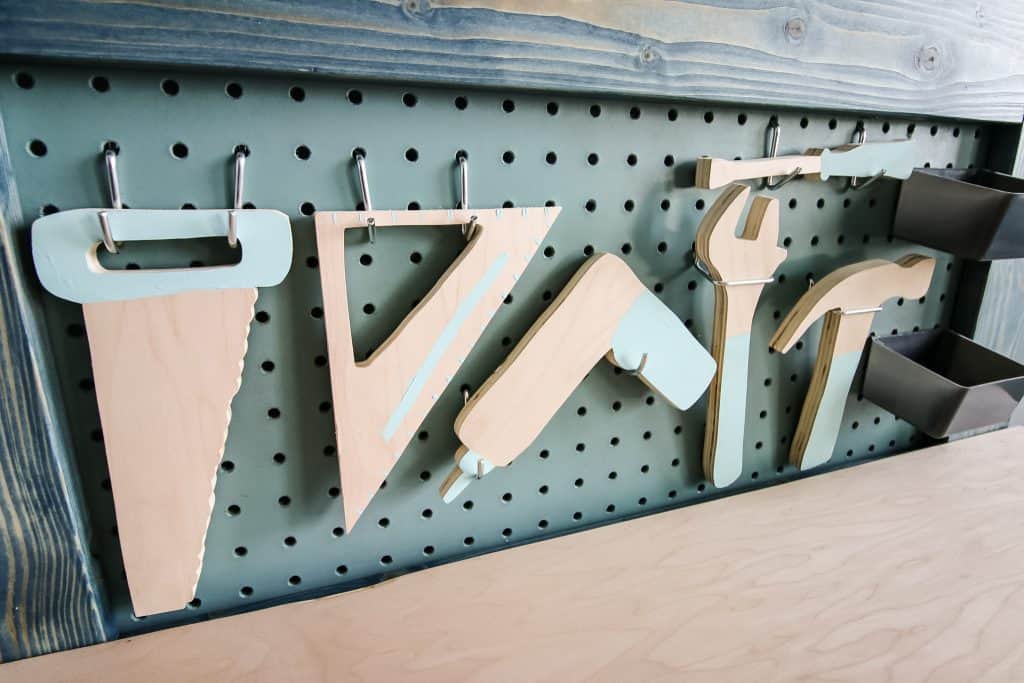
- Cut wooden toy tools
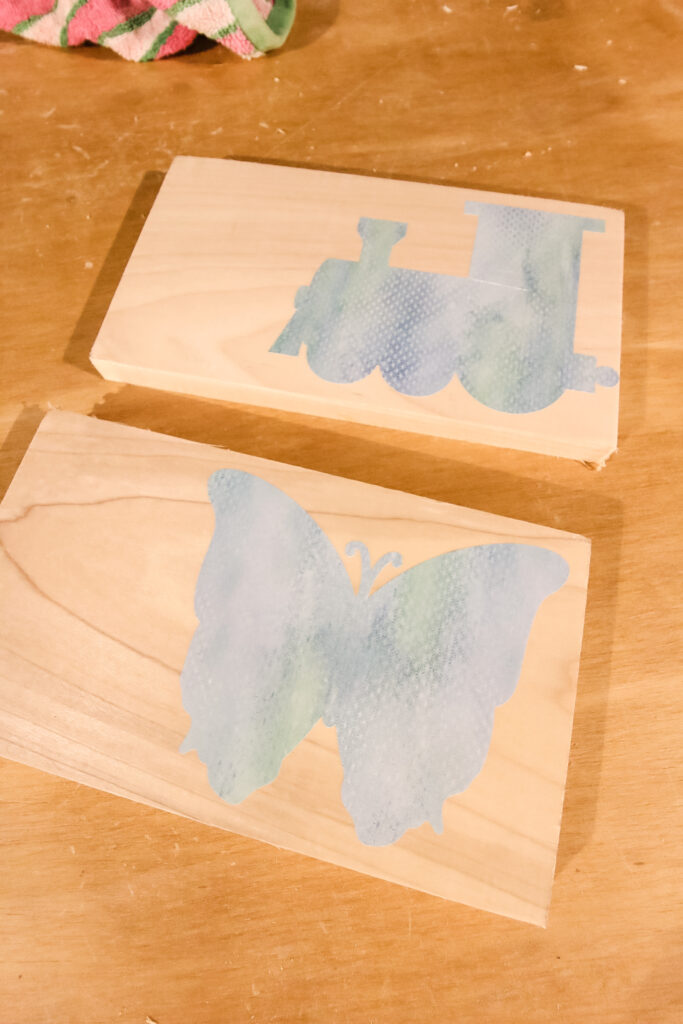
Step one: draw or trace shape
Start by drawing or tracing your shape onto the piece of wood you want to cut.
If you're free-handing a design or using measurements, draw it on the board.
If you are cutting your shape out a board to be used somewhere else and you can, draw it with a point starting right on the edge. If you're going to be cutting the design out as part of that board, draw it where it needs to be.
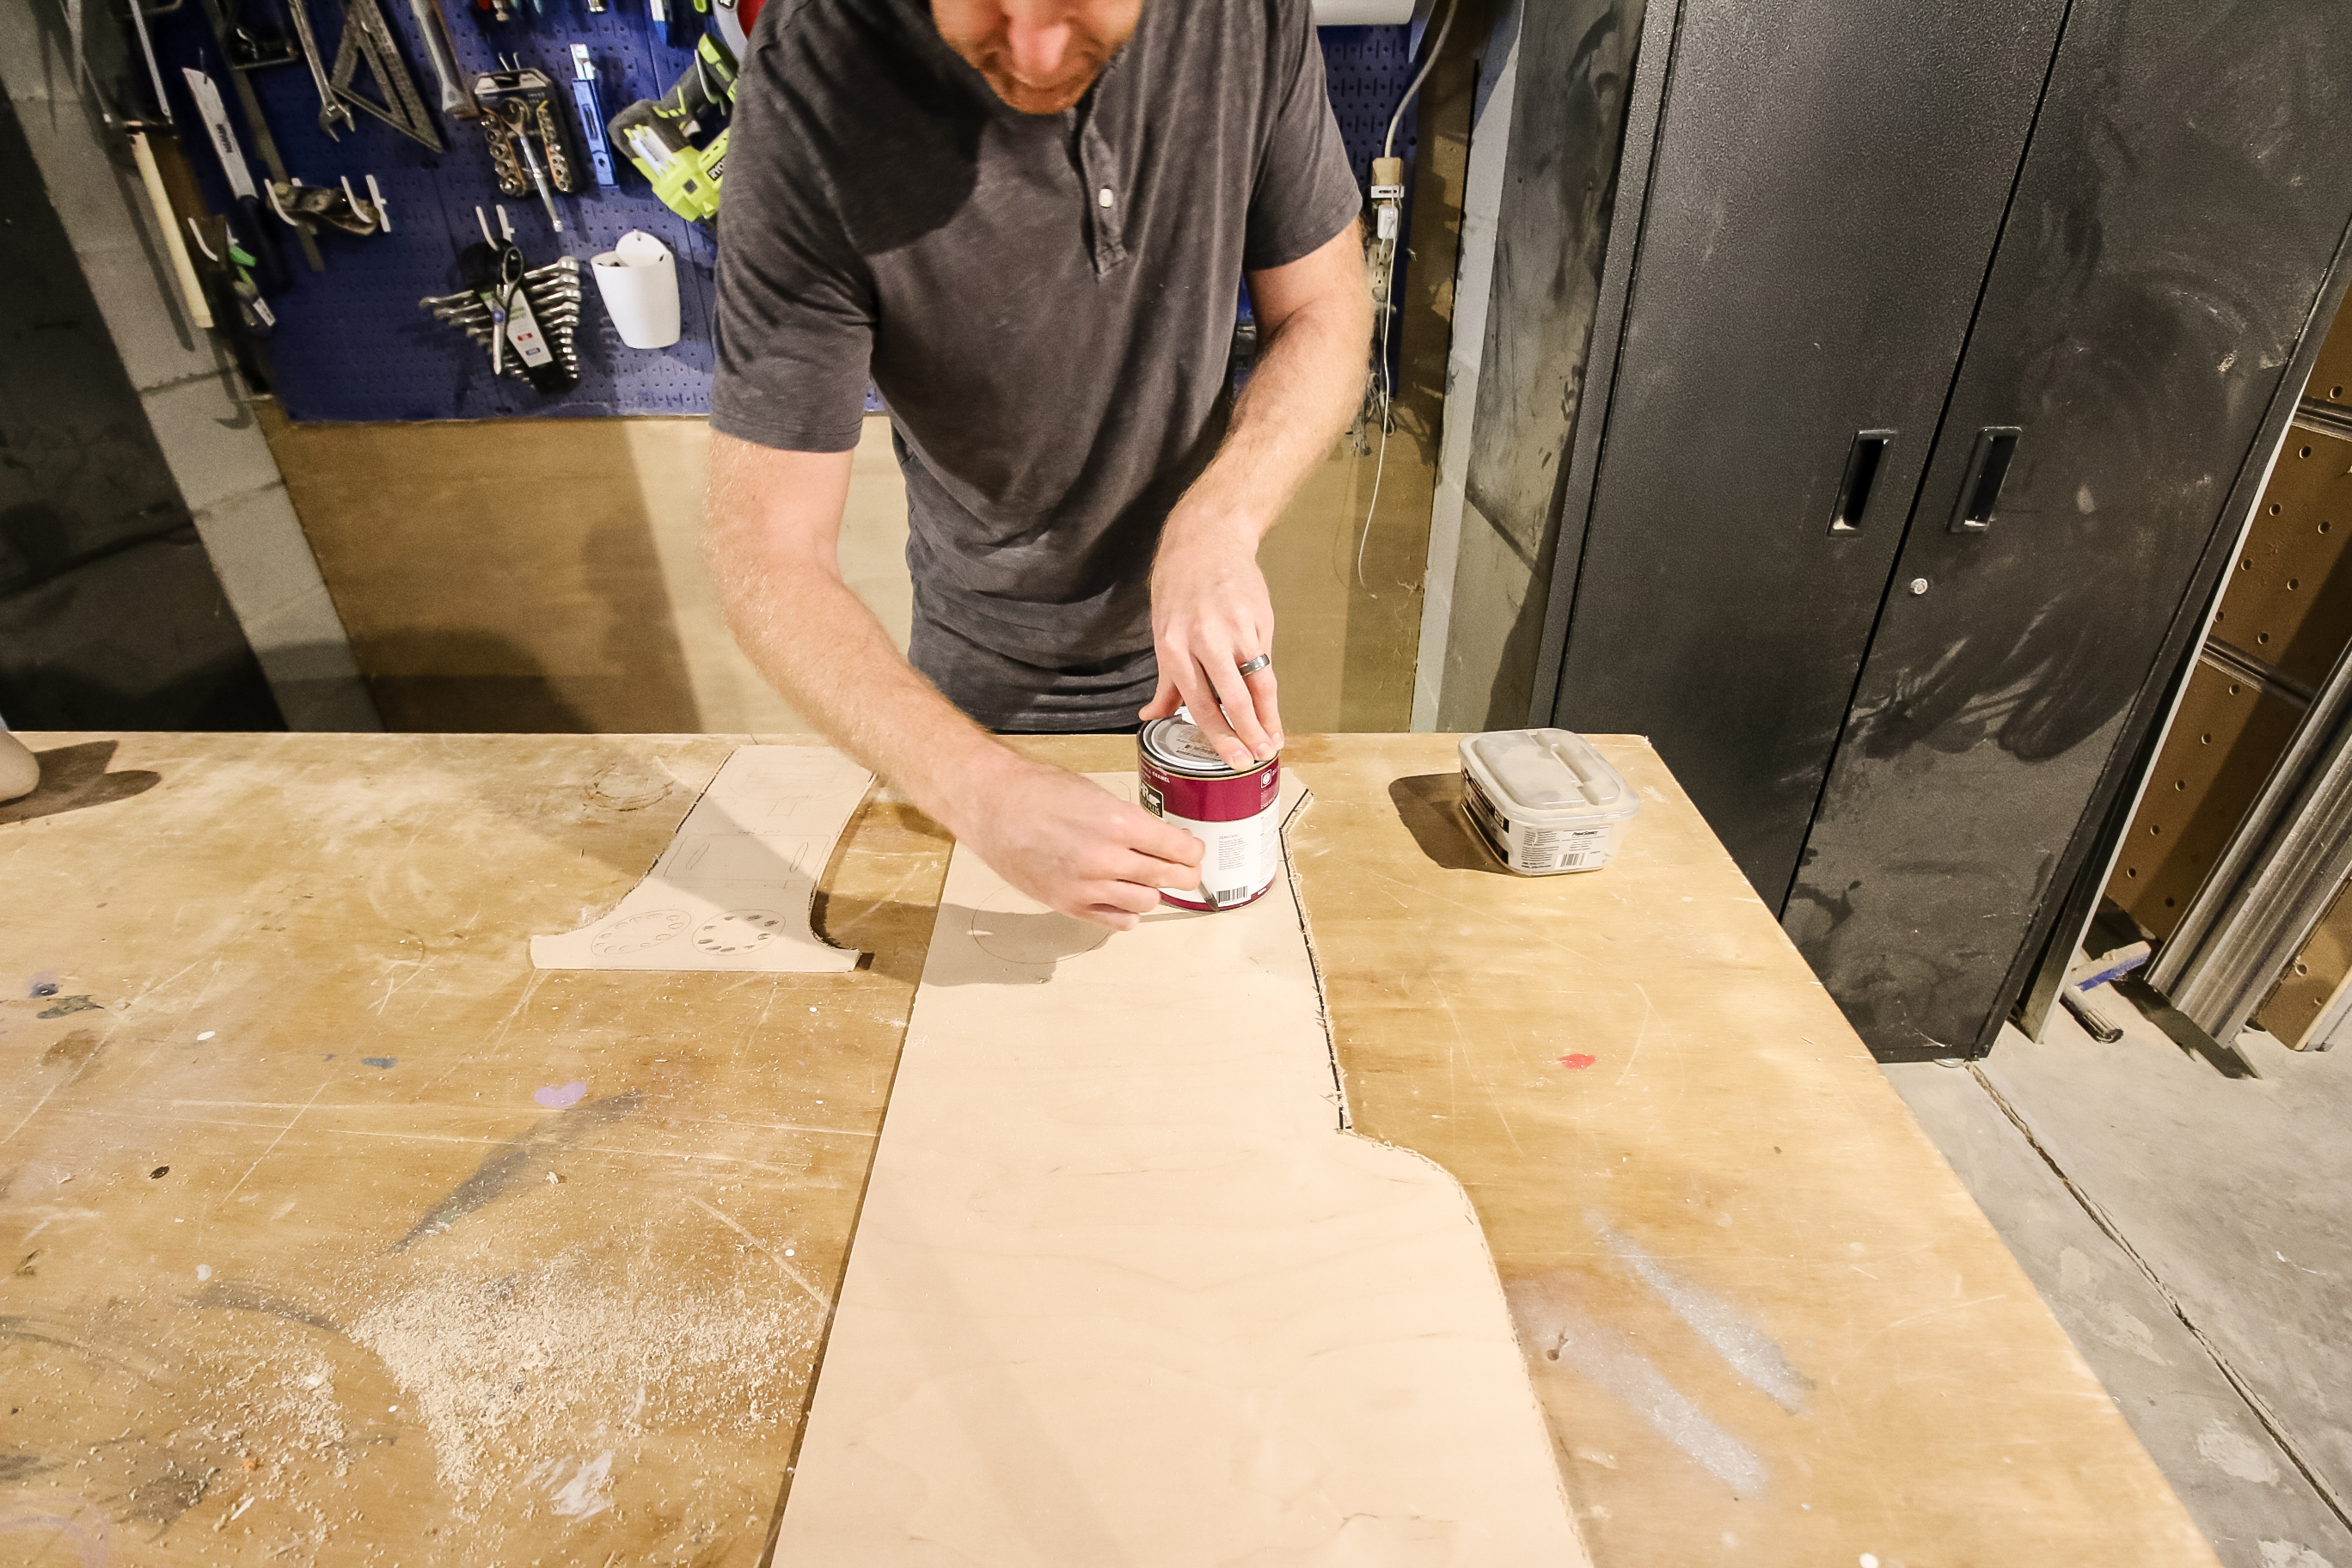
The same goes for if you're tracing a shape. Maybe you already have something in that shape and it makes it a lot easier to draw. This is perfect if you're trying to cut out a circle and you have a can or pot that you can trace around to get the exact size.
Step two: cut to shape
Next, cut to the shape you drew. If you drew it on an edge, you don't have to worry about this, just start right where your drawing meets the edge of the board.
If you need to cut to the shape, start your jig saw out on the edge of the board and cut through the board until you get to the shape, ideally meeting your drawing in the direction of a line and not at a perpendicular angle.
Step three: slowly cut outline
When cutting shapes with a jigsaw, the important thing to do is cut slowly. You don't want to rush through the cut or you will end up getting off track.
You can even slow down the speed of the jig saw blade using the dial on the saw and this can be beneficial to keep the saw from pushing through too fast.
Make sure you go slowly and try to follow the outline as best as possible. If you have a sharp corner or angle, try cutting to the point, then backing up and cutting over to the next line and then cutting to the point from there. Remember, you can only make turns the width of your blade.
Continue all the way around the shape you're cutting out.

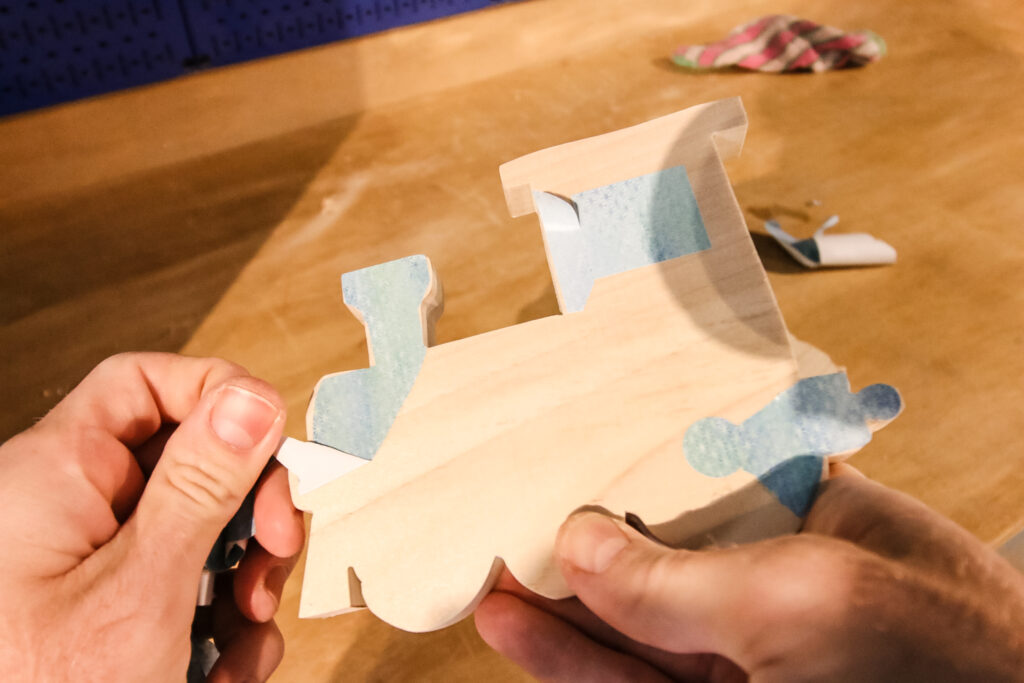
Step four: cut off excess
You may need to cut off excess scrap from where you've had to do angles. Sometimes it's easier to cut across from one point on the shape to another and come back and cut the smaller sections out at the end.
Step five: sand smooth
Use a fine grit sand paper to smooth out the sides and edges. The jig saw should give you pretty smooth sides, but you'll want to sand everything smooth and equal.
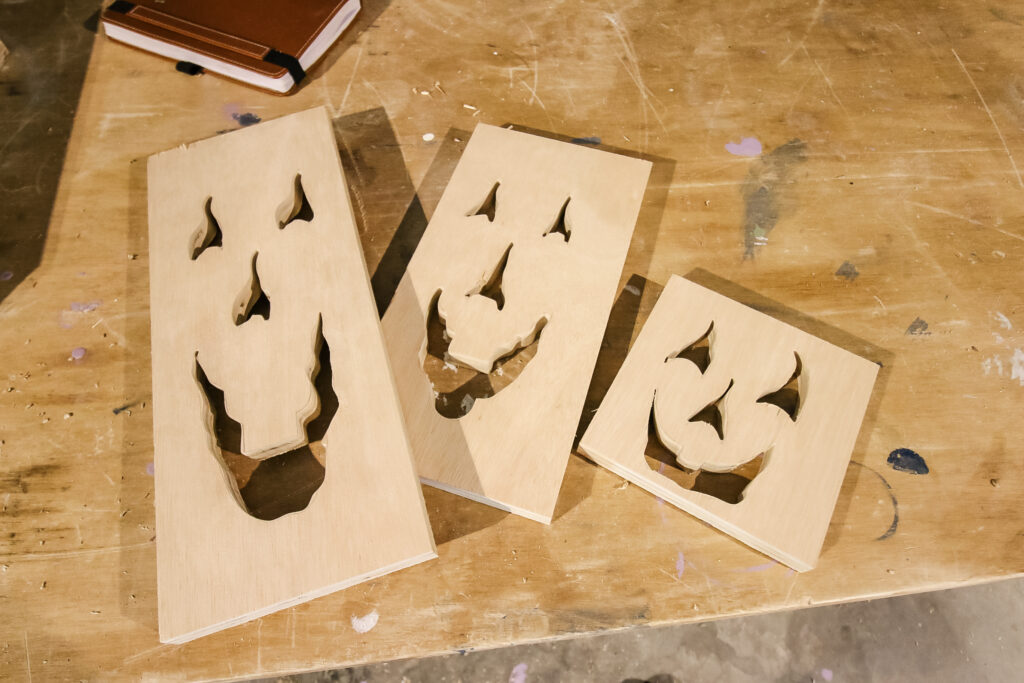
How to cut inner shapes with a jig saw
If you need to cut out an inner shape in a piece of wood, that's easy as well.
Start by tracing the image where it needs to be on the board. Then, drill through somewhere in the shape area with ¼" drill bit to start, preferably near an edge.
Insert the jig saw blade through the drilled hole, then drill over to the edge of the shape and slowly cut around the outline until the shape is cut. Then sand smooth.
I had to cut these inner facial expressions for our DIY wood jack-o-lanterns!
How do you cut curves with a jig saw?
Cutting curves with a jigsaw is just like cutting out a shape.
First, trace the curve (whether it's free-hand or using an outline like a can) onto the wood you need to cut it from.
Then, work slowly around the outline of the curve with the jigsaw moving the saw ever so slightly as you are working around the curve. You can always go back and shape the edge a little with sandpaper, but try to stay as tight as possible.
Also, if you don't have to worry about the excess, you can also frequently cut away from the line of the curve. Instead of trying to follow it perfectly, do a series of straight lines on the curve, cutting out into the excess board, then coming back to the point you left the line and starting again.
Before you go...
Read up on some of our other wood cutting technique posts.

Looking for something?
We've been doing this since 2012 so we have a LOT of blog posts!
Search stuff like: Ceiling Projects | DIY Plant Stands | Thrift Flips

Hey there, I'm Sean, the woodworking enthusiast and builder behind CharlestonCrafted.com! Since 2012, I've been sharing the magic of turning raw materials into beautiful creations. I love teaching others the art and satisfaction of woodworking and DIY. I try to inspire fellow crafters to make something extraordinary out of nothing at all.