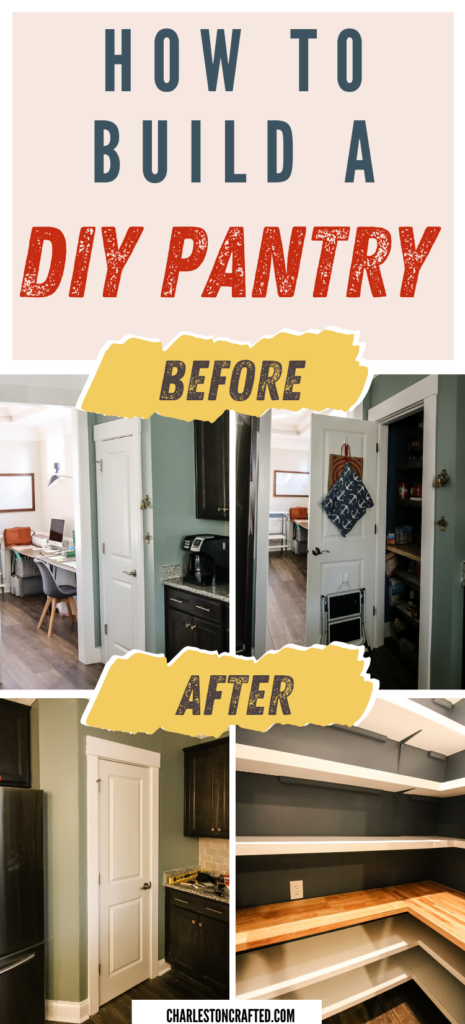
Looking to for DIY pantry ideas to upgrade your kitchen storage space? If you want to expand your pantry or build one from scratch, here's how to build a pantry to suit your needs!
What even is a kitchen without a big pantry to hold all your food?
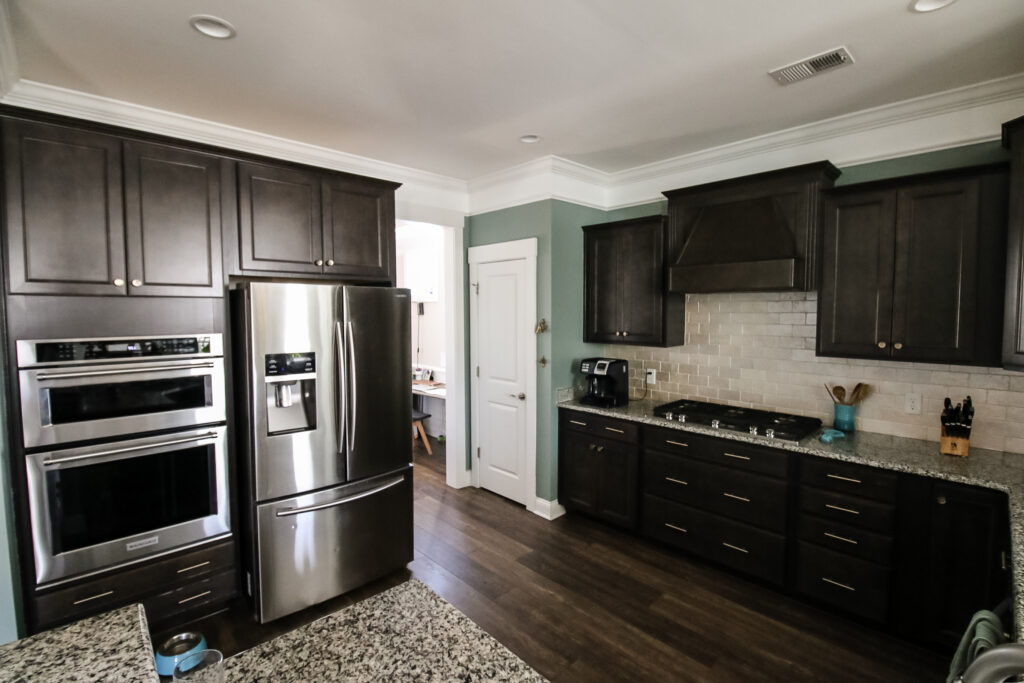
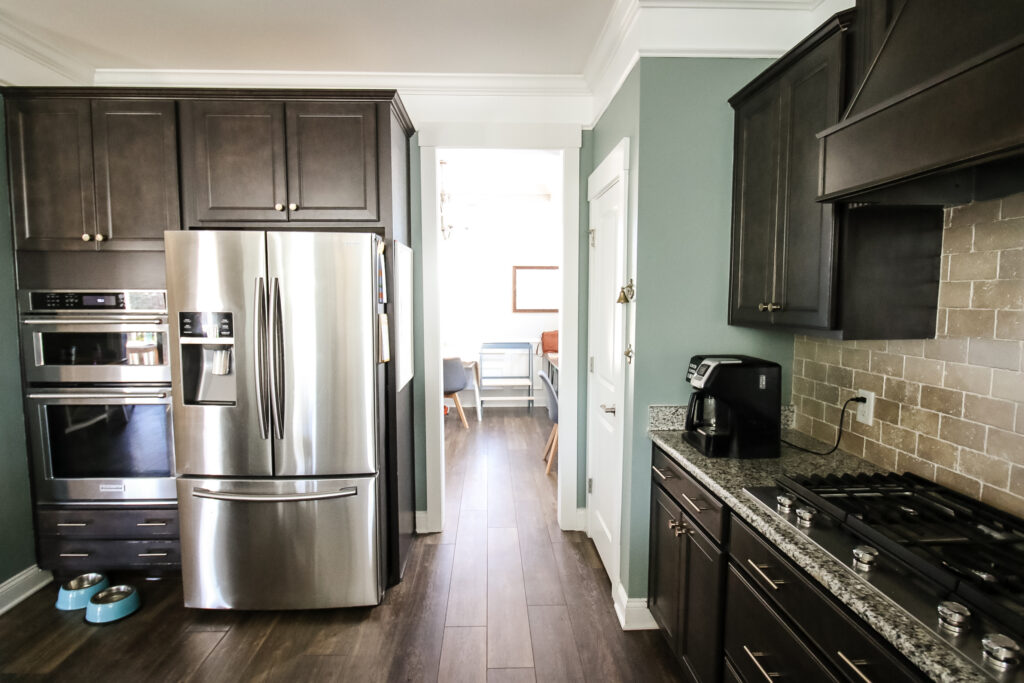
The floor plan of the house we bought calls for a large pantry off the eat-in area under the stairs to the second floor. However, since our house is elevated, our particular house doesn't have that pantry and uses that space for stairs down to the garage.
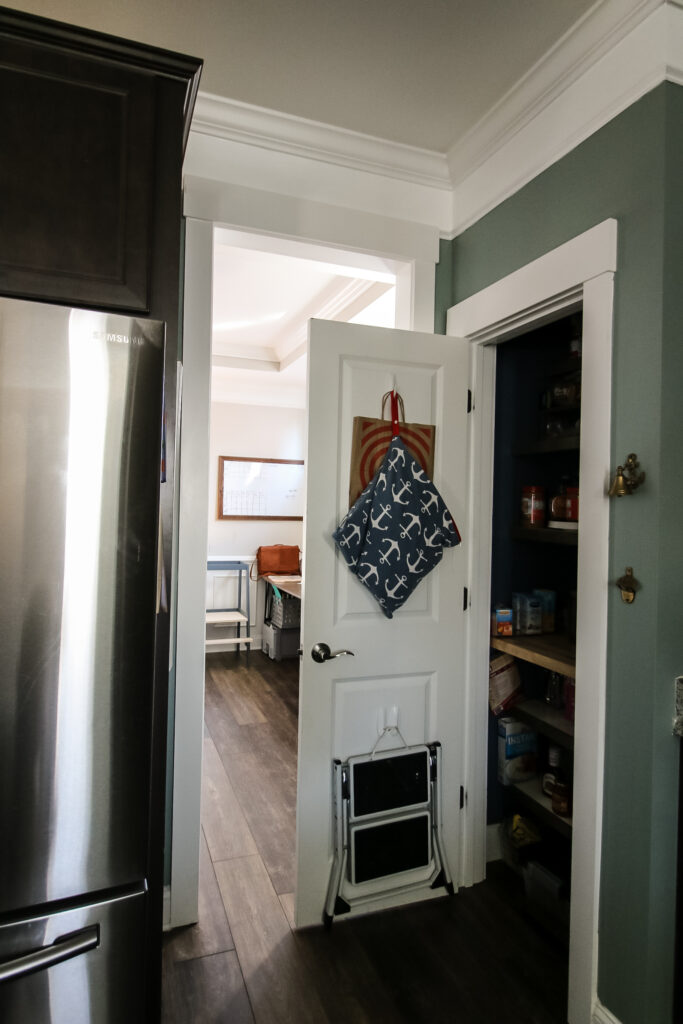
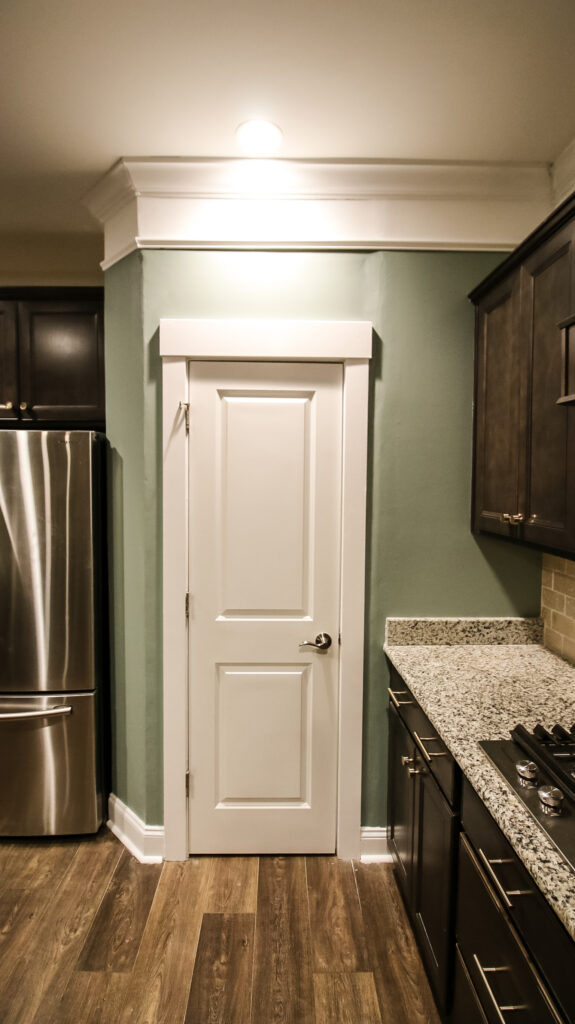
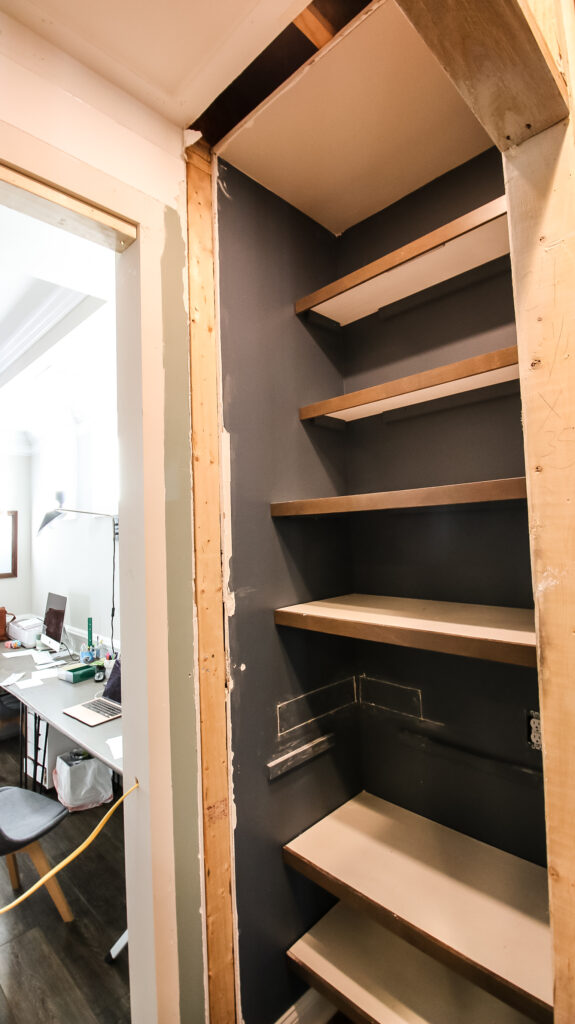
So we only had a small pantry in the kitchen next to the doorway to the formal dining room that we use as an office.
Two years ago, we ripped out the wire shelves in there and built custom shelving to maximize our space, but it was time for a bigger upgrade.
We wanted to build a large, true pantry for all our food.
This process was fairly straightforward and can be used for anyone who wants to expand their pantry or build out an entire closet area in their kitchen.
If you think you are stuck with a tiny, useless pantry, here's how you can build the pantry of your dreams with a little DIY effort.
How to build a DIY pantry
After reading this post, you're going to be wondering why you haven't built or expanded your pantry sooner.
It's cheaper to build a pantry yourself, but you can always hire parts, or all, of it out.
We built this entire pantry ourselves and hired an electrician to install a switch, two outlets and a light because we didn't feel comfortable with all that. But everything else if very doable!
How do I make my own pantry?
Here's a step-by-step tutorial of what you need to know to make your own pantry.
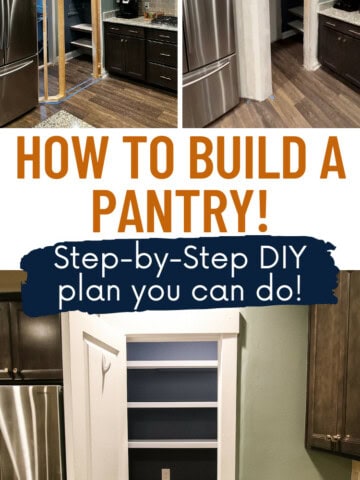
Step one: Determine layout
The first step to making your own pantry is to determine the layout of the walls and the shelves.
If you are expanding off an existing pantry, it may be easier to mark out from where you already have walls and shelves.
If you are building a pantry from scratch, you have a fresh palette!
Use painter's tape on the ground to mark out where your walls will go, remembering to account for the width of the studs and drywall. The painter's tape will give you a good visual of your new space.
Use this time to figure out the depth of your shelves as well. A walk in pantry needs to be at least deep enough to step in and have shelving, which would be about 36 inches minimum with 12" shelves.
Step two: Do any necessary demolition
If you are going to need to take down any existing walls or doorframes for building your pantry, do that next.
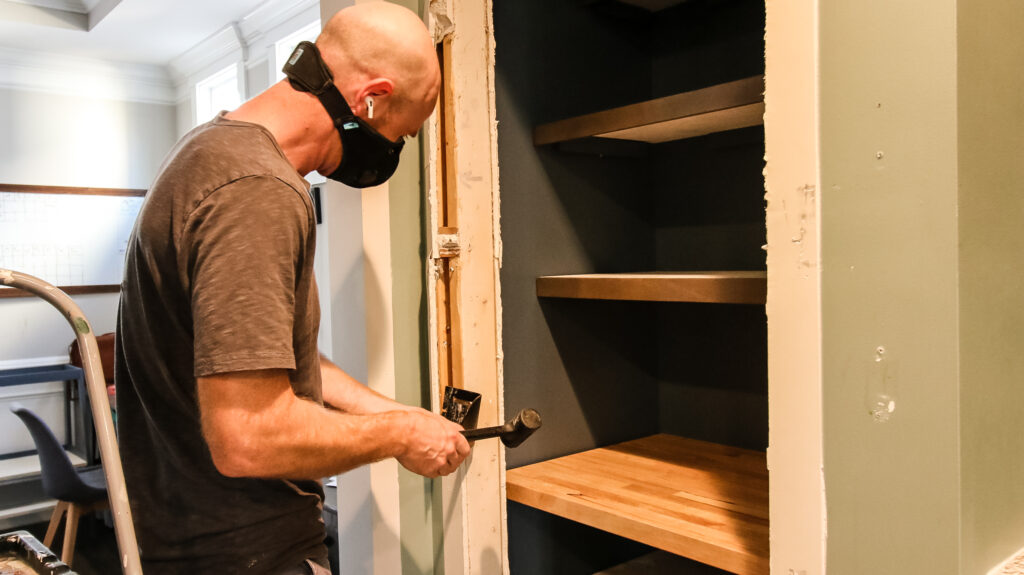
Make sure to remove any drywall and studs and give yourself a smooth, clean space to work with.
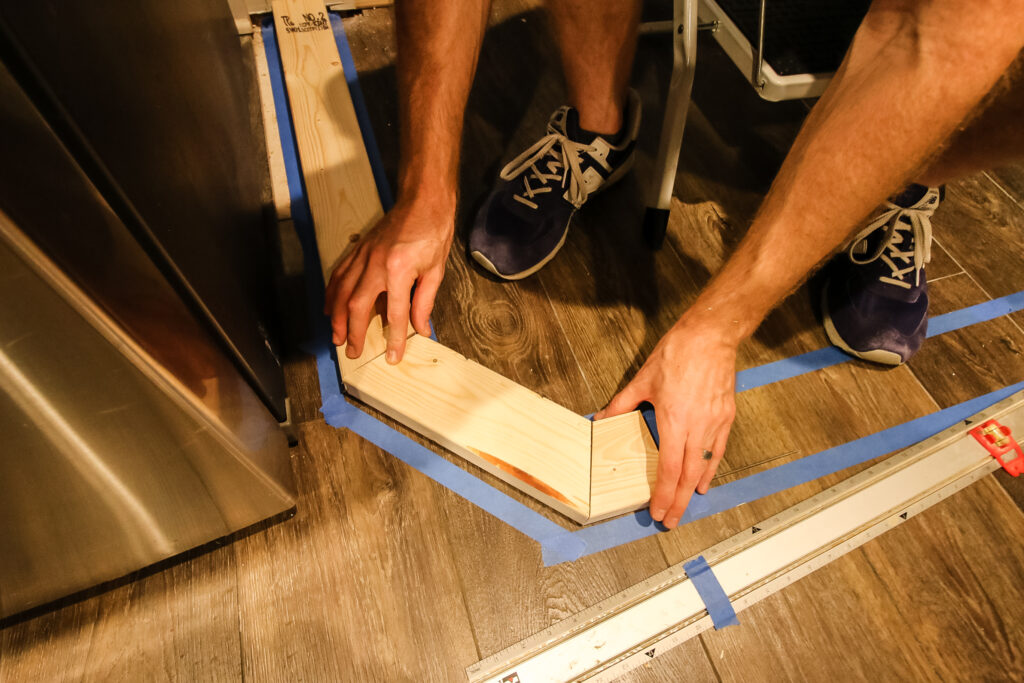
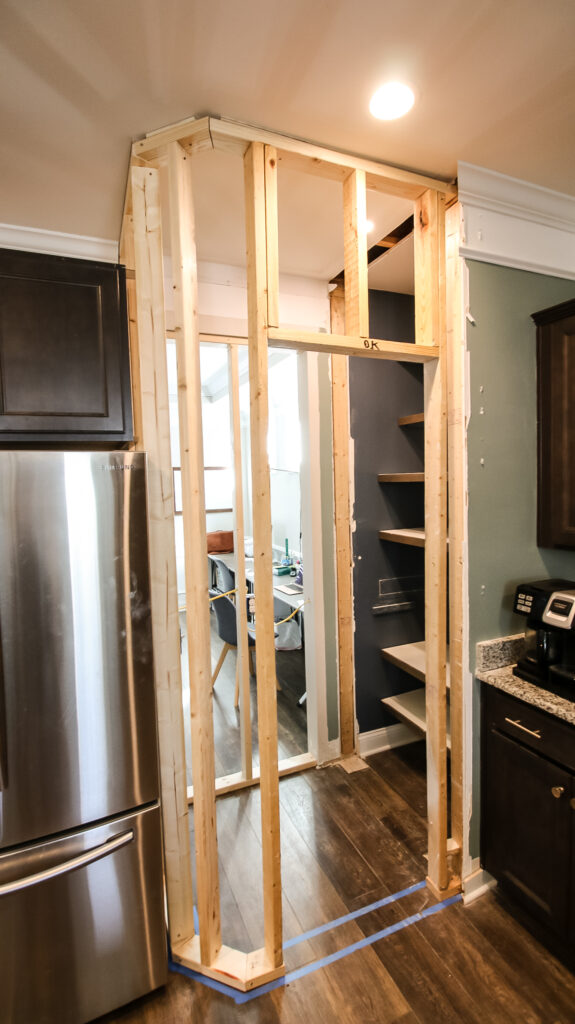
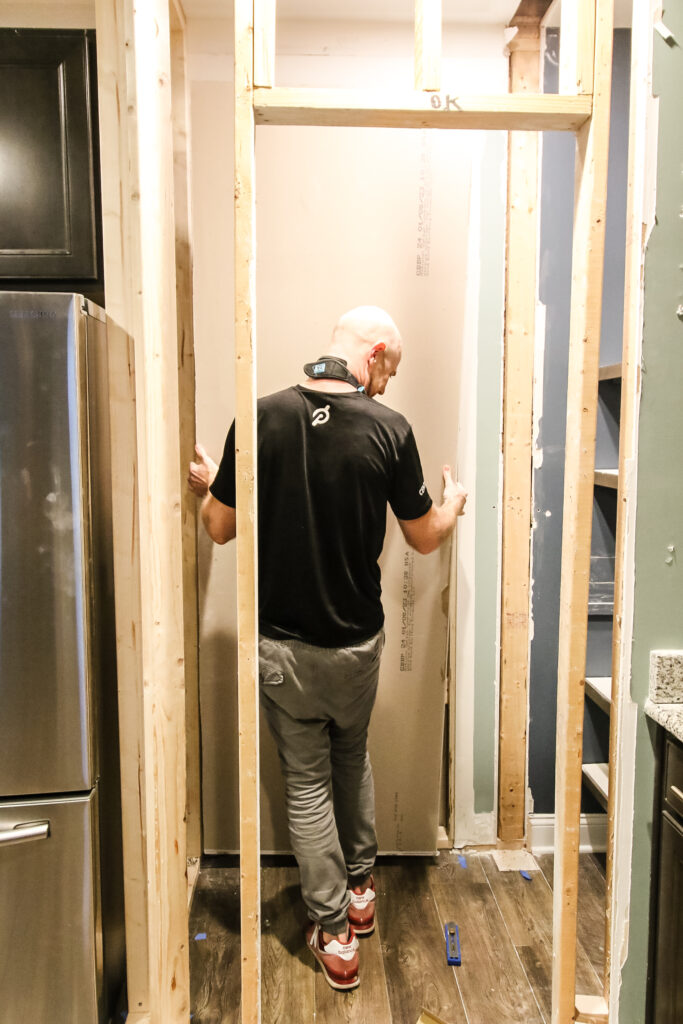
Step three: Frame walls and door
Using the layout you marked with painter's tape, frame the walls and door of your new pantry.
Make sure you install top and bottom plates (the 2x4 at the floor and ceiling) and vertical studs no more than 16 inches apart for each wall.
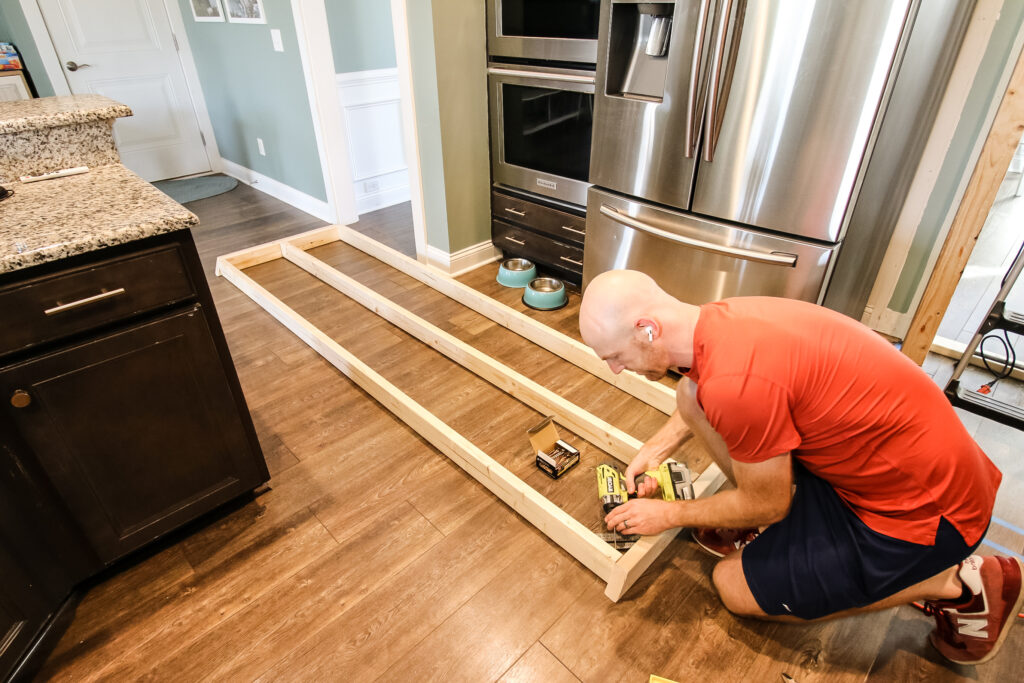
Generally, it is easier to create each wall on the ground and lift it into place. Use 3" screws or a nail gun to attach the boards together.
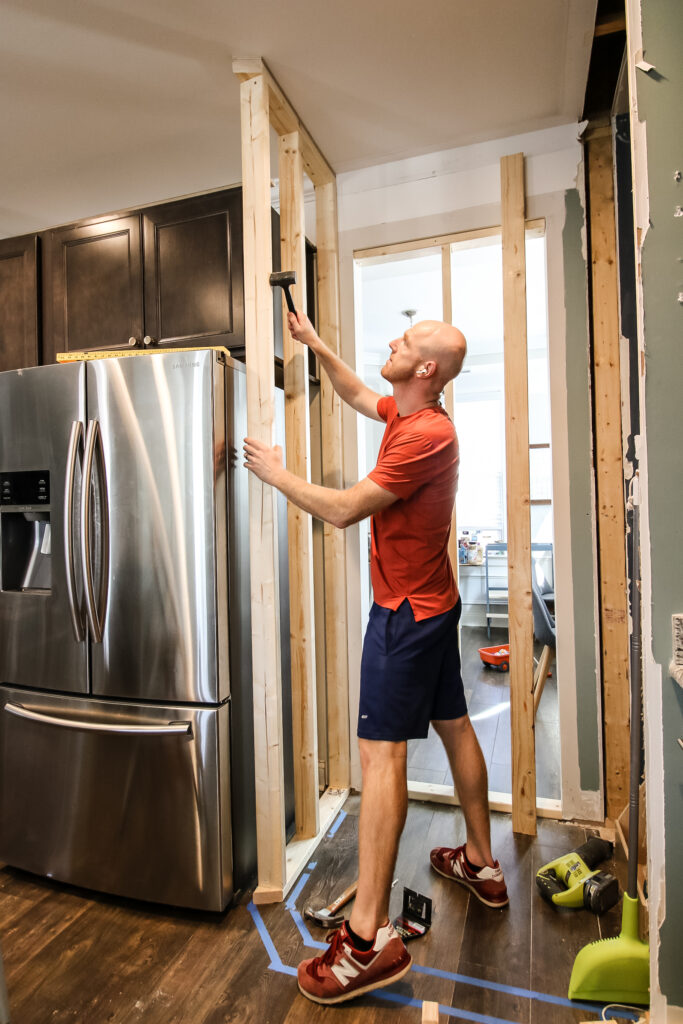
Raise each wall into place and then secure them together with each other.
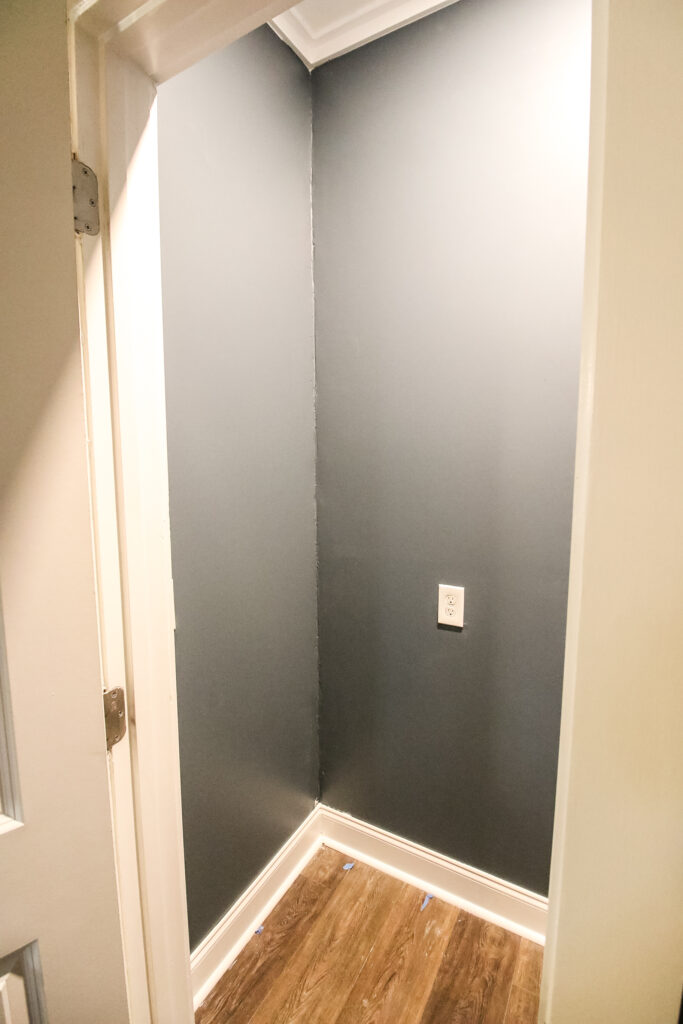
Step four: Install drywall
Next, cut and install drywall for both sides of your walls. Make sure you leave about ¼-1/2" of space between each piece and fill that with joint compound and tape.
When installing drywall around the doorframe, it is easier to put up a full piece of drywall and then use a jab saw to cut out the door shape so it is exactly perfect.
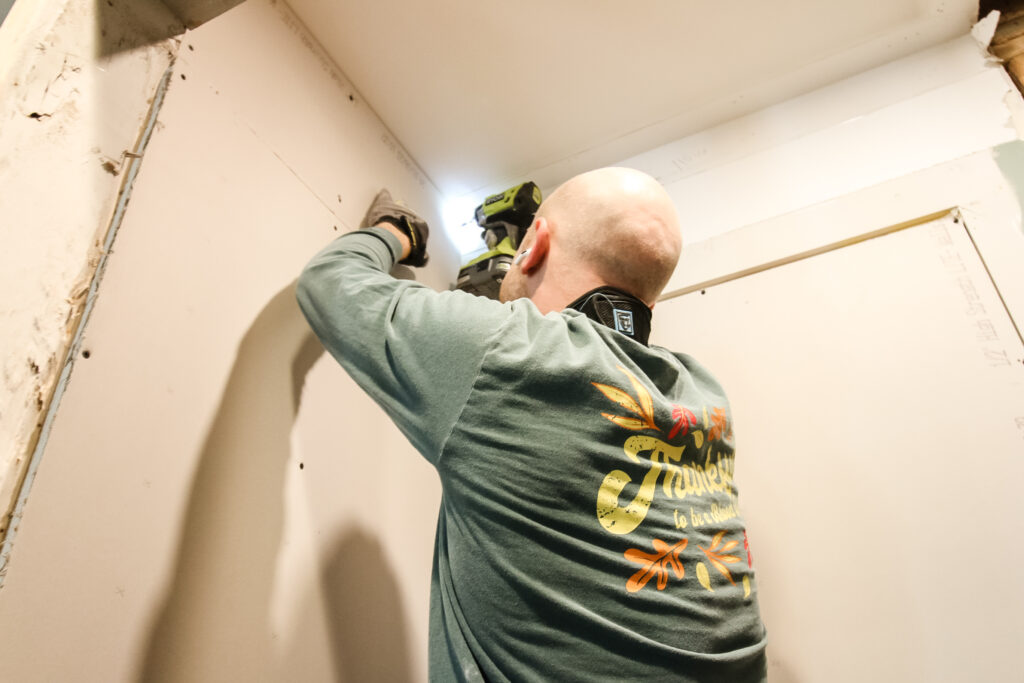
After all the drywall is up, apply drywall tape to all the seams and joint compound to the seams and screw holes.
Read more about our drywall process here!
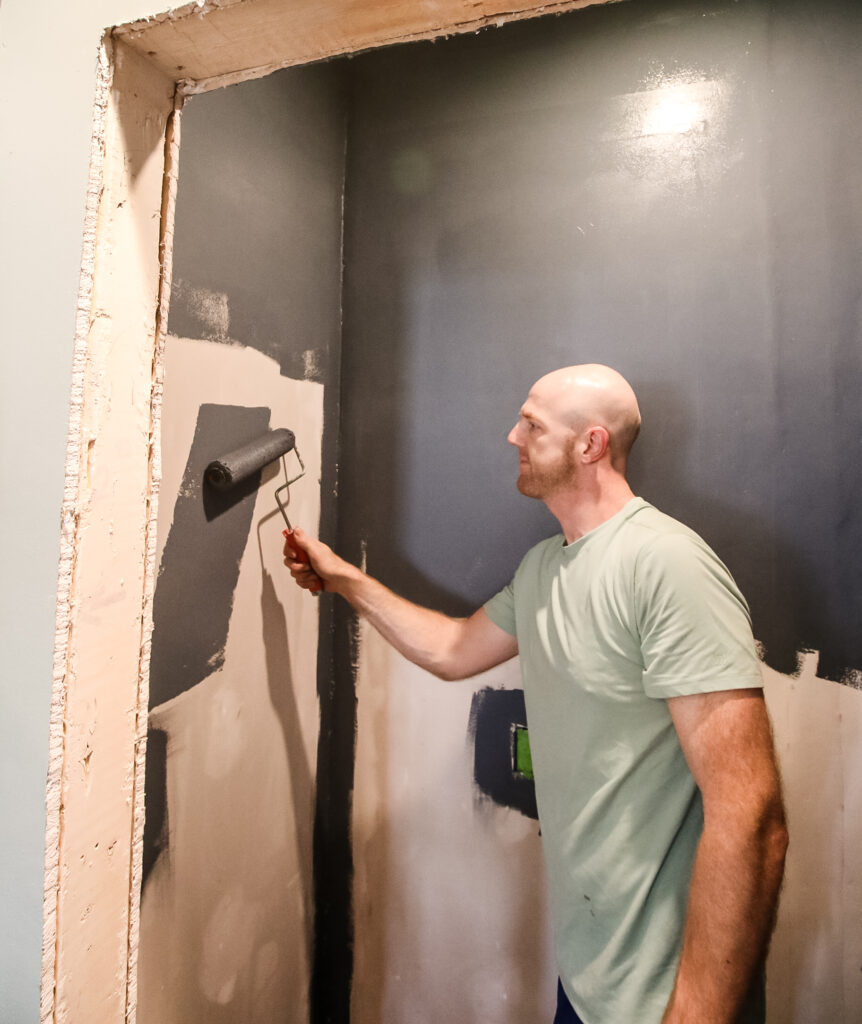
After the compound is dry, sand it smooth and paint the walls.
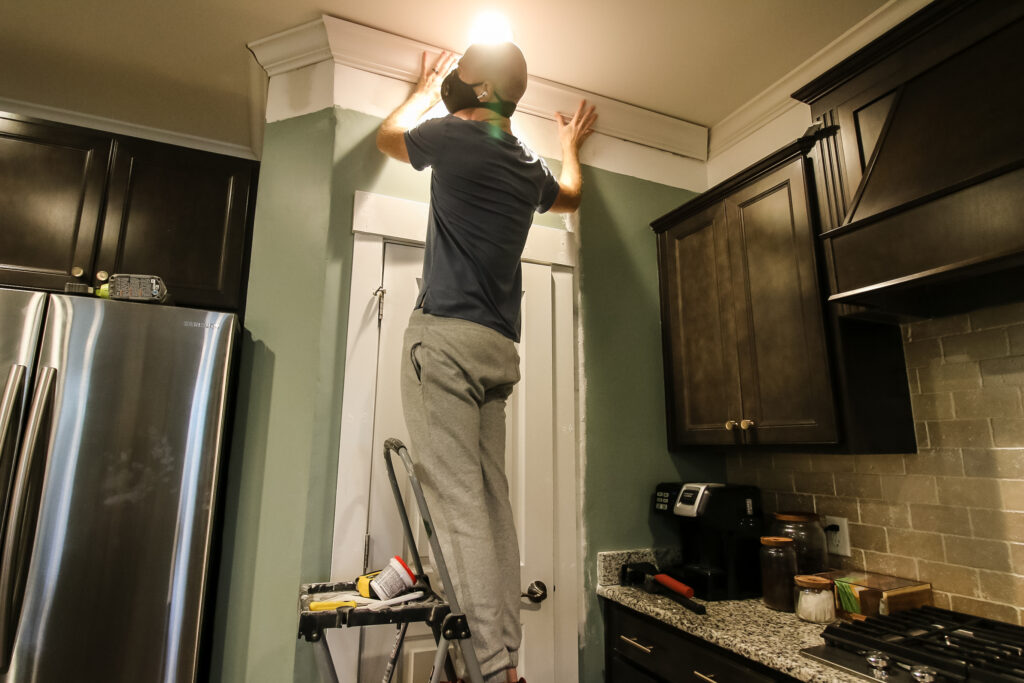
Also, don't forget about any necessary addition of crown moulding or baseboards.
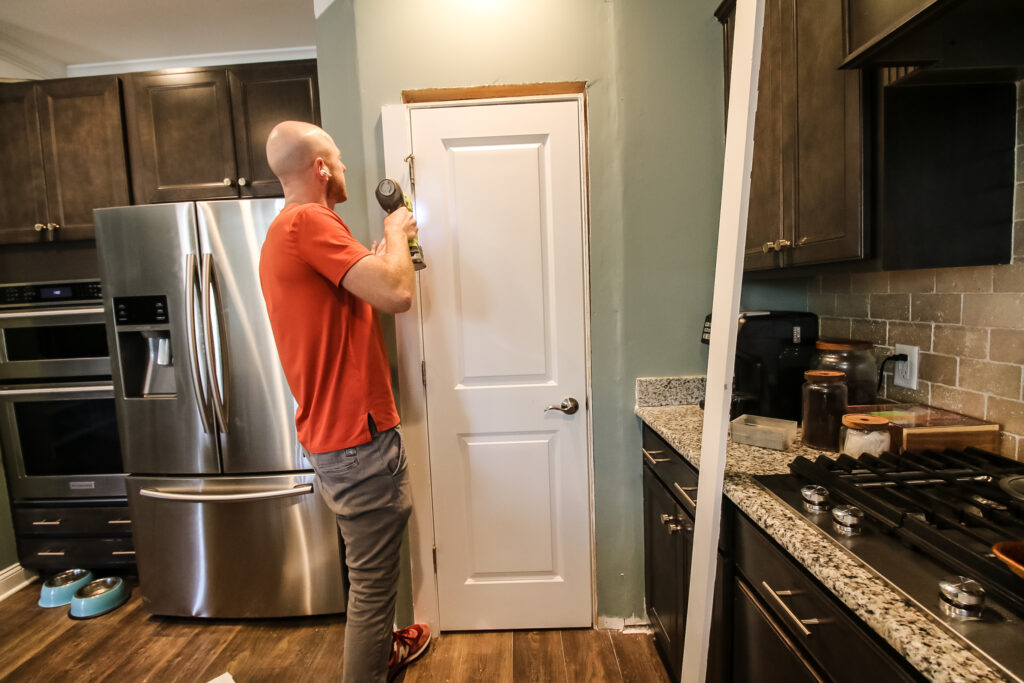
And don't forget to remember to put your door back on and the necessary molding around that.
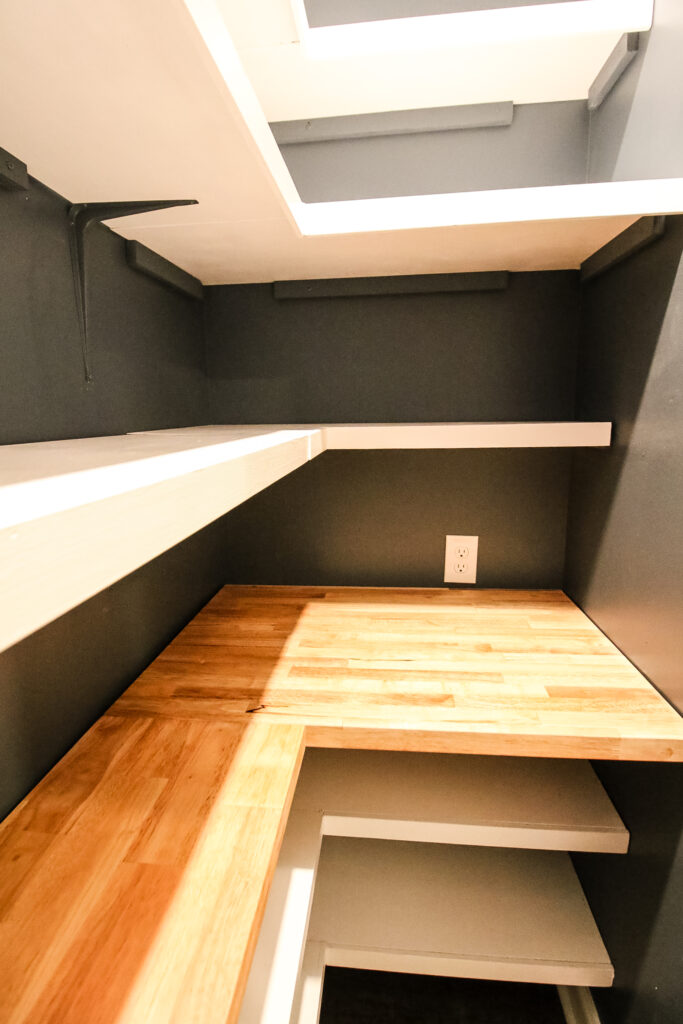
Step five: Install shelves
We have written a lot about how to build pantry shelves in the past, but the main idea is to cut shelves to size and add braces on the walls to hold them up.
But you need three points of contact on a shelf, so if your shelf won't touch all three walls, make sure you add brackets.
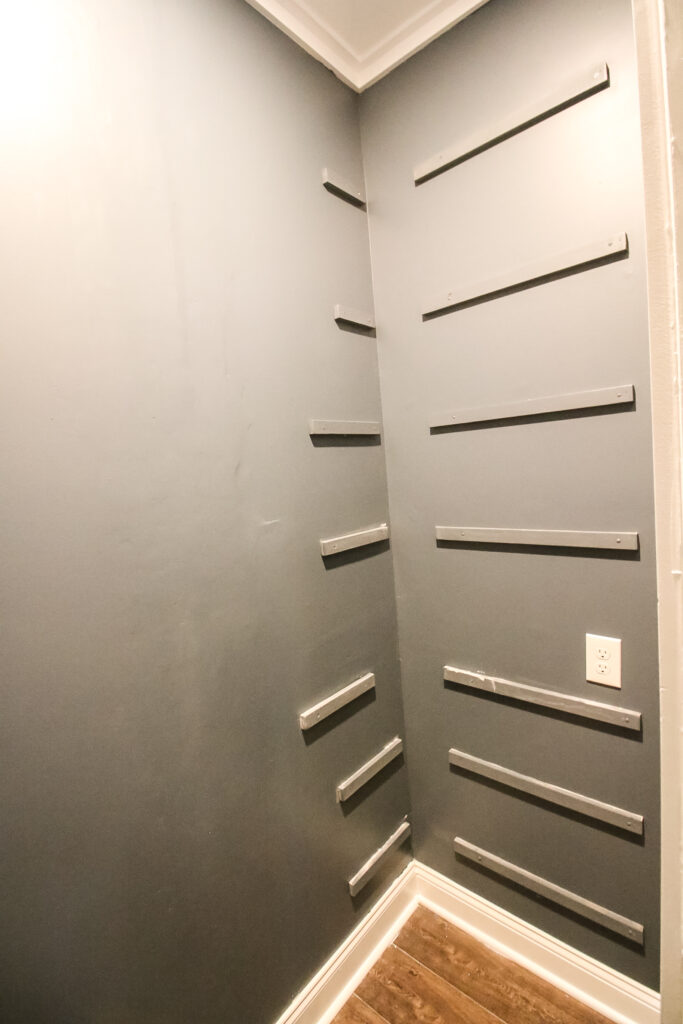
We painted our brackets to match the walls to help them blend in.
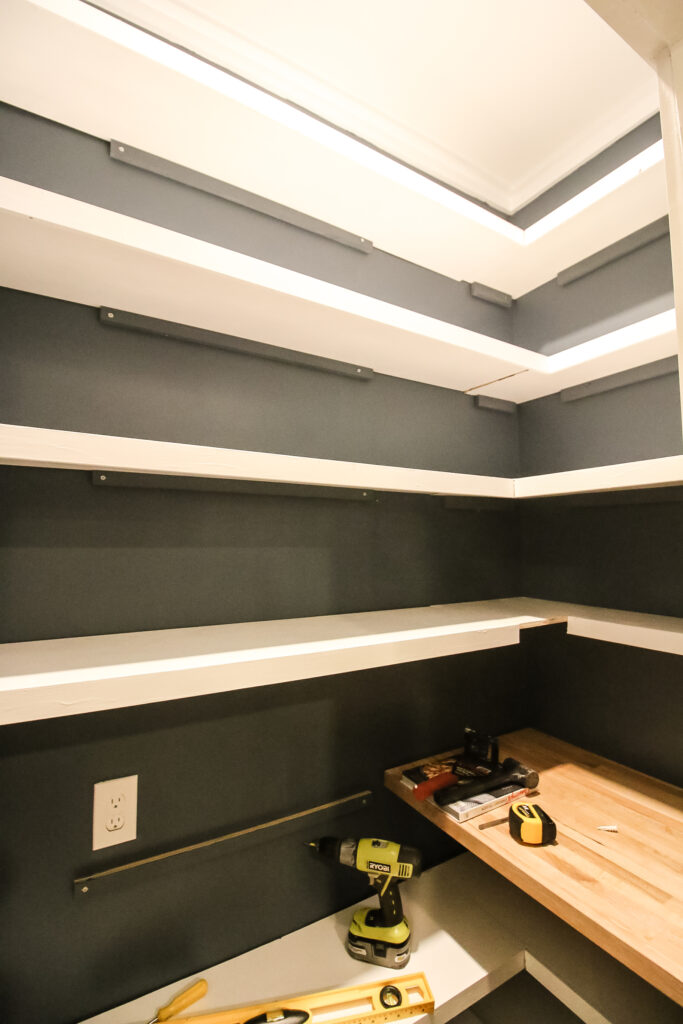
The kind of wood to use in pantry shelves is up to you, but we use ½" plywood because it is the most versatile for cutting to the right depth and width you need. We also used a piece of butcher block for the main counter for aesthetic purposes.
Make sure your pantry shelf depth is at least 12" to be able to store most items. But don't go too deep or things will get lost.
Is it OK to put a coffee maker in a pantry?
Yes, it is ok to put a coffee maker in a pantry. It is also ok to put a microwave in a pantry or any other appliance you'd like, just make sure that the outlets support what you are plugging in.
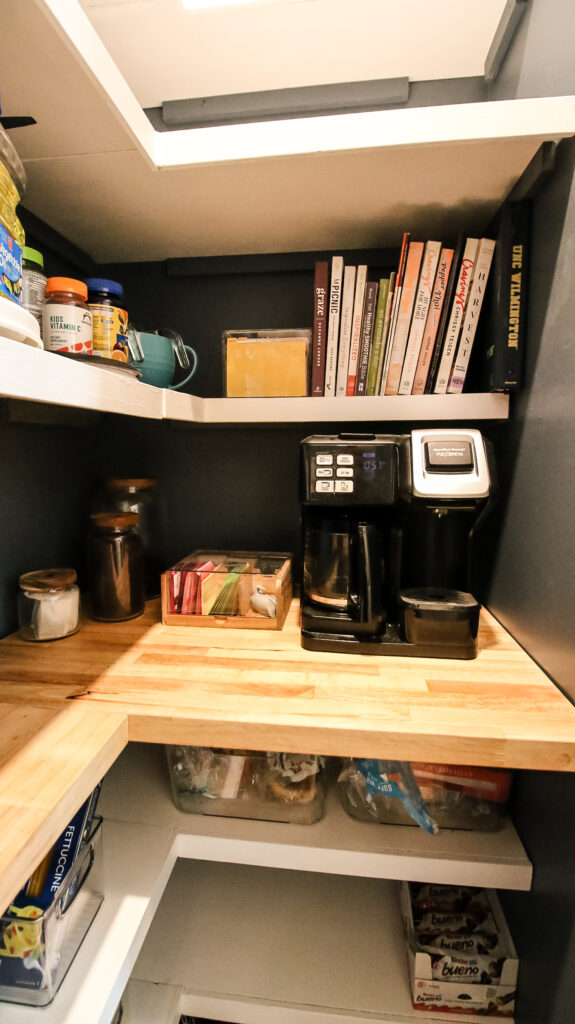
We use the large section of our butcher block as a coffee bar to hold our coffee machine and coffee supplies.
How much does it cost to build a pantry?
Our DIY kitchen pantry cost about $1,200 all in. However, about $500 of that went toward an electrician and his costs.
Framing and drywall for a pantry should cost you less than $150, but then it's a matter of how much wood you need to buy for shelves, molding costs and any materials and tools you might not have.

Looking for something?
We've been doing this since 2012 so we have a LOT of blog posts!
Search stuff like: Ceiling Projects | DIY Plant Stands | Thrift Flips

Hey there, I'm Sean, the woodworking enthusiast and builder behind CharlestonCrafted.com! Since 2012, I've been sharing the magic of turning raw materials into beautiful creations. I love teaching others the art and satisfaction of woodworking and DIY. I try to inspire fellow crafters to make something extraordinary out of nothing at all.