Learn how to frame a silk scarf with this easy DIY guide, featuring step-by-step instructions on preparing and framing a scarf.
This summer, we spent a weekend near Myrtle Beach with my husband Seans’s mom and sister.
It was a really fun weekend, but one of the coolest things about it was that his aunt brought a bag of old scarves that used to belong to Sean’s Grandmother.
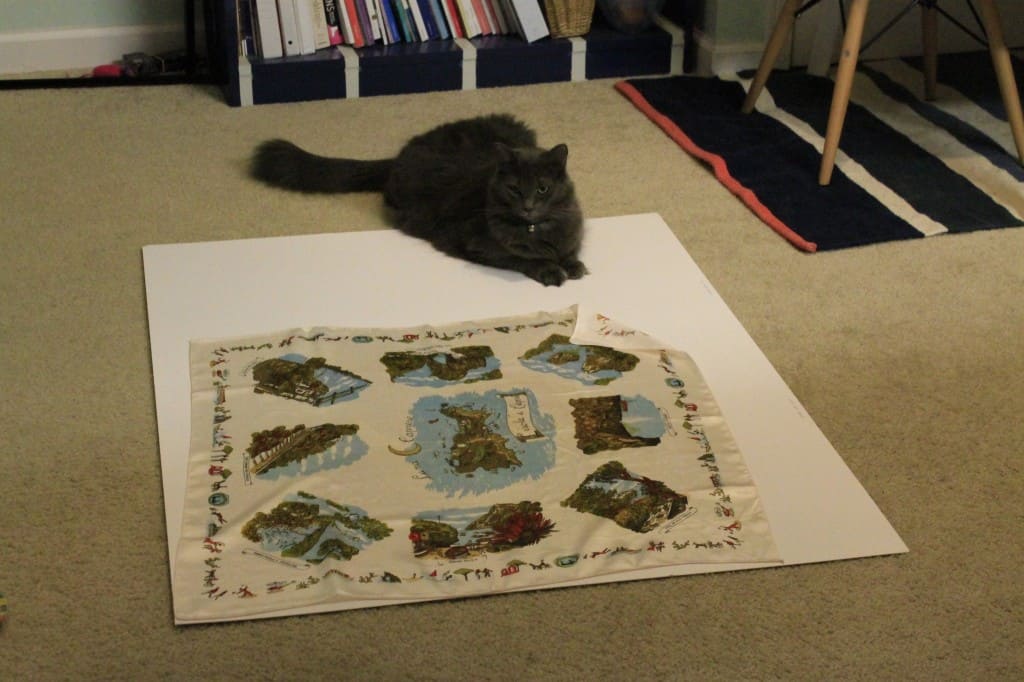
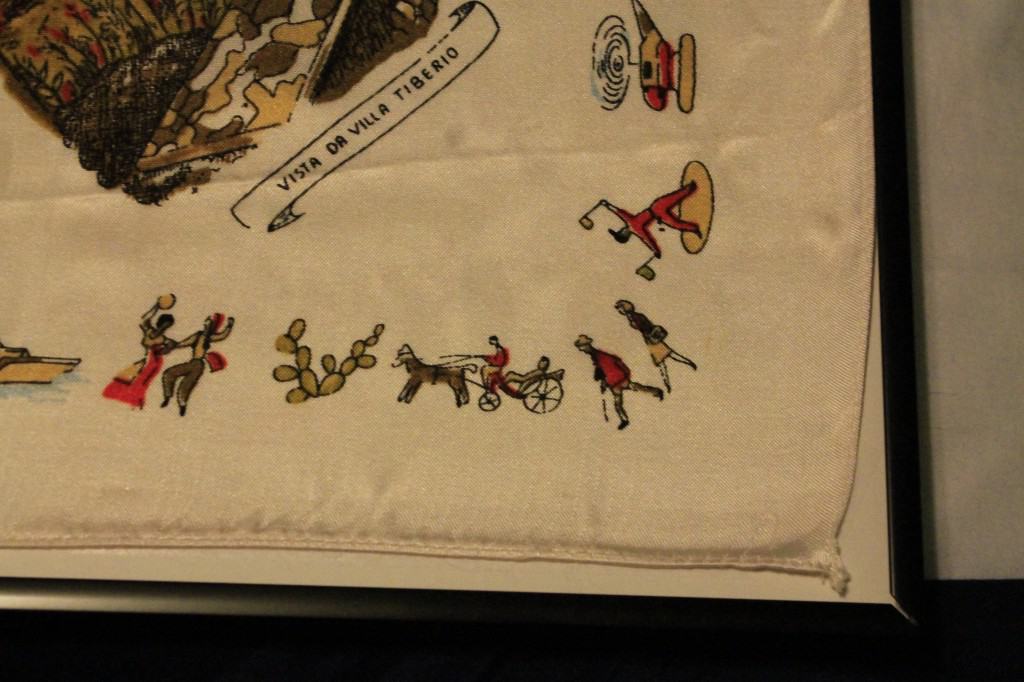
There were a lot of beautiful, colorful silk scarves, but I fell in love with one in particular.
It is a white, square scarf with a print of a painted map of Capri, Italy.
You wouldn’t know it from his complexion, but Sean’s mom’s family is Italian.
Pair this with my love of maps and the fact that we are planning a Honeymoon to Italy – I just knew I had to display this scarf in our condo.
So, I spent the next three months looking for the perfect frame!
In this article, I share creative way to hang scarves.

Finding the Perfect Frame – A Big Challenge
Transforming this sentimental scarf into wall art proved to be quite the challenge!
The problem was that the scarf measured 27”x27”. Because of this, I couldn’t find a square frame that was large enough anywhere.
I looked at stores, online, and even at collage art frames – thinking I could take the collage piece out.
Nothing! I even priced a custom frame, and it was almost $200 – even with a discount coupon at Michaels.
Finally, as I was digging through the clearance bin at Michaels, I found several pieces of a build your own frame kit. No glass, no backing – but I thought we could make it work.
I also picked up a large piece of matting board from the framing section and carted it all home.
How to Make Your Own Framed Scarf
Supplies needed:
Before you begin, here’s what you need:
- Your vintage silk scarf
- 28 x 38 frame, or whatever fits your scarf
- Matting board
- Double-backed tape
- Hanging hardware
- Clothes iron & ironing board
- Scissors
Steps to Framing a Silk Scarf
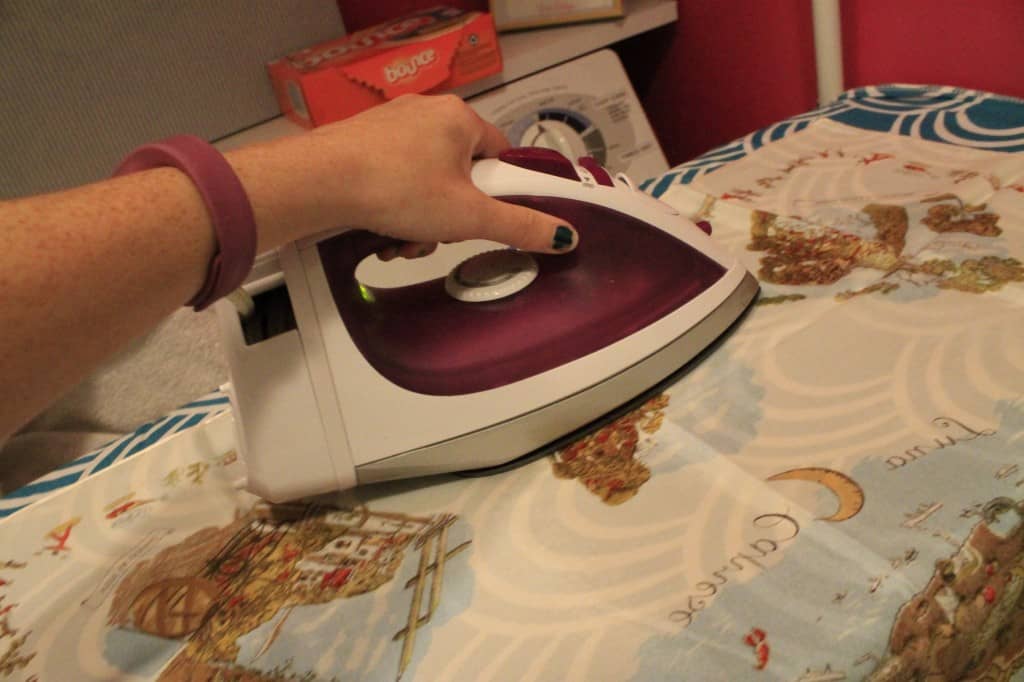
STEP 1: Iron the Scarf
The first major task is to iron the scarf.
Use the silk setting on your clothes iron so you don’t damage the fabric.
To be honest, I’m a crap ironer, and I really do badly on the colder “silk” setting.
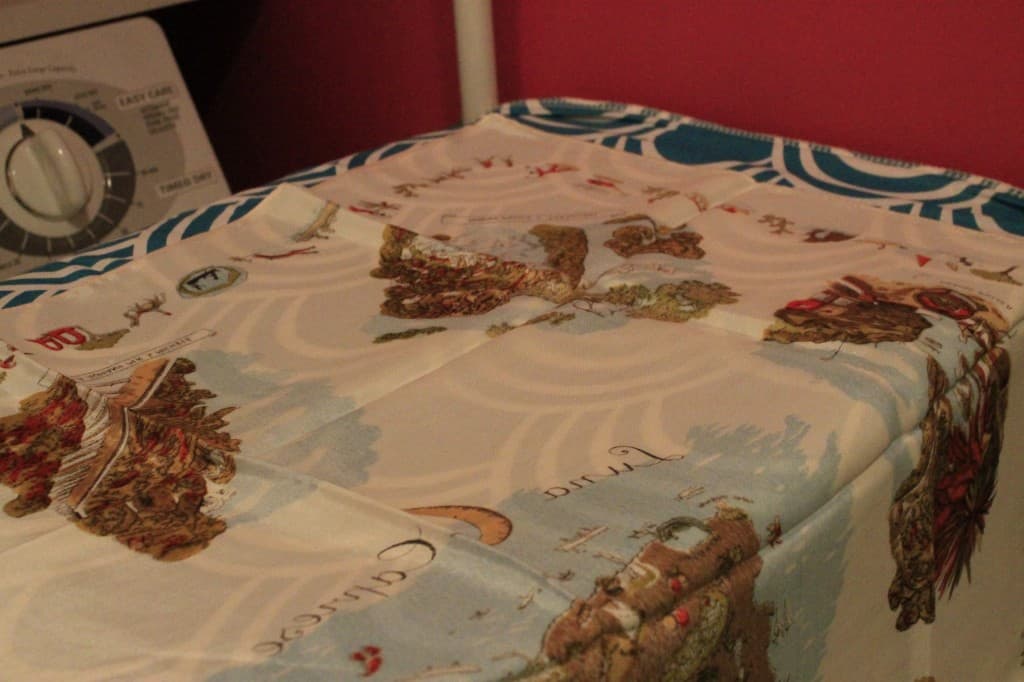
I got most of the creases out – but it’s not perfect. I’m hoping it will shake out a little over time.
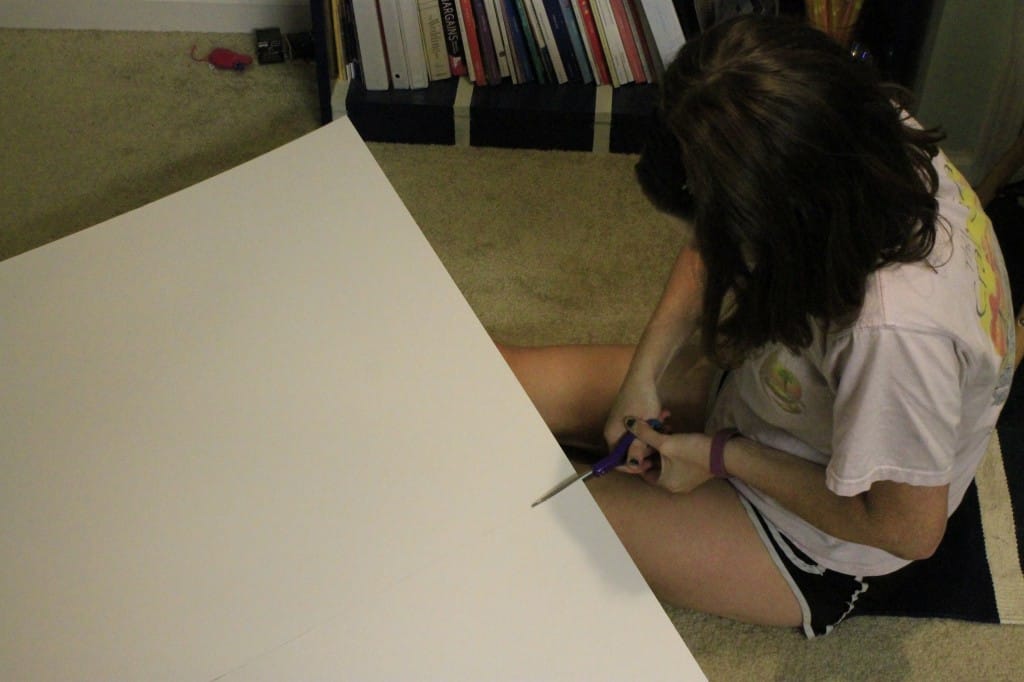
STEP 2: Cut the Matting Board
Next, cut the matting board to the exact size of the frame.
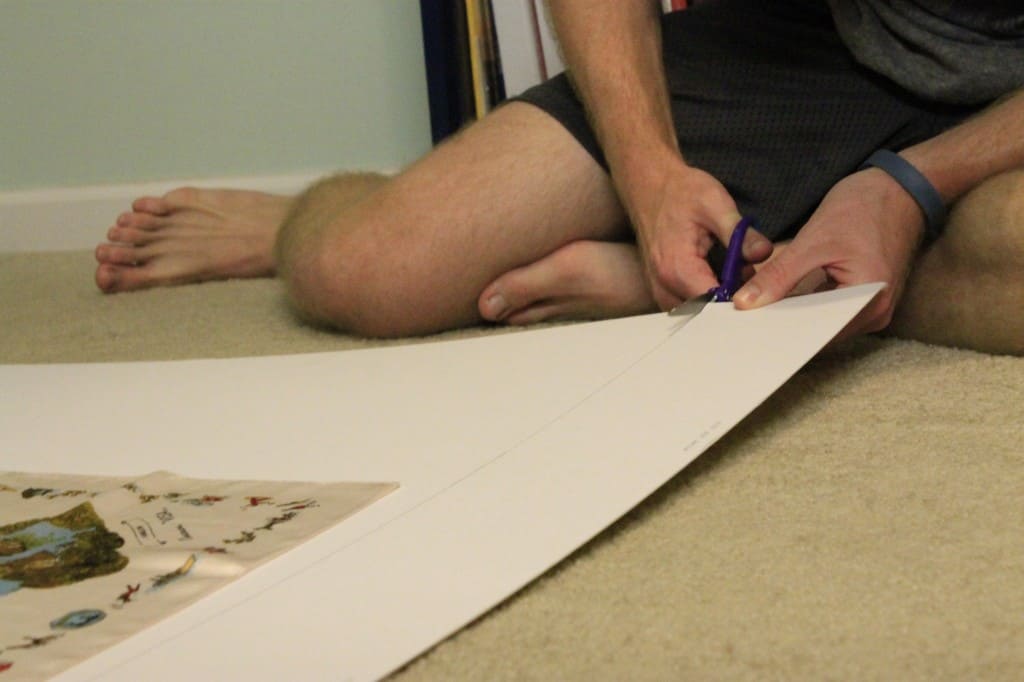
Mine was a very stiff cardboard, so it was a little hard to cut, but we powered through.
STEP 3: Stick the Scarf to the Matting Board
After that, use small pieces of double-sided sticky tape to attach the scarf to the white side of the board.

Sticky tape is great because it is removable and you can easily reposition the scarf if there are any creases.
I suppose you could use glue – but I imagine it would be quite difficult to get perfect!
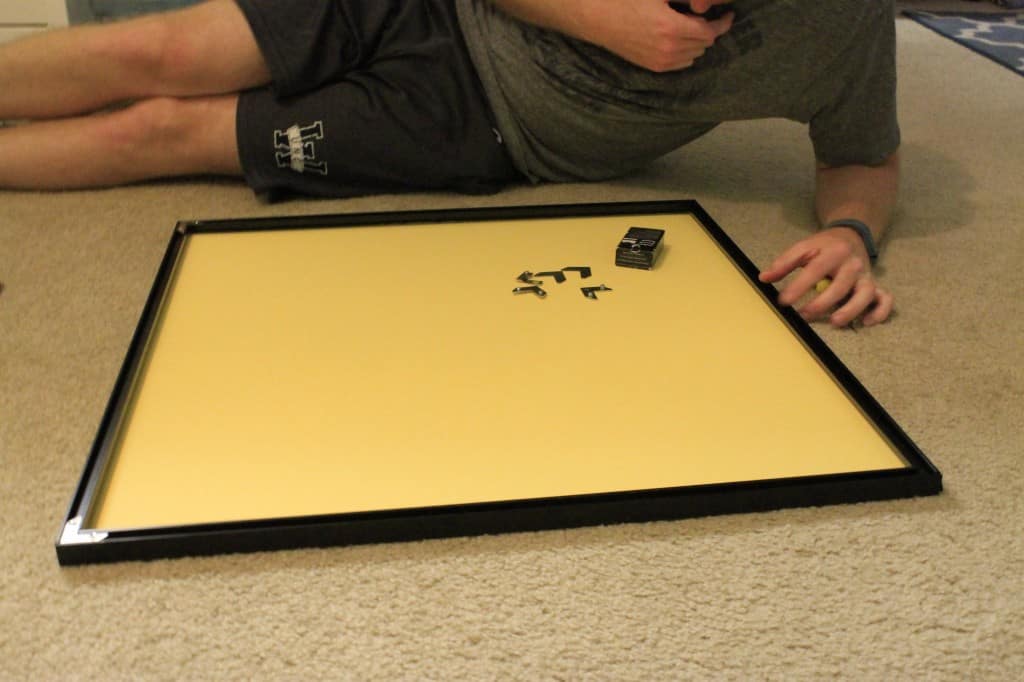
STEP 4: Fit inside the Frame
Whether you’ve bought a frame, or you’re using custom framing, your backing board should fit nicely inside.
Here you can see my 36x36 scarf frame:
STEP 5 (Optional): Cover the Edges
Unfortunately for me, my scarf was slightly too small for the frame. D’oh! I should have gotten the 26”x26”!
Having the edge of the scarf showing is something I really didn't like – so I used leftover strips of matting board to cover the edges.
I cut them about an inch and a half wide and painted them black with acrylic paint.
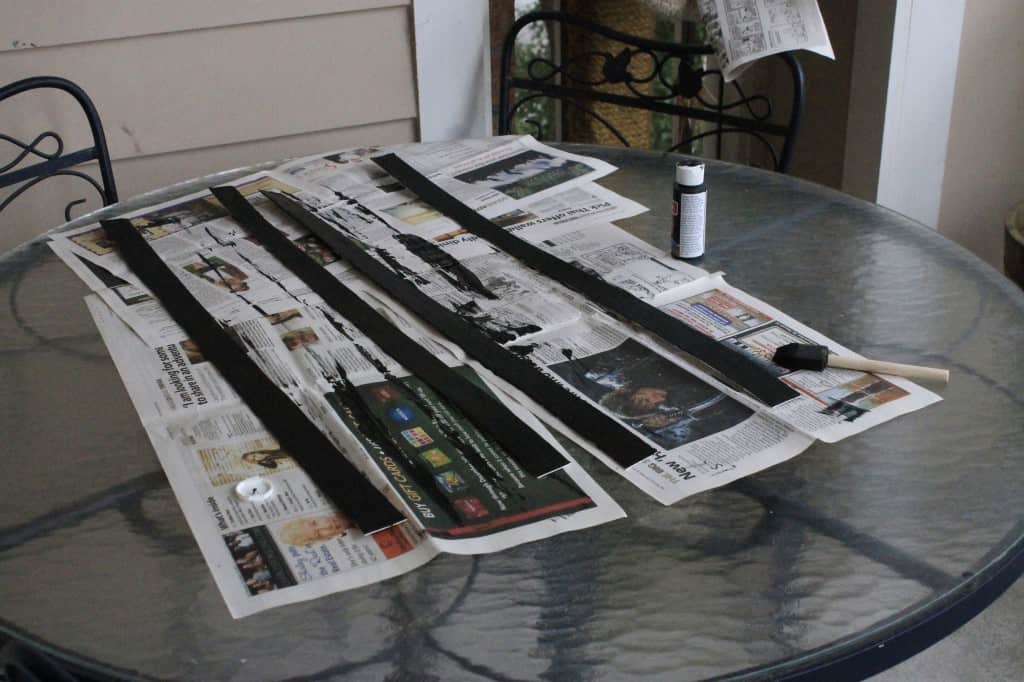
Then I used more double-sided tape to attach them to the front of the scarf – not perfect, but much better than the raw edge.
STEP 6: Attach the Hanging Hardware
Securely attach D-ring hangers or sawtooth brackets to the frame's back for easy hanging.
STEP 7: Hang on the Wall
Find the perfect spot on your wall, use a level for precision, and hang your framed silk scarf proudly.

So now, when it comes to framing scarves – you should be an expert!
Regarding our framed scarf – the frame I chose is not a long-term solution. It’s an inexpensive way to display this special scarf – though I’d like a nicer frame.
When we have a more permanent house, I’ll probably get it professionally framed to better match whatever room it ends up in.
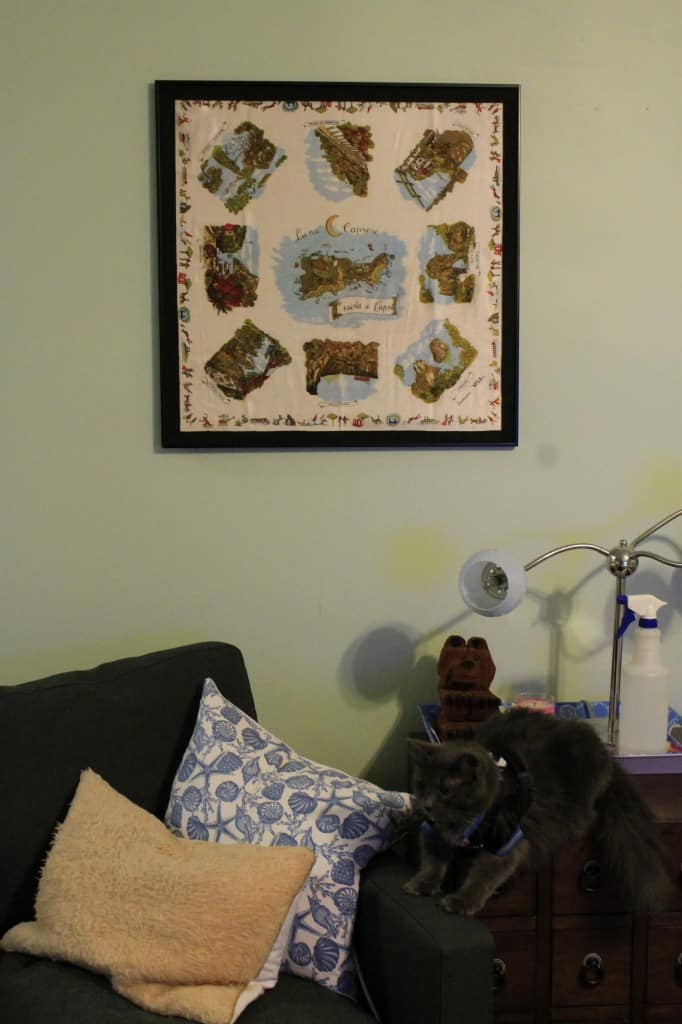
Sean hung the scarf above our living room chair. In case you didn’t notice… we moved the canvasses to over the couch.
So, above the couch is looking a little empty at the moment. But it is an active work in progress – and I can’t wait to share what we add next!
Have you ever framed a scarf?
Want More Framing Guides?
Just take a look at these easy framing tutorials:
- How to Frame Your Bathroom Mirror
- Fabric Wall Art: 3 Creative Framing & Display Ideas
- 3 Ways to Showcase Your Sea Shells
- Natural Art – Framing Nature-Inspired Letters

Looking for something?
We've been doing this since 2012 so we have a LOT of blog posts!
Search stuff like: Ceiling Projects | DIY Plant Stands | Thrift Flips

Hello, I'm Morgan, half of the creative force behind CharlestonCrafted.com! With a passion for DIY that dates back to 2012, I've transformed three homes and now I'm dedicated to helping others craft their dream spaces. Let's turn your house into a home together!