*Hey guys, quick disclaimer if you're stumbling upon this post nowadays. We did this project in 2013 before we really knew a ton about actual home renovation and we didn't have that many tools, so we kind of just had to use what we could and make it work. If we were doing this post today, I promise you we wouldn't staple pieces of wood together. We would definitely use a pocket hole jig to secure the wood together. We also DEFINITELY wouldn't use a knife and the side of a drill bit to cut out a notch, we would use a router or a chisel. So yeah, this wasn't the best craftsmanship, but it still turned out looking great and hopefully you can use it as inspiration for your project.*
That would be me. Morgan got great inspiration on framing a bathroom mirror a while back with this post from Young House Love. Looked simple enough... but it always does.
We started out by getting some simple pine boards and cutting them to size to fit our mirror. You need to make sure to measure your sizes so that two of the parallel boards will go inside to two boards they are perpendicular to.
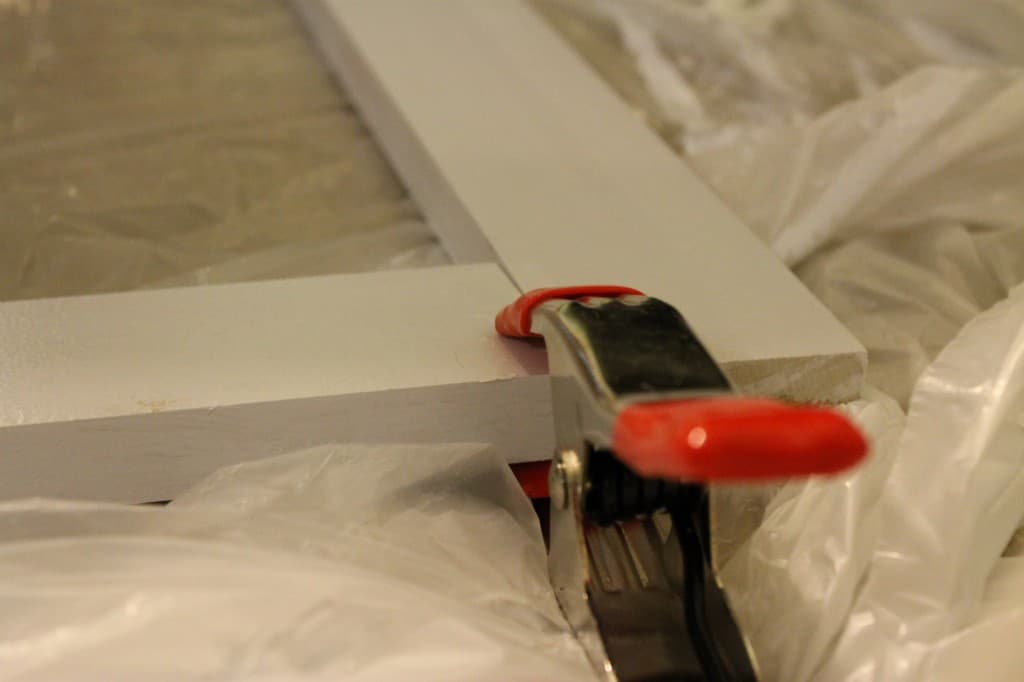
I used wood glue to get them to sick together since they are at an awkward angle. John, from YHL, also drilled in screws between the boards at an angle, but I couldn't get that to work on mine for some reason, so after several tries I ended up just using a staple gun to staple the boards together to give them extra stability.
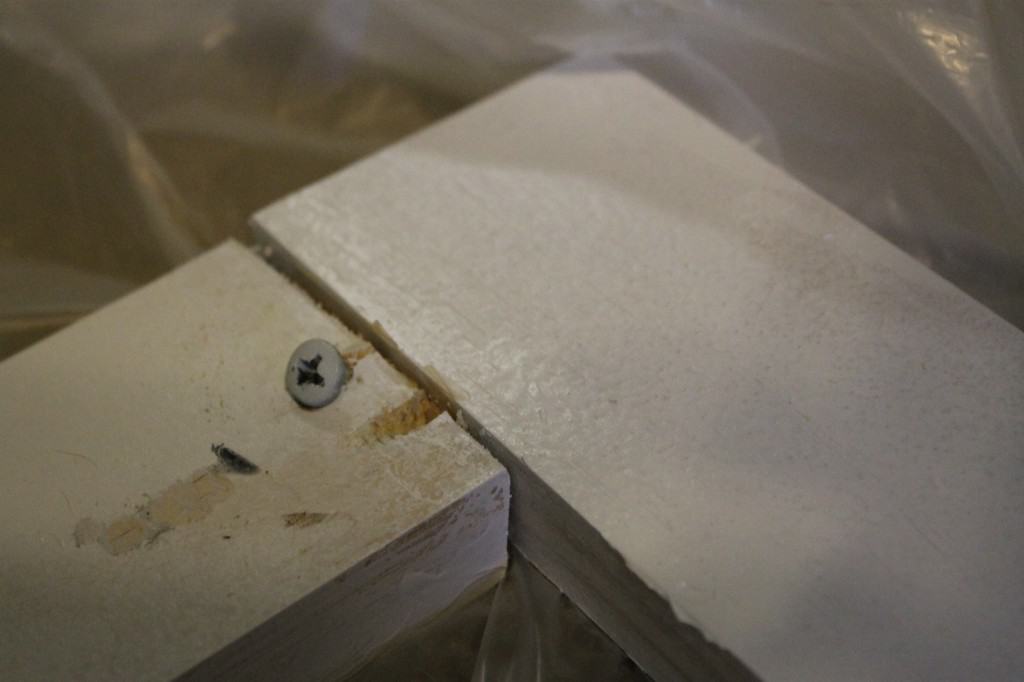
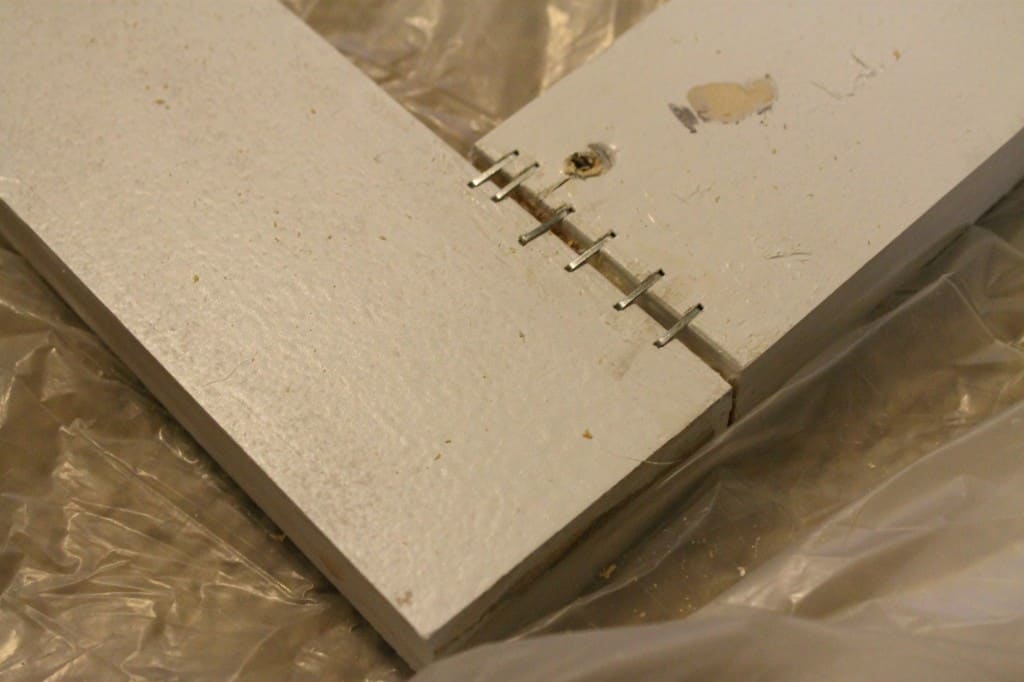
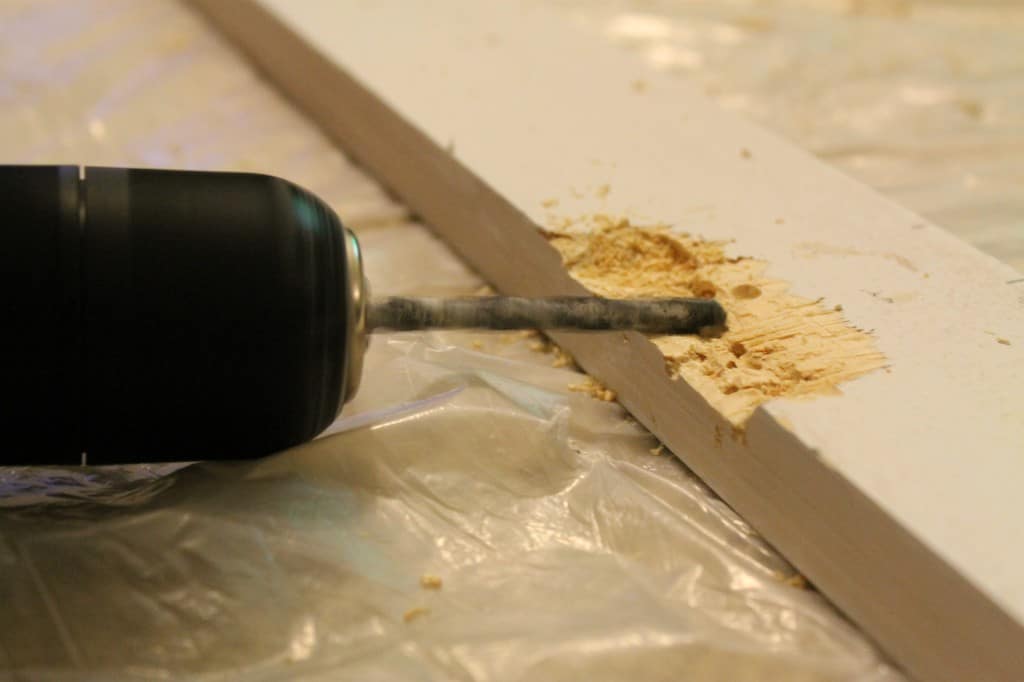
The next step is that you need to carve out notches in the top and bottom boards to account for the little metal pieces that hold your mirror in place.
This is a tough job. I used a drill to drill small holes together and then drilled out the wood.
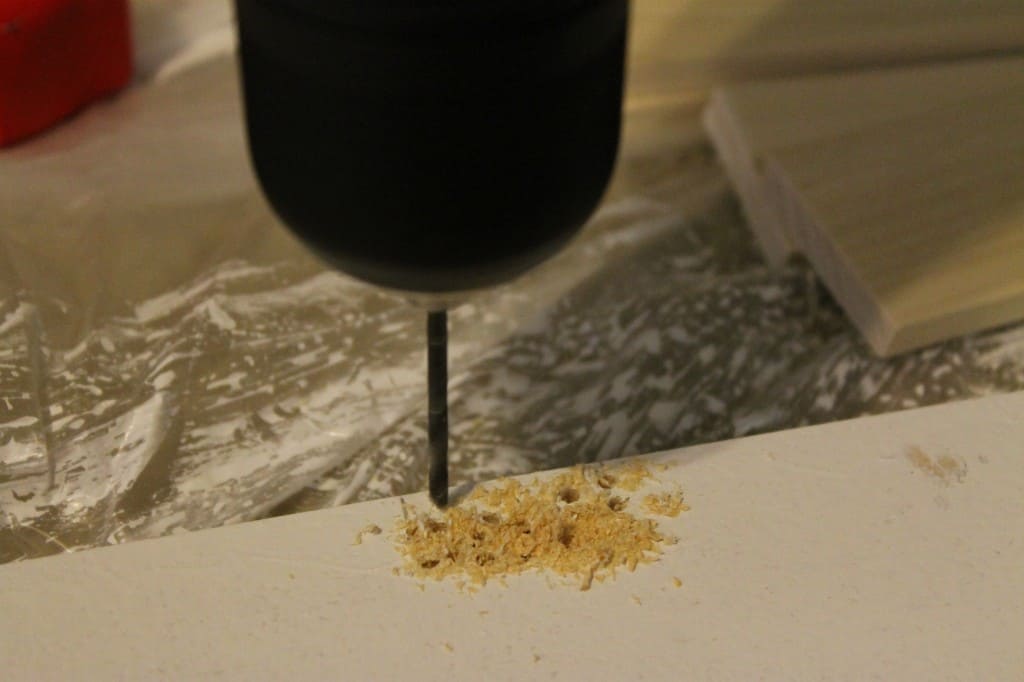
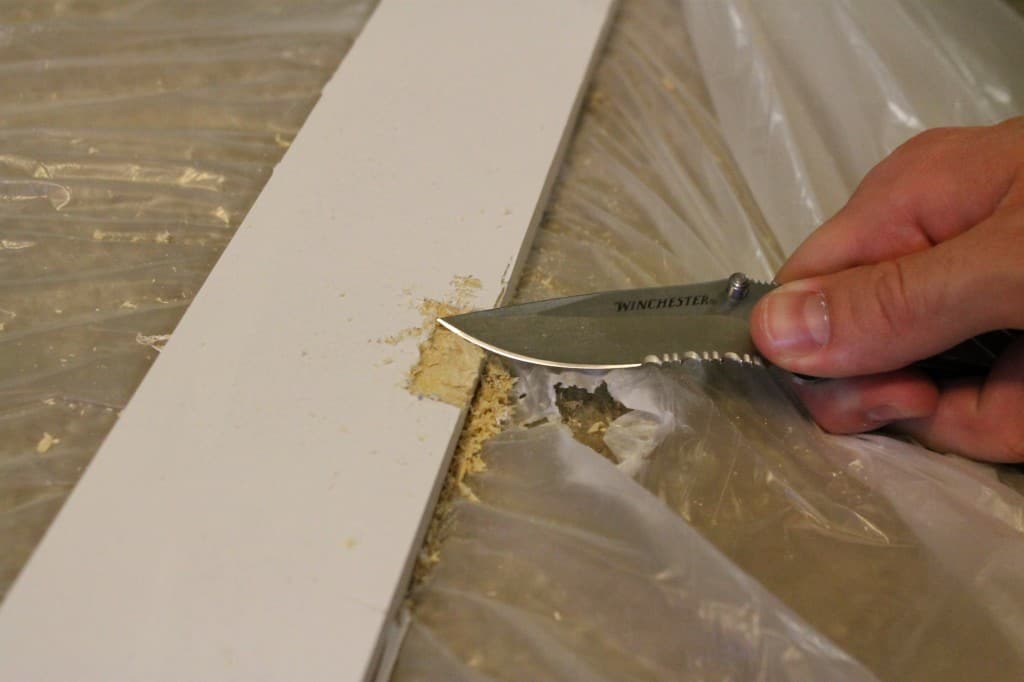
Then we decided to use a pocketknife to smooth it out and add the finishing touches. This turned out disastrous when the knife somehow closed on my thumb and left me with a nasty deep cut that needed stitches. Please, be very careful using knives.
We painted one coat of paint on the frame before we hung it up. Remember to paint all sides of the boards because your mirror will give off a reflection of unpainted wood if you don't.
Then came the hanging part. I tried to think of all the ways to hang it up, but the only thing I could think of was wood glue.
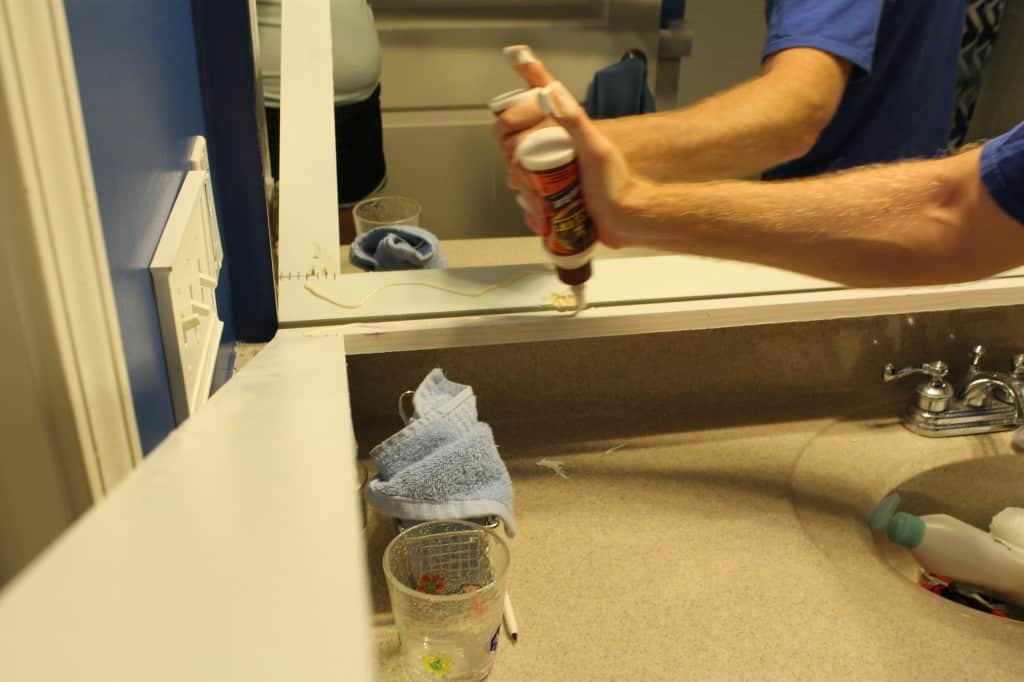
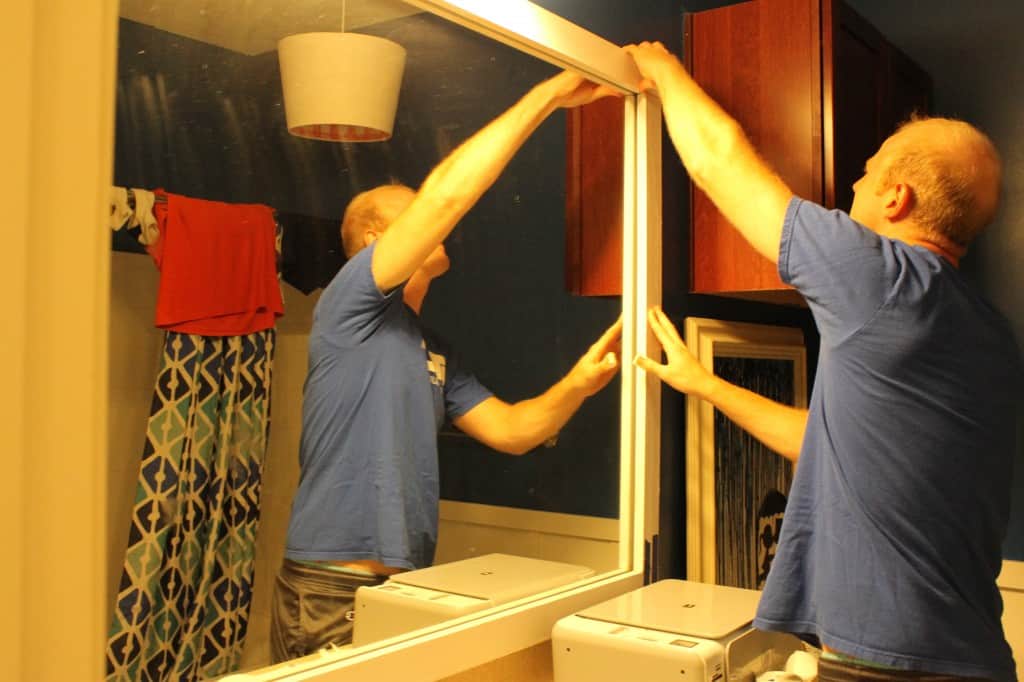
So I literally squirted a ton on there and then leaned it up against the mirror and clamped it down. A lot of the glue leaked down on the mirror and the counter, so be ready to clean that up before it dries.
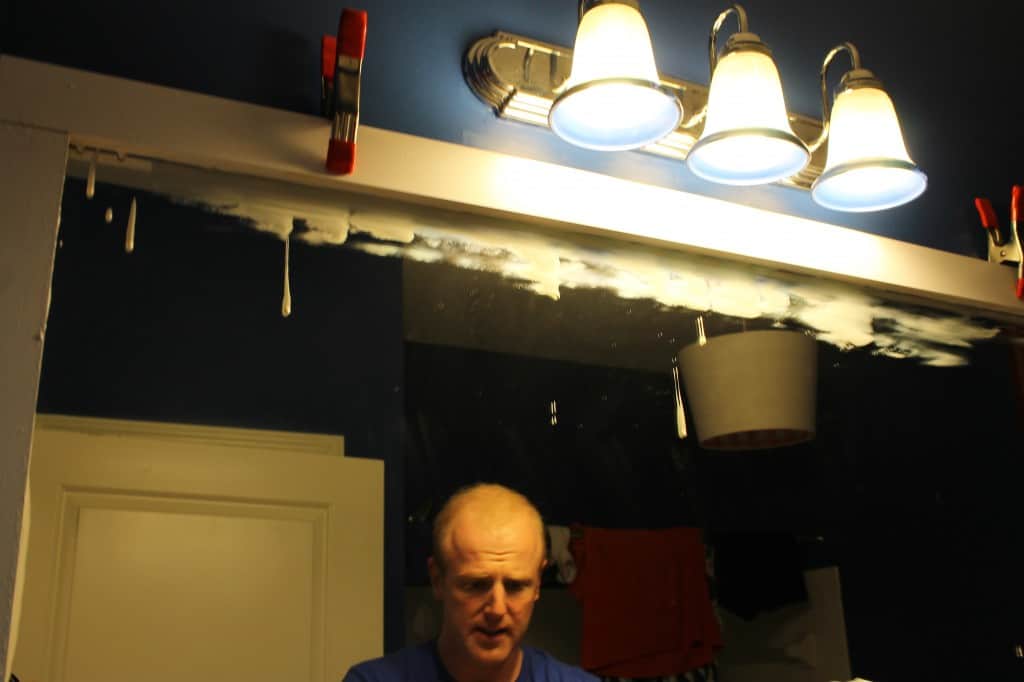
Then we caulked the inside edges and let it sit for a few days before daring to take off the clamps. When we finally did, voila! It hasn't fallen down yet.
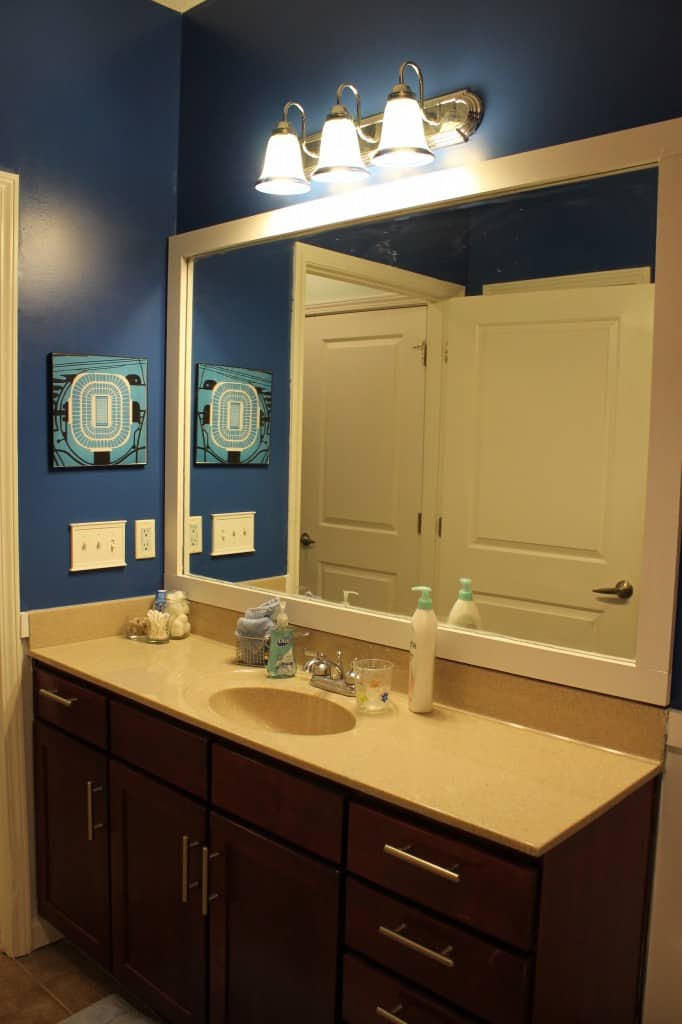
Ever thought of framing a mirror? What was your experience?
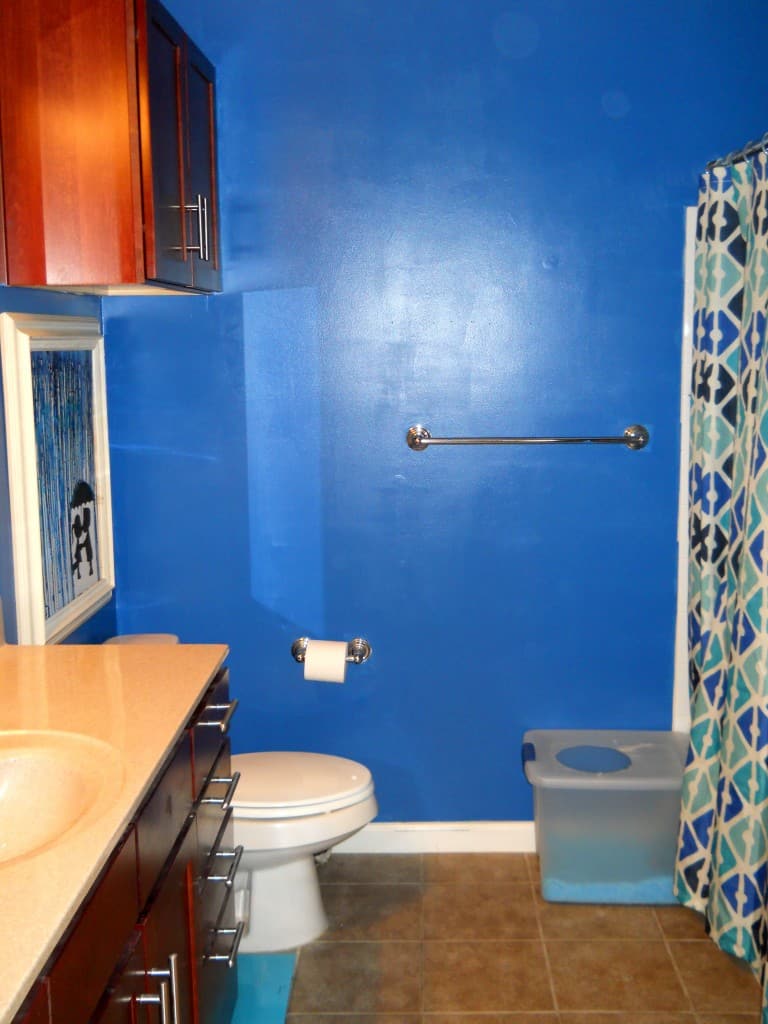
Ready for the full bathroom reveal? As a throwback, here's how it looked before we started:
And here it is now:
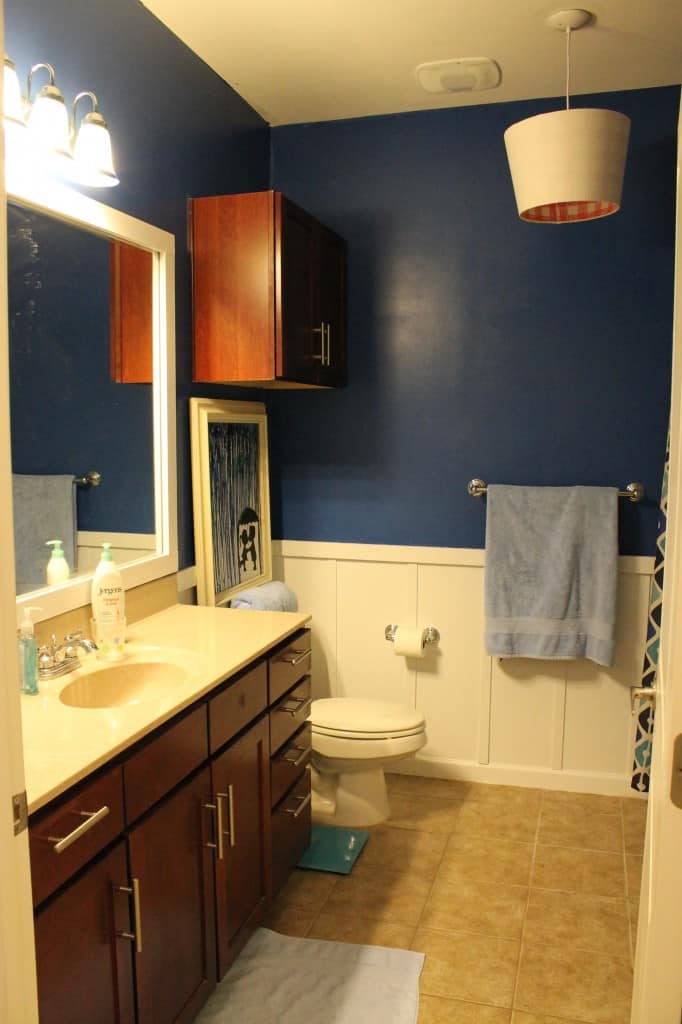
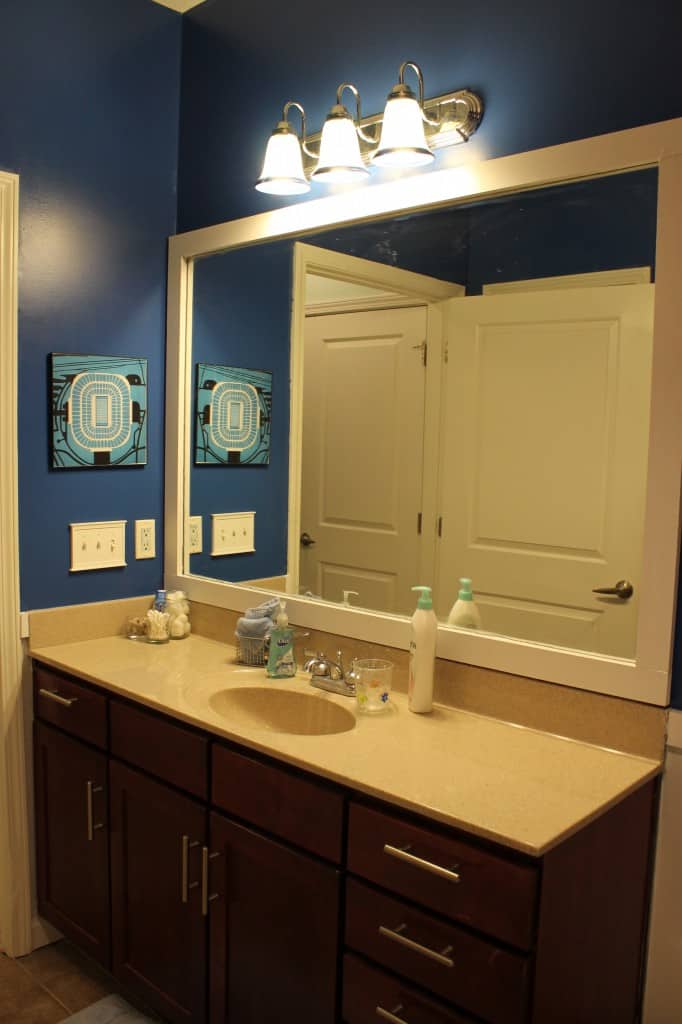
I'm so happy. It didn't take much money, but we really made this room look amazing. I'm so glad to finally be able to call a room "done"! (For now...)
Looking for something?
We've been doing this since 2012 so we have a LOT of blog posts!
Search stuff like: Ceiling Projects | DIY Plant Stands | Thrift Flips


Hey there, I'm Sean, the woodworking enthusiast and builder behind CharlestonCrafted.com! Since 2012, I've been sharing the magic of turning raw materials into beautiful creations. I love teaching others the art and satisfaction of woodworking and DIY. I try to inspire fellow crafters to make something extraordinary out of nothing at all.




Manda Wolf says
Looking good. I love the board and batten. As for done, I think once you become a DIYer you are never done completely. Give it a year and then you will want to change something *smiles*
Manda @ Our Wolf Den
CharlestonCrafted says
Haha thanks! That's why I always call it "done!" 🙂 for now!
Heather says
“Who Framed