Want to replace a medicine cabinet with something more modern? Here is a step by step tutorial on how to turn an old medicine cabinet into open shelving!
Many older homes were designed with nooks between the studs in the bathroom to slide in a built in medicine cabinet.
These traditional hinged boxes are great for hiding what you don't want your guests to see, but are impractical in a lot of senses.
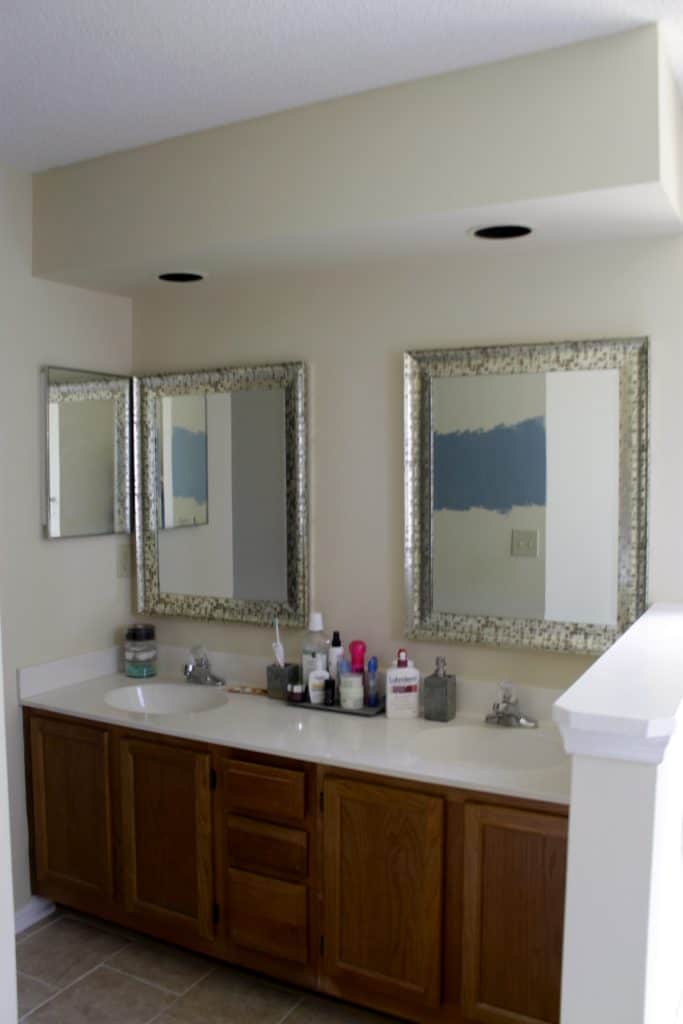
Especially when they are trapped in a corner right next to your main bathroom mirror.
This was the problem with the medicine cabinets in both of our upstairs bathrooms. We couldn't even open the medicine cabinet all the way because it bumped the frame of the mirror.
These framed mirrors were not original to the house. The original construction had the large frame-less mirrors so the cabinet wouldn't have bumped anything.
But the previous owner put in these framed mirrors that we love.
Medicine cabinets are also somewhat a thing of the past, as modern decor styles would not include these boxes as they don't look appealing to the eye in any way.
If you're looking for a modern twist on your bathroom's medicine cabinet, today we're showing you how to turn an old medicine cabinet into open shelving.
How to turn an old medicine cabinet into open shelving
It is actually pretty simple to remove a built in medicine cabinet insert and replace it with modern open shelves. Here is a step by step guide!
How to remove an old medicine cabinet from the wall
The first step was to remove the old medicine cabinet. This one had couple of screws holding it in and was otherwise held to the wall by several old layers of paint around the edges.
I unscrewed it and then used a knife to cut the edges away from the paint.
This left a nice hole in the drywall. I sanded and painted the bare ring around the hole to match the wall because what we were putting in wasn't going to completely cover this area.
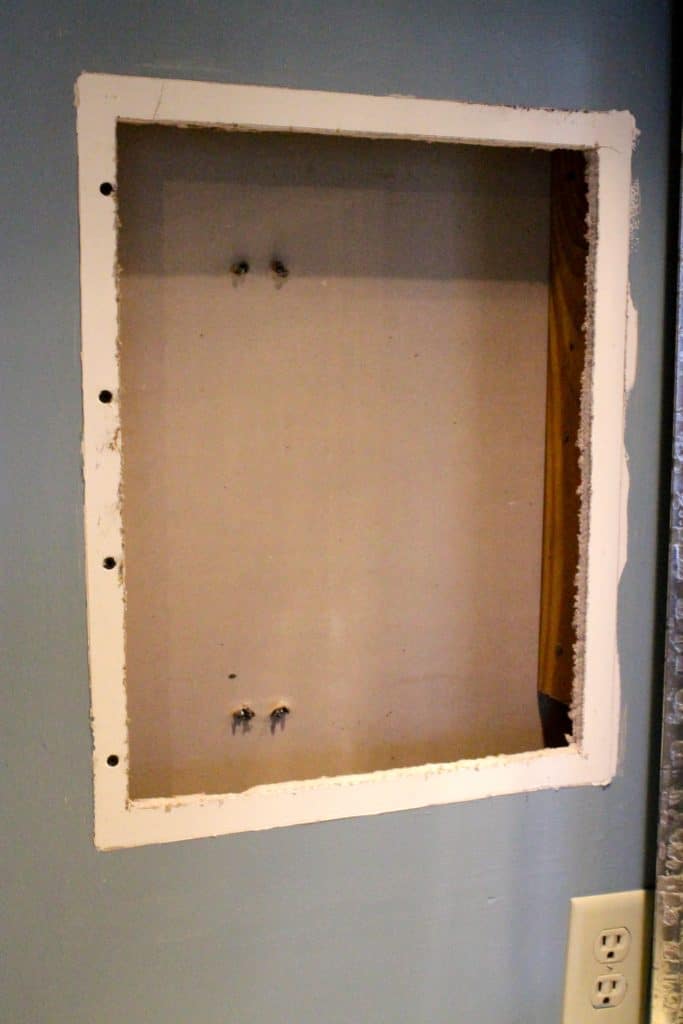
I needed to add a stud on one side to make the hole flush with the edge of the drywall so that our box would have something to screw into. This simply involved cutting a piece of scrap 2x4 to fit and screwing it into place into the stud that was behind the drywall.

Building the Open Shelving
Then I started building my open shelving. I won't use measurements because your hole will inevitably be a different size than mine.
However, these are the basic design steps to follow to build your own open shelving.
My shelf hole was 3 ½ inches deep, so I got a piece of 1"x3" wood from Lowe's.
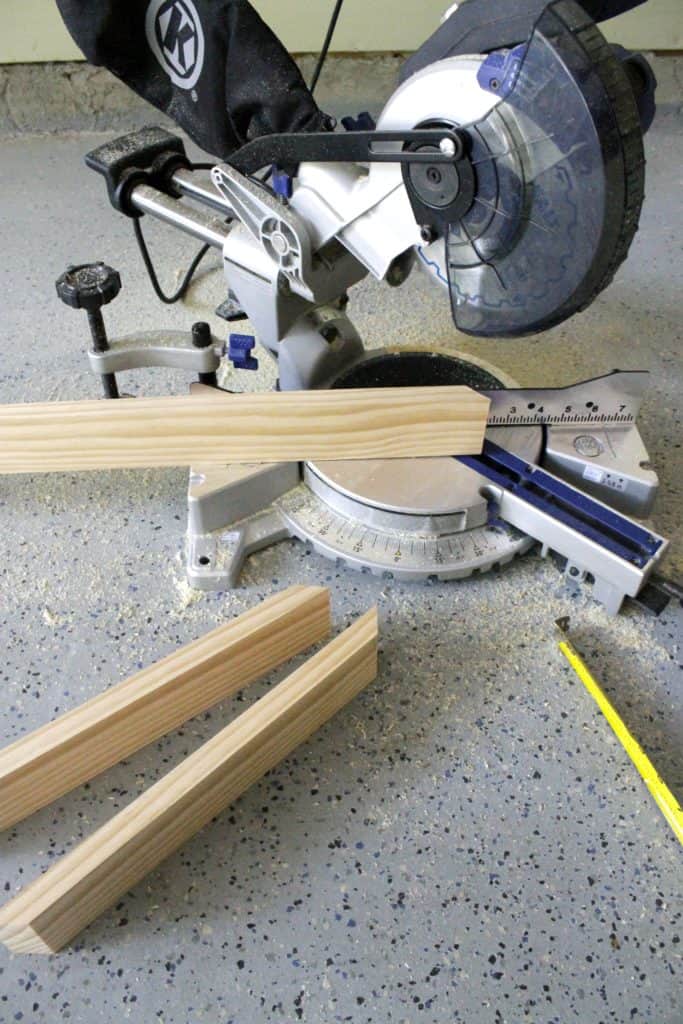
I used my miter saw to cut 45 degree beveled angles on the ends of the pieces and made the outside edges the exact size of the interior of my wall hole.
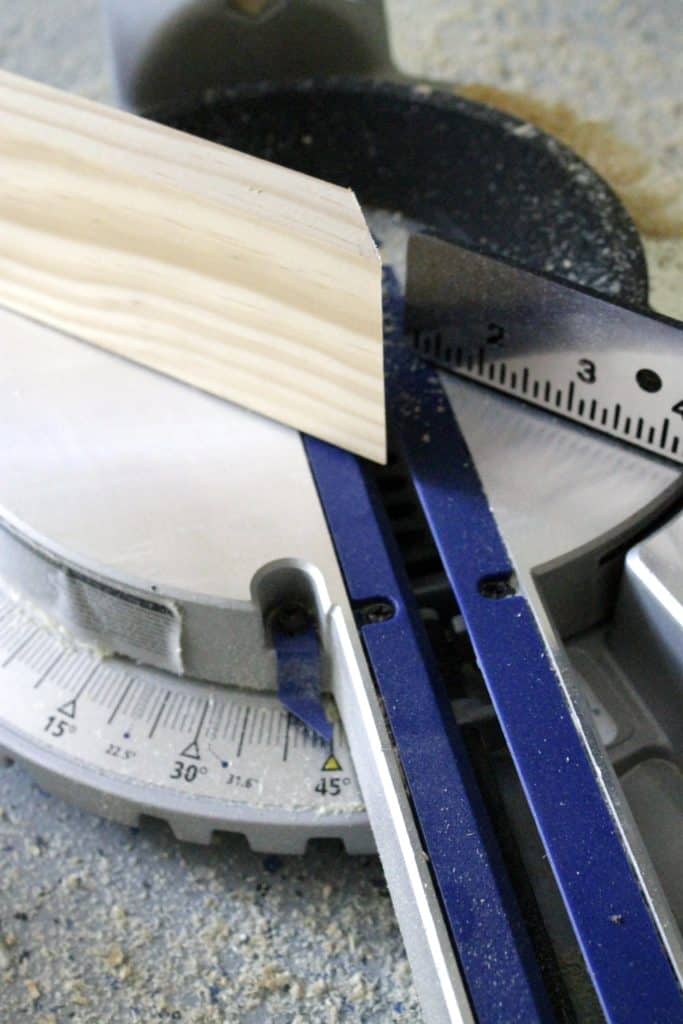
Especially if you are new to woodworking, I highly suggest laying out your project before assembling it, measuring it, and being sure it will fit your hole perfectly.
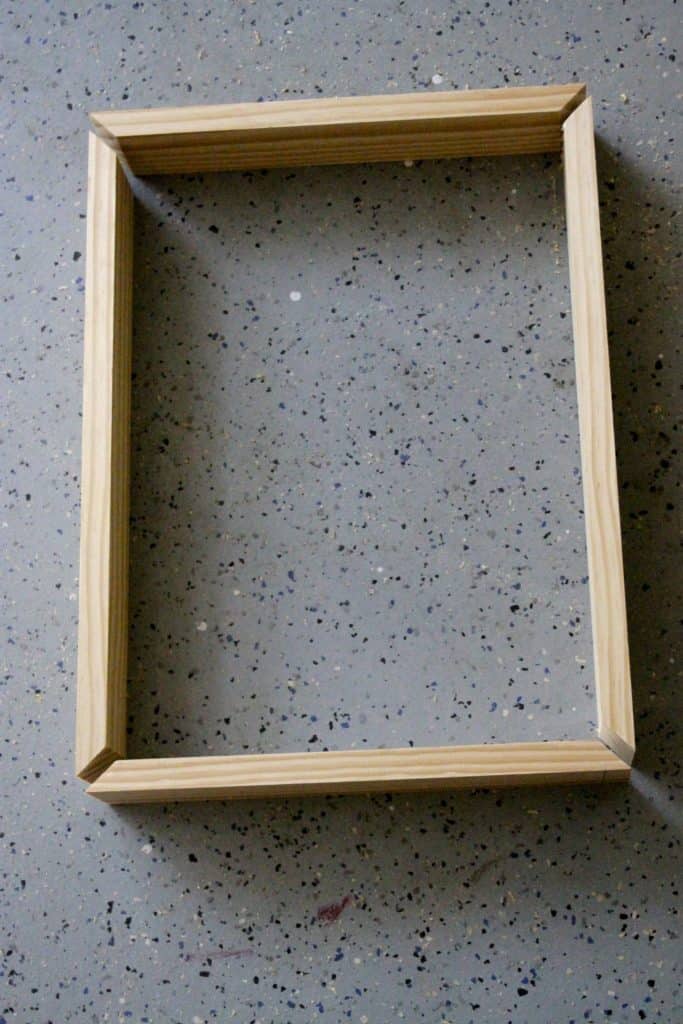
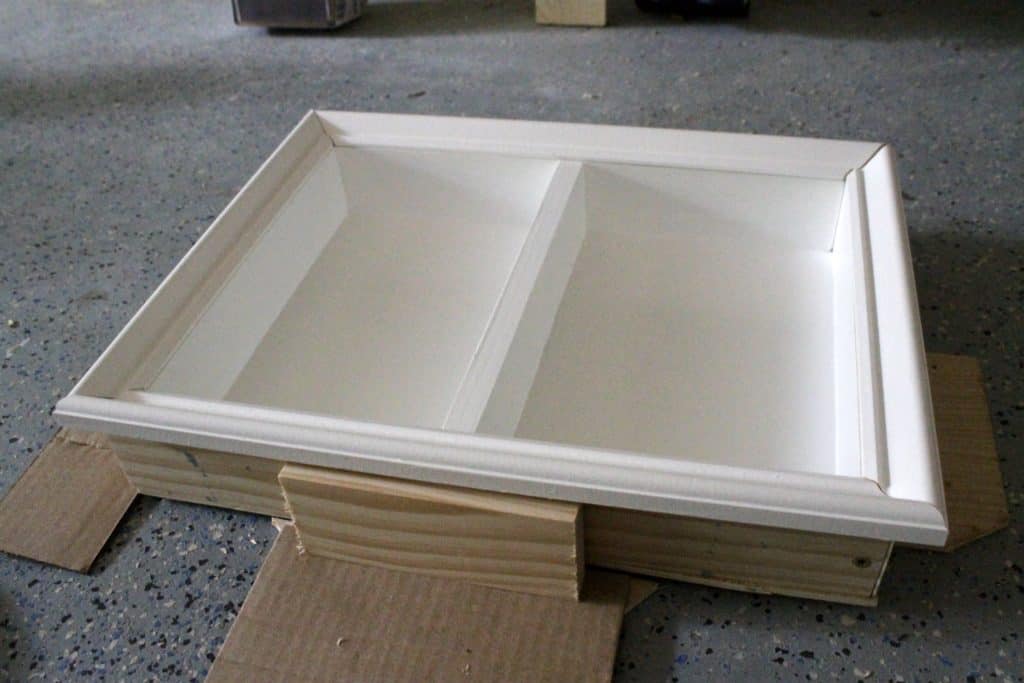
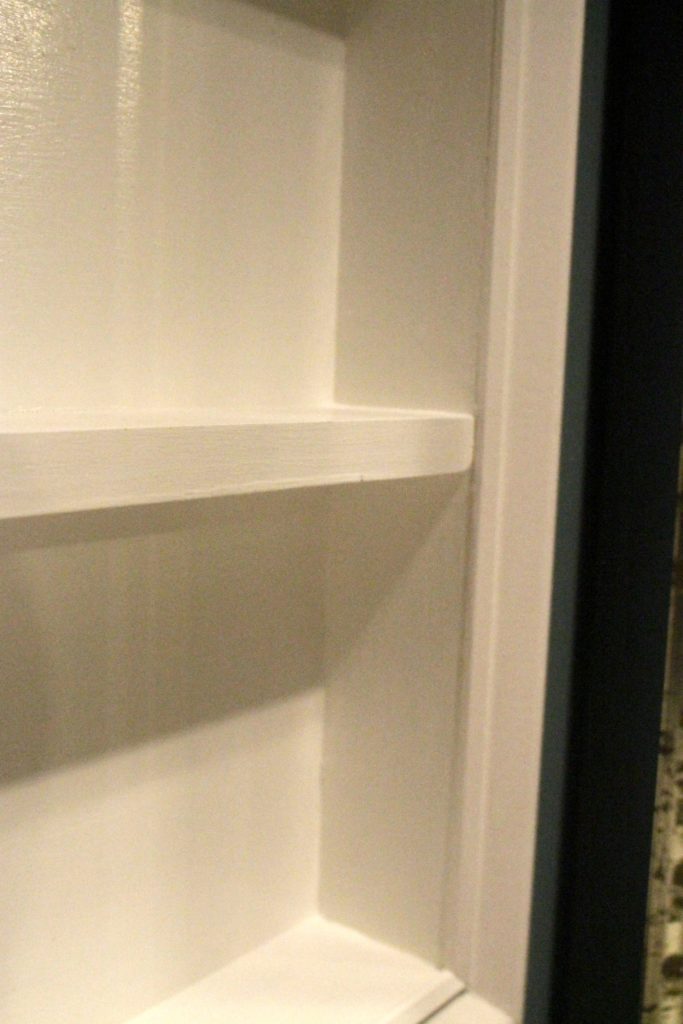
I screwed the frame together and also added one piece down the middle for a second level shelf.
This structure served as the frame of the open shelving.
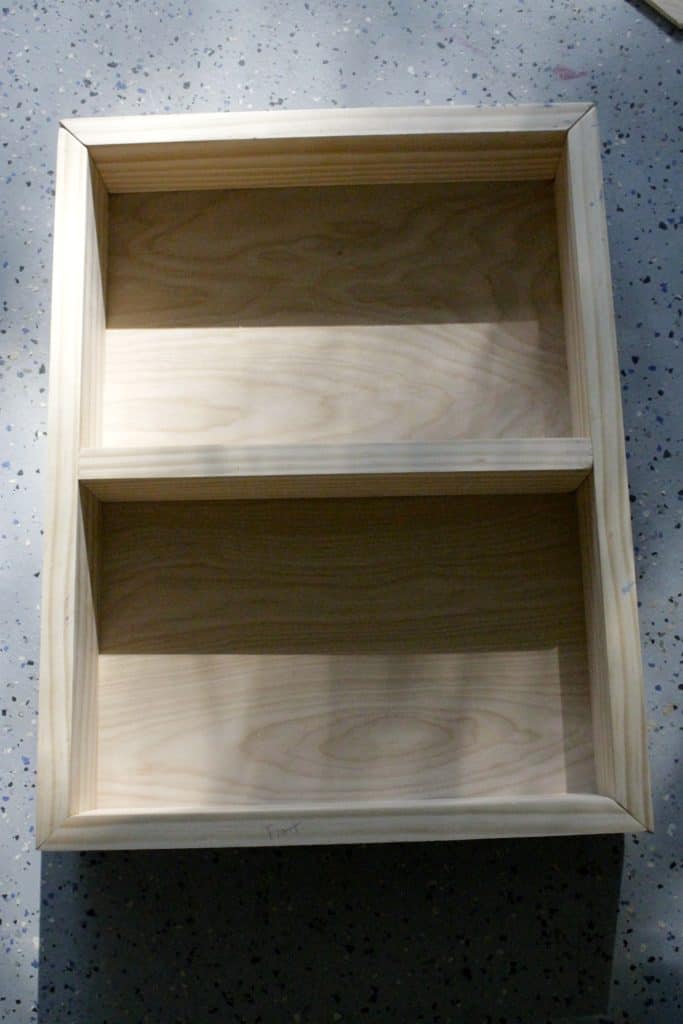
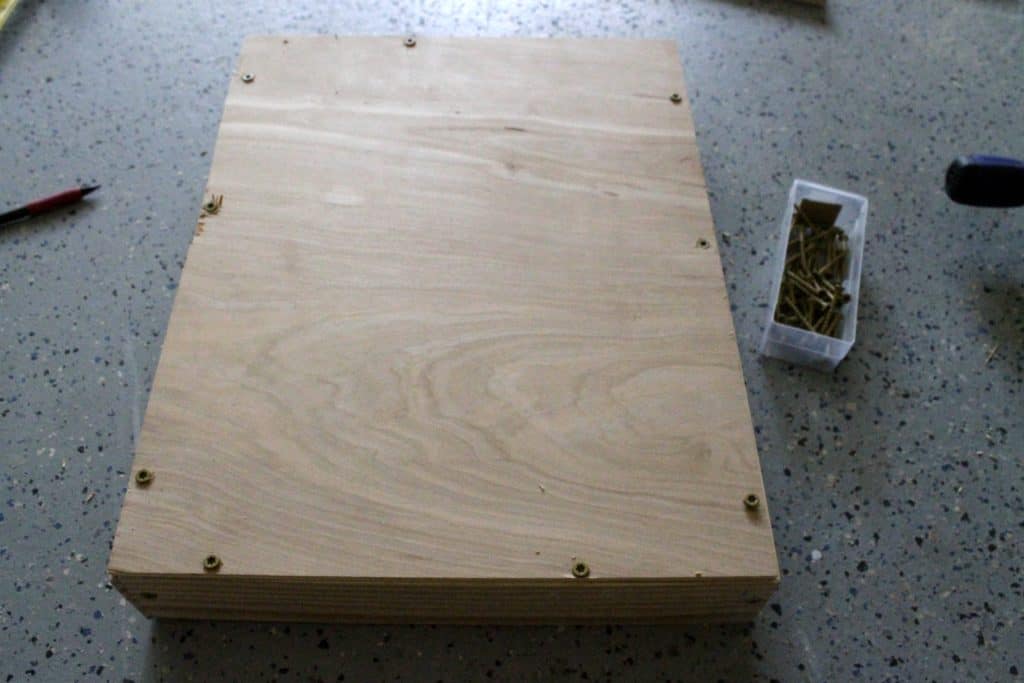
Next I cut a thin piece of ¼" plywood and screwed the board board to the back of the frame to serve as the backing and screwed that into place.
Then I had the whole shelving structure.
*Note- I built this project in 2015 before I had a lot of tools. If I were doing this project today, I would not have cut the bevels and would have just done butt joints. I also would have just used wood glue and brad nails to attach the ¼" backer.
Adding decorative molding
Next we cut molding to serve as a frame for the open shelving. The molding covers up the edges of the rough drywall when the unit slides into the hole in the wall.
I picked up chair railing molding and cut it into pieces that would line up with the interior of my open shelving.
That way, it would later look like a deeper piece.
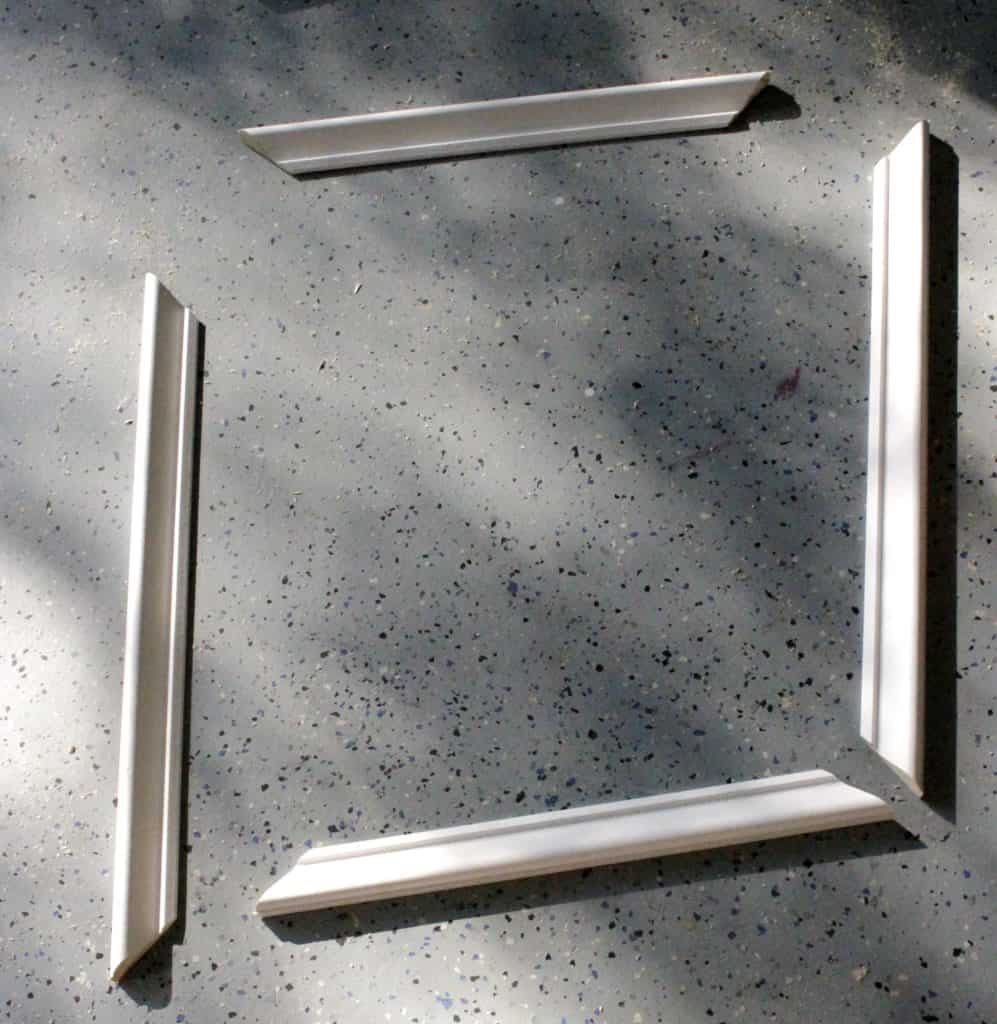
I painted everything with white trim paint to make it match the color of the doorways and existing trim.
Then we used wood glue and clamps to attach the molding frame to the outside of the shelf box.
Wood glue is shockingly strong and since this molding won't be holding a ton of weight, will be enough to support it!
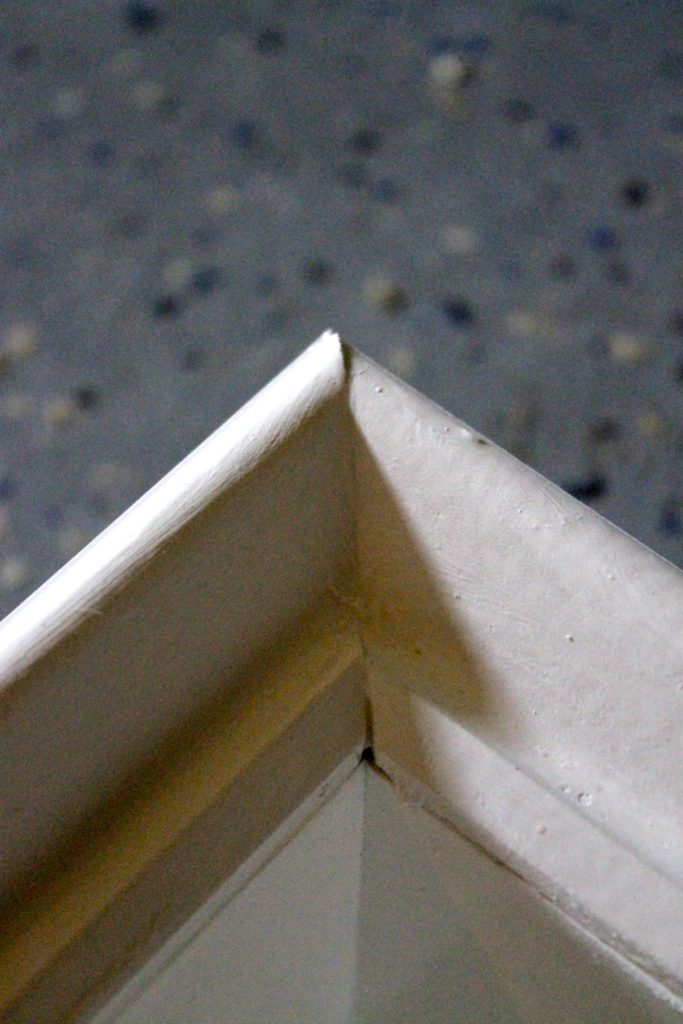
Once it was good and dry, I added wood filler into the seams and all the edges to make them look seamless and smooth and painted them to match.
Installing the Open Shelving
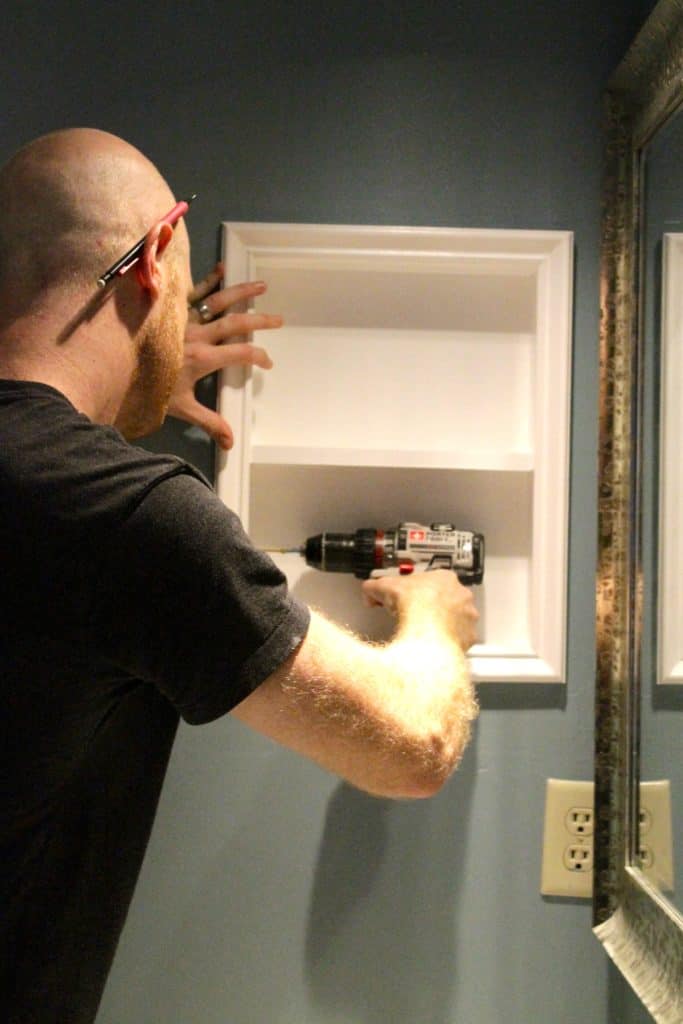
Once the assembly was done, I took the whole thing up to the bathroom and just popped it right into the hole.
Then I used wood screws to screw the sides into the wall studs that I had added earlier.
When you do this, drive the screws a little past flush with the wood so you can fill it later.
Then I took wood filler and simply filled the holes, let them dry, sanded them down, and covered with one coat of the trim paint.
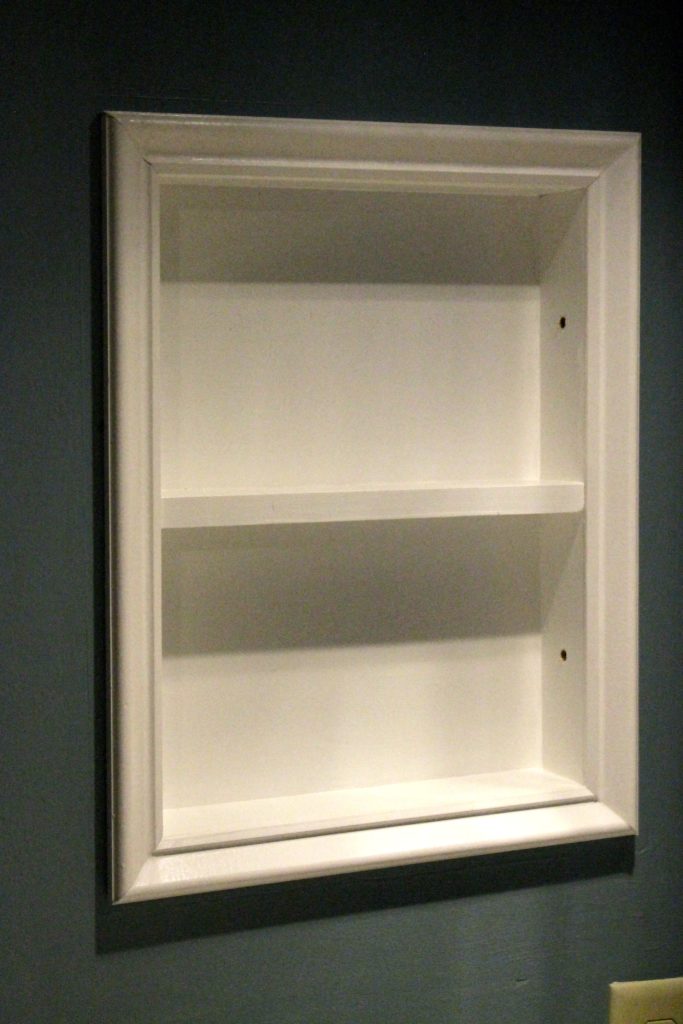
Now the ugly mirror is gone and so is the hole in the wall.
Medicine cabinet turned DIY open shelving
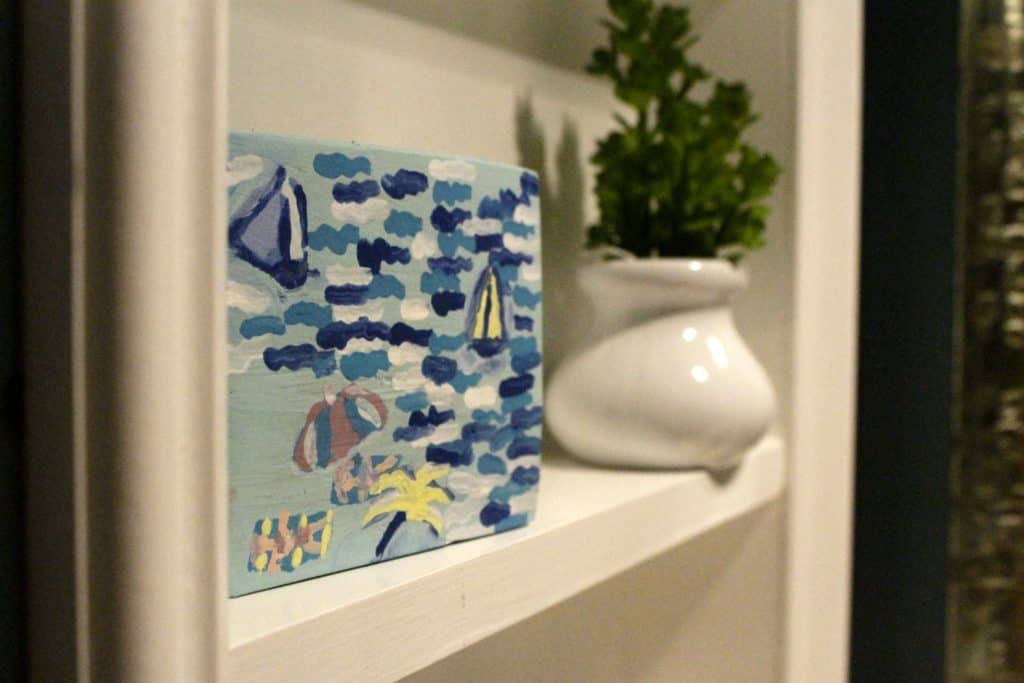
The open shelving looks awesome, especially when accessorized.
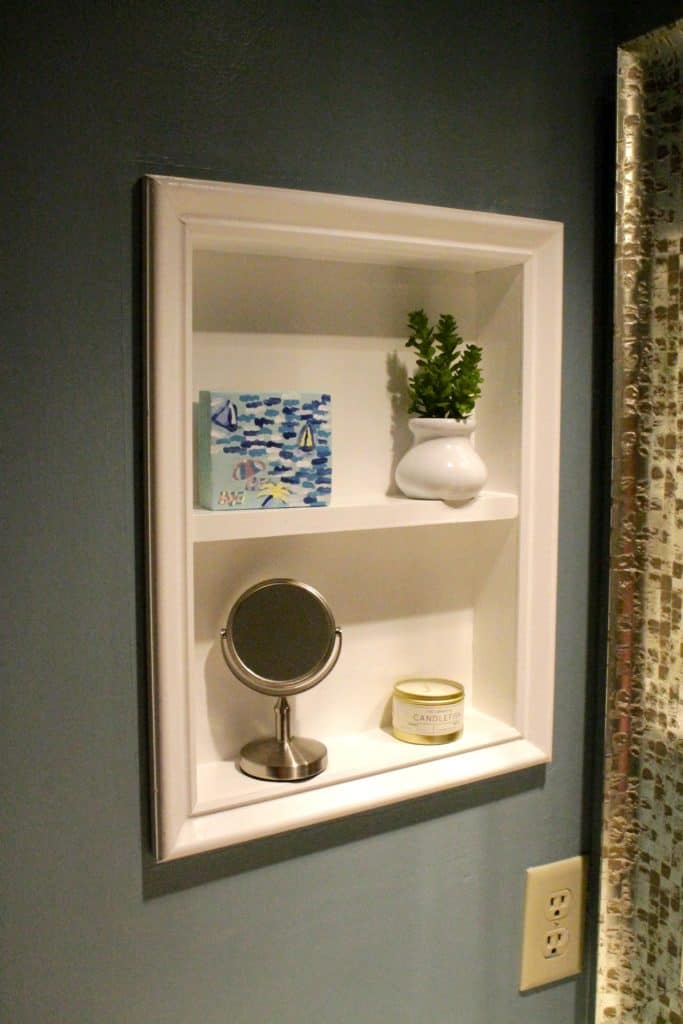
You could use this to hold practical items, but we have plenty of drawers so we just use it for decor. This is the point of the space since we really didn't want any bathroom materials on display.
If you are trying to hide any personal items from guests and you don't want to put them in the drawers of your vanity, this may not be the route for you.
But, if you are trying to spice up your bathroom and make it look a lot more modern, that's how to turn an old medicine cabinet into open shelving!
Want more bathroom projects?
Check out all of our DIY woodworking projects for the bathroom!

Looking for something?
We've been doing this since 2012 so we have a LOT of blog posts!
Search stuff like: Ceiling Projects | DIY Plant Stands | Thrift Flips

Hey there, I'm Sean, the woodworking enthusiast and builder behind CharlestonCrafted.com! Since 2012, I've been sharing the magic of turning raw materials into beautiful creations. I love teaching others the art and satisfaction of woodworking and DIY. I try to inspire fellow crafters to make something extraordinary out of nothing at all.


Nicole T says
About how much did this project cost you?
Morgan says
It is hard to say because we had a lot of the supplies (some wood, screws, paint, caulk) on hand already and only used a small amount of the supply. I would say that we spent less than $15 on what we purchased. It is not a lot of supplies!
Emilyn says
Thanks for sharing this tutorial! My husband and I used this to replace our old (outdated, ugly) medicine cabinet and are so happy with the results! It really transformed the bathroom and your instructions were really straightforward!
Sean says
Yay I am so glad!! It makes suuuuuch a difference, right?!
Isabel Jimenez says
Thank you very much. I love it!!!!!
I will show it to my son and we will start working.
Looks beautiful!!!
Jeanine Stallings says
Thanks for the tutorial!
Des says
I have been trying to figure out how to do this for months, gearing up for a total demo of the bathroom and this is the one "fun" part I'm looking forward to transforming. Your tutorial makes it look doable! thanks
Sean says
I hope it helps! Share pictures if you do it!
CHERYL says
This is excellent! I recently bought a house and the bathroom has a medicine cabinet (hidden behind the door) and also a mirror that opens into thirds so the original cabinet is even more ridiculous. The hole in the wall goes all the way into the hall closet, if this works for me it'll be awesome.