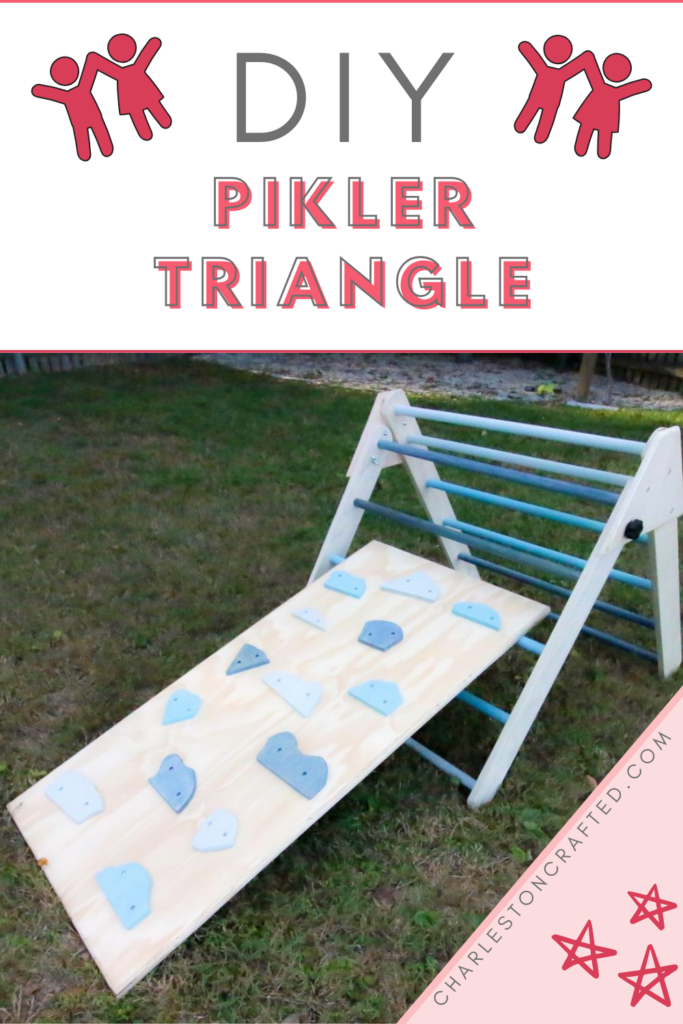
We built this DIY Pikler Triangle for our son for his first birthday. The process is fairly simple to build and will help with his physical development. Here's how to build a DIY Pikler Triangle!
The Pikler Triangle was invented by a pediatrician in the early 20th century as a means to help children learn how to move their bodies on their own.
The concept is simple- create a ladder and climbing wall that are adjustable that your young child can climb on and gradually become more comfortable with the way their body moves.
Check out this article about the benefits of a pikler triangle!
We wanted a Pikler Triangle for our son for his first birthday, as he was really starting to move.
They cost hundreds of dollars online, so we decided to build a DIY Pikler Triangle ourselves!
Check out our tutorial on how to build a balance beam for kids!
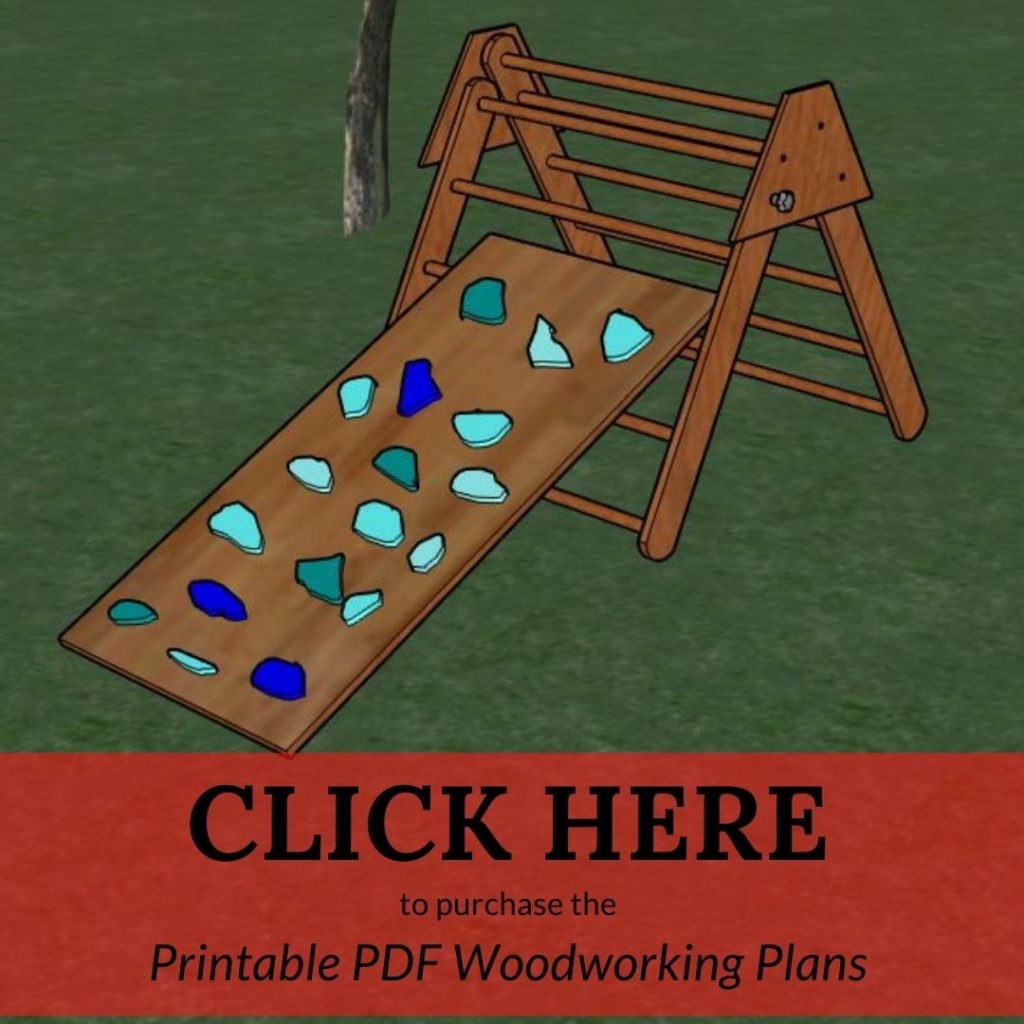
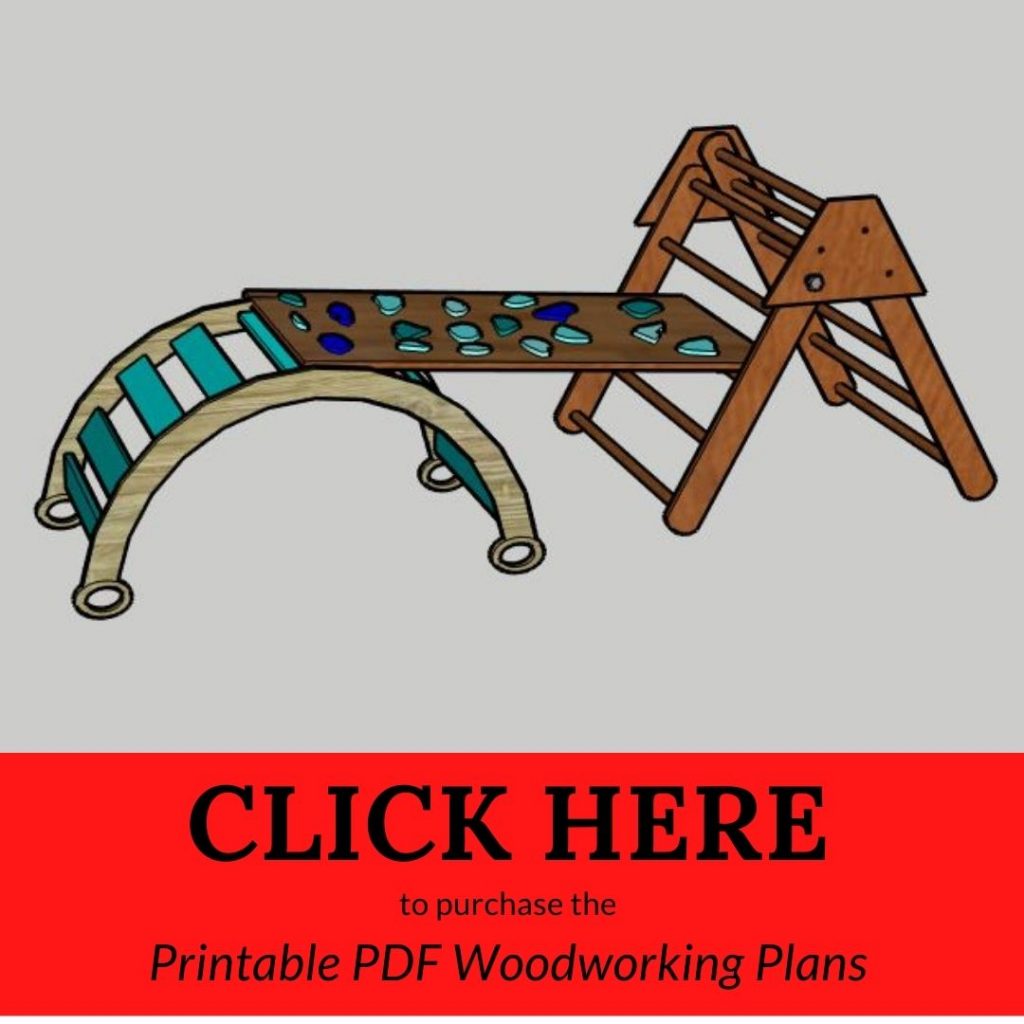
Click here to purchase our printable PDF plans to build a foldable pikler triangle!
Supplies needed to build a DIY Pikler triangle
You need a few supplies to build a pikler triangle. Get the full cut list in our printable PDF plans!
- (1) 2'x4' ¾" plywood
- (11) 4' long, 1" thick dowels
- (1) 2'x4' ½" plywood
- (2) 6'x4"x¾" poplar boards
- Stain/sealant of choice - outdoor if you will keep it outside
Click here to buy a bundle of plans to build a Pikler Triangle AND a Pikler Climbing Arch/Rocker!
Tools needed to build a DIY Pikler triangle
You don't need many tools to build this pikler triangle! You need:
How to Build a Pikler Triangle
A Pikler Triangle comes down to two main pieces- a triangular ladder and a climbing wall.
We'll put the full step by step instructions and cuts in the how-to card at the bottom of this post that you can use to build your own! Or you can buy the full plans with diagrams here!
We also like the version done by Wicked Maker and used inspiration from that, but tweaked it to our own specs and preferences.
Here's the overview.
Building the Triangle
Here's the steps to build the triangle itself.
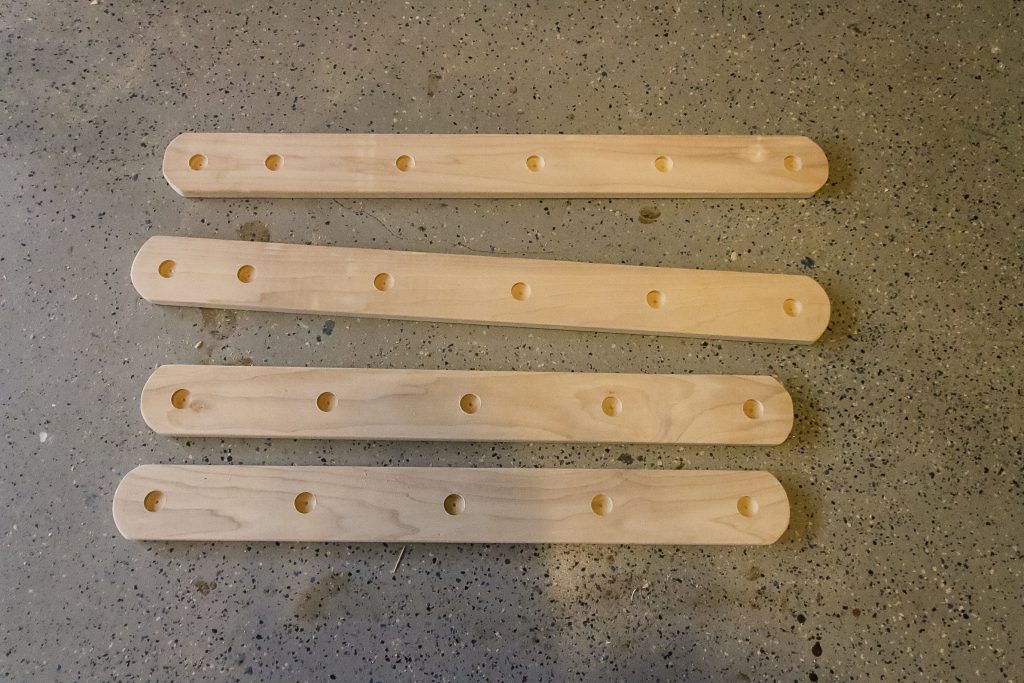
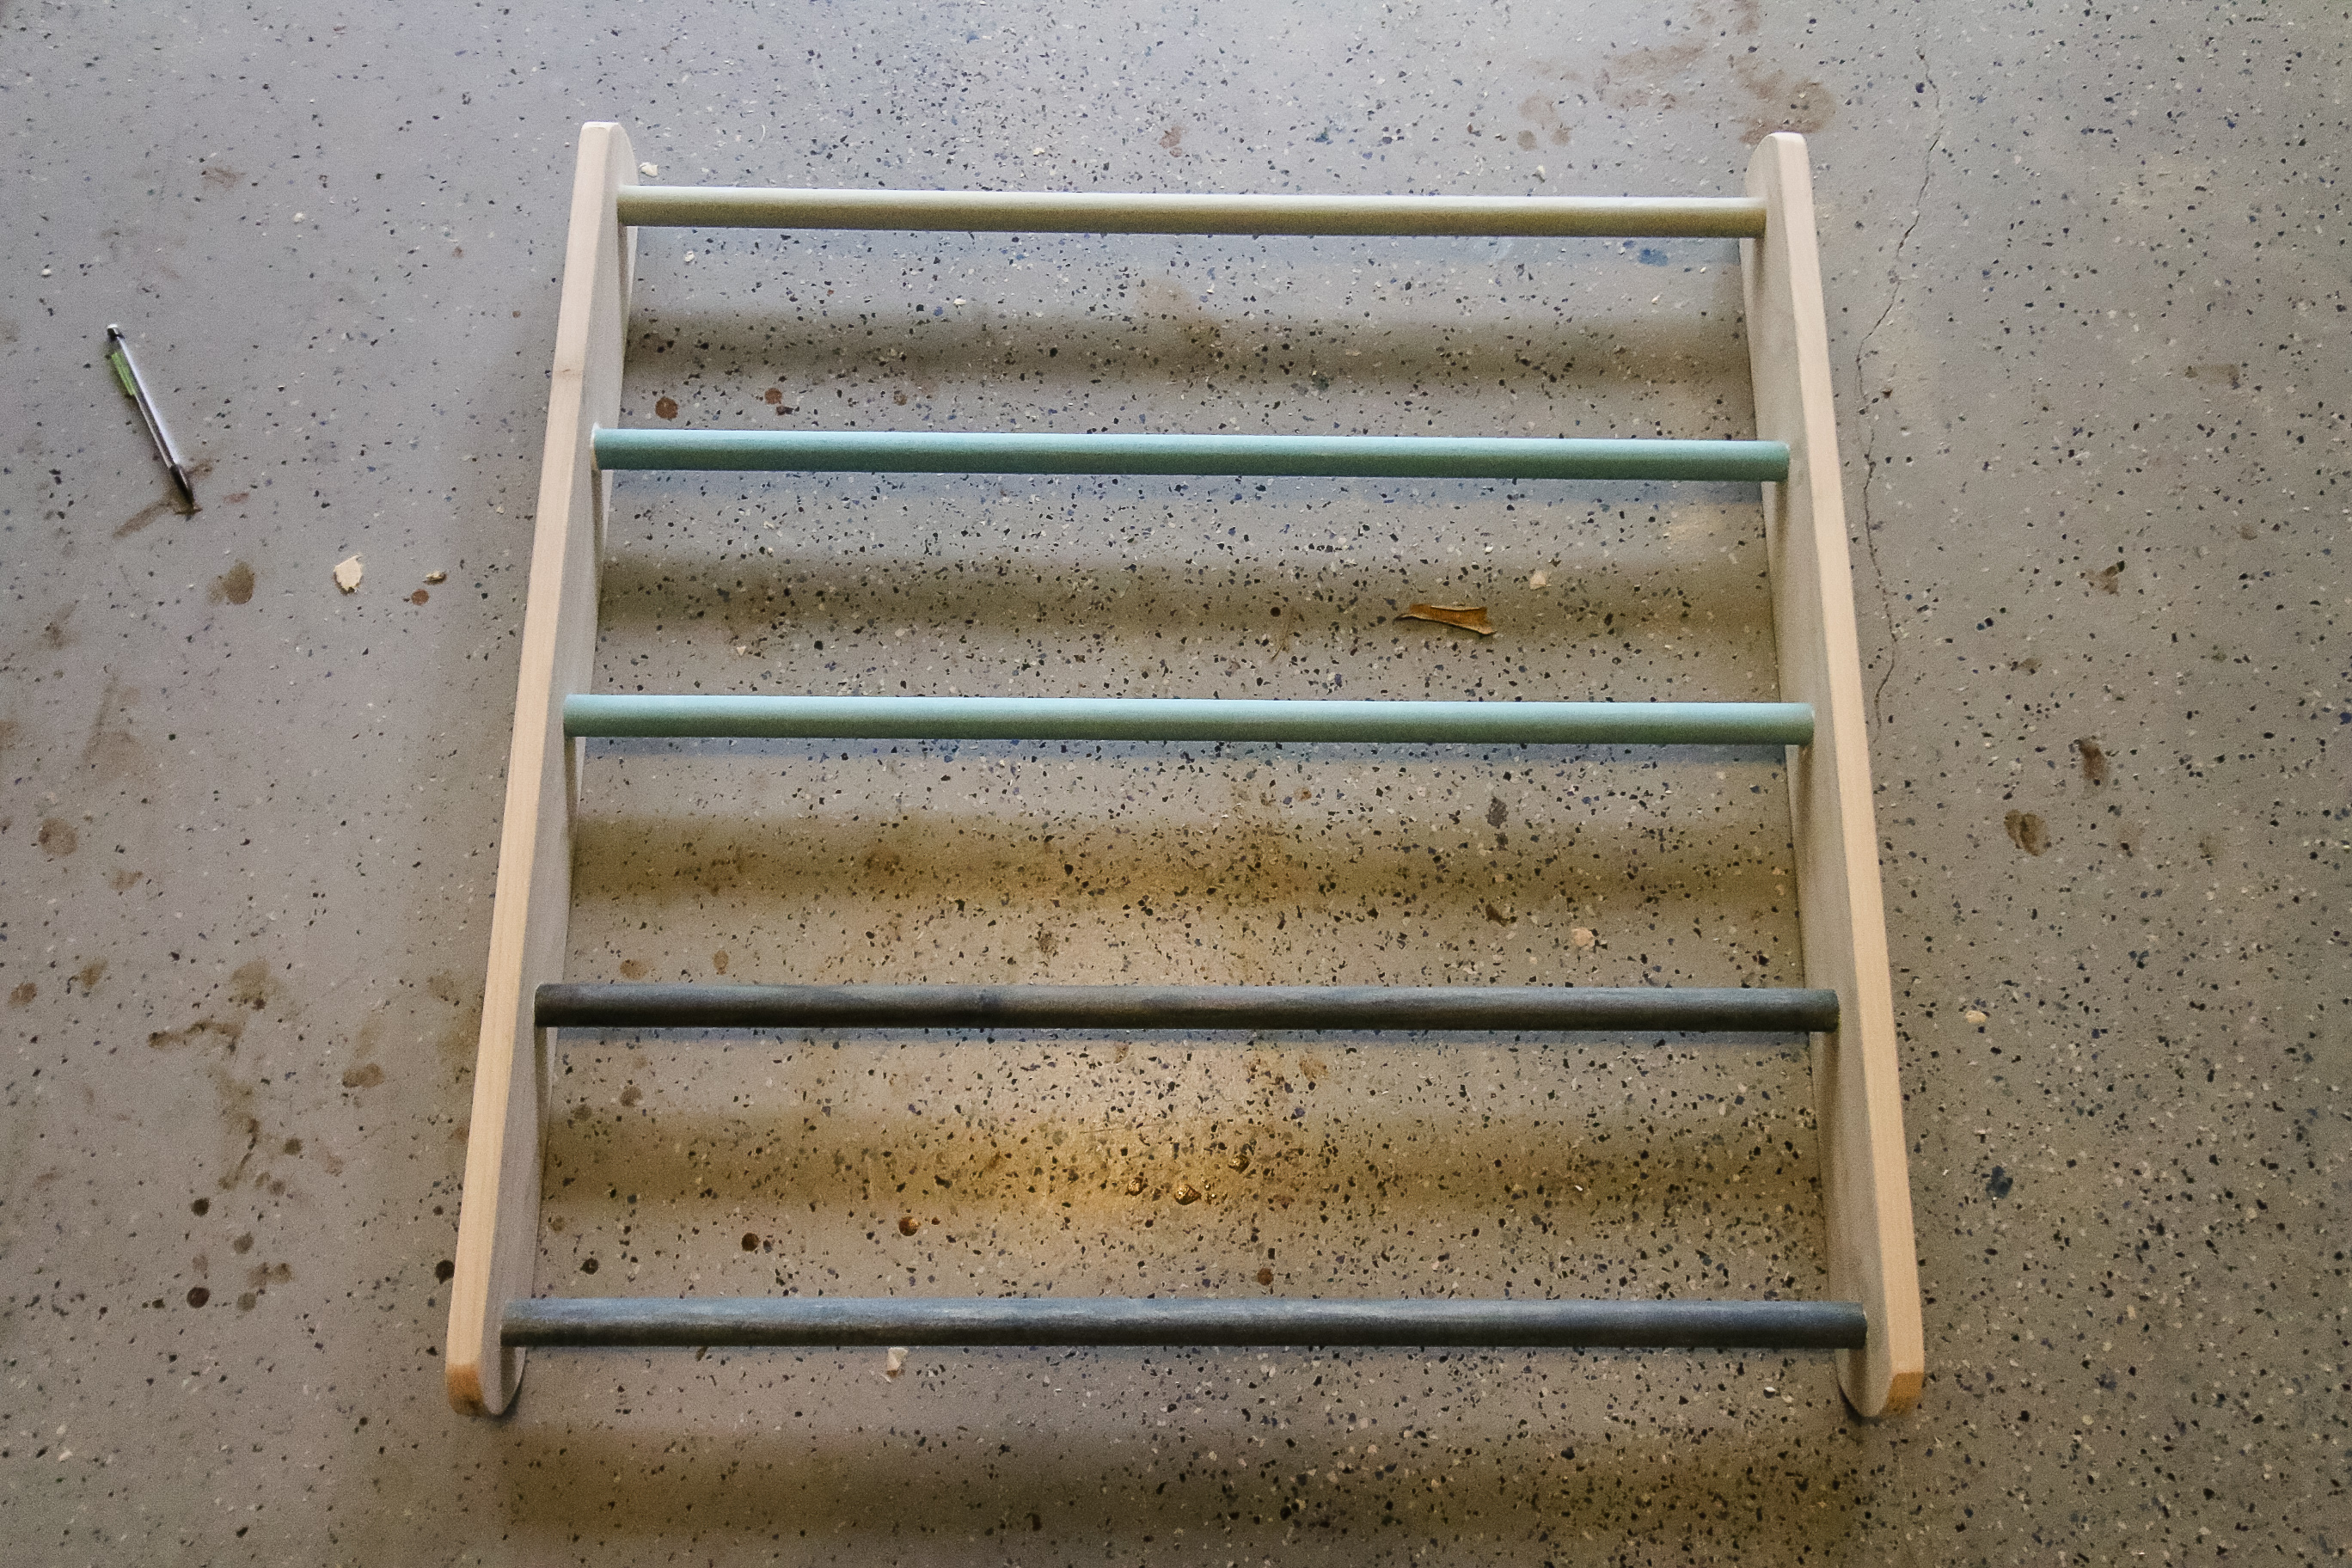
Step one: cut out ladder sides
In order to build the climbing triangle, you essentially build two ladders, one a little longer than the other.
We made ours 36" long with six rungs and 32" long with five rungs.
Each ladder was 31.5" wide using two pieces of ¾" thick poplar and 30.5" long 1" dowels.
For each ladder, we evenly spaced the rungs at 2", 9", 16", 23", and 30", with an additional rung at 34" on the longer ladder.
We rounded the ends of each board and then used a 1" Forstner bit to drill the holes at the marks we made.
Step two: connect with dowels
We stained each rung specific colors so we could make an hombre look to the ladder.
You could leave them natural, stain them all one color or do any mix you'd like.
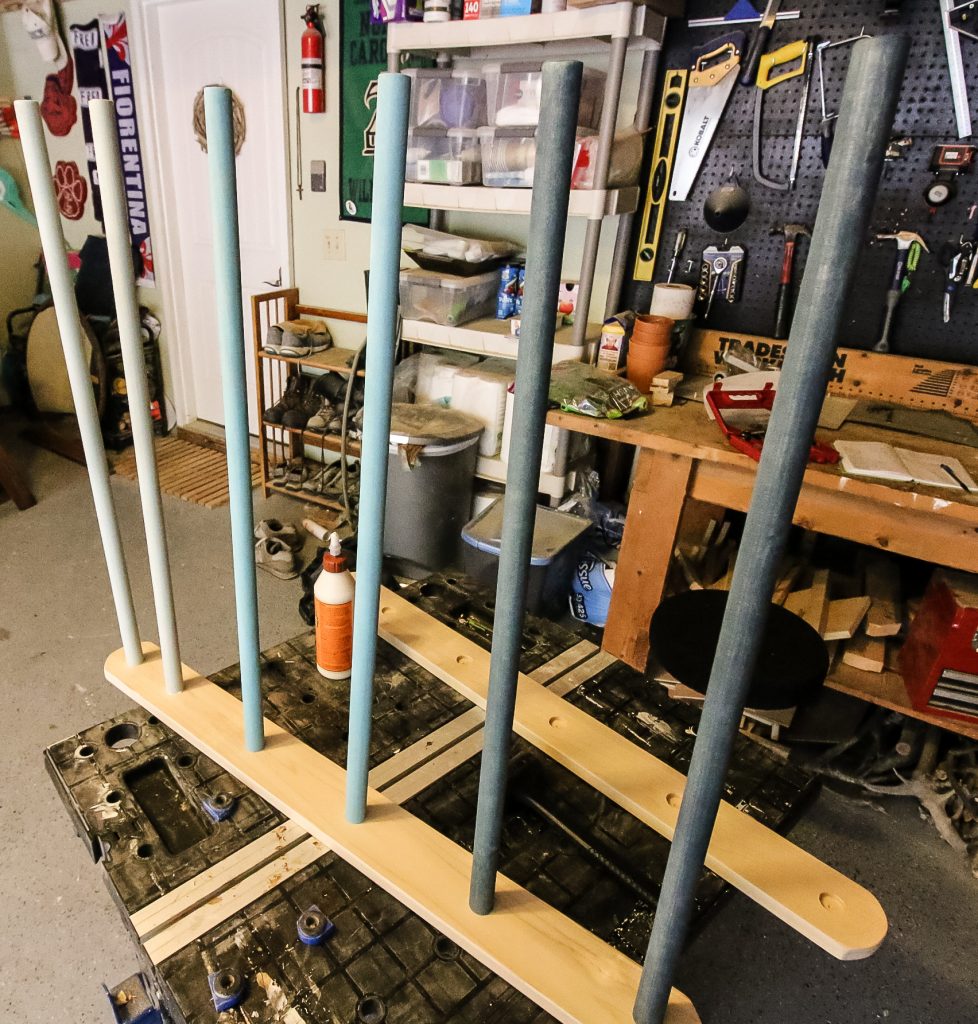
We created each ladder by using wood glue and tapping each rung into a hole on one board, then tapping the corresponding board to the other end of the rungs.
We used these 36" long bar clamps to tighten it up for drying.
(Side note, those Bessey clamps are really good quality and an incredible deal on Amazon compared to options in home improvement stores)
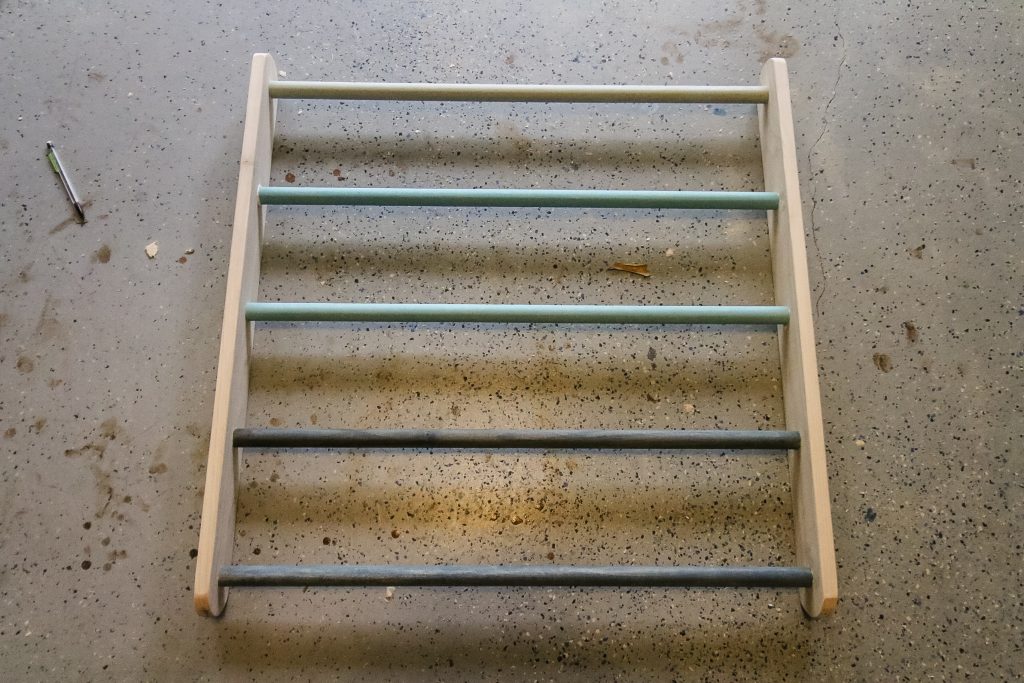
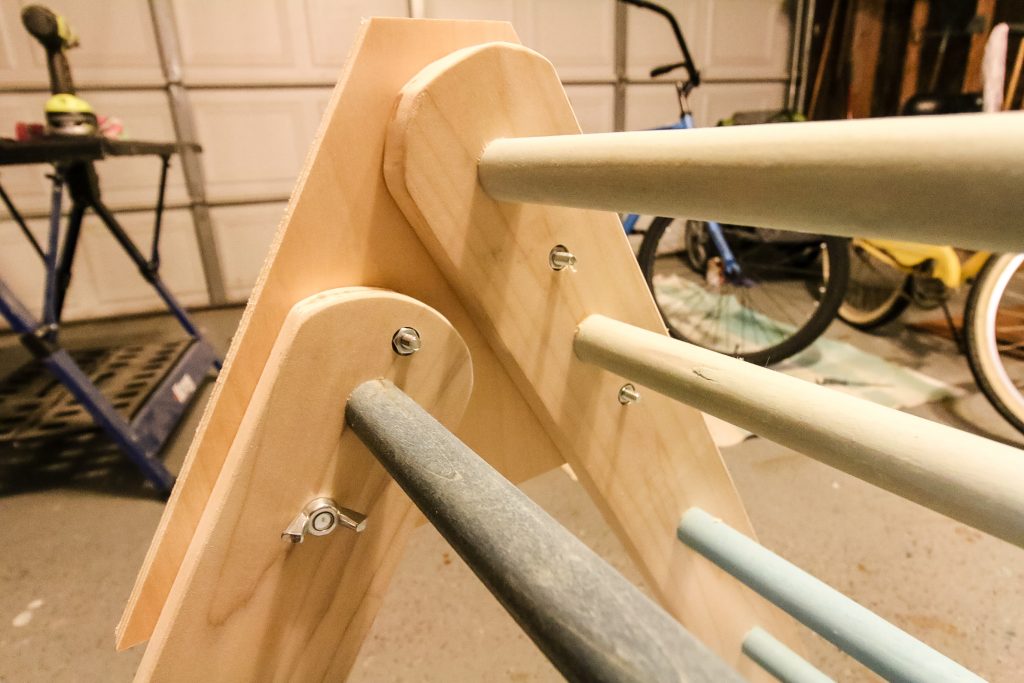
Step three: attach ladders
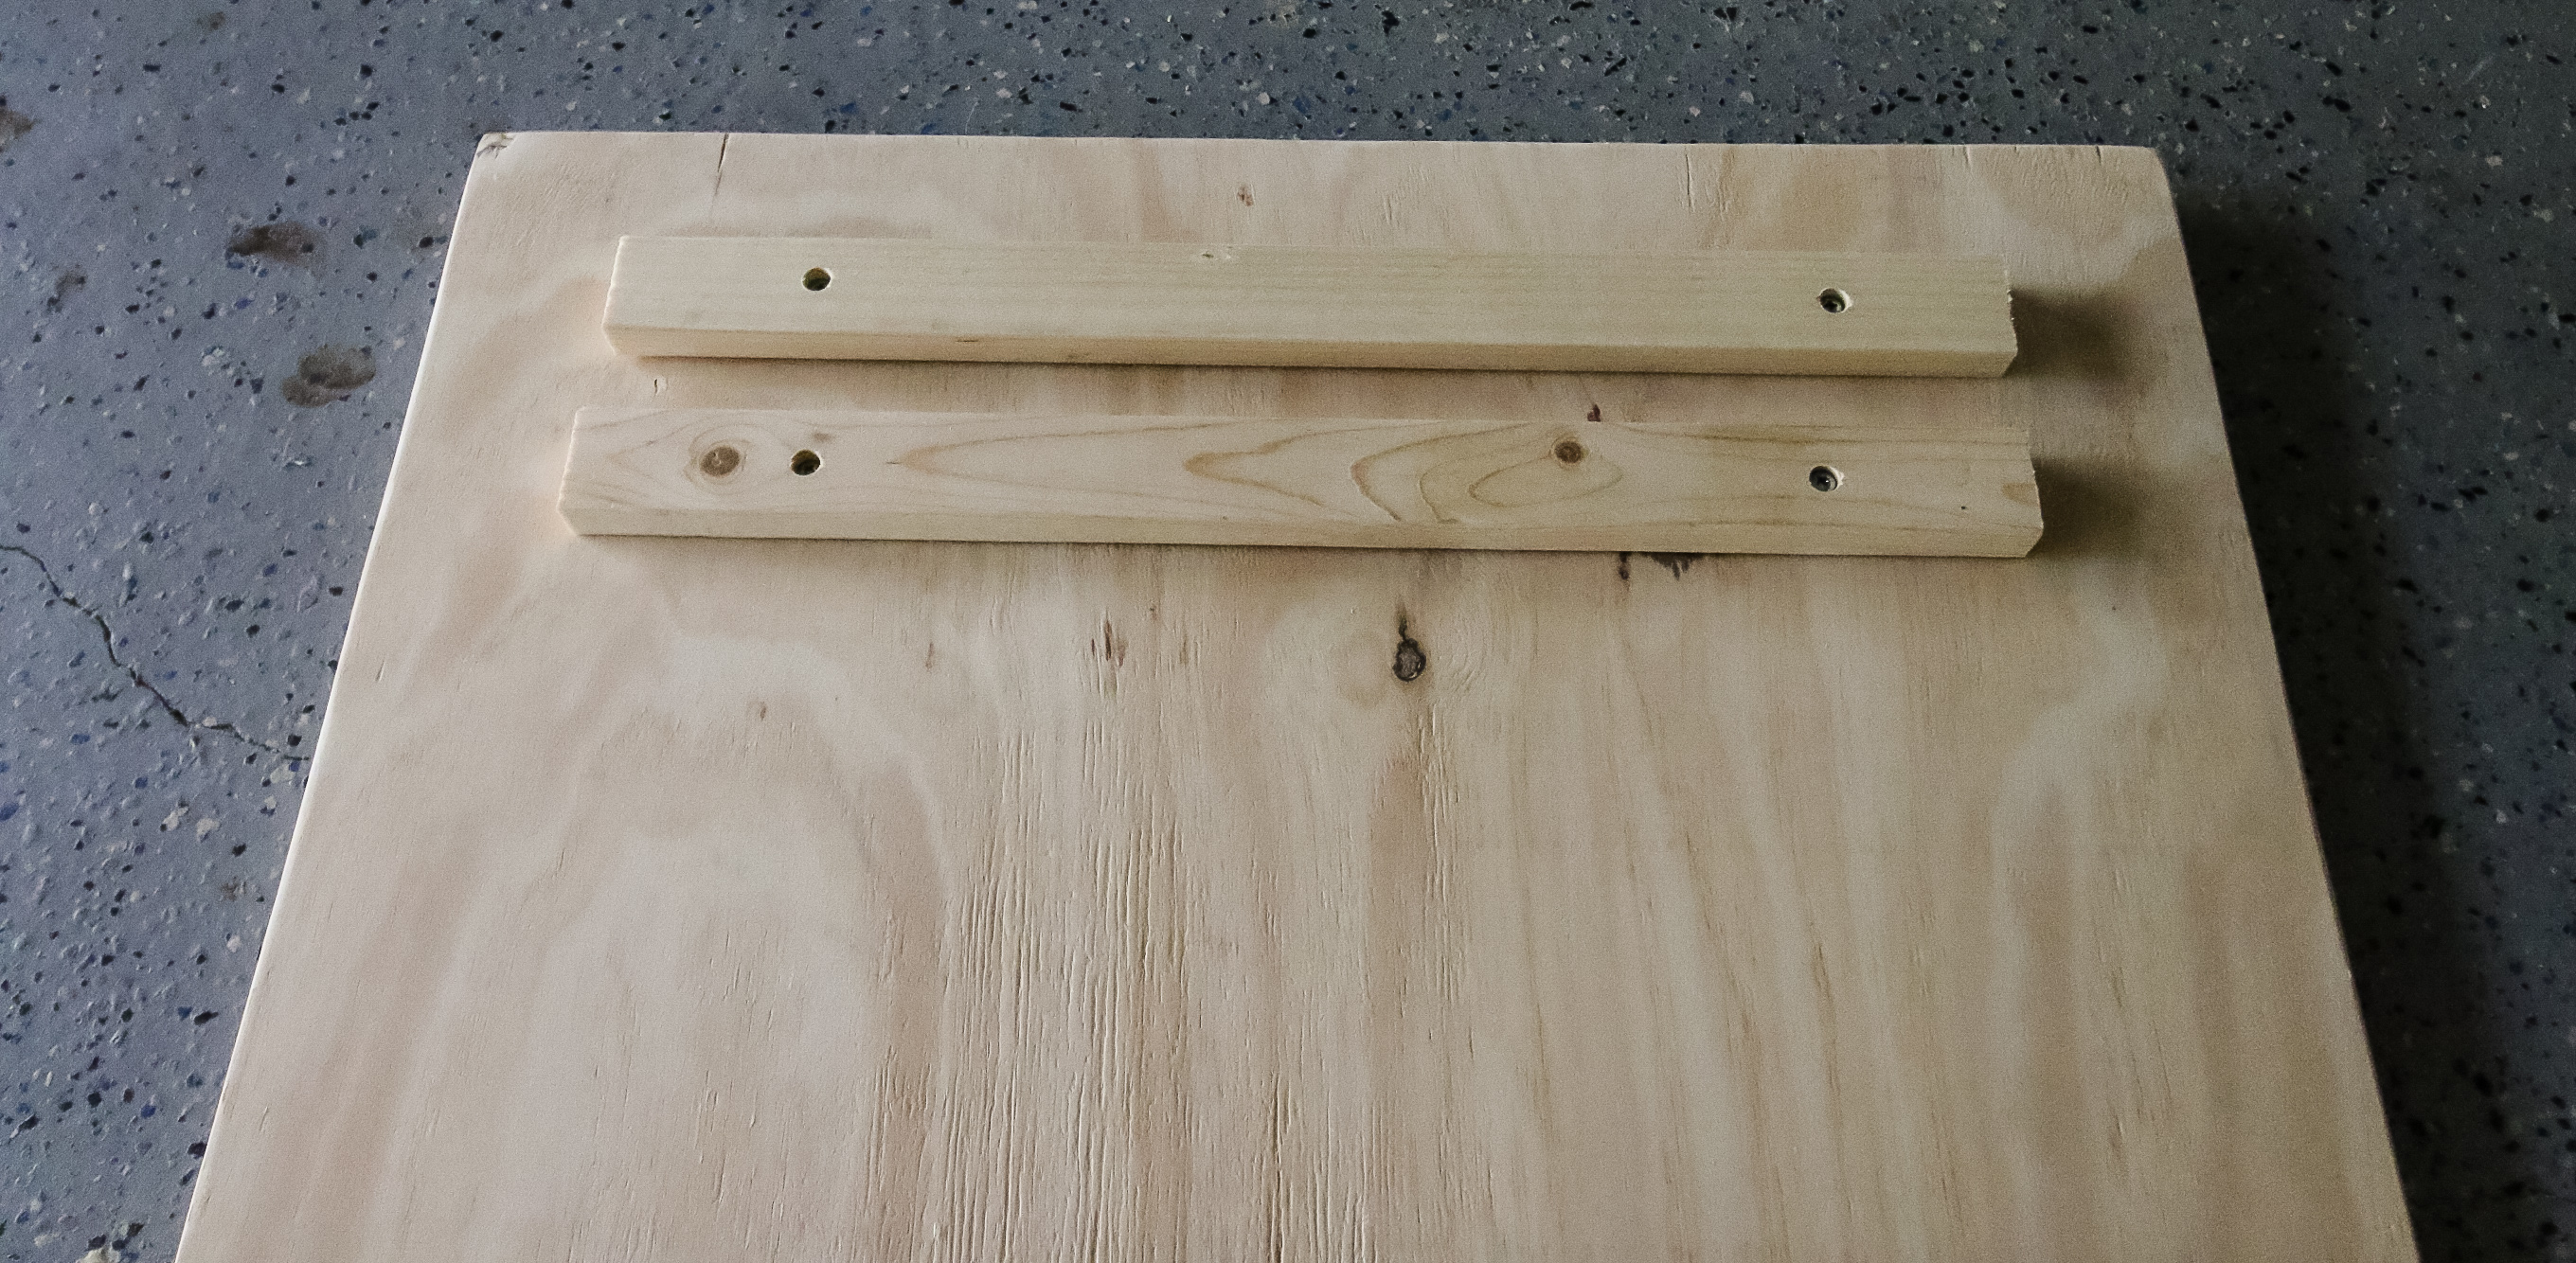
We next cut out two pieces of ½" plywood to hold the tops of the two ladders together. We drilled holes to hold the ladders to the plywood.
On the shorter ladder, we used a wing nut and knob screw on the two lower holes.
This way, we can remove this and fold the ladder up for better storage.

Finally, we rounded off the corners of the plywood with a router to give it a smoother finish.
That's all it takes to make the DIY simple pikler triangle.
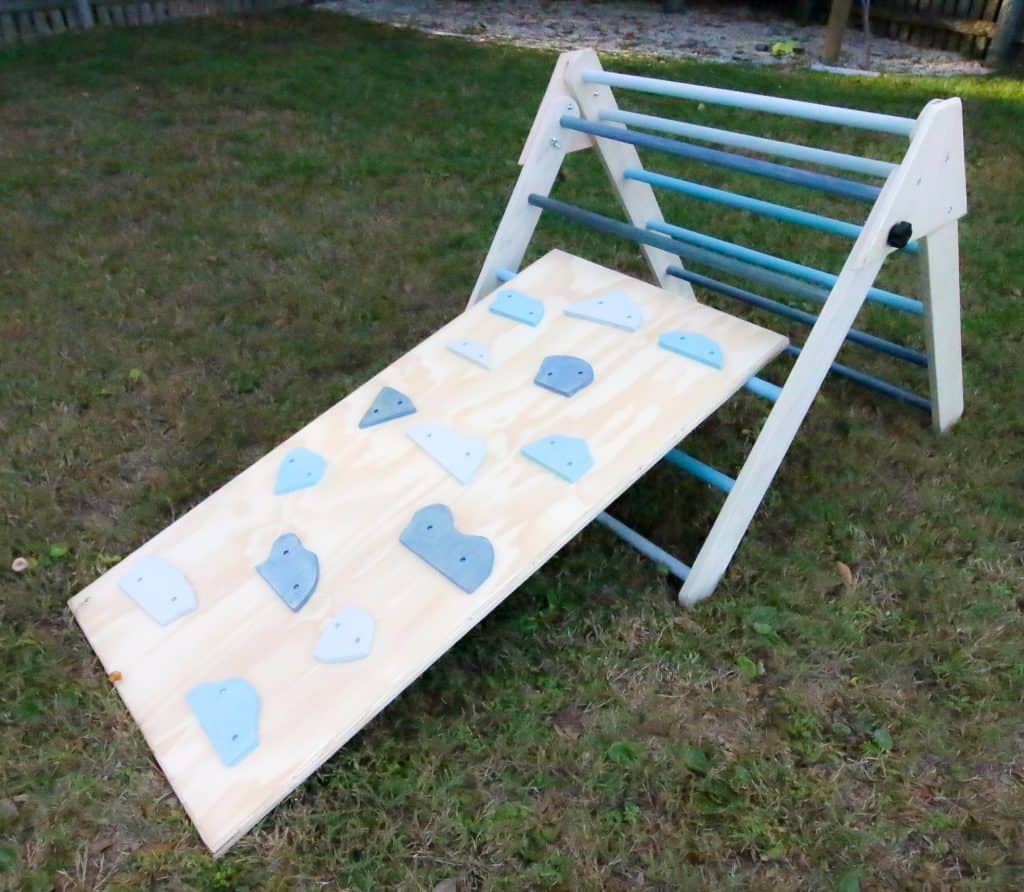
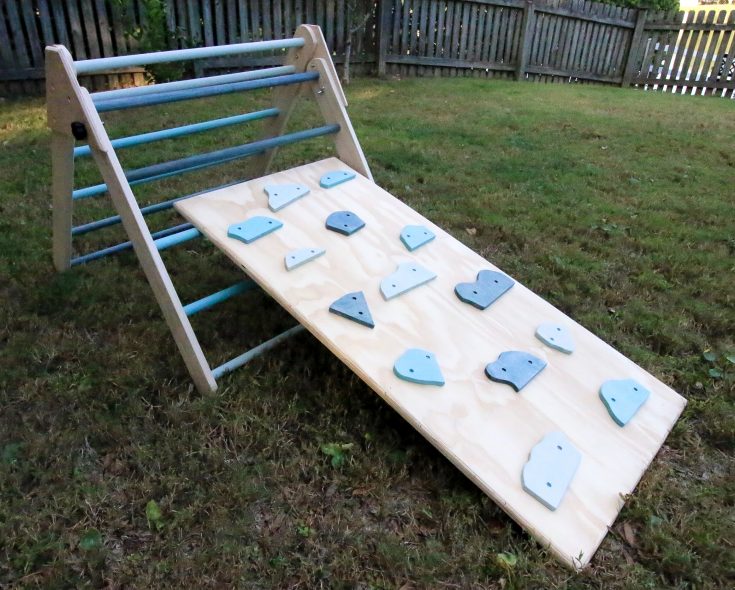
Building the Climbing Wall
The climbing wall is much more simple than the triangle. Here's the instructions on how to make the ramp to lean on the triangle!
Check out my guide to Pikler climbing ramps!
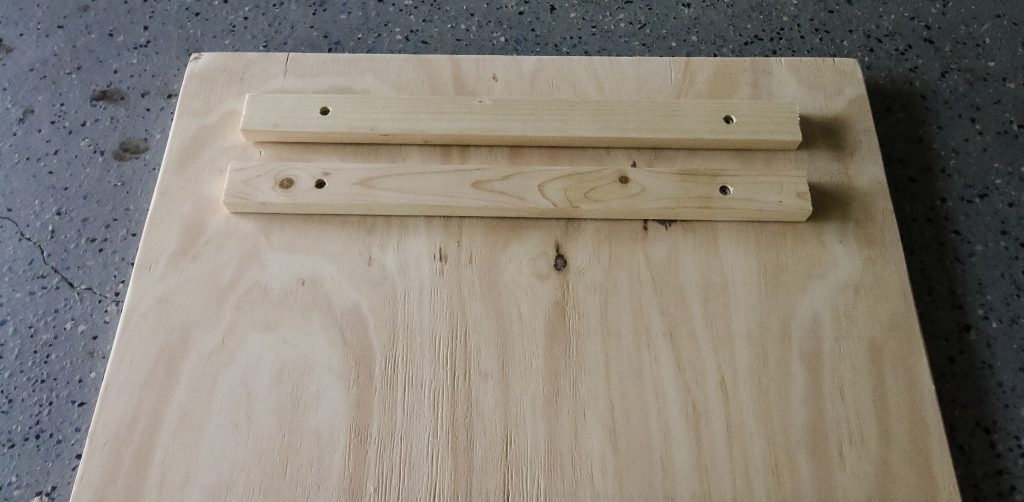
Step one: build ramp
For this, we started by rounding the corners of a 24"x48" piece of ¾" thick plywood with a router and then sanding ultra smooth.
Next, we took a scrap cut off of one of the dowels and two scrap pieces of wood and attached the boards to the back of the wall about three inches down, using the dowel as a spacer between the boards.
This will be where the climbing wall hooks into the rungs of the triangle.
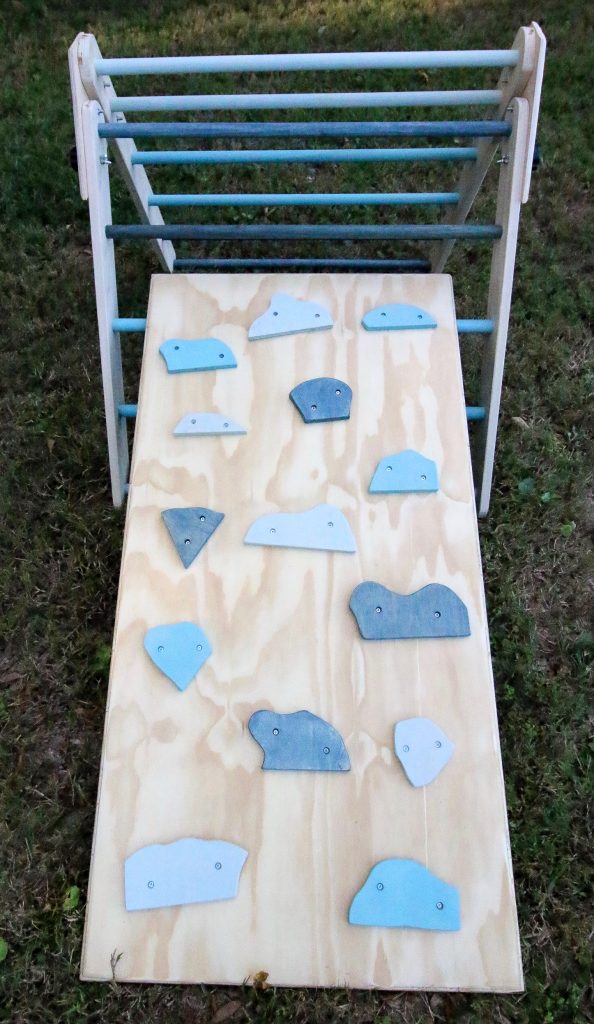
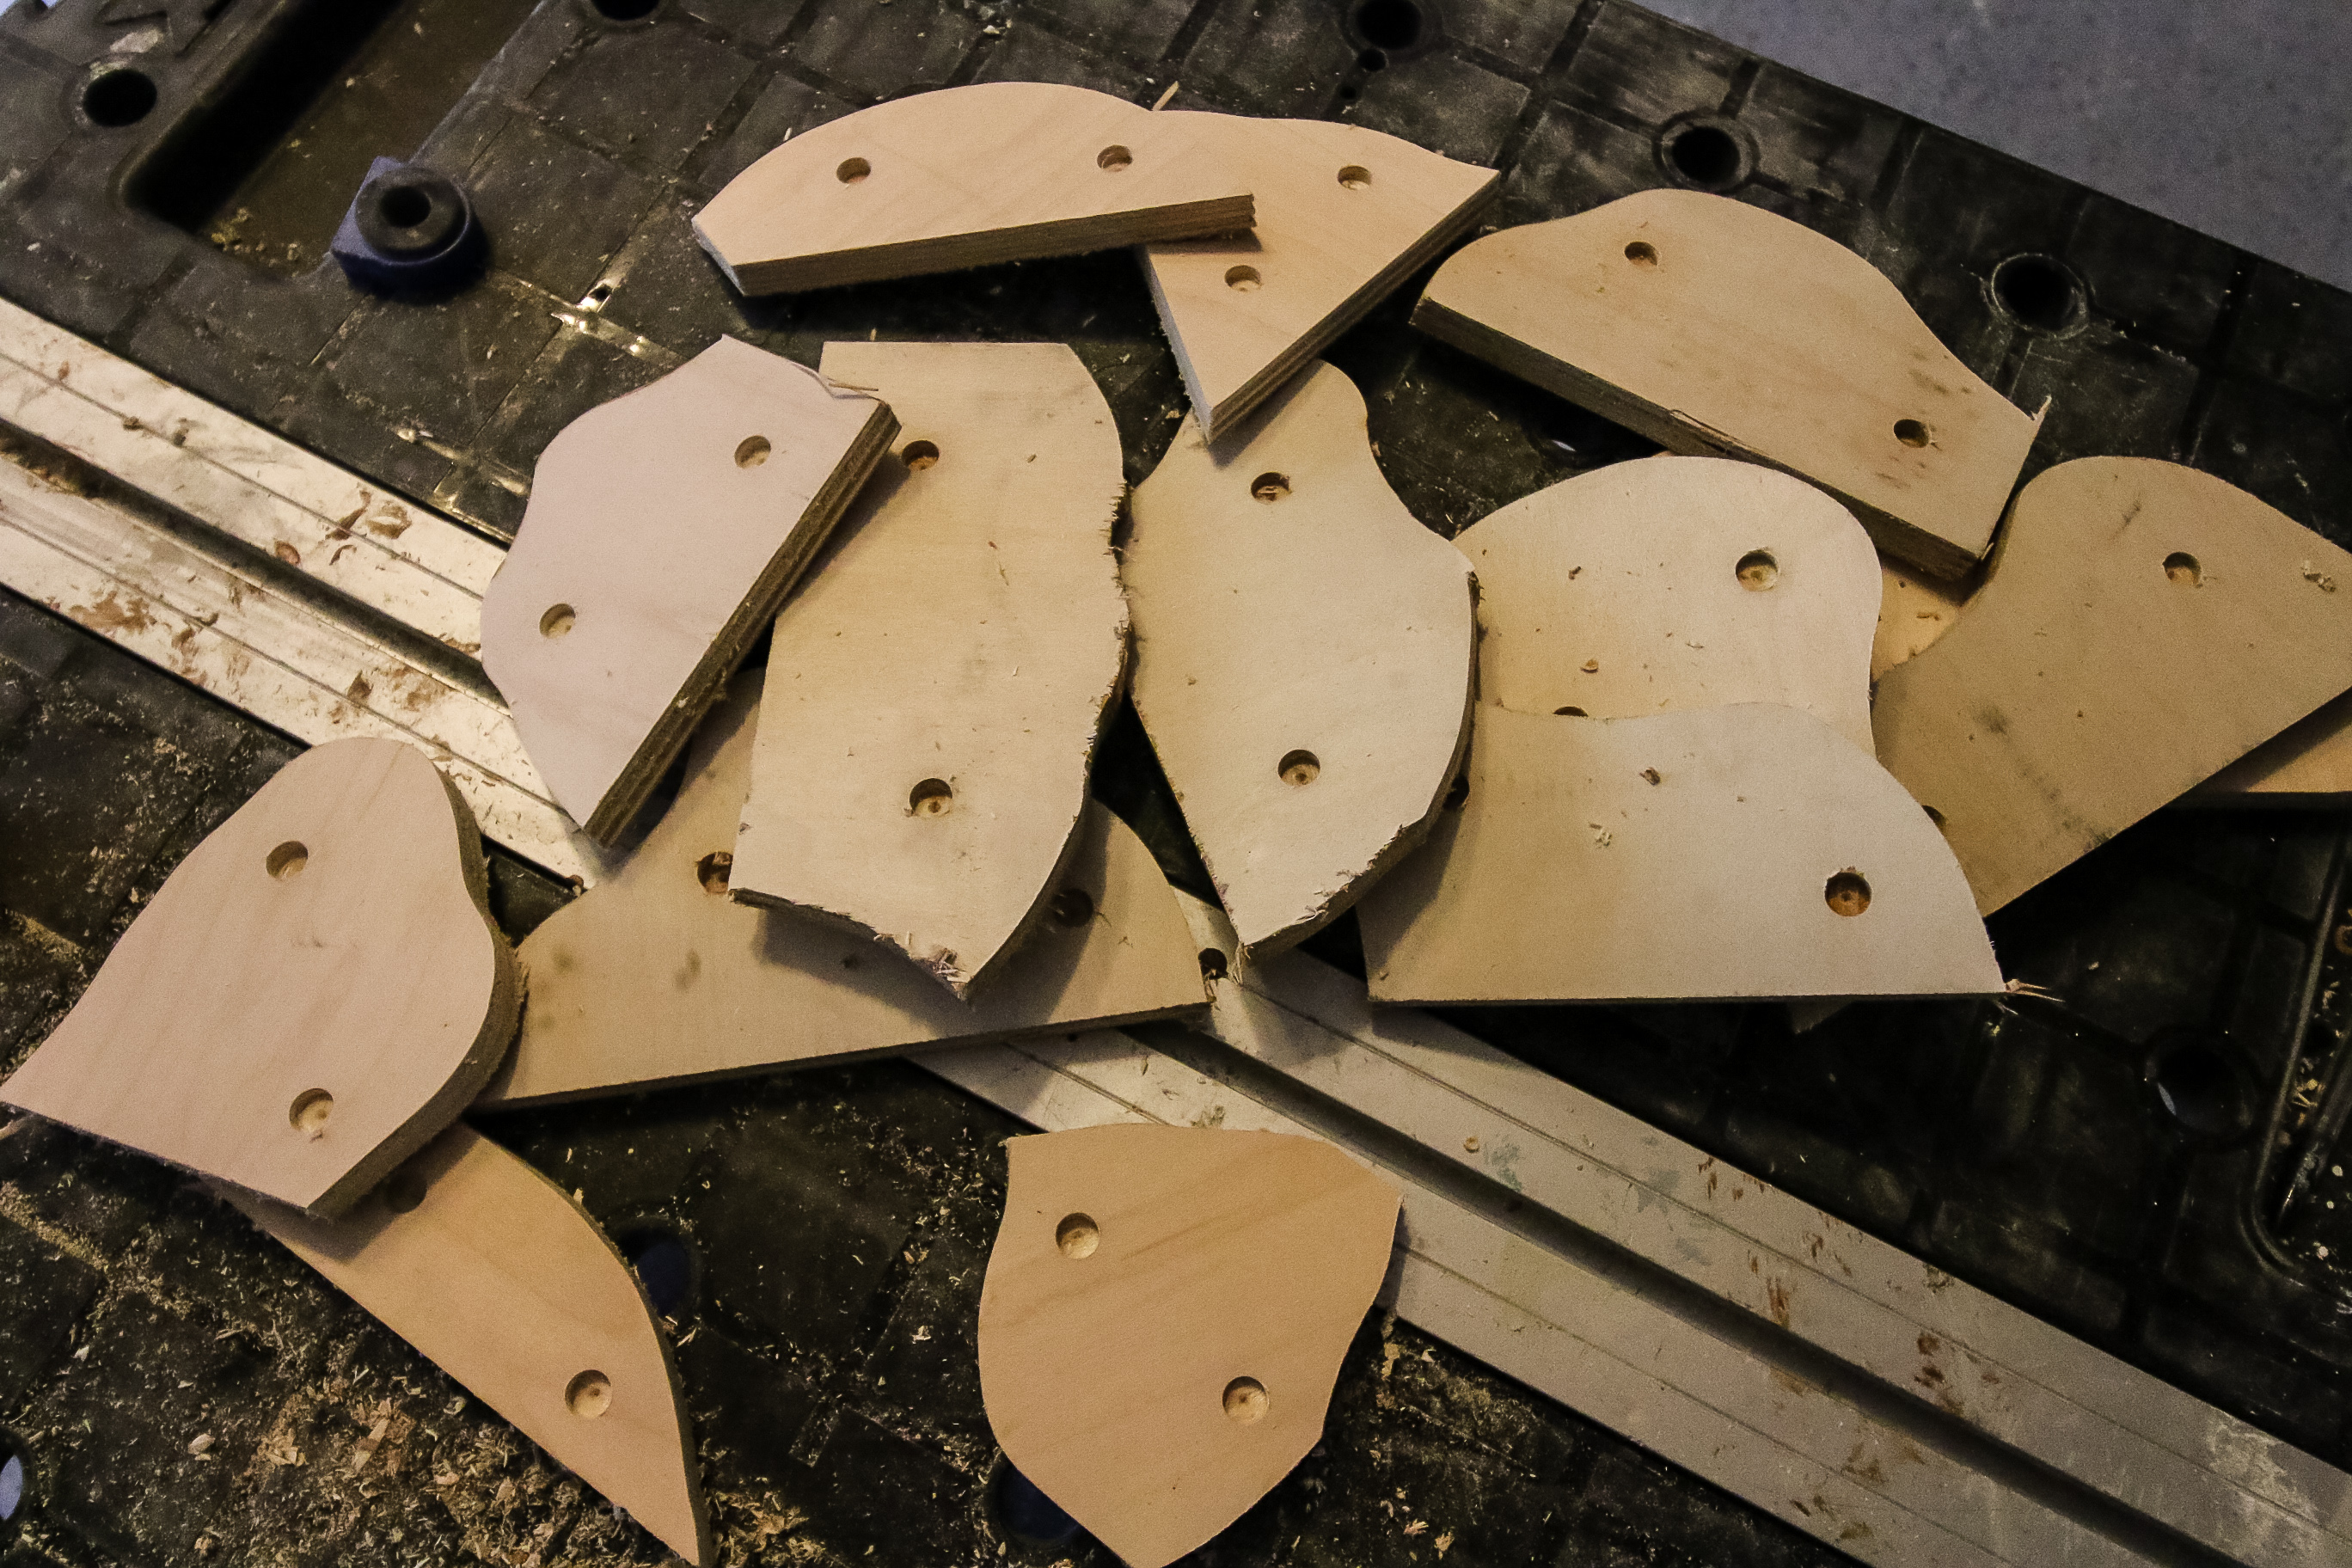
Step two: cut out climbing wall holds
Next, we took ½" plywood and used a jigsaw to cut random shapes out to use as hand holds.
For each of these, we counter-sunk two holes for screws and then sanded them all down ultra fine.

We stained the hand holds with the same colors we stained the triangle ladder, then attached them to the board to create the climbing wall.
Here is our tutorial for building a DIY Pikler Climbing Arch Rocker!
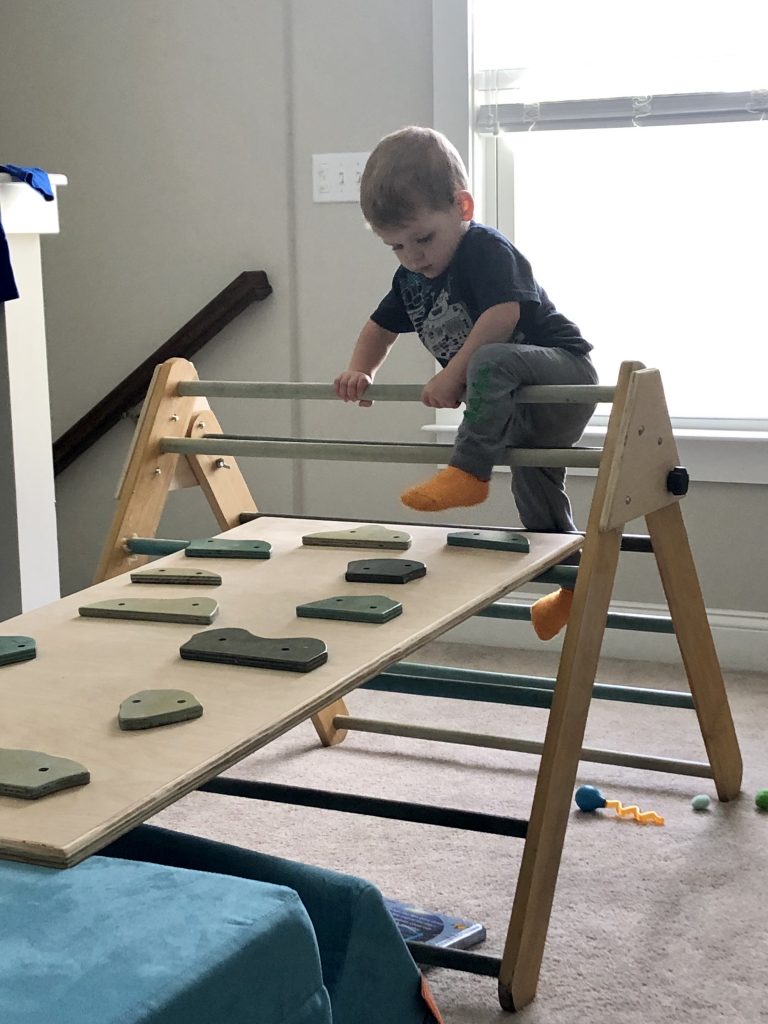
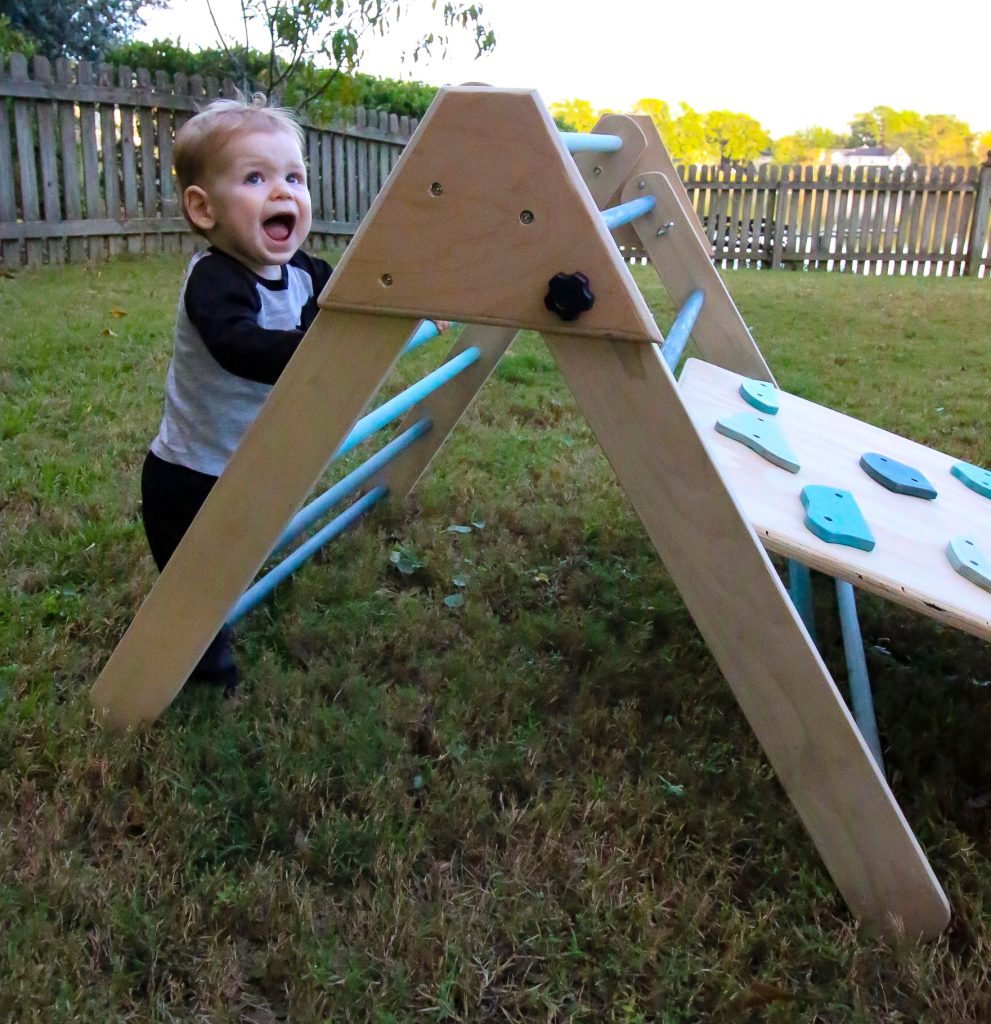
How to Use the Pikler Triangle
This DIY Pikler Triangle is great for multiple uses.
The climbing wall can be angled against any of the rungs, creating a unique angled climb on each side.
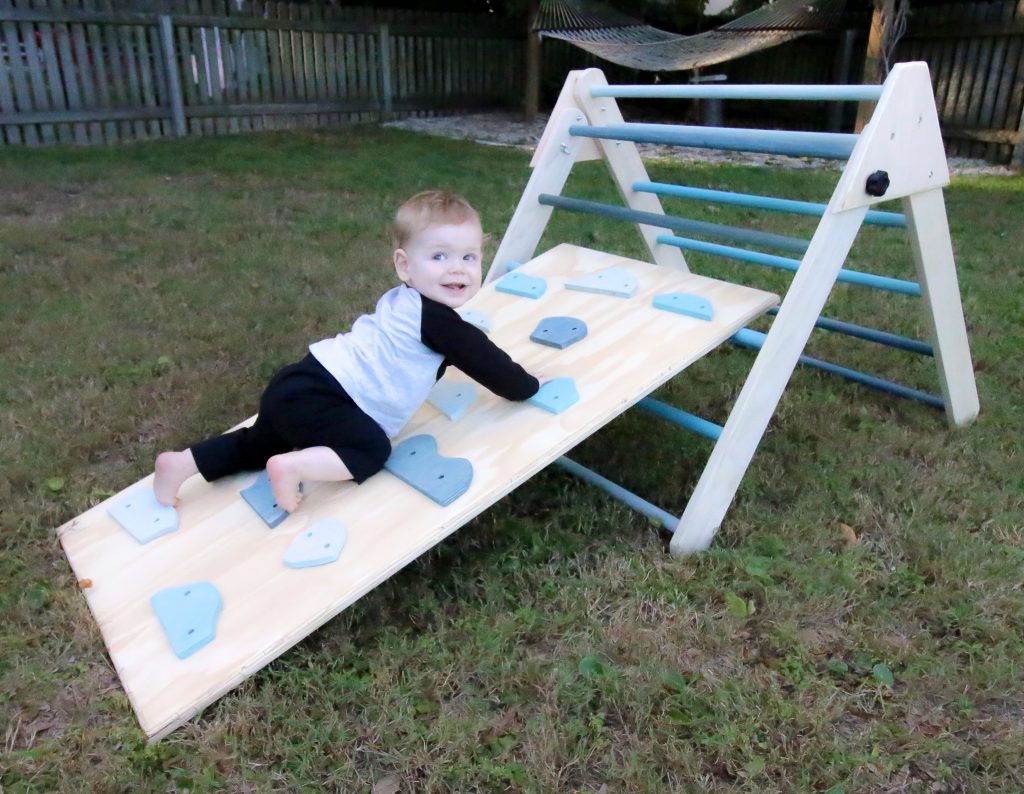
The ladder can also be used by itself to promote learning how to climb.
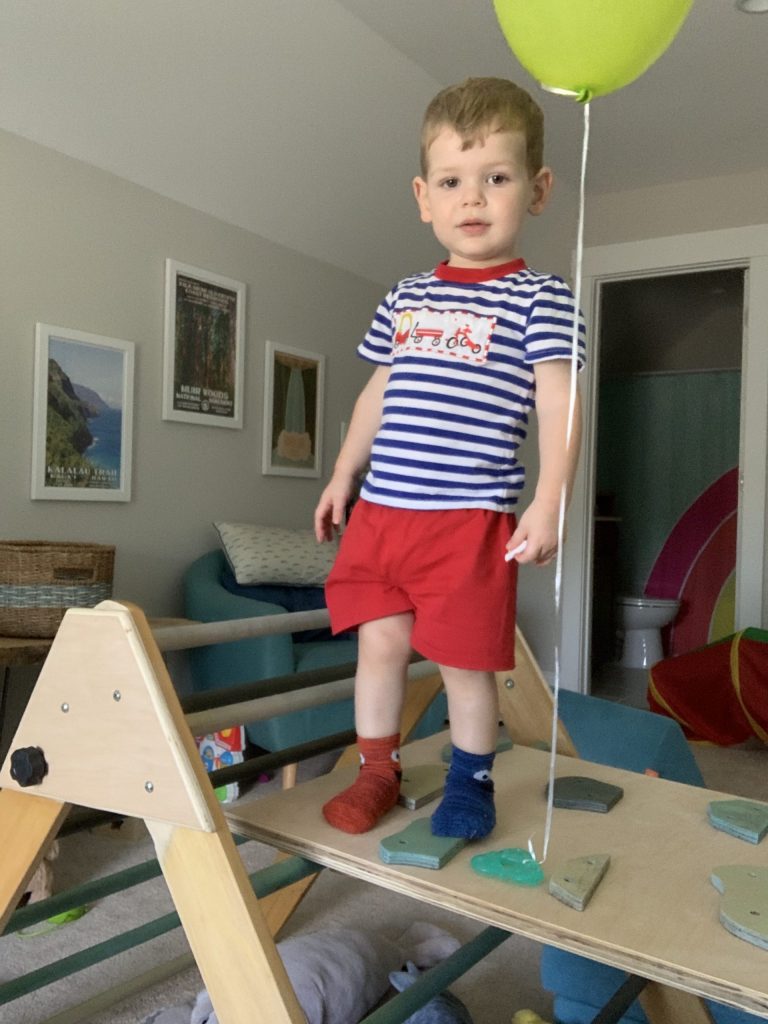
Our son loved it for his first birthday and we can't wait to watch him grow and continue to learn how to use it even better.
This article really summarizes some great benefits of a pikler triangle!
Here are all of my other favorite climbing toys for toddlers!

DIY Pikler Triangle PDF Printable Plans
We have created Pikler Triangle DIY plans for a climbing triangle as well as a climbing arch and a DIY climbing ramp.
What are Pikler Triangle dimensions?
This Pikler triangle's final dimensions are approximately 2.5 feet x 2.5 feet x 3 feet!
What does it cost to build this Pikler Triangle?
It cost us about $100 in supplies to build the Pikler triangle and the ramp. The main expense is the dowels! Prices will vary depending on your location. We bought all of our supplies at the Home Depot.
The Pikler Triangle DIY cost will vary depending on the cost of lumber where you live. There have been a lot of increases in lumber costs lately due to supply issues so be sure to price it out first if that is a budget concern for you.
What type of wood should you use to build a pikler triangle?
They type of wood that you use for your climbing triangle is a matter of personal preference. I suggest a hardwood since softer woods (like pine) will get dinged and dented up more easily.
However, hardwoods are usually significantly more expensive than soft woods. We used poplar for our triangle, which is one of the cheapest hardwoods. Oak is a beautiful option if budget is not a concern.
What is a Pikler Triangle?
A Pikler Triangle is a climbing structure designed by Hungarian pediatrician Dr Emmi Pikler. It is a climbing structure for toddlers and babies to help them develop gross motor skills and create curiosity and a sense of adventure in a safe controlled place.
Read my guide to the benefits of a Pikler triangle here.
Montessori Kid's woodworking plans bundle
Love building for your kids? Click here to get our bundle of Montessori inspired woodworking plans for:
Get the bundle (valued at $55 individually) for only $44.99 together! That's a FREE plan!
How to Build a DIY Pikler Triangle
Here's how to build a DIY Pikler Triangle for your kid. They are great for teaching children how to climb and balance and are a wonderful toy. These plans are simple to follow and allow you to make a fun play set for your kids.
Materials
- (1) 2'x4' ¾" plywood
- (11) 4' long, 1" thick dowels
- (1) 2'x4' ½" plywood
- (2) 6'x4"x¾" poplar boards
Tools
- Jigsaw
- Palm router
- Miter saw
Instructions
- Start by building the ladders. Cut dowels and legs first, then drill holes ¼" in at appropriate points. Glue the dowels into the holes of each ladder.

- Cut ½" plywood into two triangles to attach your ladders to. Attach the long ladder with two stationary bolts. For the short ladder, do two stationary bolts, or one removable wing nut bolt if you want it to fold up.
- Next, build the climbing wall. Use a palm router to round off the edges of the ¾" plywood board and then sand extremely smooth.

- Use a jigsaw to cut random shapes out of ½" plywood to create handholds, then stain or paint to match ladder rungs and attach to board.
- For full cut list, measurements and detailed step-by-step instructions, our PDF plans are available for purchase.


Recommended Products
As an Amazon Associate and member of other affiliate programs, I earn from qualifying purchases.


Looking for something?
We've been doing this since 2012 so we have a LOT of blog posts!
Search stuff like: Ceiling Projects | DIY Plant Stands | Thrift Flips

Hey there, I'm Sean, the woodworking enthusiast and builder behind CharlestonCrafted.com! Since 2012, I've been sharing the magic of turning raw materials into beautiful creations. I love teaching others the art and satisfaction of woodworking and DIY. I try to inspire fellow crafters to make something extraordinary out of nothing at all.


Jenni says
How much do all the supplies cost?
Sean says
Hey Jenni! If you don't have any of the supplies on hand, it will probably cost around $100 to build. That's compared to several hundred online from Etsy shops, plus you can customize this one how you want with stain or paint!
Emily says
What were the measurements for the triangles? Thanks!
Sean says
Hey Emily! Do you mean the finished measurement for the whole Pikler triangle or the two triangles that serve to hold the ladders together?
Emily says
The two that hold it together. Thanks!
Sean says
It's 17" angled up to 5". If you'd like to see the full cut list and the full step by step plans, we'd appreciate your support in purchasing the printable PDF plans that will give you everything you need. Really appreciate you stopping by!
Larissa says
How tall is the finished pikler? Trying to decide if it’s large enough for my two year old.
Sean says
I just measured it and it is 32” tall when assembled!
Jen says
Do you have plans for the arch/rocker that some folks utilize with the Pikler triangle? Would love to have that piece as well!
Sean says
Might be working on that one 😉
Jen says
Yessss thank you!!
Maryval says
A friend will be making us a pickler triangle. He is very skilled in wood working and is suggesting to use 1 5/16 wood curtain rods instead (for price and construction strength). I was wondering what your thoughts on this is?
Morgan says
I don't have experience with those curtain rods or what they feel or look like. However, The stronger the "Dowel" (or rod in this case) the more weight it will hold. If you plan on having older kids use it, you will definitely want stronger or thicker dowels than what we used.
Melissa says
How much money did you save by making it yourself?
Morgan says
It cost about $100 in supplies to make the pikler triangle + ramp.