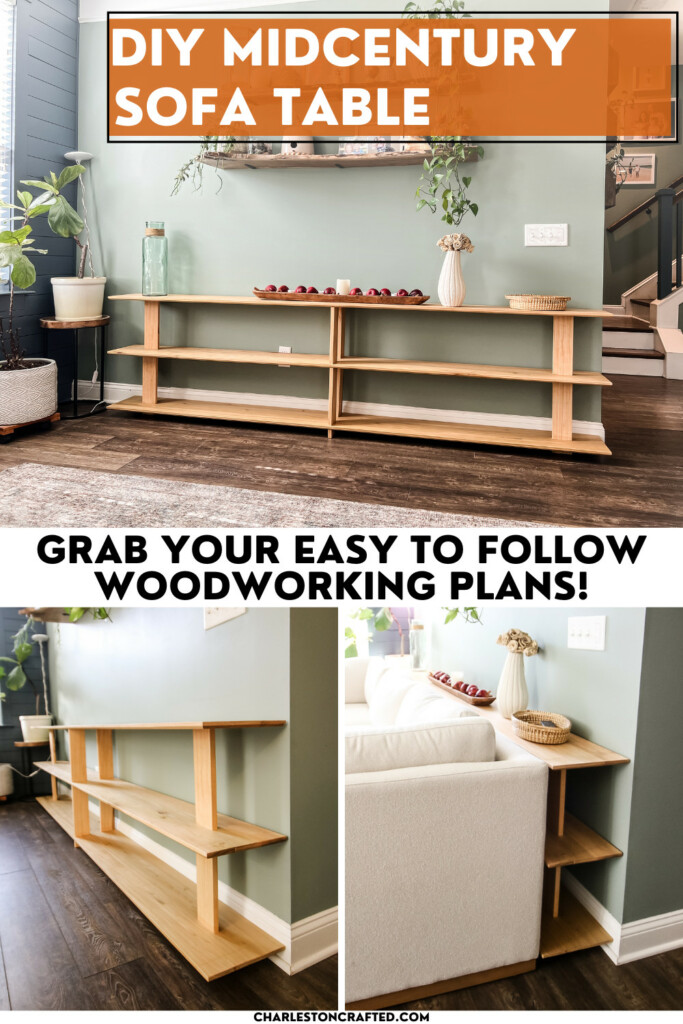
Create a stylish and functional addition to your living room with this midcentury modern sofa table you build yourself! It's such an impactful project and is so easy!
This post was sponsored by Kreg Tool. All opinions are our own and our opinion is that we love Kreg products. Thank you for supporting the brands that make Charleston Crafted possible!
It's crazy how projects spiral into total overhauls of an entire space. We are working on our kitchen, which turned it into an open concept with our living room and they are now clearly together without the wall.
Our wonderful 14 year old dog passed away this summer so we took that as the sign to start with replacing the couch. We wanted something bigger for our family to enjoy together and something that was a lighter color.
Well, we opted for a new Henredon couch from Costco, which came with extra modules and an ottoman. The ottoman meant we had to sell our rectangular coffee table we built, and we had to get a new rug because it clashed. But the main problem was our old sofa table.
Our old farmhouse style sofa table we built when we first moved into this house was now taller than the back of the new couch and way shorter (this new couch is a much different size). So we needed to build a new sofa console table that would fit the space!

How to build a sofa table
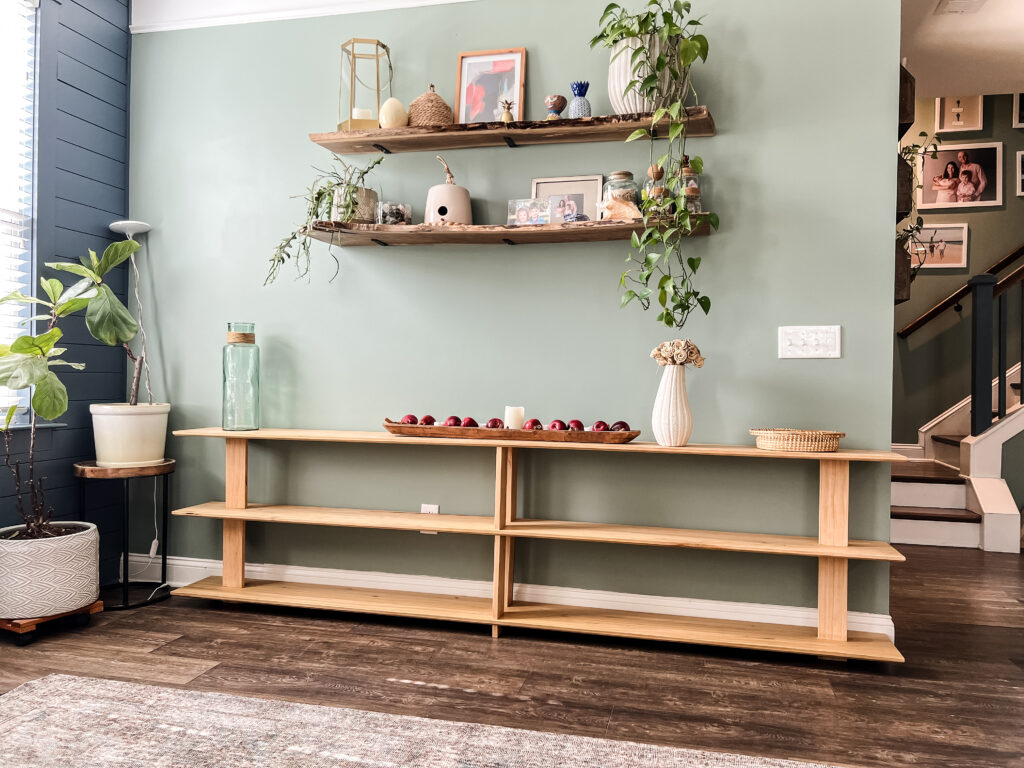
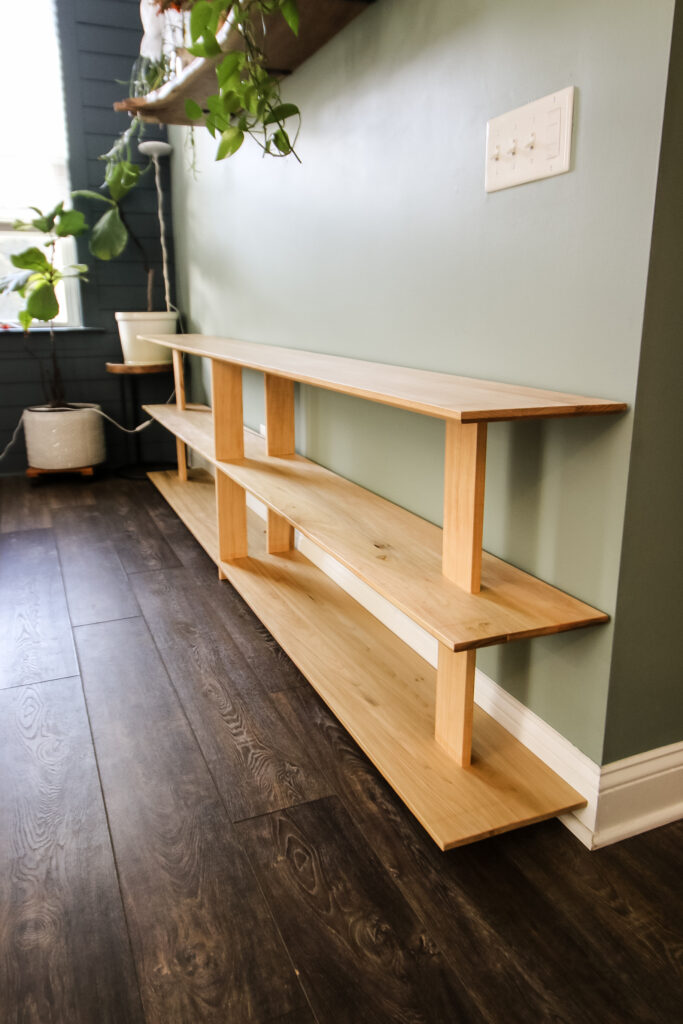
This midcentury modern sofa table is a great addition to any home! Add this behind your couch as a decor piece or to bump your couch off the wall a bit. The shelves offer a ton of storage opportunities or a way to display decor.
This piece just looks completely custom now to our space and fits so well. If you want to adjust the height of the posts or the length of the shelves to adjust for your couch, go for it!
Materials needed:
Here's everything you need to build this table. I designed it so that it would be really easy to get off-the-shelf lumber from your local hardware store and minimal tools to build so anyone can do it!
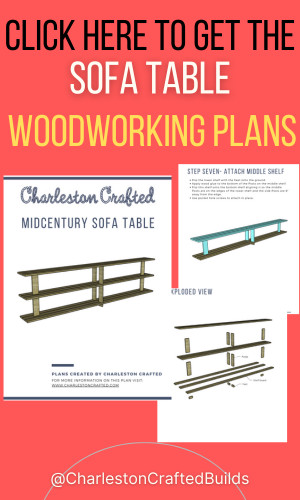
To get the full material list, plus the cut list and instructions, grab the free woodworking plans here!
- 1x4x10s (actual dimensions ¾" x 3 ½" x 10', learn more about actual versus common dimensions)
- 1 ¼" pocket hole screws
- Stain/paint and polyurethane
- Miter saw
- Drill
- Sander
- Kreg 720 Pocket Hole Jig (or your favorite model!)
Step one: Make cuts and drill pocket holes
Start by making all the cuts listed in the woodworking plans. The great part about this build? I designed it to use straight stock 1x4 boards and you can cut the ends off of each one to get the post and feet boards you need! So easy.
Then, drill pocket holes. For me, I used my Kreg 720 Pro to drill all the pocket holes because I was using a mix of long and short boards.
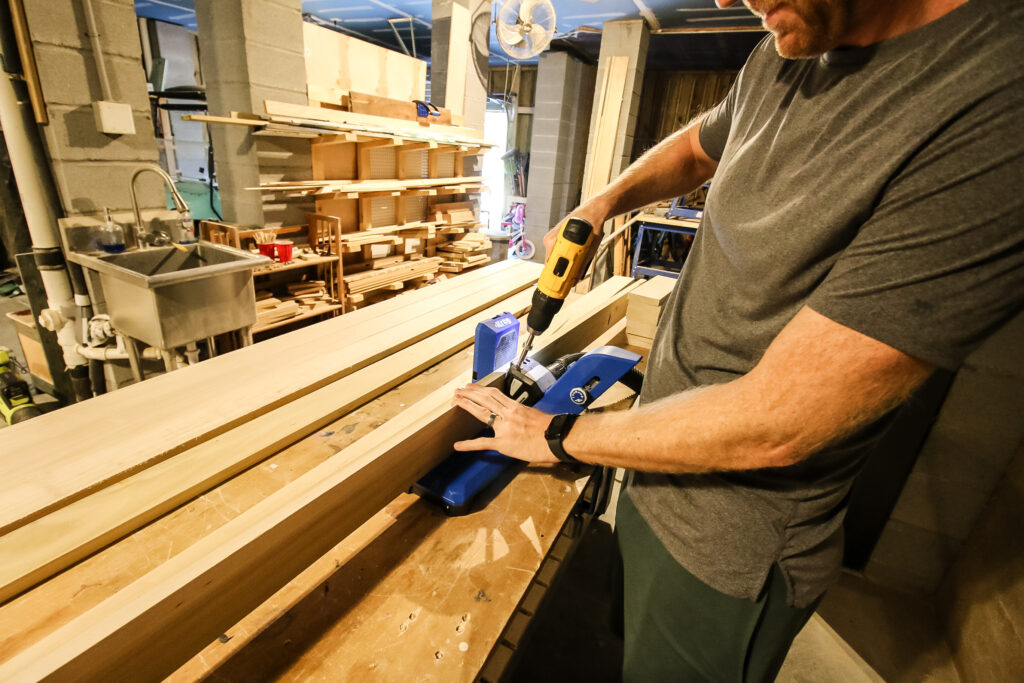
When drilling pocket holes along the long edge of a long board, I like to use the Kreg 720 Pro because it has the fold out wings that give me a longer flat surface to slide it on.
Then, the 720 Pro is great for drilling pocket holes into the ends of shorter boards, as it holds them in place with the AutoMaxx clamp.

Step two: Build shelves
This project has three looooooong shelves for my very long couch. The pocket holes are drilled along the long edges of the shelf boards so they can easily be screwed together.
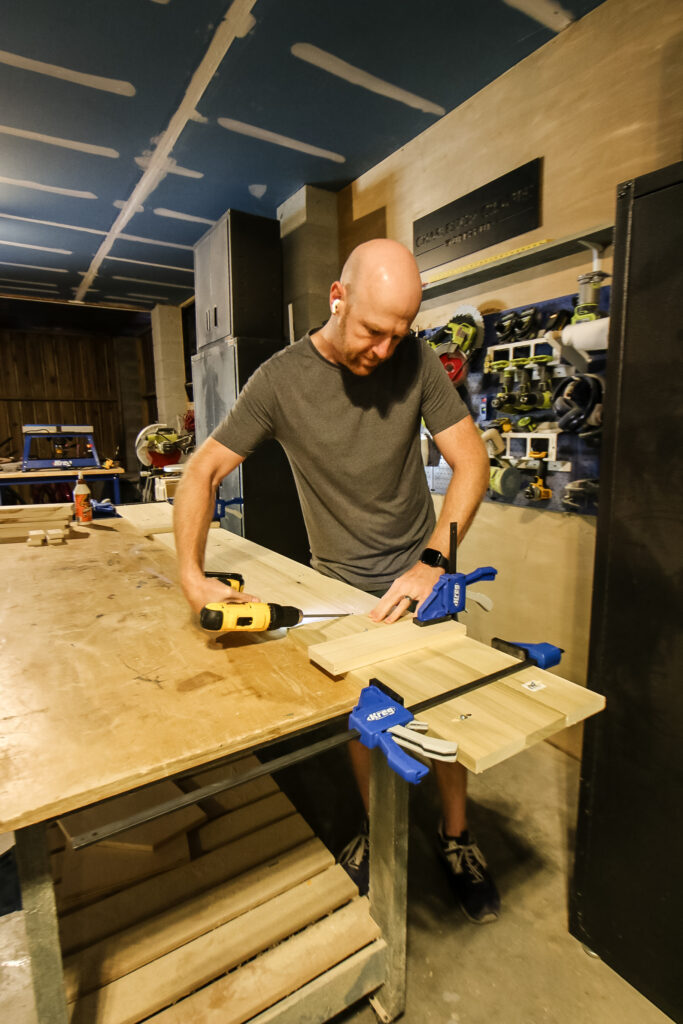
I used wood glue on the inside edges then pushed three boards together. Since the boards are so long, I clamped them together in multiple places and clamped down pressure boards from the top to keep everything flush as I drilled.
When drilling pocket holes to connect boards this long, I like to not work my way from one end to the other and instead move around a bit, connecting one end, then the other, then the middle and then filling in in between.
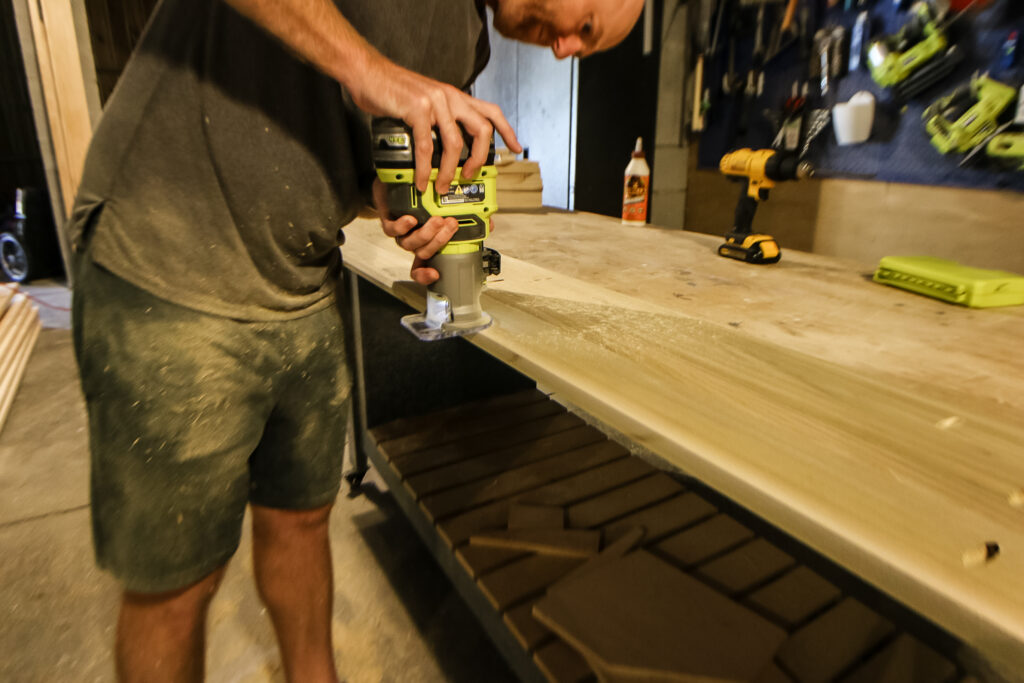
After the shelves were screwed together, I chose to run them through my planer to make sure they were perfectly smooth and also ran a chamfer bit on my router around the edges to give it a little something extra. These are totally optional steps, but it adds a little bit of finish work.
Step three: Add feet
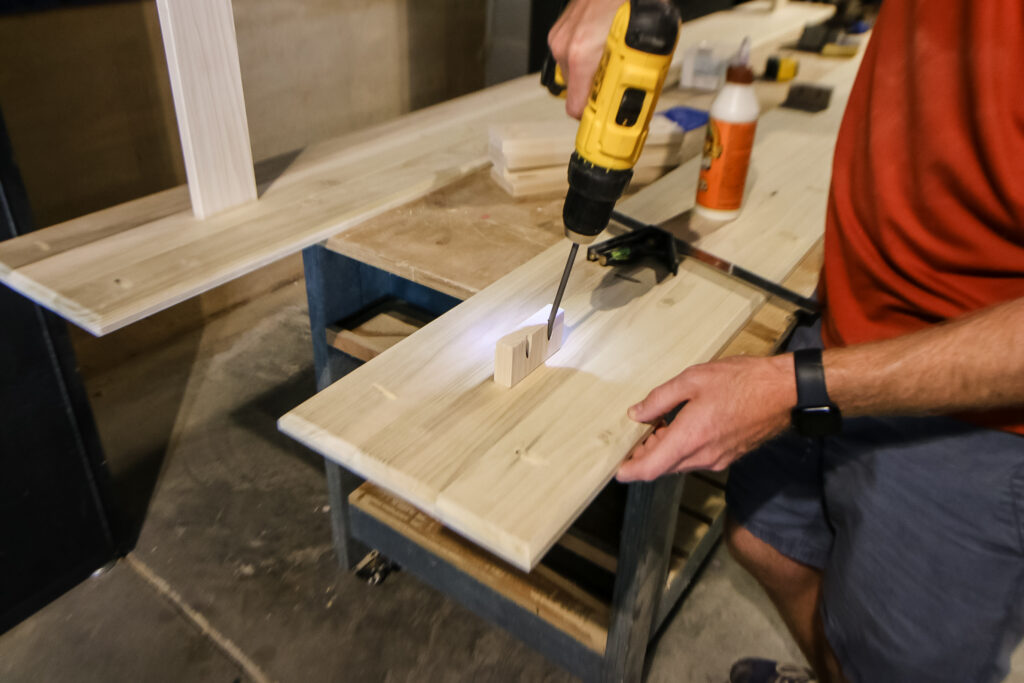
Once the shelves were built, I flipped one over and added the small feet to the bottom. I wanted this table to have a little interest on the legs and posts, so I did them parallel with the shelves on the outside legs and perpendicular to the shelves on the inside legs.
It's important to make sure these are spaced out exactly the same because you need to have the posts lined up on the next shelves. Wood glue and pocket hole screws held these in place easily!
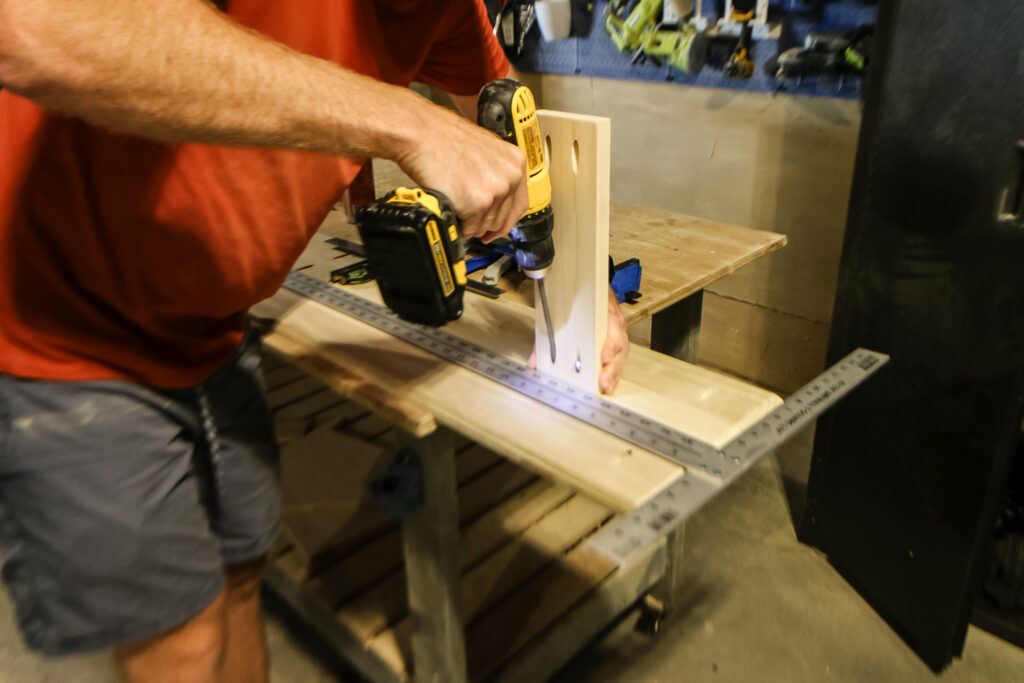
Step four: Add posts
For the next two shelves, I added the posts in the same locations as the feet on the first shelf so that they would all line up when looking at them from the front and side.
One thing to consider when installing the posts is what direction people will see your table from most often and face the pocket holes away from that direction. You can fill them, but you still want to have the clean side facing the most common direction.
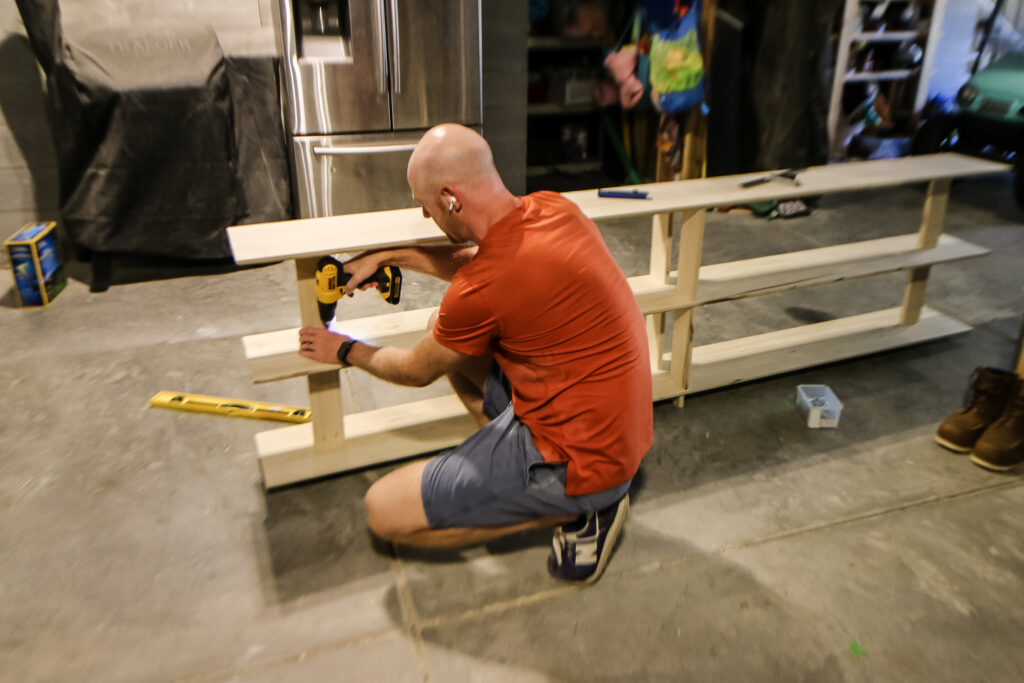
Step five: Connect everything together
Once you have the three shelves put together with the legs and posts, stack them on top of each other and make sure that the legs and posts are evenly spaced on each level. Use a tape measure, speed square, level, anything you need to make sure that each shelf is perfectly in line.
Then use pocket hole screws to screw the posts from into the shelves below them.
Step six: Finishing touches
Once it was all built, I stained everything with a Golden Pecan stain to try to color match as best I could to the base of my new couch and the angled dining table that you can see nearby. Then I added a coat of polyurethane and moved it into place!
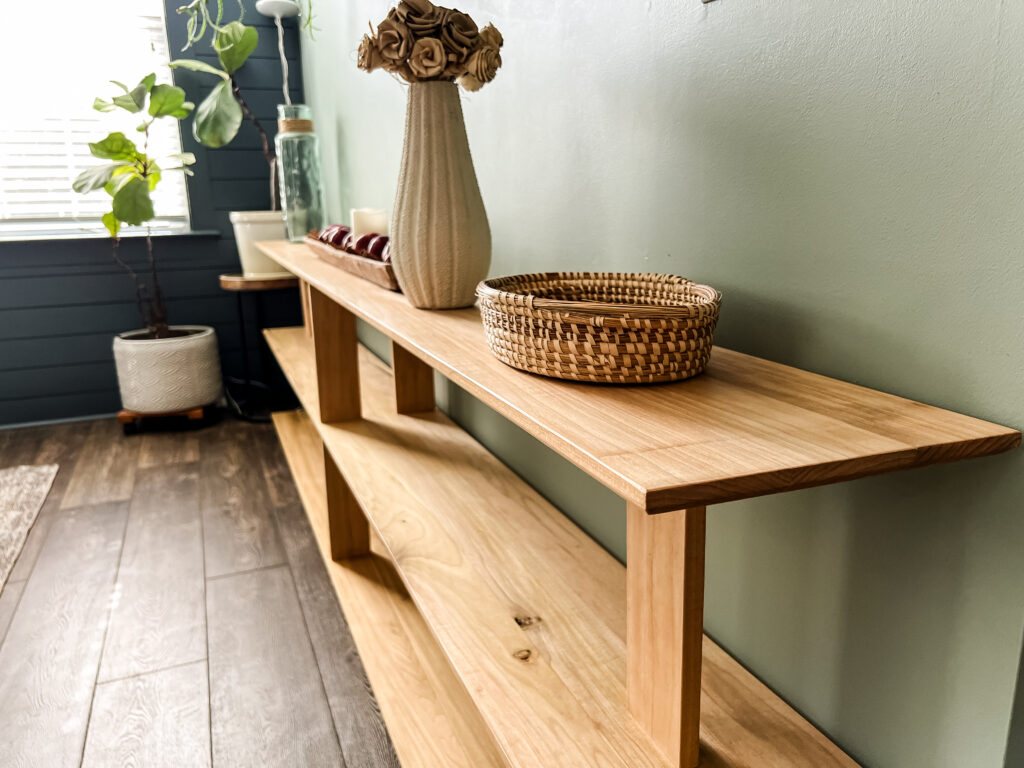
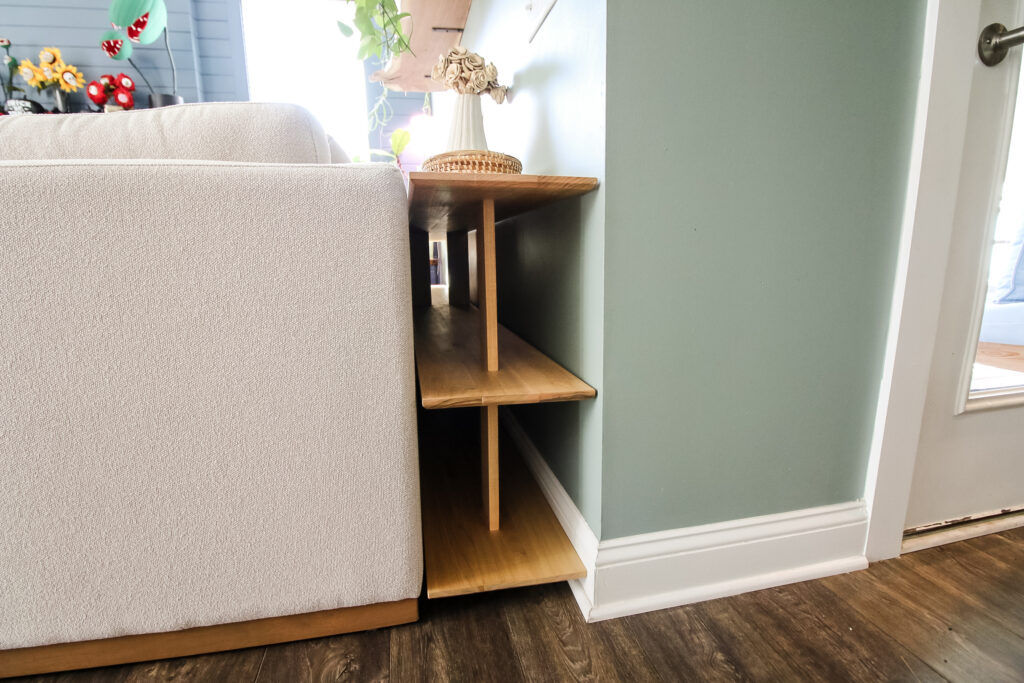
It looks amazing by itself, but with our couch placement, you only see the top and the sides, but I absolutely love how it looks. The clean lines and cool design work, even between the couch and the table. If it was on full display, I'd love it even more.

DIY midcentury sofa table woodworking plans
If you love the look of this DIY midcentury sofa table and want to build it yourself, I've made woodworking plans and they are available FOR FREE thanks to Kreg Tool!
The plans come with a full material list, cut list and step-by-step instructions to help you with your build. The plan uses straight cuts and pocket hole joinery, so anyone can use this as an intro project or if you're experienced.
Make sure you grab the free sofa table woodworking plans today and get started on your build!

Looking for something?
We've been doing this since 2012 so we have a LOT of blog posts!
Search stuff like: Ceiling Projects | DIY Plant Stands | Thrift Flips

Hey there, I'm Sean, the woodworking enthusiast and builder behind CharlestonCrafted.com! Since 2012, I've been sharing the magic of turning raw materials into beautiful creations. I love teaching others the art and satisfaction of woodworking and DIY. I try to inspire fellow crafters to make something extraordinary out of nothing at all.


