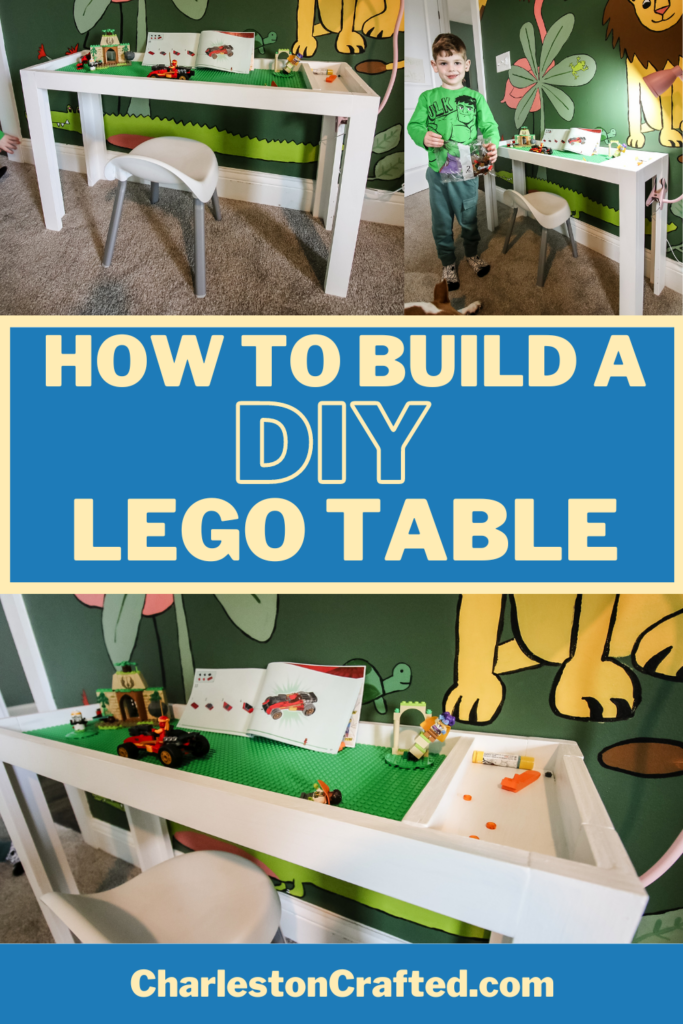
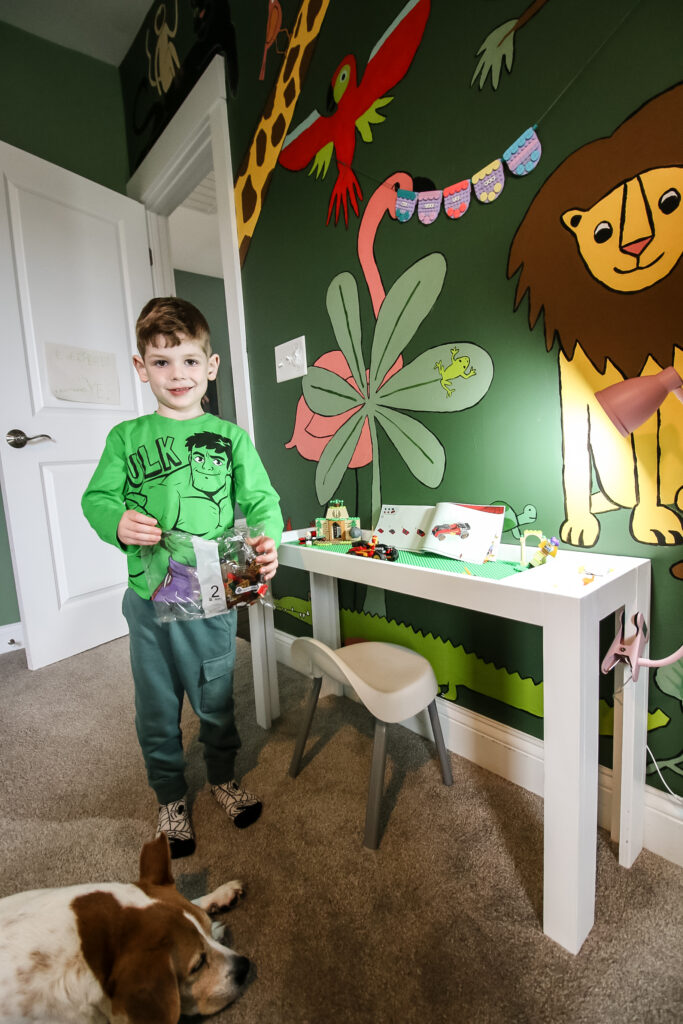
Our 5 year old is obsessed with Legos, but he built them all on the floor. So, we built a simple DIY Lego table for him to do his builds! Here's how to make it!
Last summer, my dad found two tubs of my old Lego in his garage and brought them with him on a visit to our house. My son and I spent the next couple of months figuring out all the different sets that were in the tubs with no instructions and rebuilding them all.
He became OBSESSED with Lego after this. So much so that we built him a whole Lego display shelf with book storage and an attached stuffed animal zoo.
Lego sets are all he's asked for for his birthday and Christmas, so he's been building for awhile now. But he's done all the builds on the floor.
I've been helping him with these as needed, but I couldn't stand laying on the floor anymore and he didn't like the hairs from the carpet getting in his pieces. So, for Christmas, we built him a DIY Lego table.
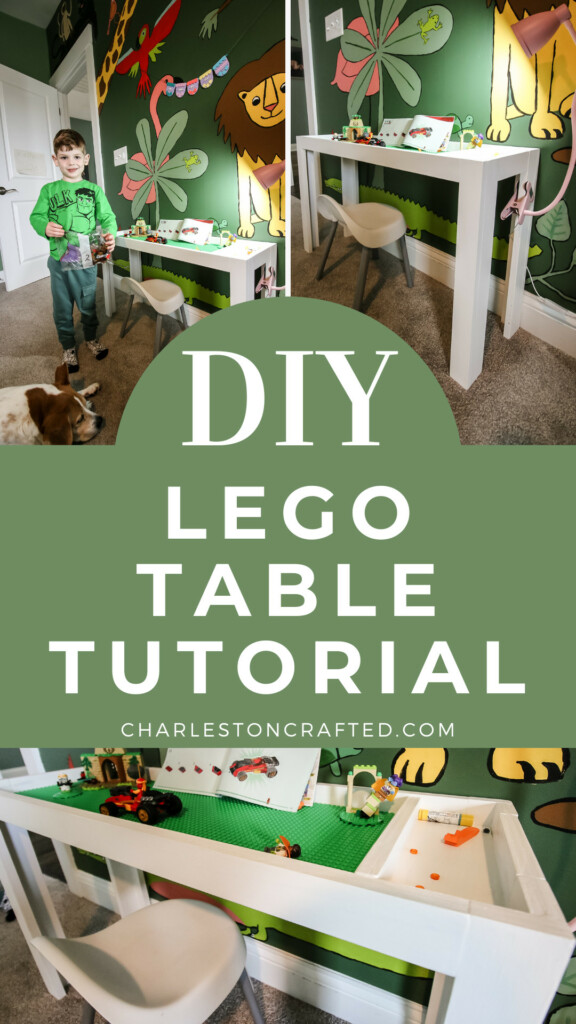
Simple Lego table
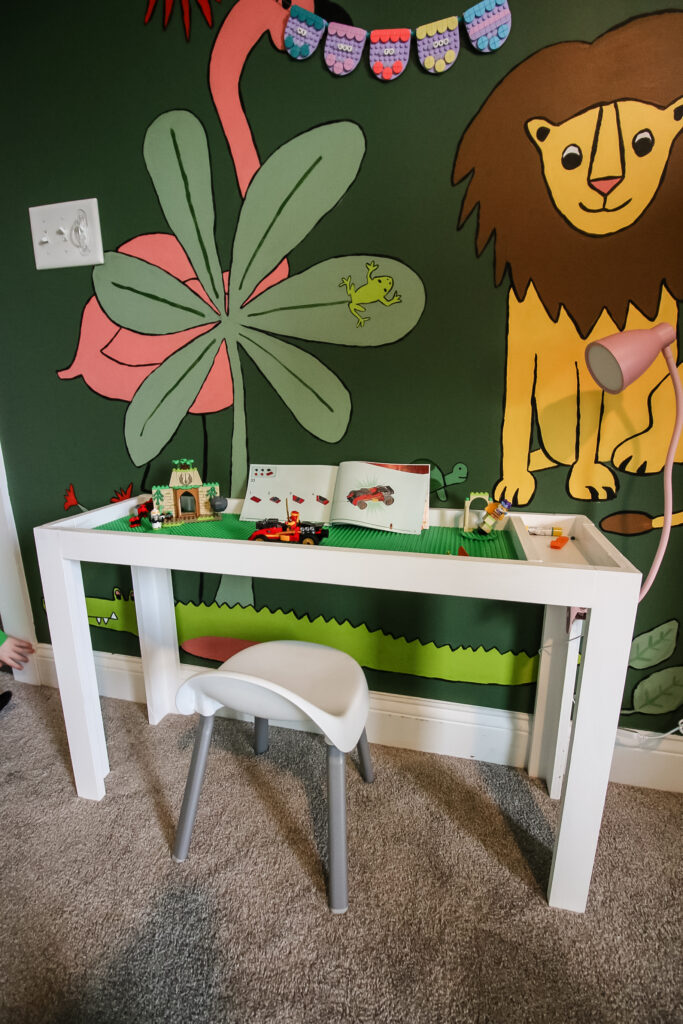
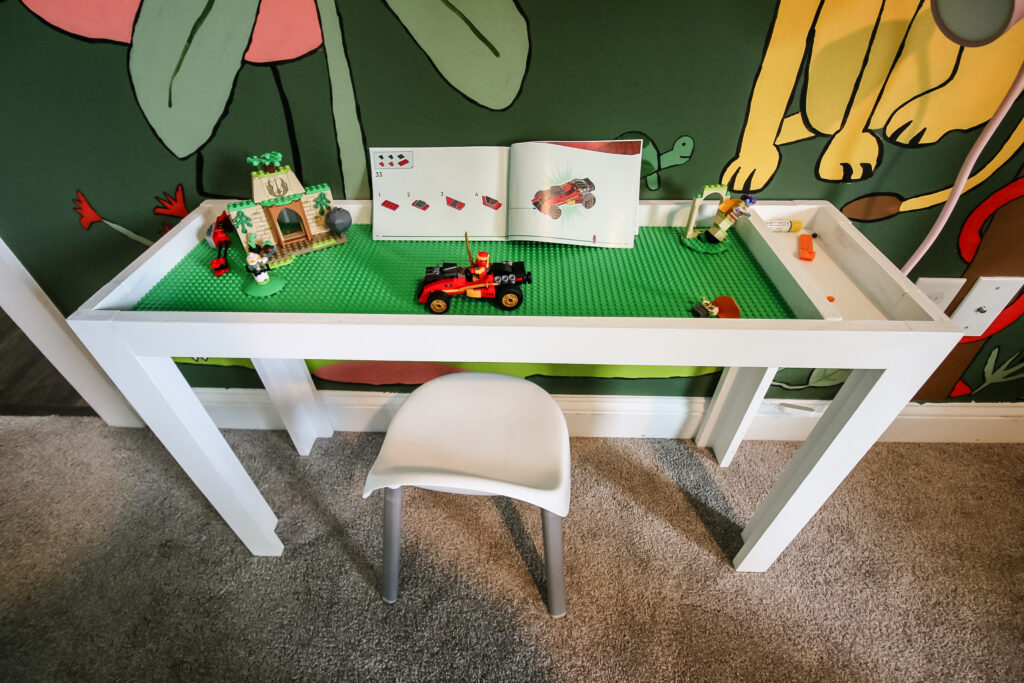
We designed this Lego table to be fairly simple and fit a specific space in his room. However, it's a perfect size for a young child.
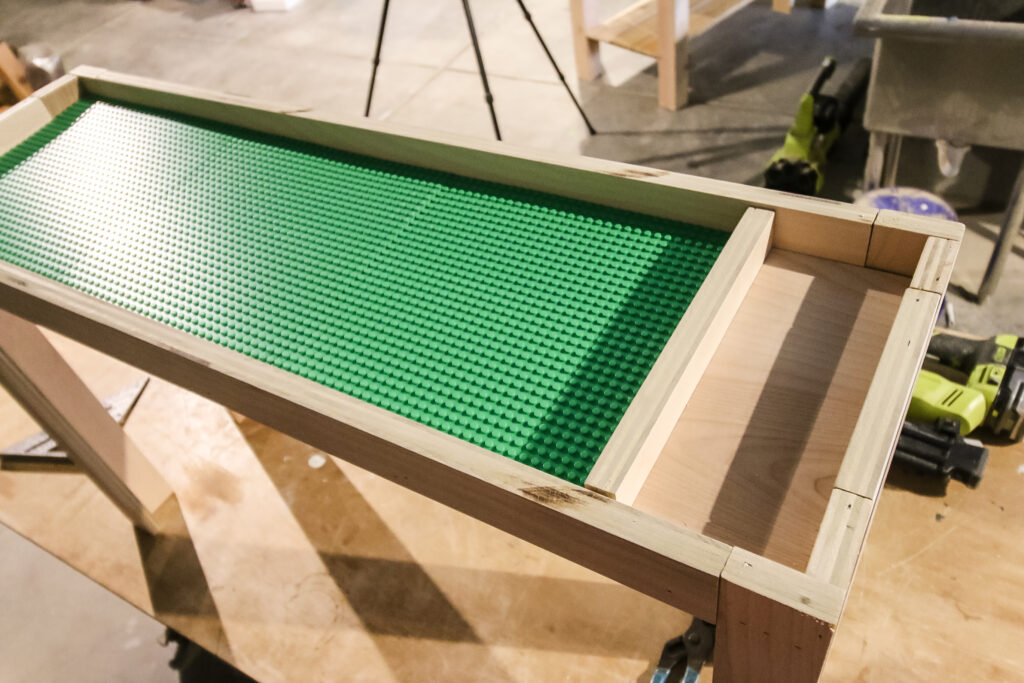
The table is built with three standard Lego baseplates as the work surface and includes a small area to dump out each bag as you're building. I bet we'll end up building a bigger Lego table with storage in the future, but for now, this simple table is perfect.
How to build a Lego table
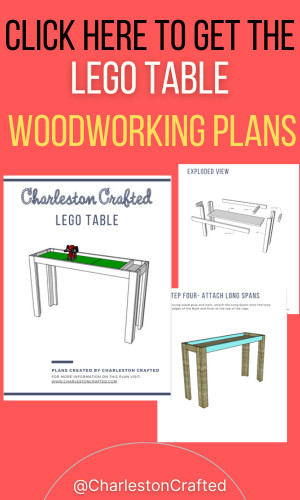
Let's show you the overview on how we built this simple DIY Lego table, but make sure you grab our printable PDF woodworking plans to get the job finished. Our plans will have the full material list, cut list and step-by-step instructions for you to print out and have with you for the build.
Materials needed to build a simple Lego table
Here's what you need to build this simple Lego table:
- ¾" plywood
- (3) 10"x10" Lego base plates
- Wood glue
- Paint of choice
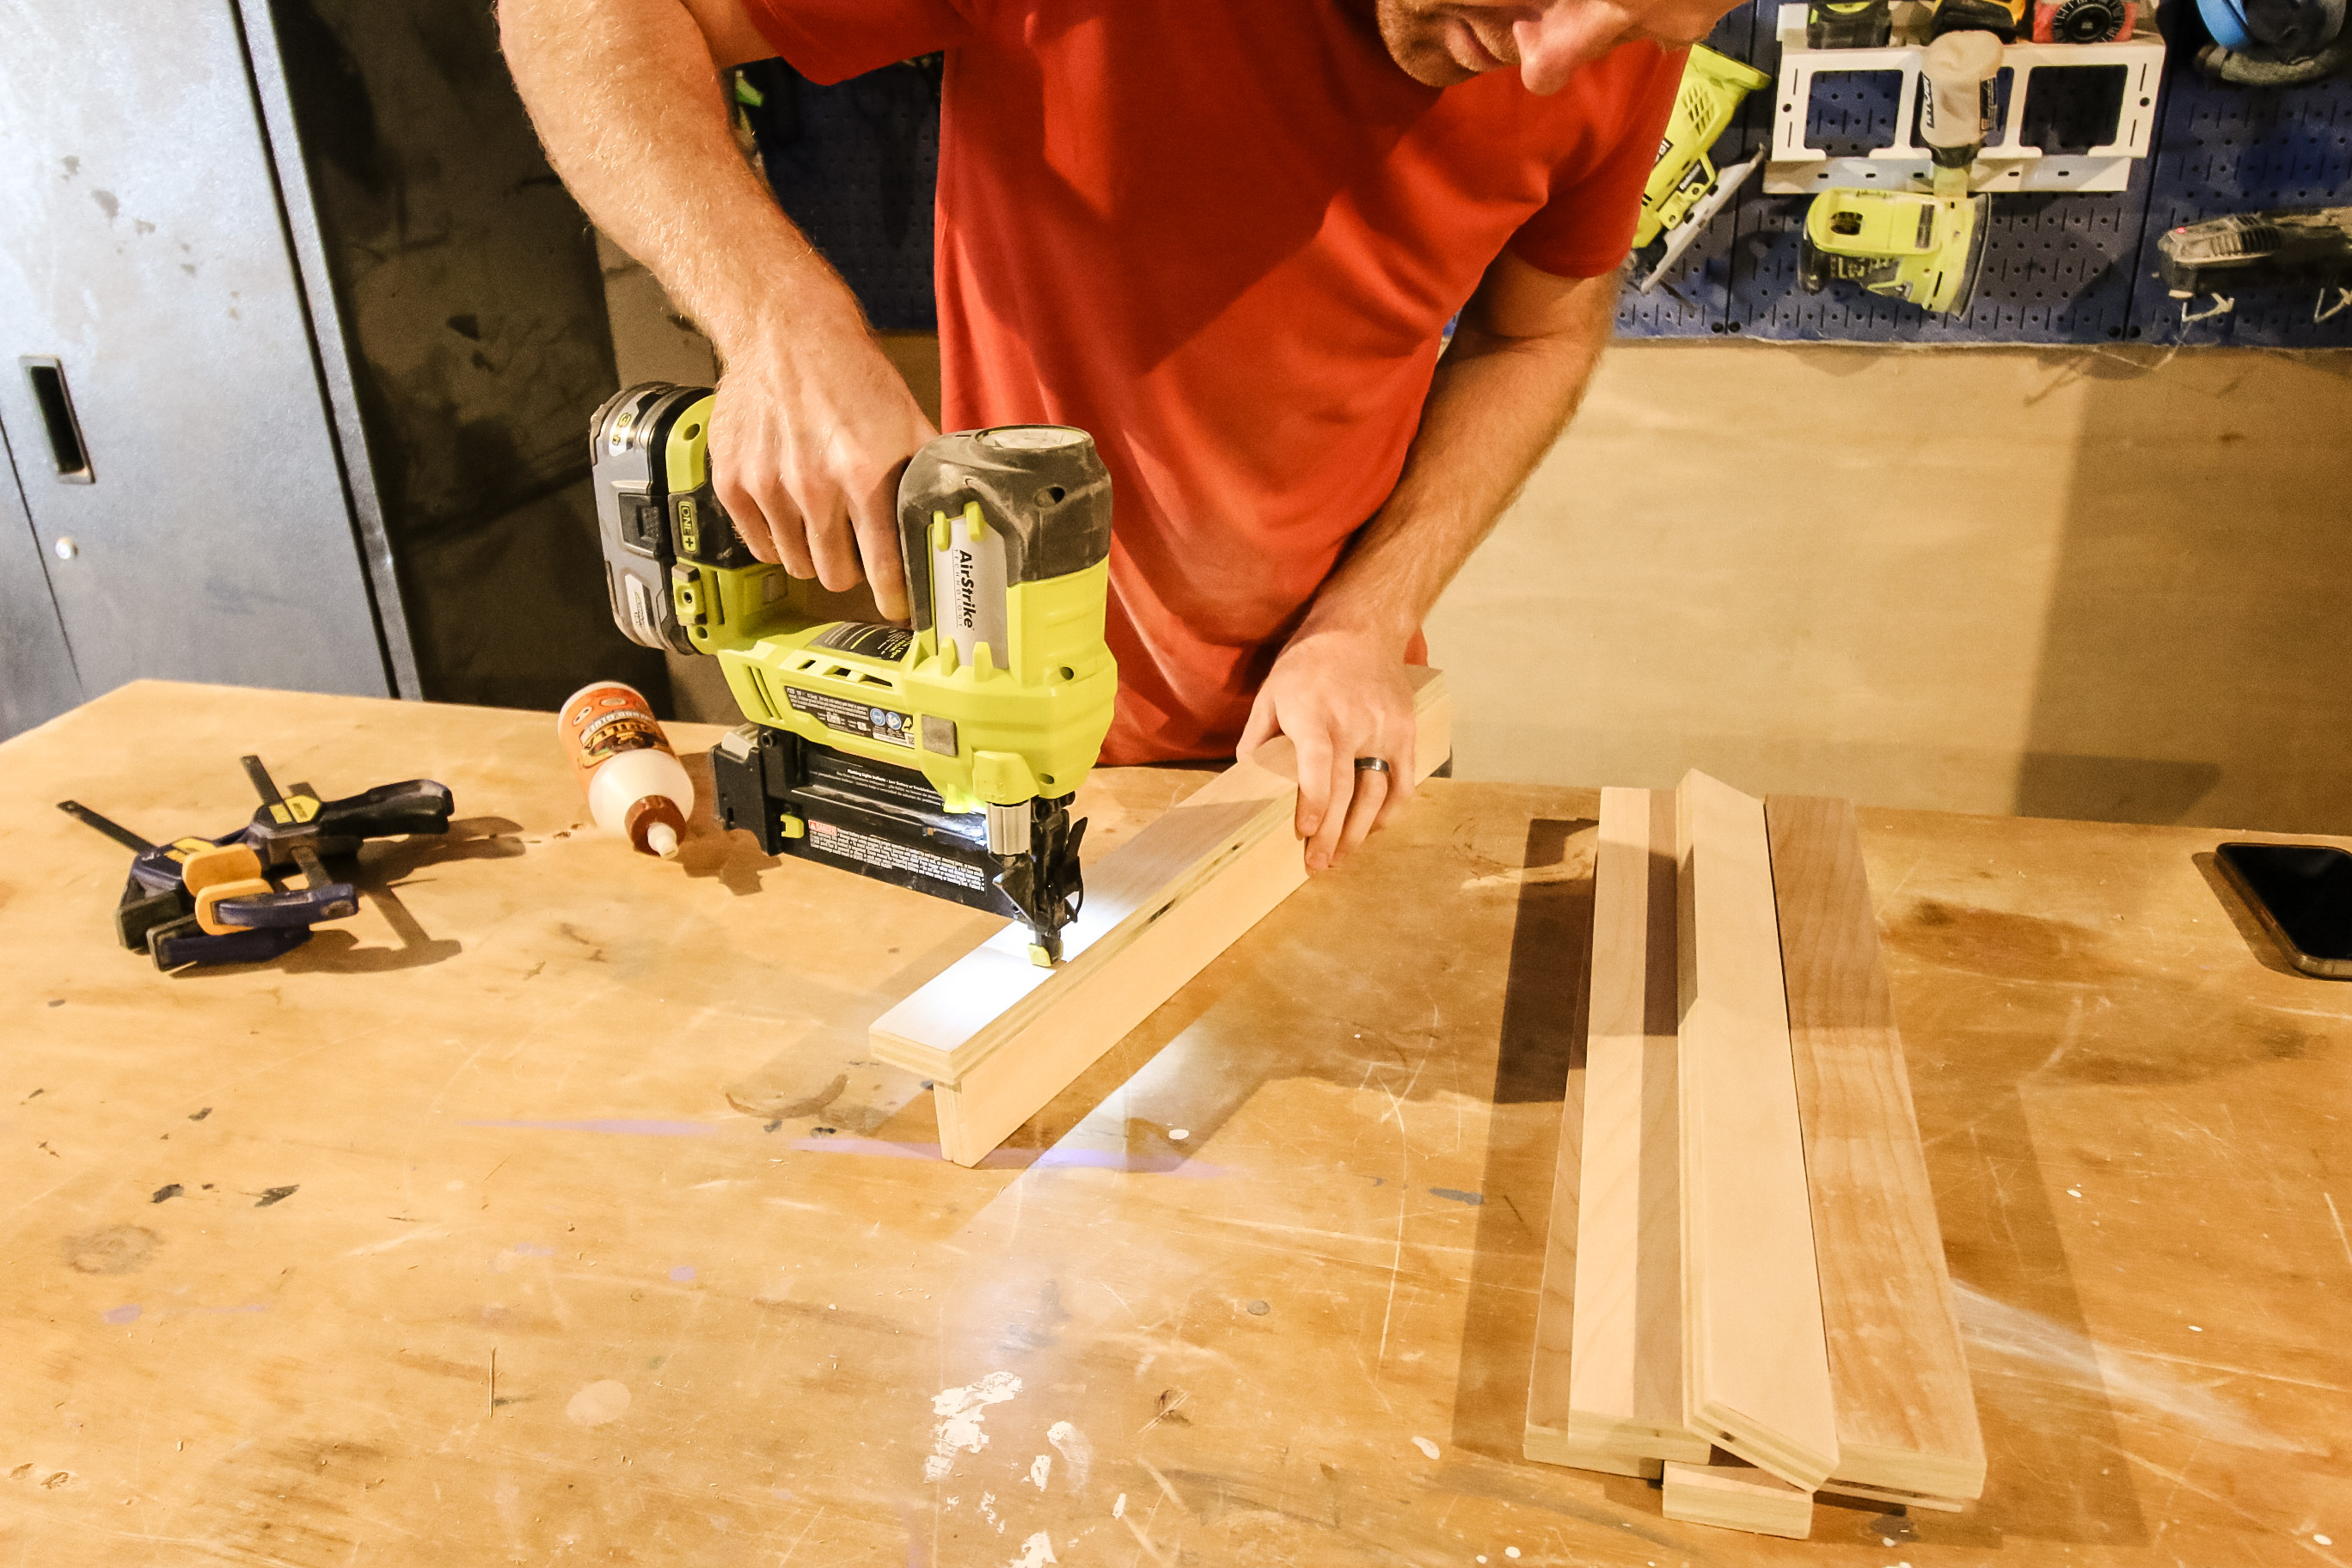
Step one: Assemble legs
Start by building the four sets of legs. Each leg set is built as a 90 degree angle, which helps the table be more sturdy. Since it's small, having just straight legs wouldn't have provided a lot of stability.
We assembled each set of legs with wood glue and nails.
Step two: Attach legs
Next, we connected the legs using a short span of wood. These little boards are held together with just nails and wood glue and clamped together. You could make them more secure with pocket holes, but we wanted this to be a quick project.
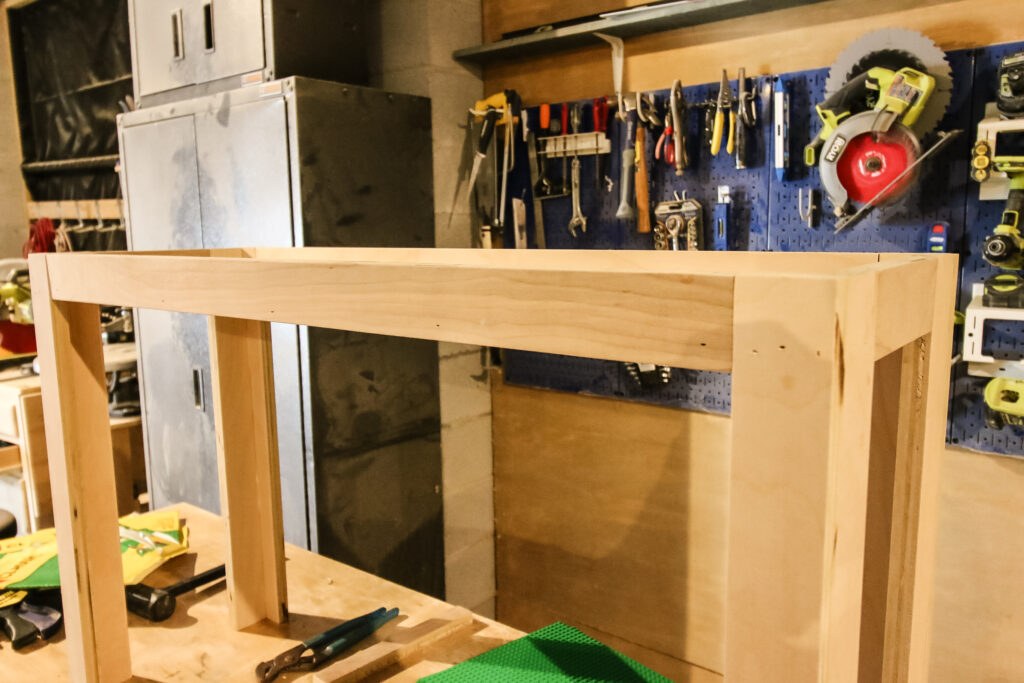
Step three: Connect bottom
Next, we attached the base of the table between the four sets of lets.
We set this down so that there was a lip around the edge of the table enough that no Lego pieces would roll off but that our son wouldn't have to be reaching down into a box.
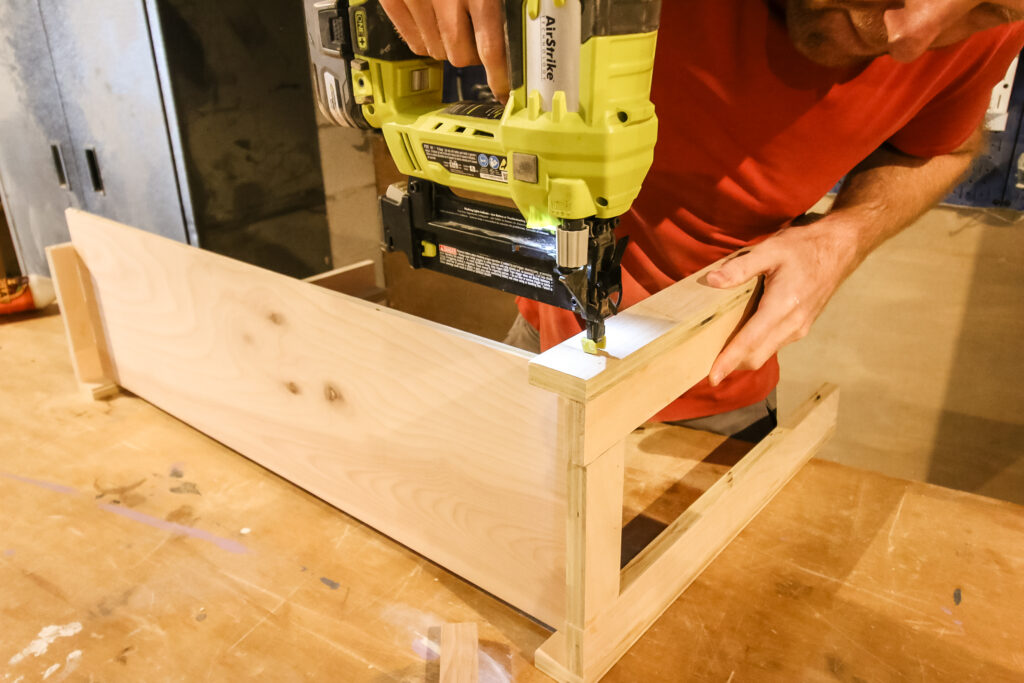
Step four: Connect sides and divider
Finally, we attached the long spans of wood across the front and back of the table, gluing and nailing them to the base and the legs.
With those in place, we temporarily dropped in the baseplates to measure exactly where they went to, then glued and nailed in a small divider to separate the piece storage from the building area.
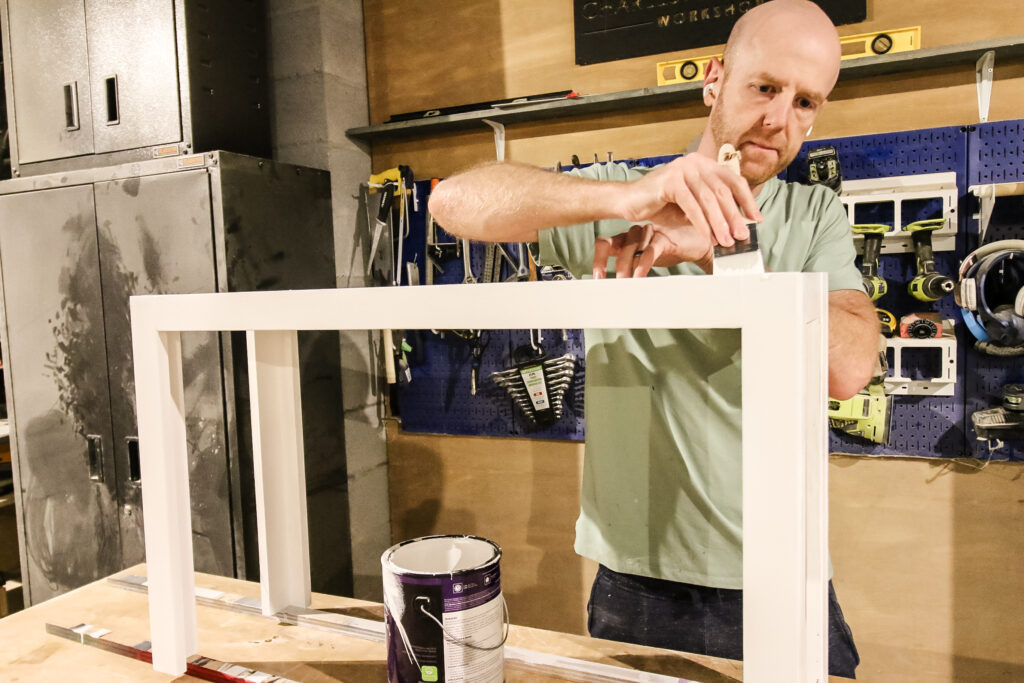
Step five: paint
After it was completely built, we painted our Lego table white to match the Lego display shelf we had already installed. Then we added polyurethane to protect it since it would be getting a bunch of beating.
Here's some of our best tips for painting plywood!
Step six: Insert baseplates
Finally, we dropped in some standard Lego baseplates into their main section. We considered sticking the Lego plates to the table, but opted against this. Making them permanent would mean never being able to use it for anything else or if we had any issues, we couldn't get them out.
Keeping the baseplates moveable means we can pull them out and he'd have a flat surface if he wanted to use this as a desk or something like that. Plus you can clean them or under the table too!
How to make a Lego table woodworking plans
Lego tables are absolutely worth it to build for a kid who loves doing Lego sets. It's a great way to give them a place to sit and build.
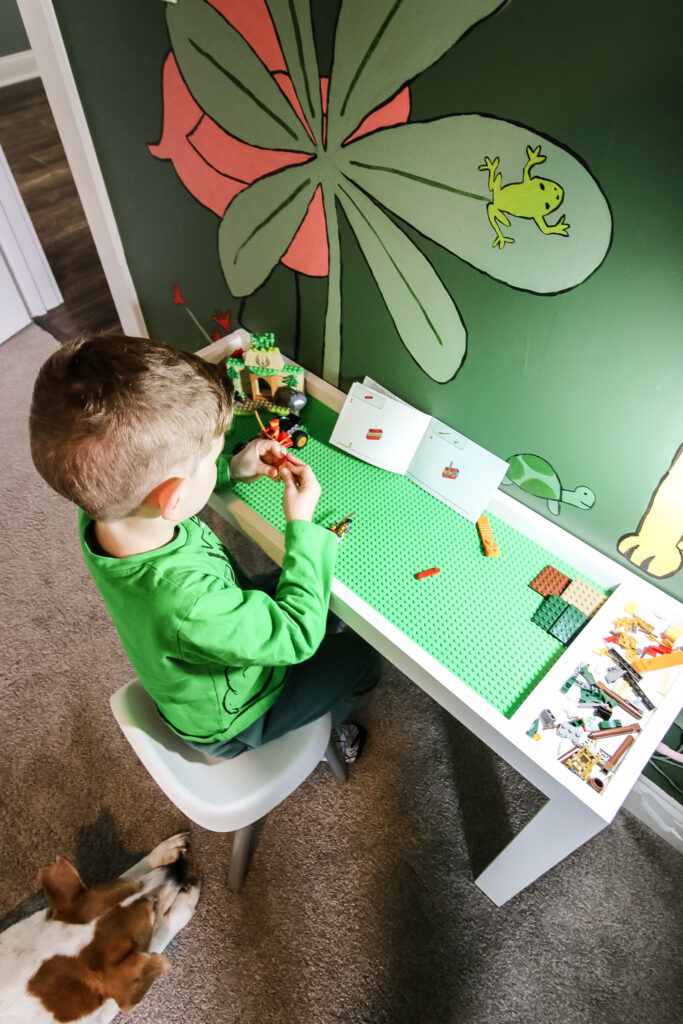
With the baseplates, they can also use this area as a free play building surface with all of their Lego creations. And now you can get our woodworking plans to make this table yourself!
Our DIY Lego table woodworking plans come with a full material list, cut list and step-by-step instructions with computer model imagery to get you through each step.
Before you go...
Here's some great options for storing or showcasing your kid's Lego builds!

Looking for something?
We've been doing this since 2012 so we have a LOT of blog posts!
Search stuff like: Ceiling Projects | DIY Plant Stands | Thrift Flips

Hey there, I'm Sean, the woodworking enthusiast and builder behind CharlestonCrafted.com! Since 2012, I've been sharing the magic of turning raw materials into beautiful creations. I love teaching others the art and satisfaction of woodworking and DIY. I try to inspire fellow crafters to make something extraordinary out of nothing at all.