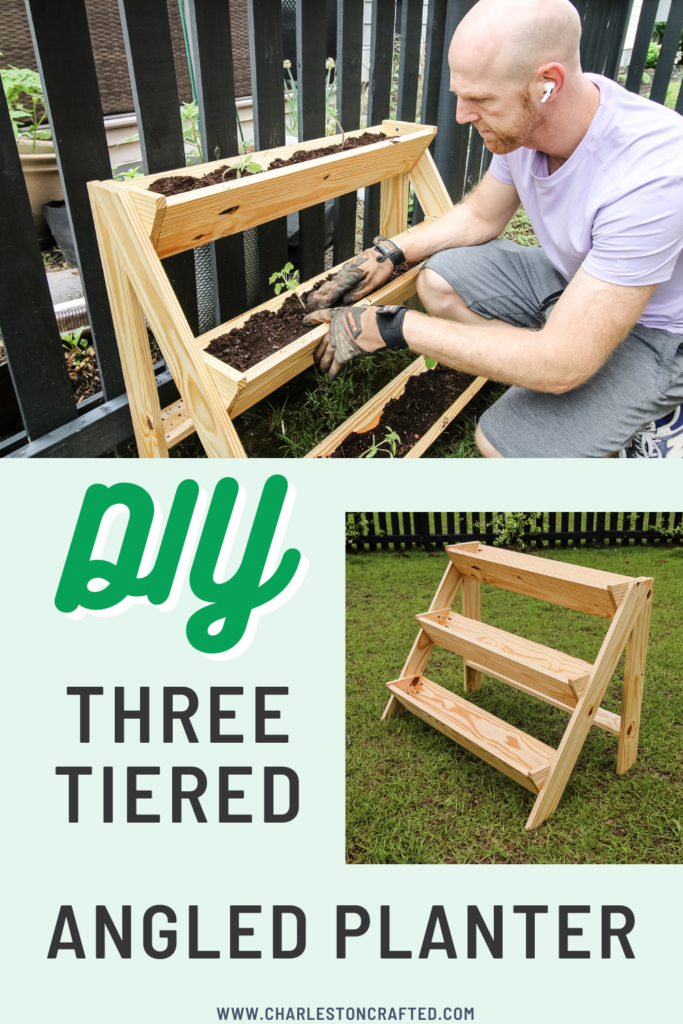
Check out how we built this simple and beautiful three tiered planter that gives you lots of vertical space to plant!
This post was sponsored by Kreg Tool. All opinions are our own and our opinion is we love Kreg products. Thank you for supporting the brands that make Charleston Crafted possible.
We're always building new things for our yard to grow new plants and veggies. With a small yard, we don't have a spot for a huge single garden, but we can put different plants in different smaller areas around the yard.
We started out with some simple raised garden beds when we first moved in and we put two on either side of our side yard gate to grow tomatoes and peppers.
Then last year, we added a similar bed but with a tall trellis to grow blackberries and raspberries up.
Finally, we built an elevated garden bed at standing height that we use for herbs all years.
This time, we wanted something tiered that we could squeeze into one more area of our yard and grow a variety of plants that we have. Most of them we only have one plant of, so we wanted to mix these all together.
Here's how we made it!
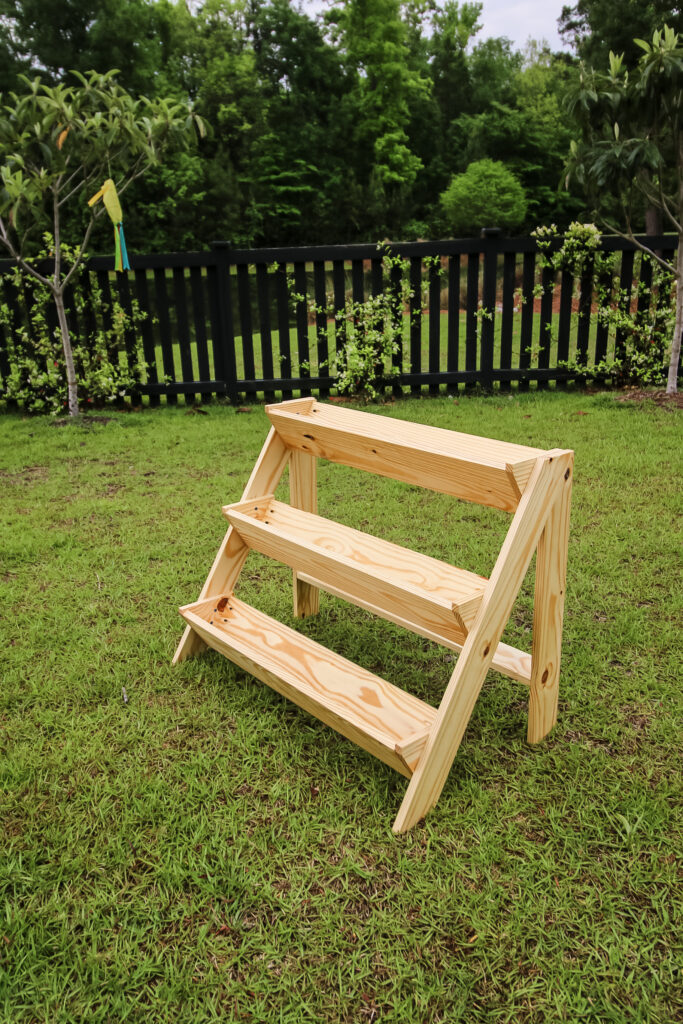
DIY 3 tier planter
We love this simple design for a 3 tier planter because it saves space and helps you grow a lot of smaller plants in one area.
We've got all the overall materials and tools needed listed here and the general steps. You can also get the full detailed woodworking plans for this project for FREE here!
Here's how you make a 3 tier planter!
Materials needed
- 1x4x8s
- 1x6x8s
- Wood glue
- 1 ¼" Kreg outdoor screws
- Outdoor sealant
- Kreg pocket hole jig
- Drill
- Sander
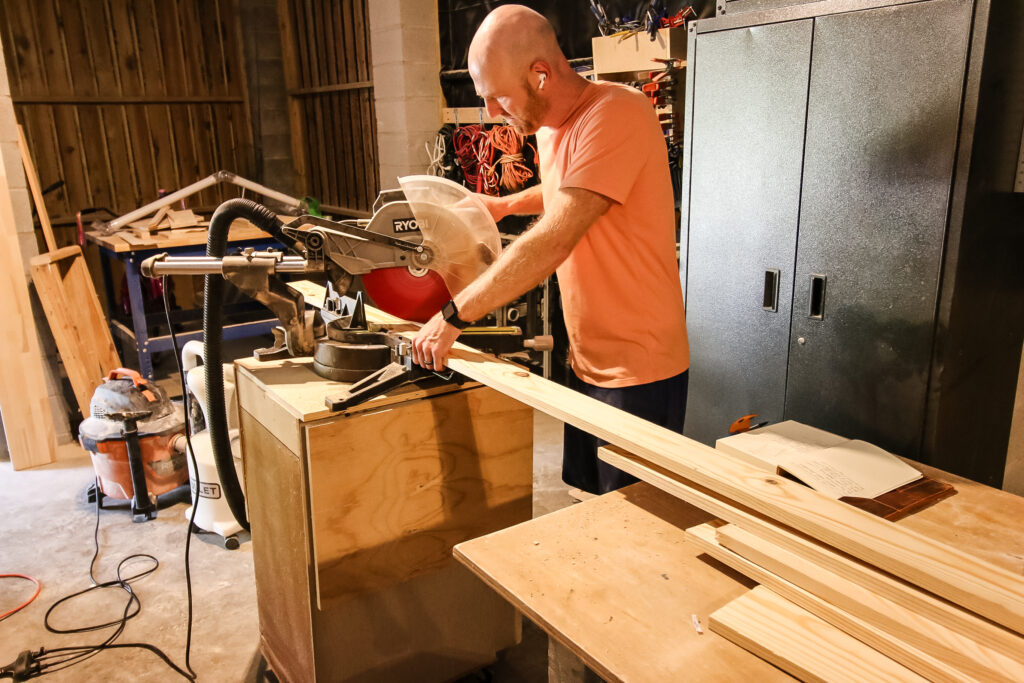
Step one: make cuts
Start by making all your cuts listed in the cut list of the woodworking plans. There's one cut that's a little tricky because it's beyond the range of a miter saw.
To make that cut, you need to make a 31.6 degree cut on a piece of wood, then clamp it in place and adjust the saw back to 90 degrees. Then you cut the board for this cut along the edge.
You can watch my video explanation of it here to get a better understanding!
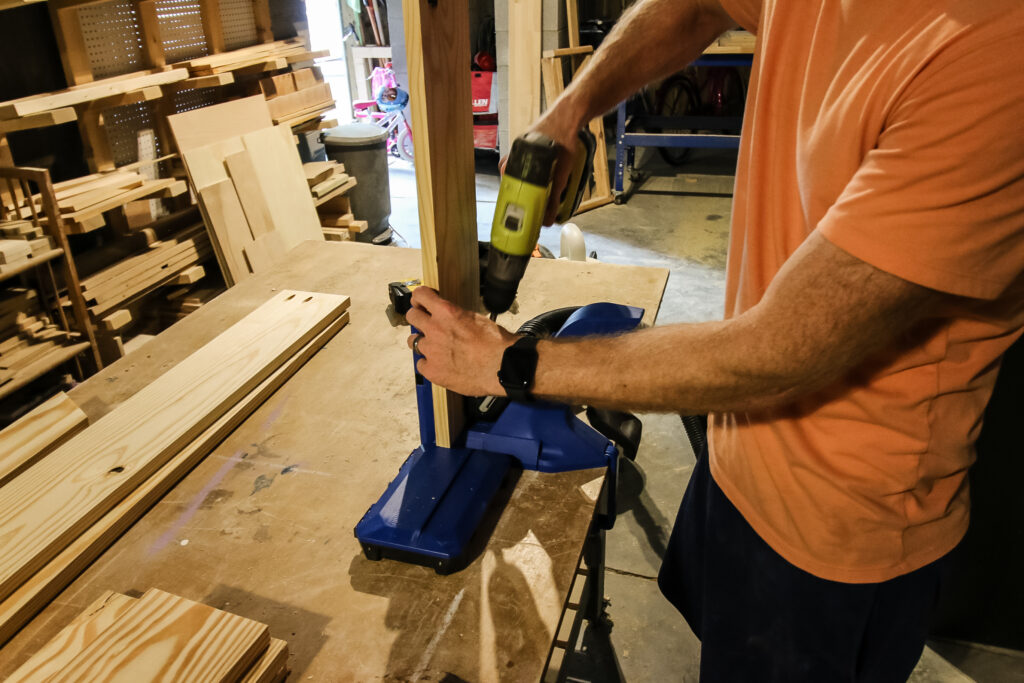
Step two: drill pocket holes
With all your pieces cut, it's time to drill pocket holes! For this project, I used my Kreg 720 Pro pocket hole jig to drill all the holes I needed very quickly.
I've got the exact pocket hole locations in the free woodworking plans for this project, but you basically need to make them on the trough faces and two of the legs.
The Kreg 720 Pro is my favorite pocket hole jig because of its wide base and Auto-Maxx clamping system that makes drilling pocket holes quick and easy! Check out my full review of the Kreg 720 Pro here!
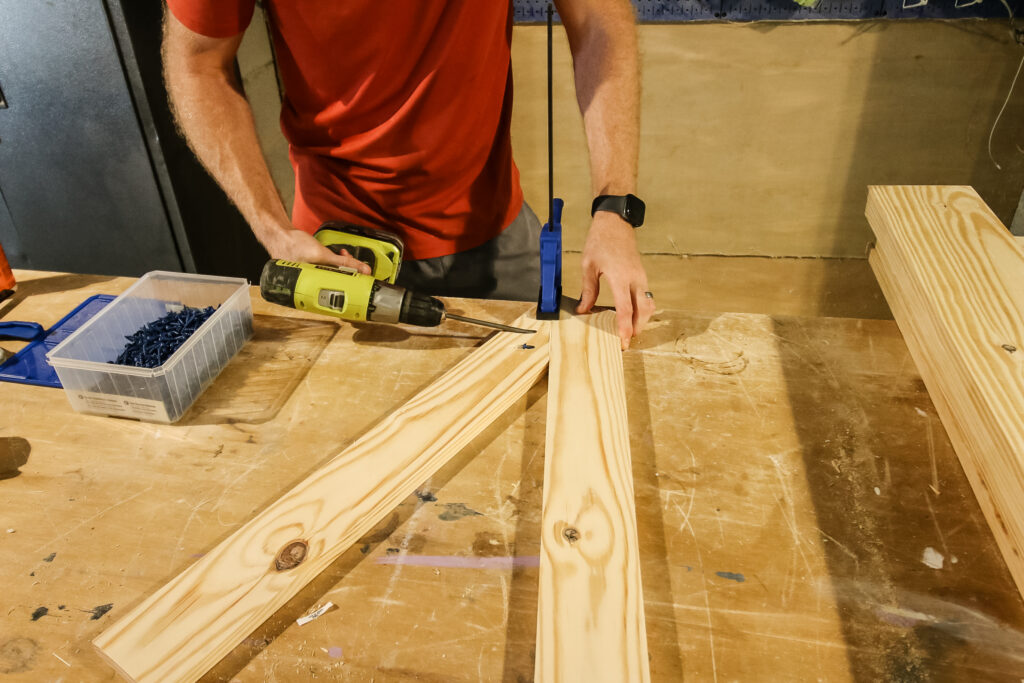
Step three: make legs
With everything cut and drilled, it was time to start building. I started by building the leg sets, which was just a matter of aligning the extreme angle cut I made on the back legs with the angles of the front legs.
I used wood glue and pocket hole screws to attach them and made two sets.
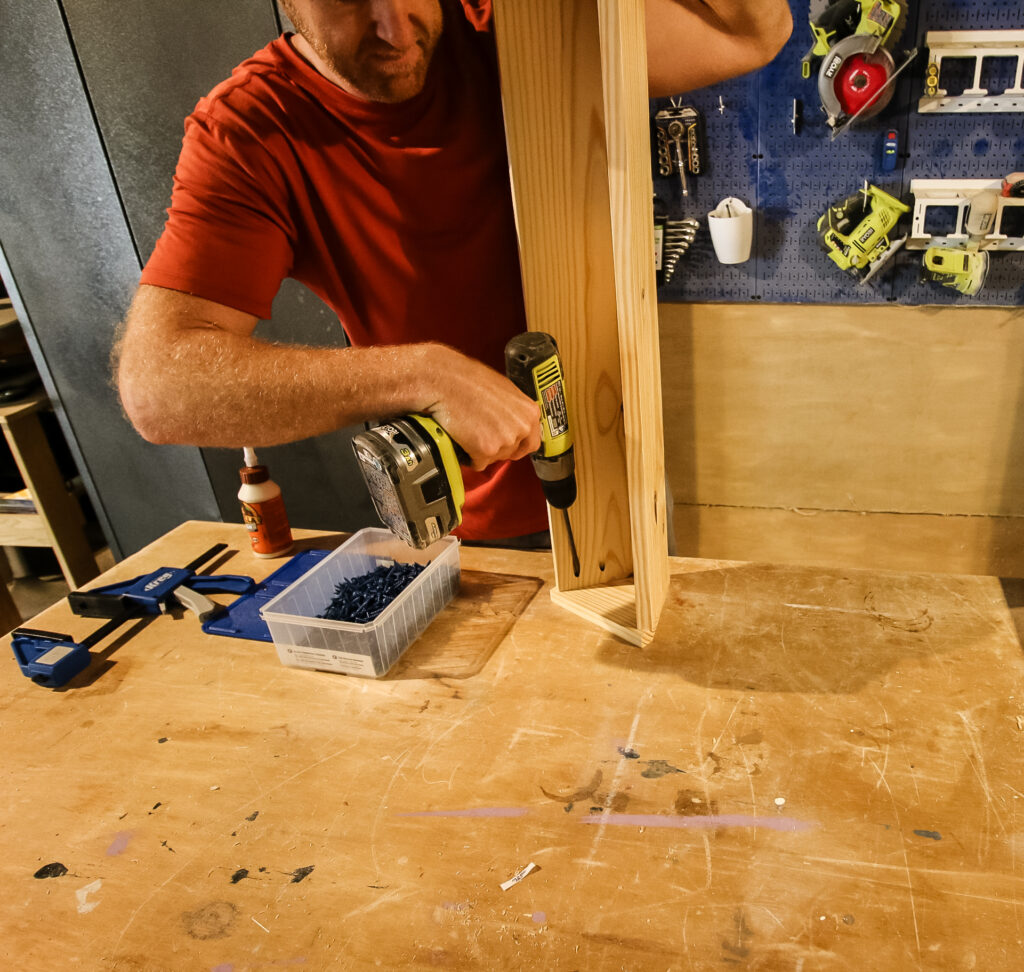
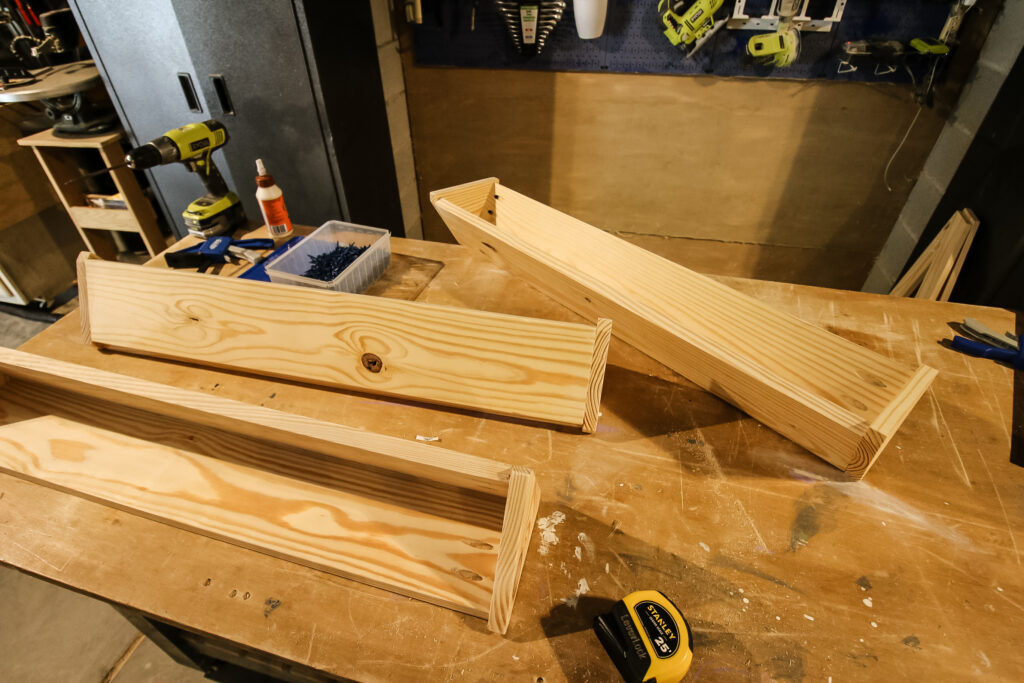
Step four: make troughs
Next I built the troughs. These were two faces connected into two sides with wood glue and pocket hole screws.
I designed these to not connect in the middle base so that water could drain out when we water them. That's different from when I drilled holes in the bottom of the of these deck rail planters for the water to drain out.
Step five: connect troughs
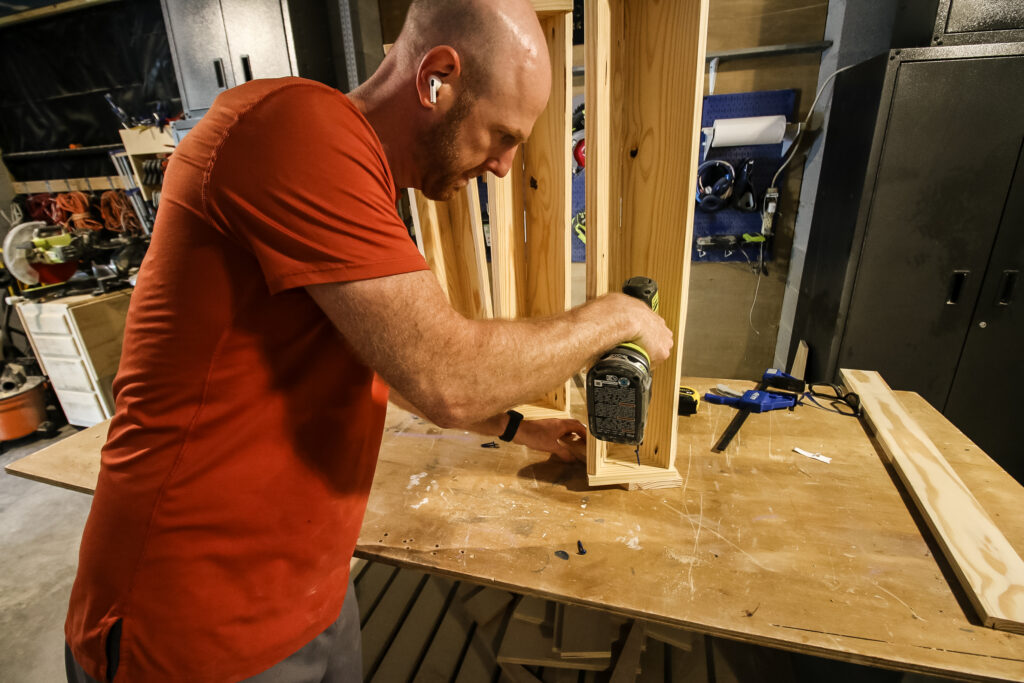
Next I connected the troughs to the leg sets on each side. Fun fact- you can use Kreg screws for more than just pocket holes!
I simply screwed two screws straight through the inside of the trough sides into the legs to hold them up. Boom!
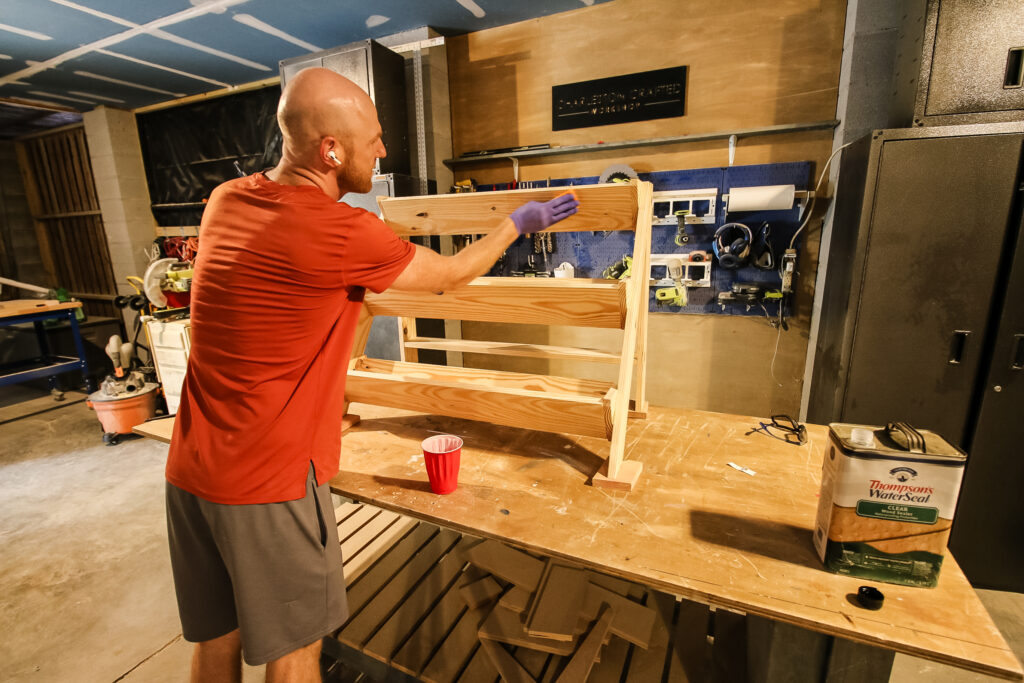
Step six: stain or seal
Once it was done, I added a coat of clear outdoor sealant to mine, but you can stain or seal yours however you want.
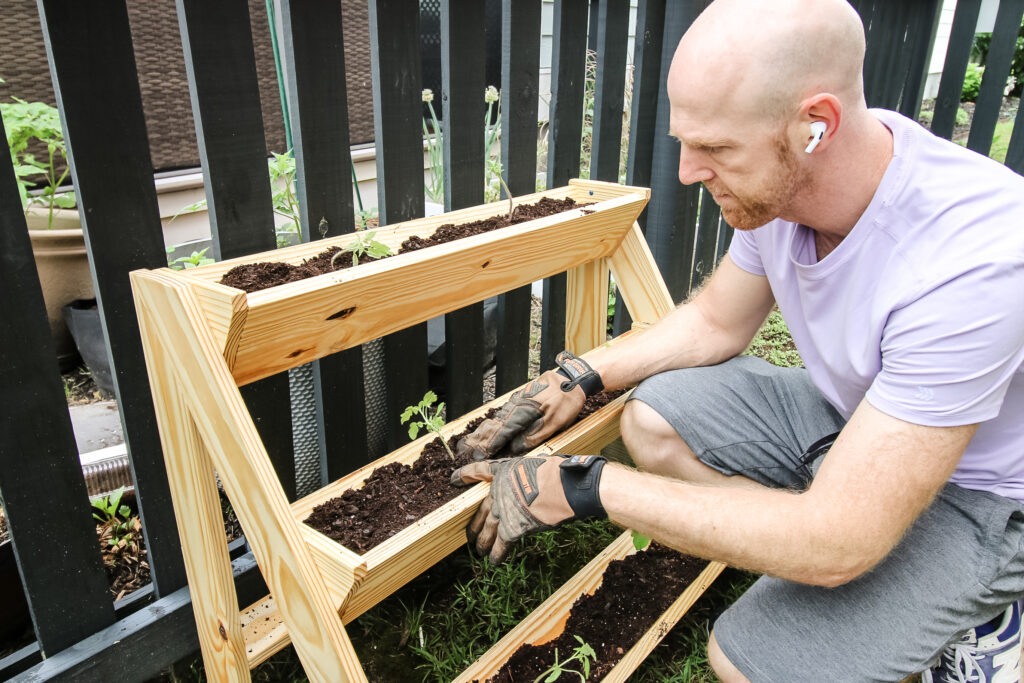
Step seven: fill with plants
Finally, I filled it up with plants! We added dirt to each trough and then added tomatoes to ours. We went a little overboard on planting tomato seeds this year and ended up with 48 plants growing...
These should grow fine here, even though they will get a little tall. But this tiered planter is great for herbs or flowers as well!
DIY three tiered angled planter free woodworking plans
If you love this plan, click here to grab the free woodworking plans!
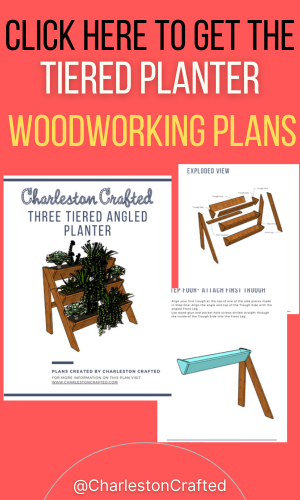
Our plans include the full material list, cut list and step-by-step instructions with computer model imagery. And thanks to Kreg Tool, they are free to you!
So make sure you grab these plans and start your garden!

Looking for something?
We've been doing this since 2012 so we have a LOT of blog posts!
Search stuff like: Ceiling Projects | DIY Plant Stands | Thrift Flips

Hey there, I'm Sean, the woodworking enthusiast and builder behind CharlestonCrafted.com! Since 2012, I've been sharing the magic of turning raw materials into beautiful creations. I love teaching others the art and satisfaction of woodworking and DIY. I try to inspire fellow crafters to make something extraordinary out of nothing at all.