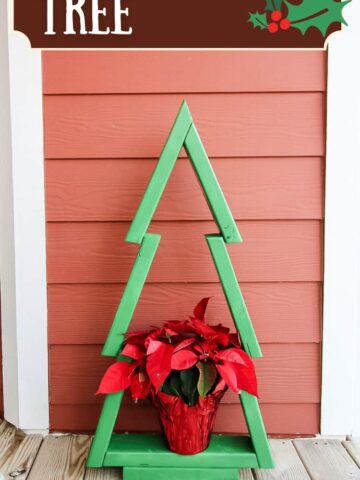
This post will show you how to make a popular wooden Christmas tree using 2x4s! This is a simple beginner level project for anyone to make!
Everywhere I look, I have been seeing this 2x4 Christmas tree!
It's roughly the same design everywhere, but this DIY 2x4 Christmas tree has been everywhere. I've seen them on social media and for sale on Facebook marketplace in my area.
So, if you've been seeing them too, I wanted to give you a design for a standing 2x4 Christmas tree that uses just one 8 foot long board!
This makes it a great scrap wood projects or very inexpensive if you just need to buy one board.
It's a very easy project to customize as well, adding more layers or how you want to stain or paint it.
Let's take a look at how to make this viral 2x4 Christmas tree!
2x4 Christmas tree
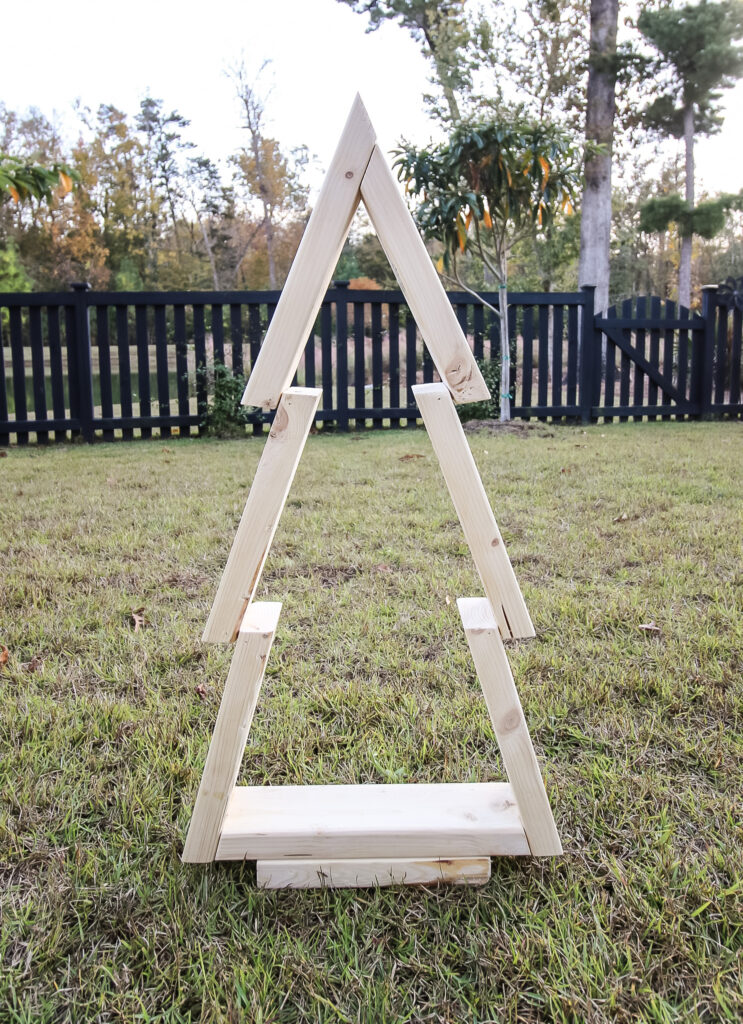
The overall design for this DIY wood 2x4 Christmas tree is a few layers of slightly angled wood that are attached to each other.
The layers overlap at the end and go up really as tall as you want to make it.
Our design for a 2x4 Christmas tree involves just one 8' 2x4 board, which allows us to make a tree that is about 3 feet tall. We'll lay out the whole process below!
While you have the saw out, here's a list of 33 wooden Christmas decorations you can make this weekend!
Materials needed to make a 2x4 Christmas tree
- (1) 8' 2x4 board
- Wood glue
- Nails or screws
- Paint or stain of choice
- Miter saw
Step one: Make cuts
Start by making all the cuts for the tree. Most of the cuts involve a 15 degree angle on each end, but the top sections have 45 degree.
Here's the cuts you need to make:
| Piece name | Length | Angle to cut on sides |
| (1) Base | 15" | Opposing 15 degree bevels |
| (4) Lower Sides | 12" | Parallel 15 degree bevels |
| (1) Top Left | 14" | Opposing 15 degree and 45 degree bevels |
| (1) Top Right | 12" | Opposing 15 degree and 45 degree bevels |
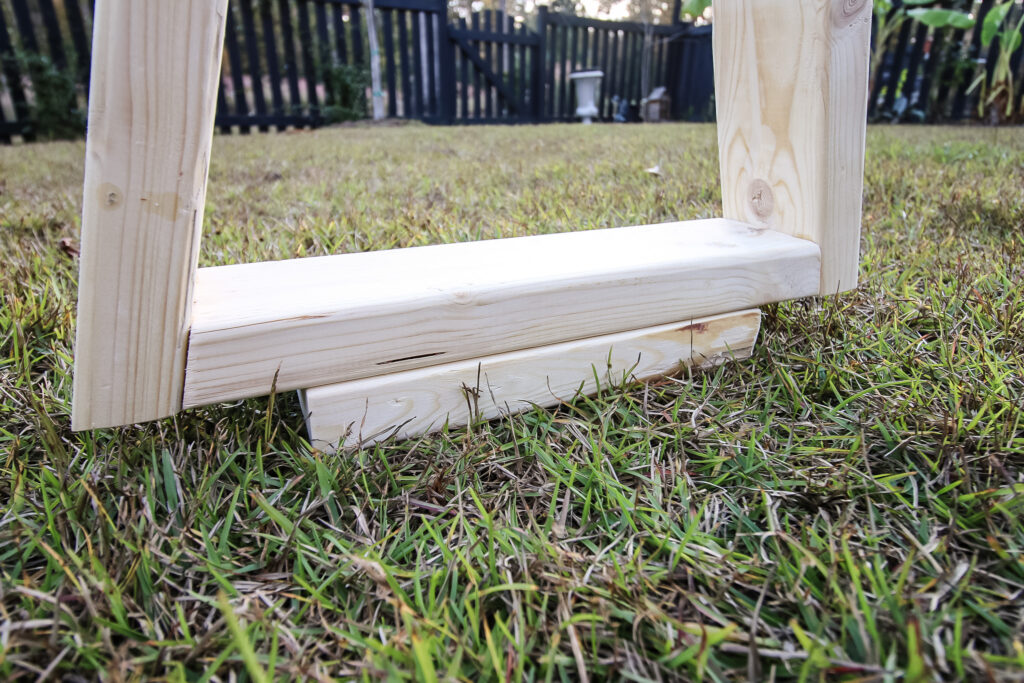
Step two: Create base
Start by making the base layer. Attach two of the Lower Sides to the outside of the Base board so that the angles line up flat at the bottom.
To attach, you'll want to use wood glue and nails or screws. If you don't have a brad nailer, drill pilot holes with a small drill bit and attach screws. You can cover them later if you want.
If you have a scrap piece of 2x4 laying around from another project, you can also glue and nail that on under the base here to raise it up off the ground. This is totally optional!
Step three: Add second layer
Next, attach two more of the Lower sides to the outside edge of the ones already in place.
You'll want to attach these about ¾" from the top end.
Use the same method as before with wood glue and nails to attach them in place.
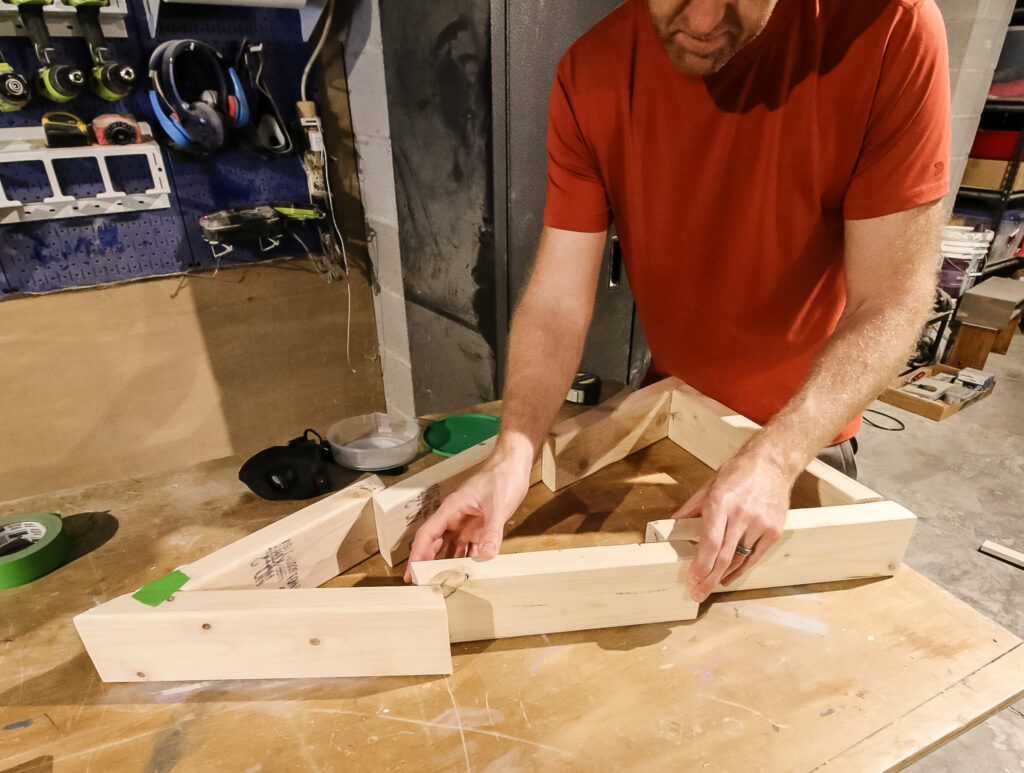
Step four: Attach top
Finally, you'll attach the top later. These will keep the 15 degree edges at the bottom, but their 45 degree edges will meet at the top.
We started by gluing and nailing the pieces together at the peak and then attached the lower parts the same way as before to the outside edges of the middle layer.
After all these joints are made, it's best to put a squeeze clamp on each of them just to make sure they get nice and tight while they dry.

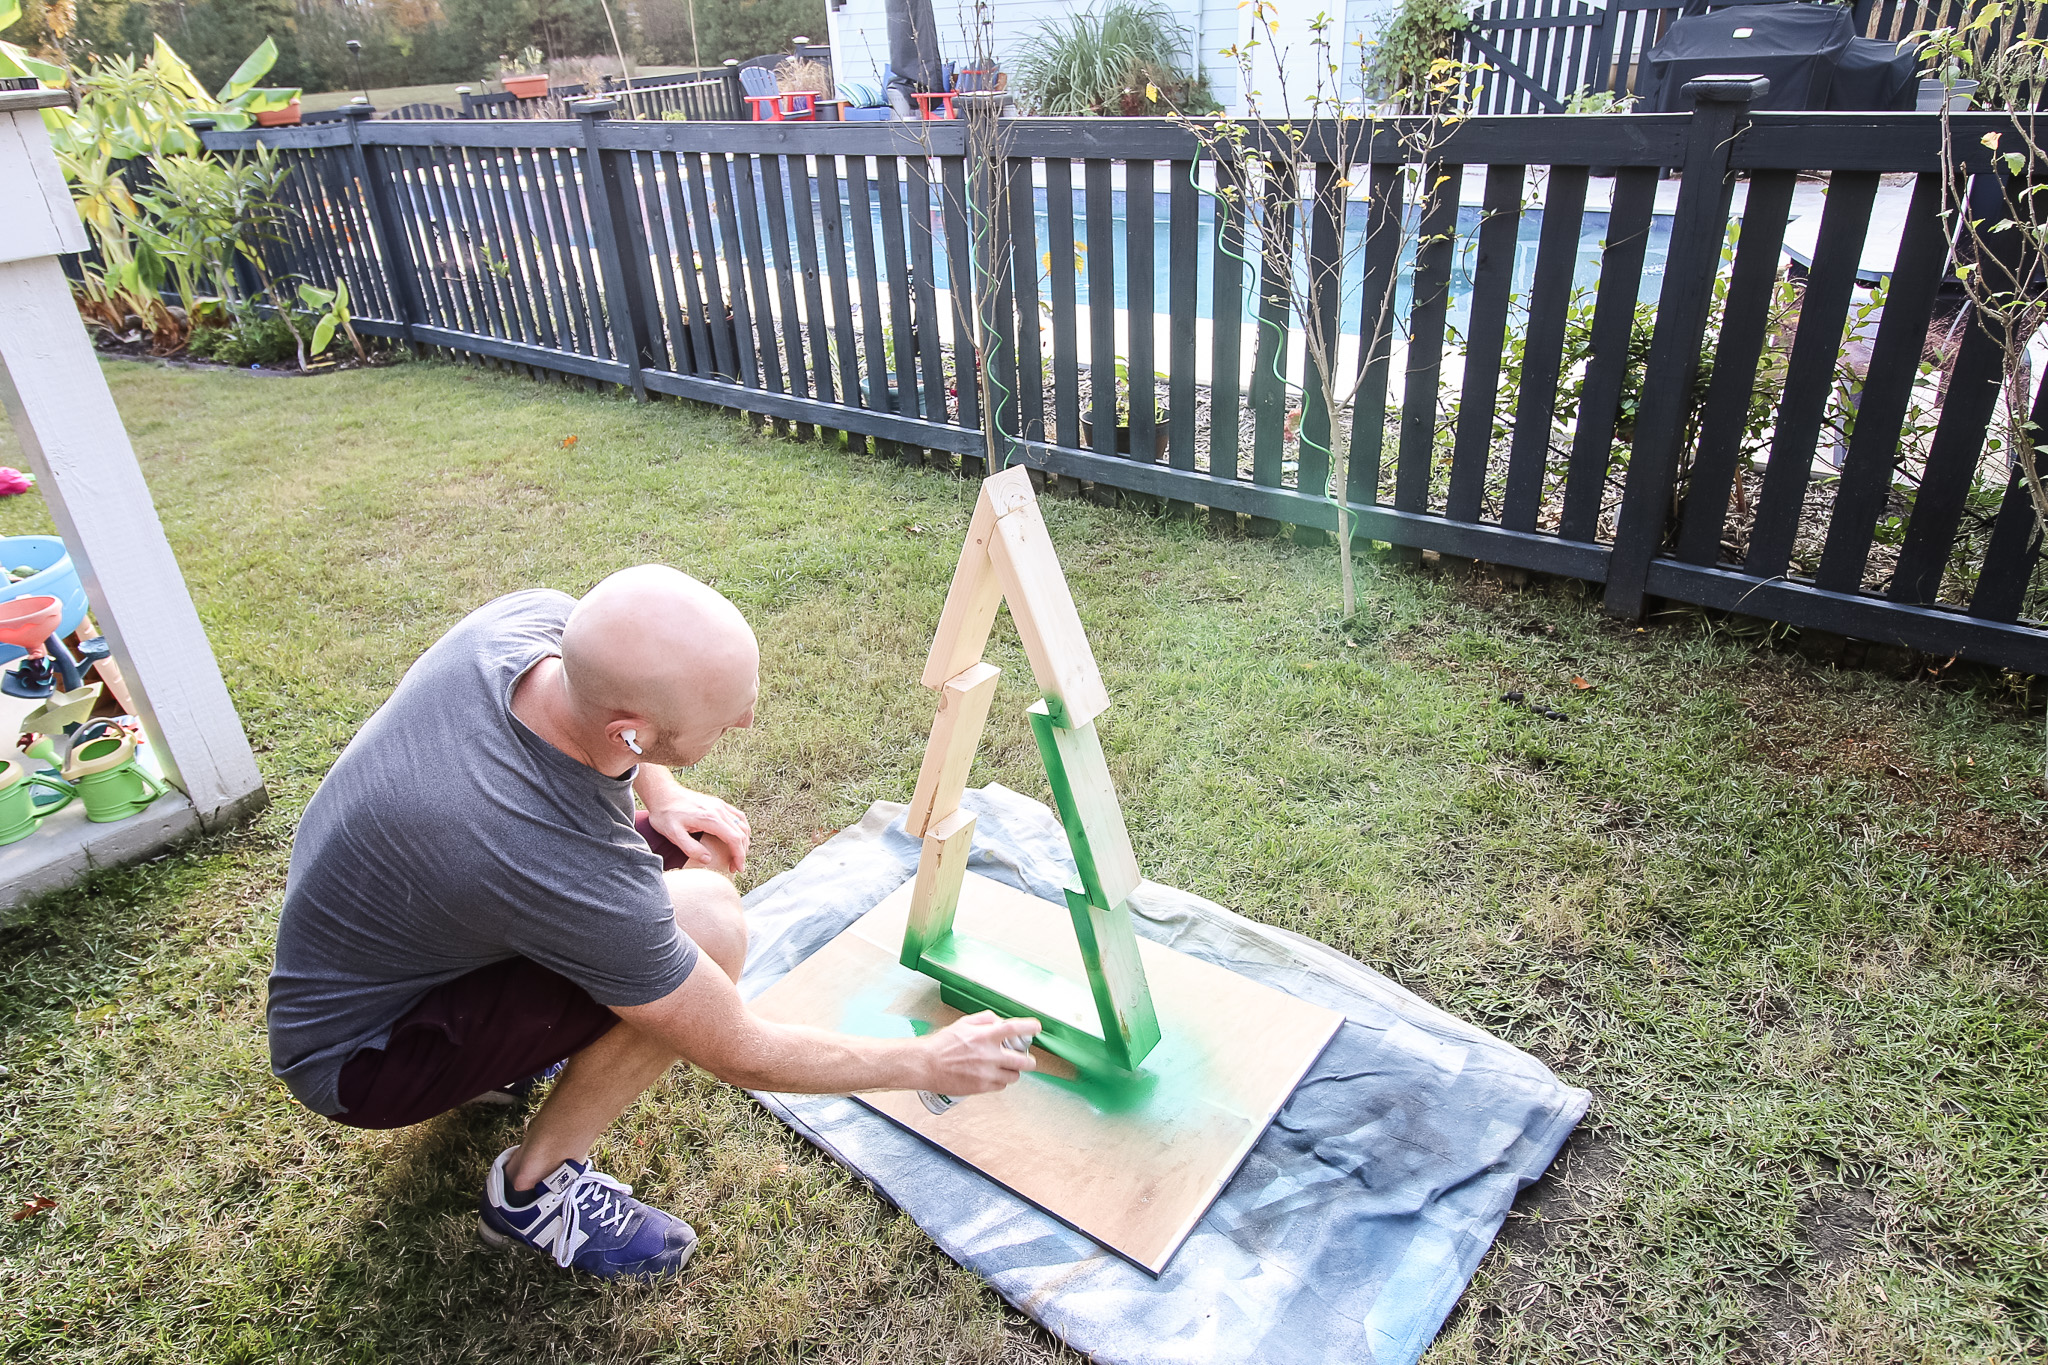
Step five: paint or stain
After everything is dry, give the whole thing a coat of stain or paint, depending if you want a colorful or rustic holiday vibe.
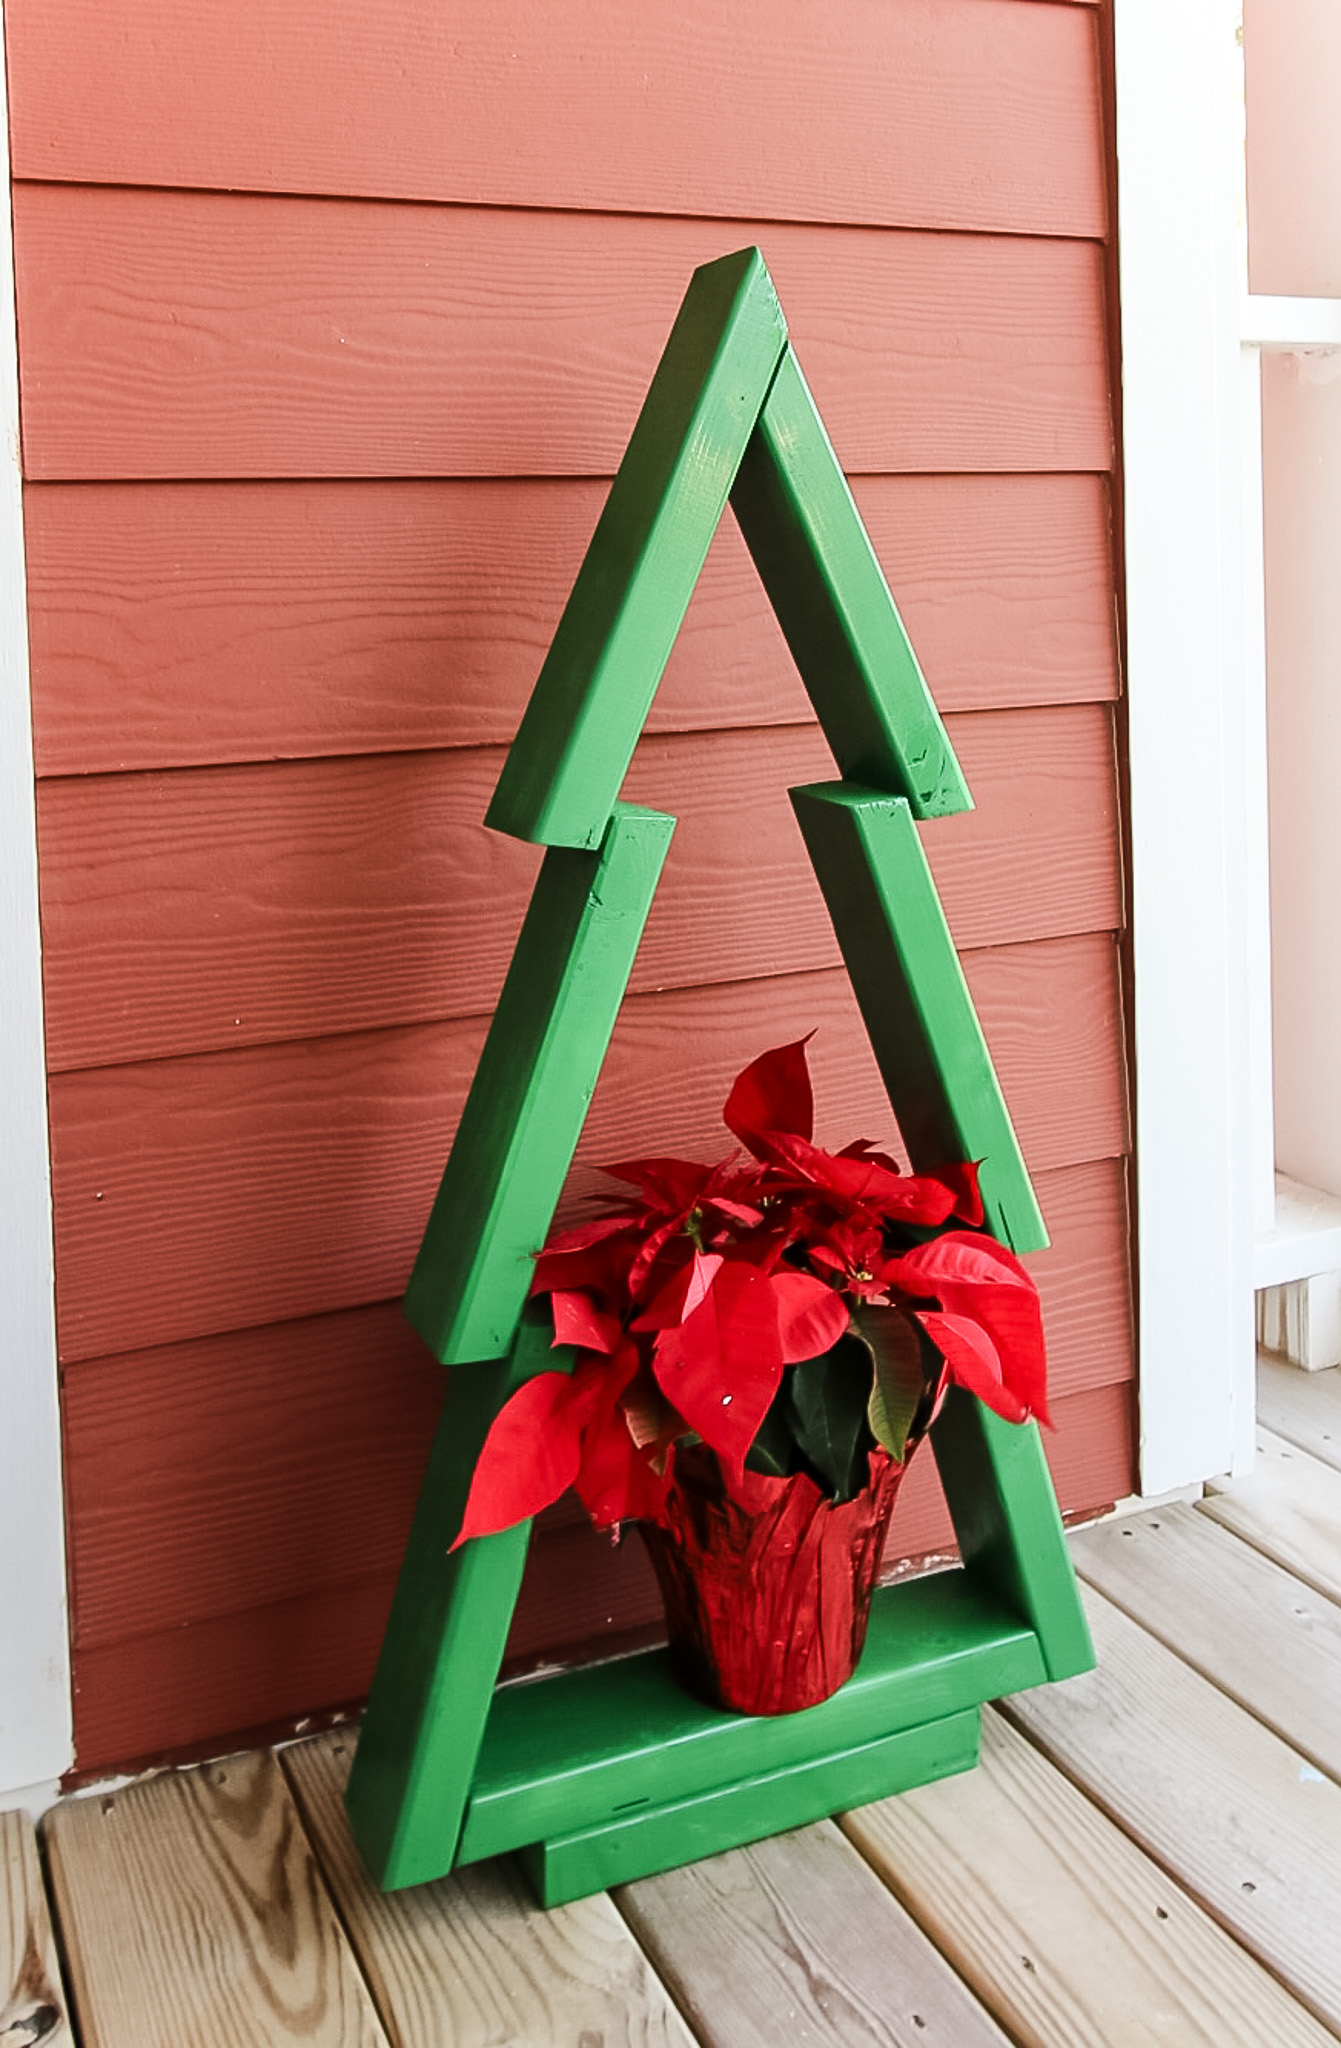
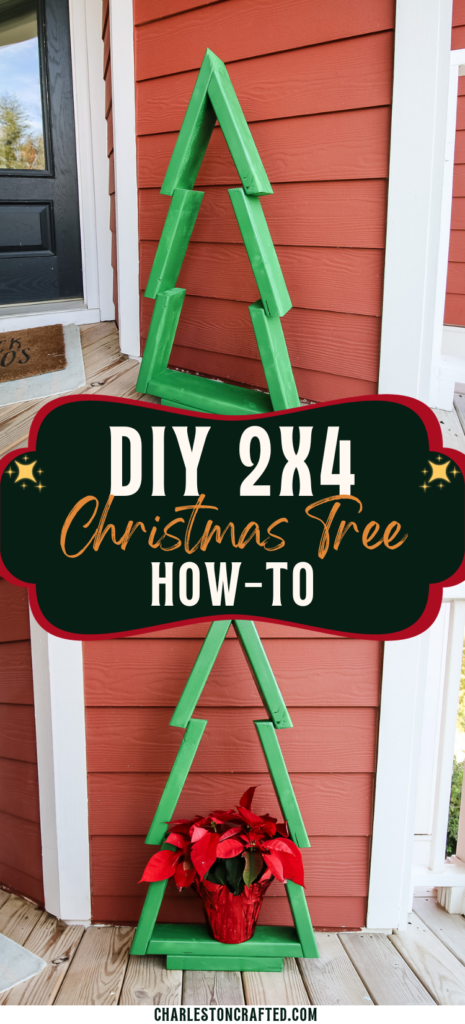
We opted for a green spray paint to go along with the PVC pipe Christmas trees we already made this year. It also matches the horizontal wood slat Christmas tree we made last year!
DIY 2x4 Christmas tree
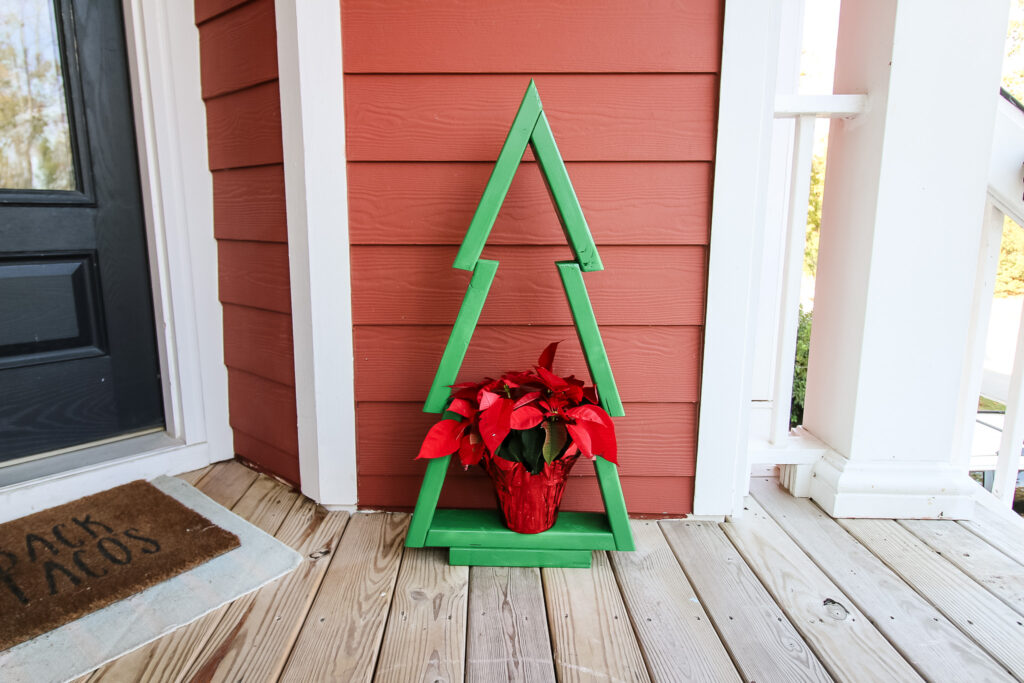
This DIY 2x4 Christmas tree is a great addition to any space this holiday season! Once your tree is sanded and stained, it would look great next to your front door or near your fireplace (but not like too close, you know?).
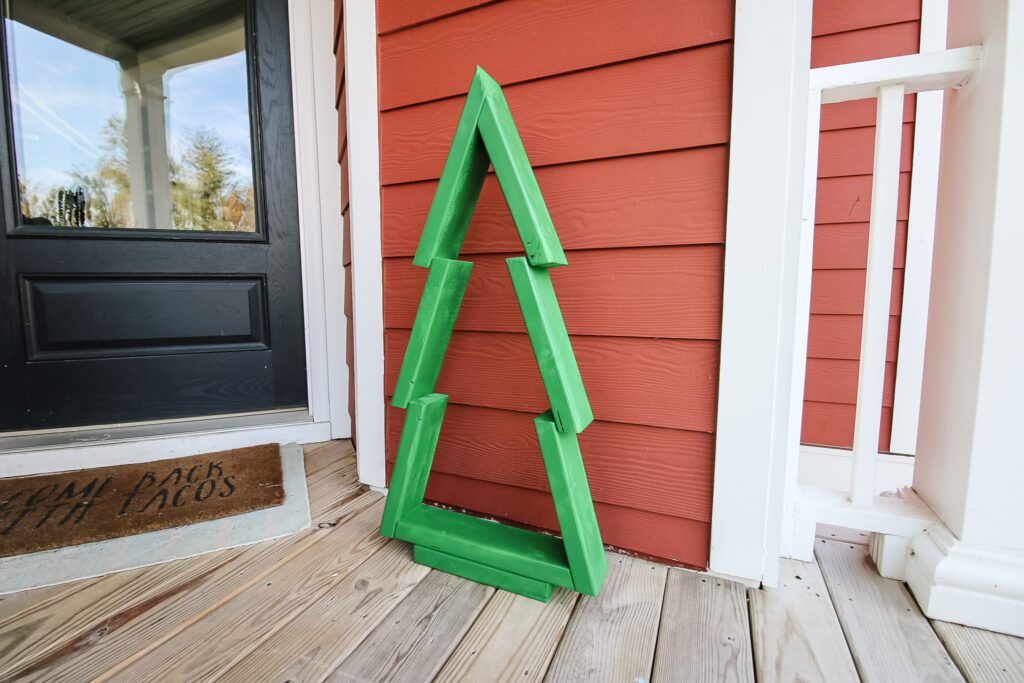
DIY Christmas decorations always feel more special and this one is a great way to be greeted each year.
These 2x4 Christmas trees also make a really good gift idea for someone because they are inexpensive and can be made quickly.
2x4 Christmas tree woodworking plans
These 2x4 Christmas tree woodworking plans will help you get through this project without issue.
There is lots of room for creativity with these 2x4 Christmas trees too. If you want to make your tree taller, make the pieces longer. If you want it wider, start with a wider base.
Remember to enjoy the process of building your 2x4 Christmas tree!
Before you go...
Here's a couple more wooden Christmas tree ideas you might want to take a look at!

Looking for something?
We've been doing this since 2012 so we have a LOT of blog posts!
Search stuff like: Ceiling Projects | DIY Plant Stands | Thrift Flips

Hey there, I'm Sean, the woodworking enthusiast and builder behind CharlestonCrafted.com! Since 2012, I've been sharing the magic of turning raw materials into beautiful creations. I love teaching others the art and satisfaction of woodworking and DIY. I try to inspire fellow crafters to make something extraordinary out of nothing at all.


