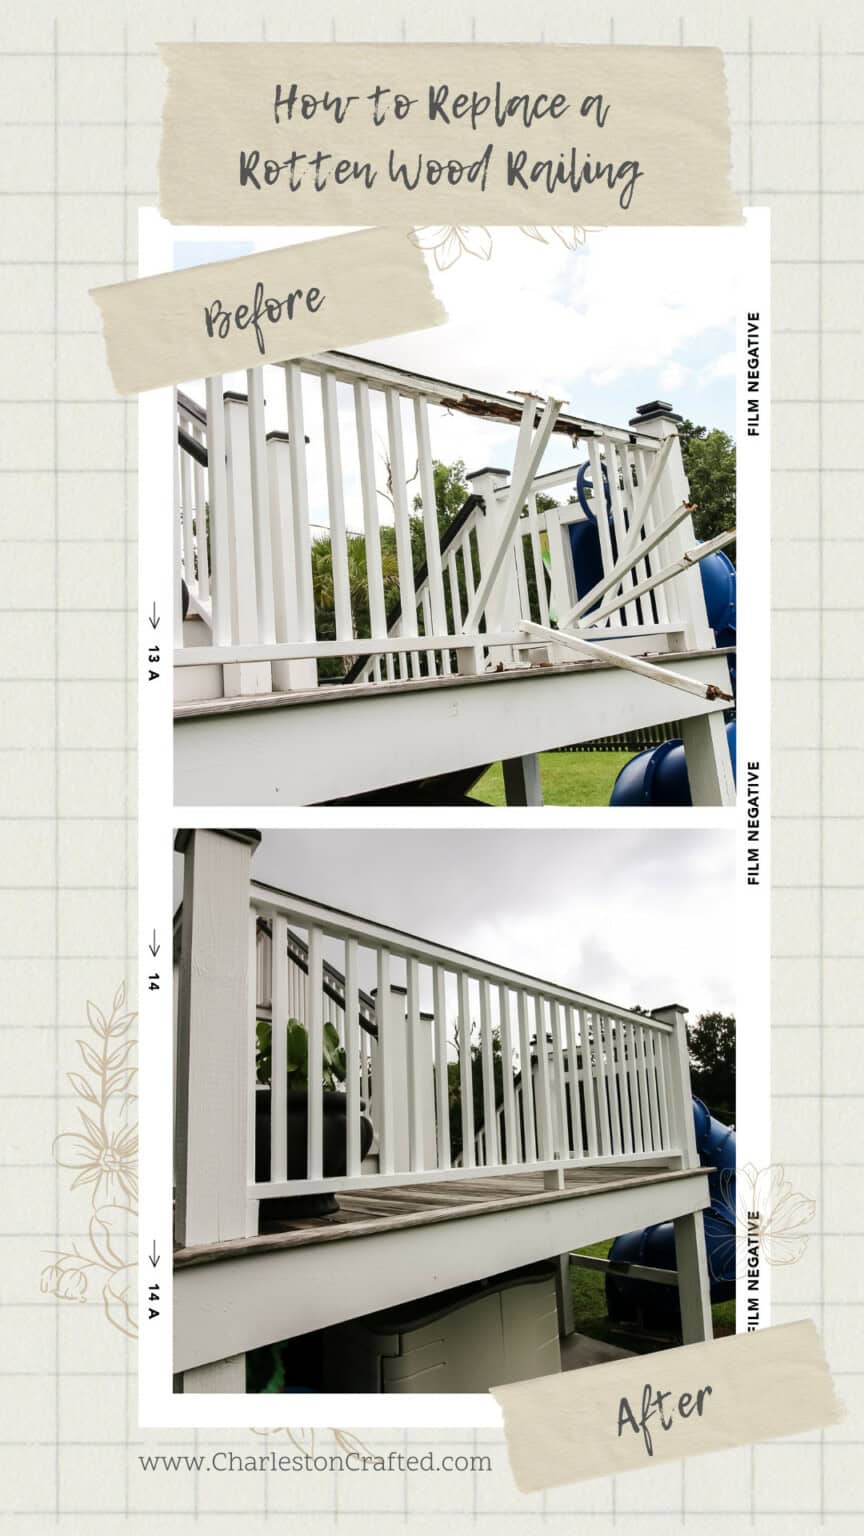
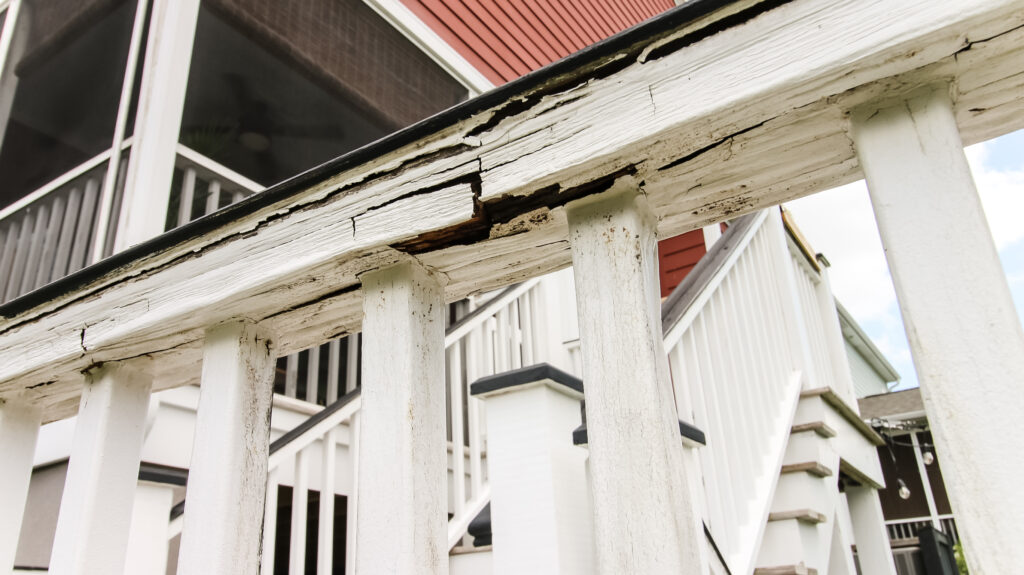
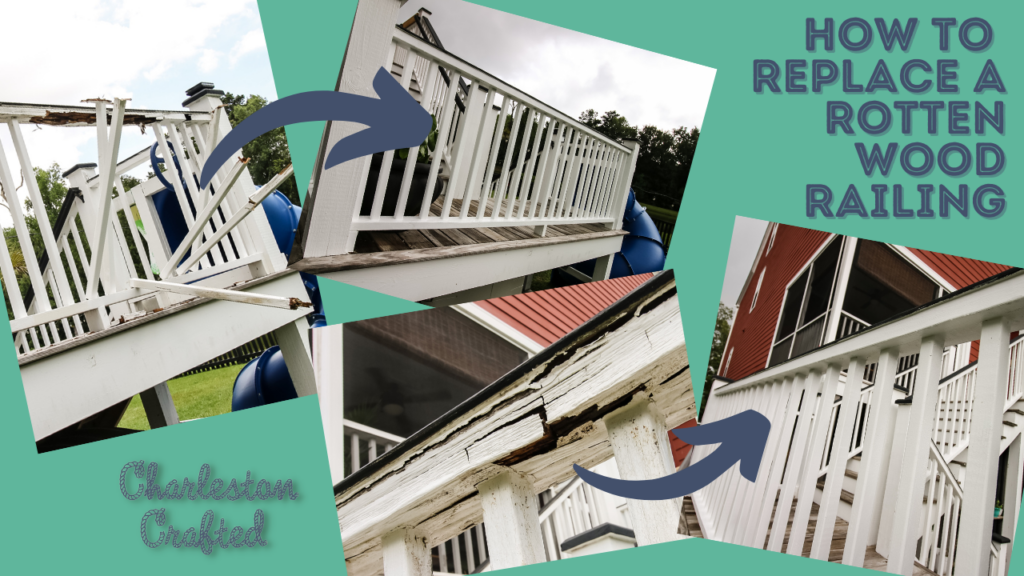
If your deck or porch railing is rotten, it needs to be replaced before it becomes a safety concern. This post will show you how to replace a rotted wood deck or porch railing at your home to keep your family safe!
We always focus on creating new things and making over rooms and spaces to bring out our personality in our home. But sometimes we have to actually repair things around our home that are broken like everyone else.
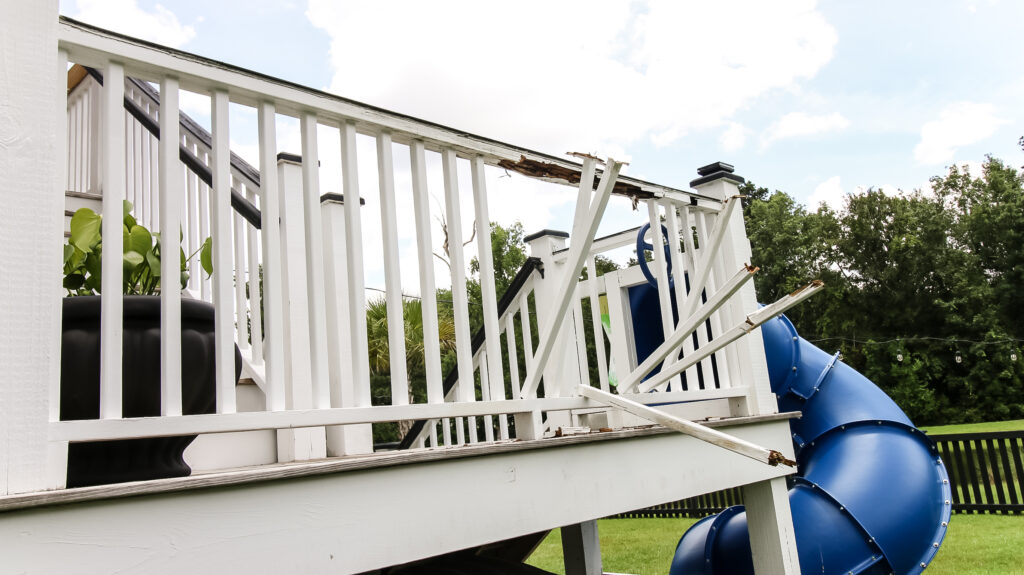
Last year, when we installed a slide from our back stairs landing to our backyard, we also added a little pirate ship steering wheel for the kids to play with before going down. When we did that, we realized the baluster we were going to put it on was rotten and that some of the railing was as well.
We tried to replace part of it as a temporary fix, but that didn't really work well. Now, the entire deck railing and most of the balusters were completely rotted out.
So, we had to learn how to fix a rotten porch railing by creating a new one to match the existing railings on the stairs.
This post will show you how to replace a rotted wood railing by taking out the old on and installing a brand new deck railing that will be save and last a long time.
How to replace rotten wood porch railing and balusters
There are a few ways that you can replace rotten wood porch railings and balusters, depending on the situation you have. If you only need to replace a baluster/spindle, you can do that a lot easier than replacing the railing or the whole section.
You also may be able to just replace a small section versus replacing the entire thing.

For us, the entire span of railing and balusters was completely rotten and was not in the same style as a pre-built section at the hardware store, so we had to rebuild ours from scratch. Here's how it went and things for you to remember and learn from.
How to remove a rotten porch railing
There's two ways to remove a rotten porch railing- the fun and messy way or the smart and clean way.
Usually, I choose the smart and clean way for demolition because it makes things easier on me. I don't have a cleanup crew like they do on HGTV, so I take things apart as cleanly as possible.
The clean way to remove a rotten porch railing would be to take a saw and cut the railing and spindles off in 4 foot long sections, then place it by the curb for pickup.
For this project, we choose to do the fun HGTV style demolition and kicked everything out (make sure to watch our video to get the full effect of how this worked) and smashed it with an axe. It just felt good. Here's a preview of how it looked:
Kicking out rotten wood spindles from a rotten railing into our backyard caused a huge mess, but it was fun. Then we had to do a lot of cleanup.
How to rebuild a porch railing
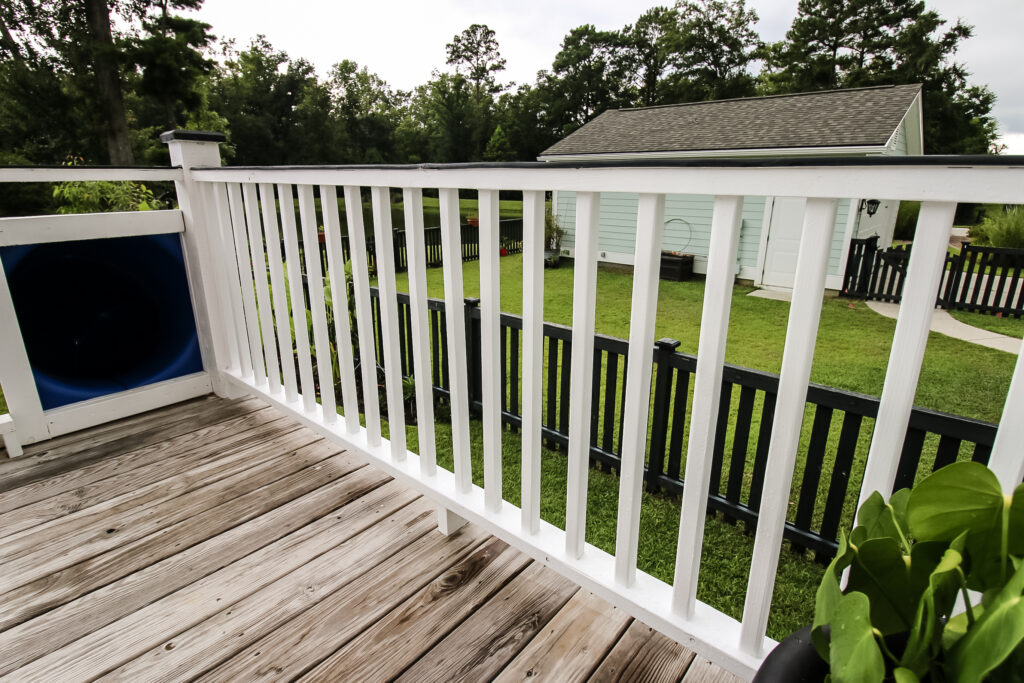
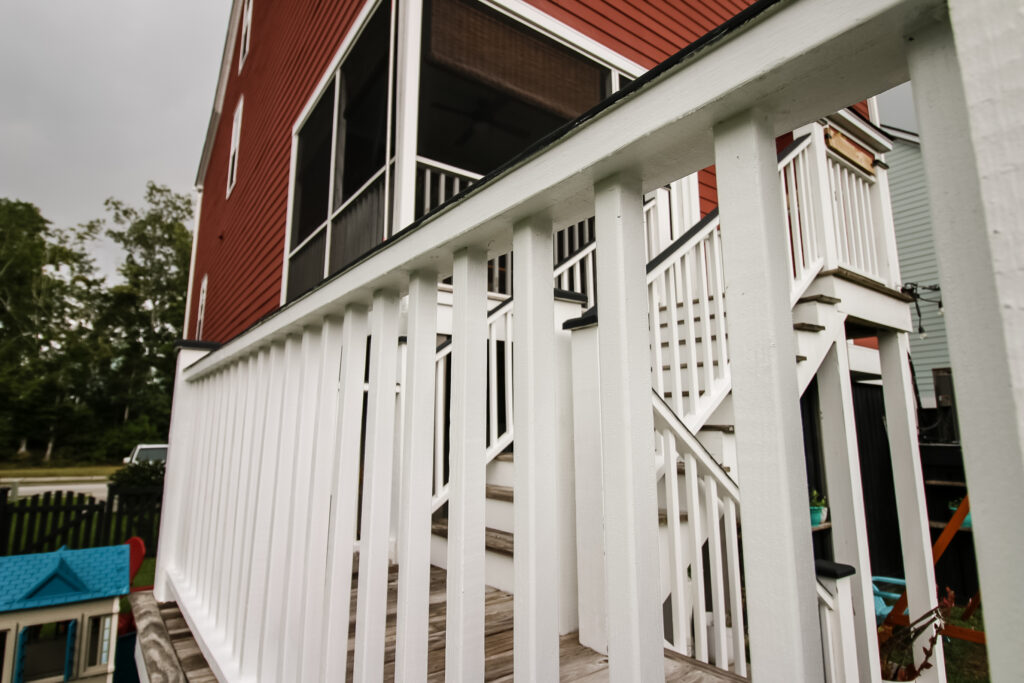
We wanted to rebuild this section of railing to match exactly what the rest of the staircase was, which was a 2x4 on the top and bottom and 2x2 spindles every 3 ½".
To build this, we cut two 2x4s to the length of our section to be the top and bottom rails and then cut the right number of 2x2s down to length for the balusters.
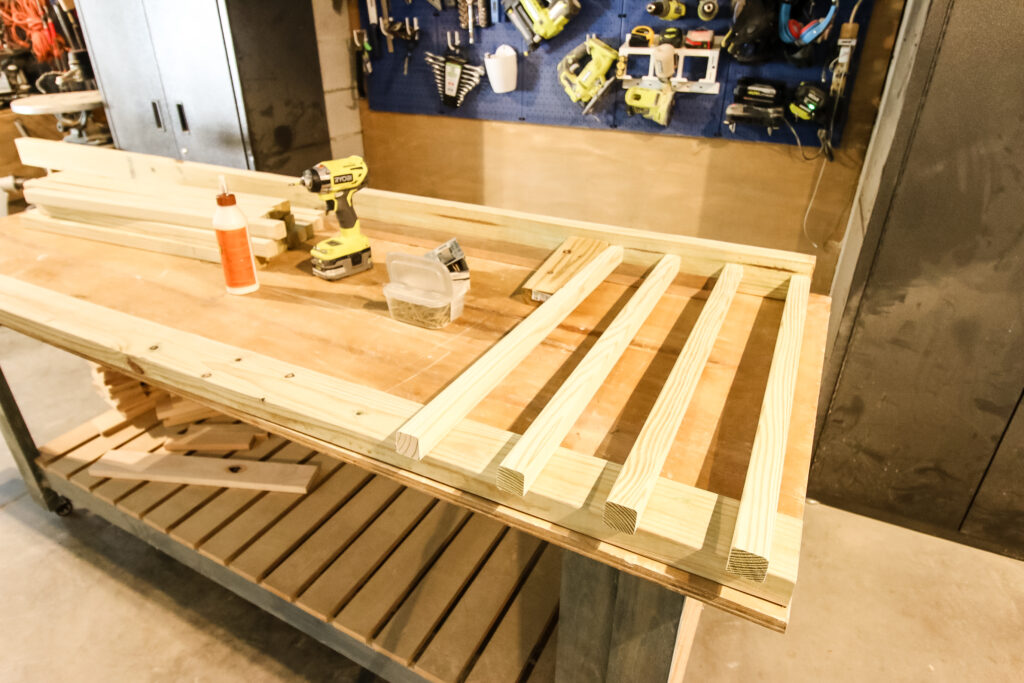
Fun fact- at Home Depot, they sell short sections of 2x2 to be used as railing balusters. They are cheaper than trying to buy standard 8' 2x2 boards and cutting them down to length. We still had to cut a few inches off for our railing, but it was easy and cheaper.
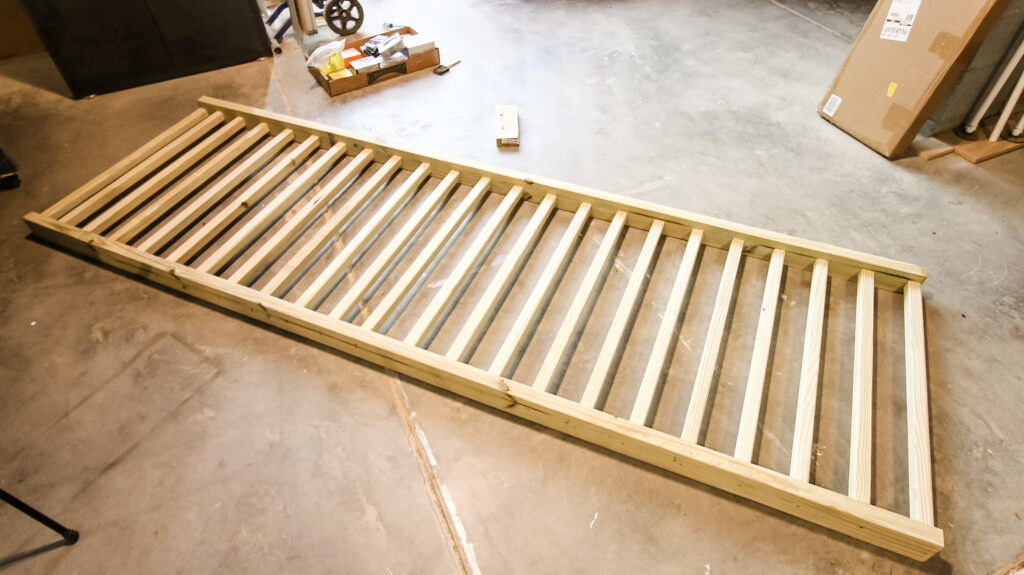
With each piece cut and sanded, we assembled the whole railing as one unit. This meant drilling deck screws through the 2x4 top rail and bottom rail into the 2x2. We also used wood glue on each end to secure it.
Then, we added a bead of caulk around the seam on each end of each baluster. This is very important to keep water out.
If water gets under the 2x2 and sits in that inside portion, it can introduce rot and cause problems again. So do a good job caulking the seams.
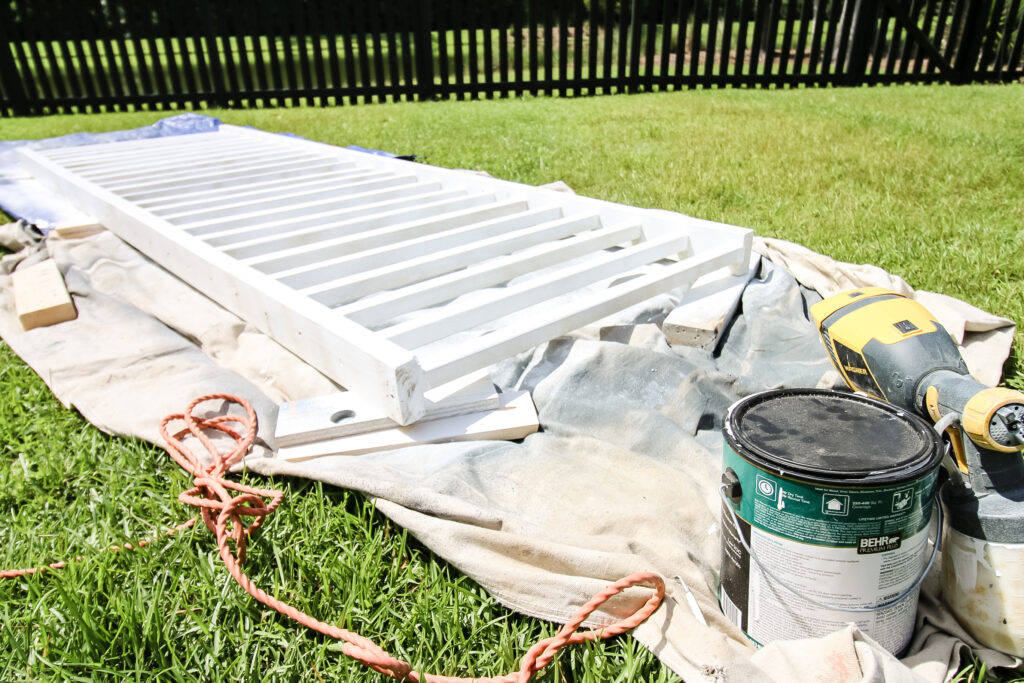
Then, we painted the whole thing with outdoor paint. We used our paint sprayer, but this was difficult with the angles of the spindles. We ended up adding touch up paint later when it was in place.
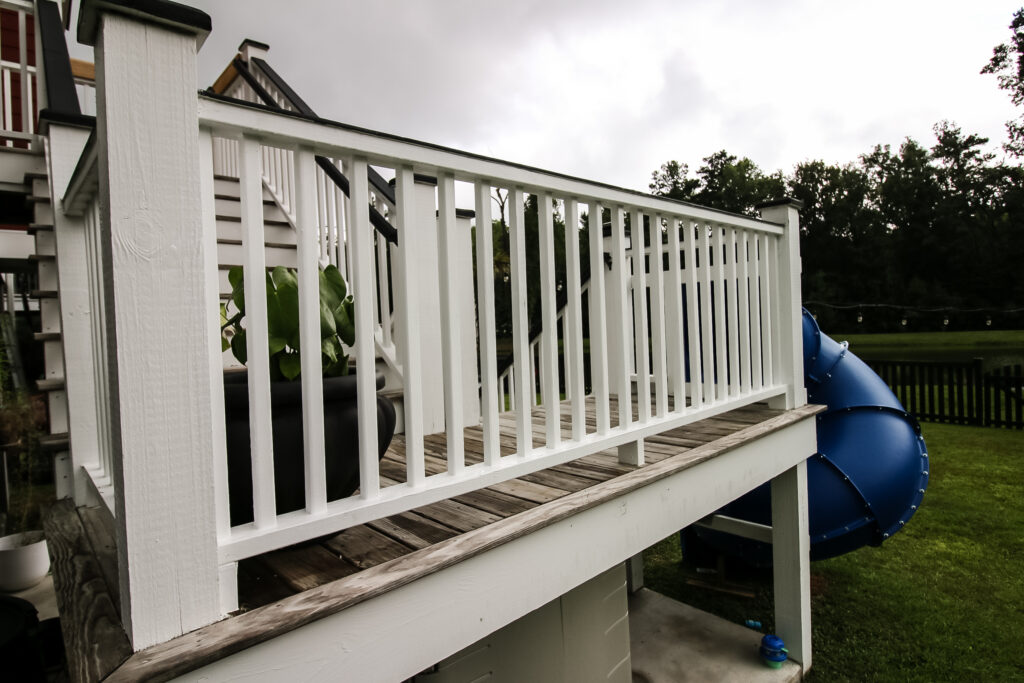
After it was all built, we slid the new section of railing into place and nailed it into the posts on each side and the spacers on the bottom.
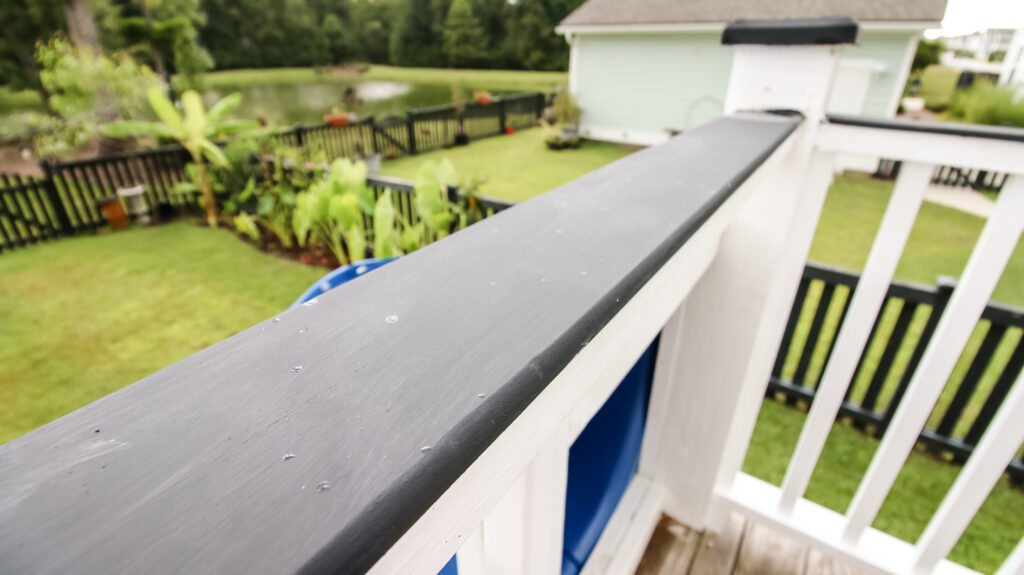
How to use PVC as a porch railing cap
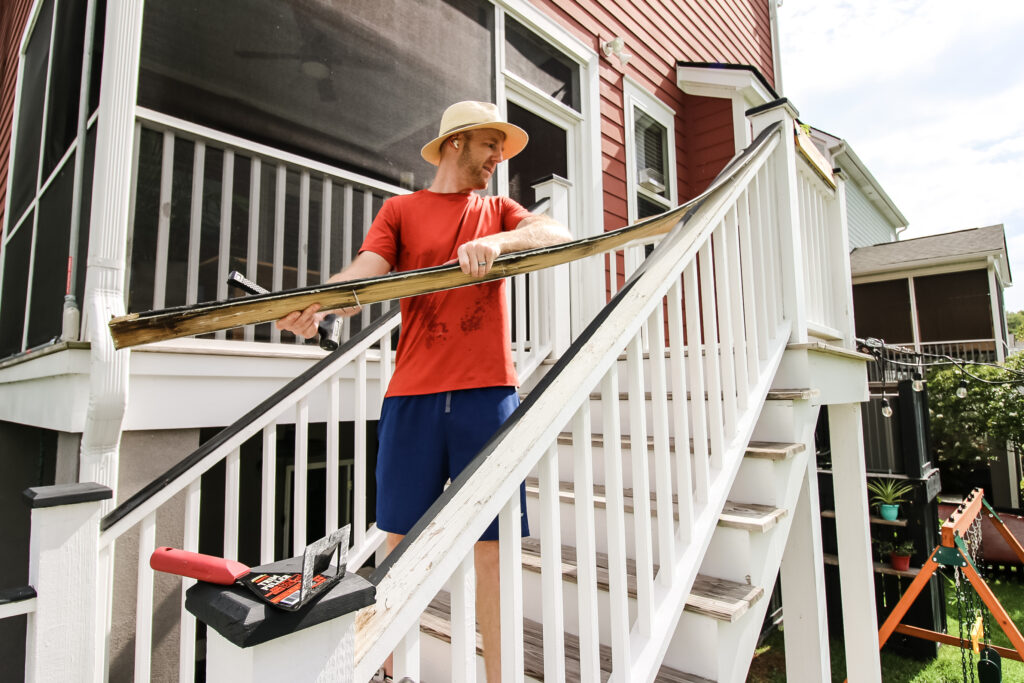
We're pretty sure that the entire rot problem started with the fact that the railing cap that the builders used wasn't actually outdoor treated wood and was something decorative. It seems that the water got in through those and ruined the 2x4s and 2x2s of the railing.
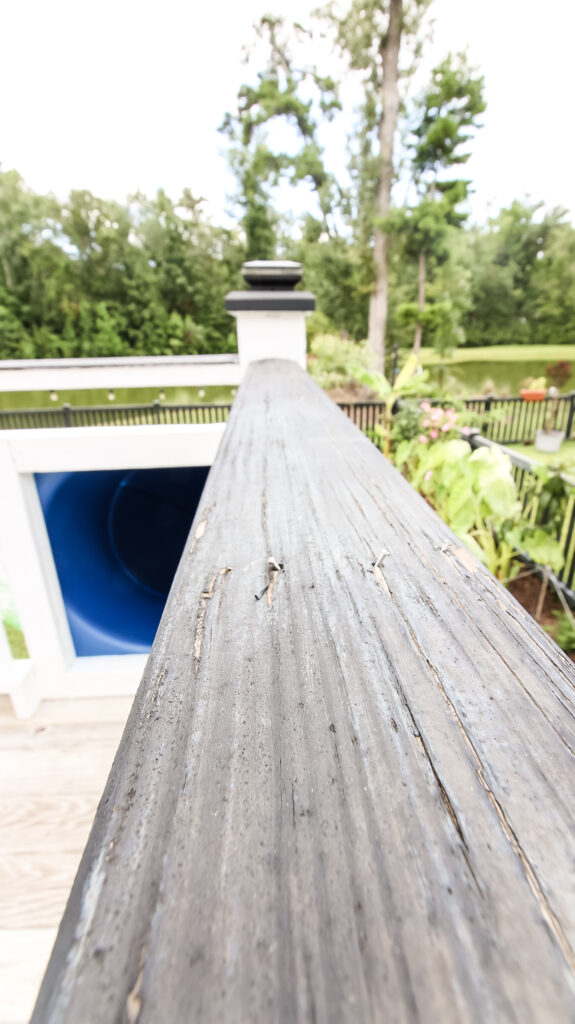
Also on those railing caps, all of the nails were popping out and they were shredding, so we had to put not only put a new one on the new section, but needed to replace the railing caps on the whole stairwell.
Since the house is only 7 years old and we didn't want to have to do this again in a few years, we opted to use PVC for our porch railing cap.
PVC is a great choice for any outdoor accent pieces because it won't rot, break down or corrode. PVC is often used for outdoor trim or decorative structures around deck framing, so it's a good option for something like this.
At Home Depot, the options were ¾" thick PVC "boards" or a 4'x8'x½" PVC sheet. The sheet was basically a ½" plywood sheet but of PVC.
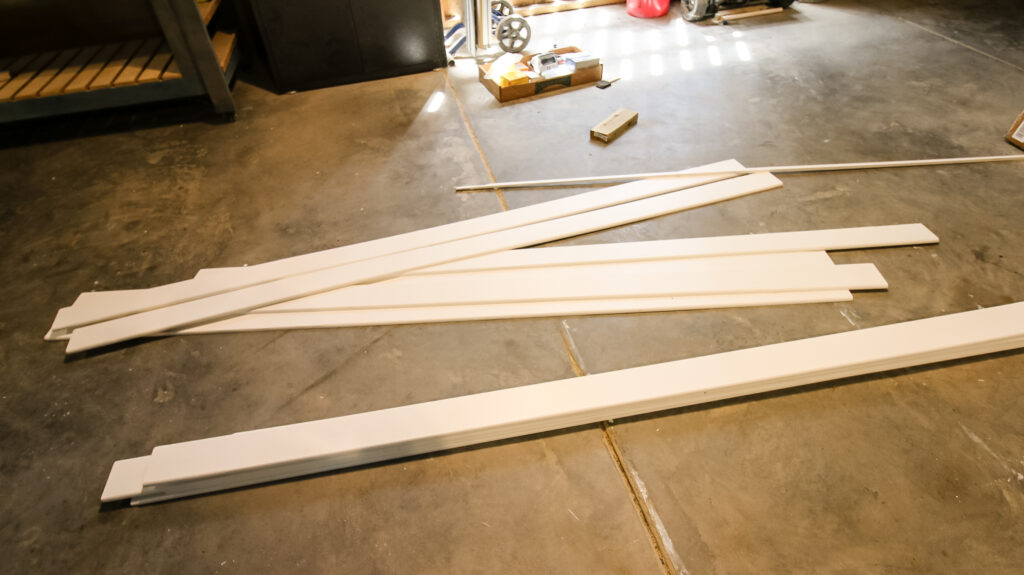
The ½" PVC sheet is only $99 at the time of this writing, which is significantly cheaper than buying enough boards to cover our entire stairwell. The only downside is that you have to cut it into strips yourself.
Cutting a sheet of PVC is a little more difficult than cutting plywood because it is very flimsy, but it can be done in the same way as plywood.
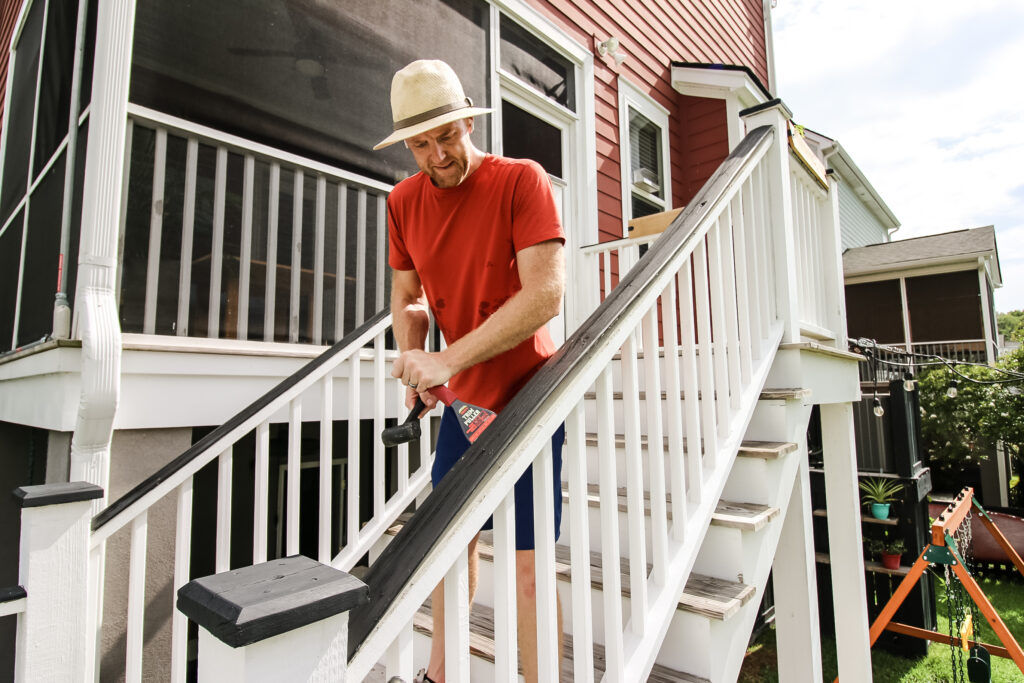
With the strips all cut and painted, we removed our old railing caps using the large trim puller we used when we installed solar post caps on our front stairs.
These massive trim pullers are a game changer and so easy to use. They pulled out all the base boards in our closet renovation too, and just make everything much easier on your arms.
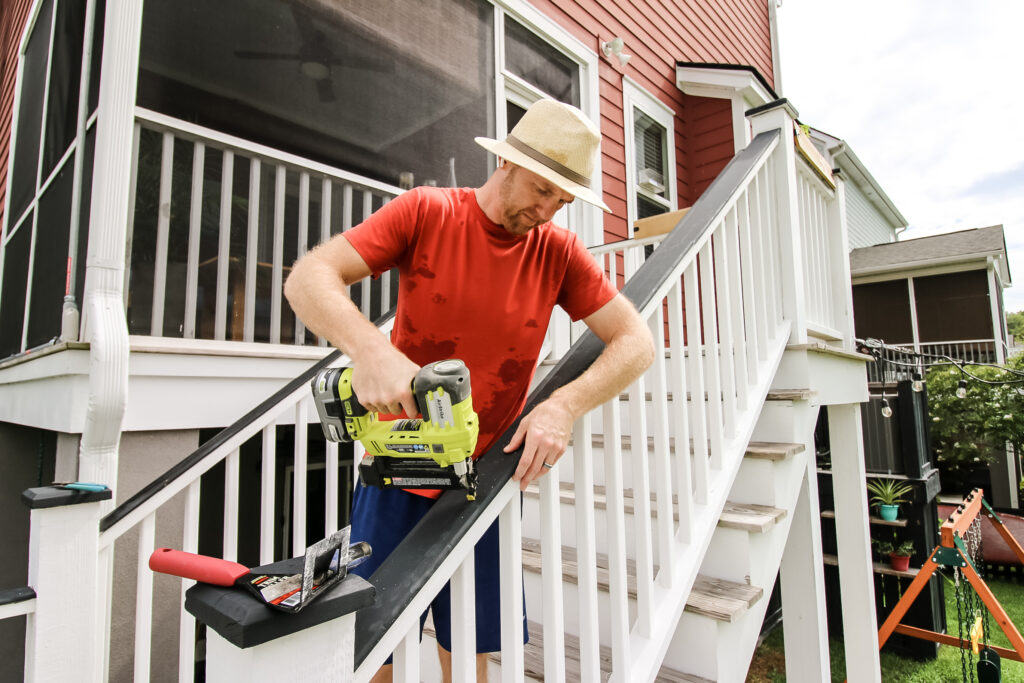
With each strip cut to length, we then used a brad nailer to attach them to the top rails and caulked them into place.
How to replace porch railing spindles
If you're lucky and only your porch railing spindles, or balusters, are rotted, these are easier to replace.
Simply remove the rotten spindle, including all bits and hardware holding it in place. Measure and cut a new baluster, then nail into place.
Again, remember that it is important to caulk around the seam using exterior caulk to keep water from getting in. Then paint to match your railing.
How to replace porch railing with pre-built railing sections
If you're lucky enough to have a porch railing that matches pre-built railing sections from the hardware store, or you're replacing everything, congratulations.
They have wood pre-built railing sections and composite pre-built railing sections aluminum sections available at your home improvement store, but they will need to match what else you have if you're going to use them.
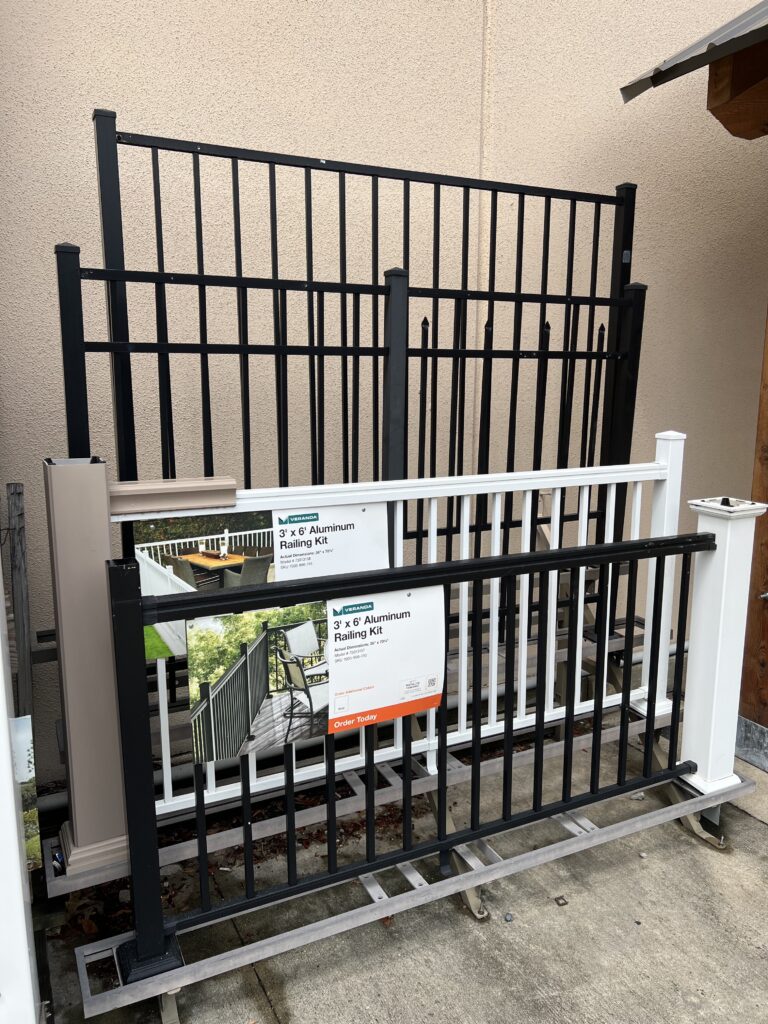
Pre-built sections of railing from Home Depot or other stores are easy to install as they are built for you. You'll still have to remove the old railing following our steps above, but installing is as easy as a few nails or screws.
These pre-built railings are actually a really good deal for saving time and money if they work for your situation.
How to fix damaged wood railing
If you railing just has a piece of wood that is rotten, you can also try to repair it. Repairing wood can be as simple as cutting back the rotten section, adding wood filler to the new section and then sanding and painting.
When trying to fix rotten wood, make sure you cut back a little beyond the point where the wood rot goes, because you want to make sure to remove all of the problem the first time.
Video tutorial on how to replace a rotten wood deck railing
Parts of this tutorial might be better suited for video, so we made a video tutorial to show you how to replace a rotted wood porch railing! Click the video below to see how you redo a deck railing!

Looking for something?
We've been doing this since 2012 so we have a LOT of blog posts!
Search stuff like: Ceiling Projects | DIY Plant Stands | Thrift Flips

Hey there, I'm Sean, the woodworking enthusiast and builder behind CharlestonCrafted.com! Since 2012, I've been sharing the magic of turning raw materials into beautiful creations. I love teaching others the art and satisfaction of woodworking and DIY. I try to inspire fellow crafters to make something extraordinary out of nothing at all.