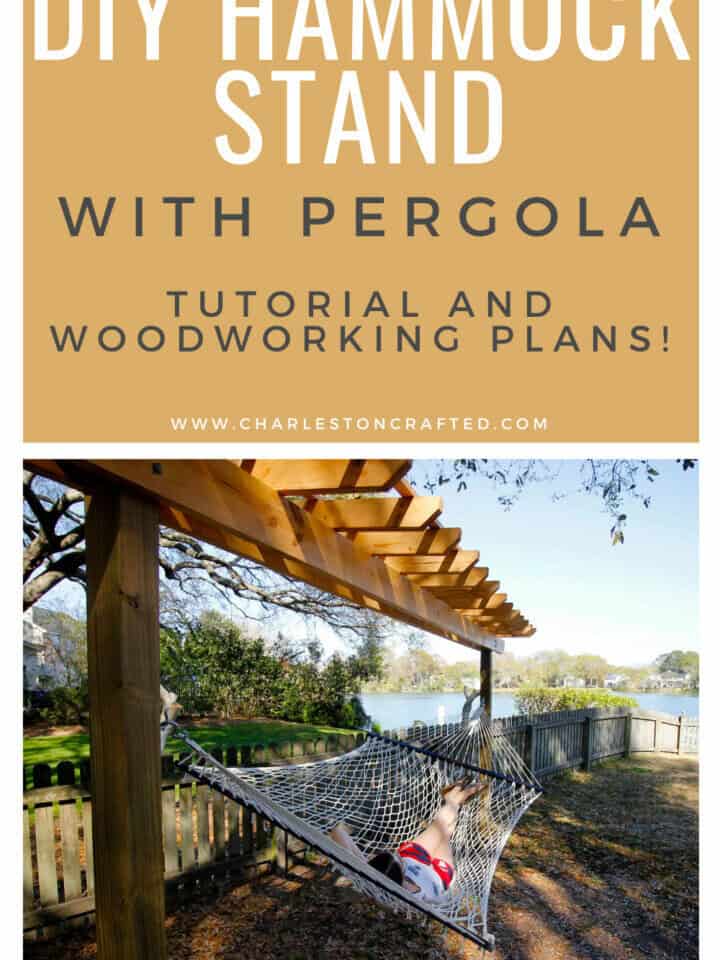
Want to hang a hammock in your yard but don't have the right trees? Here's how to build a DIY wooden hammock stand - with a pergola - the easiest way!
There is nothing better than relaxing in a hammock on a beautiful day. Our yard is perfect for a hammock - we have plenty of space and look out over a pond.
But there are no trees in the backyard to hang a hammock between.
I was surprised that when I searched "DIY wooden hammock stand" online that not that many results came up with actual tutorials. Other options for hammock stands tend to be a freestanding units, but we wanted to add an element of greenery and shade to ours, so we wanted ours to be solidified in the ground.
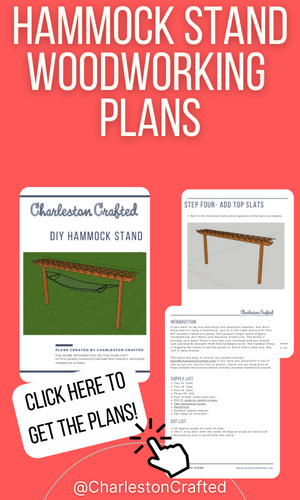
Get the printable hammock stand plans
I used some images I found to kind of make our own design because we really wanted a permanent wooden hammock stand for our backyard to overlook the lake on a beautiful summer day.
You don't need a pergola kit to make this awesome hammock stand. It's way cheaper to build one from scratch. And it pairs really well with our DIY garden arbor arch!
Check out all of our favorite ways to upgrade your backyard on a budget!
DIY hammock stand
How do you make a hammock stand? It's easier than you might think!
Click here to get the plans to make this hammock stand in a PDF!
Tools needed to build a DIY hammock stand:
- Post hole digger or shovel
- Miter saw
- Drill
- Long level
- Hammer
How to build a DIY hammock stand
Here's the general overview of how to build your own DIY hammock stand and some things to keep in mind. This will help you with the build, but make sure to grab our woodworking plans to get the full details!
Step one: choose and prep location
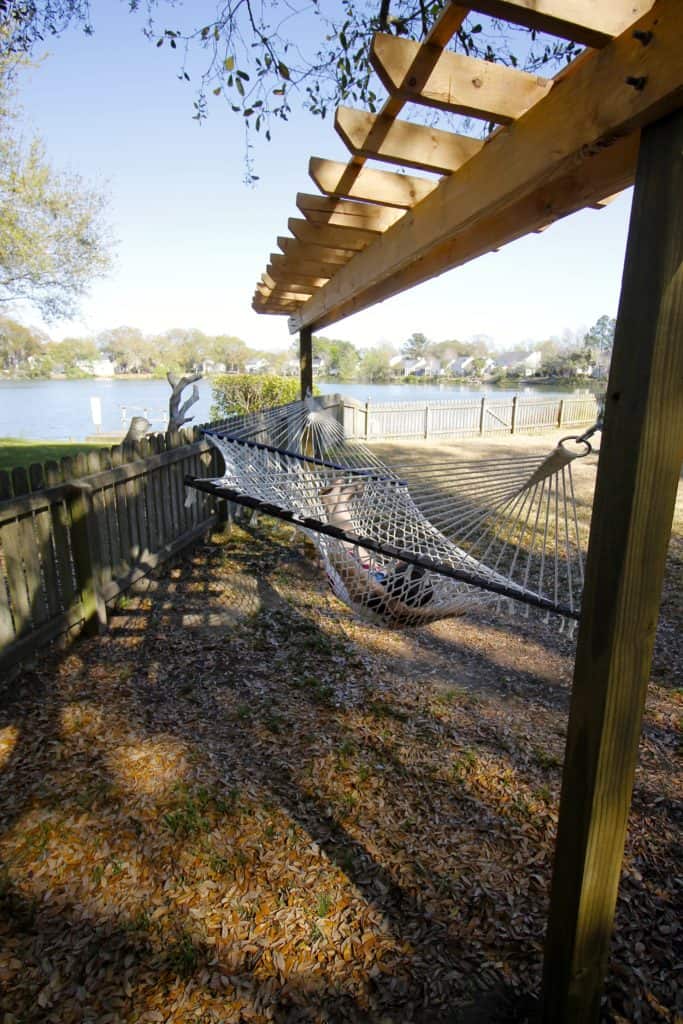
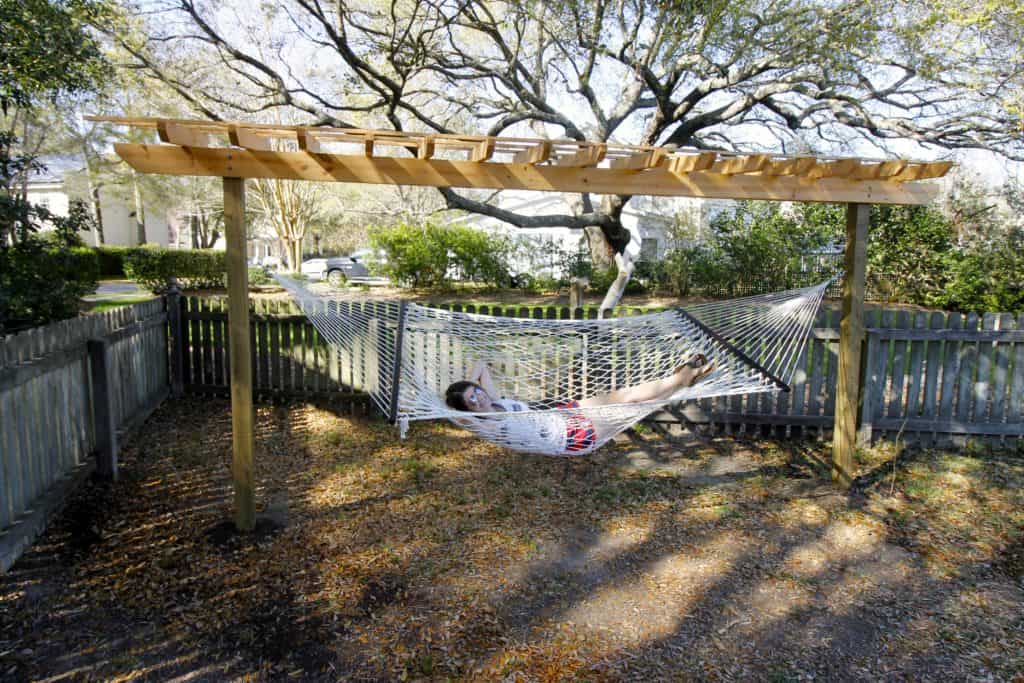
The first thing we did was pick the location in our yard, which we chose the shady corner under the oak tree that would be great for late afternoons in the summer.
The space there was big enough that we could angle a hammock stand with posts 13 feet apart.
The basic design is below, with two 10-foot 4x4 posts in the ground, two 16-foot 2x6s running along the top and perpendicular 2x4s running across the top top.
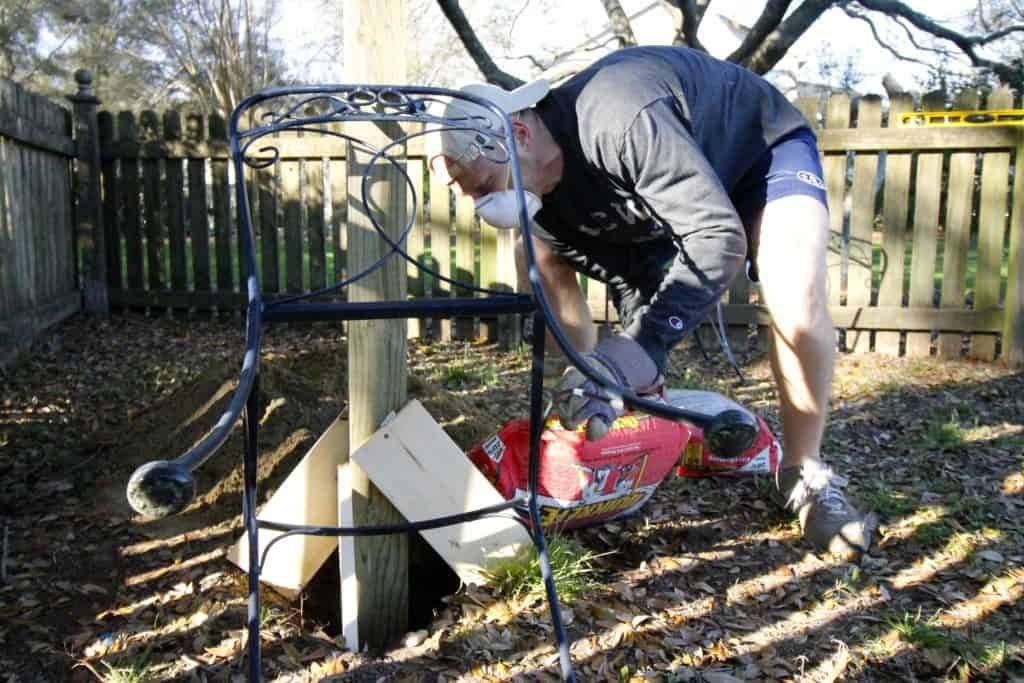
Step two: set posts
Once we had the location, we measured out the two spots for the posts and dug two holes a foot wide and three feet deep.
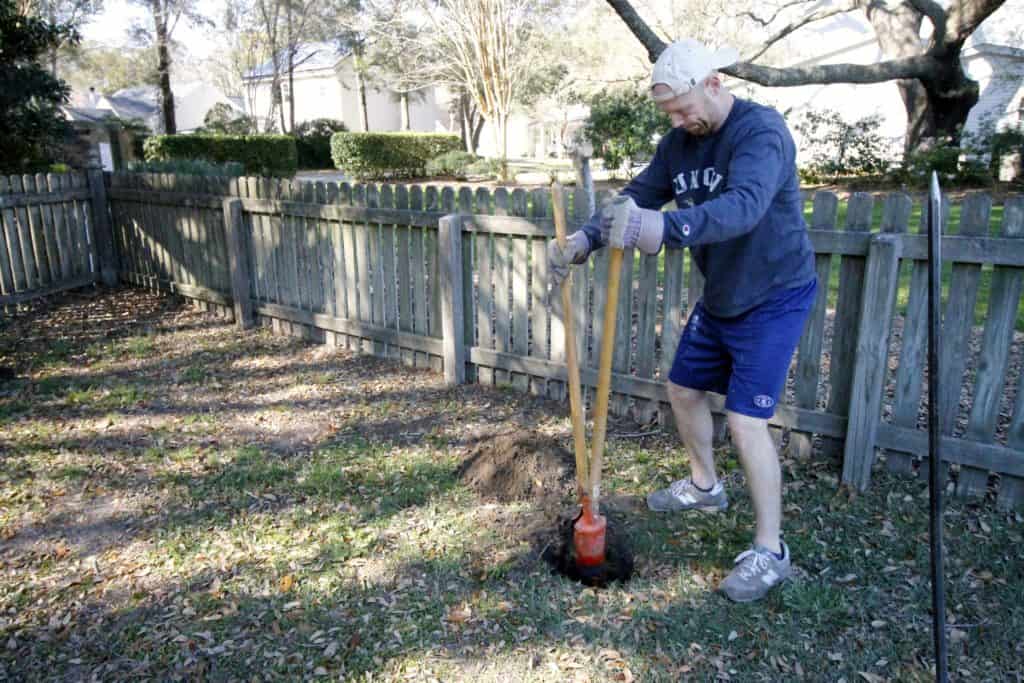
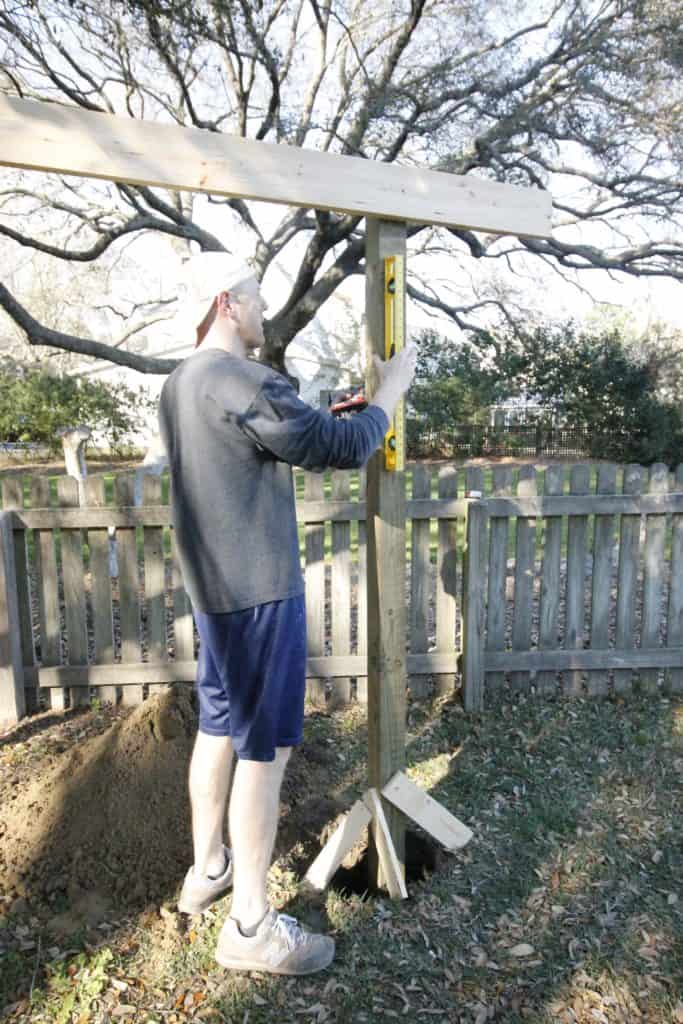
We dropped in the two posts so that they were now 7 feet exposed and 3 feet in the hole.
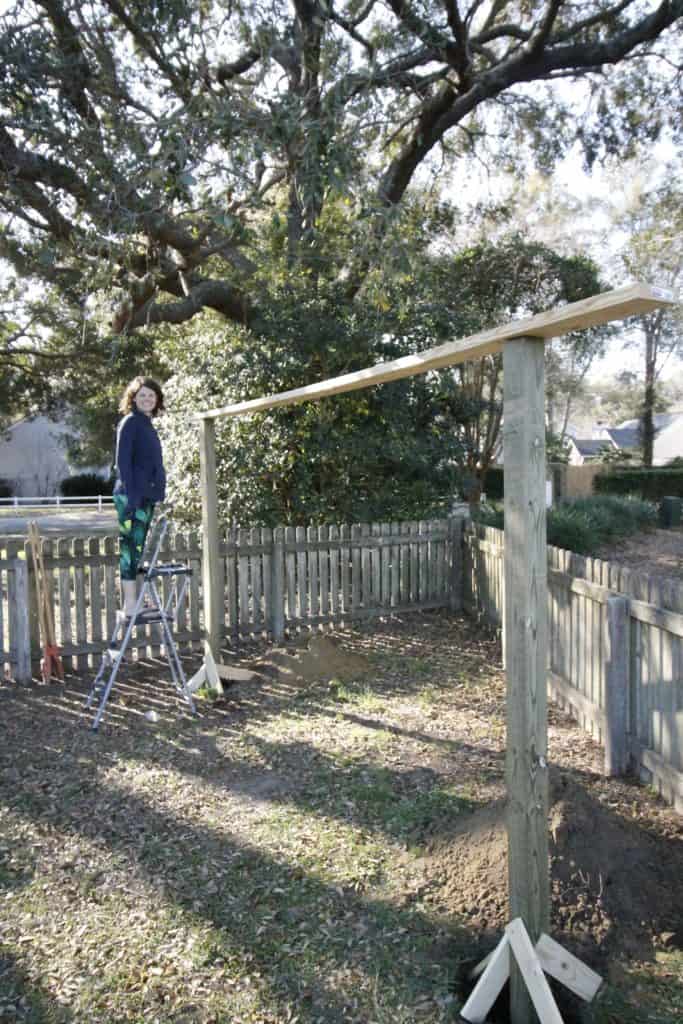
Then we screwed one of the 16 foot boards to each of them to keep them lined up.
Finally, we screwed small boards at the bottom to act as a level brace for the posts for pouring in the concrete.
We dumped the concrete right in the hole and mixed with water using a long metal pole to stir it around.
No need for a wheelbarrow.
We let the posts set overnight and then filled them the rest of the way with dirt in the morning.
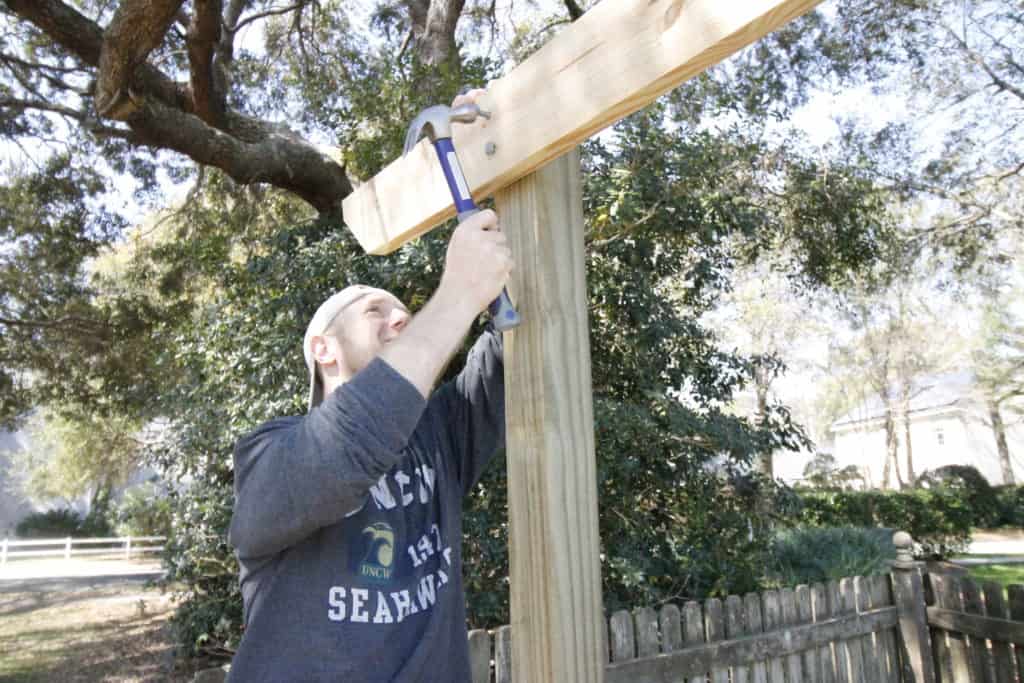
Step three: attach horizontal beams
The next step was adding the 2x6 beams across the top. These 16 footers were behemoths.
We used two, 8 inch long ⅜ inch wide bolts to attach the beams to the posts on each side.
We pre-drilled the holes through the beams and then held them up to drill through the posts.
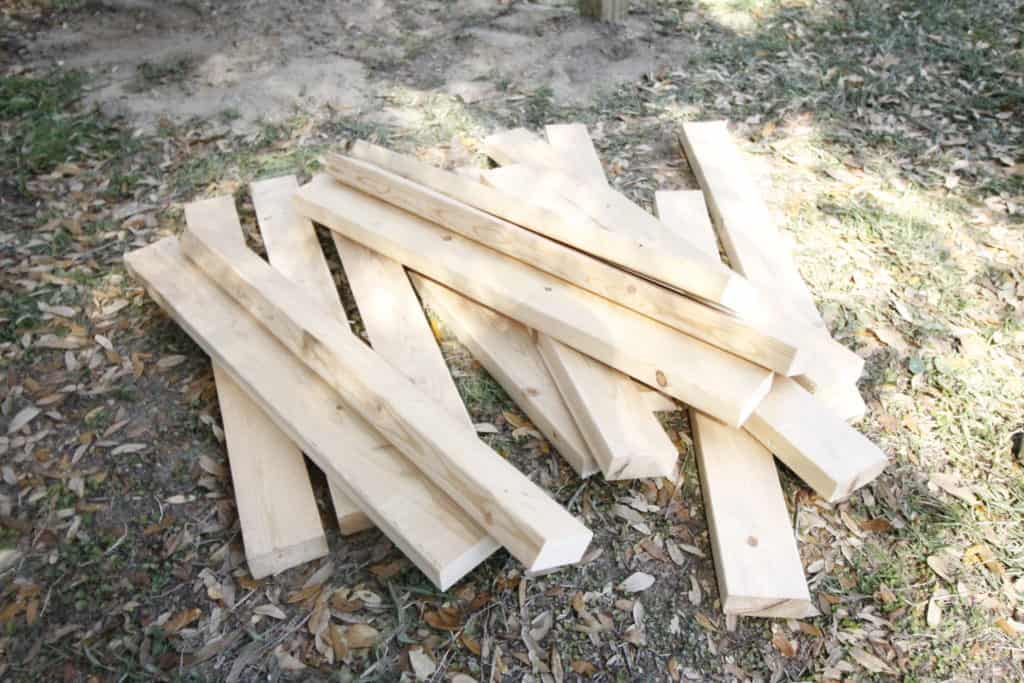
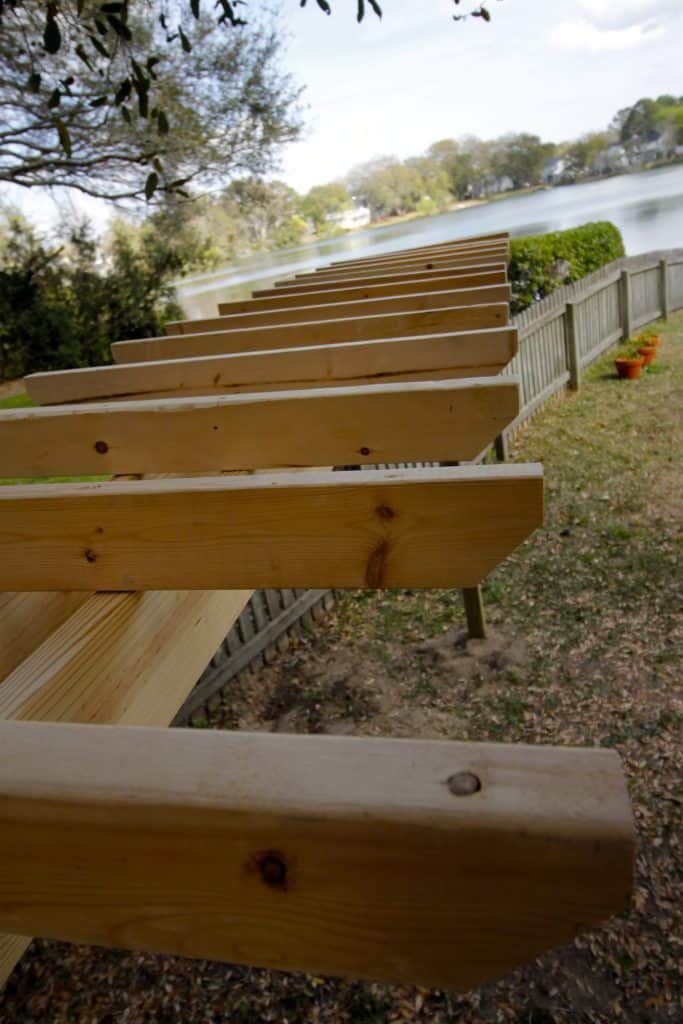
Before securing the beams up, we cut an angle on the ends of each beam.
We chose a 45 degree angle, but didn't start it at the top corner because that would leave too sharp of an end. We wanted the beams to look decorative, not like spears.
Funny story- Morgan thought that they sold pergola boards with that cut already and was amazed when I did it myself...
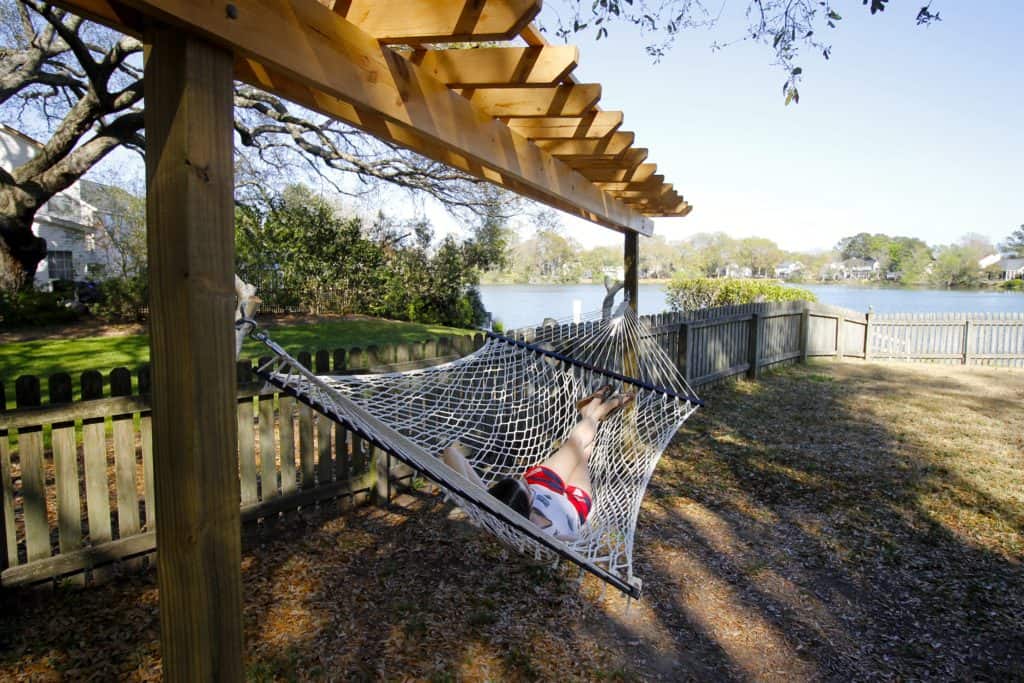
Step four: attach pergola beams
Once the bolts were secured through the beams and the post, we added 15 perpendicular, 3 foot long 2x4s across the top with the same 45 degree angle cut out.
I attached these by drilling 5 inch deck screws straight down through the top and into the 2x6.
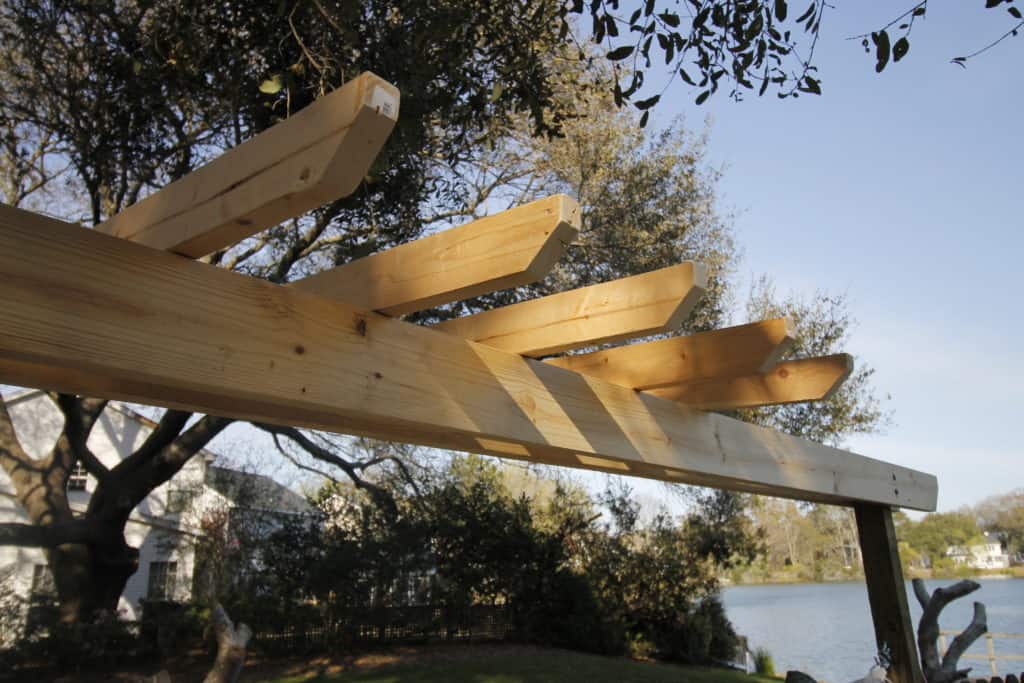
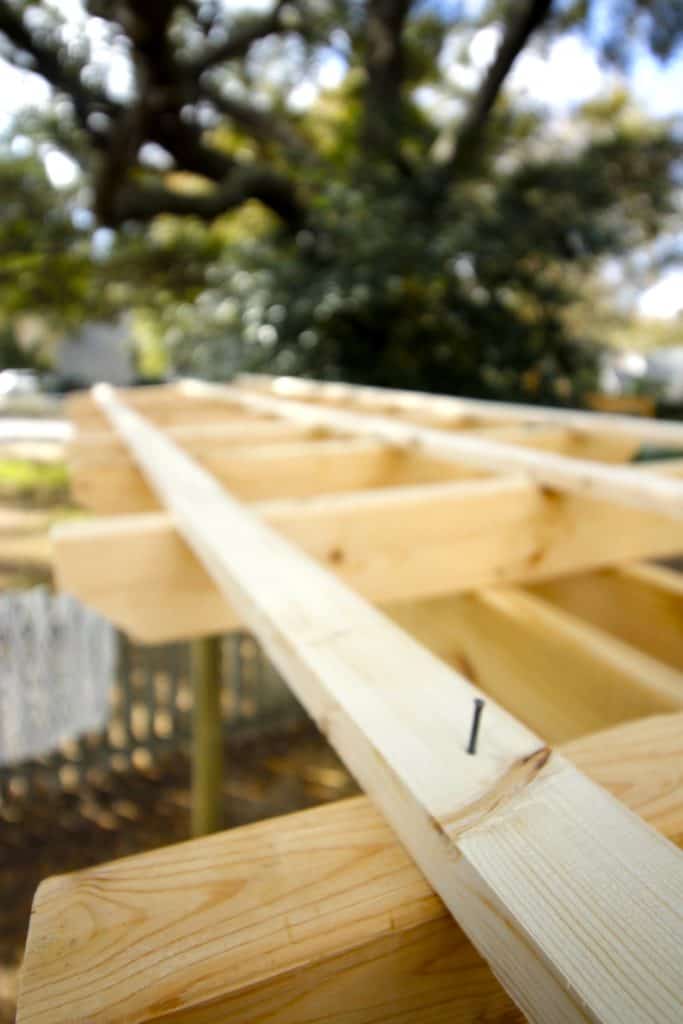
Almost there. Next, we used 1x2 boards perpendicular to the 2x4s to run across the very top to add more of a trellis look.
These we just used six 8-foot boards to create three rows. We nailed these in because we didn't have that many tools back then, but you can screw these in or use a brad nailer.
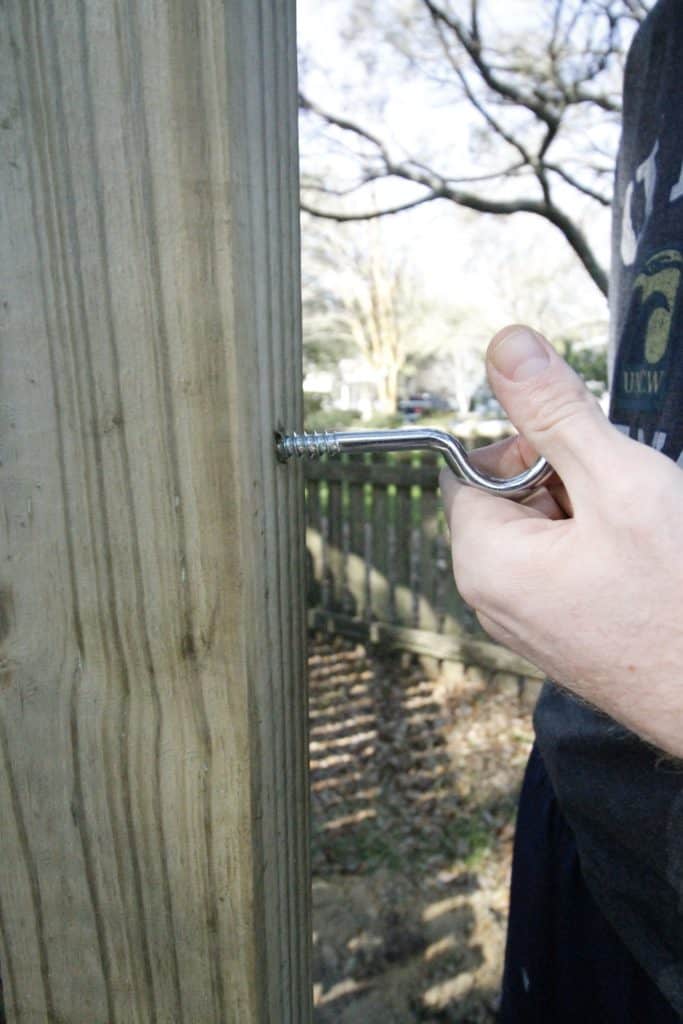
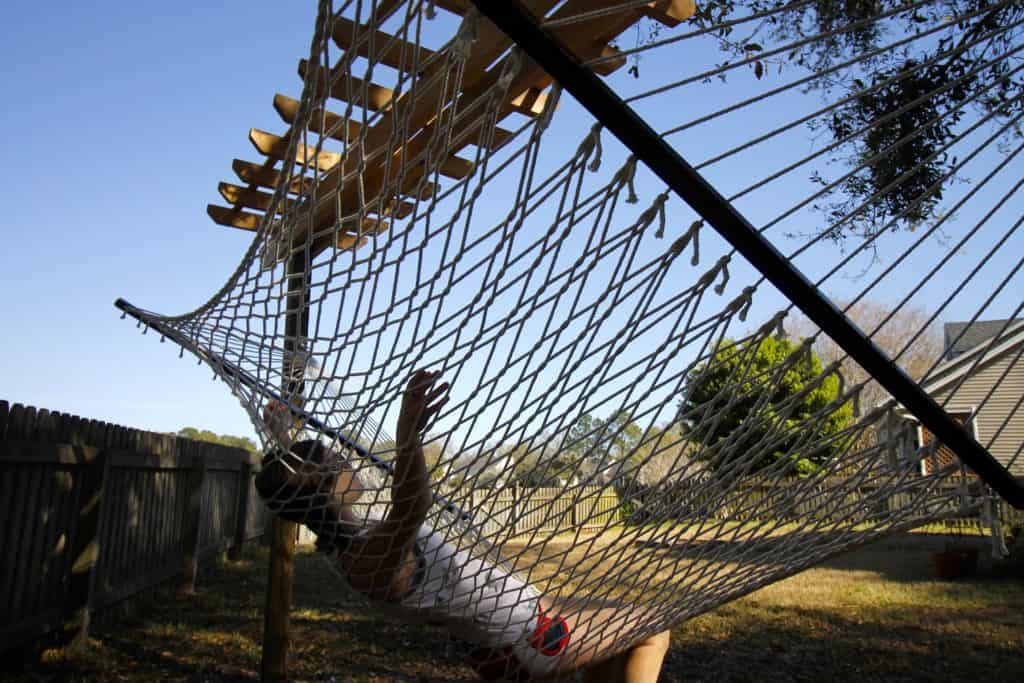
Step five: add hardware
Next was the easiest step, which was hanging the hooks on each post for the hammock to hang on.
Determine the height best for you, but we hung ours about 5 feet off the ground.
You could go a step further and add a bottle opener on one of the posts if you plan to spend a long time having cold ones and don't want to go in the house to open a new one.
Step six: stain
The final step was stain. If you are going to have a wood project live outdoors, you need to protect it, even if you are using treated wood. This will extend the life of the project, give it color and make it a little more finished.
We used Thompson's Water Seal outdoor grade stain over all the boards to make sure they last a long time.
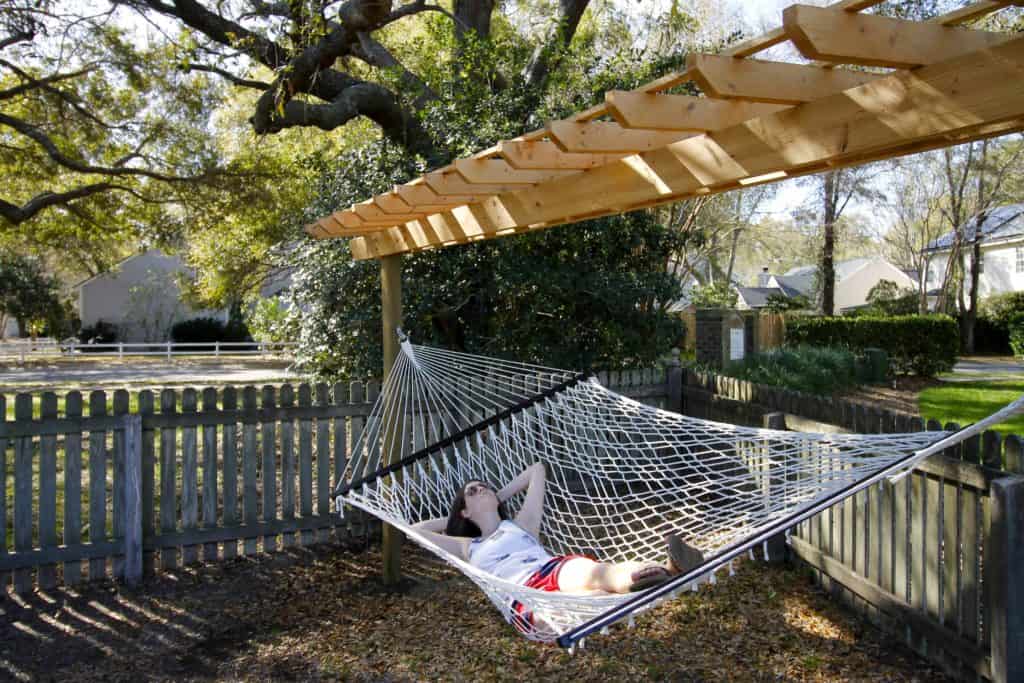
Step seven- enjoy!
I lied- the final step is to relax.
Don't want a hammock? You could also use this pergola for swings or to grow plants up. So many possibilities!
This DIY wooden hammock stand really wasn't very hard. It's a doable weekend project and you'll be relaxing by the end!
It took awhile because there were a lot of steps and some waiting, but man was it worth it.
It's in the shade under the oak tree and now we can just relax after a hard day of work.
Can't wait for summer!
DIY hammock stand woodworking plans
If you loved this project and want to build one of your own, now you can.
Grab our printable PDF woodworking plans for this DIY hammock stand to help you build the entire project this weekend.
Our plans have a full material shopping list, cut list and step-by-step instructions with computer model imagery to help guide you through the entire build!
Be sure to check out our tropical plant area, the quikrete concrete patio, and our hardscaped benches and firepit!

Looking for something?
We've been doing this since 2012 so we have a LOT of blog posts!
Search stuff like: Ceiling Projects | DIY Plant Stands | Thrift Flips
Looking for something?
We've been doing this since 2012 so we have a LOT of blog posts!
Search stuff like: Ceiling Projects | DIY Plant Stands | Thrift Flips

Hey there, I'm Sean, the woodworking enthusiast and builder behind CharlestonCrafted.com! Since 2012, I've been sharing the magic of turning raw materials into beautiful creations. I love teaching others the art and satisfaction of woodworking and DIY. I try to inspire fellow crafters to make something extraordinary out of nothing at all.


Maria Brittis says
Fabulous hammock DIY, perfect for the spring in Charleston. Love it and planning on pinning it to my outside patio board.
Maria
Leanna says
Huge yard, big glorious shade tree, by the river. How do you survive lol. Of course that back yard needed a gorgeous DIY hammock as well to enjoy it all with. You have your own little bit of heaven out there. Lovely to read. Pinning.
Amy @ mylifefromhome says
That is like a dream come true! What a great project. Would love to hang out there and relax. Enjoy!
Rachel says
Beautiful and great idea! This is going on next spring's list!
Nicole Q-Schmitz says
Oh my goodness, the Husband has always wanted a hammock in our yard - I think we could build this 🙂
Kathy says
This is hard work. I have done it many times. I have a wood hammock for my wife. Thanks for sharing
Oinc says
The hardware what did you use? Ceramic coated screws, galvanized 8 inch bolts, what about the screw for the hammock. Pressure treated wood will destroy standard bolts and screws.
Sean says
We used coated exterior screws to attach the lattice beams on top, galvanized bolts to attach the top, and outdoor hook eyes for the hammock rings.