Transform your flat panel interior doors into a source of pride! Discover how to effortlessly update them with molding, achieving a seamless and budget-friendly transformation. Follow the step-by-step guide, and see the outstanding difference as your doors go from drab to fab.
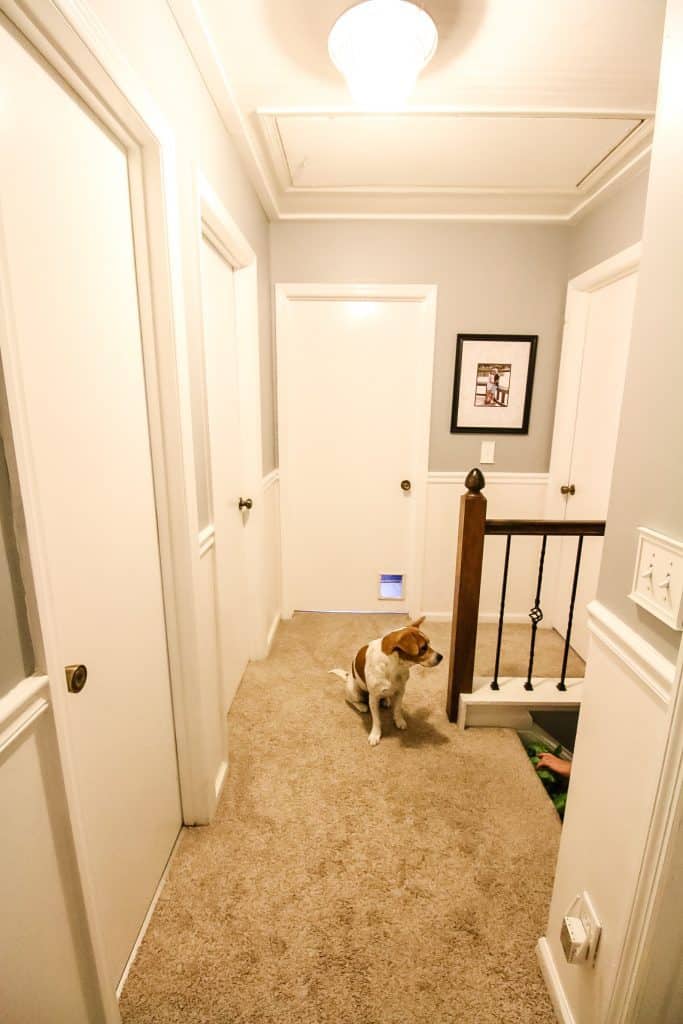
Flat panel doors have a place and time, but they often make a house feel dated and, honestly, kind of cheap.
No offense if you have them - so did we - and are on a tight budget. We couldn't stomach the cost of replacing all of our doors.
So, we decided to DIY update our interior doors, instead.
Today, we're talking to you about updating interior doors with molding. Adding a little bit of detail to flat panel doors transforms them into something you can be proud of.
Updating Interior Doors with Molding
Here is the process that we used to add interest and depth to our flat panel internal doors on a budget.
Supplies used for our door upgrade:
- existing flat interior door
- ¼" plywood
- table saw
- tape measure
- brad nailer
- caulk
- door paint
- paint sprayer or mini foam roller + tray
Step 1: Prep Work
The first thing we did was go around and measure each door. While they are all the same height, they were almost all different widths.
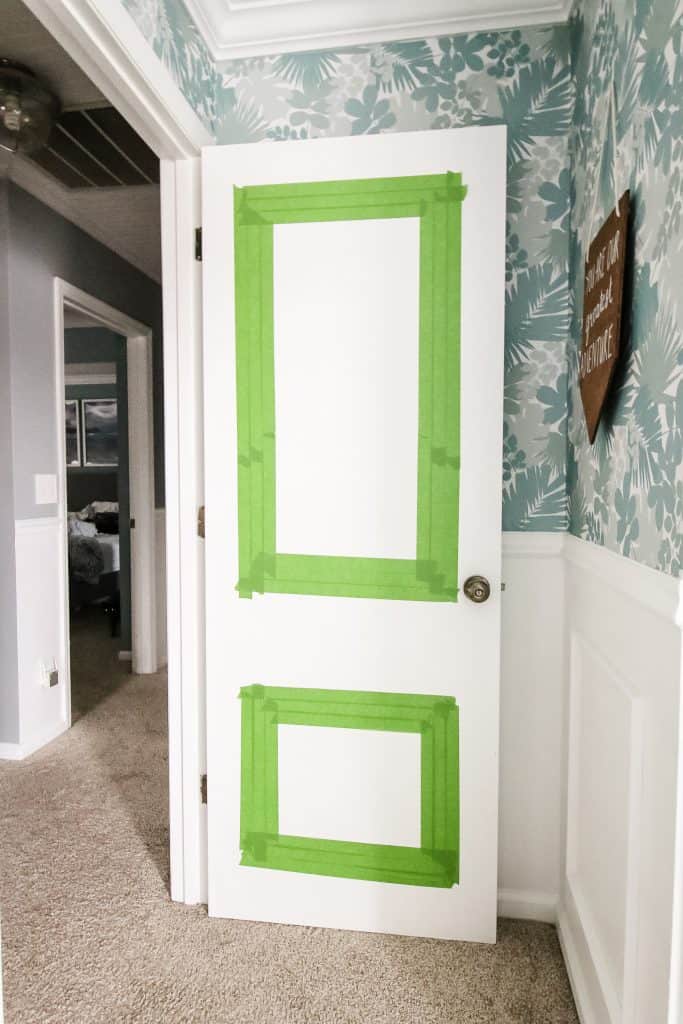
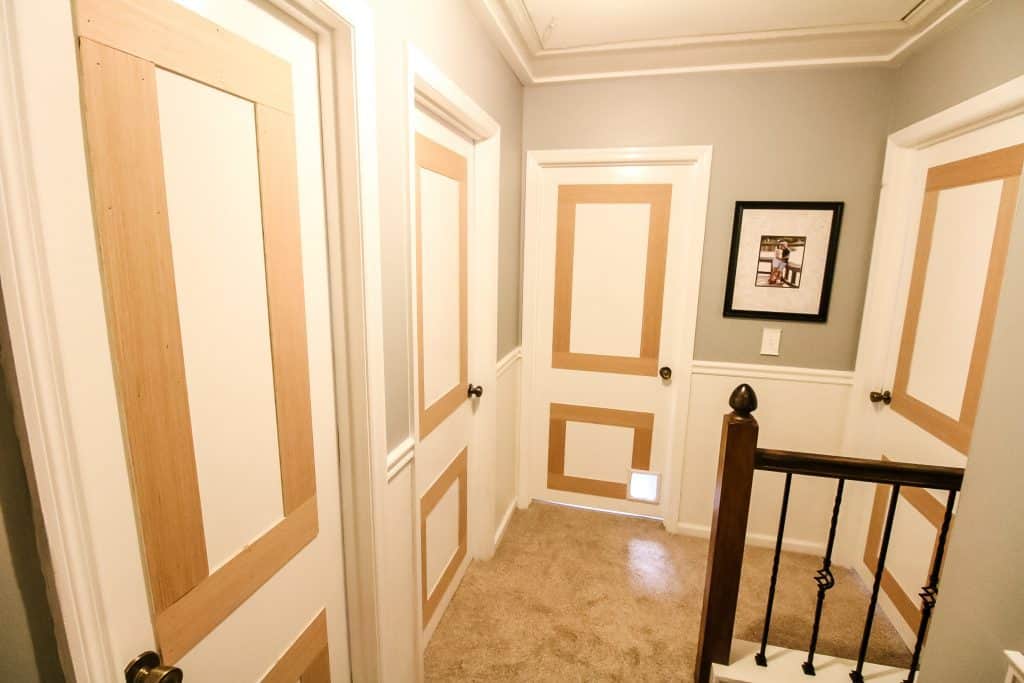
We opted for a pattern of a tall rectangle and a small square for each door.
For consistency (since none of the doors were the same size, the best thing to do was to say that the design would be set four inches in from the edges of each door.
Taping out the design - with painter's tape - was a great way to talk it out, try on different looks, and land on a design we both liked.
Step 2: cutting
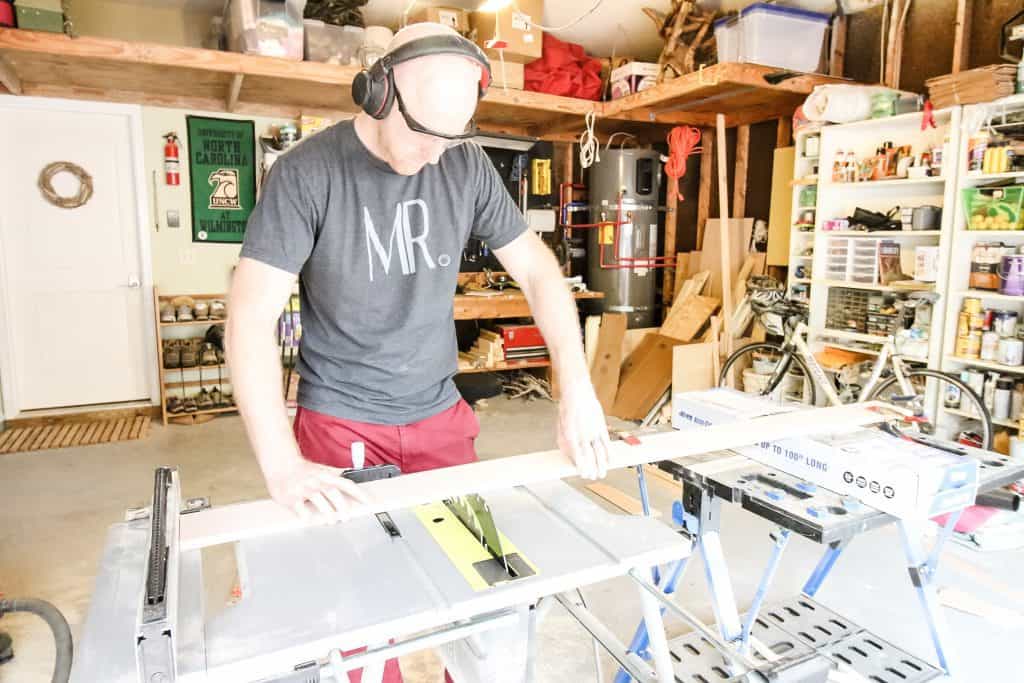
The molding option we used was ¼" plywood. I get it - this isn't "real molding" - it's plywood. But it was the cheapest possible option and a great way for us to easily add dimension and the look we were going for.
We decided to use four inch wide strips of plywood to match the four inch space around the rectangles. You could use actual molding, but plywood is much more budget friendly.
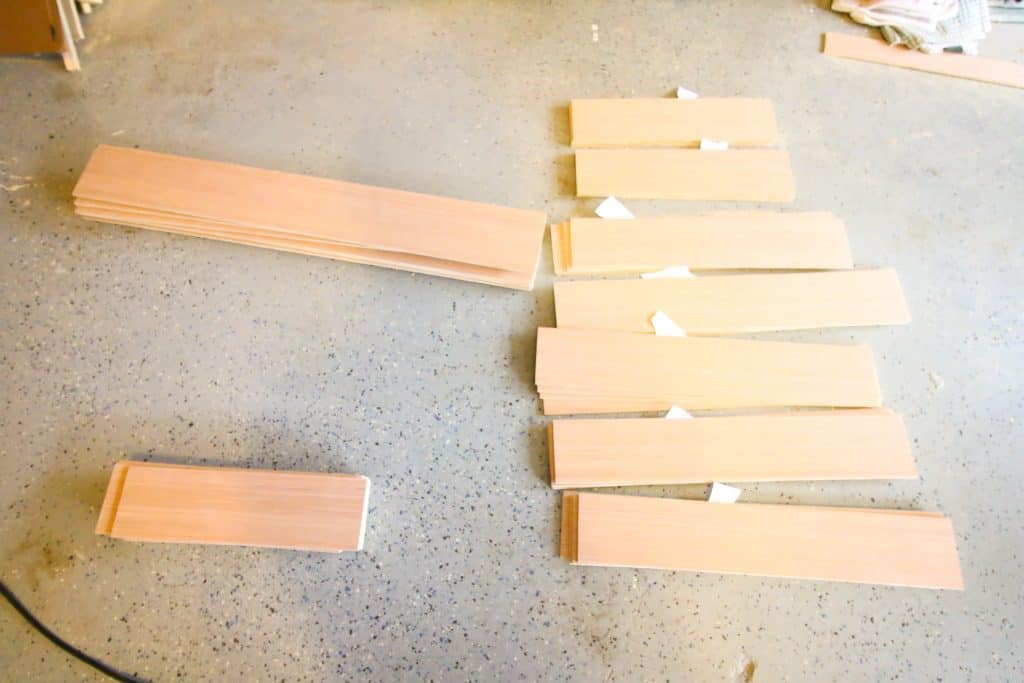
Each upper rectangle was 41 ¼" tall and each square at the bottom was 22" tall. The widths varied based on the door. Measure each of your doors and design accordingly!
We ripped down the plywood into 4" wide strips, then cut all the strips we needed for each door.
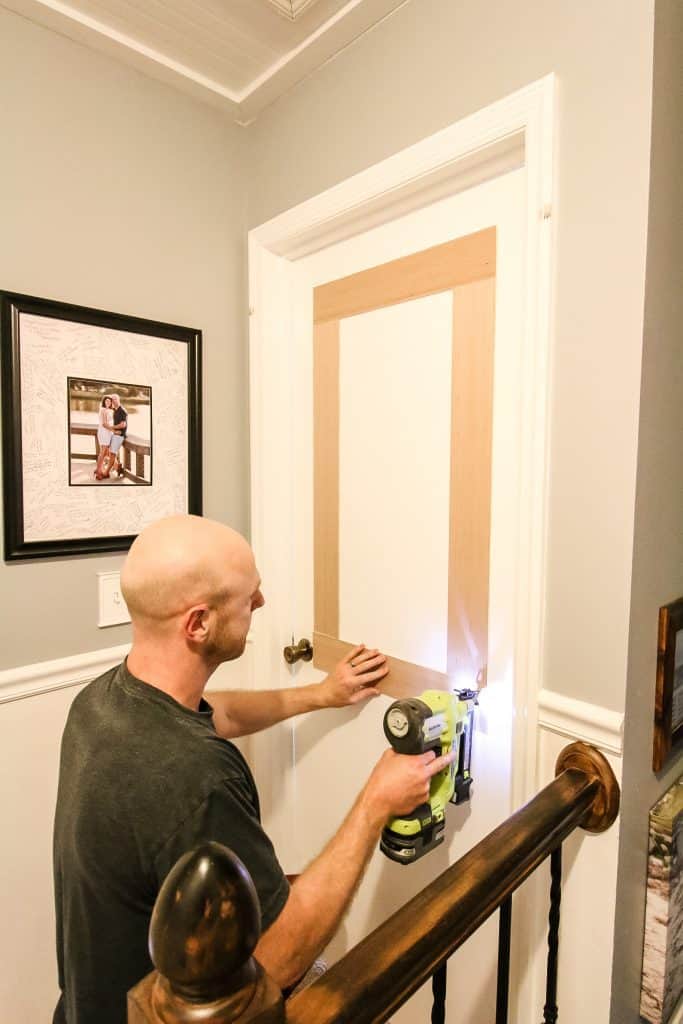
Step 3: Attaching the Molding
We then used a combination of different squaring tools to make sure that the four inch gap was equal around the doors. Then we used a brad nailer with 1" nails to attach the strips to the door.
Step 4: caulk seams
When everything was up, we caulked the holes and seams, then sanded everything smooth.
While we used caulk at the time for the seams between the door and the molding and also the seams on the molding itself, you should use wood filler on the actual strips.
Learn more about when to use wood filler versus caulk here!
Step 5: Painting the Doors
Finally came the real transformation, with the addition of paint for a seamless look.
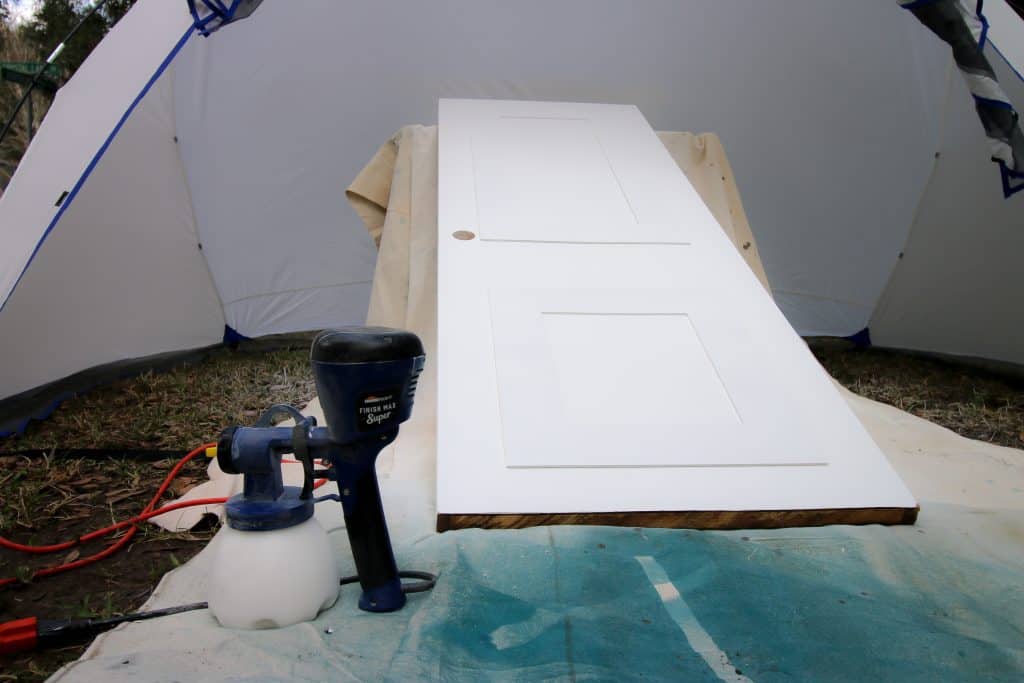
We used our Super Finish Max Sprayer to paint all our doors the same color. The spray stream from the Finish Max is consistent, smooth and really covers well.
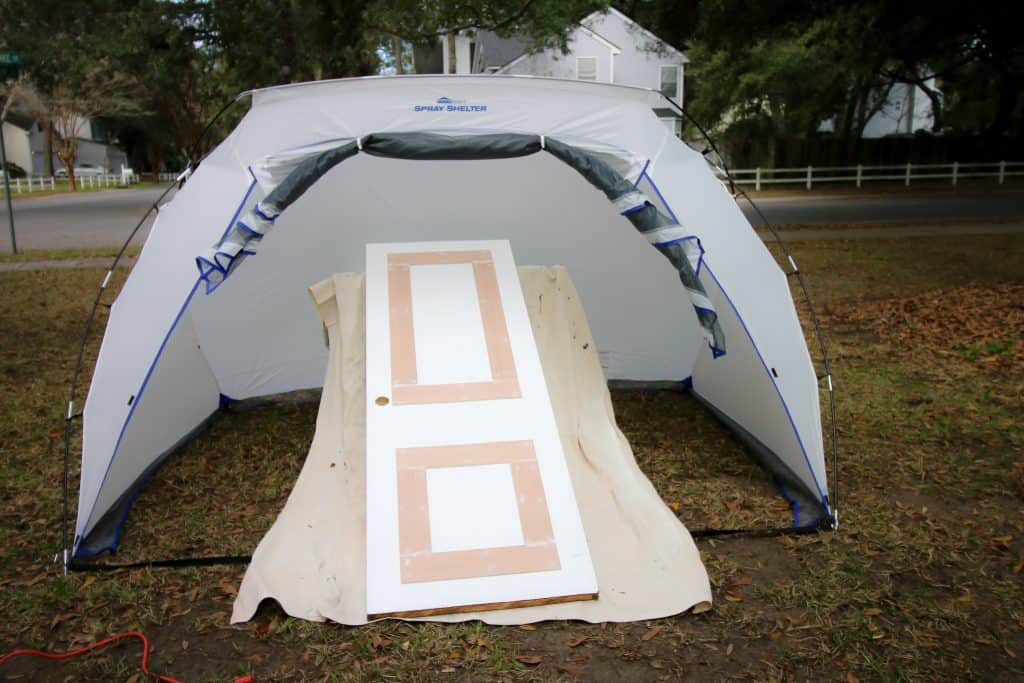
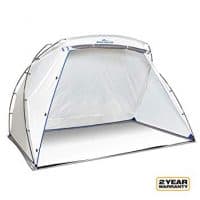
Using a large spray shelter, we were able to keep the wind and dirt away from the doors while spraying them.
We were able to spray all the doors in our house in about two hours, allowing for slight drying breaks.

No paint sprayer? No problem! The easiest way to paint a door that's still hanging up is with a mini foam roller. It might take a little longer, but you will get great results!
We did each door one at at time and then propped them standing up in the garage.
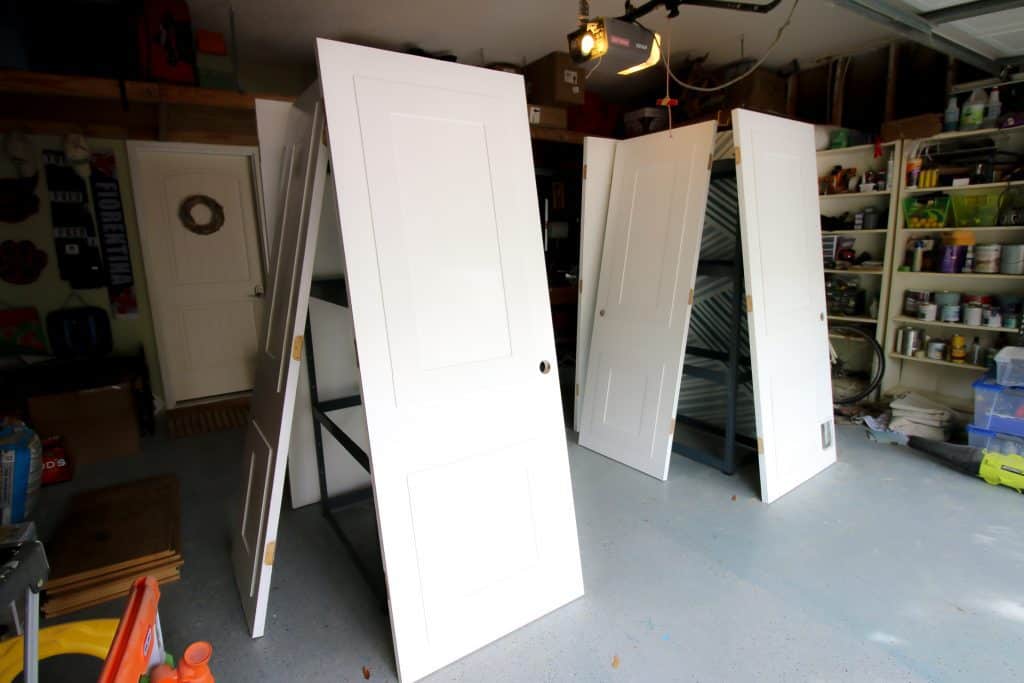
Step 6: Rehang doors
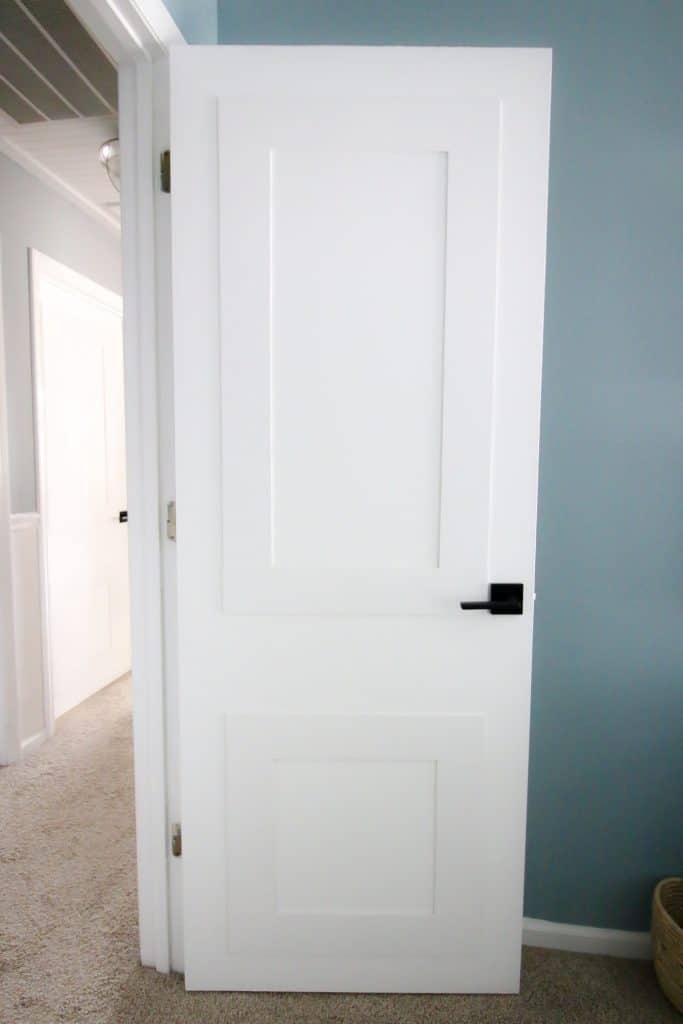
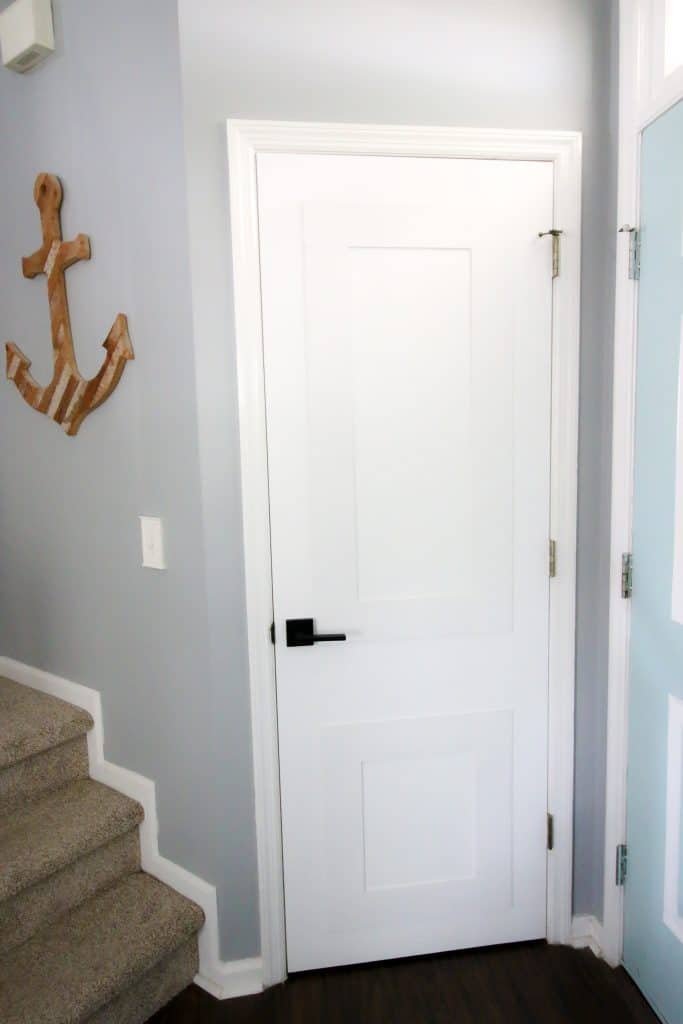
When everything was dry, we hung the doors back up on their hinges. This fairly simple updating interior doors project took our boring flat panel doors from drab to fab.
The ¼" plywood looks seamless on the old doors and looks like it's always been there. We love how upgraded the doors look now thanks to some ingenuity!
It might be a little harder to see online, but the difference in person is truly outstanding. Print off all the steps needed with our how-to guide below!

How to Upgrade Flat Panel Doors with Molding
Flat panel interior doors can be super boring and builder grade. Here is how to upgrade them in an easy and budget friendly way.
Materials
- ¼" plywood
- Brad nails
- Caulk
- Paint
Tools
- Table saw
- Brad nailer
- Sander
- Speed square
- Level
- Screwdriver
- HomeRight Finish Max Super Sprayer
- HomeRight large spray shelter
Instructions
- Determine lengths of plywood needed. Measure twice! See notes below for more.
- Cut plywood into 4" wide strips.
- Cut plywood strips to pre-determined lengths.
- Sand all plywood.
- Remove existing knobs from doors.
- Use speed square + level and a pencil to mark lines where your molding will go on each door.
- Use brad nailer to attach plywood along marked lines.
- Caulk all seams and nail holes.
- Once caulk is dry, sand and wipe clean.
- Remove each door from the hinges.
- Place in spray shelter. We propped top of doors on a sawhorse and layed a tarp underneath.
- Use paint sprayer to paint the door. Do two even coats, making sure to get the edges of the plywood.
- Allow to dry.
- Re-hang doors.
- Add any new knobs or hardware.
Notes
- Measurements will vary depending on your door sizes. We determined board lengths based on them being 4" away from the edge of each door. Almost every interior door in our home was a different width, so this was the best way to get a consistent look.
Recommended Products
As an Amazon Associate and member of other affiliate programs, I earn from qualifying purchases.


Looking for something?
We've been doing this since 2012 so we have a LOT of blog posts!
Search stuff like: Ceiling Projects | DIY Plant Stands | Thrift Flips

Hey there, I'm Sean, the woodworking enthusiast and builder behind CharlestonCrafted.com! Since 2012, I've been sharing the magic of turning raw materials into beautiful creations. I love teaching others the art and satisfaction of woodworking and DIY. I try to inspire fellow crafters to make something extraordinary out of nothing at all.

Aaron says
Please update the hinges to black
Sean says
That's a good call.
Amy says
Hi did you buy plywood sheets, if so how many and what sizes, length x width
Morgan says
Hi Amy - this will 100% depend on the size of your doors and how many you are doing. Our number won't help you. We bought full sheets of 1/4" plywood, cut to 4" wide strips, cut to lengths you need.
Chad says
Like the interior doors, are they hollow core doors, and 1 in nails with no glue for the trim?
Morgan says
They were hollow core doors and yes we used nails and adhesive. Caulking the seam is good too if you need it.