Discover how to stain wood white for a light, bright, and airy finish that complements various home decor styles. Learn the benefits of white wood stain over paint and whitewash, including preserving natural wood grain while achieving a modern look.
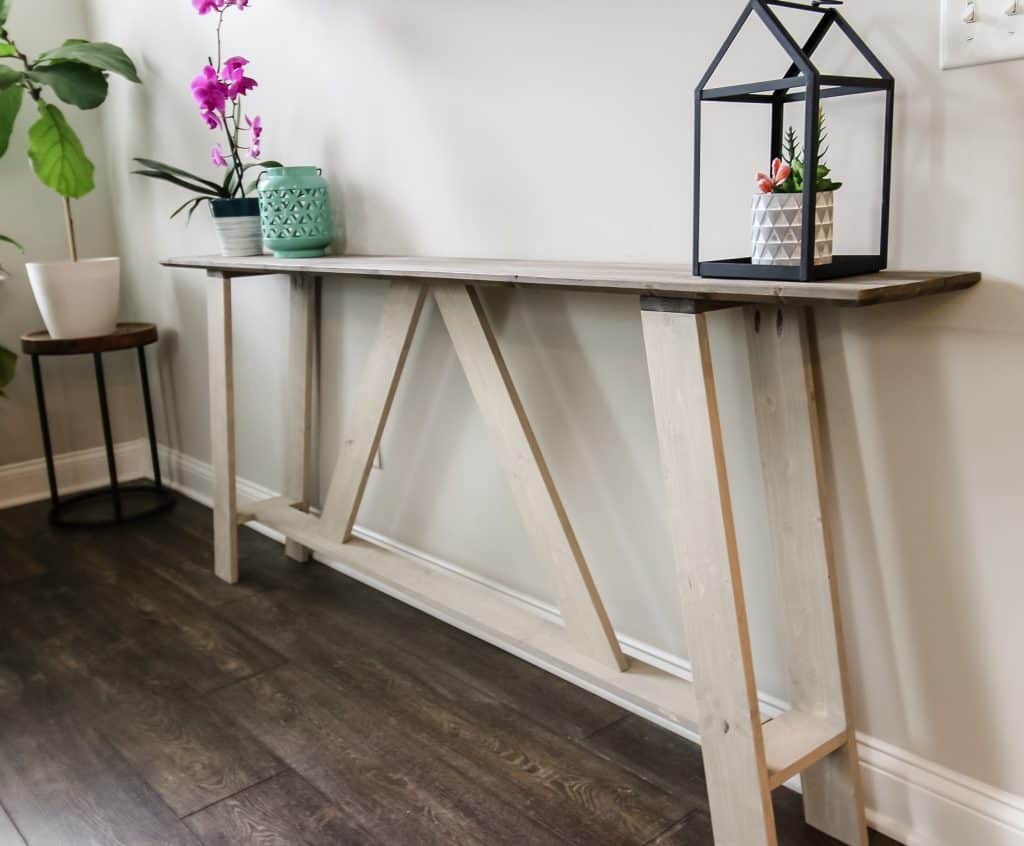
If you want a piece of wooden furniture to have a light and bright aesthetic, a great option is to stain the wood white. White stained wood is light, bright and airy and flows with many different home decor styles.
When you decide that you want a piece of furniture to be white you really have three options: stain, white wash, or paint.
Of those options, white wood stain is going to be the lightest and let the most natural wood grain shine through.
If you are looking to add a white touch to a piece of wooden furniture without completely covering the wood, white wood stain is a great option.
Understanding White Wood Stain
White wood stain is a finish that will add a translucent or semi-transparent white hue to your wood while still allowing the natural grain and texture to show through.
Unlike paint, which gives full coverage on the surface of the wood, white wood stain penetrates the wood surface.
Factors to Consider Before Staining Wood White
There are a few factors that you should keep in mind before staining your wood project.
Type of Wood
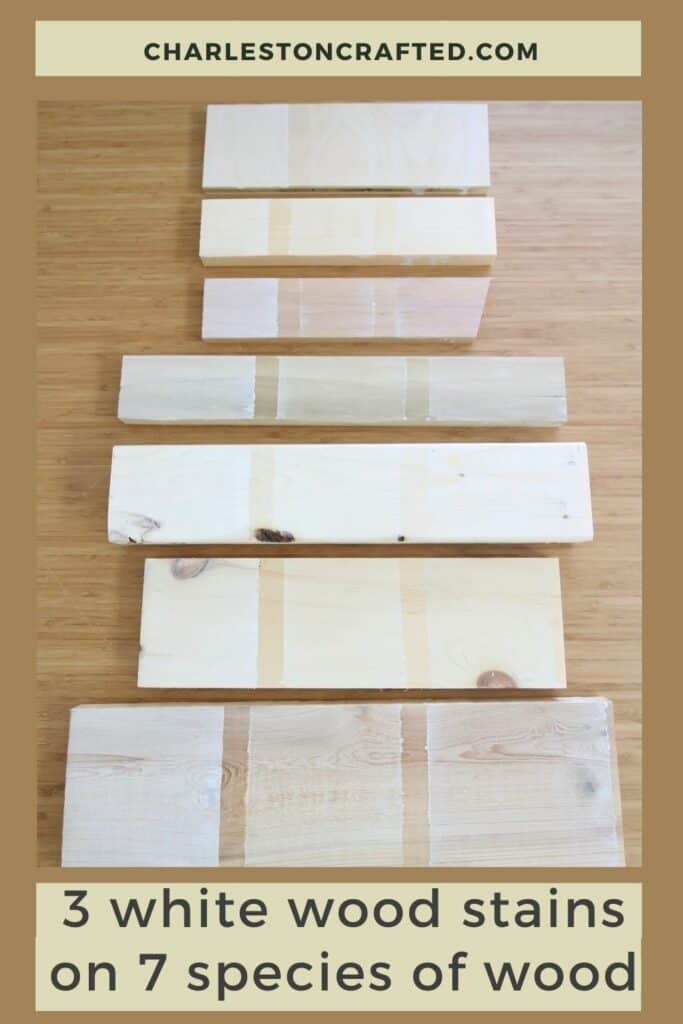
Remember: different types of wood absorb stains differently. You can really see this in our test where we tested 10 types of wood stains on various types of wood.
Additionally, different woods come in different colors and grain types. Each of these things will dramatically change the final look of the stained wood.
Because of this, stains will look totally different on different wood species. It's so important to test on your actual wood type to be sure you like the final look.
Pre-existing Finishes
It's also important to note if there are any pre-existing finishes on your wood surface - this means wood that has been previously stained or painted.
Traditional oil or water based wood stain does not go very well over paint or any sort of existing finish. You're going to want to sand the wood completely clean so that the stain can penetrate into the wood surface properly.
If you don't think you can get all of the finish off, consider looking into a gel stain which sits on the surface of the wood and can actually go over paint or stain that is already in place.
Either way, it's super important to properly prepare your wood to get the best possible finish.
Desired Opacity
There are different opacities for wood finishes. When it comes to white stain, they would be (in order from most translucent to most opaque).
- Clear top coat
- White wood stain
- White wash
- White paint
So, you will need to take a good look at your wood and determine on if you want it's still look like wood or look like painted wood. Stands are gonna let the grain, nuts, and underline color show a lot more than paint well and that is totally a personal preference.
Along with the aesthetics, remember that in general white paint is going to be more durable and protect the wood more than a wood stain.
However, if you top your stain with a good sealant, the wood will be plenty protected. Consider adding 3 to 5 coats of sealant if you want it to be very durable.
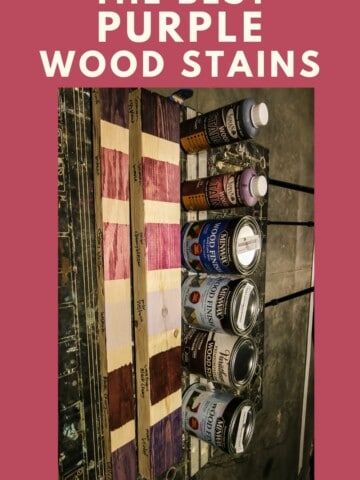
The best white stain colors
There are tons of different white wood stain colors to choose from. Our favorites are:
White Wash vs. Wood Stain
White wash creates a lighter, more rustic finish that partially shows the wood grain underneath, giving it a worn, vintage look. It's typically made from a mixture of water and white paint, which allows for the wood's texture and some of its color to show through the thin, milky coating.
White wood stain, on the other hand, penetrates the wood, offering a more uniform and lasting finish. It enhances the natural grain of the wood while imparting a translucent white hue, maintaining the wood's natural beauty with a cleaner and more contemporary appearance. Unlike white wash, white wood stain is designed to be more durable and resistant to wear, making it a better choice for surfaces that will see more use or require more protection.
Scenarios Where One Might Be Preferred Over the Other
- For a Vintage or Rustic Look: White wash is a great option for an antique or shabby-chic look.
- For Durability and Protection: Stain penetrates into the wood while paint sits on the surface. Because of this, white wash is more likely to chip or crack over time. That makes white stain the more durable option.
- For a Modern and Clean Aesthetic: In general, a white wood stain will look more modern and clean when compared to a whitewash look.
- For Easy Application and Maintenance: Wood stain is going to be easier to clean and lower maintenance in the long term when compared to whitewash.
Special Considerations for White Wood Stain
There are a few considerations that are specific to white wood stain.
Even Coverage
White wood stain can tend to get splotchy sometimes. This is because it's usually a highly pigmented stain.
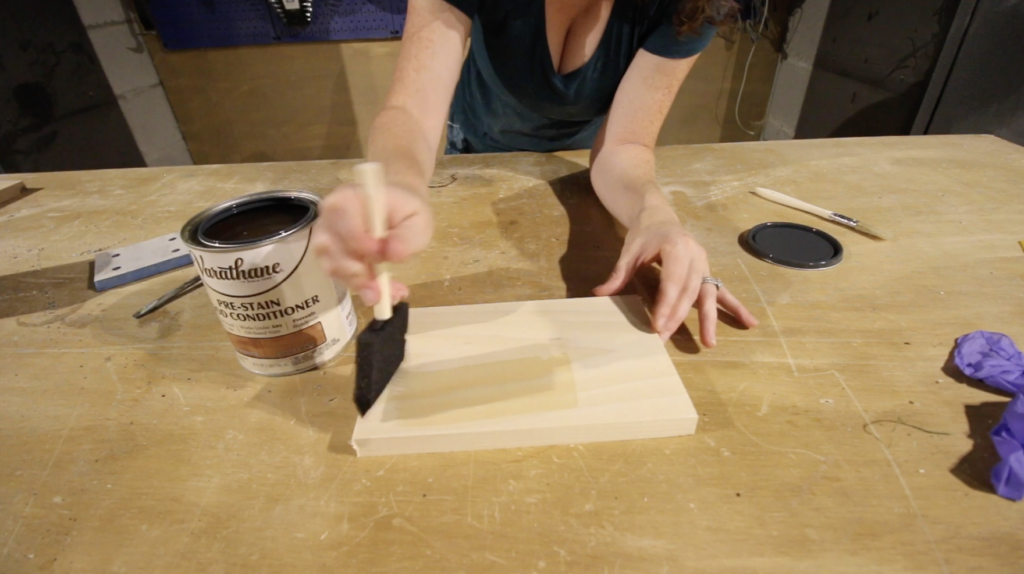
So, you just want to make sure that your wood surface is very well prepared. Sand it until it is very smooth and clean of any existing finish. If it's a light, soft wood, I suggest using a wood conditioner as a pre-treatment to even out the moisture levels of your wood and help eliminate blotchiness.
Also, make sure that you stir your stain can really well. The pigment in the stain tends to settle to the bottom of the can and so you'll get watery stain at the top and much darker stain at the bottom.
This can lead to really uneven finishing and a lot of frustration so just go ahead and stir it well from the get go.
Yellowing
One problem with white wood stains is that they can yellow over time, when exposed to UV rays.
To prevent this, it's crucial to choose a white wood stain and topcoat product specifically formulated to resist yellowing. These products typically contain UV inhibitors and stabilizers that protect the wood from the sun's harmful rays, a common culprit behind the yellowing effect.
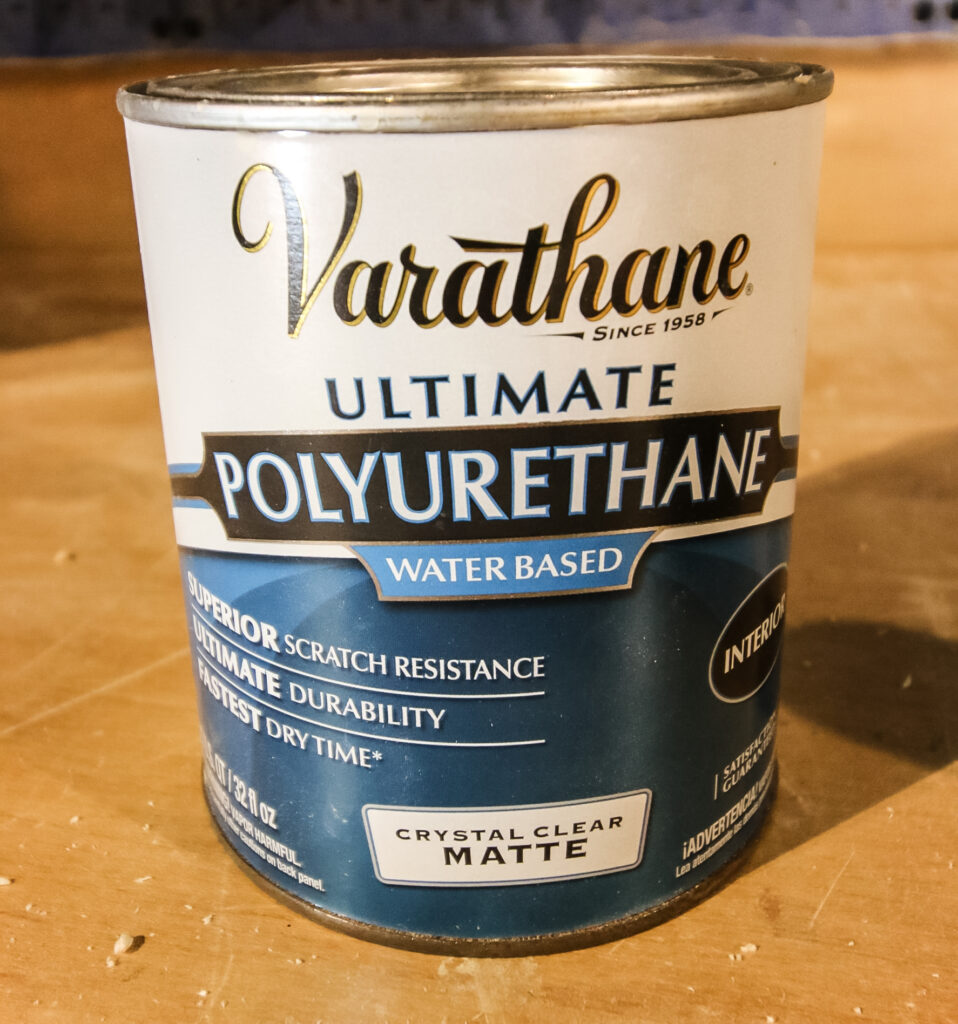
Additionally, applying a high-quality, non-yellowing water-based polyurethane or a specialized topcoat as a protective layer can further safeguard your white-stained wood from discoloration.
Regular maintenance, including keeping the surfaces clean and minimizing direct exposure to sunlight, can also help preserve the pristine white finish for years to come.
Step-by-Step Tutorial: How to Stain Wood White
Here's how easy it is to stain wood white!
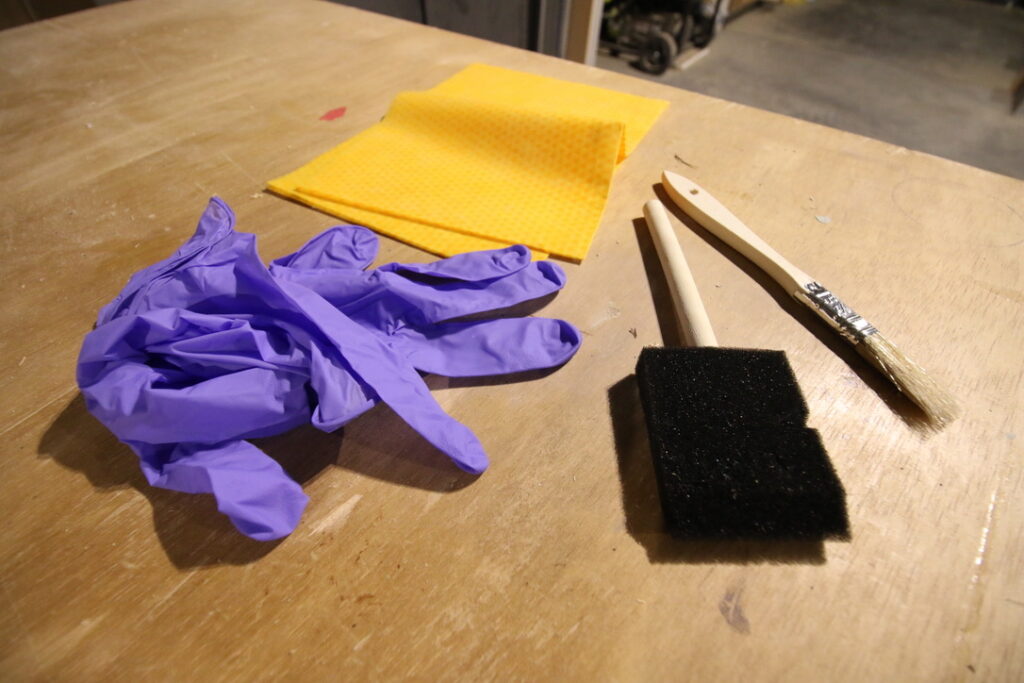
Materials Needed
- Fine grit sandpaper
- Optional: Pre-stain wood conditioner for more uniform staining
- Stain of your choice (oil-based or water-based)
- Brushes or cloths for application
- Gloves and safety goggles
- Stir sticks for stirring the stain
- Drop cloths to protect the surrounding area
Preparation
- Fill any holes with wood filler and sand smooth
- Sand your wood well, in the direction of the wood grain, with a fine grit sand paper (220 grit)
- Wipe clean with a cloth
- Apply a wood conditioner to even out the wood surface and reduce blotchiness
- Stir the stain well to ensure it is well mixed
Application
- Test the Stain: Always perform a test on a small, inconspicuous area to ensure you like the desired color before staining the entire piece.
- Apply Stain: Using a brush or clean cloth, apply an even coat of stain following the wood grain. Brush up and down to mimic the direction of the grain and get the stain into all of the grooves and cracks. Work in small sections to avoid drying lines.
- Wipe Excess: After a few minutes, wipe off any excess stain with a clean cloth. Leaving pooling stain is what leads to a blotchy finish. Assess the color depth and decide if you want to apply a second coat. Allow it to dry according to the manufacturer's instructions.
- Apply Additional Coats (if needed): For darker coverage, apply additional coats after allowing the previous one to dry completely. Ensure each coat is evenly applied and wiped to maintain consistency.
Finishing Touches
You are always going to want to finish your stained wood off with a sealant. You can read our whole guide on how to seal stained wood, but you just want to apply at least two coats and let them dry completely before handling it.
If you're doing some thing like a table top that's going to get a lot of wear, 3 to 5 coats are ideal.
Choose a water-based sealant to cut down on the chances of yellowing (oil based sealants tend to yellow overtime.)
Maintenance and Care
Anything that is white is going to stain more than darker colors. So, it's important to take care of your white stained wood preventatively.
Always use a coaster and wipe up spills right away. Wipe your surface down with the surface cleaner periodically.
If you notice that it's getting a lot of dings and dents, you might want to consider adding another coat or two of sealant down the road to boost it's protection.
Whatever you choose, your white furniture project is going to look great if you take the time to prep and do a great job!
Want help getting the perfect wood stain finish?
Be sure to grab our FREE wood stain troubleshooting cheat sheet, with the top staining problems + easy solutions for each!


Looking for something?
We've been doing this since 2012 so we have a LOT of blog posts!
Search stuff like: Ceiling Projects | DIY Plant Stands | Thrift Flips

Hello, I'm Morgan, half of the creative force behind CharlestonCrafted.com! With a passion for DIY that dates back to 2012, I've transformed three homes and now I'm dedicated to helping others craft their dream spaces. Let's turn your house into a home together!