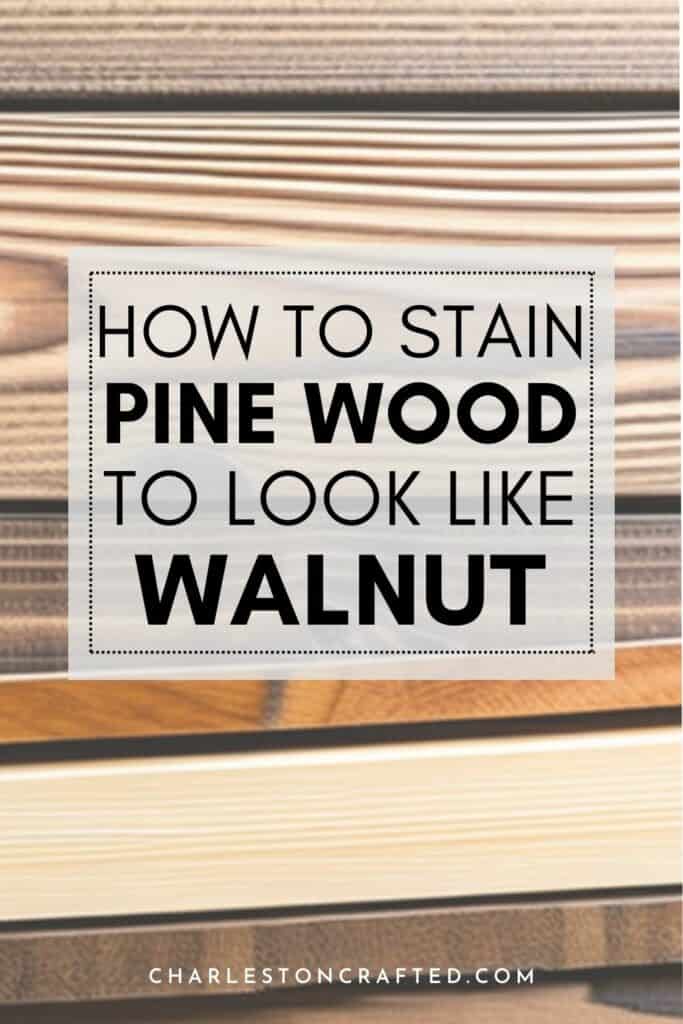
Want to use wood stain to totally transform the look of your wood? Here's how to stain pine to look like walnut!
Pine is a favorite wood for many people to build with because it is readily available and generally inexpensive to get.
Walnut, on the other hand, is a gorgeous dark wood that is usually expensive and harder to find.
So, many people build with or buy something made from pine and use wood stain to give it the look of walnut wood.
You will never make pine look like actual walnut to the careful, observant eye. They have totally different grain patterns that would be very, very difficult to fake.
But, you can easily give pine the overall walnut aesthetic using stain.
Just keep in mind that pine is a very light, soft, porous wood.
That means that it will take several coats and careful prep work to get a dark enough color without a blotchy finish.
Choosing the Right Stain
The most important part of this process will be choosing the right wood stain color. You can look at samples online (be sure to check out our test of the best dark brown wood stains!)
But, in reality you need to test your stain you your actual wood. Even 2 boards of the same species can absorb stain differently due to differences in age, dryness, and coloration.
If you built your project, use a scrap cut off piece for your tests. If it's furniture or floors, choose a discrete spot you can test and then sand the stain swatch off of.
Layering stains
Sometimes, especially if you are trying to match another piece of wood, it's best to layer 2 different stains to get the exact color you are going for.
Because pine is light and walnut is very dark, it can be a good option.
This can get a bit complicated. Definitely test and practice on scrap wood.
Some people prefer to use a wood dye first to darken the "base" color and then apply a stain over top of that.
The Best Walnut Wood Stains
Here are some of the most popular walnut wood dyes and stains for pine wood.
- General Finishes Water Based Wood Stain, Walnut
- Varathane Premium Gel Stain, Dark Walnut
- Decoart Americana Walnut Gel Stain
- Old Masters, Dark Walnut Gel Stain
- Furniture Clinic Wood Stain | Walnut
- TransTint Dyes, Dark Walnut

Pictured above:
- Varathane Dark Walnut
- Varathane Jacobean
- Varathane Ebony
- Minwax Dark Walnut
- Minwax Jacobean
- Varathane Provincal
How to stain pine to look like walnut
Here's how easy it is to give inexpensive pine the look of walnut wood using stain.
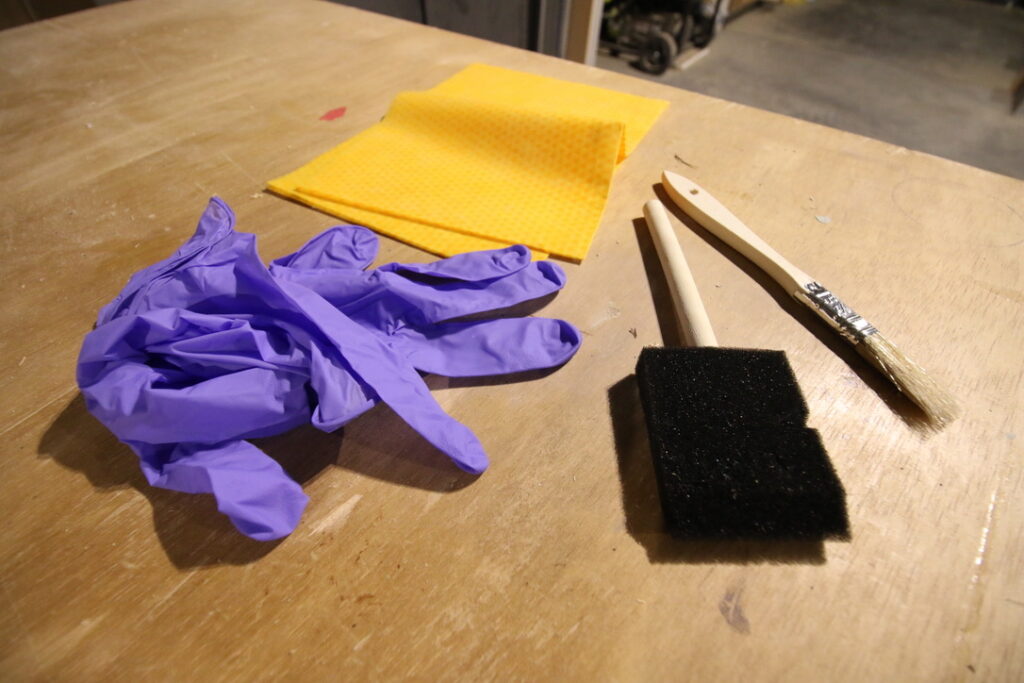
Supplies needed:
- Pine wood
- Sand paper - 80, 150, and 220 grit + sander
- Soft cloth or rag
- Wood conditioner
- Paint brush
- Walnut wood stain
- Lint-free cloth or brush to apply stain
- Matte topcoat + brush to apply
Steps to stain pine to look like walnut:
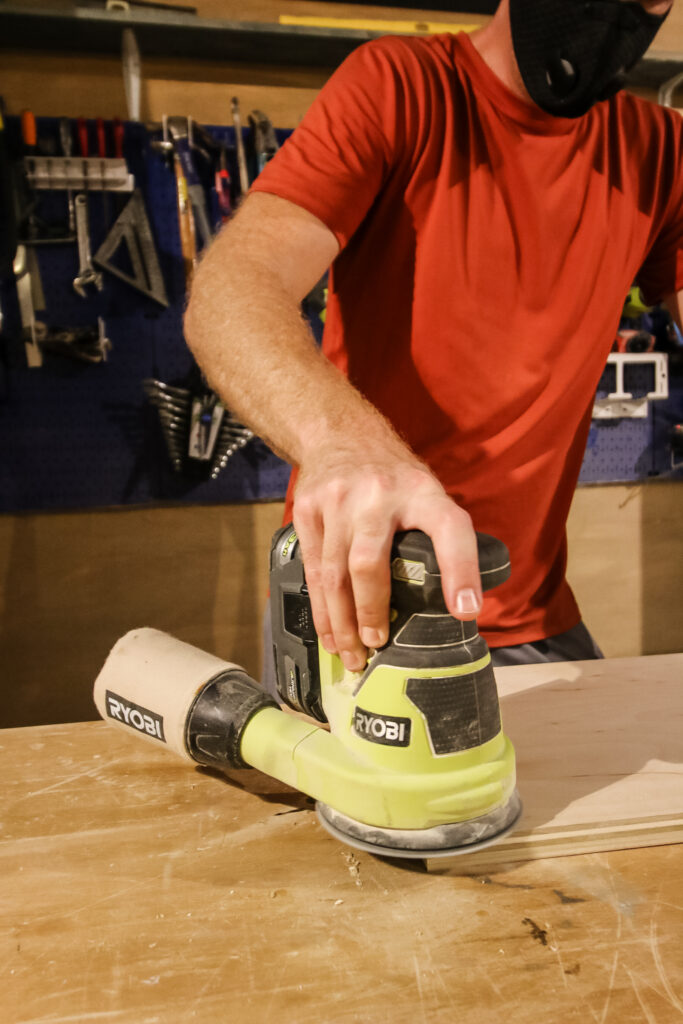
STEP 1: Sand
It is crucial to prep pine properly to be sure you have the best possible stain. Since this is a light, soft, porous wood, and you want to apply a dark stain, you want to take your time to be sure the prep work is done right.
If there is damage to your wood, you will want to use wood filler to fix it before staining.
Sand the wood smooth. If it is rough, start with an 80 grit sand paper. Sand in the direction of the wood grain, up and down the board. This will help with any large rough spots.
Then, follow up with a sand paper in the 100s. Some people will do a round of sanding with each 120 and then 150-180 grit. Honestly, we usually use just 1 round of the 100s.
Finally, finish with a 220 grit sandpaper. This will make the wood super smooth and almost soft to the touch.
STEP 2: Clean the wood
All of that sanding will result in a lot of dust and debris. Wipe your boards down with a clean, soft cloth.
If it is very dirty, you can use a slightly damp cloth. Know that water may raise the grain, making it bumpy and need another round of 220 grit sanding again.
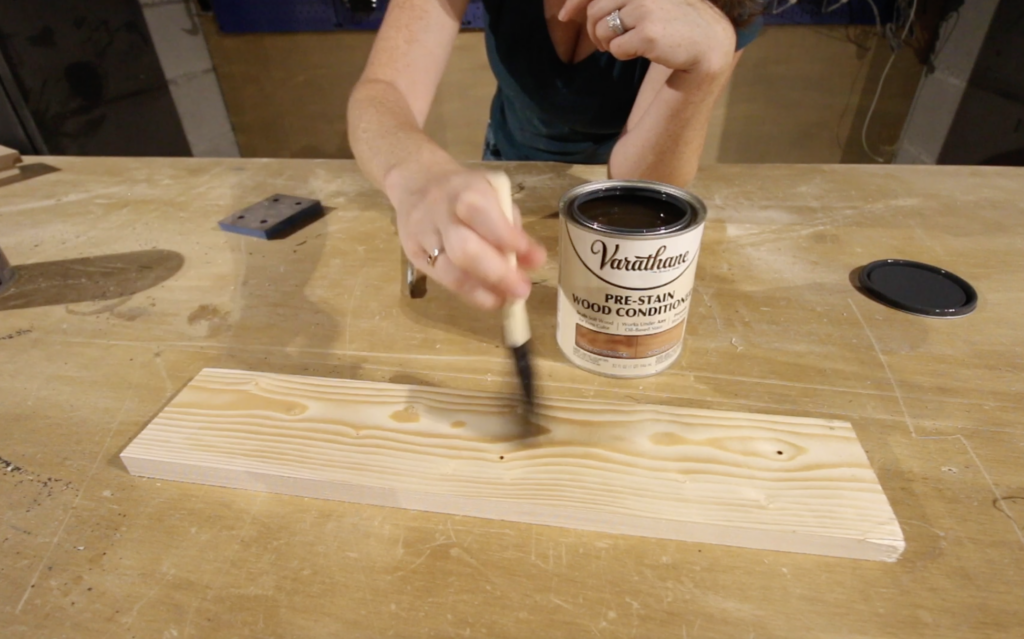
STEP 3: Apply wood conditioner
Wood conditioner is like a lotion for your wood, evening out the moisture level of the wood itself so that it absorbs stain evenly.
Without wood conditioner, dry spots in the wood will absorb more stain, leading to darker areas. This is the top cause of splotchy wood finishes.
Follow the instructions on your can, but typically you brush the conditioner on and let it dry. You will then want to apply stain within 24 hours.
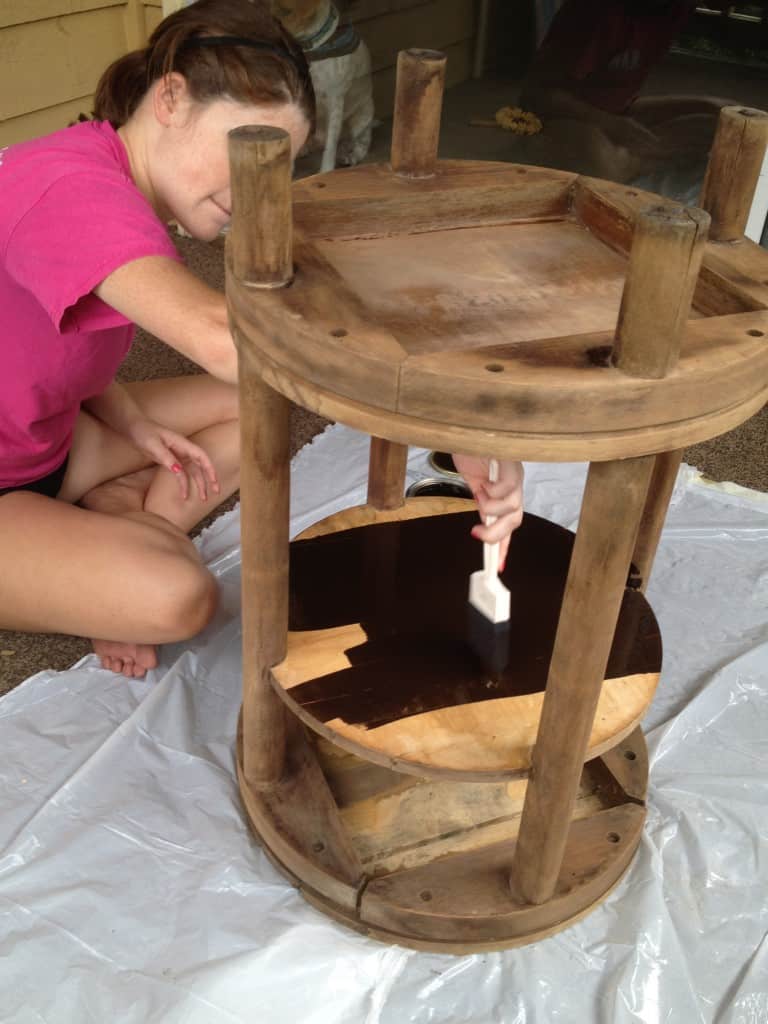
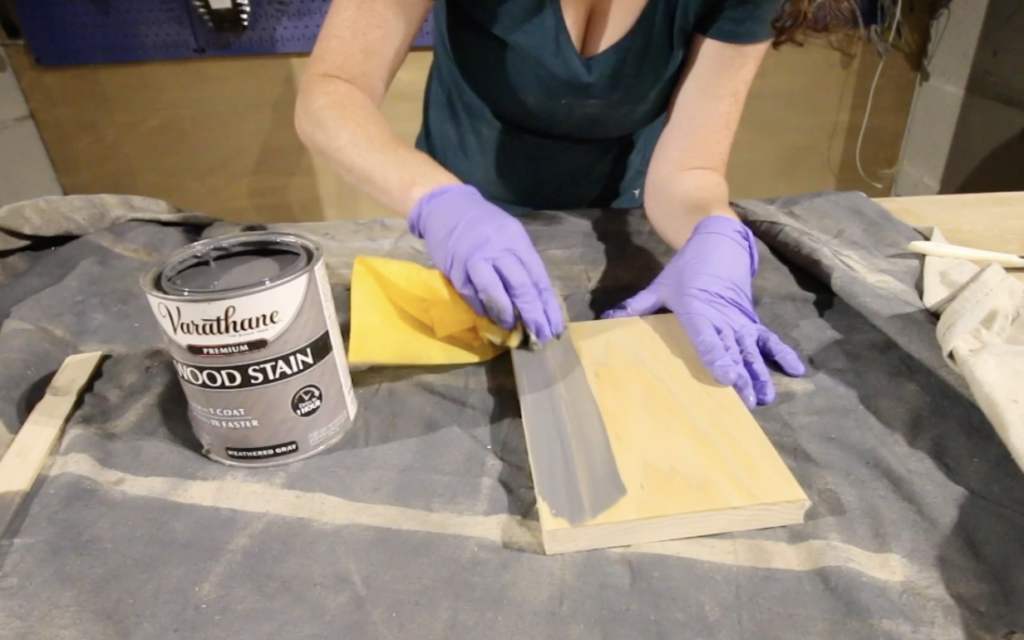
STEP 4: Apply stain
Now, it is finally time to apply your wood stain. Stir the stain well, because dark pigment can settle in the bottom of the can. Don't shake stain - it can cause bubbles.
Dip your brush or cloth into the can and spread the stain onto the wood in the direction of the grain (up and down the board).
Work in small sections, being sure to not leave any pooling or drips, which will leave dark spots.
Once you have finished each face or area of the board, go back with a clean cloth and wipe off any excess stain.
Let dry.
STEP 5: Optional - apply a second coat
Examine your wood - are you happy with the darkness and color?
If you want it to be darker, you can repeat the above process (step 4) to add a second coat of stain. Let dry completely.
STEP 6: Apply a top coat
Always finish your project with a topcoat. I highly recommend a matte or flat finish - glossy walnut just reads as fake!
Here are our favorite matte topcoats:
- Varathane Polyurethane (matte)
- General Finishes Flat Out Flat Topcoat
- Venier Matte Clear Finish
- Rust-Oleum Clear Chalked (Ultra Matte)
- Rust-Oleum Ultimate Polyurethane (Matte)
Follow the instructions on your can, but typically you want to apply in the direction of the grain with a brush. Let dry and repeat for additional coats.
We typically do 2 coats of topcoat, but if something will get a lot of wear and tear (such as a tabletop) I have done as many as 4 coats.
With this process, you can easily and inexpensively give your pine wood the look of luxurious walnut!
Wood staining essentials!

Looking for something?
We've been doing this since 2012 so we have a LOT of blog posts!
Search stuff like: Ceiling Projects | DIY Plant Stands | Thrift Flips

Hello, I'm Morgan, half of the creative force behind CharlestonCrafted.com! With a passion for DIY that dates back to 2012, I've transformed three homes and now I'm dedicated to helping others craft their dream spaces. Let's turn your house into a home together!