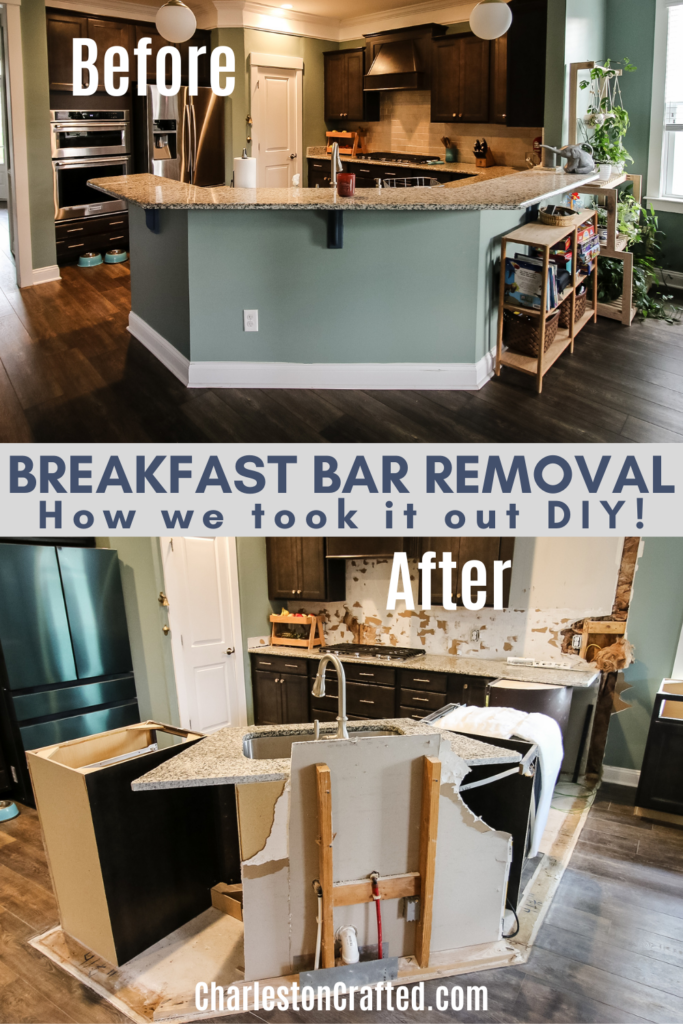
In our kitchen renovation, we removed our kitchen breakfast bar around our peninsula and created an island. This is a great DIY project we'll show you how to do!
We transformed our kitchen from a closed-off, outdated peninsula to an open, modern island. This was a major project, but demolition was the first step.
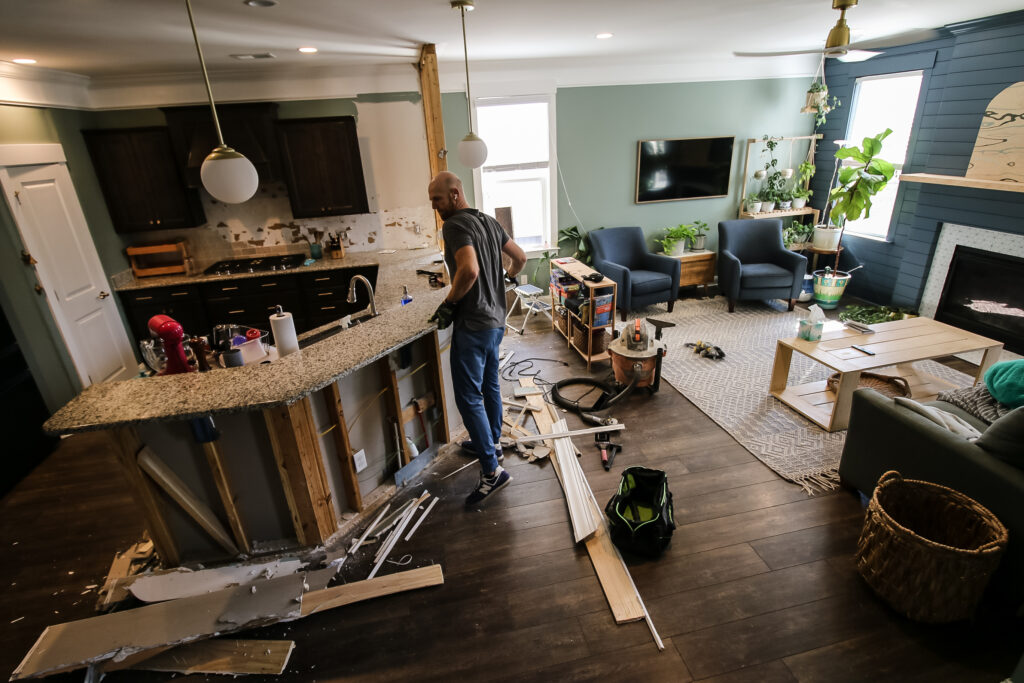
One thing our kitchen had that we hated was the very high up breakfast bar that wrapped around the peninsula above the counter height. It made the kitchen feel more closed off, looked bad and wasn't functional.
So, we decided to remove it. This was a project that was actually one of the easier parts of our kitchen demolition, so let's show you the steps you need to take to remove a kitchen breakfast bar yourself!

Removing a breakfast bar
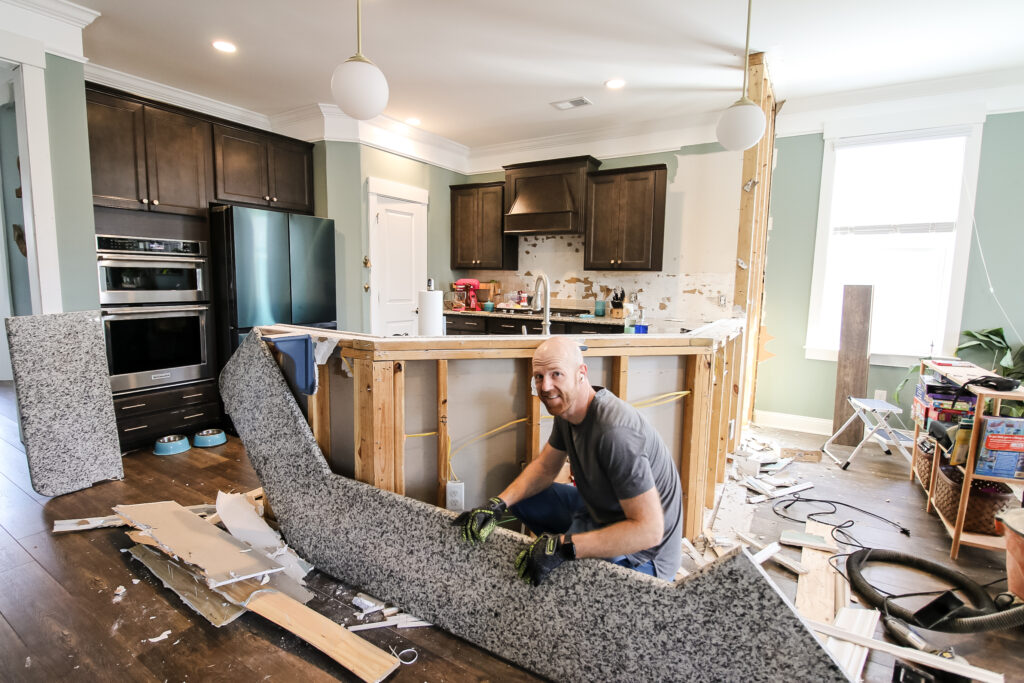
A quick word of caution- the most difficult part of removing a breakfast bar is the awkward shape and weight of it. This is a project that is best taken on with at least two people.
If you have a laminate countertop, it will weigh a lot less than a stone one, so you might be ok. But if you're working with a stone breakfast bar, it will be very heavy (ask me how I know).
We wrote all about how to remove laminate countertops back from our first home kitchen renovation here.
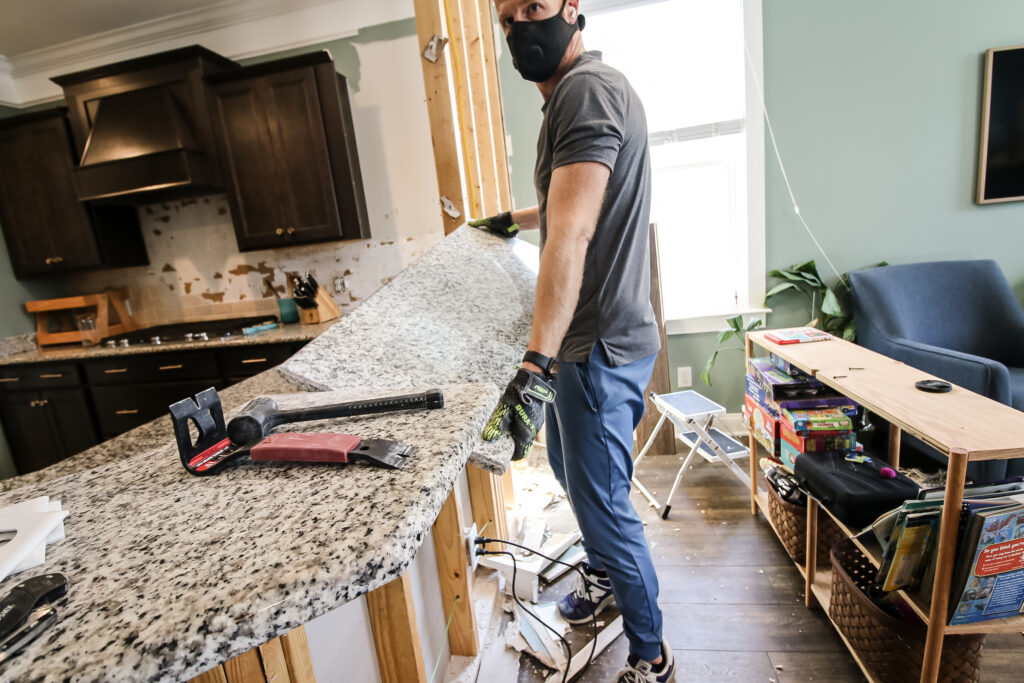
Tools needed to remove a kitchen breakfast bar
Here's the tools you'll need to get this job done.
- Box cutter
- Pry bar
- Hammer or mallet
- Saw with tile cutting attachment (potentially not needed, but helpful)
- Gloves
- Safety glasses
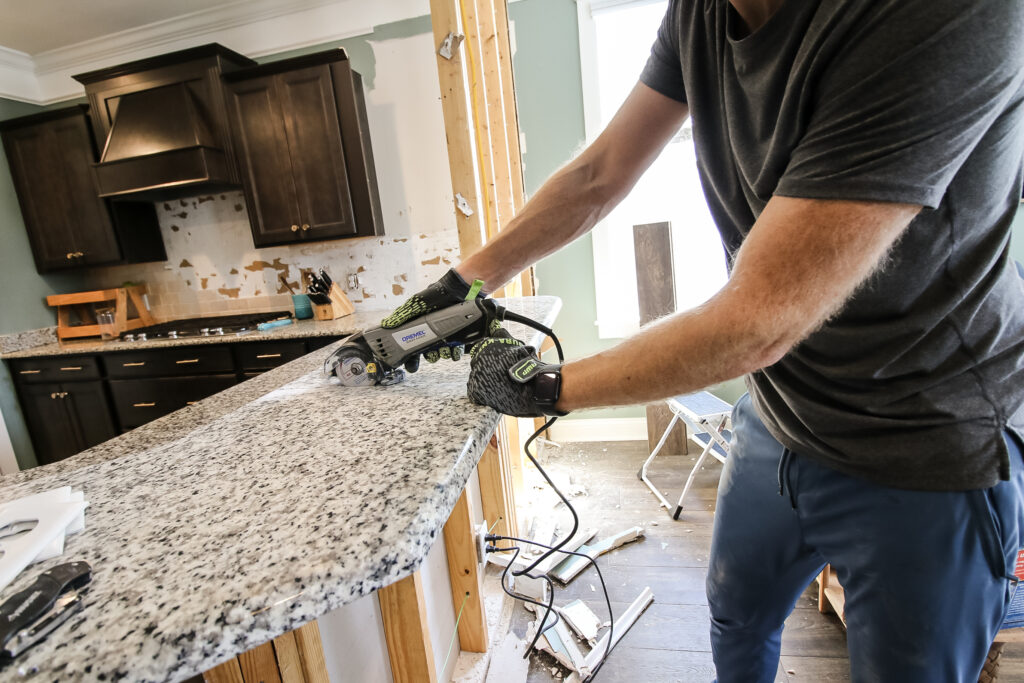
Step one: identify any seams
First, take a look at the breakfast bar and see if you have any seams on the stone. These seams are where the manufacturer put the pieces together from the original stone.
The reason to find seams is that this is where the stone will come apart. It makes it easier to handle in sections, but also you don't want to try moving more than one section at a time as they can split.
Once you find the seams, we found it was important to score that seam as much as possible. We used our Dremel SawMax with a tile blade attachment to cut the seam line as much as possible. Then we worked a pry bar into the cut and hit it with the mallet to try to make it as simple as possible to crack.
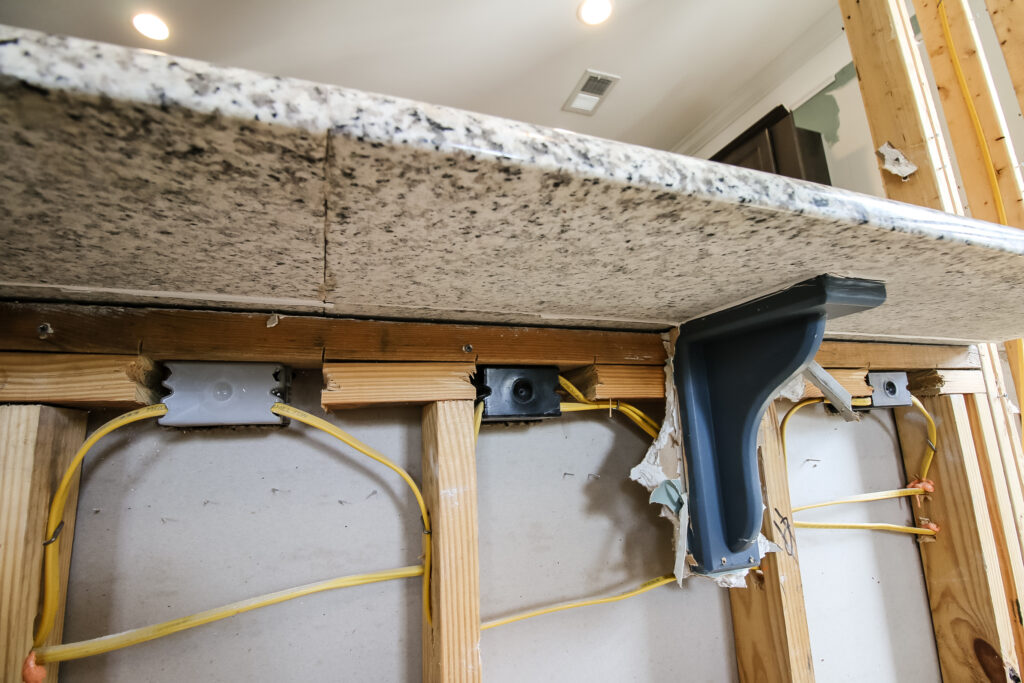
Step two: score the caulk
Next, we scored the caulk around the bar connecting it to the peninsula. You'd be amazed to find out that granite countertops are really only attached using a bead of caulk and their weight.
Take a box cutter and score the caulk all the way around the base of the breakfast bar, including on any corbels that are helping to hold it up.
When scoring caulk, it's best to do it in two different angles- one flush with the bar and one flush with the wall.
Step three: lift and remove
Now you're ready to get the bar out of there. Start on the end with the shortest piece if you have multiple pieces and lift that up toward the seam that you previously broke or cut.
It should snap the rest of the stone there and lift out pretty well. If not, you may need to try to break it a little more with the bar.
Once you have the piece up, securely hold onto it and dispose of it.
Step four: continue with all pieces
For us, the first piece was really small, only about two feet long. It was heavy but not unmanageable. The next piece was a long piece wrapped around the rest of the bar and it was extremely heavy and awkward.
You really need to have at least two strong people to try to carry something like this out or you need to break the stone in place with a sledgehammer or other tool or you might get hurt.
Remove the remaining pieces the same way as the first and dispose of them. Now you're ready for a new breakfast bar if you're keeping the existing layout!
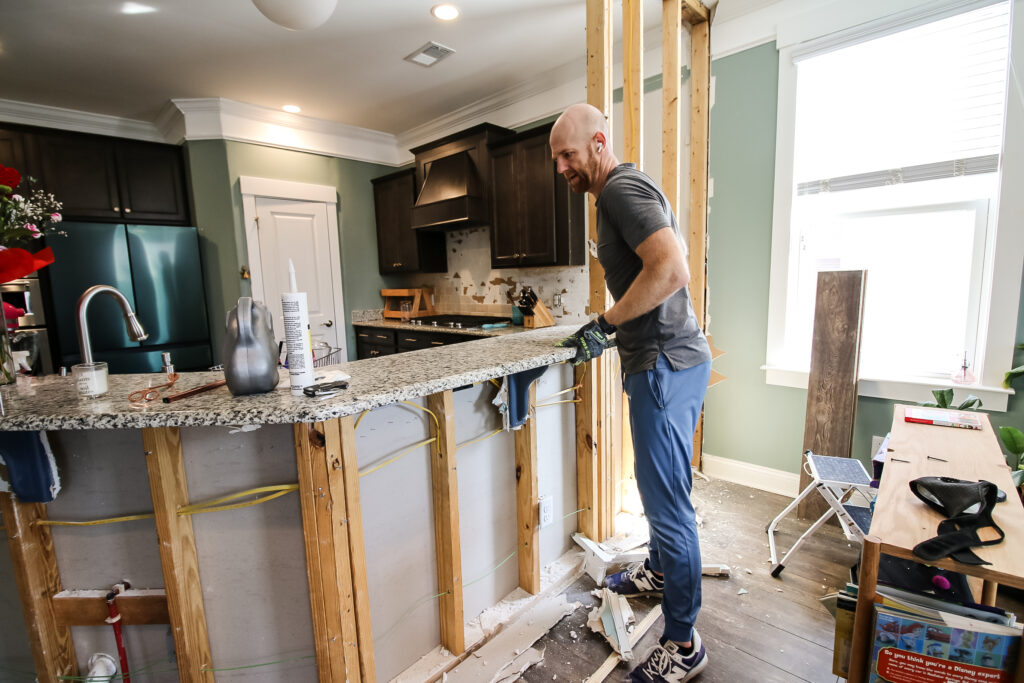
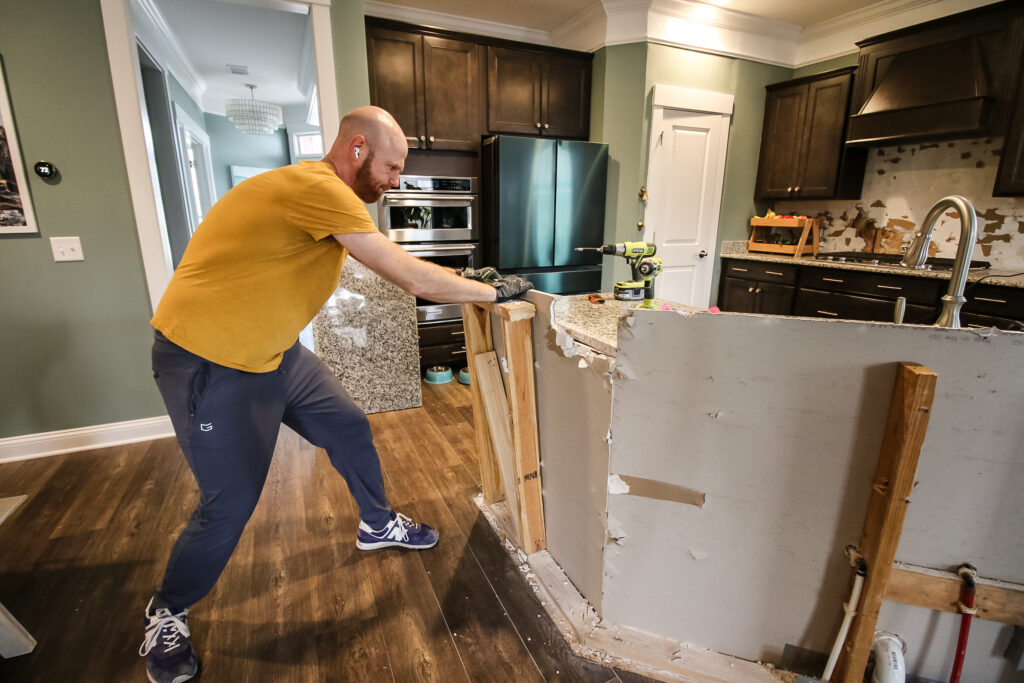
Step five: lower breakfast bar to counter height
If you're keeping the same layout but you want to lower the bar to counter height, you can do that here.
Start by cutting off any power to any outlets or switches that were previously on the breakfast bar and remove those. Then, mark on the studs where you need to cut to be flush with the rest of the counter and then mark 1 ½" down to accommodate a new 2x4 going in place.
This is easy to do because you can go off of the existing cabinets that are in place. Cut these all the way across, then add a new 2x4 across the top and secure it in place.
Now you can run new countertops across the old breakfast bar and gain more counter space!
How difficult is it to remove a kitchen breakfast bar?
Removing a kitchen breakfast bar isn't too hard of a project and it's one you can definitely DIY, but you will need a friend. The pieces are heavy and awkward to remove, but they come off really easy.
Before you go...
Here's some other kitchen project tutorials that can save you money on a renovation!

Looking for something?
We've been doing this since 2012 so we have a LOT of blog posts!
Search stuff like: Ceiling Projects | DIY Plant Stands | Thrift Flips

Hey there, I'm Sean, the woodworking enthusiast and builder behind CharlestonCrafted.com! Since 2012, I've been sharing the magic of turning raw materials into beautiful creations. I love teaching others the art and satisfaction of woodworking and DIY. I try to inspire fellow crafters to make something extraordinary out of nothing at all.