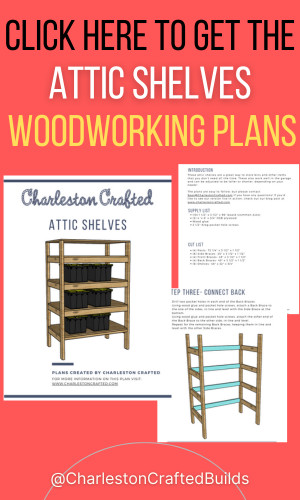
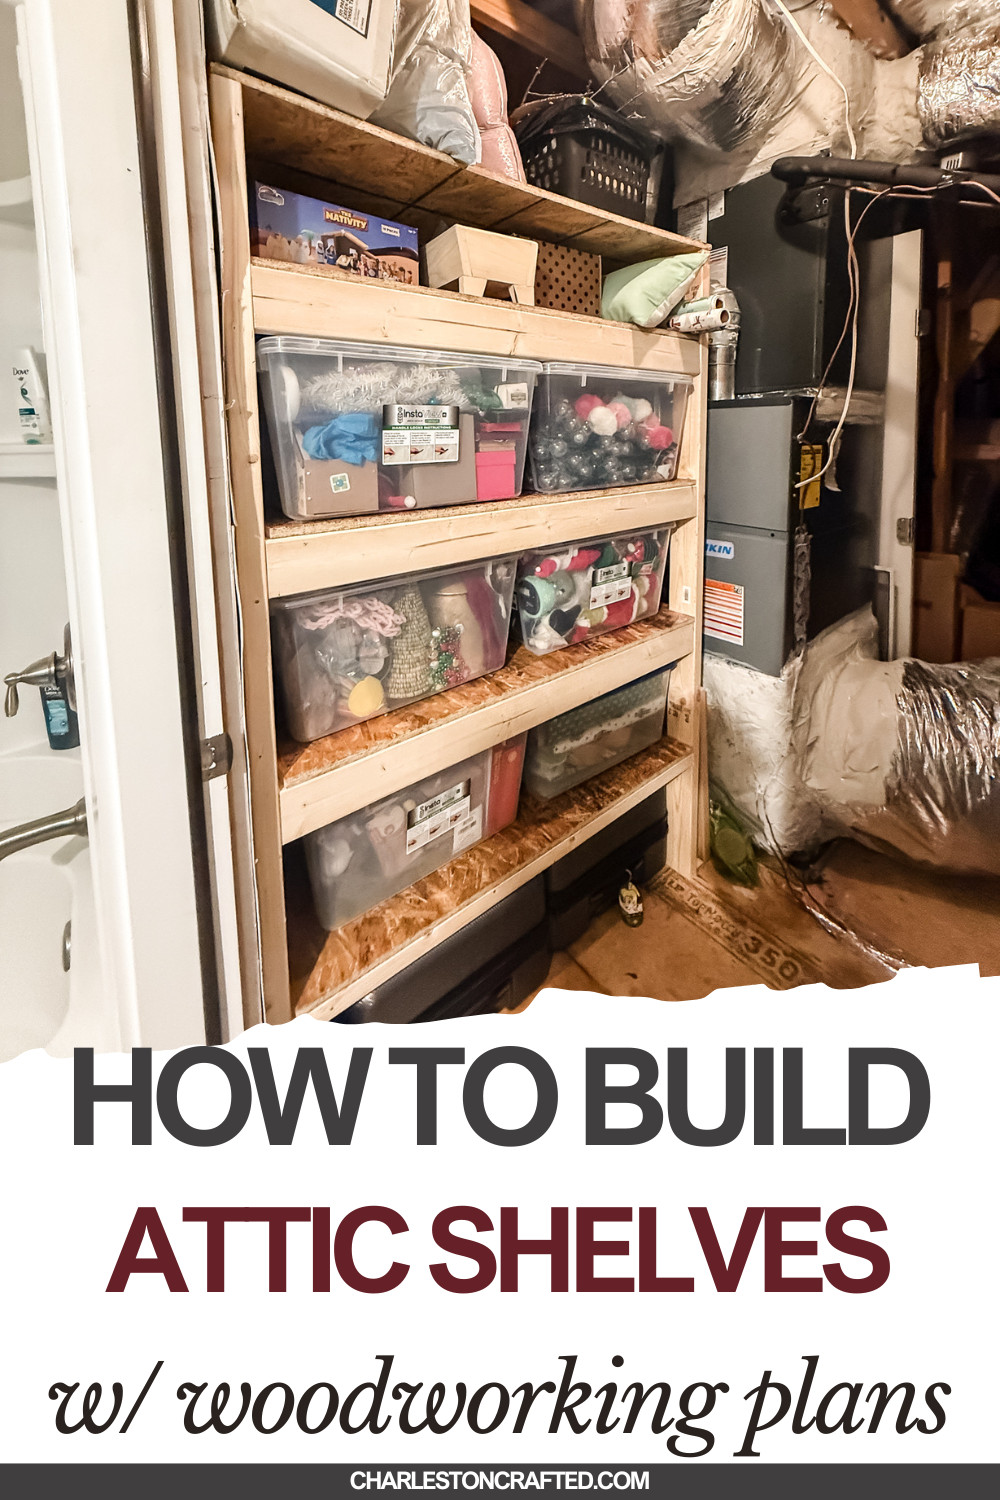
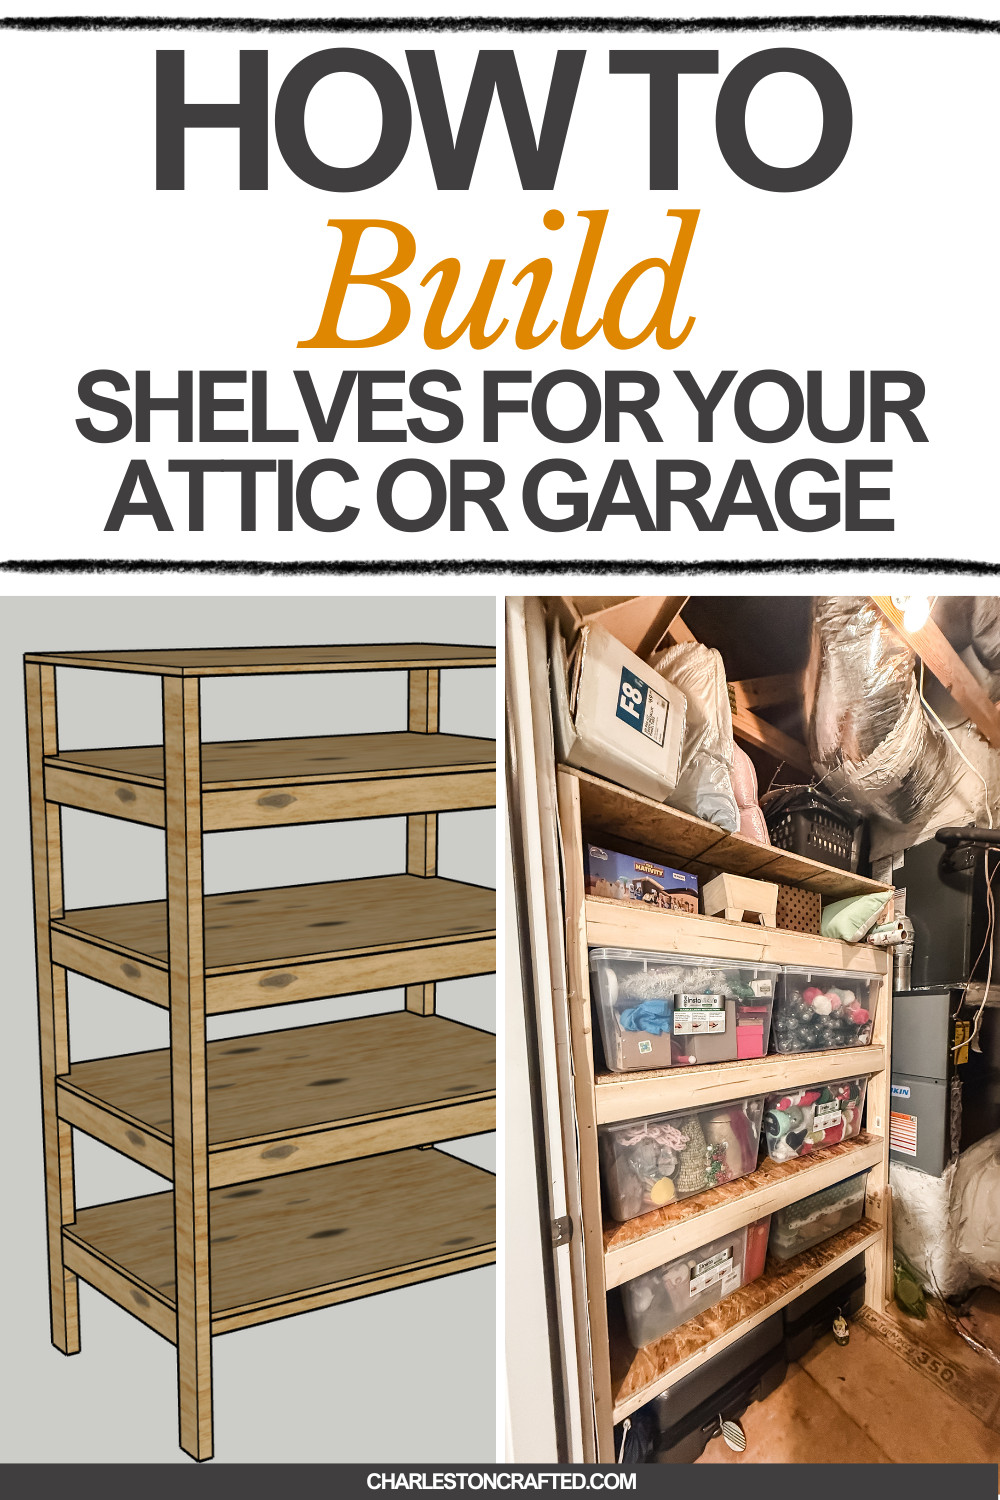
These attic shelves are a great way to store bins and other items that you don’t need all the time. These also work well in the garage and can be adjusted to be taller or shorter, depending on your needs!
This post was sponsored by Kreg Tool. All opinions are our own. Thank you for supporting the brands that make Charleston Crafted possible!
We were not blessed with a lot of attic storage in this house and it has been a constant struggle since we moved in.
We have to do most of our holiday storage in the garage on shelves and hanging racks, but we have what we call the "troll hole" in the playroom that has a small door and a little bit of storage for bins and other items. It's where we've always stored our Christmas and other indoor holiday decor.
The other option for storage was another entrance to the other side of the attic from our playroom bathroom. However, it only had room for the air conditioning unit. Our air conditioner finally broke and when they came to replace it, they installed a vertical unit, giving us some storage space.
I utilized that space to the max by designing these attic shelves and I was able to transfer ALL of our Christmas decor to these shelves.
DIY attic shelves
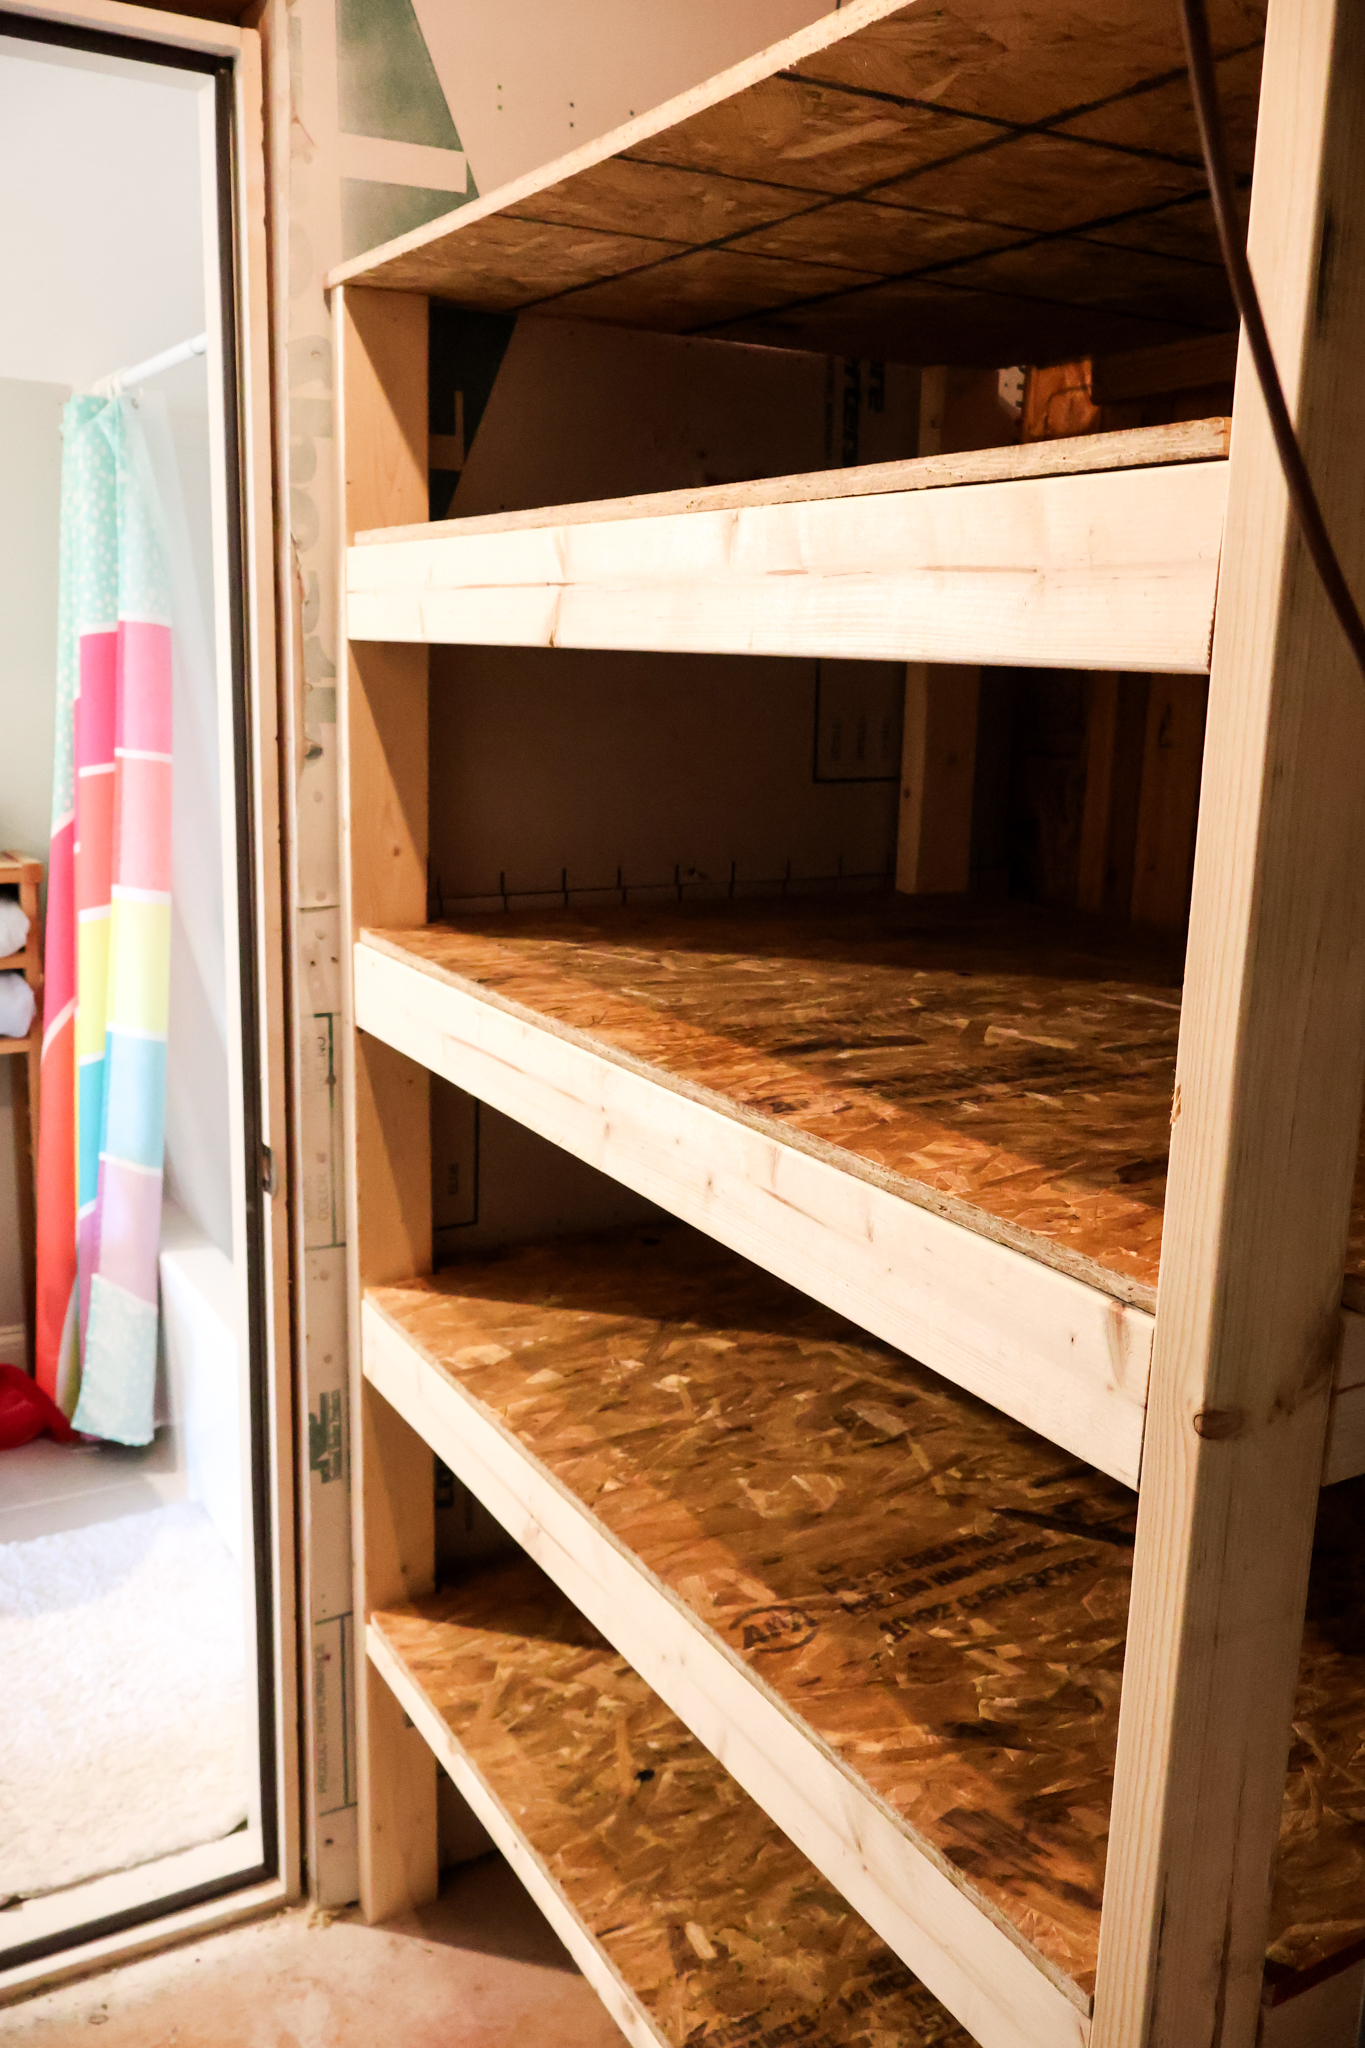
These attic shelves can also be used as garage shelves or shed shelves or anywhere that isn't climate controlled. They don't look pretty, but they get the job done.
I made these to fit standard tote bins you can get at Costco (I've also linked the similar size on Amazon below), as well as store our luggage on the bottom and miscellaneous smaller decor on top.
You can certainly adjust the dimensions on the posts if you want to add more or less shelves to make this totally custom to your space!
Materials and tools needed
Here's the tools and supplies you'll need to build these shelves. If you want to get the full material list and cut list, make sure you grab the woodworking plans!
- 2x4s
- OSB plywood
- Wood glue
- 2 ½" Kreg pocket hole screws
- Stackable bins (this build can fit 12 of these on the shelves)
- Track saw or circular saw and guide
- Kreg 720 pocket hole jig
- Jigsaw
Step one: make cuts and drill pocket holes
Start out by making all the cuts listed in the cut list in my woodworking plans for this project. I like to do all the cuts first so that I can just rip through the building later.
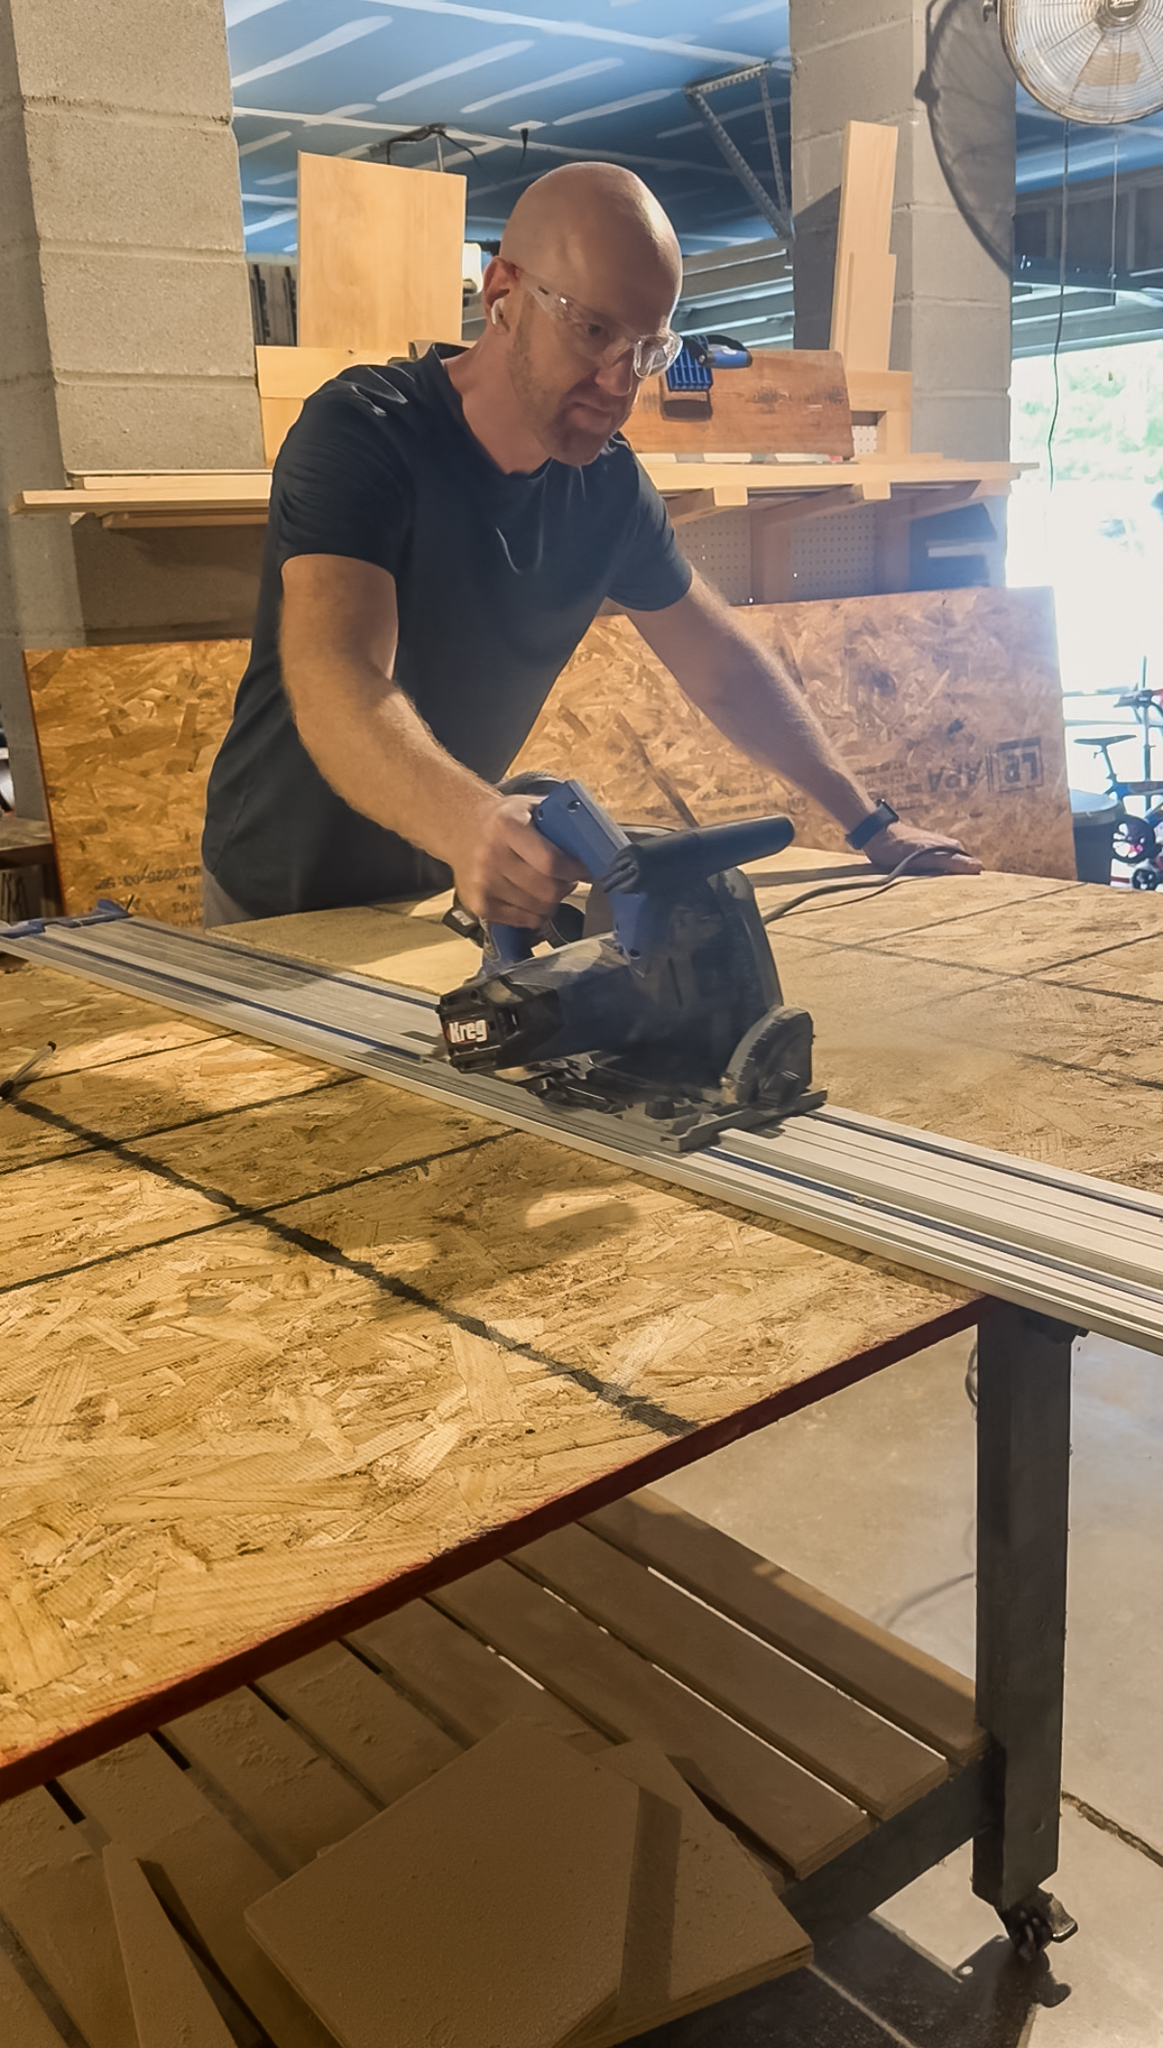
I used my Kreg ACS track saw to make the cuts on this project. The full sheet of plywood is too big to push through a table saw and the ACS is so easy and smooth. It's my favorite saw by far.
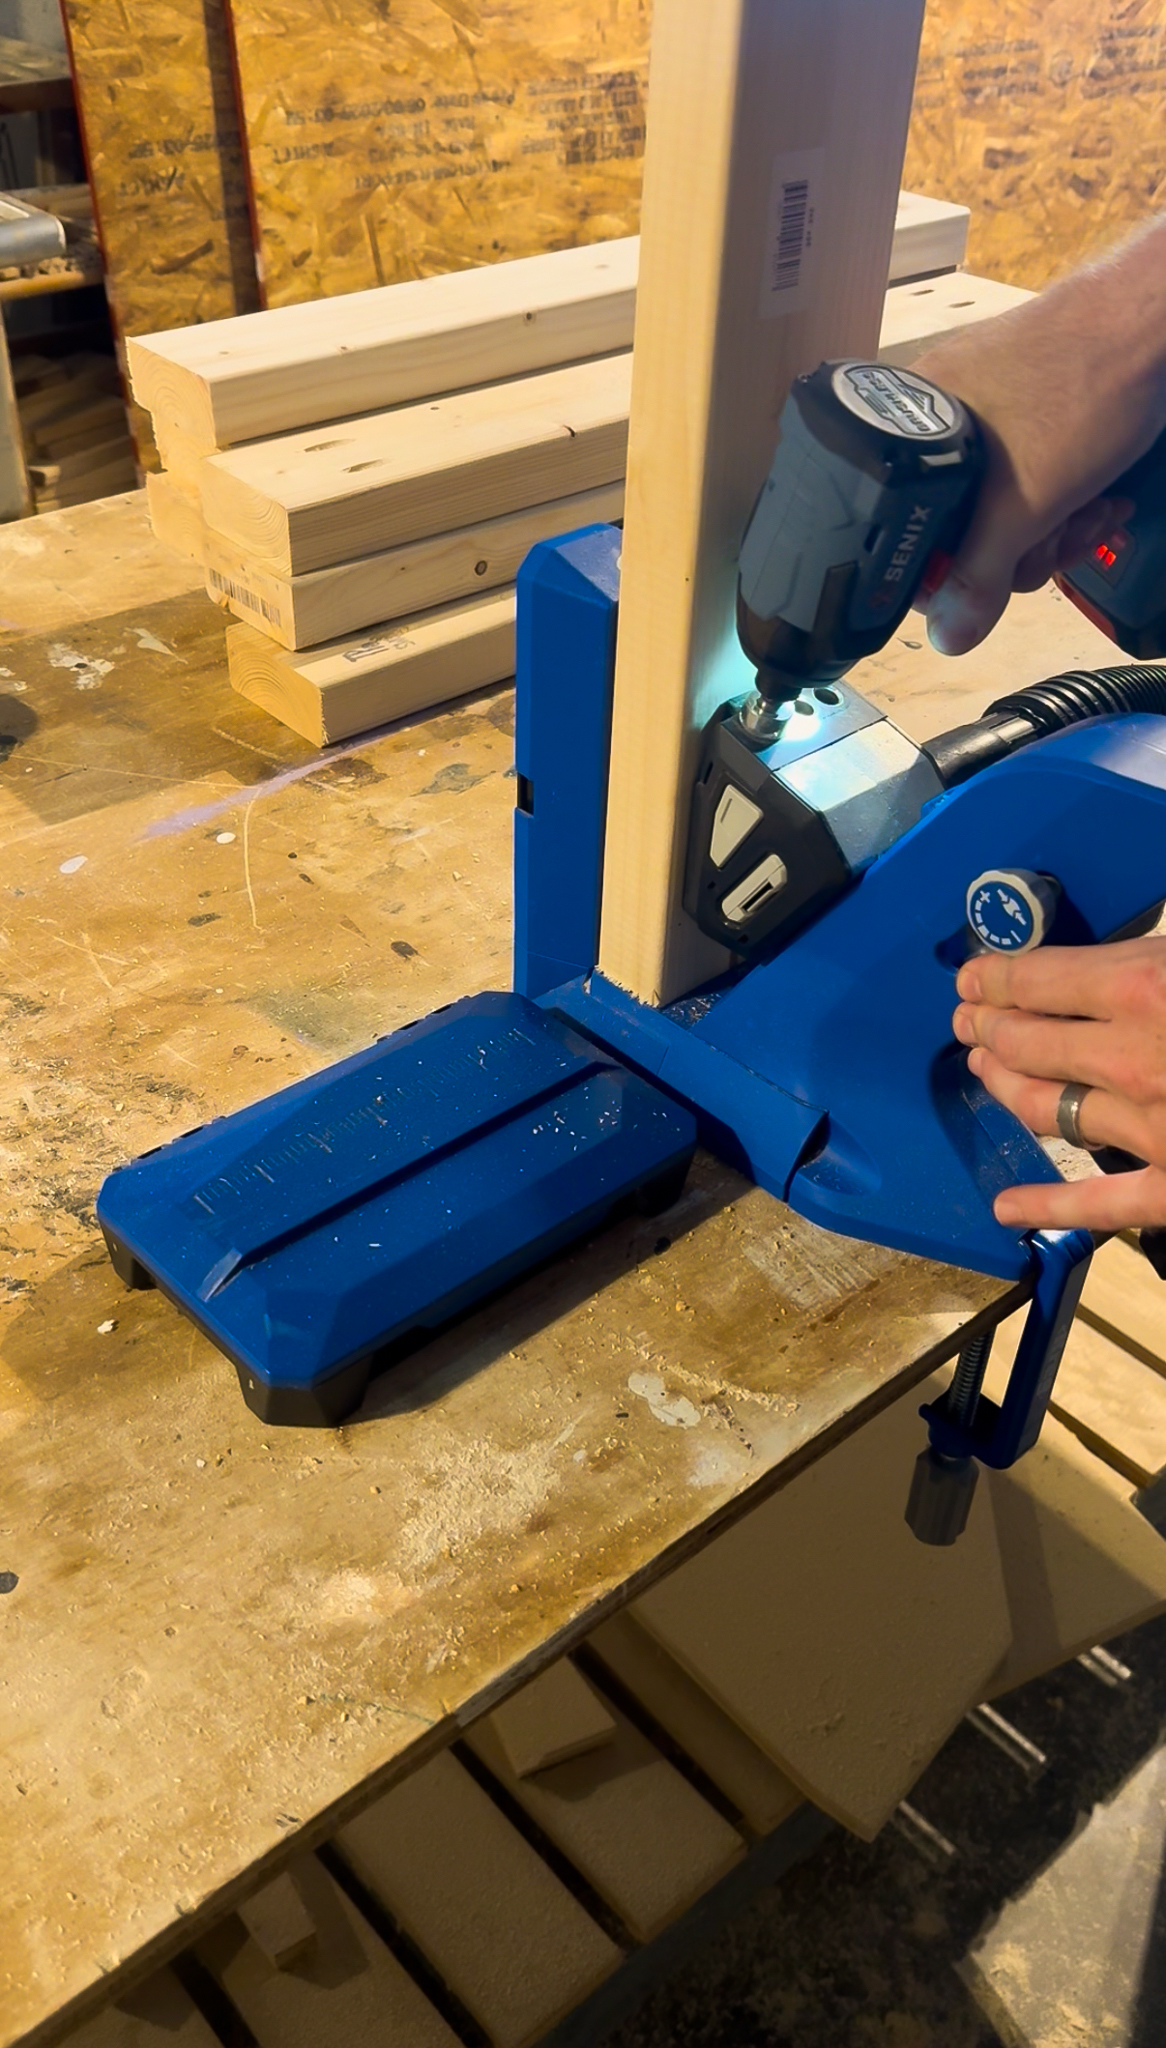
Then, drill pocket holes into the ends of all the side, back and front braces. These are going to be the core of holding the whole thing together.
For this, I used my Kreg 720 Pro pocket hole jig. It auto adjusts to the thickness of the 2x4s and you just drill the holes quick and easy. To me, this is the best pocket hole jig for woodworkers for its versatility.
Step two: build sides
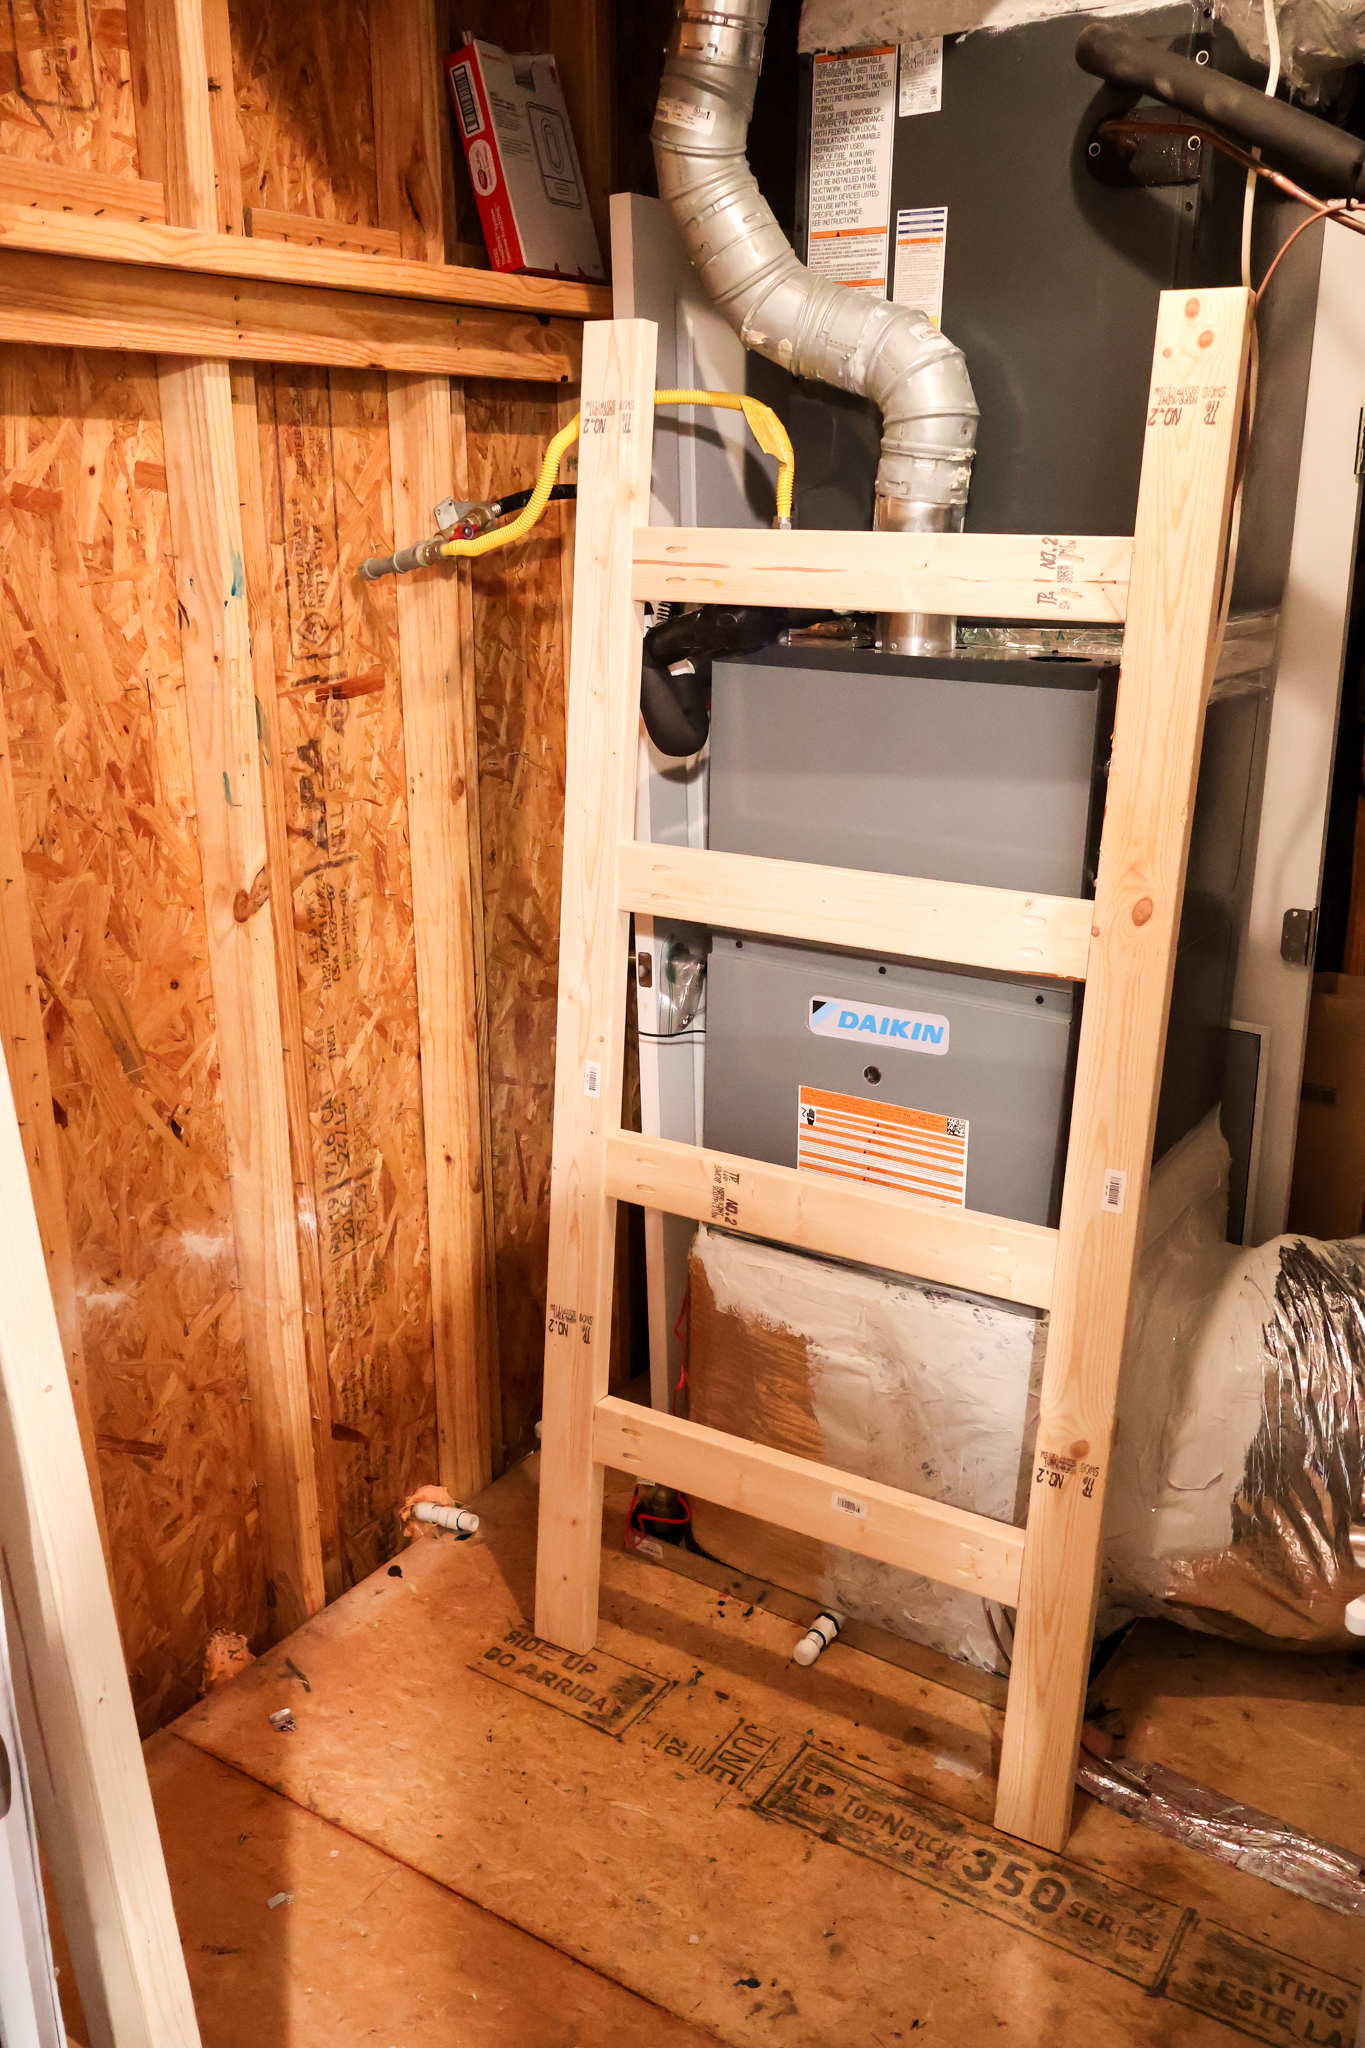
Start the building by connecting posts together with side braces. These are a set of four braces on each side that are spaced out for the bins.
As I mentioned before, you can add length to the posts if you want to have taller shelves or take some off if you want lower shelves. I'm a tall guy, so I can reach the top shelf on this, but it's the max I can reach easily.
Step three: connect sides
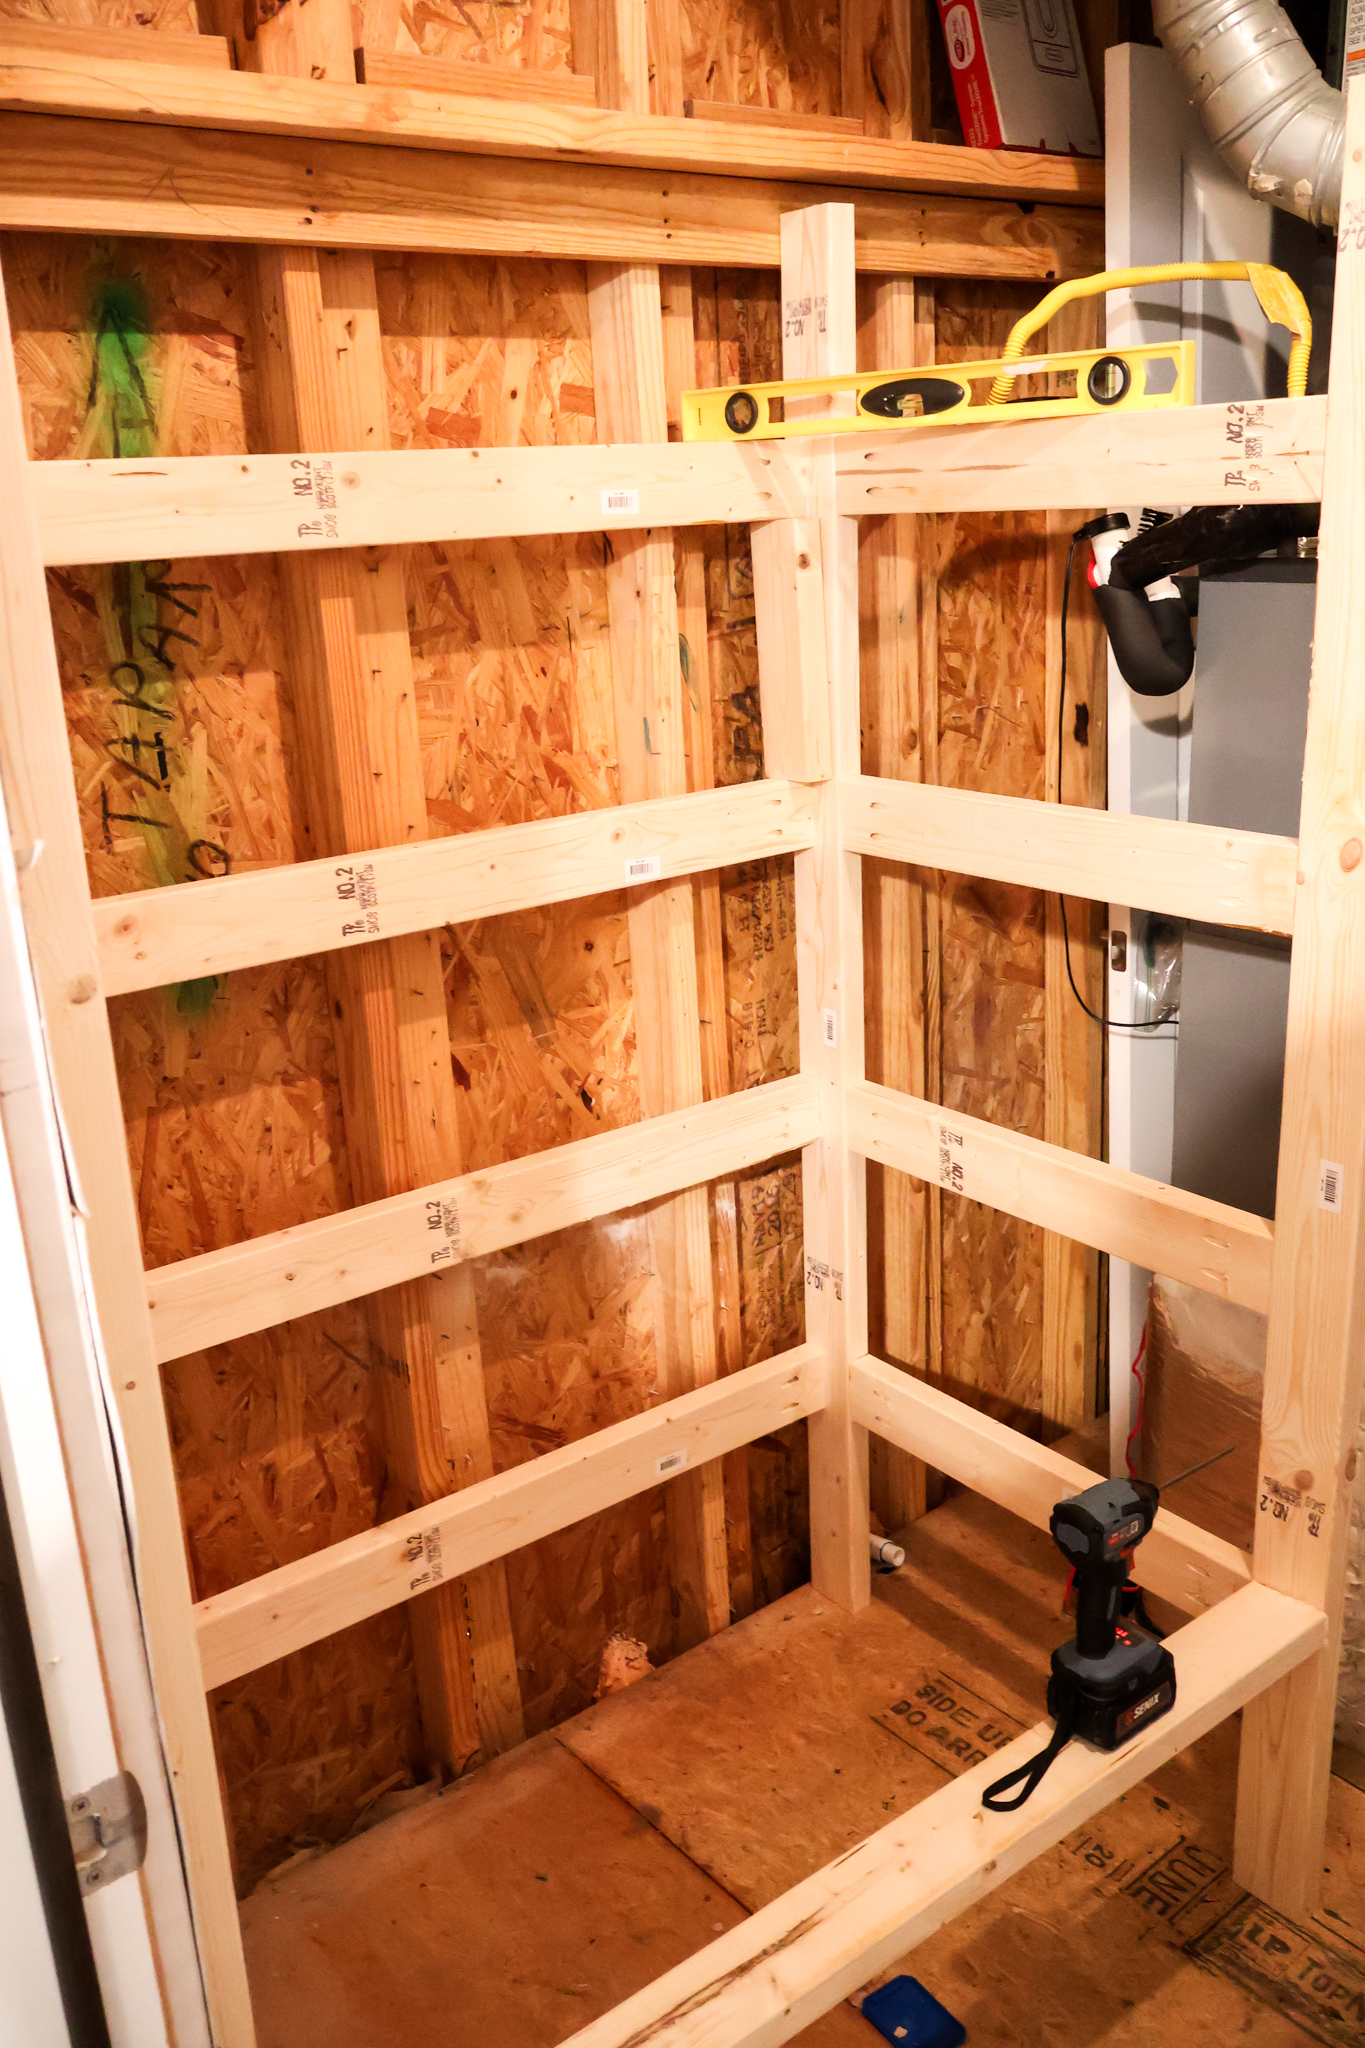
Once the two sets of sides were built, I connected them with the back braces. These I make sure were in line and level with the side braces on each row so there were no issues.
I initially also added the front braces, but then later realized I couldn't get the shelves in with the front braces in place. The sheets were just a little too big to be able to maneuver around. So I ended up taking the front braces off.
Step four: add shelves
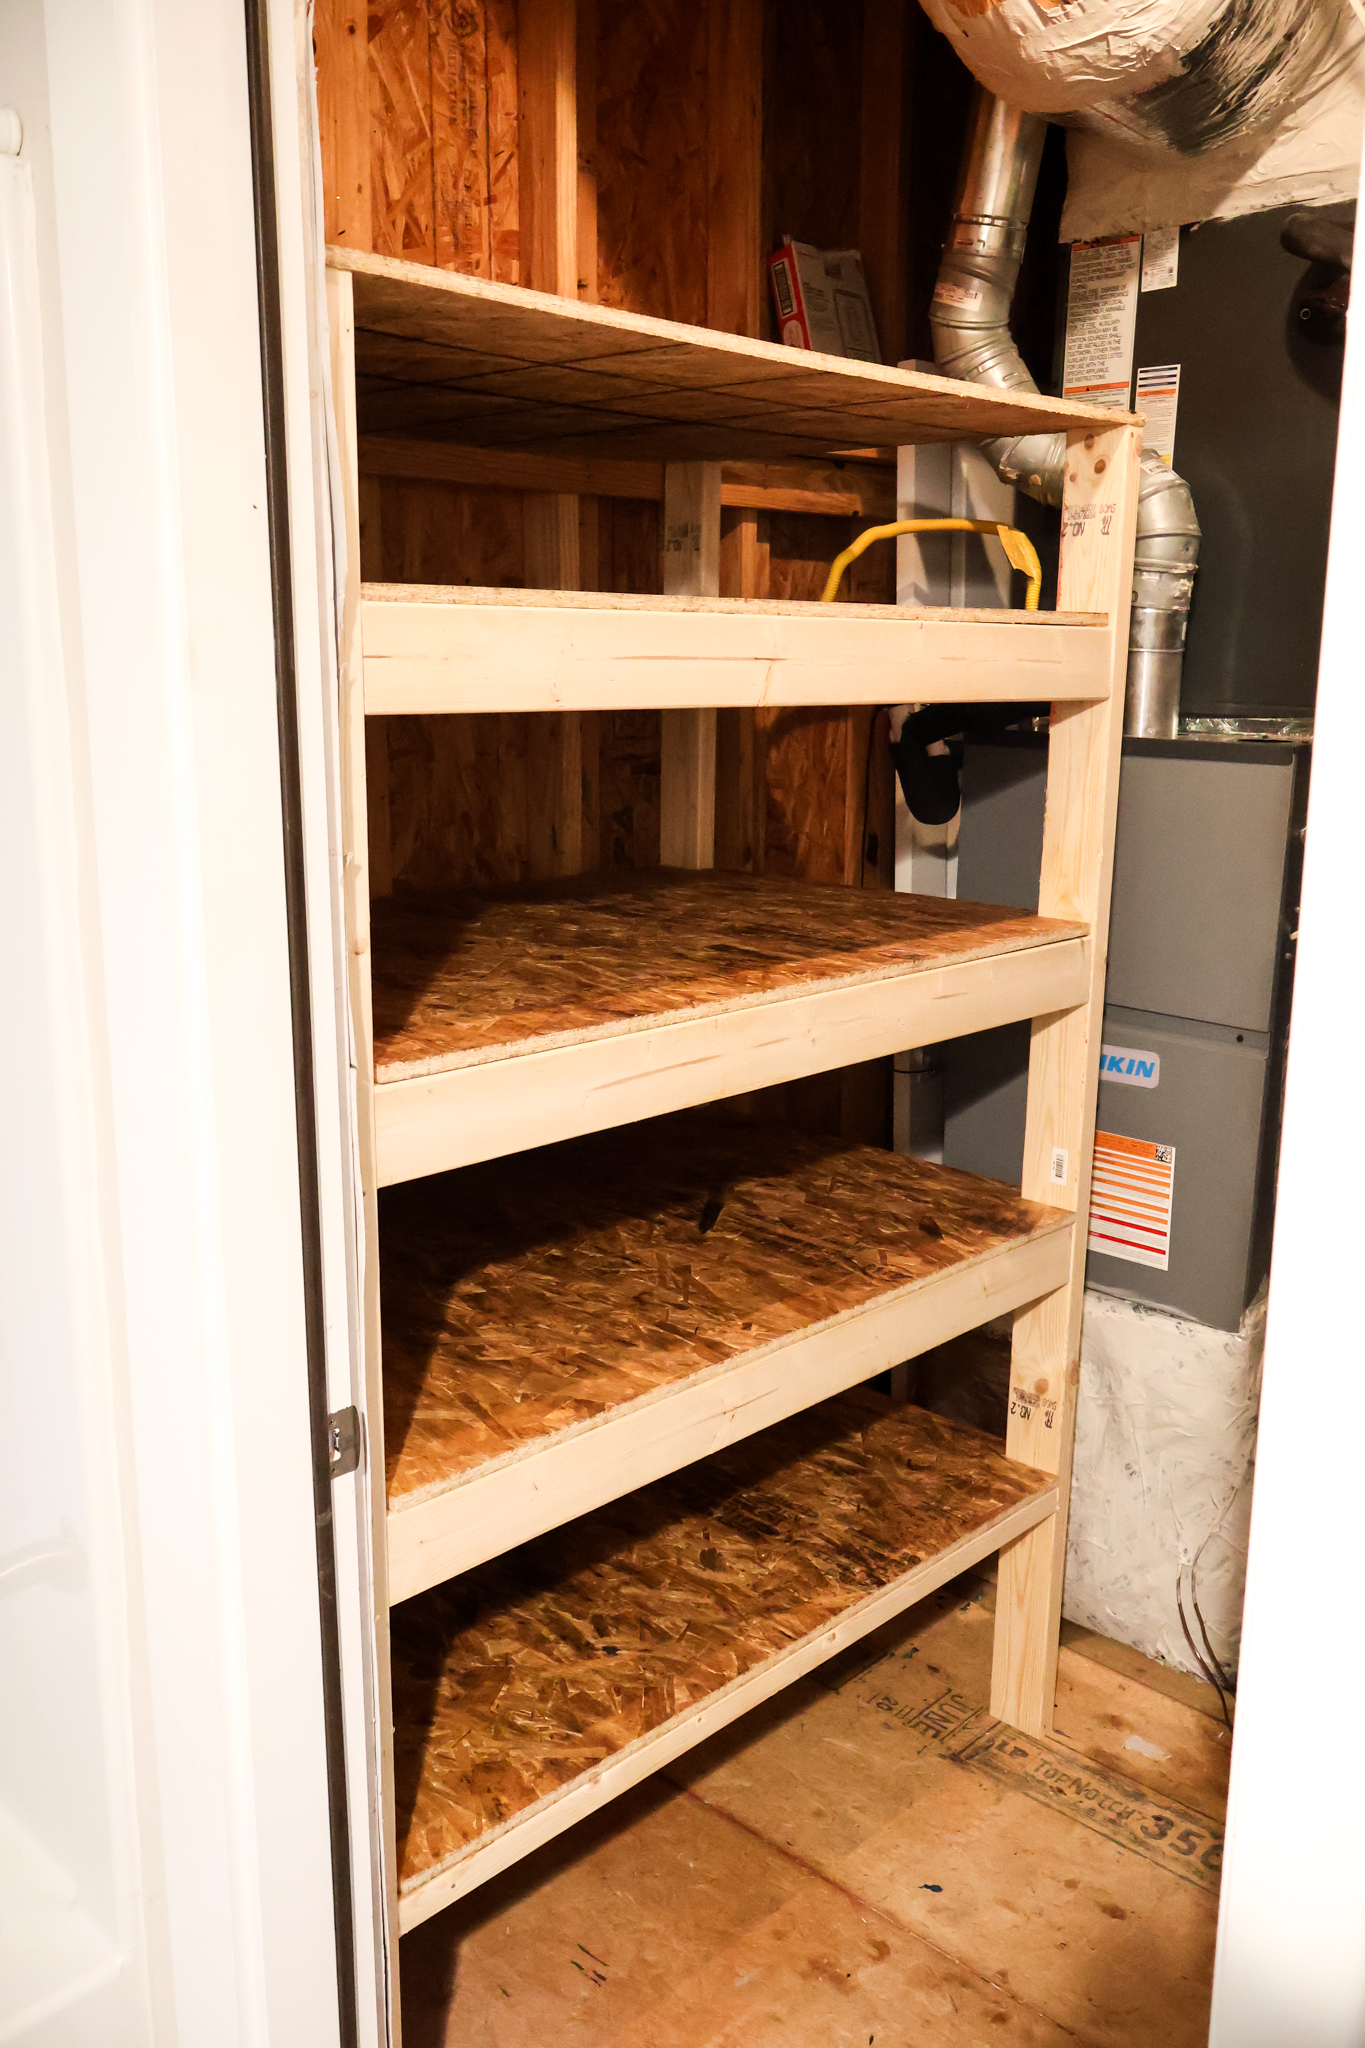
The shelves have a notch cut in each corner for the posts. Doing it this way allows the front, back and sides of the sheet to be resting on the braces as their support so you don't have to screw them in and rely on the screws.
Starting on the bottom, I put the first shelf in, then added the brace underneath the front edge. Then I did the second shelf the same way and so on.
The top shelf just rests on top of the posts and is for light items that don't fit nicely in a bin. There's a lot of that strange shaped stuff at Christmas. These I just nailed into place on the top posts.
DIY attic/garage shelves woodworking plans
Love this project and want to build it for yourself! Grab my printable PDF woodworking plans and get started today!
Thanks to Kreg Tool, the plans for this build are completely free! Their Projects and Plans site is filled with dozens of great woodworking projects that you can build for your home.
My woodworking plans come with a full material list, cut list and step-by-step instructions with computer model imagery to show you exactly what you need to do. Don't think twice about what cuts to make and just follow my instructions to the T.
Looking for something?
We've been doing this since 2012 so we have a LOT of blog posts!
Search stuff like: Ceiling Projects | DIY Plant Stands | Thrift Flips


Hey there, I'm Sean, the woodworking enthusiast and builder behind CharlestonCrafted.com! Since 2012, I've been sharing the magic of turning raw materials into beautiful creations. I love teaching others the art and satisfaction of woodworking and DIY. I try to inspire fellow crafters to make something extraordinary out of nothing at all.

