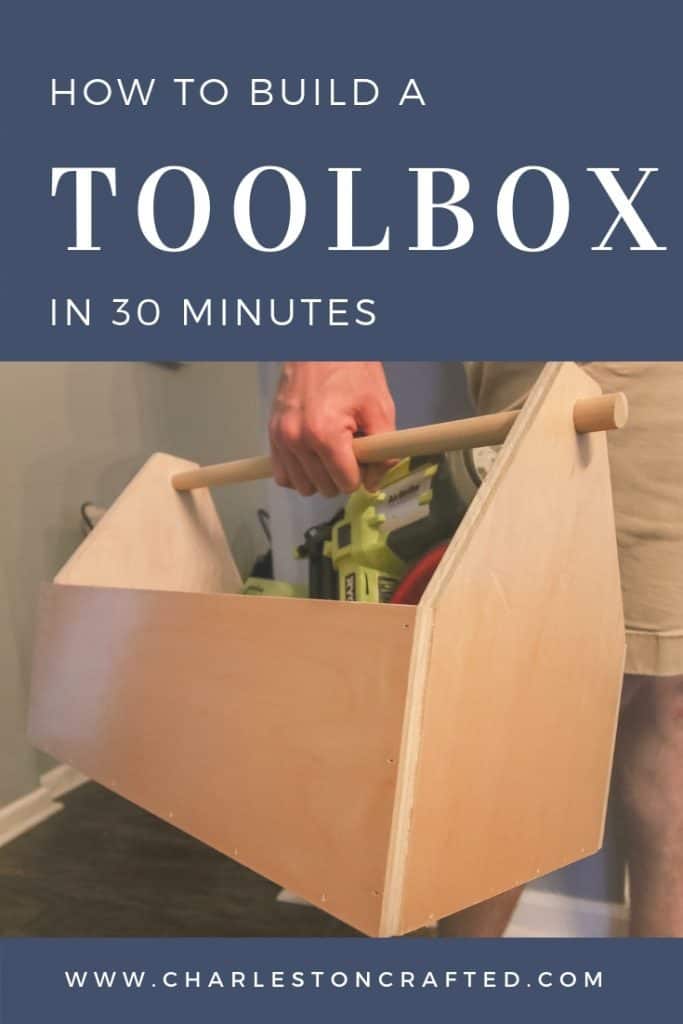
This post will show you a simple way to build a tool box and it will only take about 30 minutes. It's a great plan to help you get started with your other projects!
I have been talking about building a toolbox for approximately three years. But I've always had it on the back burner because I had an actual deadline project going on, like building DIY side tables or something.
Meanwhile, I kept spending three or four trips juggling small tools for different projects up and down the stairs whenever we worked upstairs.
Now I feel dumb because I finally built one and it was the fastest project I've probably ever done. I want to share with you how to build a toolbox in 30 minutes.
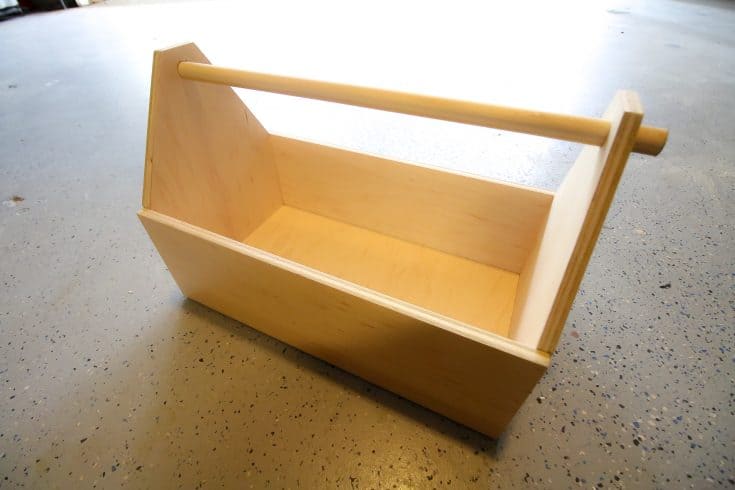
DIY Toolbox Build
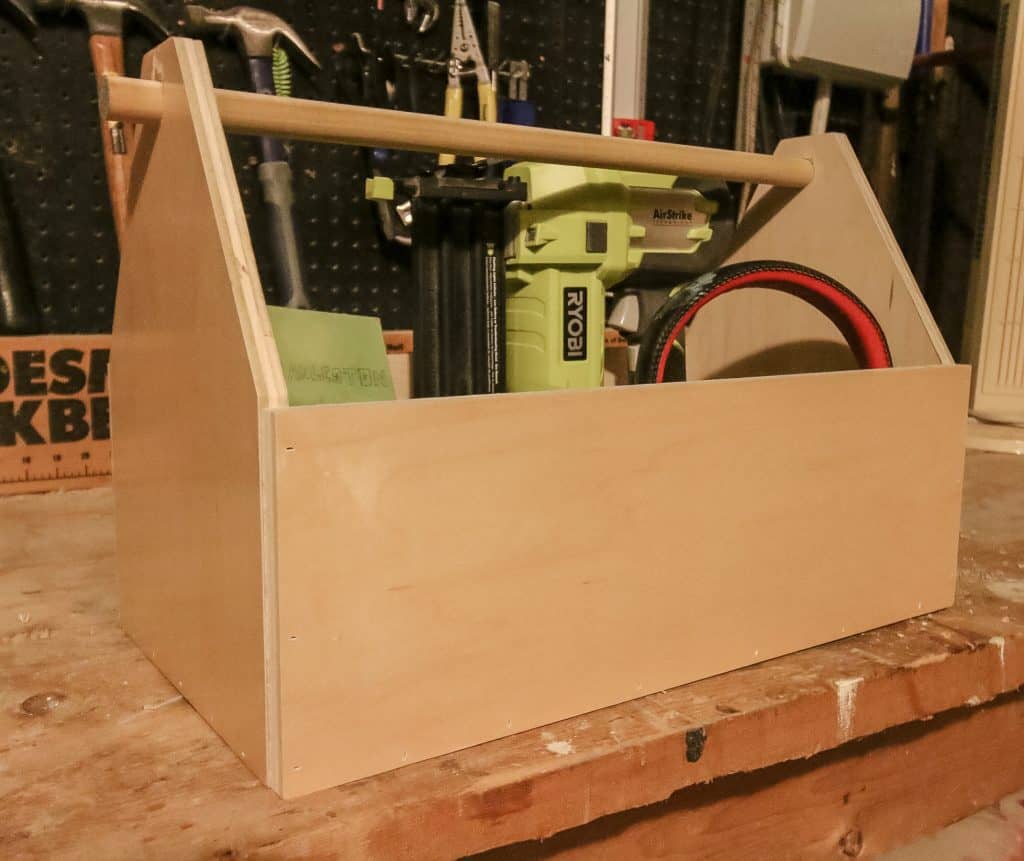
This toolbox can be built in 30 minutes from one piece of 2'x2' plywood and a short piece of dowel. I designed this toolbox to work well for carrying several smaller items for projects.
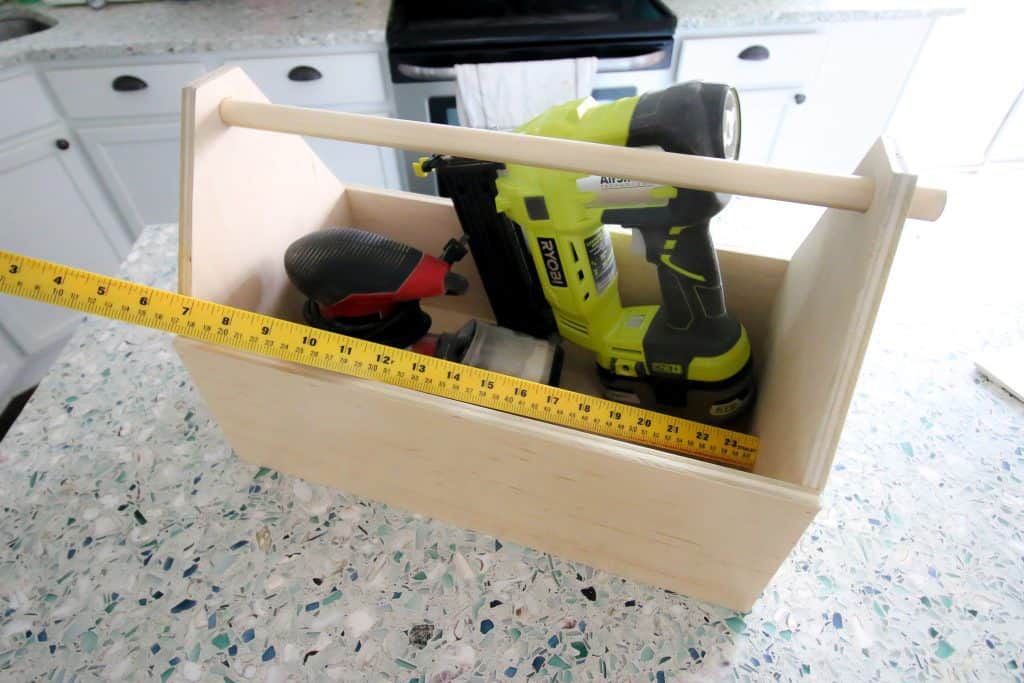
For example, think about what you need just to hang a picture. A hammer, nails, pencil, level, measuring tape or ruler.
If it's a big thing you're hanging, you might also need a drill and drywall anchors. That's a lot of stuff to carry for such a simple project. It's easy to put it all in this toolbox.
Steps to build a tool box
We have all the steps to build this toolbox in the how-to card below, but here's the basic premise.
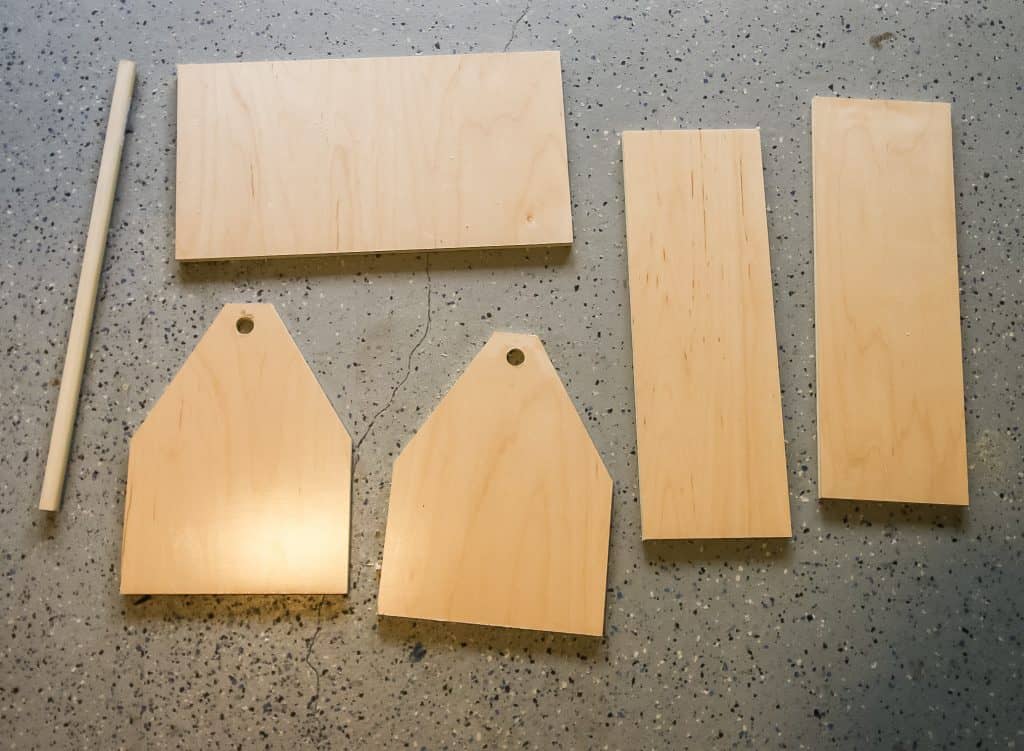
Step one: cuts and holes
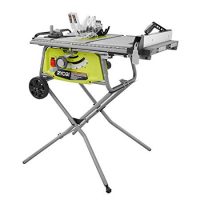
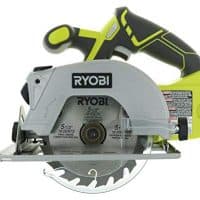
Start by making all the cuts in the how to card below. You'll need a table saw or a circular saw because some of the cuts are longer than a miter saw can handle.
Then drill your holes for the handle on the two end pieces. Drill these center with the top and about 1" down.
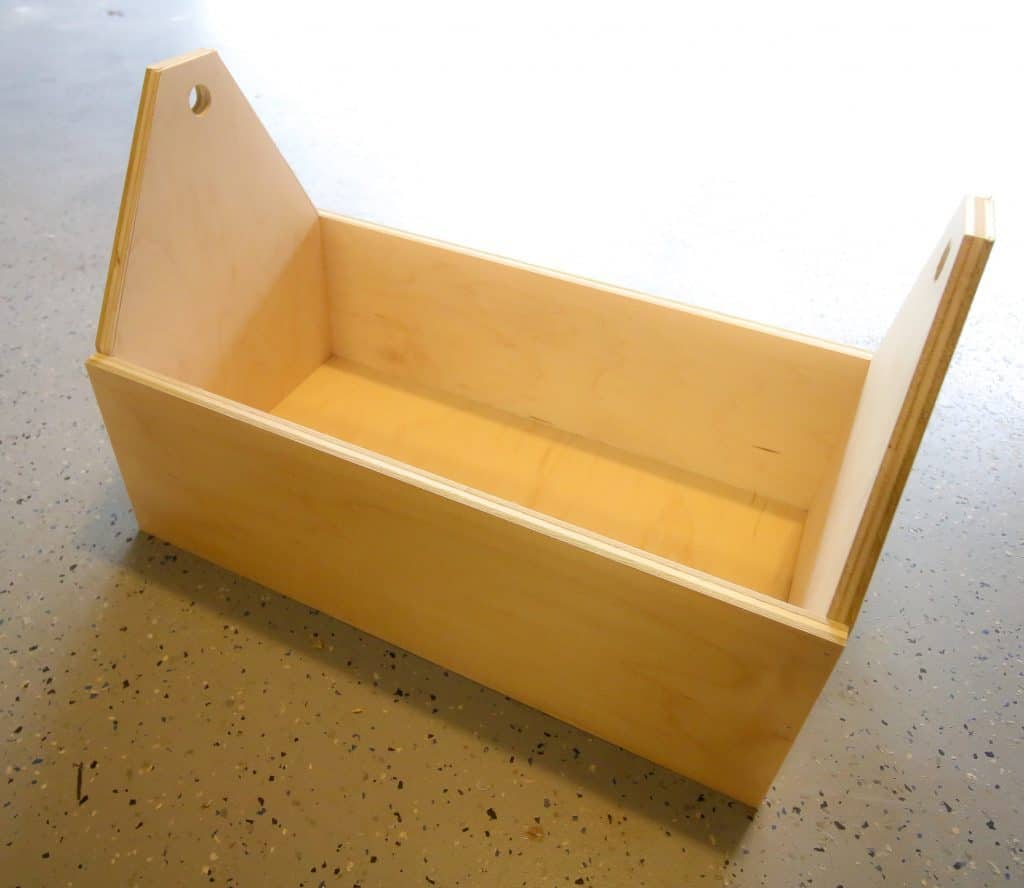
Step two: attach sides
Start building by attaching the end pieces to the bottom piece using wood glue and either brad nails or screws.
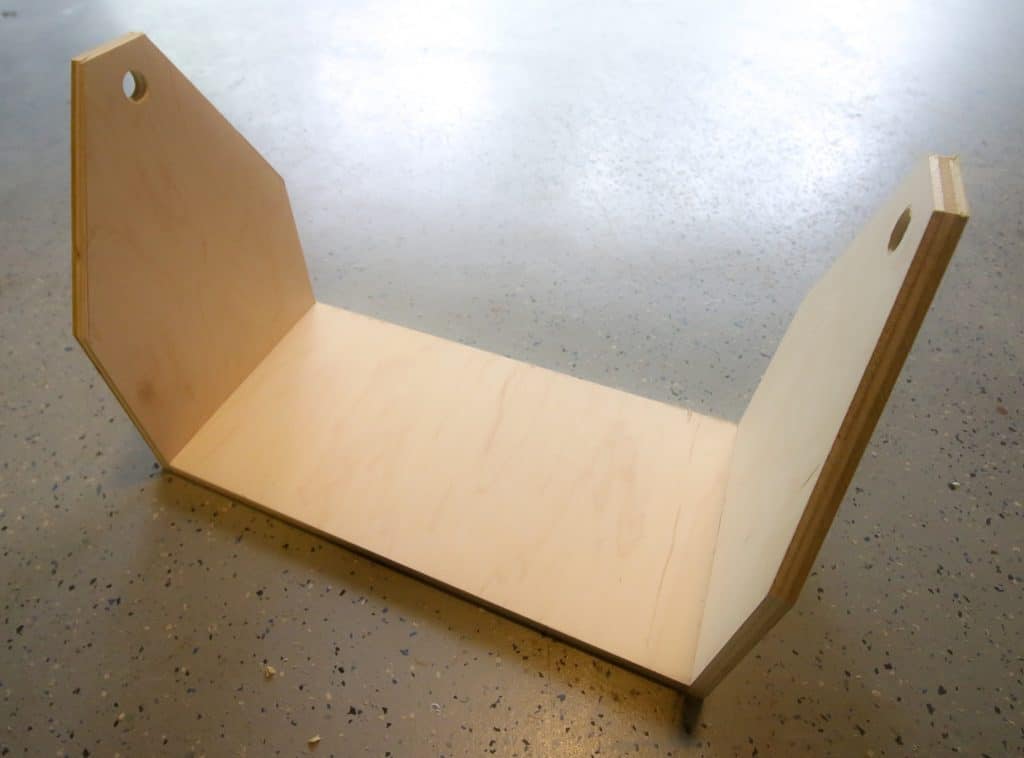
Then, attached the two long side pieces to the outside of that the same way. The long pieces should attach to the base and the edges of the side pieces.
Step three: add handle
Finally, insert the dowel through the holes and nail or screw into place.
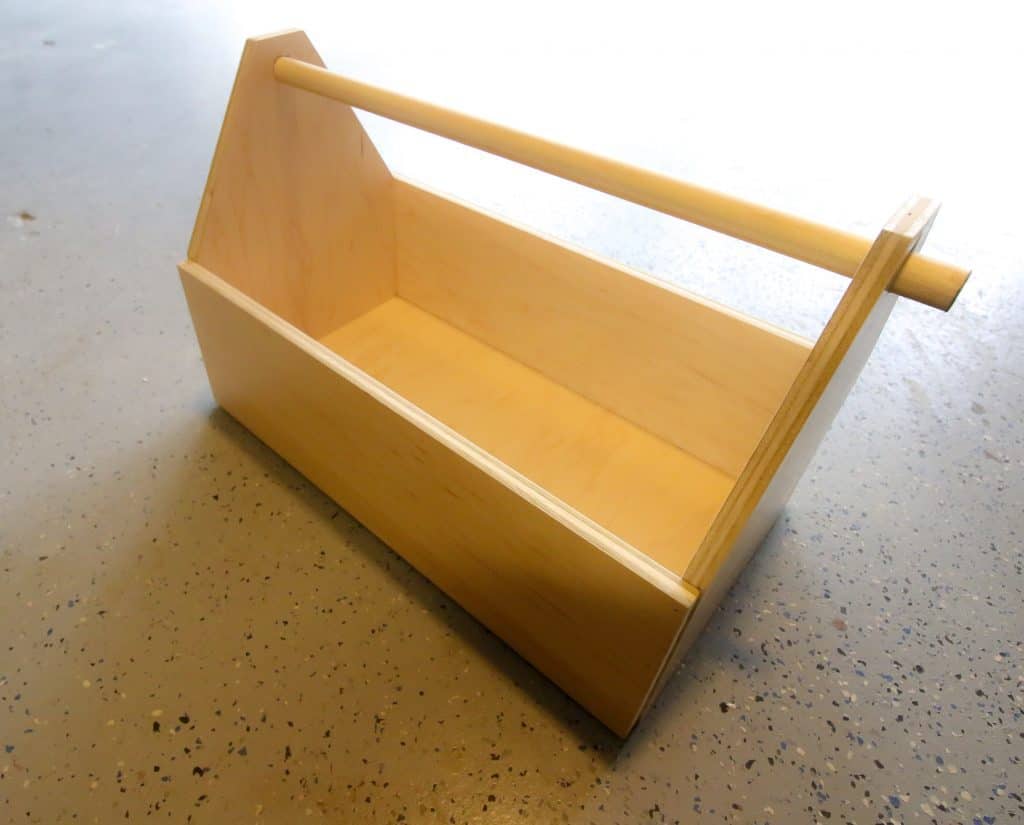
You can tap the dowel through using a mallet. If your holes are tight enough, you don't even need to secure the dowel in place
That's it! Literally takes less than 30 minutes. You can stain or paint your toolbox or leave it plain. Considering you're going to be tossing tools in there, that seems like a good way to go.
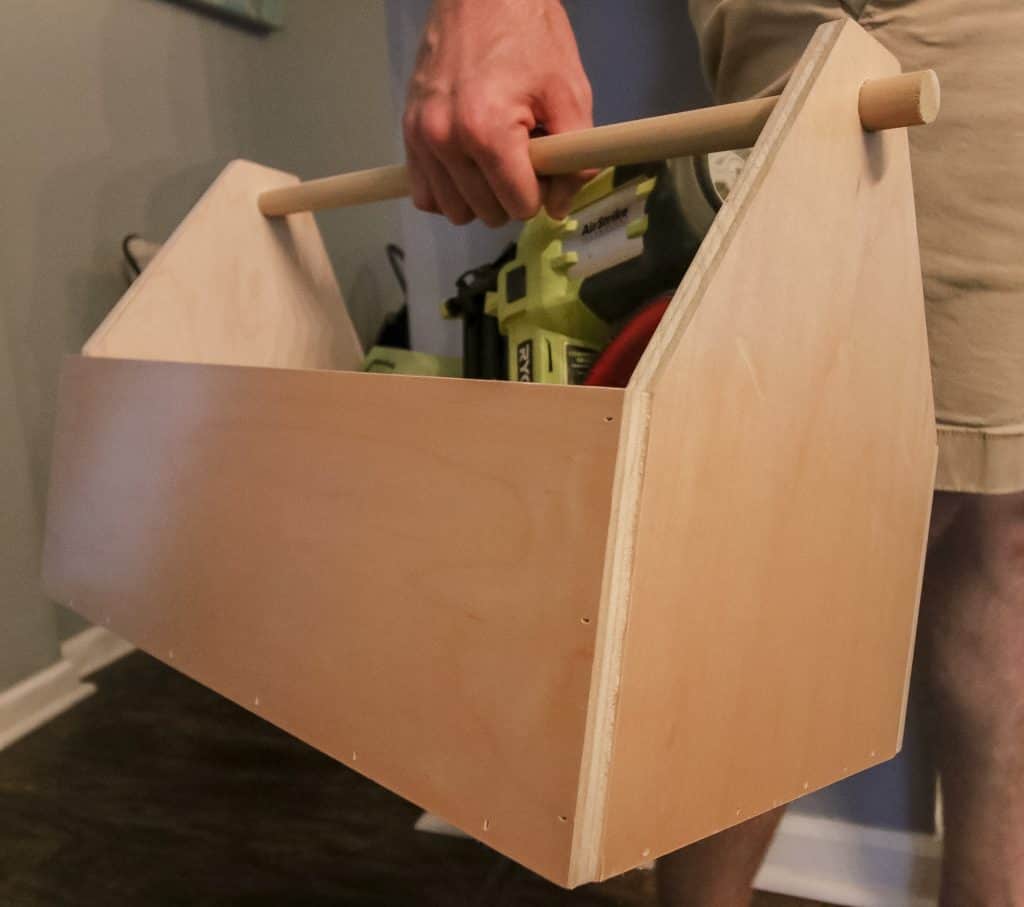
Hope you love it! Download the full instructions and cut list below and share pictures with us on Instagram @CharlestonCrafted!
How to Build a Toolbox in 30 Minutes
Make this simple toolbox in 30 minutes and have a place to carry all the things! No more juggling tools from the garage to upstairs or in between. This toolbox is so easy to make and will change.your.life.
Materials
- 2'x2' sheet of ½" plywood
- 1 dowel
Tools
- Table saw or circular saw
- Drill with spade bit
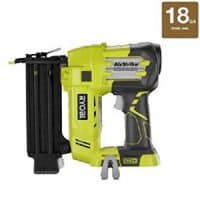
- Nail gun or screws
Instructions
- Start by making your cuts
- Bottom (1)- 17"x9"
- End pieces (2)- 9"x12"
- Outside pieces (2)- 18"x6"
- Dowel (1)- 19" - On the two end pieces, mark the midway point on the 12" sides. Then, make a mark 3.5" in from each side on one of the 9" sides. Draw lines from the marks and cut off those angles.
- Drill a hole half an inch down from the top of the two end pieces.
- Attach the end pieces to the outside of the bottom piece.
- Attach the two outside pieces to the outside of the box.
- Slide the dowel through the holes and secure with a nail or screw from the top.
- Stain or paint as desired.
Recommended Products
As an Amazon Associate and member of other affiliate programs, I earn from qualifying purchases.


Looking for something?
We've been doing this since 2012 so we have a LOT of blog posts!
Search stuff like: Ceiling Projects | DIY Plant Stands | Thrift Flips

Hey there, I'm Sean, the woodworking enthusiast and builder behind CharlestonCrafted.com! Since 2012, I've been sharing the magic of turning raw materials into beautiful creations. I love teaching others the art and satisfaction of woodworking and DIY. I try to inspire fellow crafters to make something extraordinary out of nothing at all.


[…] a toolbox using this woodworking tutorial. This is a quick and easy project you will wish you did sooner. […]