Want to make a simple writing desk? This desk is perfect for working from home! Get the step by step tutorial, how to video, and PDF printable woodworking plans below.
For the last few years, more and more people have started working from home regularly, my mom included. She finally had enough of sitting at her kitchen table and asked us to build her a simple desk with a drawer.
Today we're bringing you the plans for how to build a writing desk with a drawer.
You're going to find that this is an easy project to build and is super functional. Click here to grab the plans now!
If you're tired of working from home at the kitchen table or on the couch, this simple desk with drawer is the perfect solution for you!
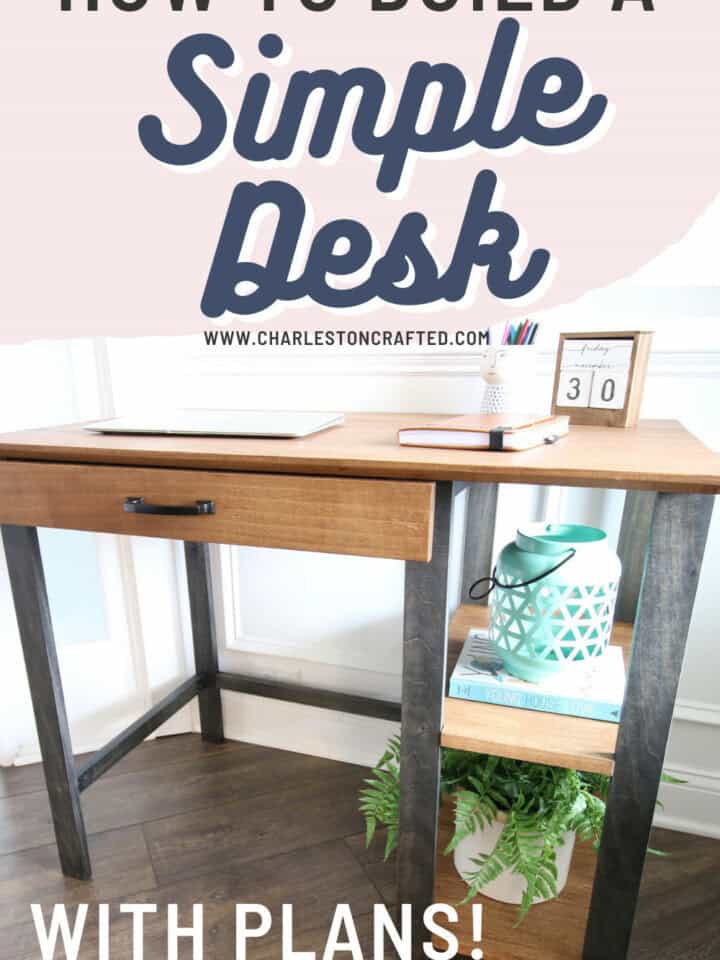
How to build a writing desk with drawer
The key to a writing desk is to make it sleek and open. Writing desks aren't intended to be monsters that are the focus of a room.
Building a simple writing desk just includes a surface to put your computer and maybe a drawer or shelf.
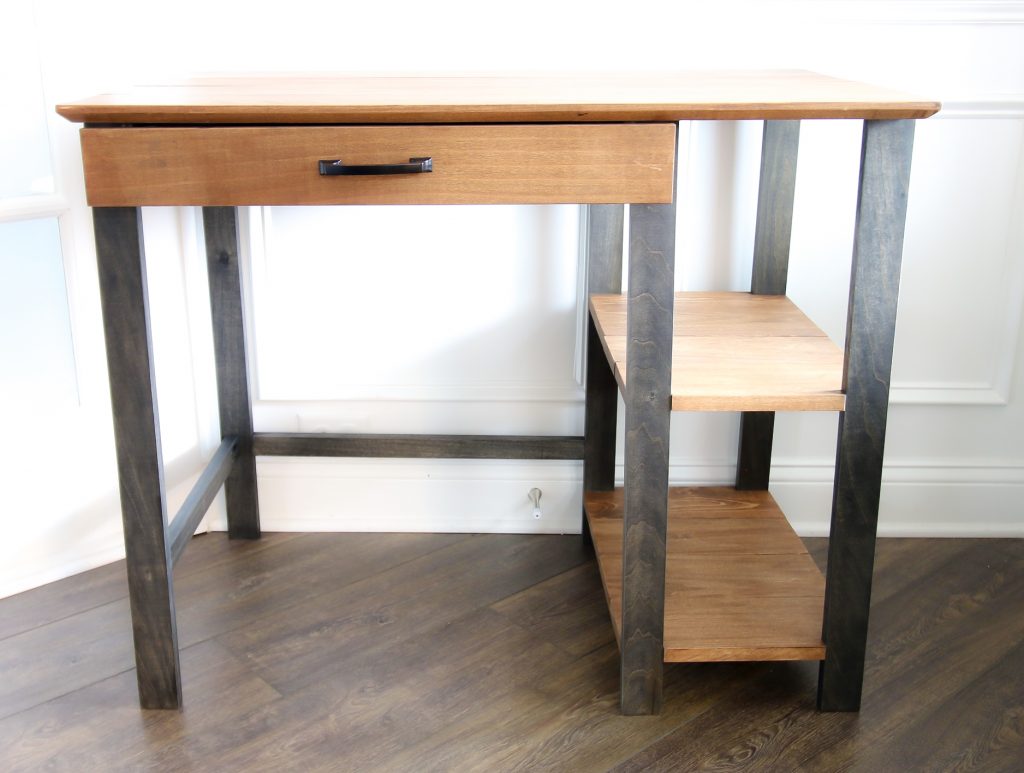
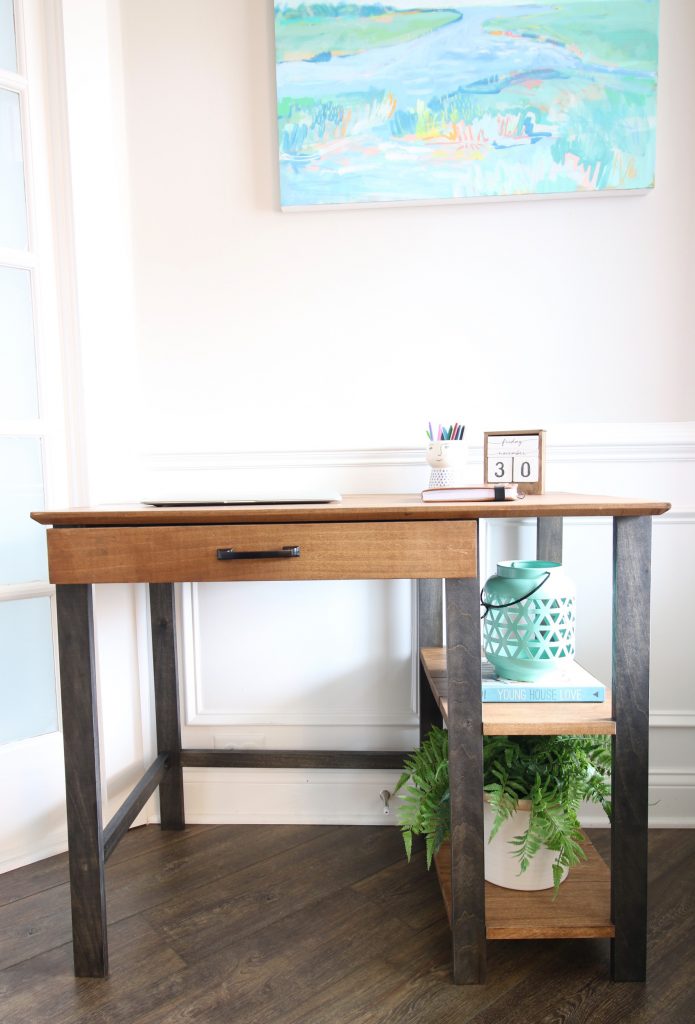
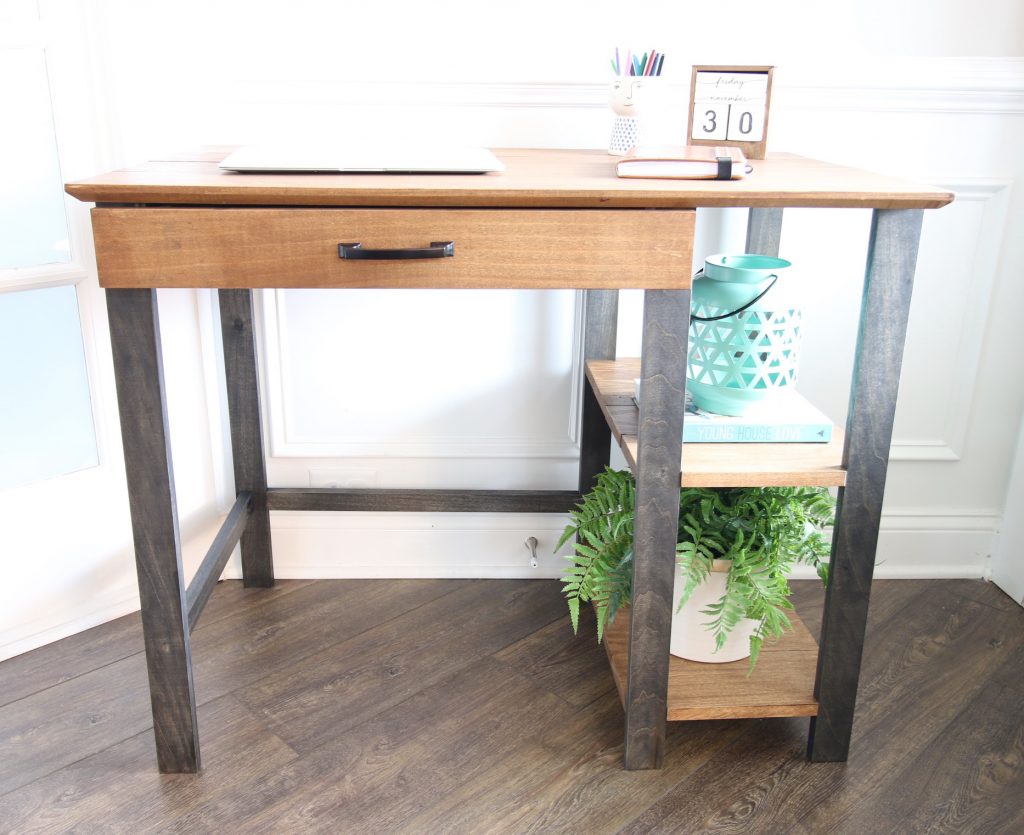
We've designed this easy DIY computer desk with one pull out drawer and two shelves for the best of both worlds!
Click here to see the plywood desk we made with a concrete top!
How to build a simple desk with a drawer
This desk was built in a few phases. Each section was best constructed on its own and then connected to the others.
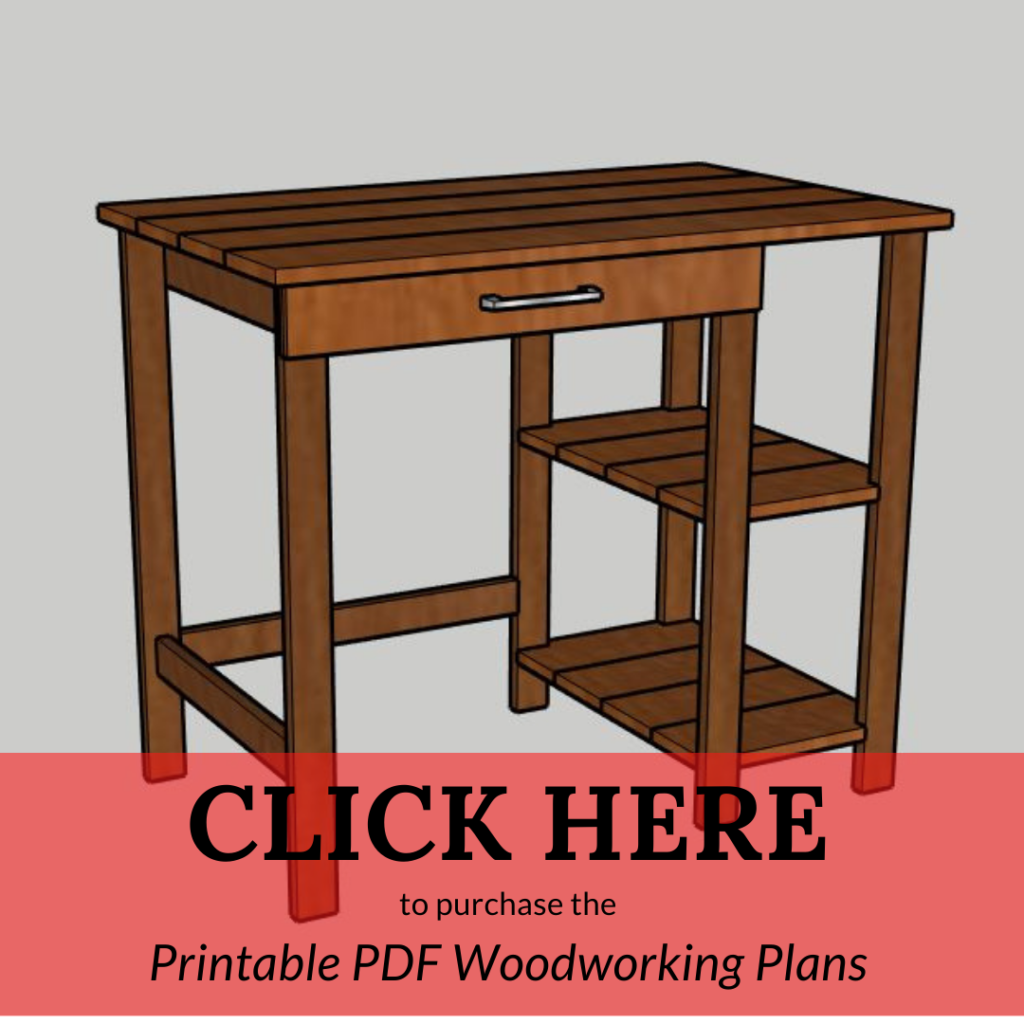
Here's the overview of how we built it, but if you want the full material list, cut list and step by step instructions, grab our printable woodworking plans!
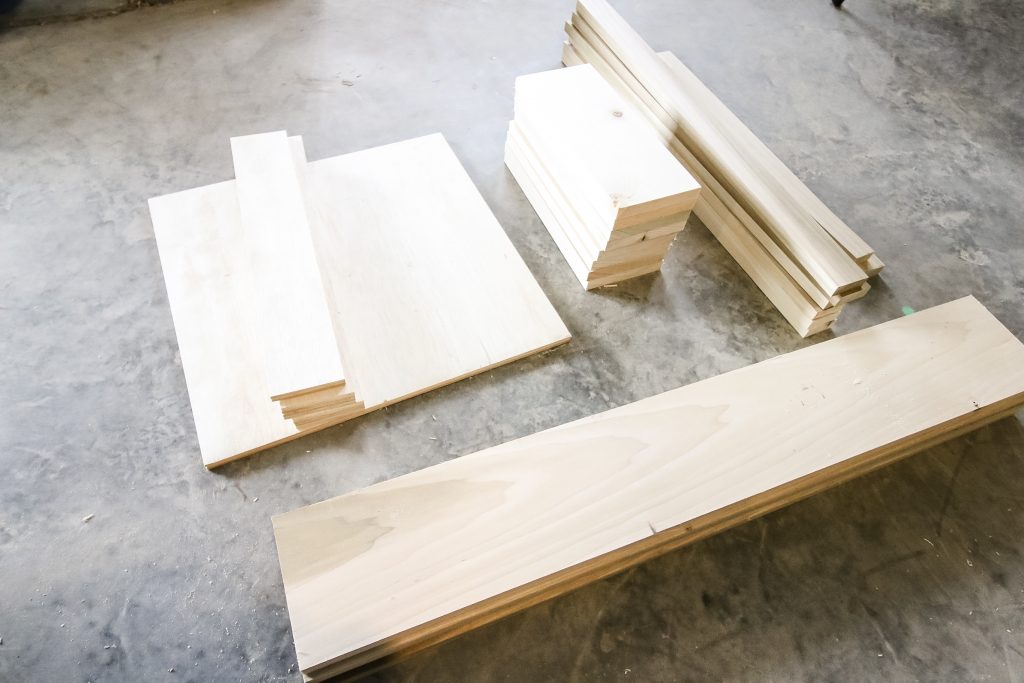
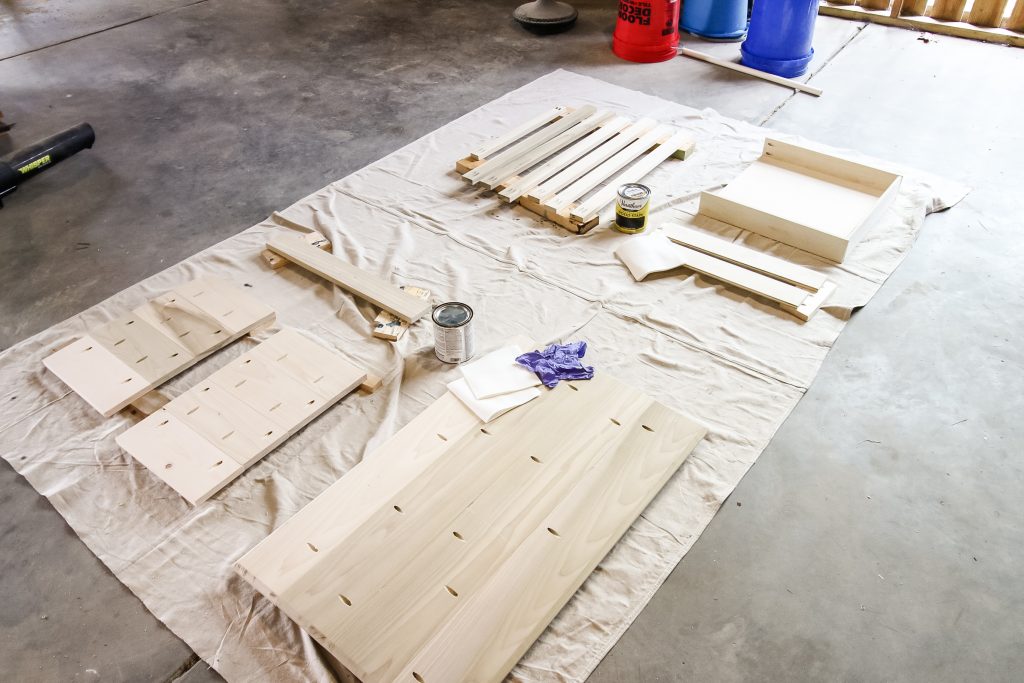
Step one: make cuts
We started by making all the cuts we would need. The entire project is made from ¾" thick boards and ½" thick plywood.
This gives you the option to go with something more high-end, like oak, or build the whole thing from one sheet of plywood.
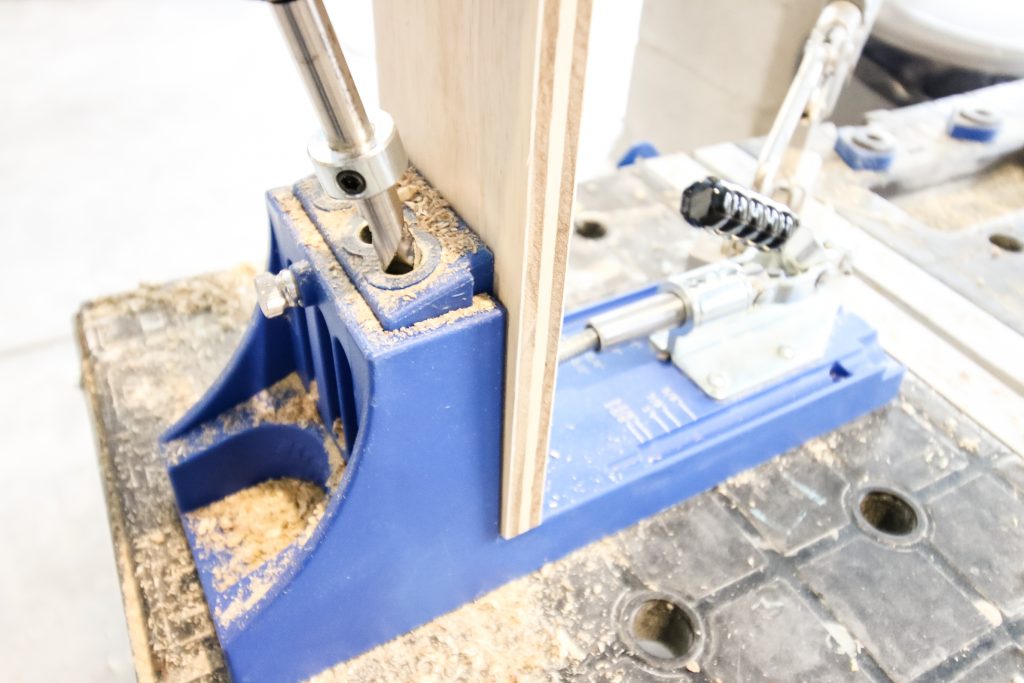
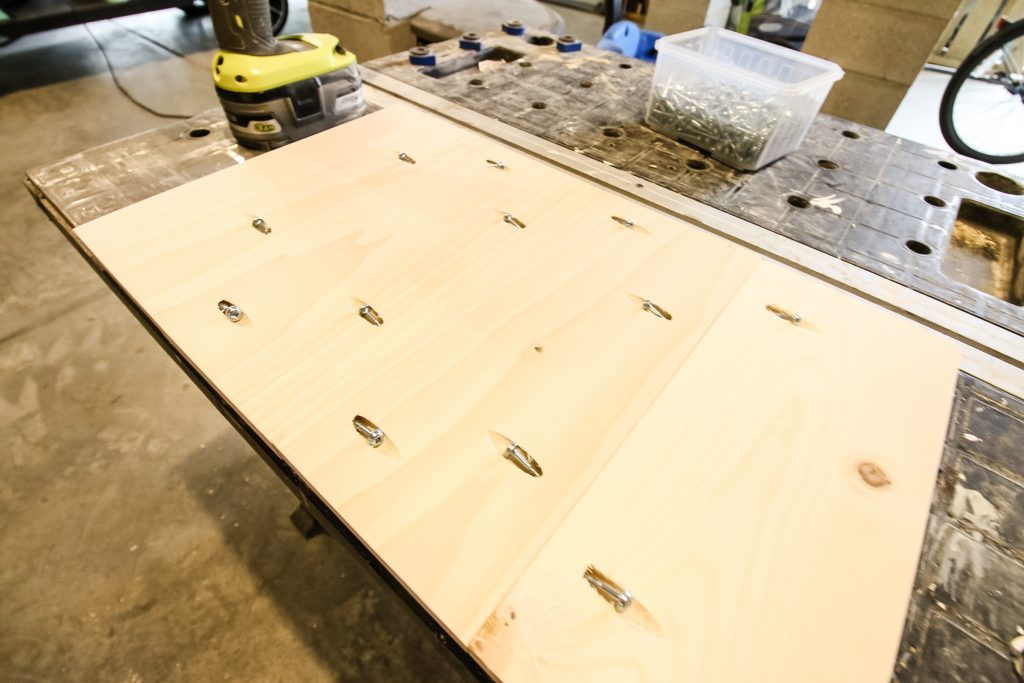
Step two: drill pocket holes
Once everything was cut, we drilled all the pocket holes we'd need.
We connected the top boards, shelf boards and drawer all using pocket holes. The legs also all got holes on one end to connect to the top.
Step four: build sections of desk
After making the cuts, we built the top, drawer, and shelves as individual pieces.
Building all of these sections allows you to check the measurements of everything together, as well as work at your own pace to get things done.
Step five: stain
We chose an industrial style look to this desk to best match my mom's decor style.
In all of the inspiration photos she sent, almost all of them featured wood tops with metal legs.
To replicate this look, we used a classic black stain for the legs and Early American stain for the top, shelves and drawer front.
Step six: assembly
Next, we attached the legs to the shelves and then attached that structure and the other legs to the underside of the top.
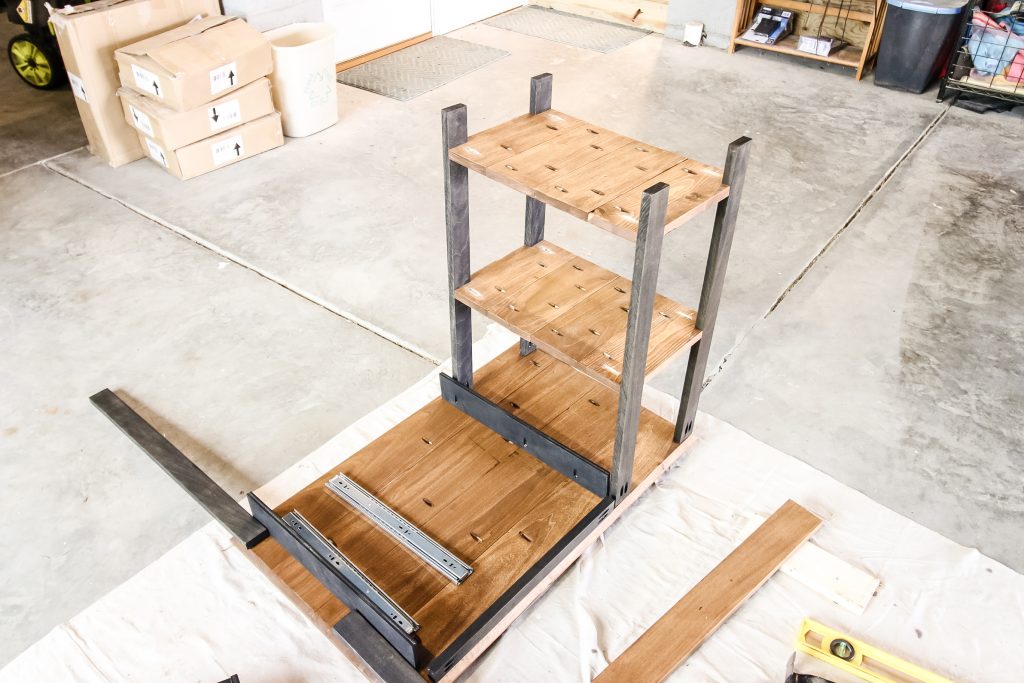
Once the structure was complete, we attached the drawer using drawer slides so that it would slide smoothly and lock into place.
Building a desk is very easy, especially if you stick to a simple design.
Desks can be elaborate and chunky, but if you just want something sleek and easy, this is what you need!

DIY writing desk plans
If you love the look of this desk, we've got plans for you!
Grab the plans for how to build this simple DIY writing desk and build one for yourself!
The plans are easy to follow and include the full material list, cut list and step-by-step instructions.
You can customize this desk in a number of ways by changing the colors or the placement/number of shelves.
Download our DIY writing desk plans and create a beautiful space to work!
Video tutorial of how we built the simple desk
Take a look at this video tutorial of how we built this simple desk to see how easy it was for starting your own project!
Elements of a simple writing desk
The main element of a simple writing desk is a work surface for your computer or writing.
The point is to have an open space that allows you to spread out the things you need for what you're working on.
A writing desk also likely has a drawer or a flip top for storing small office supplies you might need.
Some writing desks have shelves that allow for decor or small baskets to hold items.

What do you use a writing desk for?
A writing desk can be used in a number of different ways. This desk is designed to fit a small space and not take up much room.
Using a small desk is perfect for working from home or having a designated place for your laptop when you're back home after working at the office.
Small desks are perfect for if you live in an apartment or condo and don't have a full room as an office.
Adding a desk to the corner of your bedroom gives you a central place to work instead of using the kitchen table.
If you wanted a bigger desk, check out how we built a U-shaped desk in the nook of our old bedroom!
Make sure you download the plans for how to build a simple DIY writing desk and give yourself a beautiful workspace!
Interested in the Kreg Jig? Click here to read our full Kreg Jig review and to see all of our Kreg Jig projects.
New to the Kreg Jig? Here is a step by step guide on how to use a Kreg Jig!
OR grab our FREE Kreg Jig Cheat Sheet here! Download the cheat sheet!

Looking for something?
We've been doing this since 2012 so we have a LOT of blog posts!
Search stuff like: Ceiling Projects | DIY Plant Stands | Thrift Flips

Hey there, I'm Sean, the woodworking enthusiast and builder behind CharlestonCrafted.com! Since 2012, I've been sharing the magic of turning raw materials into beautiful creations. I love teaching others the art and satisfaction of woodworking and DIY. I try to inspire fellow crafters to make something extraordinary out of nothing at all.