Here's how to added some easy off-the-shelf shelving into an empty space off the edge of our cabinets!
We're crazy about openness in our house right now. We've had walls taken down, turned two medicine cabinets into open shelving, turned a cabinet into open shelving on the end of our island, and now we've added some decor-holding open shelving on the end of our kitchen upper cabinets!
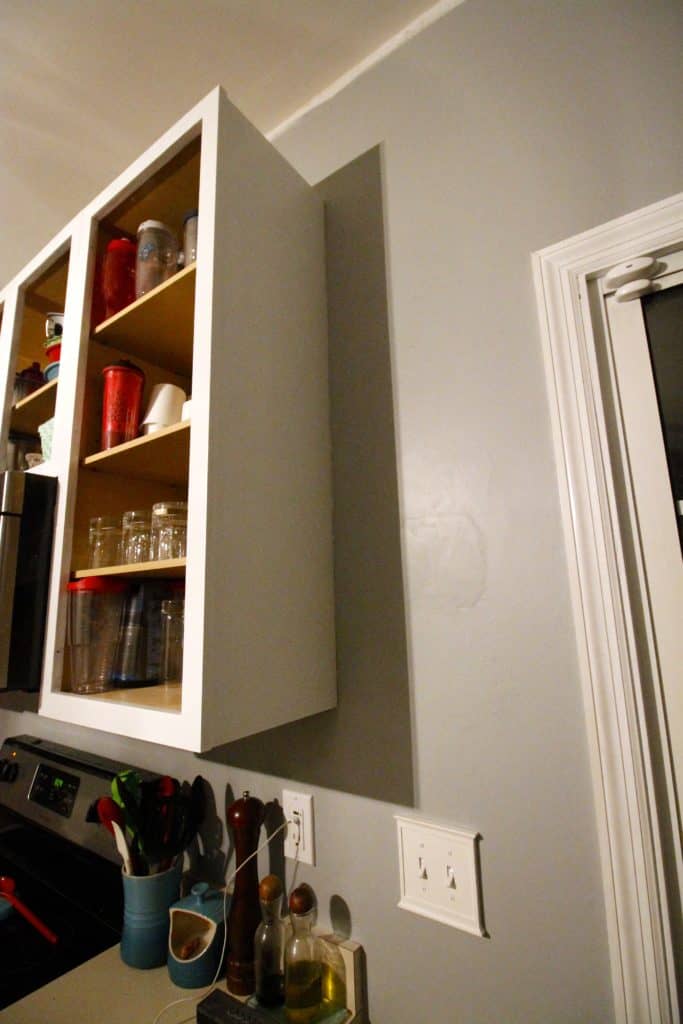
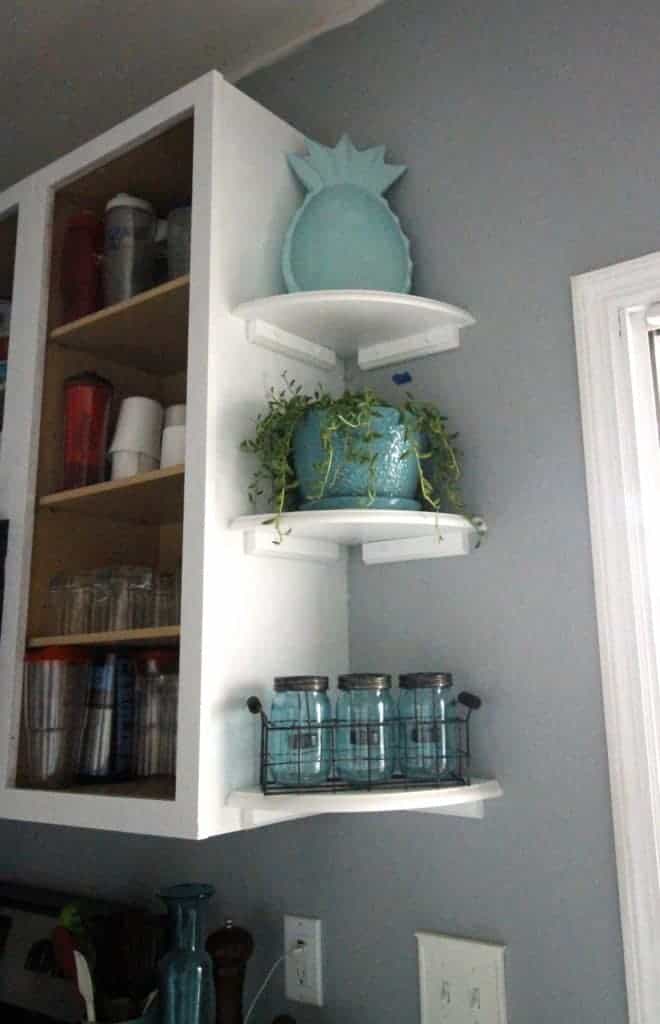
You may have seen us live on Facebook when we did this project, but here's the final product. When we extended the lower cabinets on the wall with this DIY tilt-out trash can, the cabinets no longer lined up.
We needed something to make the upper cabinets look more complete. We settled on adding some open shelving to display decor.
I love the idea of open shelving in a kitchen but could never commit to giving up my upper cabinets. This was a great compromise!
Click here to pin this project to your Pinterest board!
Open shelves in the kitchen
We thought at first that we would get a round, flat piece of wood and cut it into quarters to attach to the wall. We love DIY projects and this didn't seem particularly difficult.
After going to Lowe's and seeing how much that would cost, plus what we would need to bracket it and the labor time it was going to take us to cut, paint and hang those, we walked around a bit more until we found these for only $10 each and said #worthit.
Sometimes, it makes so much more sense to buy something than DIY it from scratch.
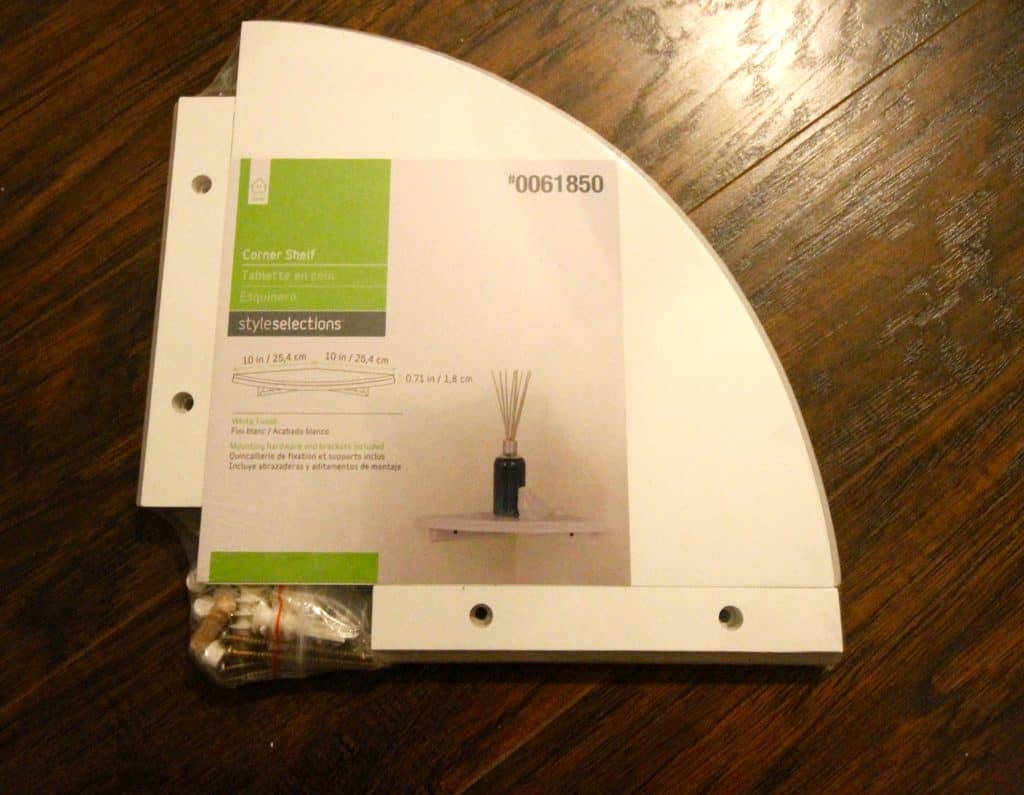
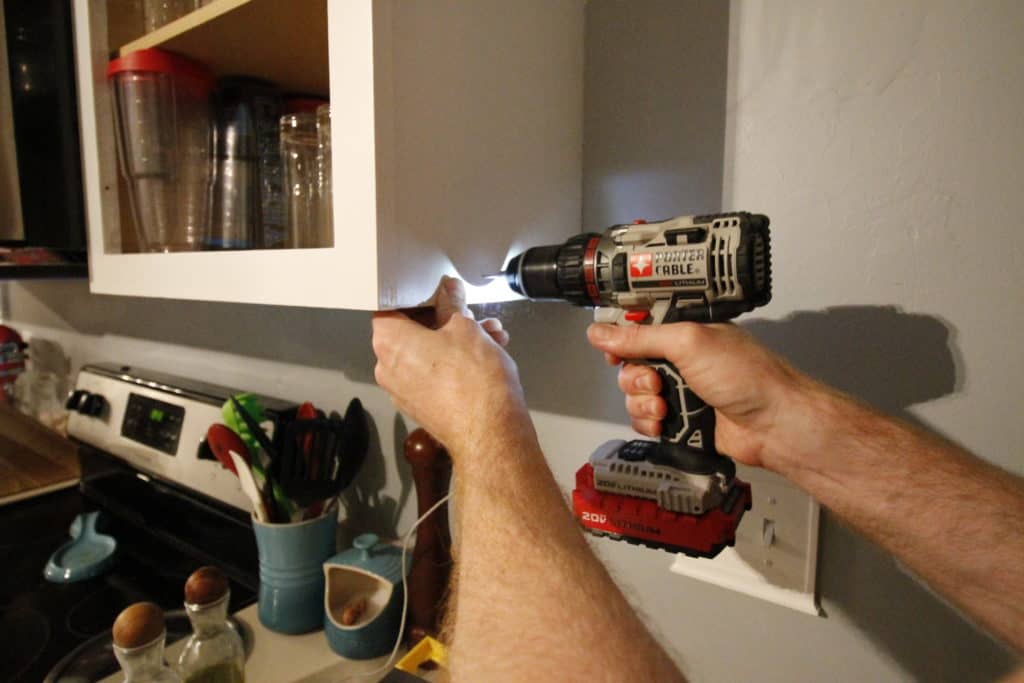
These corner shelves are super easy to install. You use the hardware they come with to attach two brackets level to the two sides of the corner and then attach the shelf with the dowels it comes with.
Each one takes about five minutes to install.

I also love that they have a little decorative detail on the edge. Another thing that made it make sense to buy instead of DIY!
What to put on open kitchen shelves
We decorated them with some blue items to tie to our color scheme in the other rooms and added beautiful fresh picked flowers to bring that pop of color.
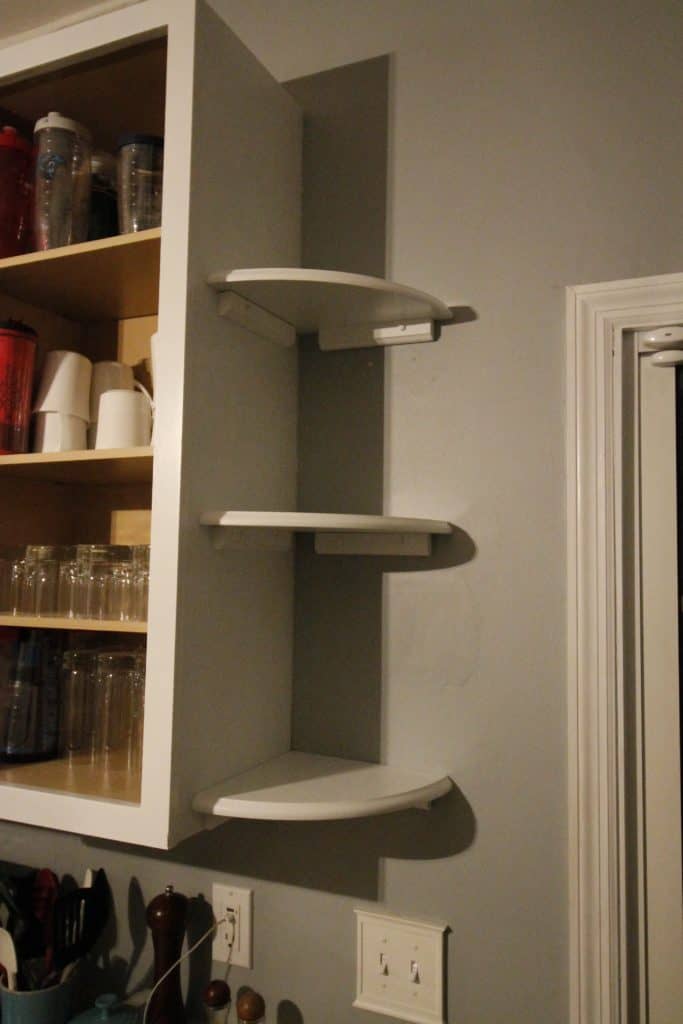
In general, you want to decorate open kitchen shelves with attractive things. This is not the place for mismatched tupperware! That's why I love these small wound shelves - we get that open shelf look without losing the convenience of hidden cabinet storage.
If you wanted the shelves to have more of a floating look, you could paint the part that is on the wall your wall color. I liked the overall white look, but wanted to lay this out as an option for you.
Click here to pin this project to your Pinterest board!
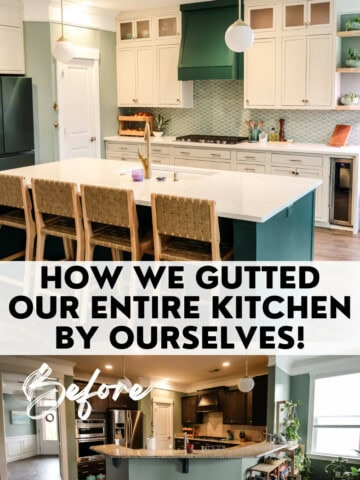
Be sure to check out our whole DIY coastal kitchen makeover!
Looking for more DIY shelving ideas?
- DIY live edge shelves over the bar
- DIY floating shelves in the bathroom
- Five types of DIY open shelving
Click here for a full tour of our kitchen before, during, and after the DIY renovation.

Looking for something?
We've been doing this since 2012 so we have a LOT of blog posts!
Search stuff like: Ceiling Projects | DIY Plant Stands | Thrift Flips

Hey there, I'm Sean, the woodworking enthusiast and builder behind CharlestonCrafted.com! Since 2012, I've been sharing the magic of turning raw materials into beautiful creations. I love teaching others the art and satisfaction of woodworking and DIY. I try to inspire fellow crafters to make something extraordinary out of nothing at all.
Maria Brittis says
I am super impressed with all the projects you guys do in your home! You motivate me big time. Great job on the open shelving.
Maria
Morgan says
You are sweet! Thanks for reading 🙂
Cory says
New reader here 🙂 Love following along with house updates - especially similarly-aged DIYers! Super fun. Could you paint the brackets on the wall the same gray color to help them "disappear" more? Just a thought! They are super cute decorated.
Morgan says
Hi thanks so much for stopping by!
you 100% could paint them gray. maybe we will, I hadn't thought of that! I am currently using little slips of painters tape to mark spots on the wall that need touch ups (we got some major dings recently with the floors going in & moving furniture and appliances) and when I have the gray paint out maybe I will try.
Cory says
this is a great idea! I see things all the time and think I'll get to it later...but if I marked it, it would bug me so much to look at the tape that I'm sure I would do it sooner. And not forget any spots. I hate opening up a big gallon of paint just for touch-ups - I wonder if storing a small amount in a mason jar would work?
Morgan says
I know people have used mason jars I have just heard to use one with no metal lid or it might rust. We actually have a XL 5 gallon bucket of this paint so it is really intense to open. Hence me not wanting to do it for touch ups 🙂
Sarah says
Oooh that corner is so cute now with all the turquoise accessories!
Betty says
I looked into this recently & thought the screws looked too long to put into cabinets. Have they held up well? Did they take up any space inside cabinets?
Sean says
They held up great! We haven't had any problems with them at all. They are great for the corner dead space and the screws didn't have any issues.