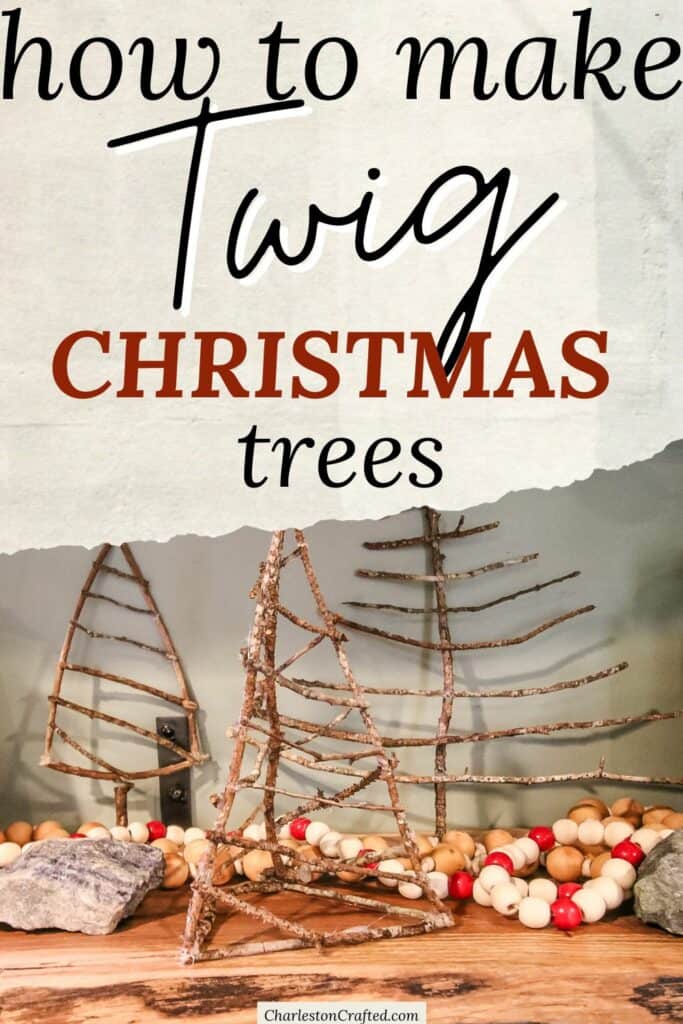
Want to make an eco-friendly and basically free Christmas decoration? Here's how to make DIY twig Christmas trees!
There is some thing about the holiday season that just makes me want to craft.
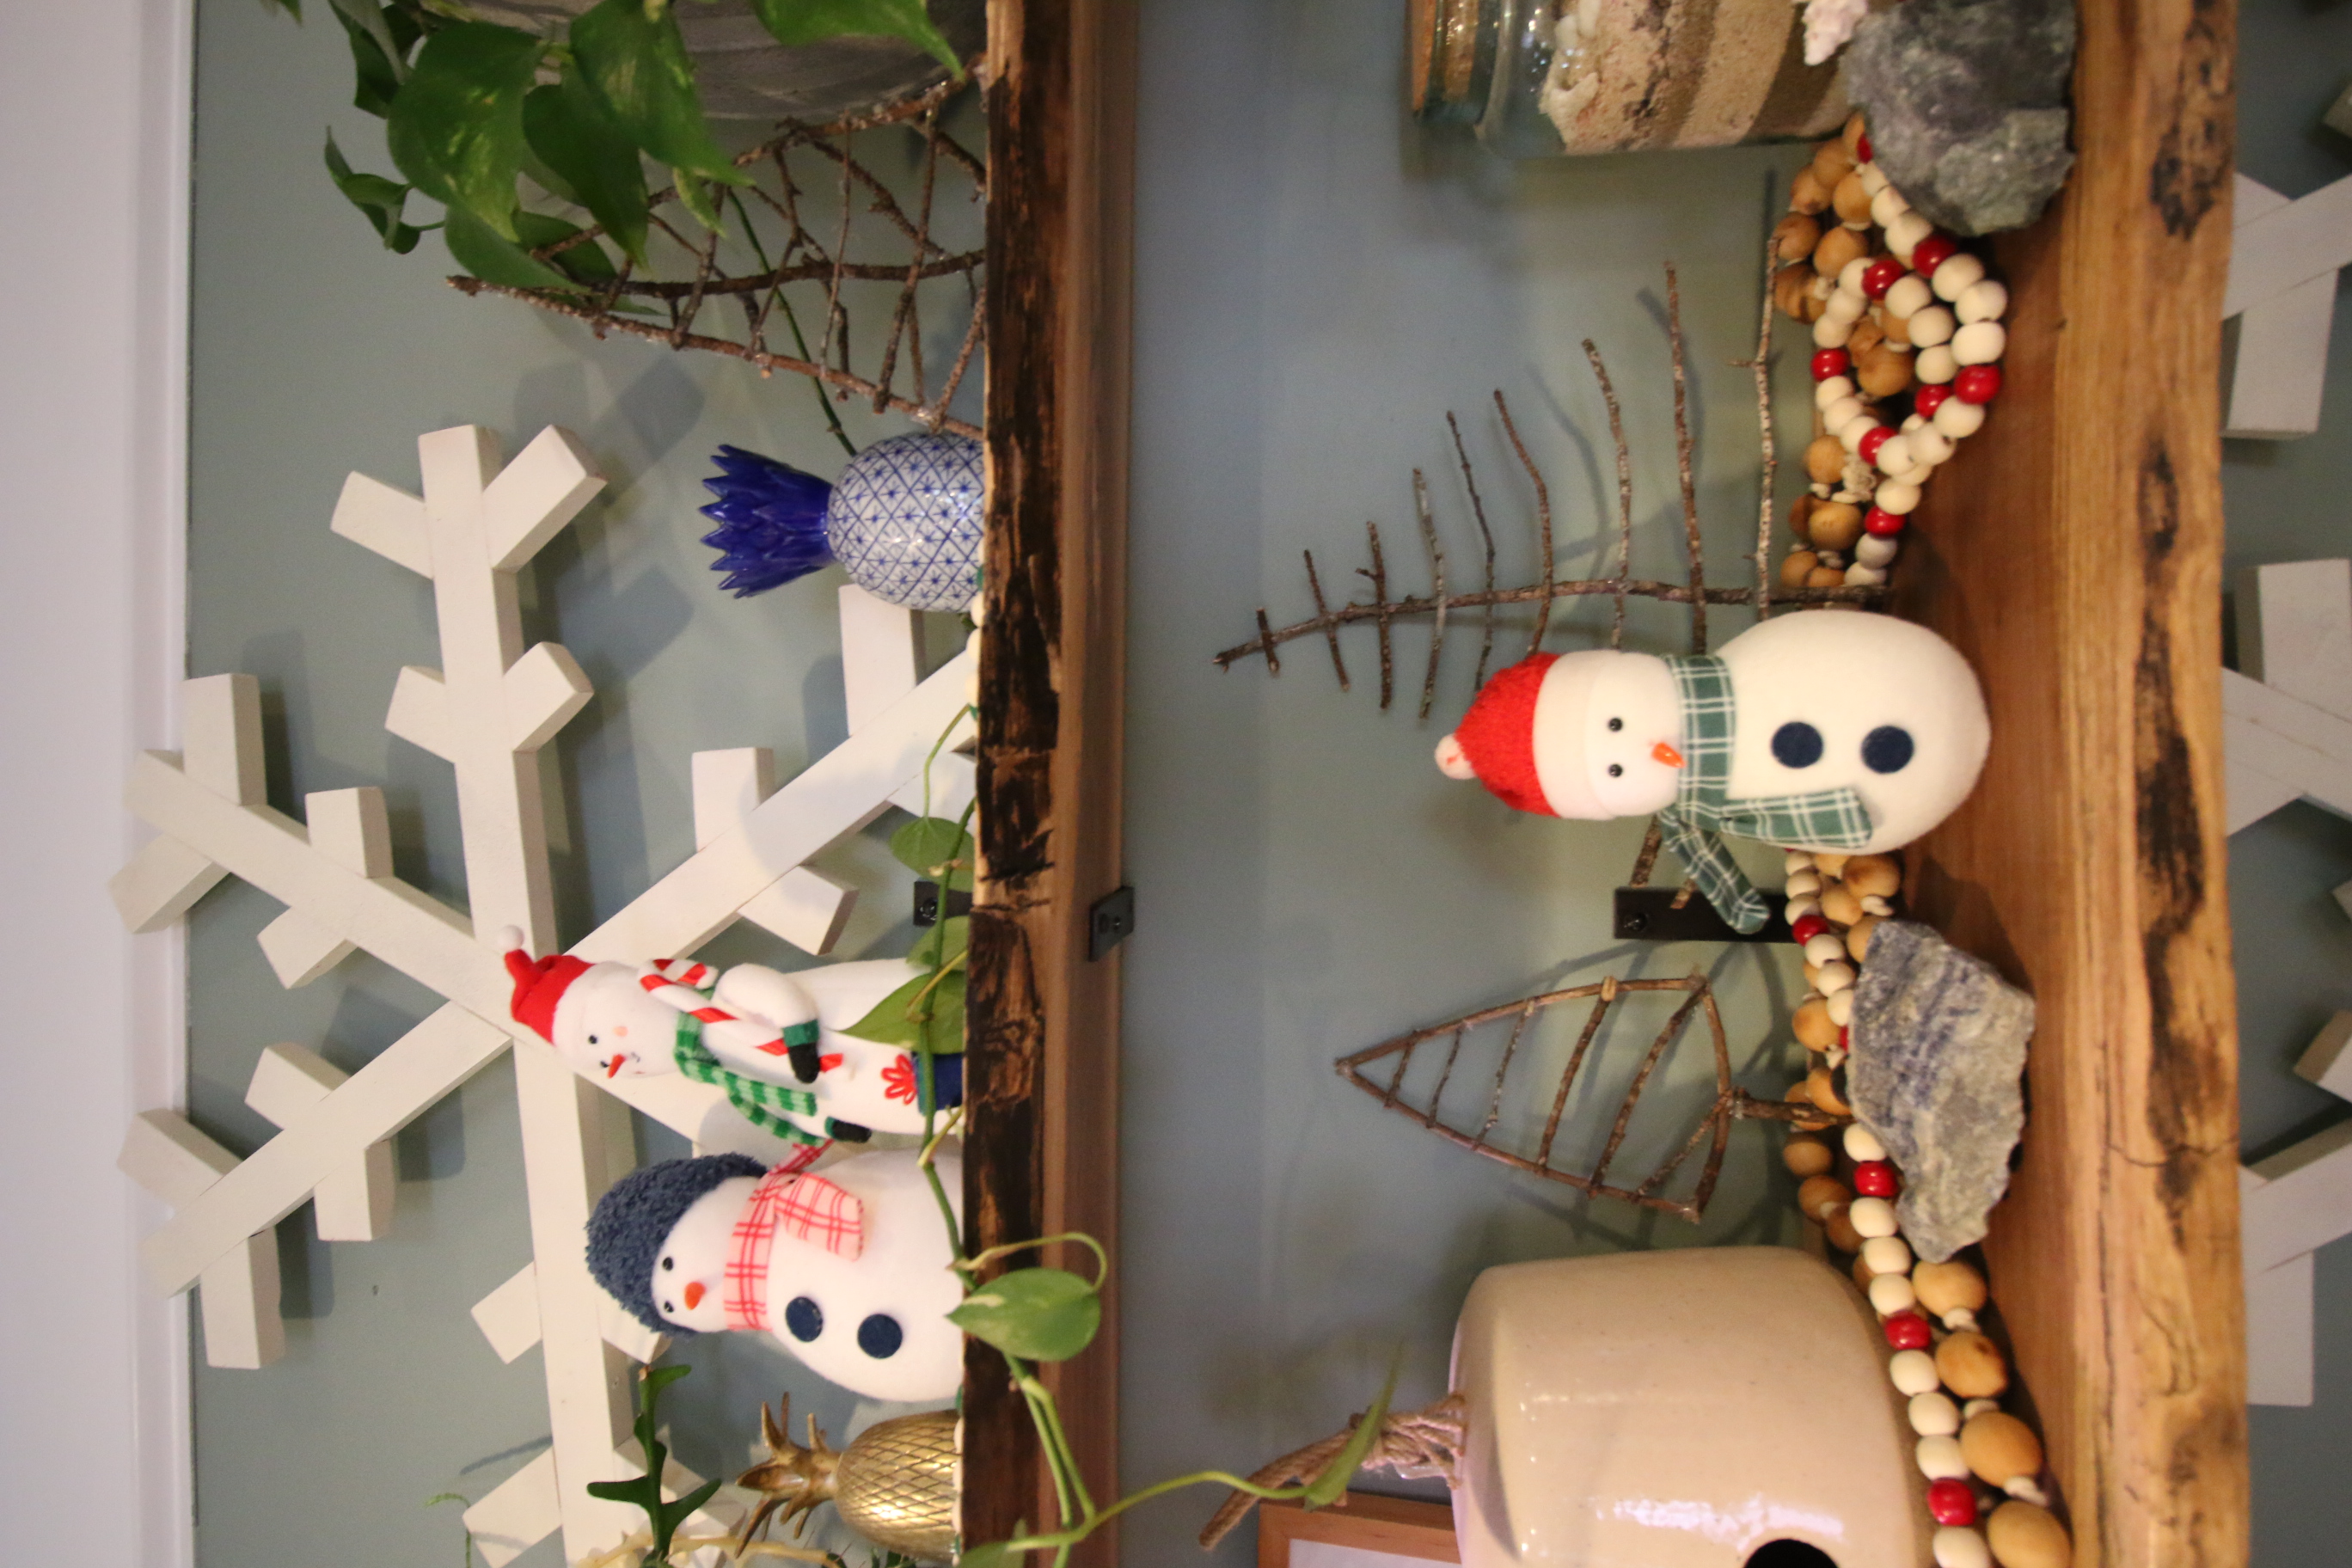
Over the years, I have made a ton of different small table top Christmas tree crafts. They add a wintry field to our home, even if we live a short drive from the beach.
Today I want to talk about how to make a Christmas tree made of sticks.
These small twig trees are perfectly rustic and a child friendly craft to make if you are looking for Christmas decorations to make with your kids.
So, get outside, get into nature, and gather some natural items. I made these trees with twigs we found in the woods in front of them behind our house.
You could go further and decorate them with things like small pinecones or acorns for natural effect, or pom-poms, buttons, and bows for more of a colorful pop.
Really personalize them to match your preferred aesthetic! Here's how easy it is to make DIY twig Christmas trees, this holiday season!
Want to make a Christmas tree with larger sticks? Check out our tabletop driftwood Christmas tree tutorial!
Do you need to clean twigs before using them for crafts?
Whether or not to clean nature items before bringing them into your home as a personal choice. For me, it depends on the condition that the items are in when I find them.
In the least, you were going to want to lay everything out on an old towel or some newspaper, and let it dry really well before crafting with it.
If you think that your sticks might have bugs or a fungus, you can wash them with hot soapy water, or even hot water with a little bleach mixed in.
Some people like to bake nature-found items like sticks and pinecones in the oven at 200° to kill anything on them.
Personally, I just tried to select clean-looking sticks and didn't bring in anything mossy or too dirty.
How to make DIY twig Christmas trees
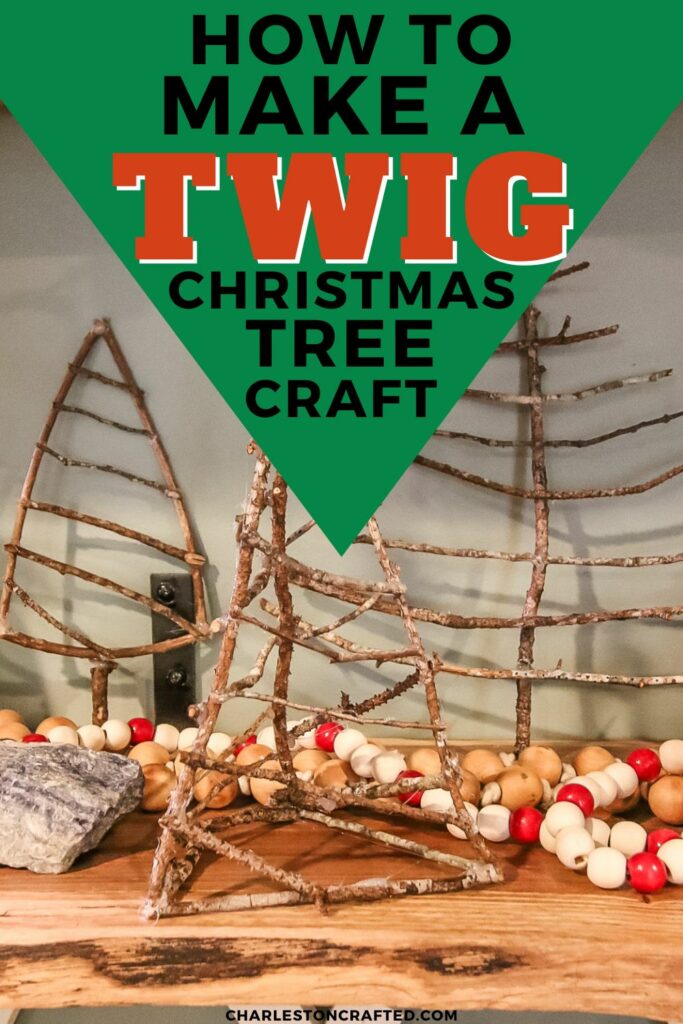
Here's how to make DIY stick Christmas trees and 3 different styles to inspire your crafting!
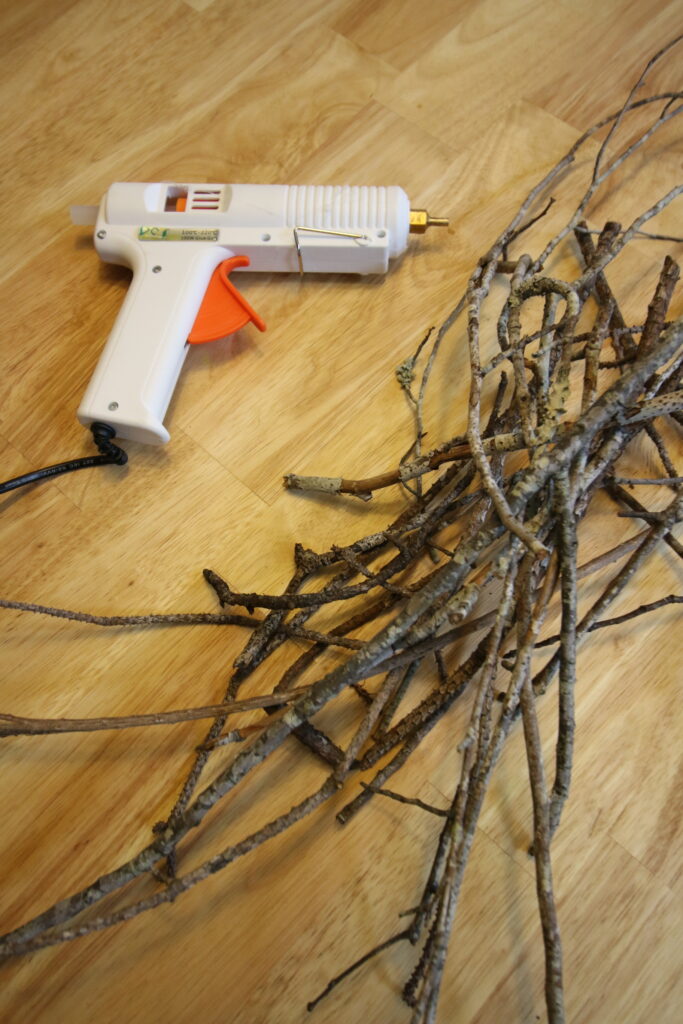
Supplies needed:
- small twigs or branches
- hot gluegun + glue sticks
- optional: tree decoration craft supplies (string, beads, pom poms, small pine cones, etc)
Steps to make a DIY Christmas tree from branches:
STEP 1: Clean your sticks
Clean off your sticks of any loose bark, moss, or dirty. You can wash them if necessary. Let dry completely.
STEP 2: Sort your sticks
Sort into piles by thickness. You generally want thicker pieces as the trunk or lower on the tree, with thinner sticks as you move upwards. Having them sorted makes the rest of the craft go quicker.
STEP 3: Create a base
If you want your tree to stand up such as on a tabletop, create a triangular base. Use hot glue to attach them.
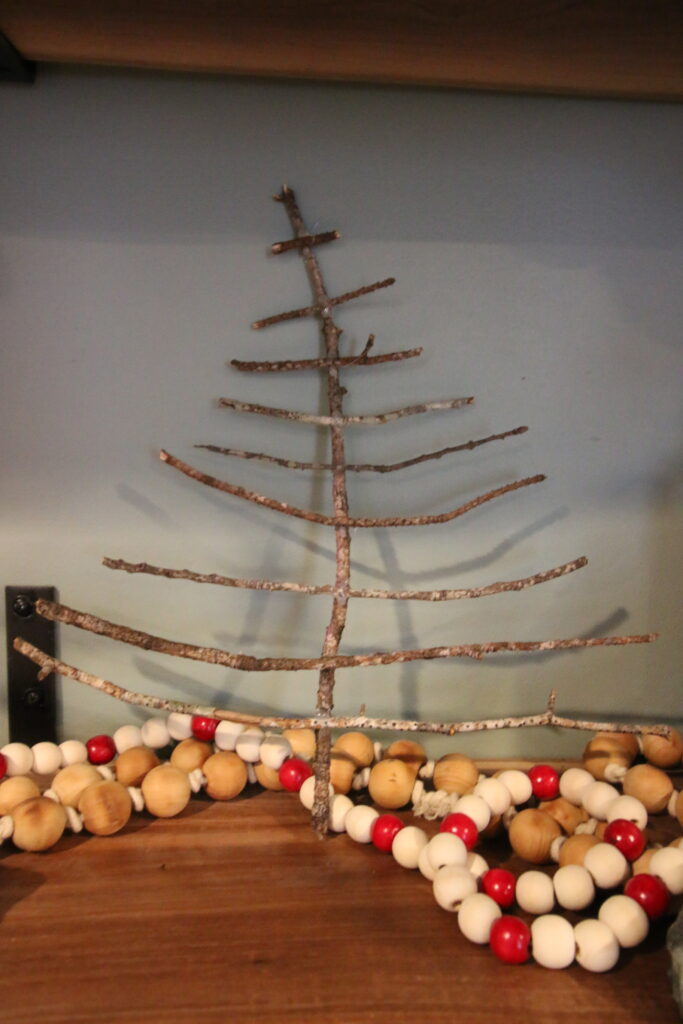
For hanging trees, select a branch to be the trunk of the tree and arrange it vertically on your work surface.
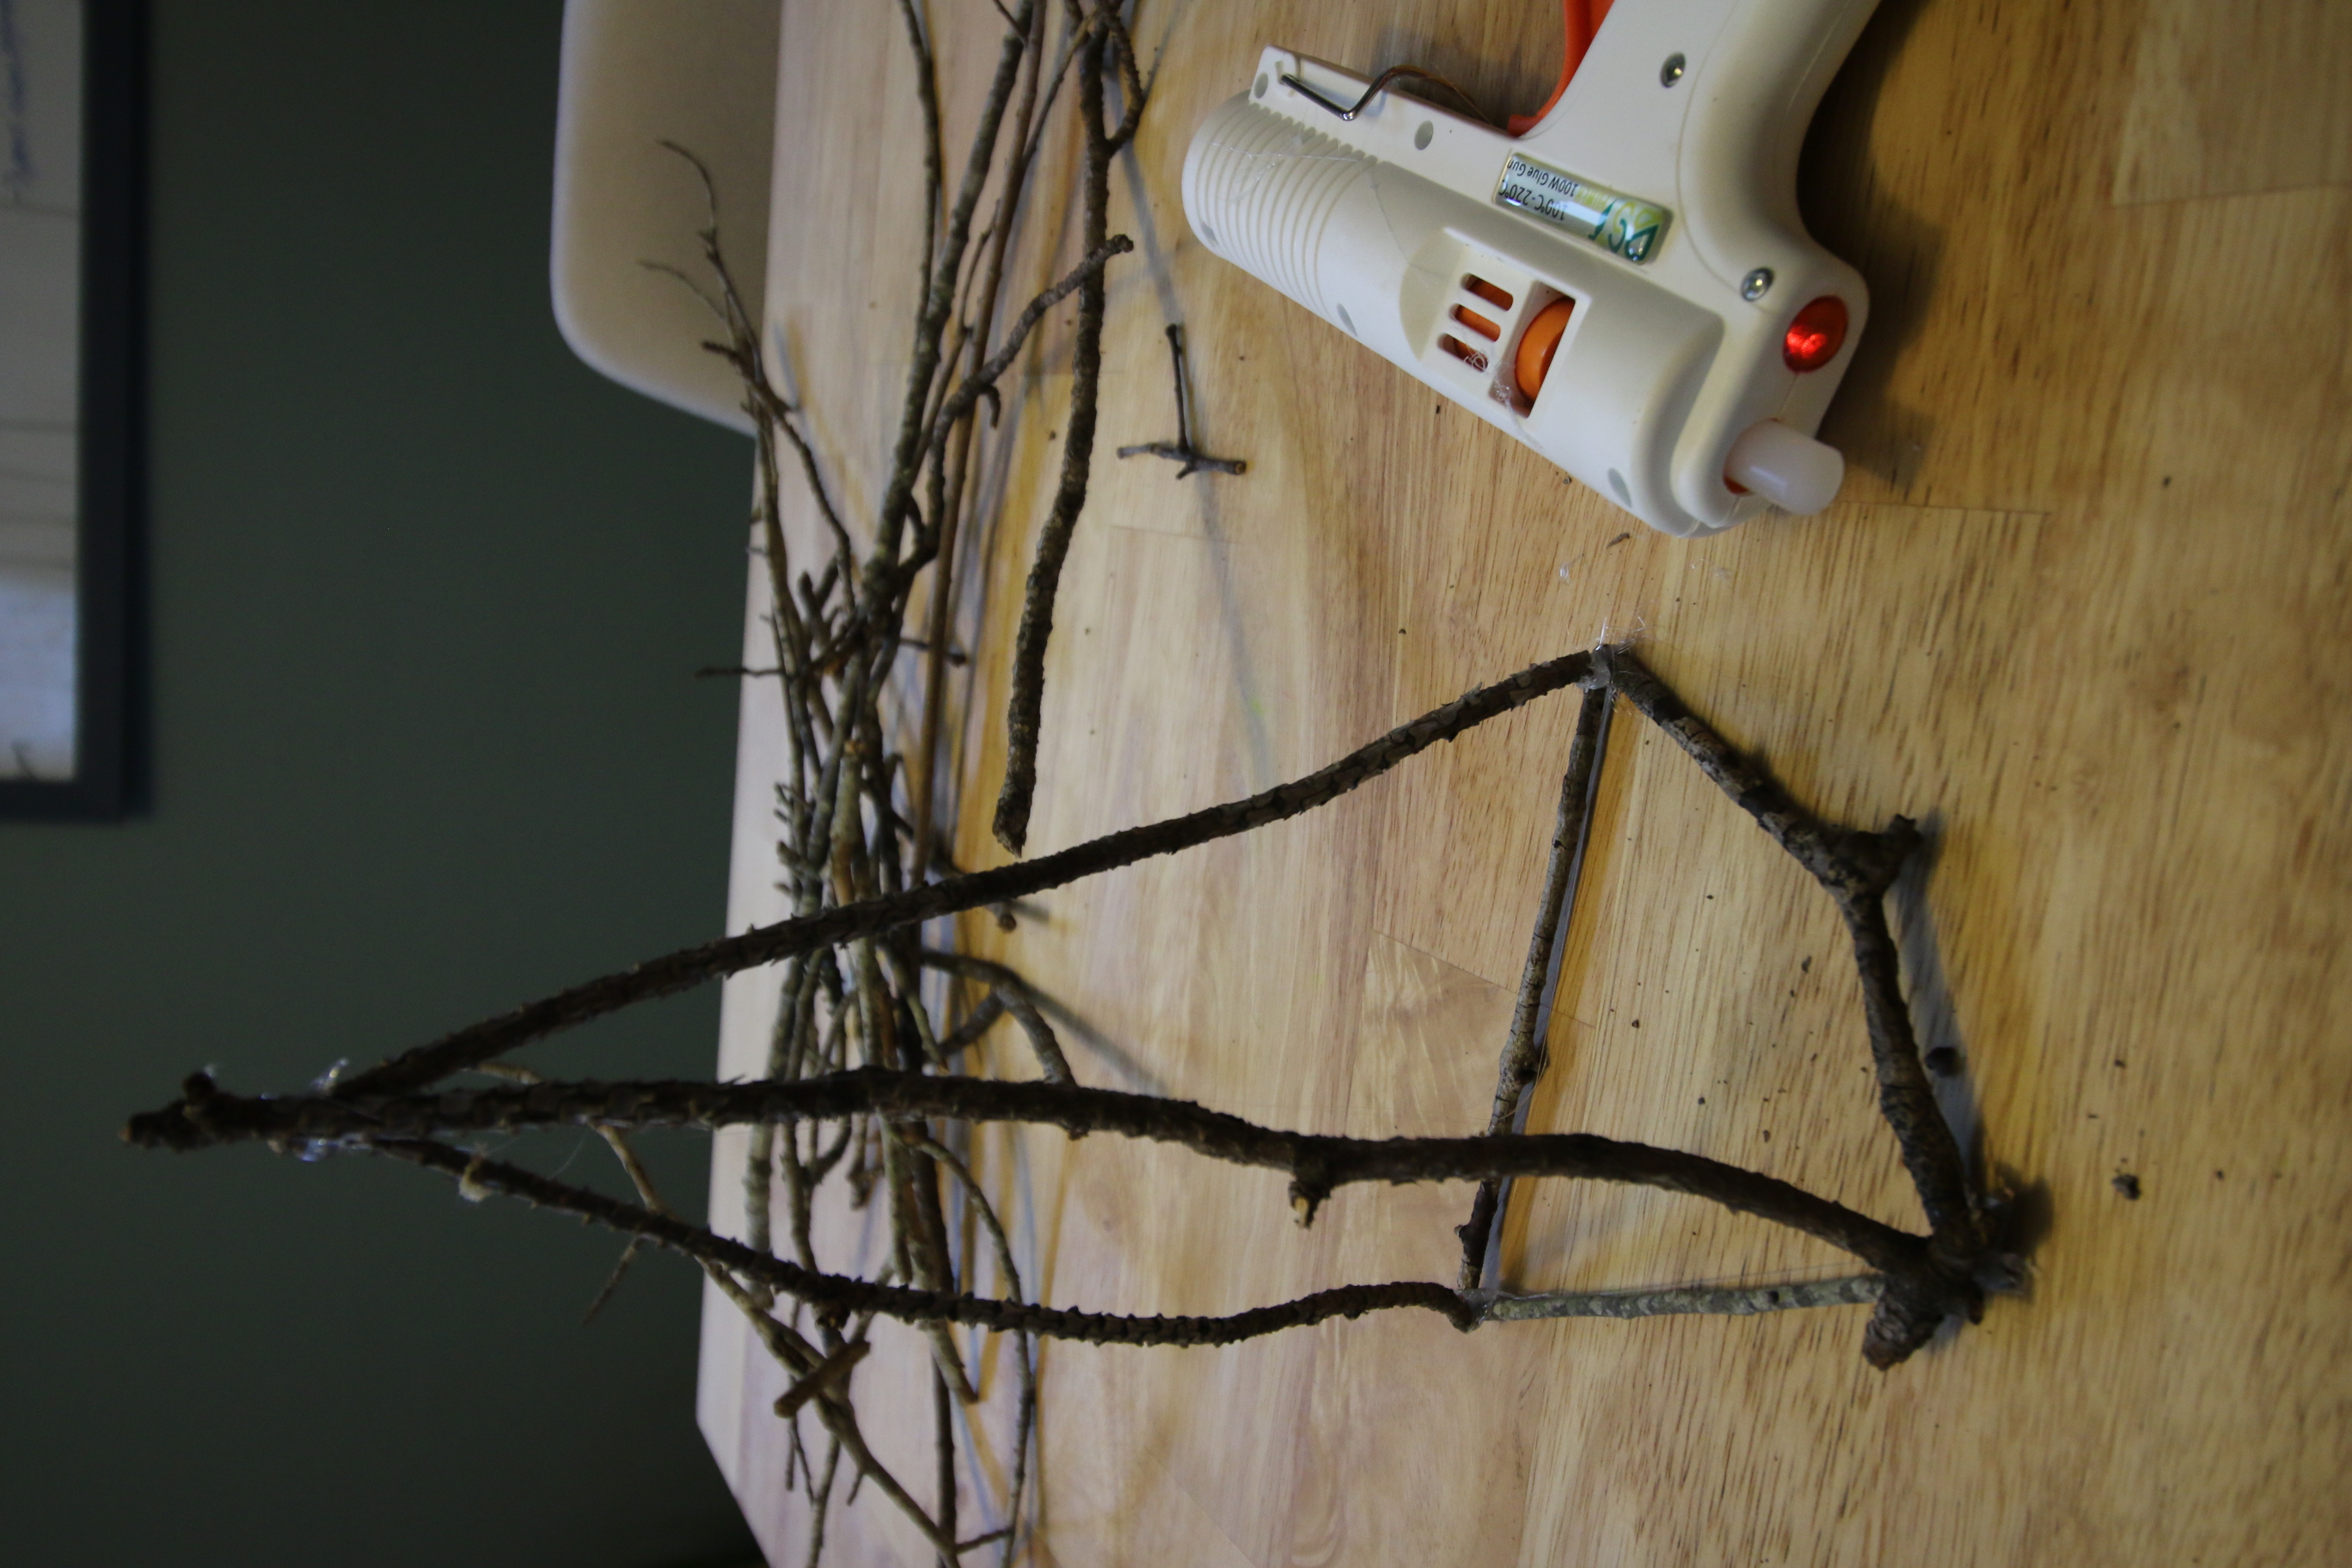
STEP 4: Make the triangle
Select twigs to make the triangular outline shape of the tree. Aim for 3 branches that are similar in thickness and color for best results.
For a tabletop tree, this will be like a pyramid. For a hanging tree it will just be a 2-D triangle.
You may need to snap the branches to your desired length.
Hot glue together.
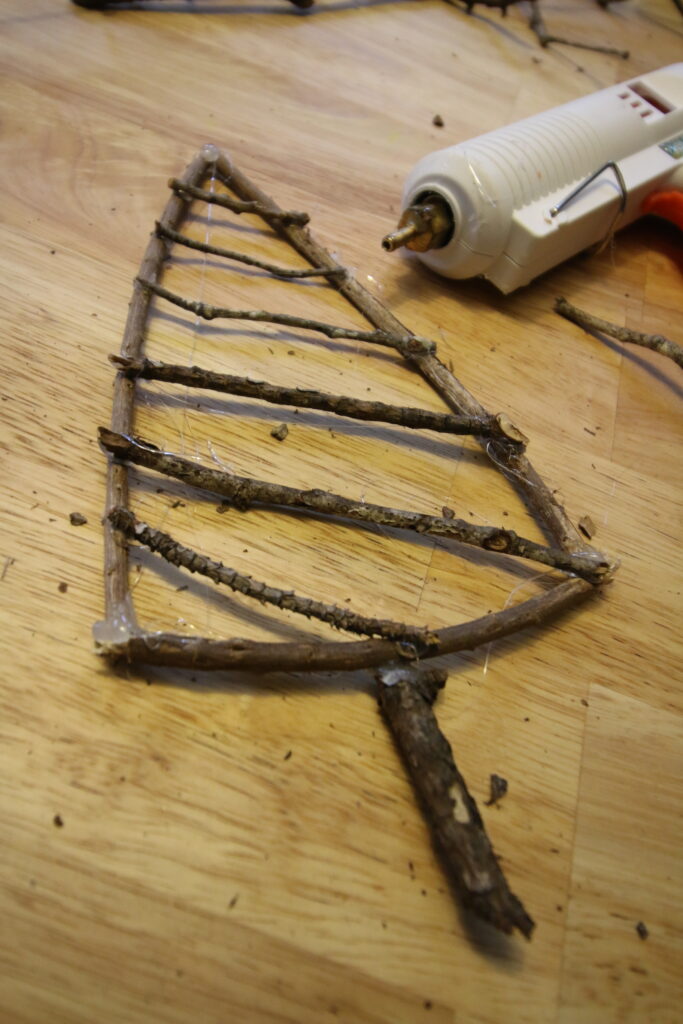
STEP 5: Add cross-pieces
Now, break twigs and hot glue them horizontally across. Play around with it, but I like a bit of a diagonal for a garland look.
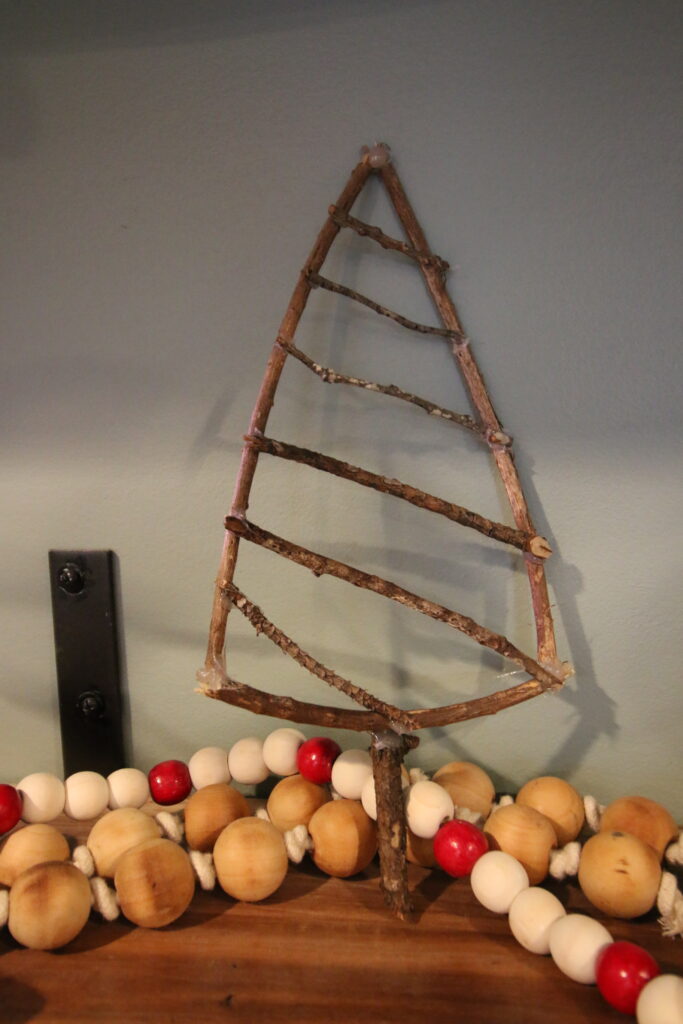
For a hanging tree, you might add plain horizontal pieces. Go with longest on the bottom and shorter as you work up to get the triangular tree shape.
Use hot glue to hold in place.
STEP 6: Decorate!
This is optional, but you can hot glue on decorations, too. Add buttons, pom poms, string, or natural items like pine cones and acorns!
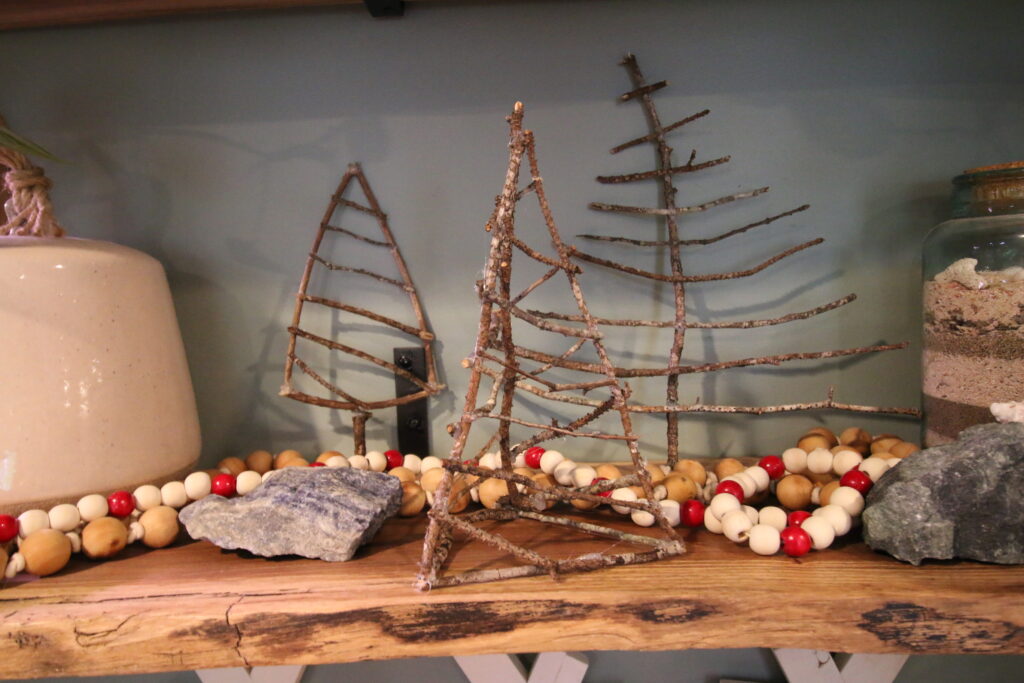
Once it's fully dry, let the hot glue cool completely, then pull off any stringy bits for a clean finished look.
I love how these branch Christmas trees turned out! A great rustic touch for holiday decor and perfect for small spaces!

How to make a twig Christmas tree
These DIY twig Christmas trees are natural, crafty, and basically free to make. Here's how to make them!
Materials
- twigs or sticks
- optional: decor items like acorns, pine cones, pom poms, buttons
Tools
- hot glue gun + glue sticks
Instructions
- Gather thin sticks and branches
- Clean your sticks of loose bark, dirt, or moss. Wash if necessary. Let dry completely.
- Sort sticks by color and/or thickness
- Plug in your hot glue gun
- Make a base - either a triangular base for a 3D tree or a trunk for a hanging tree. Connect with hot glue.
- Create a triangle - 2D for a hanging tree or pyramid for a tabletop tree. Hot glue together.
- Add cross pieces - hot glue in place
- Optional: use hot glue to attach decor
- Let cool and pull off any excess hot glue strings
Recommended Products
As an Amazon Associate and member of other affiliate programs, I earn from qualifying purchases.

Other DIY Christmas tree shaped decor ideas
Don't miss some of our other tree-shaped DIY Christmas decor ideas to keep you busy this holiday season!

Looking for something?
We've been doing this since 2012 so we have a LOT of blog posts!
Search stuff like: Ceiling Projects | DIY Plant Stands | Thrift Flips

Hello, I'm Morgan, half of the creative force behind CharlestonCrafted.com! With a passion for DIY that dates back to 2012, I've transformed three homes and now I'm dedicated to helping others craft their dream spaces. Let's turn your house into a home together!


