Want to build a DIY raised garden bed for your yard? It's an easy and cheap DIY and a great way to grow veggies if your soil isn't perfect. Here's a step by step guide on how to build one!
It's springtime in the Lowcountry and we're so happy to have the opportunity to try to grow some of our own veggies!
To do that, we needed a place to grow them. We have such sandy soil in our yard that we can't plant directly into it, so we needed to build a raised bed garden, which was super easy!
Why build a raised planter?
There are a few benefits of building a raised planter:
- If your soil is poor quality, a raised planter allows you to plant in soil you bring in
- Raised planters are generally attractive
- Having a designated space for plants makes it easier to contain them and water or fertilize only that area
- If you raise the planter enough, it can make it so you don't have to bend over as much to work. See our tall raised planter tutorial here!
Raised planters are generally inexpensive to build - cheaper than buying new - and really make your garden look and function great!
Check out our DIY deck rail planters for easy herb planting!
What kind of wood should be used for raised beds?
You have a few options for wood for a raised planter bed. Each has pros and cons.
Option 1: Regular untreated wood such as pine, finished with an outdoor sealant
You can finish any wood with an outdoor sealant to help to protect it from rot. However, sealant will have to be replaced, sometimes every year, to keep the wood in good shape.
Option 2: Outdoor pressure treated lumber
Pressure treated wood is treated with chemicals so it won't rot outdoors. However, if you plan to plant vegetables, it is said that the chemicals from the wood can leech into the soil and therefore into your plants. That is something to take into consideration, especially if you want to grow organic plants.
Option 3: Naturally rot-resistant wood
Examples of naturally rot resistant wood include cedar, redwood, or cypress. These woods do not need sealant or any chemicals to last many years outdoors.
This is the best option for a raised garden bed, however, it can be hard to find a large and thick enough piece. We love building with cedar but were unable to find 2 inch thick cedar available to us.
How thick should the wood be for a raised garden bed?
Thick wood is best for a raised garden bed. That makes the wood extremely sturdy and less likely to warp over time. This is usually accomplished buying lumber that is 1 ½" thick.
Check out all of our favorite ways to upgrade your backyard on a budget!
Planning your garden location
When planning your garden location, the biggest thing to keep in mind is sun exposure. Many vegetable plants need full sun for at least part of the day. Be sure that your location has good light.
The next thing to keep in mind is water access. Near your hose is best. We actually chose the spot for our new planter because it is next to the hose! Otherwise you will need to haul water, which may or may not be easy.
Finally, think of the size that you want. How many plants do you want to plant and how much space do they need?
Step by step tutorial for how to make a raised garden bed from scratch
Supplies to build a raised garden bed:
- Lumber of choice, at least 2" thick
- Deck screws
- Decorative bracket hardware (optional)
- Garden bed liner
- Garden soil
- Plants of choice
Tools to build a raised garden bed:
- Circular saw
- Straight edge guide
- Sander
- Drill
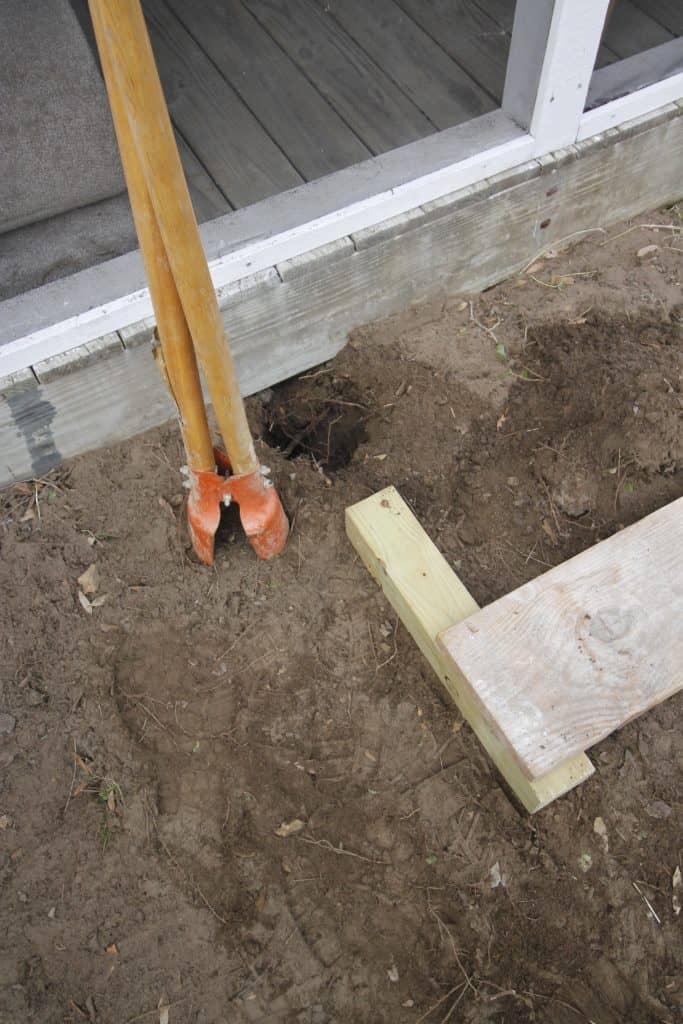
Step 1: Prep the area
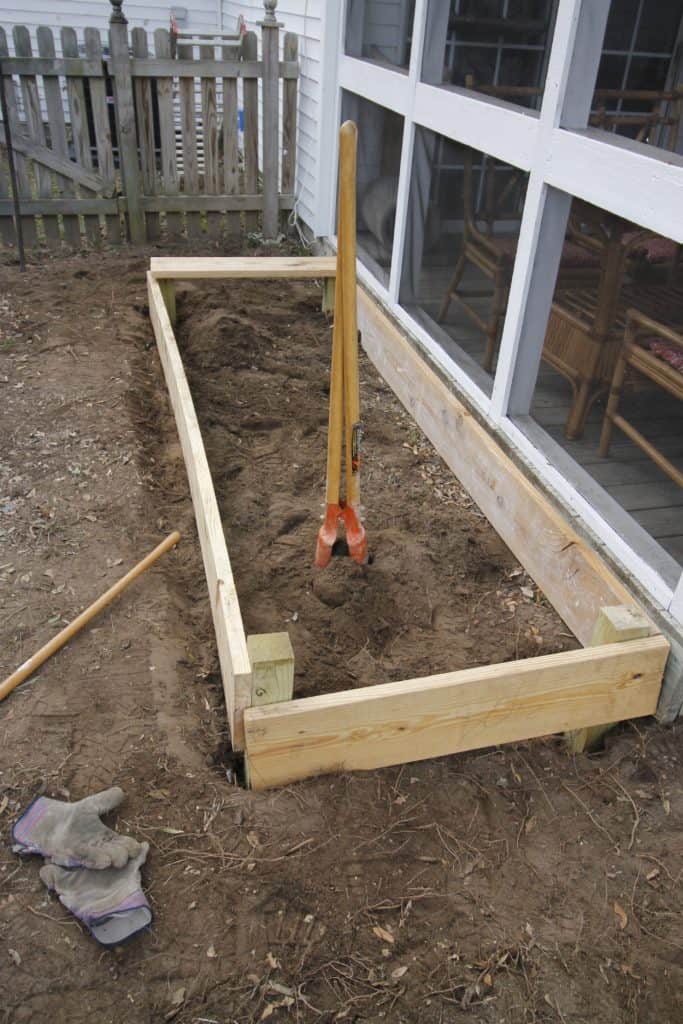
We chose a spot on the side of our house right next to the screened porch. It gets lots of sunlight, so it should be perfect. First, we had to remove the four ugly bushes that were trying to survive.
If you have existing bushes or plants, you need to remove them and their roots before installing the garden.
Also, make sure to clear out any grass or weeds.
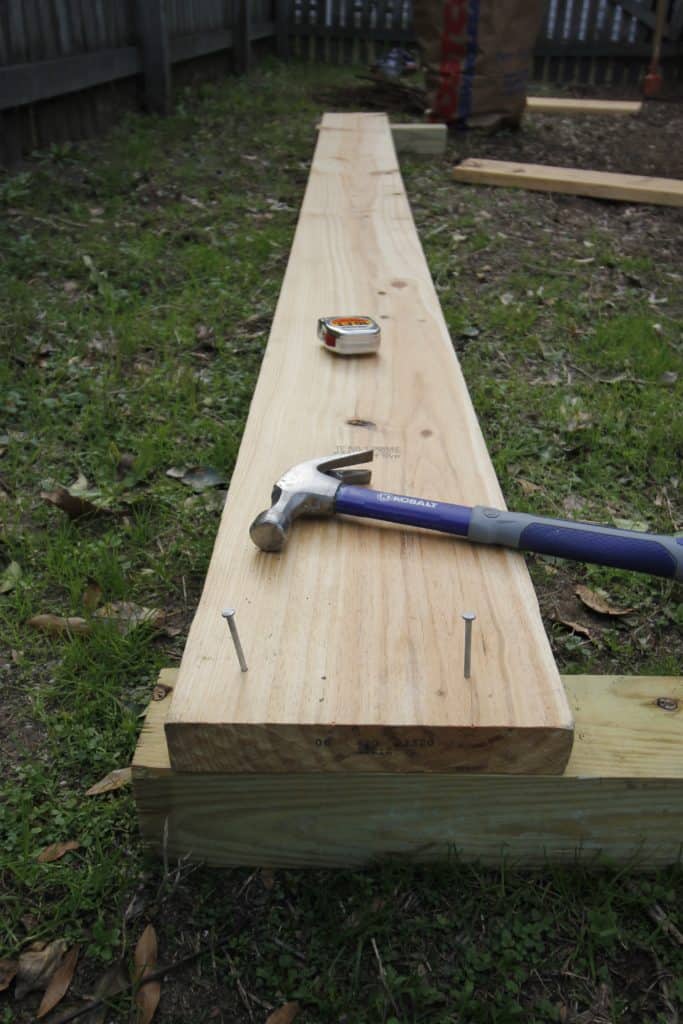
Step 2: Cut the wood
Cut your boards to the length and width for your desired size bed. Ours is 2 feet by 8 feet, so we used three 8 foot boards - two whole and one cut into 2 foot boards.
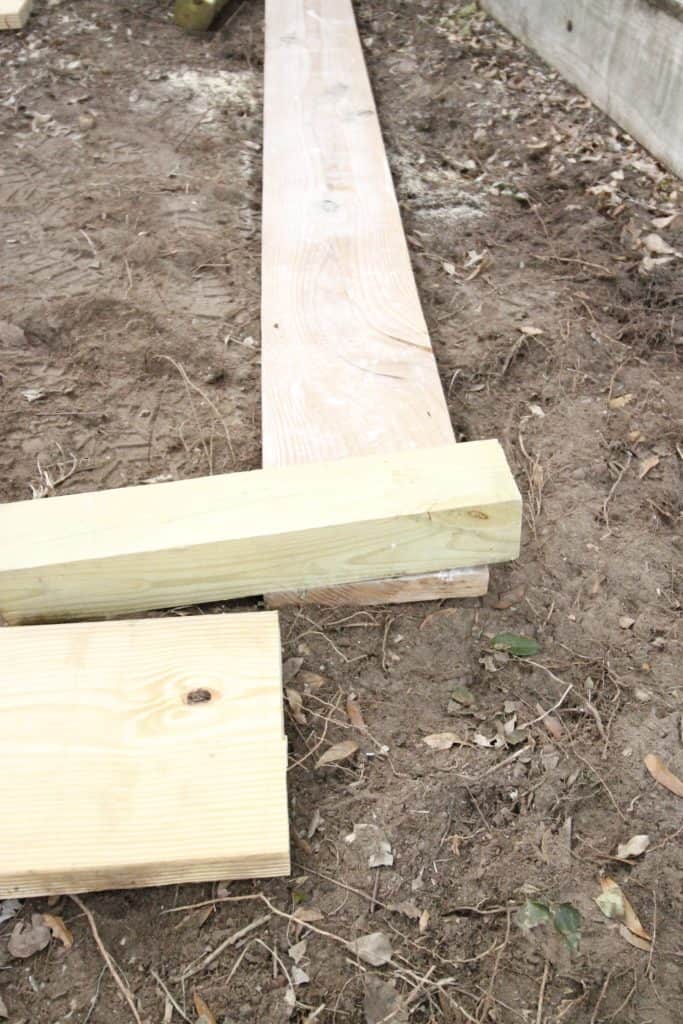
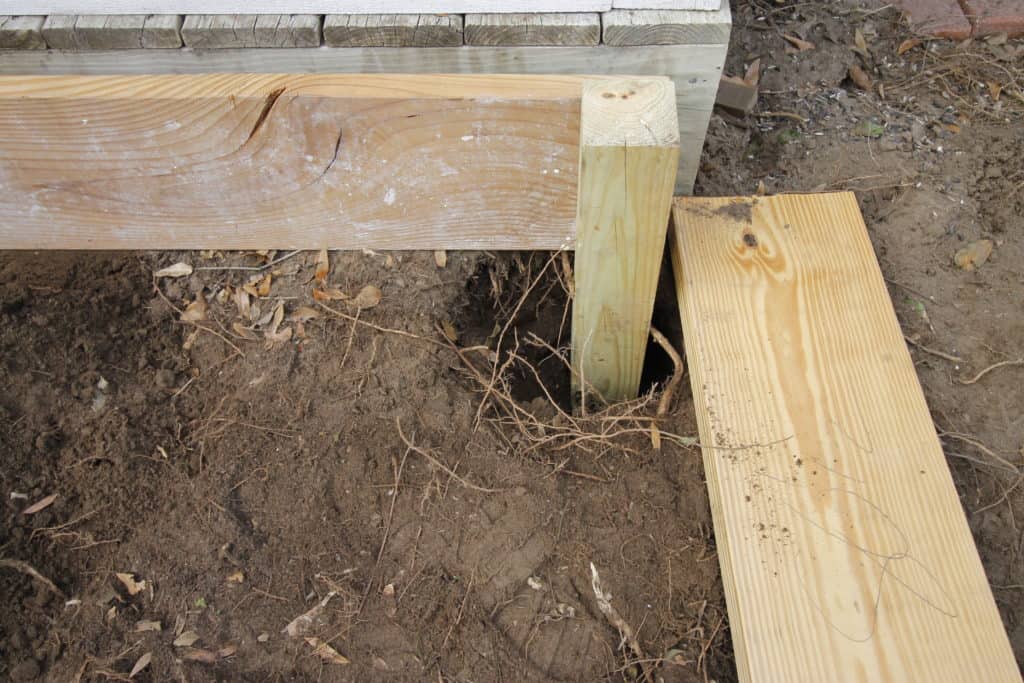
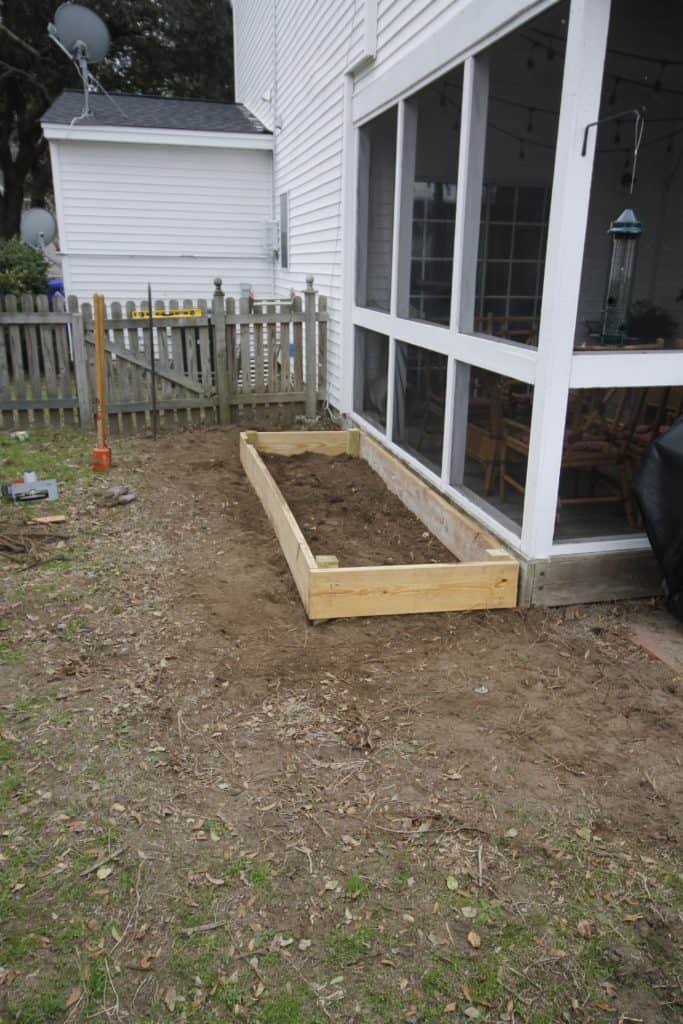
Step 3: Assemble the boards
Use screws or nails to connect the boards to form a rectangular bed shape.
How to prepare raised garden boxes for plants
Once your garden is fully assembled, it's time to get it ready for plants.
What to put on bottom of raised garden bed
In the past, we have not put anything under the soil in our garden beds. In an effort to prevent weeds, this time we opted to add landscaping fabric. Staple it to the inside of the bed.
You can also lay down a layer of cardboard to help prevent weed growth.
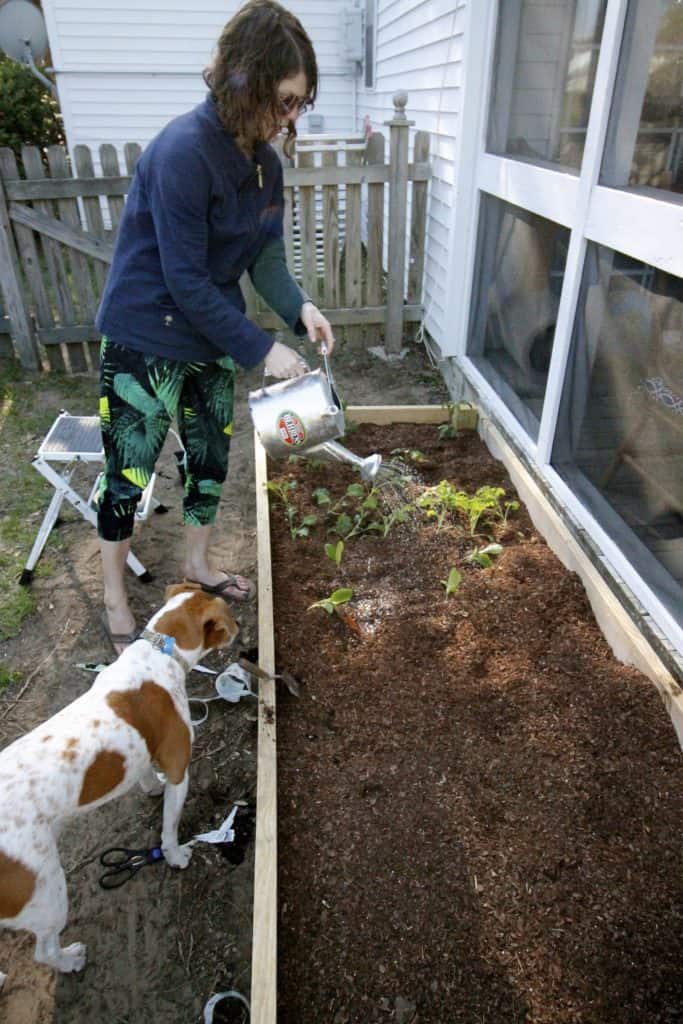
Then add soil. We bought seven bags of gardening soil at Lowe's and dumped them into the bed to fill it to up to about two inches from the top.
We chose two kinds of tomatoes, kale, and zucchini and have room for a few more things. We planted them and watered them in.
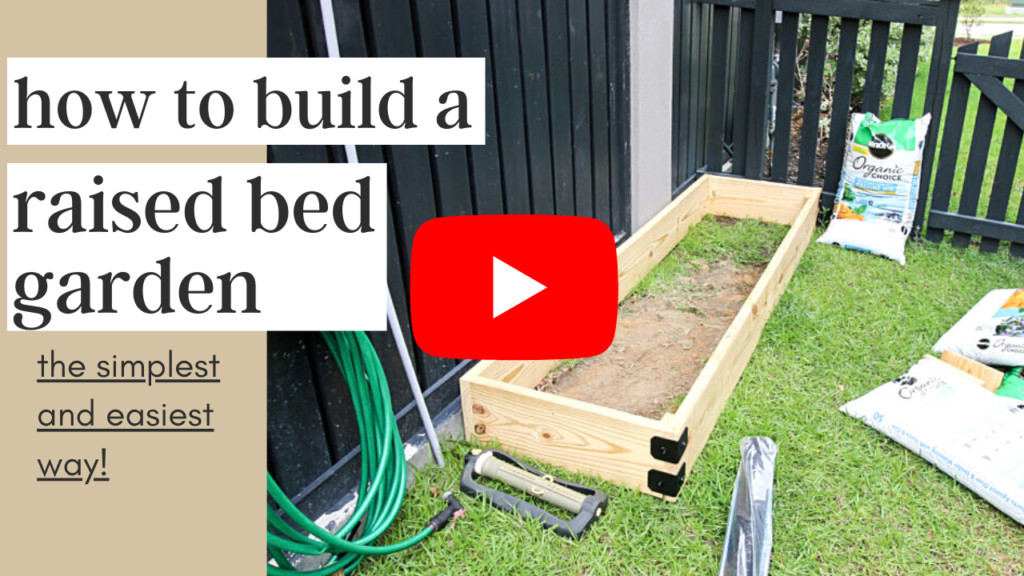
Video tutorial to build a raised bed garden
Check out our video on how to build a raised bed vegetable garden that will give you a great look at each step!
Raised garden beds are super easy to build and look great in your yard!

Looking for something?
We've been doing this since 2012 so we have a LOT of blog posts!
Search stuff like: Ceiling Projects | DIY Plant Stands | Thrift Flips

Hey there, I'm Sean, the woodworking enthusiast and builder behind CharlestonCrafted.com! Since 2012, I've been sharing the magic of turning raw materials into beautiful creations. I love teaching others the art and satisfaction of woodworking and DIY. I try to inspire fellow crafters to make something extraordinary out of nothing at all.


Maria Brittis says
I am so excited I found this, my husband was looking for a DIY for his small garden he wants to put in.
Thanks
Maria
Roxanne says
I love this, I can't wait until it warms up enough here to get outside and do some gardening!
Morgan says
It just got cold again here! "cold" is 65 degrees by the way 😀