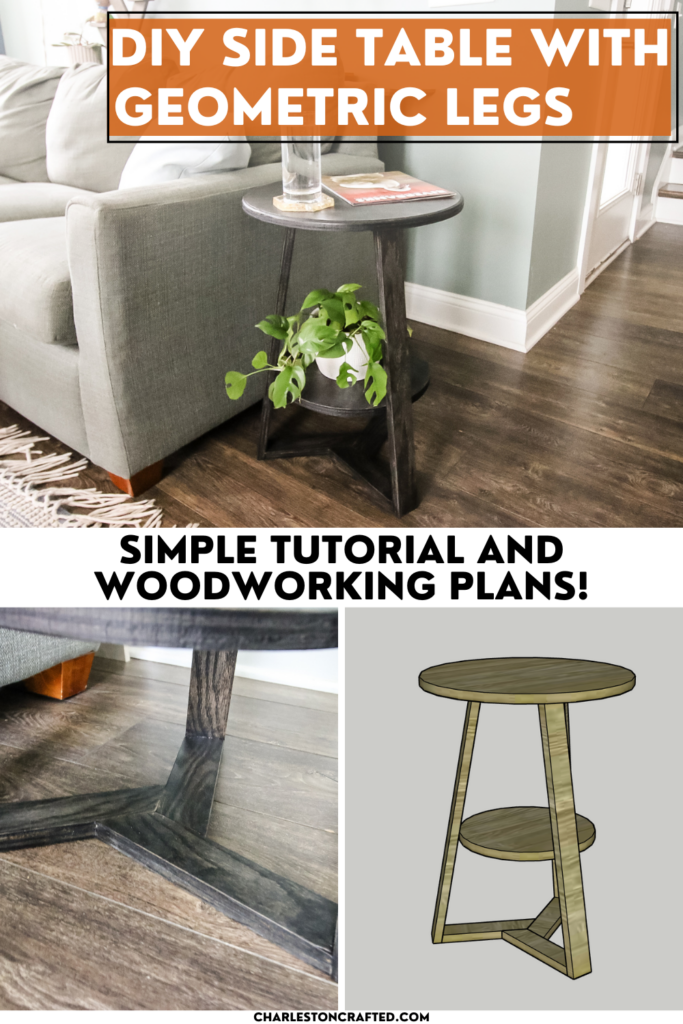
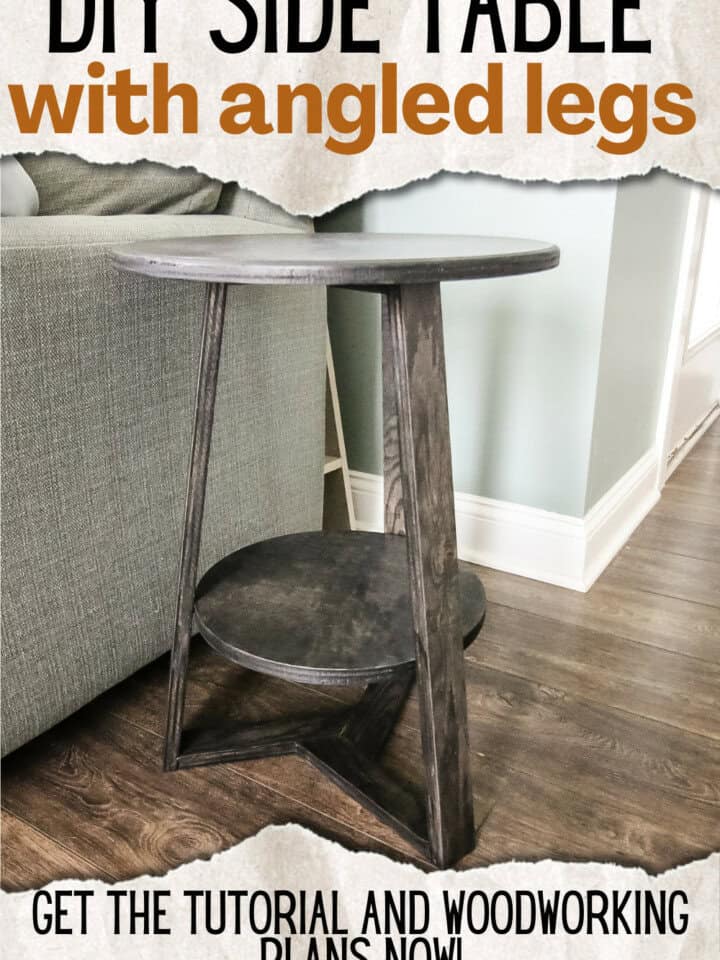
This DIY end table has a round top and round lower shelf with awesome angled geometric legs. Learn how to build this table and get the woodworking plans!
Lately, it's been the season of me making furniture for my family. It started when my dad asked me to build him this traditional bookshelf with modern legs, and now my mom wanted a bedside table for her guest room.
My mom has been working hard to clean out her townhouse and make it more personal, and she wanted to get rid of the bulky furniture in her guest room for some more modern, sleeker furniture.
She asked me to make her a side table that would fit between the bed and the wall and wanted it to have a round top and a shelf. So, I designed this side table to have those elements and also have geometric angled legs.
DIY side table with round top
This side table is a really cool design because it has the smooth round top and shelf, but also the sharp angled base. This contradiction works really well for something of this size!
Let's take a look at what you need to build it and how to do it!
Materials needed:
Here's the materials and tools you'll need to build this DIY side table! If you want to see the exact material list, make sure you get it in the printable woodworking plans for this project!
- ¾" plywood
- 1 ¼" Kreg pocket screws
- Wood stain
- Polyurethane
- Kreg jig (I prefer the 720 Pro)
- Milescraft Circle Guide Kit
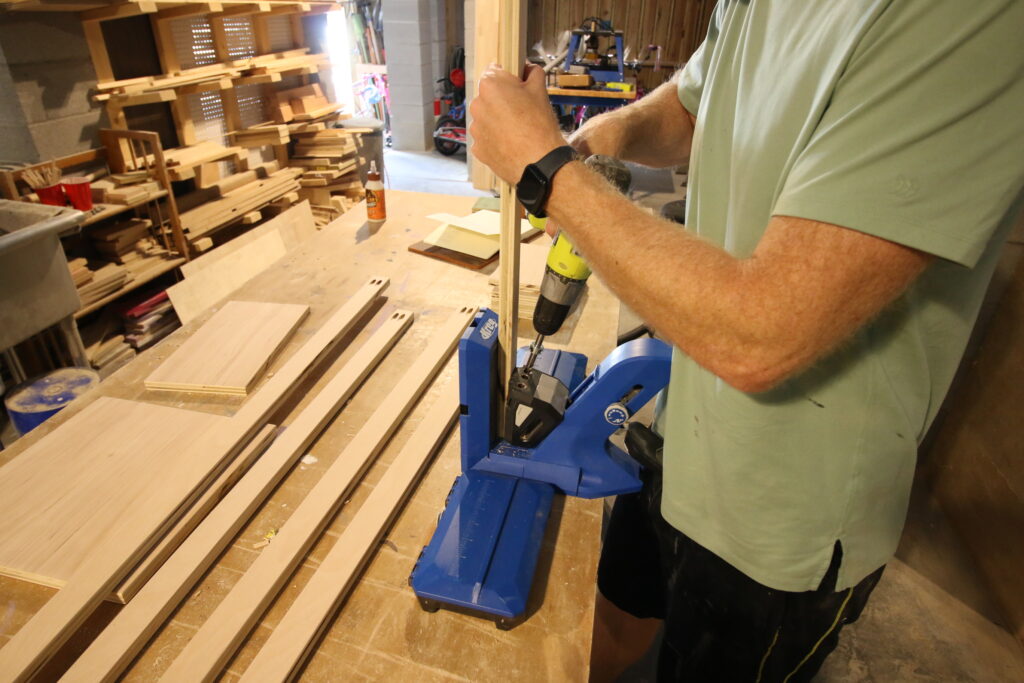
Step one: make cuts and pocket holes
I always like to start out my builds by making all my cuts first if I can. These were all cuts ripped down from plywood, then cut to length and angle on the miter saw.
Make sure to grab the exact lengths and angles in my downloadable woodworking plans!
Then I drilled all the pocket holes with my Kreg 720 pocket hole jig. I love this jig because it's easy to use for both longer boards, shorter boards, and angled boards!
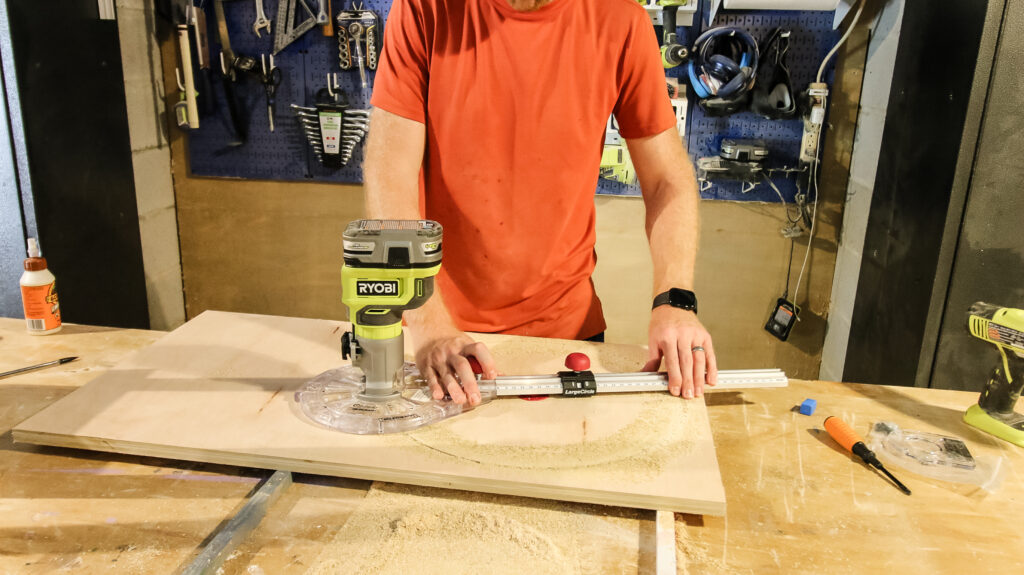
Step two: cut top and shelf
So I've actually had my Milescraft Circle Guide Kit for like three years, but I haven't actually used it until this project. I can't remember what my original plan was when I got it, but I never used it.
But it was so easy to use. This kit is easy to assemble and attaches to your palm router or handheld router. Then you set the diameter of the circle you want and find the center on your board.
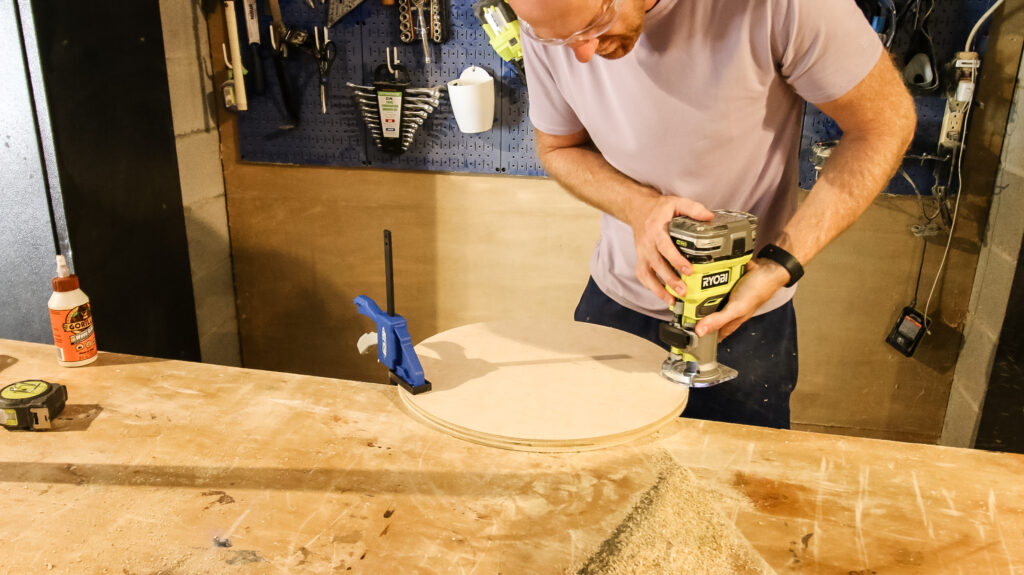
I hooked up the jig to the center pivot point and then rotated the router on the circle. I was shocked at how easy it worked.
After cutting the circle, I did go back with my roundover router bit and added a curved edge to the top and shelf too. That I don't know if you can do on the jig. But these turned out great!
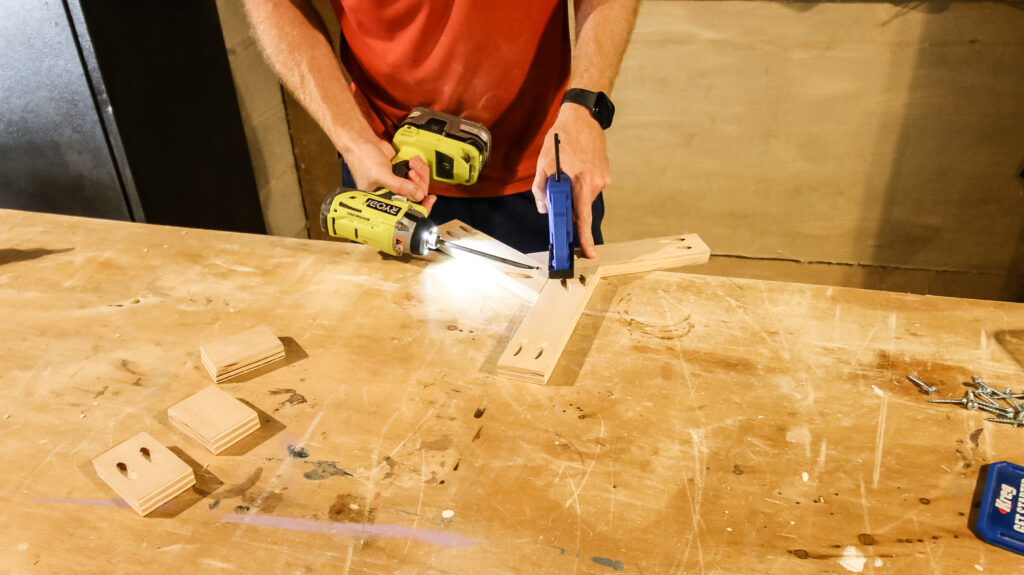
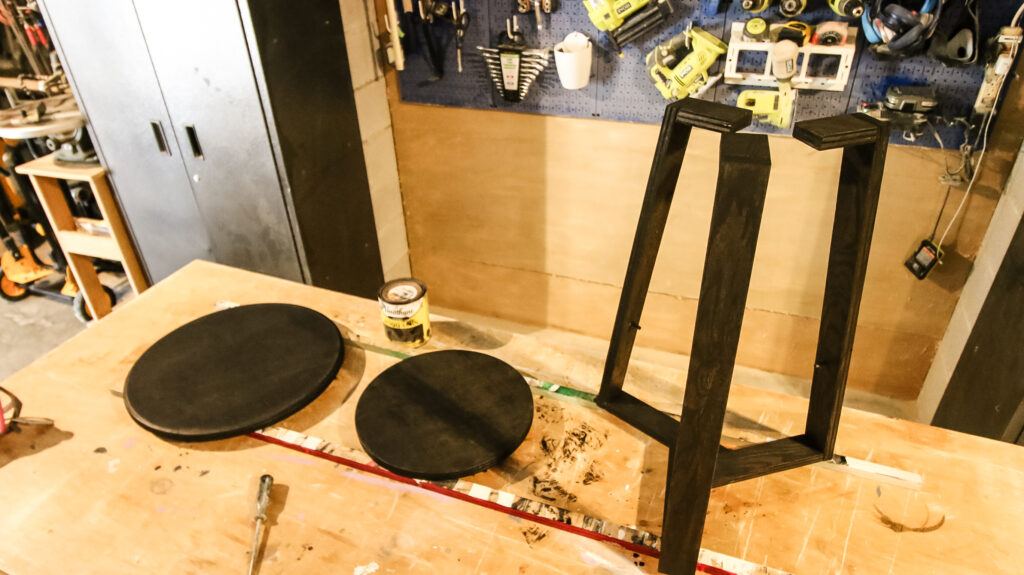
Step three: assemble legs
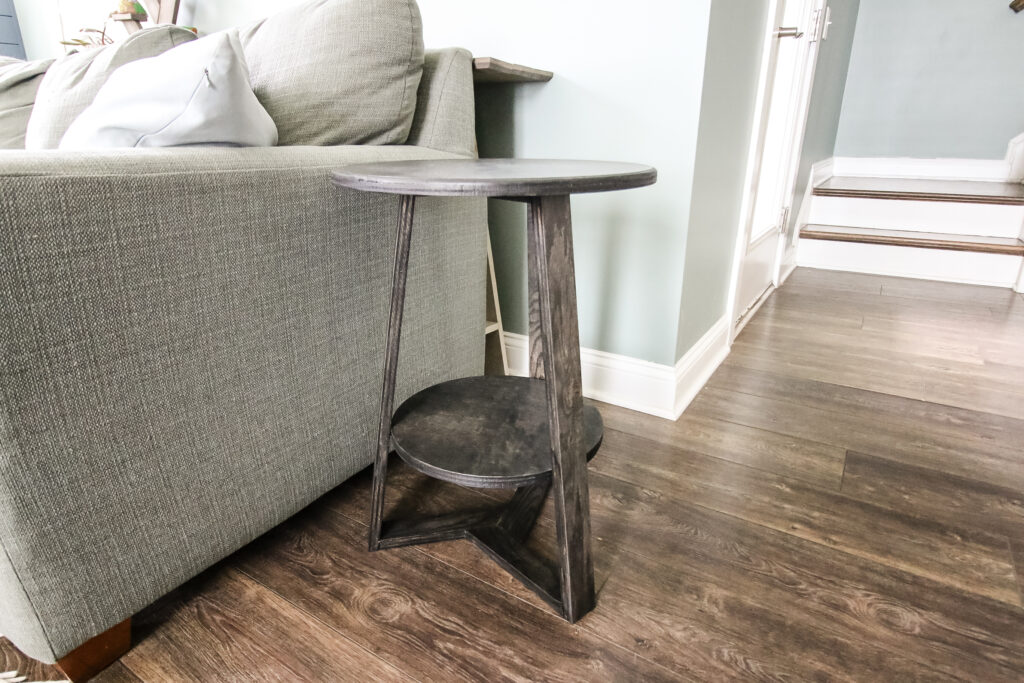
Next I assembled the leg set. There's three legs that connect together at a geometric angle at the bottom.
Each of the three legs is made up of the angled piece on the bottom, the longer piece that serves as the height, and then a short piece at the top that attaches to the round top later.
Then, when each of the three legs was together, I attached them at their angles at the bottom to form the geometric base.
Finally, I drilled a small hole in each of the long legs and plugged in a dowel that hung out about half an inch. This is where the shelf will sit later!
Step four: stain and seal
With the main body complete, I stained and sealed the body and the extra shelf. Now, black isn't really my color for furniture, but it's what my mom wanted because it matched the legs of the DIY writing desk I built for her years ago.
Check out all these black wood stains compared to each other!
After the table was stained and dry, I added a coat of polyurethane to protect it. My tip for buffing down polyurethane on dark furniture is to use a piece of cardboard instead of sandpaper because it won't leave as much of a residue on the piece!
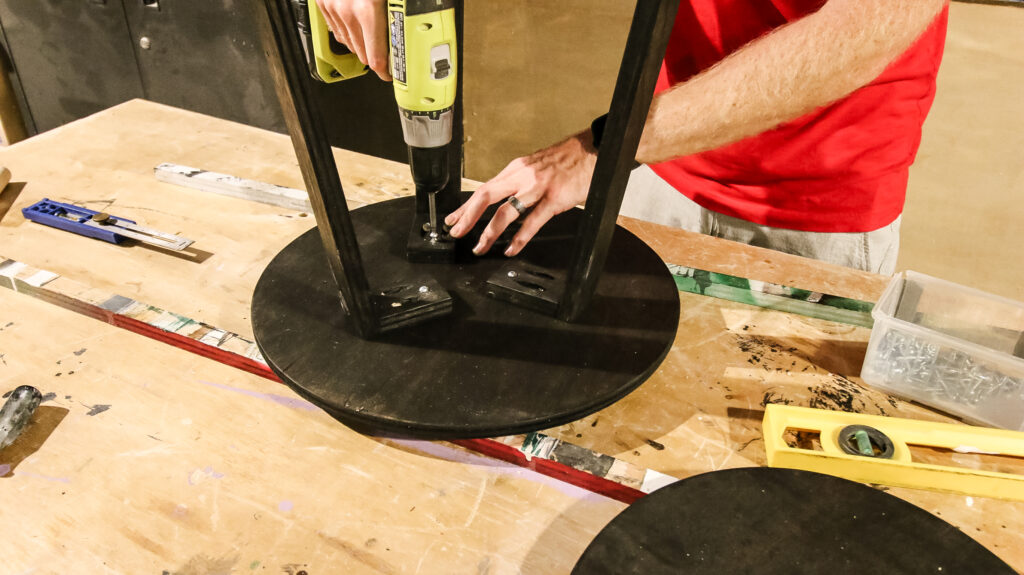
Step five: attach top
Next I flipped the round top upside down and flipped the base upside down on top of that, got it centered, and attached it with screws through the legs into the base.
Getting the base centered under the top was a little tricky to make sure each leg is equally spaced from the sides, but I managed.
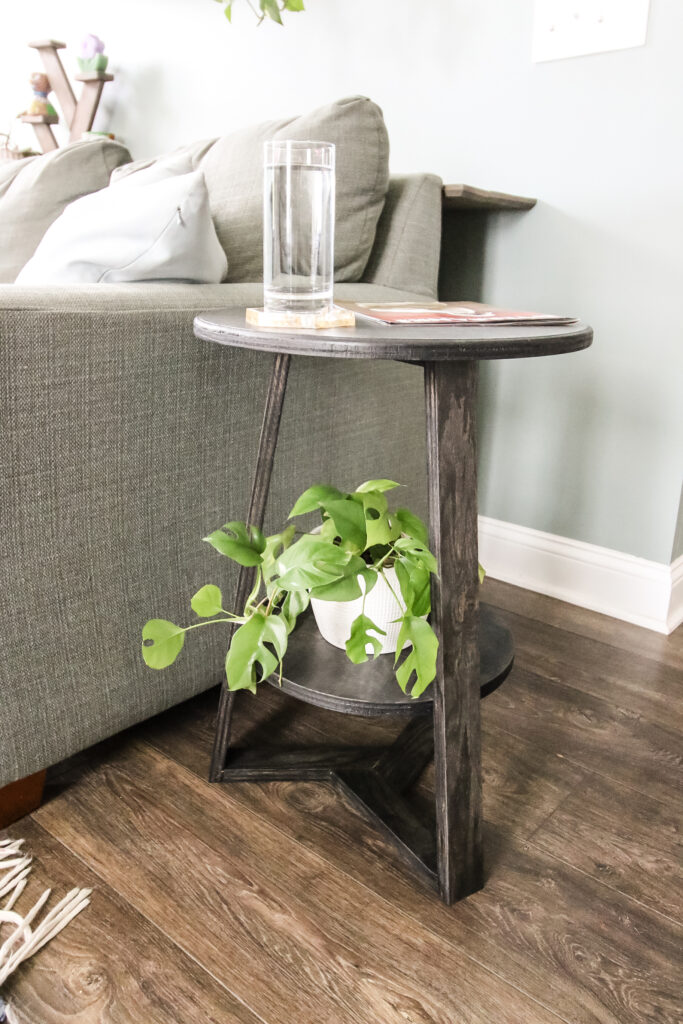
Step six: insert shelf
When it was done, I slid the shelf in between the legs, turned it sideways and dropped it down into the dowel pegs I drilled and popped in earlier. This means that this shelf is removable and does move (technically) but it's pretty snug.
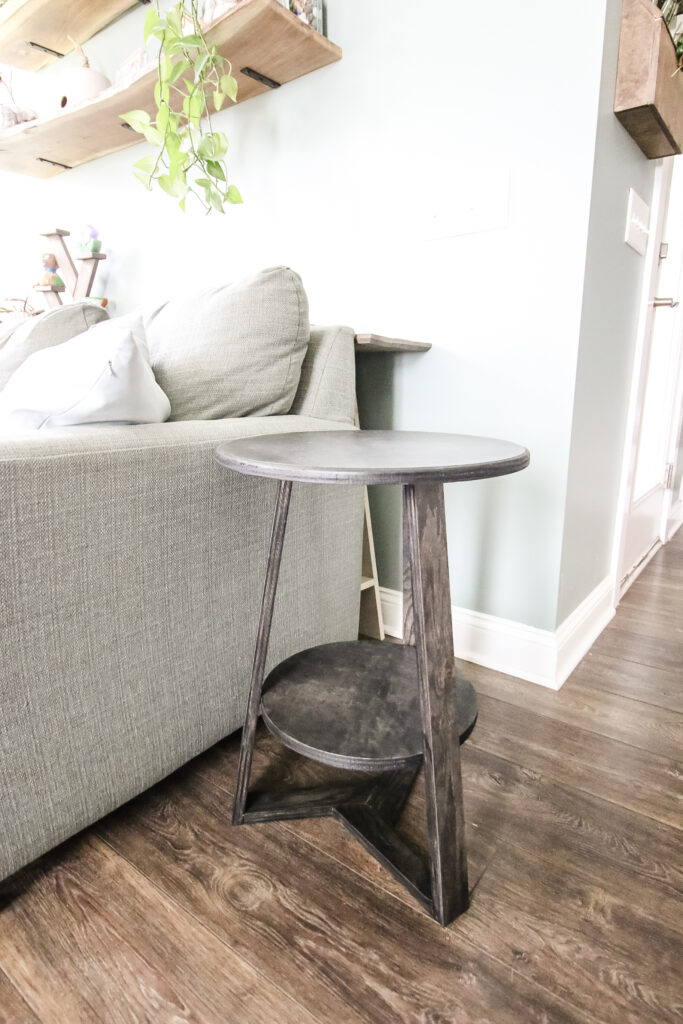
Step seven: enjoy!
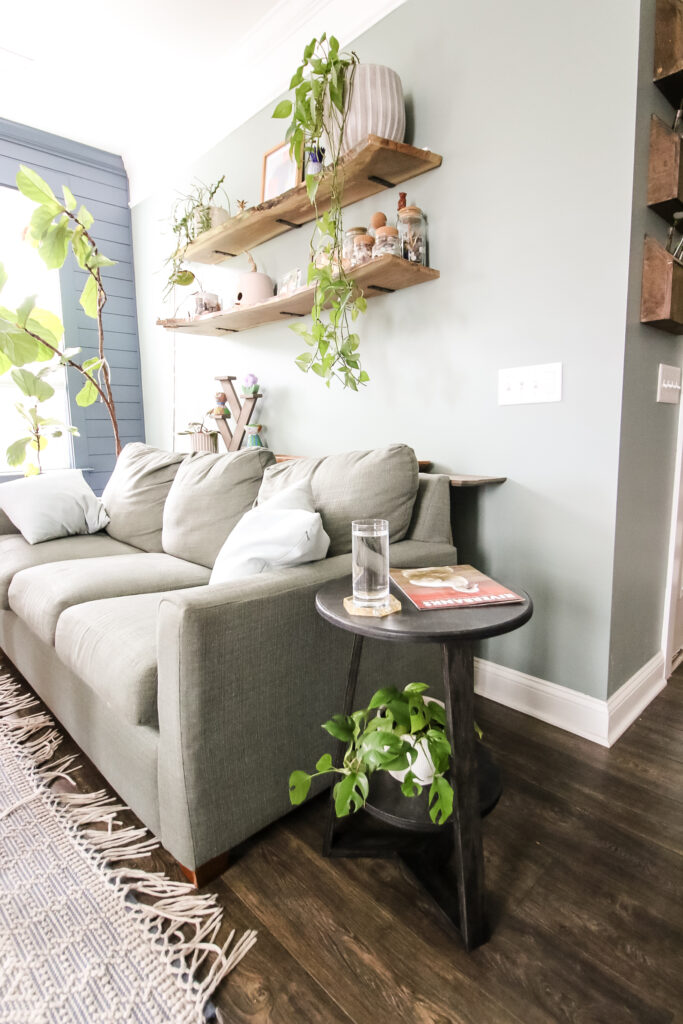
Now it was ready to go! I decorated this side table with some stuff to take pictures of it, but then it went home to my mom's house for her birthday where it became a bedside table!
I love this little table and think it would look great in a lighter stain color where you could see the geometric angles on the base a little better, but that's just my preference!

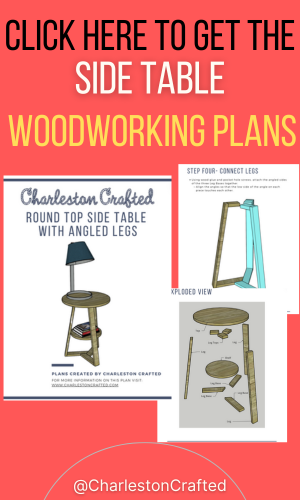
DIY side table with round top and shelf woodworking plans
Do you like the look of this DIY end table with its round top and shelf and want to build one for yourself? Grab my woodworking plans!
My printable PDF woodworking plans include the full material list, cut list and step-by-step instructions with computer model imagery to go along with this tutorial. You won't need anything else!
I hope you love this project and are inspired to build it yourself!

Looking for something?
We've been doing this since 2012 so we have a LOT of blog posts!
Search stuff like: Ceiling Projects | DIY Plant Stands | Thrift Flips

Hey there, I'm Sean, the woodworking enthusiast and builder behind CharlestonCrafted.com! Since 2012, I've been sharing the magic of turning raw materials into beautiful creations. I love teaching others the art and satisfaction of woodworking and DIY. I try to inspire fellow crafters to make something extraordinary out of nothing at all.


