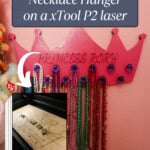
Our daughter needed more space to hang all of her necklaces, so I designed a hanger shaped like a crown with my laser cutter. Here's how to do it!
I've been playing around with my new xTool P2 laser cutter lately and one day my wife asked me if I could take on this project.
A couple years ago, I made a simple necklace holder for all of my daughter's play necklaces, but she's accumulated so many more since then that it was completely full. My wife asked if I could make another one and do it a little cooler than the rectangle of wood I did before.
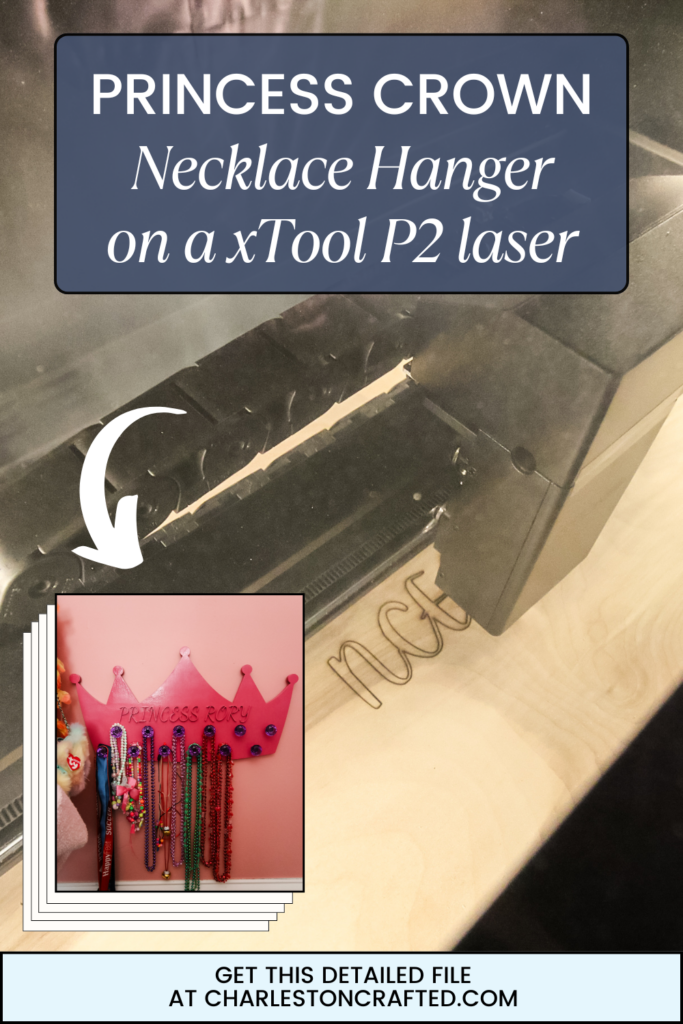
This seemed like a perfect way to test out my new P2! The laser can certainly make a more precise design than I can with a jig saw or scroll saw, so I decided to create a file and make a crown shaped necklace holder. Here's how I did it!
Necklace holder with xTool P2
This was my first time trying to create an image in an outside program and then uploading it into xTool Creative Space to create a cut file. Download my exact file here!
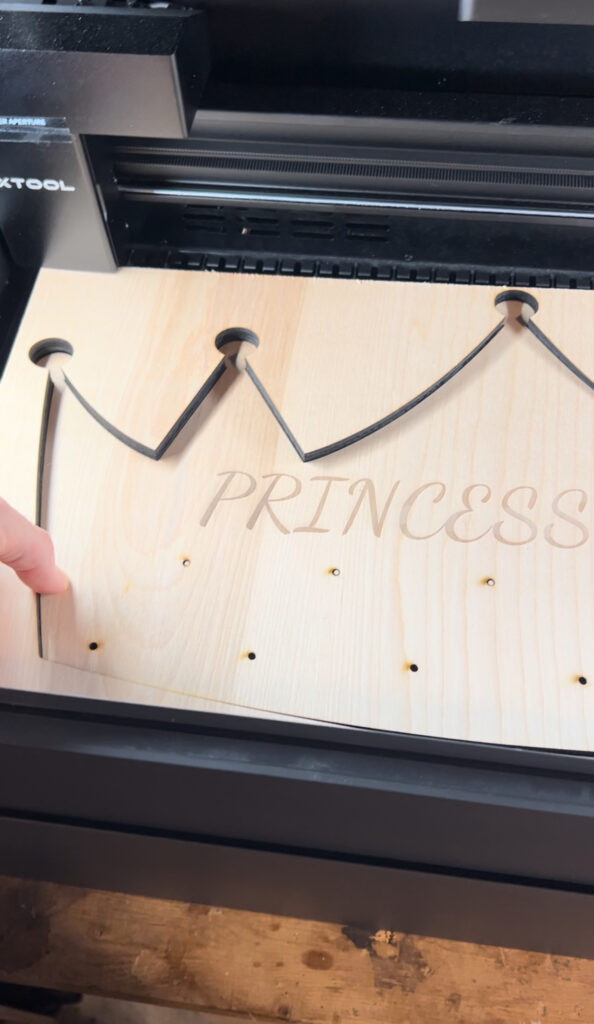
I actually made a version first where I had the machine cut out the border of the crown and also all the letters in the text. However, this wasn't great because the cursive lettering caused a lot of inside pieces of the letters to fall out and be gone. Plus, the laser was spending a lot of time in those small areas and caused some wood burning.
So, I made a bigger version and engraved the name instead (trial and error for the win). Here's how it went down!
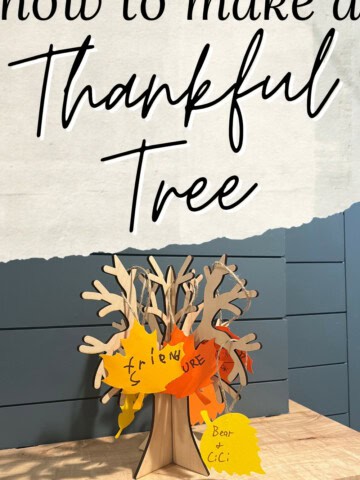
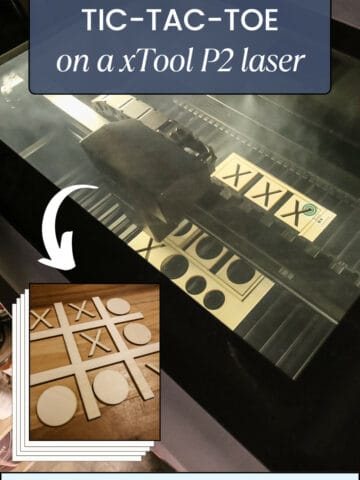
When you're done with this project, try making my "big eats small" tic-tac-toe game on the laser too!
Materials needed to make this project
Here's what I used to make this necklace holder!
- xTool P2 laser cutter
- ½" plywood
- Spray paint
- Knobs
Step one: design the crown
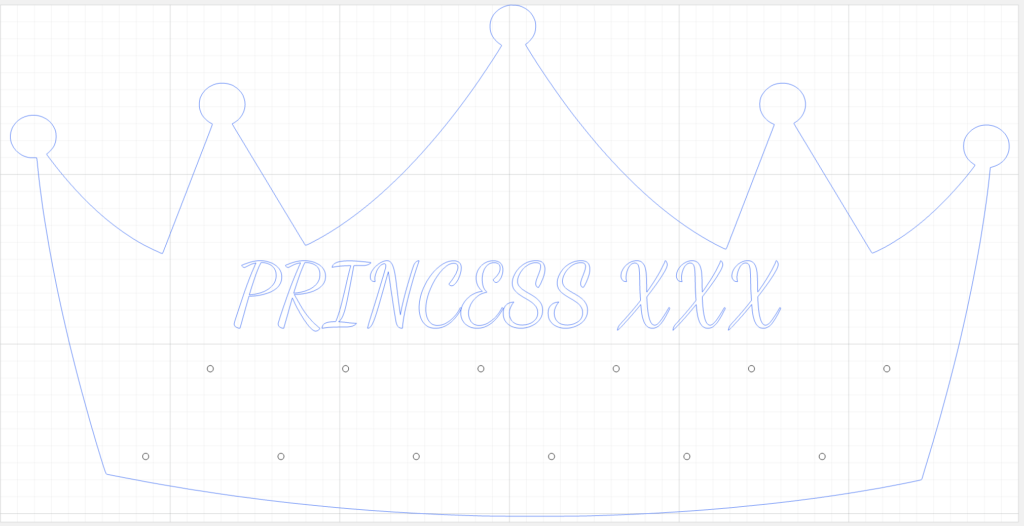
I first designed the crown in Canva because there wasn't a crown shape in xTool Creative Space and I didn't want to try to create one myself.
I pulled in a good crown shape that had space for a name engraving and also an area for hooks to go on. Most of the designs were very intricate and swirling, but I got this one to work out well.
I also did the text here in Canva because I liked the option there to size it. Then I imported the whole thing into Creative space and deleted the area around the text.
I also created small holes here for the knob screws to go through. This isn't a necessary step per se, you could just drill holes, but it allowed me to make exact holes in the exact spacing I wanted with no issue.
Step two: process the cut file
This was my first time working with ½" plywood, but there is a setting for that in Creative Space. The big thing I noticed is that processing a file with ½" plywood takes A LOT longer than with 3mm basswood and it does create some char on the edges.
The laser also had to spend a lot more time and go slower to make the cuts, so it created a lot more smoke. I was glad I had the xTool Smoke Purifier here.
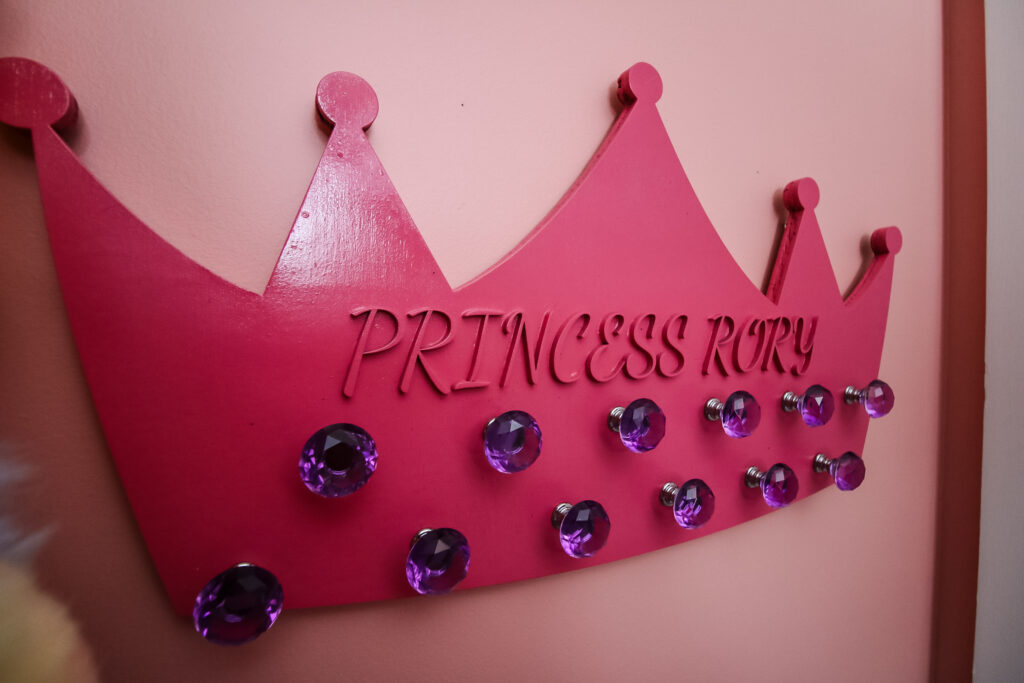
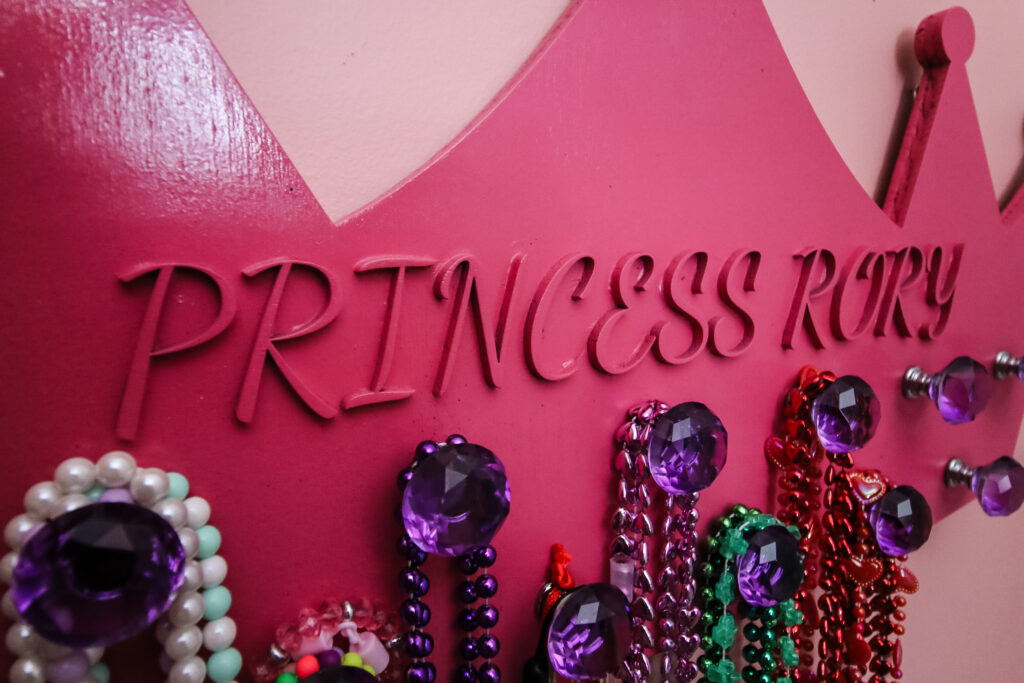
I also realized that, since I was going to paint this, the engraving would disappear. So I ended up running the text part of the file back through the machine with ¼" plywood just to cut out the letters. Then I used a little wood glue to attach them onto the engraving.
Step three: stain or paint
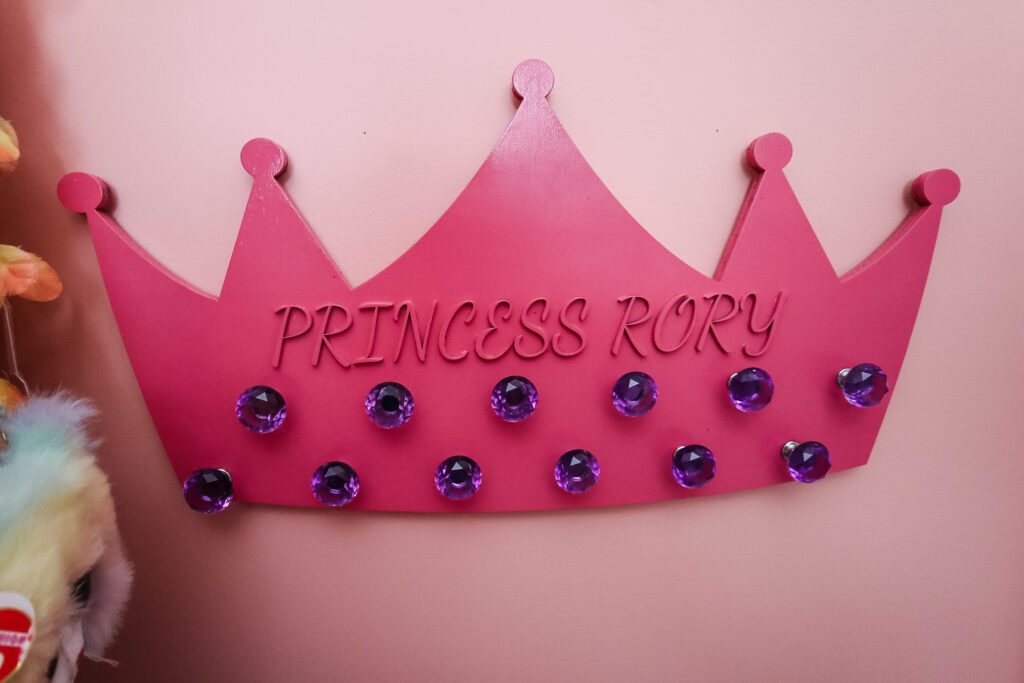
When the design was completely cut out, I decided to spray paint the entire thing. Again, the edge was a little charred and had a lot of wear, so when I tried to paint, it soaked it up immediately.
I tried again with a primer on the edges first, then did a couple of coats of paint on each side.
Step four: attach knobs
Next, I slid all of the knob screws through the cut holes and then tightened the knobs onto the front. My daughter chose these cute purple jewel looking knobs to show off the princess she really is.
Step five: hang on wall
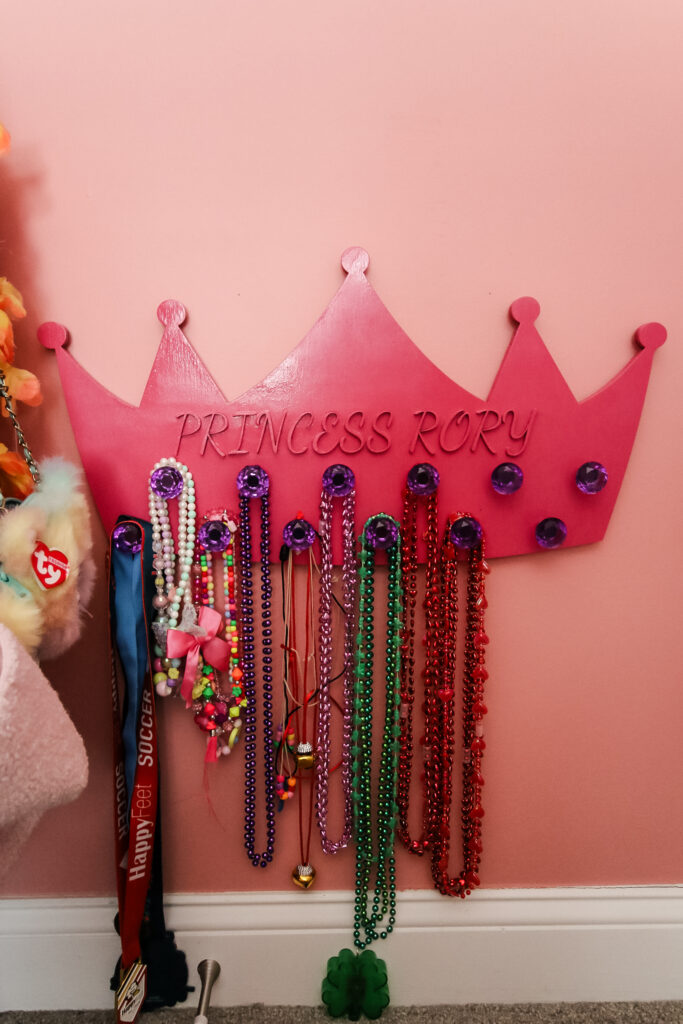
Finally, I put a couple of nails in the wall added some D-ring hangers on the back of the crown to hang it on the nails.
Crown-shaped necklace hanger
This crown shaped necklace hanger turned out really good and looks so cute in her room! It's hung right next to her DIY dress up station I made her for Christmas and lets her put on whatever costumes and jewelry she wants!
This is a file that you can create on your own through Canva and then just add your text to easily. Or you can download my file here for free and adjust the text for your own princess!

Looking for something?
We've been doing this since 2012 so we have a LOT of blog posts!
Search stuff like: Ceiling Projects | DIY Plant Stands | Thrift Flips

Hey there, I'm Sean, the woodworking enthusiast and builder behind CharlestonCrafted.com! Since 2012, I've been sharing the magic of turning raw materials into beautiful creations. I love teaching others the art and satisfaction of woodworking and DIY. I try to inspire fellow crafters to make something extraordinary out of nothing at all.