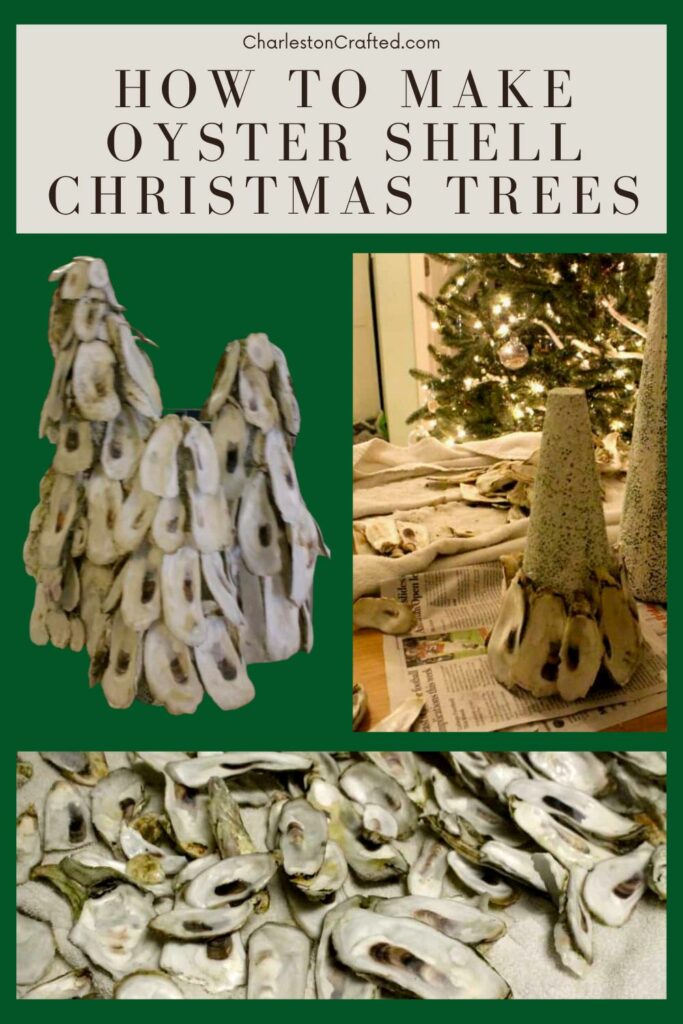
Wondering how to make an oyster shell Christmas tree? Here is a simple step by step tutorial to make these shell trees - the perfect Coastal Christmas craft!
Every year I am trying to add a couple of new Christmas decor items to our stash. Just adding a few items each year keeps the investment low, but things really do start to accumulate over time.
This year, since we already have a lot of coastal themed ornaments from prior years, I focused on crafting extra decor items this time. I was very inspired by oyster trees that I saw all over pinterest, so I decided to make my own.
How do you make a Christmas tree out of shells?
Sea shell Christmas trees are easy to make using any sort of cone shaped form, sea shells of choice, and a hot glue gun!
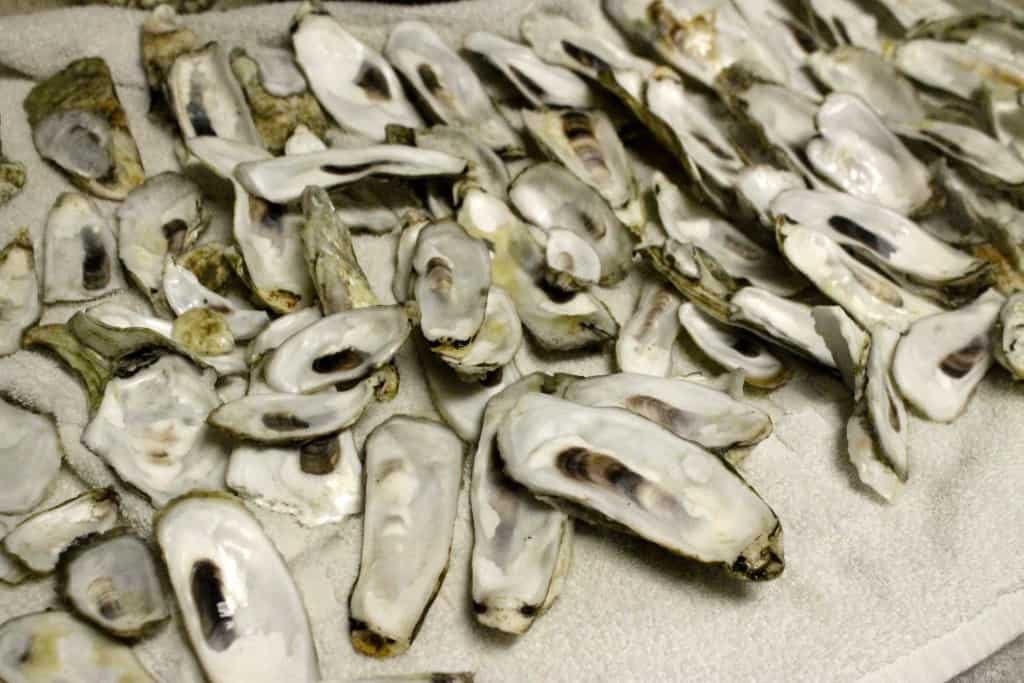
You will need quite a few shells, with the exact amount depending on your cone size.
Like this type of tree? Be sure to check out my DIY pine cone Christmas trees, too!
Luckily, some of our friends frequently host oyster roasts and save the shells in their yard. They were happy to let me dig out a bag full of beautifully sun bleached shells to use for my oyster shell crafts.
If you aren't so lucky, you could order some online or use any small, similarly shaped objects.
DIY Oyster Christmas Trees
DIY oyster shell Christmas trees are easy and inexpensive to make, assuming that you can get your hands on some oyster shells!
Here is what you will need to make these oyster trees:
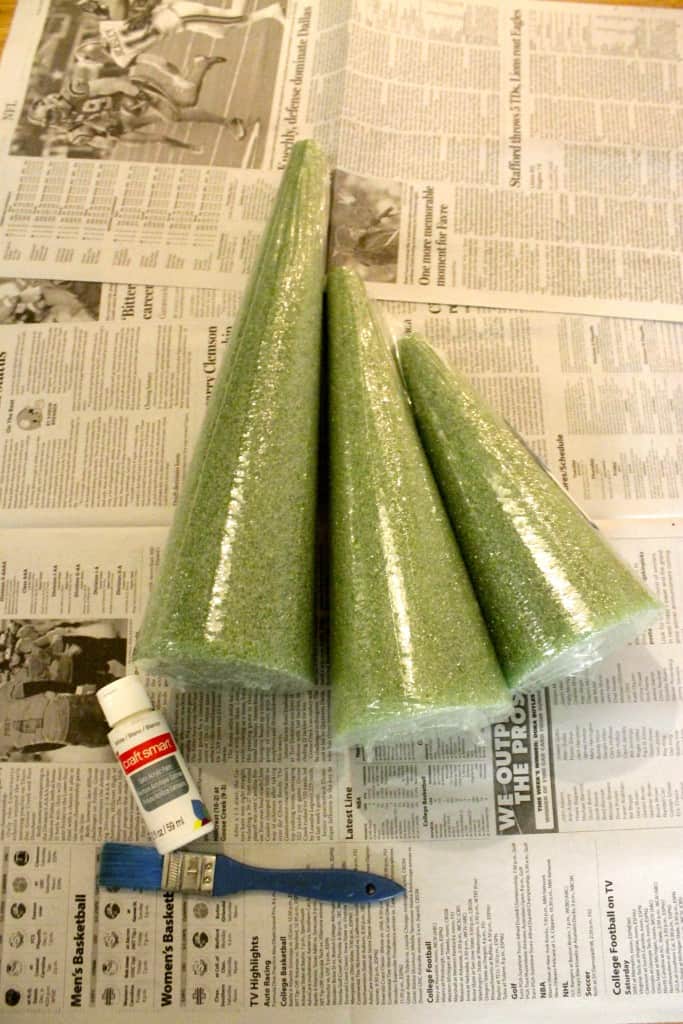
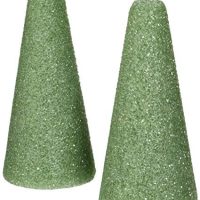
- Tree forms - foam or cardboard - I used three foam cones of varying sizes.
- Oyster shells or any small, similarly shaped objects
- Hot glue gun
- White paint and brush OR white spray paint (optional)
Steps to make an oyster shell tree
Here are the steps you need to follow to make your oyster shell Christmas tree!
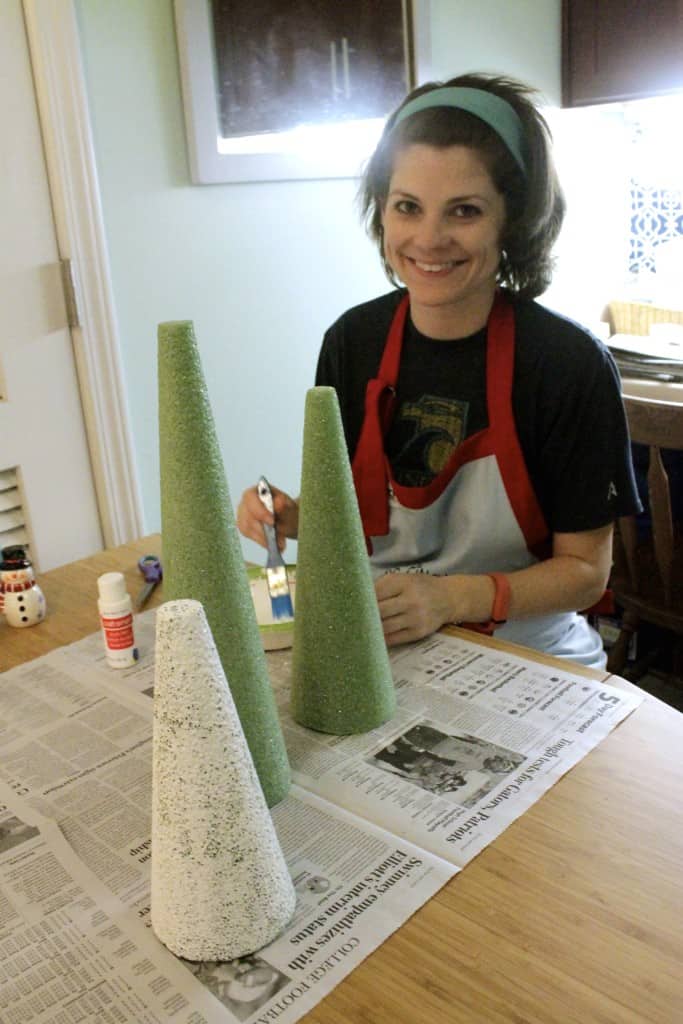
STEP 1: Paint the cones
To start, I painted each green tree white with a brush and paint. You could also use white spray paint for this.
The goal is to make the whole cone white so that any gaps in between the white oyster shells are less obvious.
STEP 2: Glue the shells
Then, I just used hot glue to attach the shells to the cones. I started on the bottom and did rings all the way to the top.
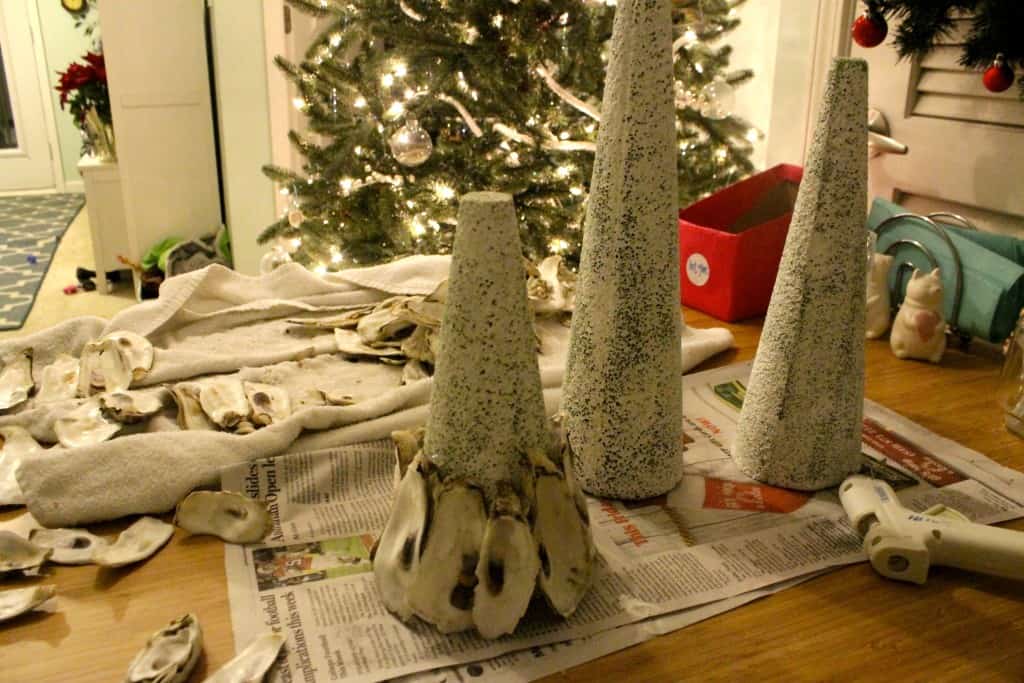
As you work your layers up the tree, use slightly smaller oyster shells for the best effect. Also, you will probably want to aim to overlap the next higher row over about ¼ to ⅓ of the lower ring of shells.
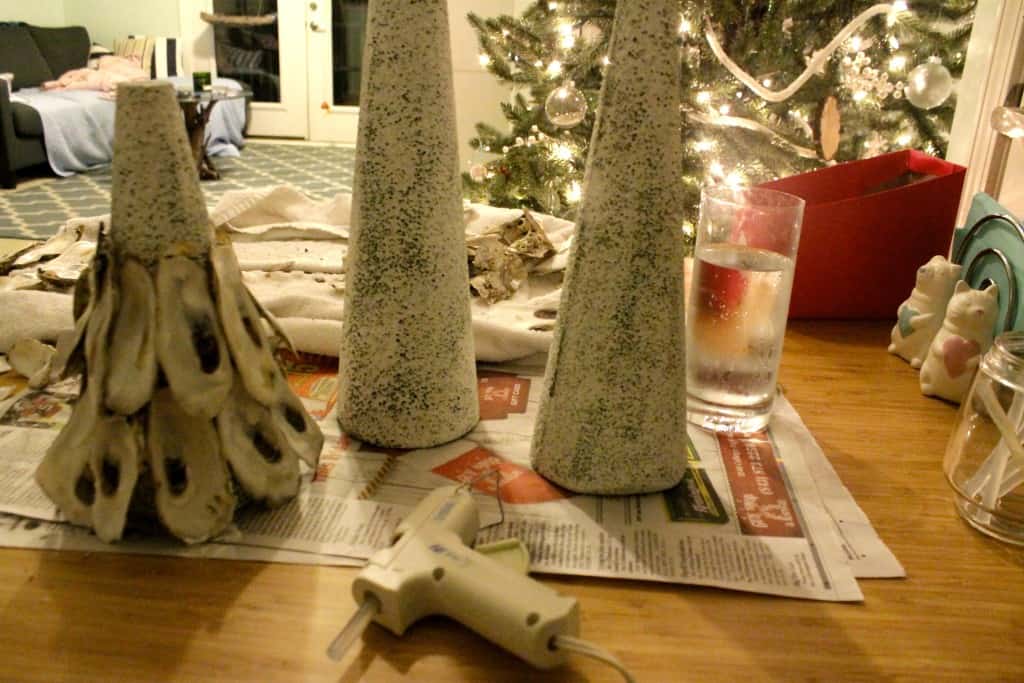
Step 3: repeat and finish
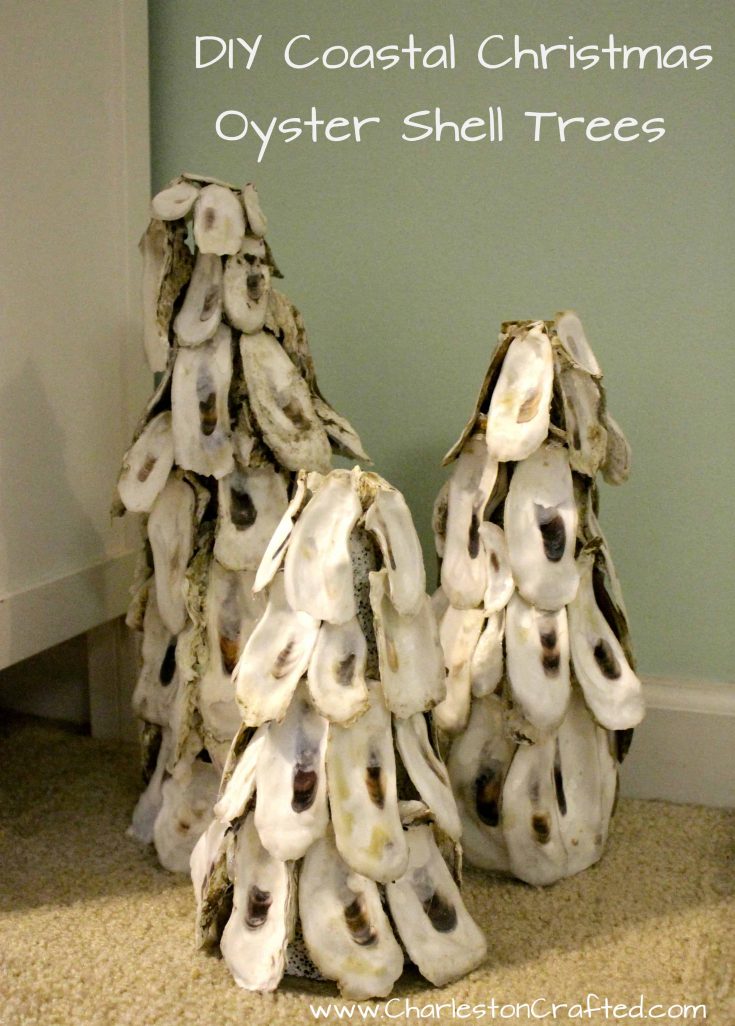
Depending how many of these you're making, repeat the process over again. We liked ours in a set of three that were all slightly different heights.
You can top your tree with a bow or another shell such as a starfish. I just left mine as-is for more of a forest tree look than a decorated tree aesthetic, but you can't go wrong!
It is a bit tedious, but they turned out great! You can definitely do this project while watching a Christmas movie on TV!
We are displaying our tree "forest" on our breakfast bar. Isn't it fun?
Are you crafting anything lately?

Before you go...
Make sure you check out these other DIY Christmas trees with different materials!
How to make an oyster shell Christmas tree
Add the perfect coastal touch to your Christmas decor with these DIY oyster shell Christmas trees!
Materials
- Tree forms – foam or cardboard
- Oyster shells or any small, similarly shaped objects
- White paint and brush (optional)
Tools
- Hot glue gun
Instructions
- Paint your tree (cone) white if it is not already.
- Use hot glue to attach oysters to the cone.
- Start at the bottom and spiral your way to the point.
- As you work, use smaller shells the closer you get to the top.
- Aim to overlap the shells by about ⅓
Recommended Products
As an Amazon Associate and member of other affiliate programs, I earn from qualifying purchases.


Looking for something?
We've been doing this since 2012 so we have a LOT of blog posts!
Search stuff like: Ceiling Projects | DIY Plant Stands | Thrift Flips

Hello, I'm Morgan, half of the creative force behind CharlestonCrafted.com! With a passion for DIY that dates back to 2012, I've transformed three homes and now I'm dedicated to helping others craft their dream spaces. Let's turn your house into a home together!


