Decided to change up the tile backsplash in your kitchen? You need to remove the old tile backsplash first. We did it and will share everything we learned!
One of the very first projects in our kitchen renovation was to remove the existing tile backsplash. We needed to take this down on the pony wall that we were removing, so we just finished the job and removed all the tile at once.
This was a travertine stone tile that we had previously painted with a light acrylic paint to give it a little bit of a shine instead of the brown/yellow color that it was naturally. That process worked great!
When I started this process, my initial hope was that I'd be able to remove all of the tile and keep the drywall behind it. I tried this method very carefully and I'll say that I still think it's possible, but in the end we tore out the drywall too.
But regardless, you have to remove the tile backsplash first, so here's how to do it in the most efficient manner!

Remove your kitchen backsplash tutorial
Removing a tile backsplash is definitely a manual labor job, but it's not particularly difficult. The only parts that got tricky were around the cabinets.
Overall, try to keep your tools as flat to the wall as you can and work them in behind the tile to try to avoid destroying the drywall as much as you can.
Here's how we painted a backsplash to look like tile at our first condo!

What tools to use to remove a tile backsplash:
Here's the tools and safety gear you'll need to remove your tile backsplash.
Step one: prep the area
Start off by prepping the area. Since you're working in the kitchen, remove any appliances, salt crocks, knife blocks, etc from the area and put them somewhere they won't be in the way or get dirty.
Next, cover your counters and floor with a drop cloth or plastic sheeting. If you're going to be removing your counters or floor, it's not as important, but it still makes for easier cleaning. I made sure to cover my stove since I was keeping and reusing that.
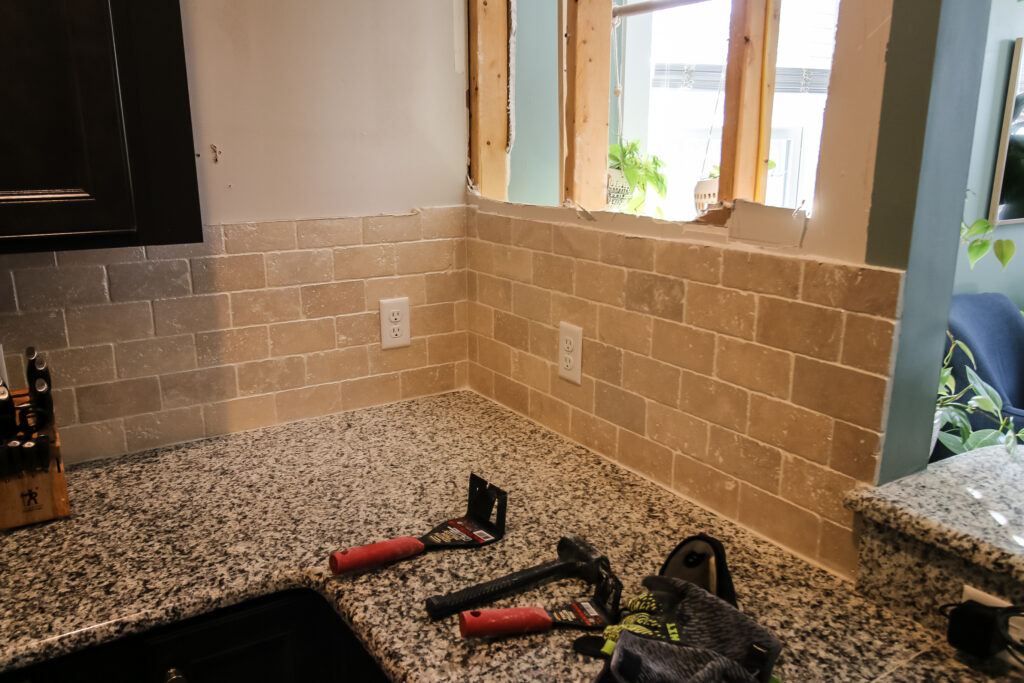
Step two: find a starting point
When you're ready, find a good starting point. Ideally, there's somewhere in your kitchen where there is some tile that has an exposed edge.
For me, that was on the top and side at the end of the wrapped around part of the tile. You could have a tile that extends over from under a cabinet or something like that. Anywhere that gives you a good first place to start the work that isn't against a wall or cabinet.
If you don't have an exposed edge, you might need to take down an upper cabinet to get one. It will make the process much easier and then you can put the cabinet back up easily.

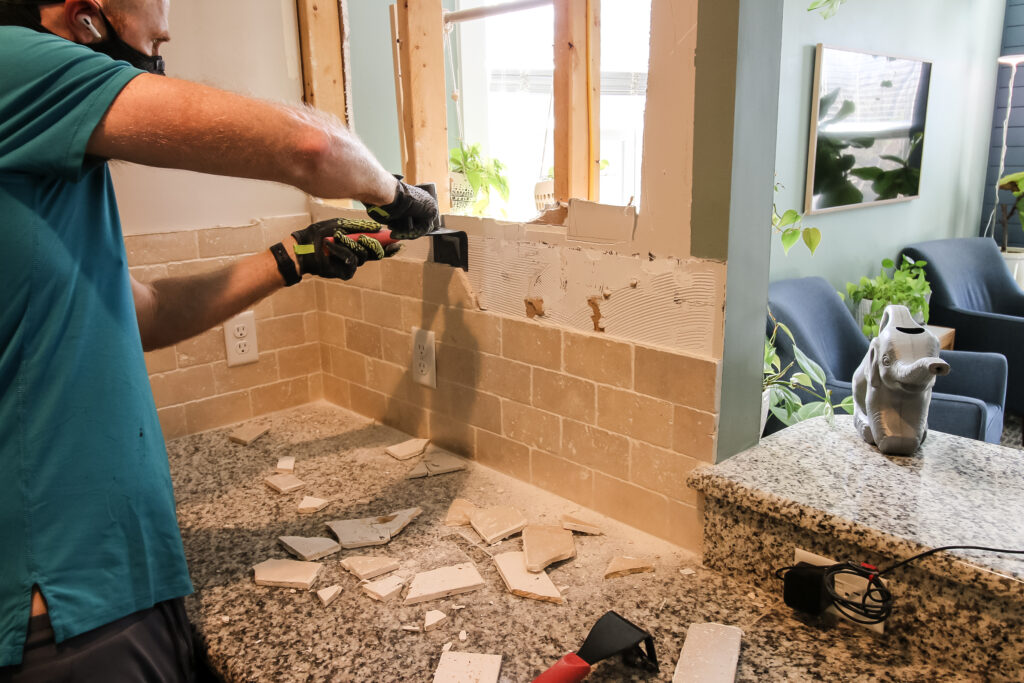
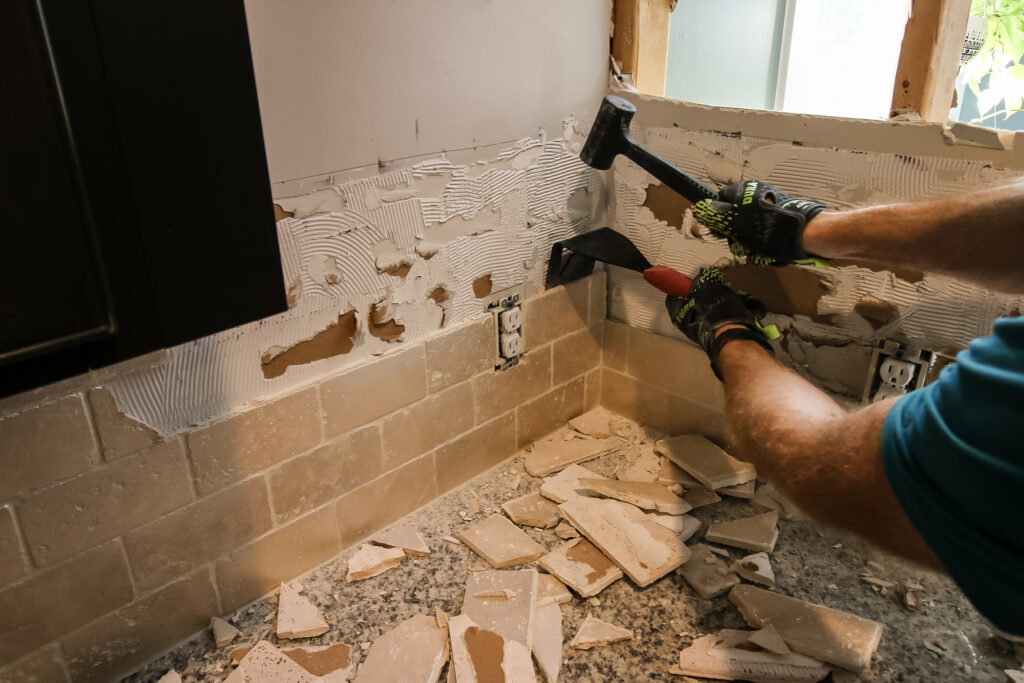
Step three: hammer behind tile
Removing tile is a lot like removing crown molding, chair rail molding, wainscoting or any type of molding, just with a different material. Check out that full process here!
Align the trim puller at the seam of the tile and the drywall and keep it as flat as possible. Then, use the mallet to strike down on the trim puller until it wedges in between the tile and wall.
Keep striking until the trim puller gets behind the tile enough that it pops off. I found that it really varied how hard it was to get off individual tiles, I guess depending on how much mortar was behind them.
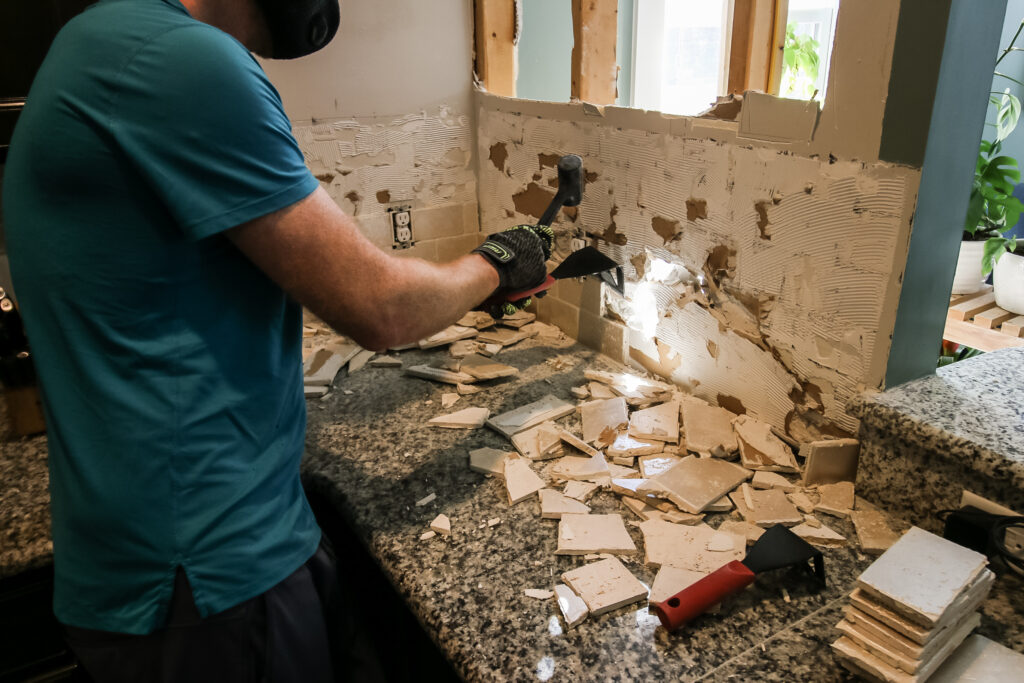
Step four: repeat as necessary
Continue the process down and around working off that first starting point.
Try to avoid prying the tile with the trim puller as that's when you're more likely to push into the drywall and crack that. If you do, oh well, you replace it. But minimize that if you can.
Tiles will come shooting off, so make sure you're wearing your safety gear.
Step five: replace drywall
Like I said, I was really really careful not to break the drywall behind the tile, but I did in two places. Plus, the old mortar was there and I was going to have to try to sand that down to make it useable.
In the end, I decided it was just easier to cut and replace the drywall. I cut out the old section and then cut new drywall to fit.
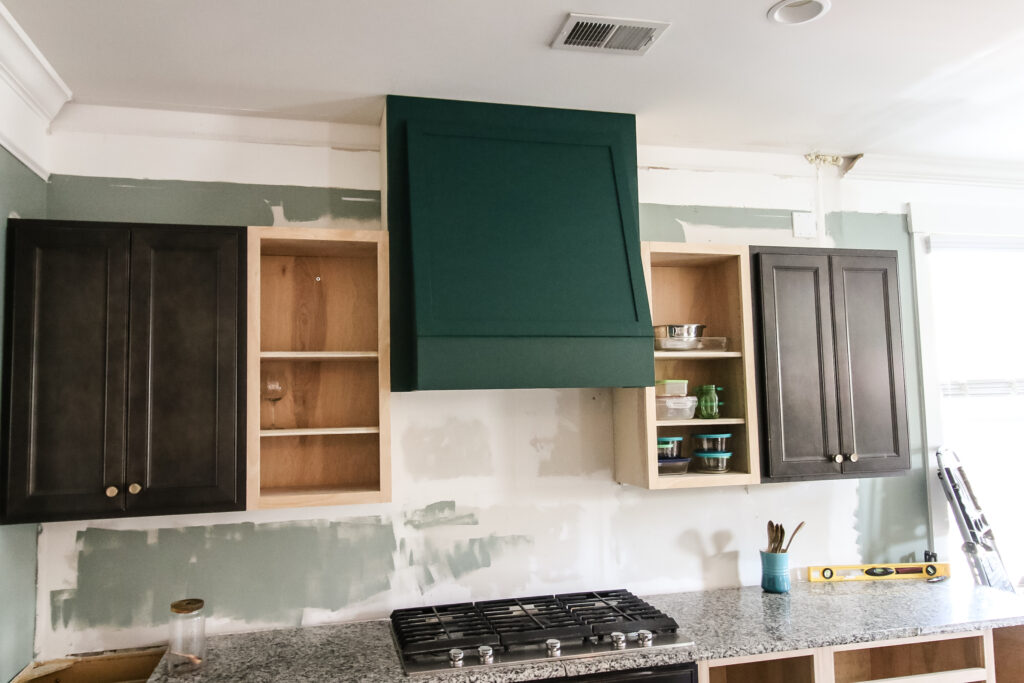
Now, when we get ready for the new tile, we have a perfectly smooth surface to work with!
Here's the how to process for installing a tile kitchen backsplash!
Can you remove tile without destroying the drywall?
The answer is... possibly. It was really hard. I felt like I did a good job of it, but I still ended up with two areas that broke a decent sized hole in the drywall.
Plus, with all the old mortar there, I'd have to chisel or sand that down, and that would be a huge mess. I determined it was just easier to replace it.
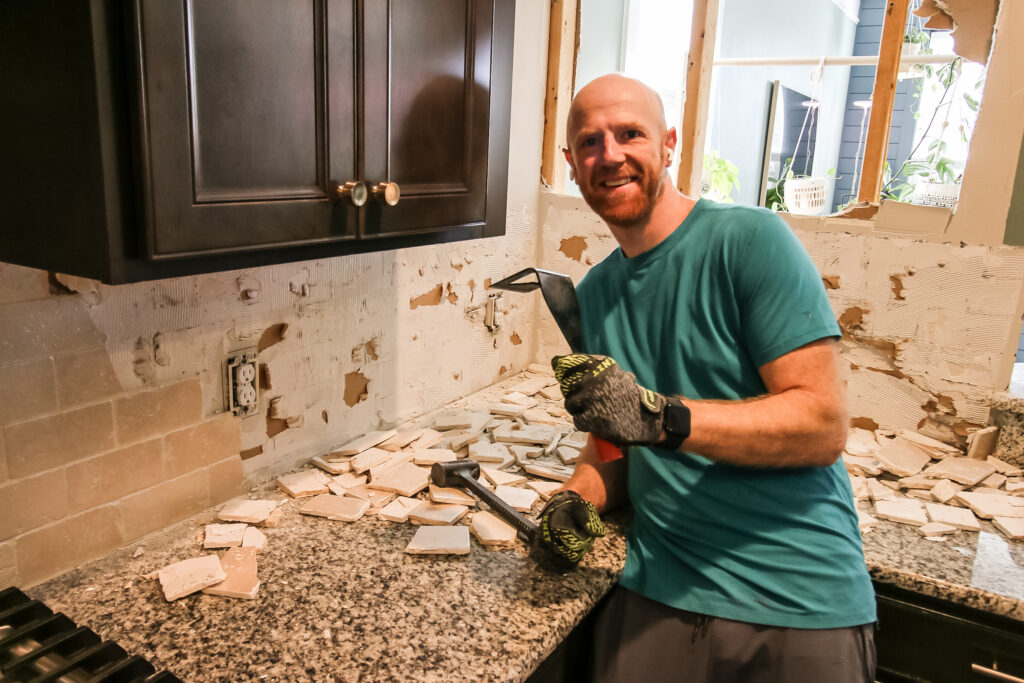
Can I remove a tile backsplash myself?
Absolutely. This is can be a one person job (ask me how I know). It was actually very satisfying to see all that tile come off.

Looking for something?
We've been doing this since 2012 so we have a LOT of blog posts!
Search stuff like: Ceiling Projects | DIY Plant Stands | Thrift Flips

Hey there, I'm Sean, the woodworking enthusiast and builder behind CharlestonCrafted.com! Since 2012, I've been sharing the magic of turning raw materials into beautiful creations. I love teaching others the art and satisfaction of woodworking and DIY. I try to inspire fellow crafters to make something extraordinary out of nothing at all.