Ready to plant some trees in your yard but don't know where to start? Knowing how to prep to plant trees is possibly the most important part, so we'll show you all the best tips so you can be successful!
At our old house, our yard had four mature pecan trees and three huge live oaks. We didn't need to do any tree planting there and focused on growing grass and planting tropical accent plants and our veggie gardens.
When we moved into our new house, it was only four years removed from being new construction and the previous tenants had mostly been renters. There wasn't a single tree on the property except for the boring builder-grade crepe myrtle that we worked around when we planted our tropical front yard last year.
After welcoming a baby to the world 10 days after moving into the house, we were selective about what projects to tackle that first year and focused on the front yard curb appeal because it looked so bad.
This year, we've been very busy planting trees in the back yard and have learned a lot about how to prep to plant trees and wanted to share that knowledge with you.
How do you prepare to plant a tree
There is a right way to plant trees and if you want your gardening to be successful, preparation is key.
You might not realize that all soil types are different and that each requires different special techniques for planting trees. Newly planted trees need special attention and need to be started out as well as possible for the best odds of survival.
Before doing any digging, you'll need to make sure you've covered your preparation to set yourself up for success.
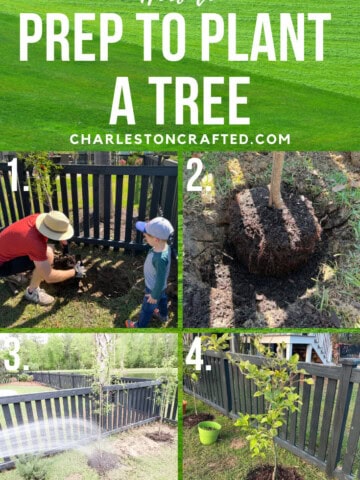
If you're wondering how do you plant a tree for the first time, here's the steps to properly plant a tree.
Step one: Learn about your soil
The native soil in your yard is going to be different depending on what part of the country you live in, whether or not you're in a new construction home or an established neighborhood, or if you've lived in your home a long time.
Different parts of the country have different soil types, so you need to research your area and what you have. Most likely, there is a plant store or agriculture college near you where you can take a soil sample and they can help tell you more about it.
We live near the Clemson University outdoor program and they will test soil samples very cheaply.
You also need to determine the best time to plant your tree in your yard. Some plants, like peach trees, need a freeze in the winter. If you plant them in the fall, they will get that freeze in year one and will do better in the first spring season.
In general, early spring is the best time to plant trees because they can start to grow and become acclimated to their spot before the heat of the summer really kicks in. Plus, spring usually brings more rain, so it will help the root system grow into the surrounding soil.
Step two: Call 811
After you know what you're working with, call 811 in your area to come mark your underground utilities.
811 is a free service that will send out technicians to mark where your power, water, gas, sewer and cable lines are on your property.
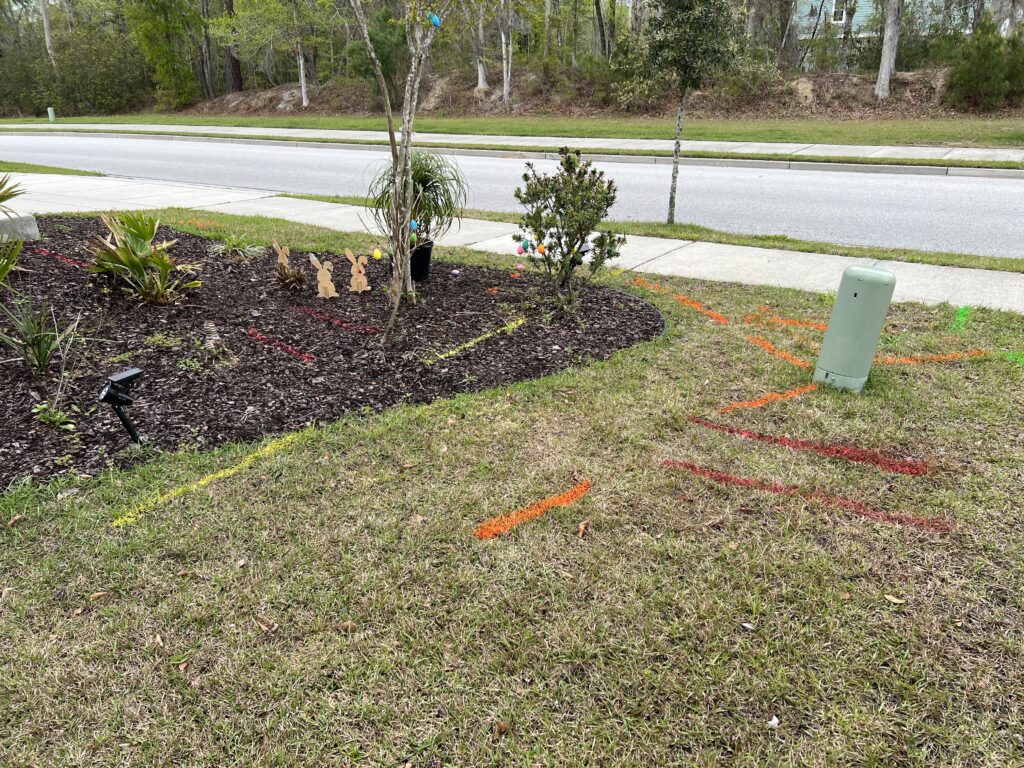
In South Carolina where we live, they guarantee they will send out technicians within 3 days of your call. We've had this done twice and this has happened both times.
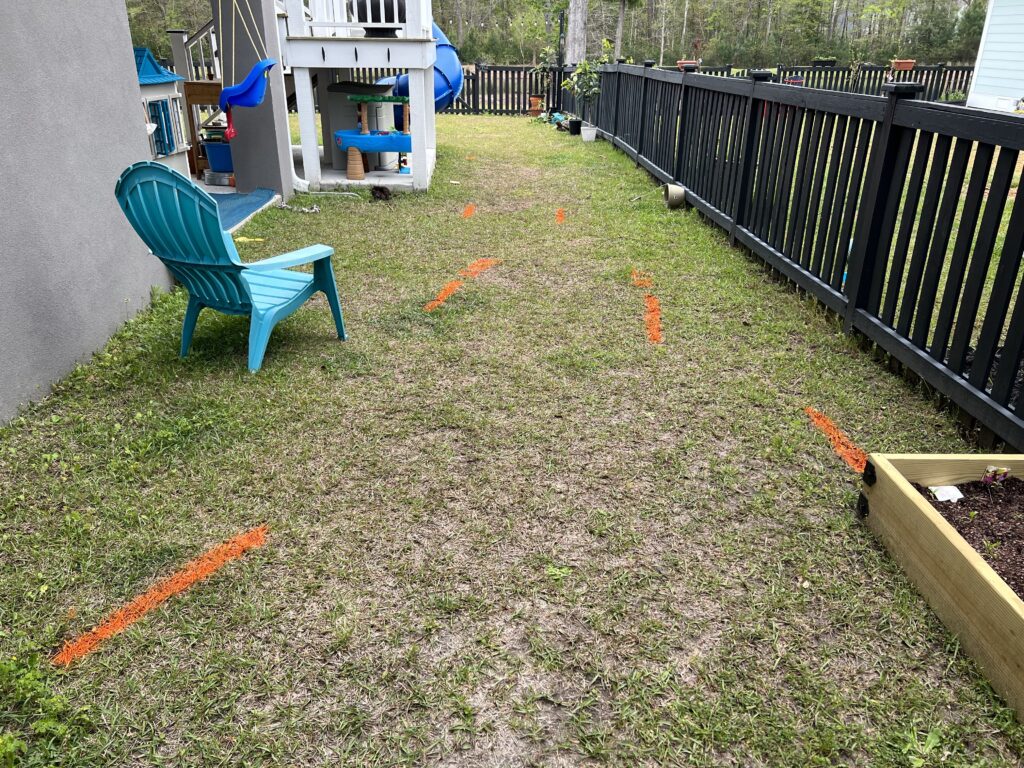
811 is a critical step because you don't want to plant trees where buried lines occur and you don't want to get a shock when you cut a cable line and have no internet for a week.
Step three: Choose the right spot
Now that you know where you absolutely can't plant your tree, it's time to figure out where the best spot is for your tree.
Here's a few things to keep in mind for choosing the right spot to plant your tree:
- How much sunlight the spot receives versus how much sunlight the tree you're planting needs
- How are your plants going to receive water?
- What other plants will be around the tree?
- How big will your tree get at full maturity?
These are important reminders to think about when planning where to plant your tree. You want to make sure the tree will get the right amount of sunlight for its species and you want to make sure you'll be able to water it properly, so it needs to be near a hose or rain barrel.
You also don't want to plant a tree that will grow to be huge right next to your house, fence or other structures.
In general, you want to plant trees at least 18 inches from fences and have a plan for how to handle limbs or branches hanging over the neighbor's side.
Step four: Gather your supplies
Gardening and planting are fairly attainable hobbies and don't require a huge barrier to entry. Plus, the supplies generally last for a long time, so you'll be able to do this whenever you'd like.
Here are the basic supplies you'll need before getting started planting a tree:
- Shovel
- Gloves (nitrile coated for digging, cushioned for digging)
- Planting mix
- Mulch
- Stakes
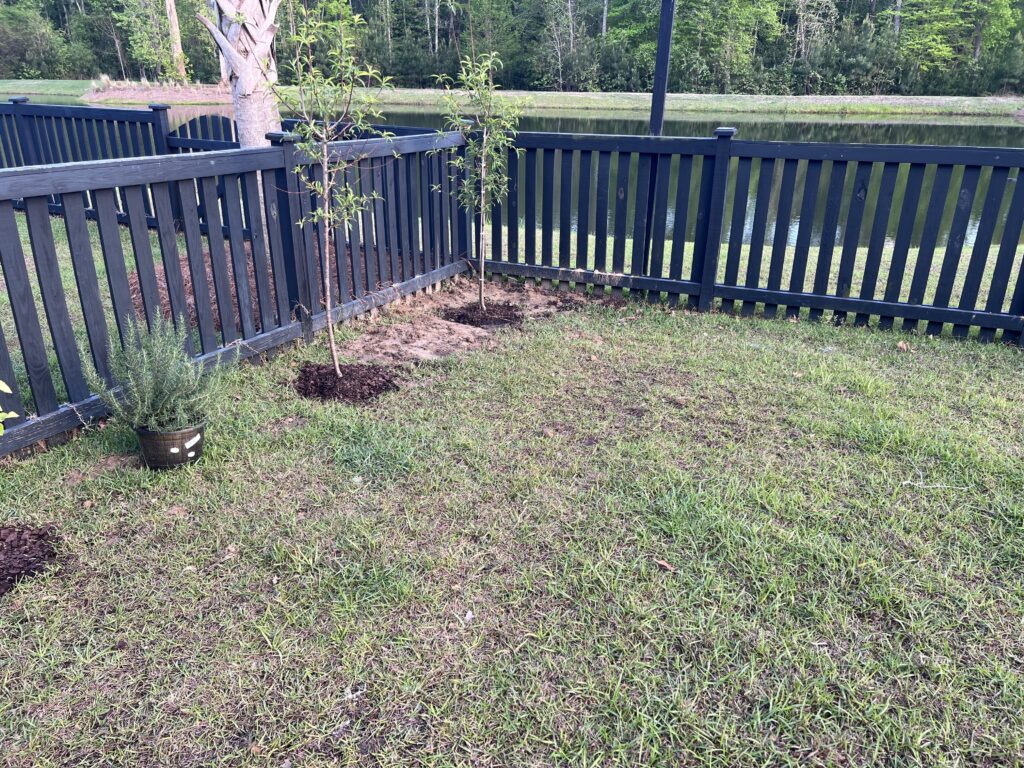
Step five: Digging the hole
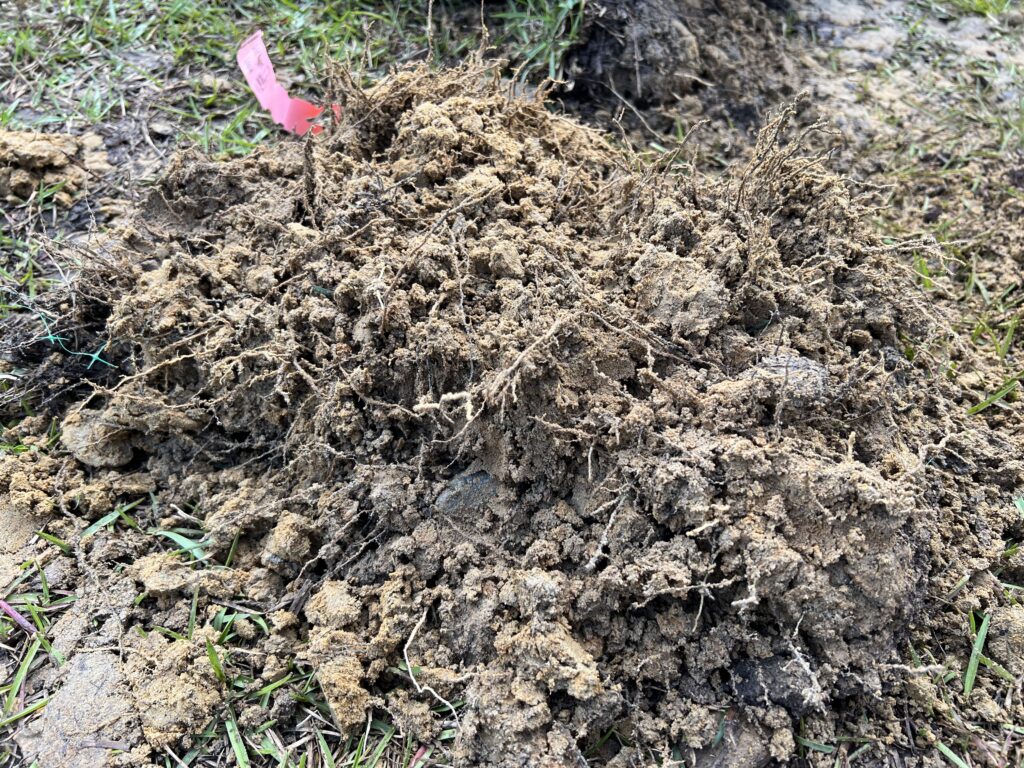
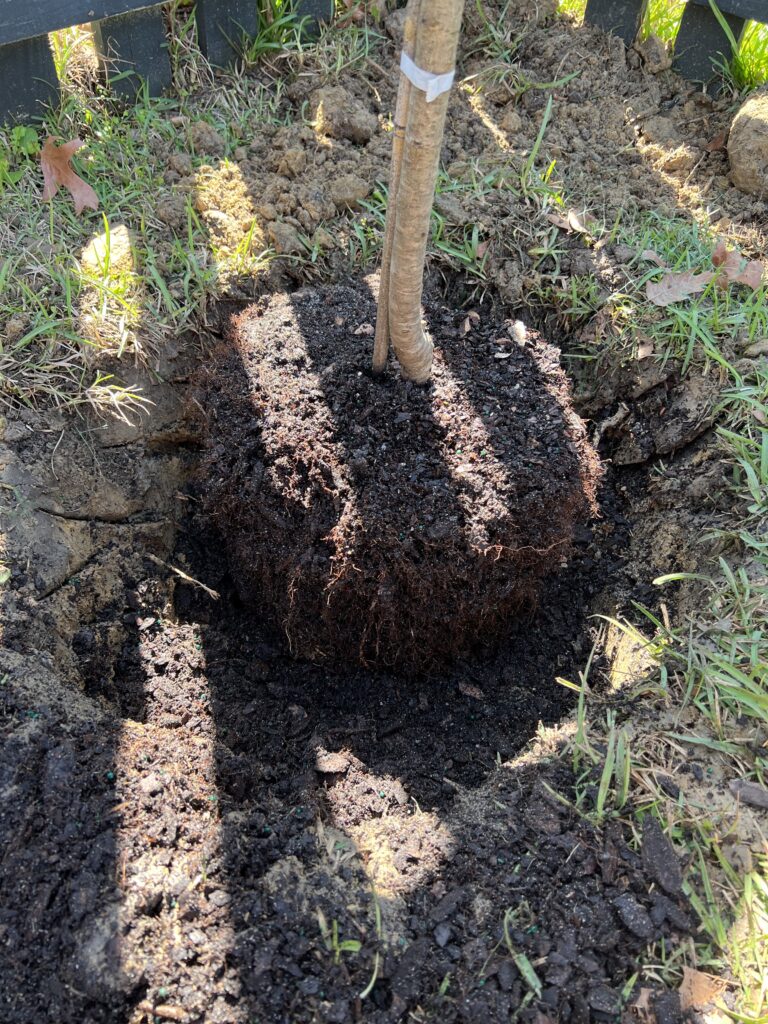
Prepare to dig a hole for your tree by selecting the location and then marking a hole out that is about twice as wide as the root ball of the tree.
When digging, make sure you dig the hole to be slightly less deep than the root ball so the roots at the base of the tree are slightly exposed.
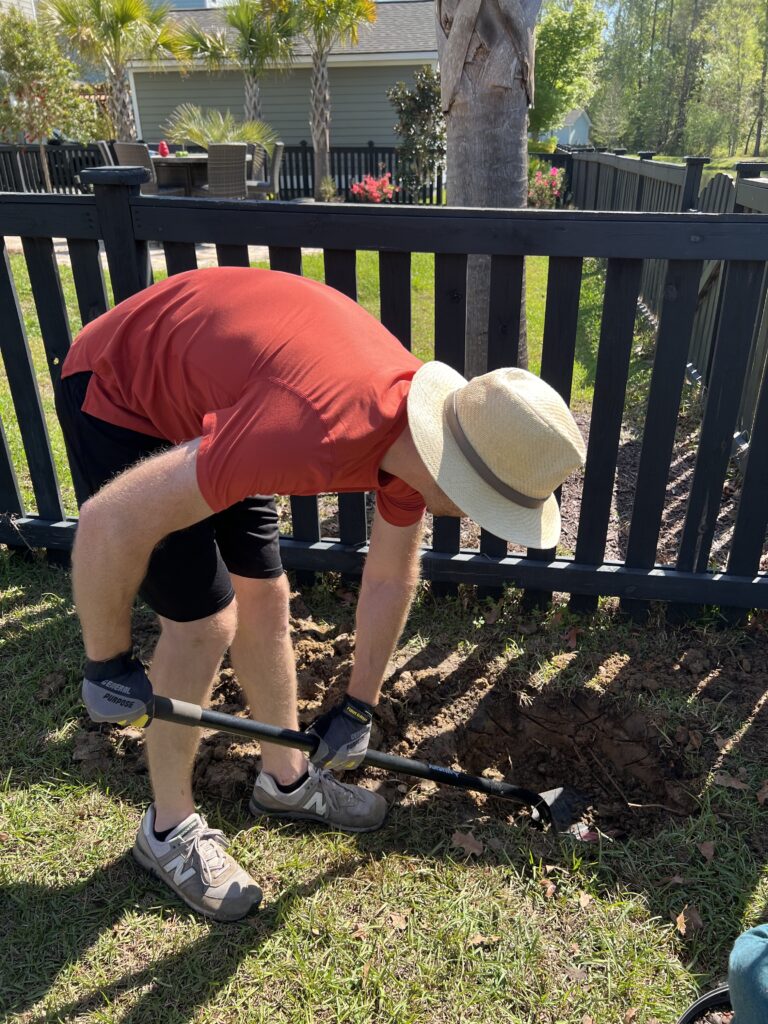
Planting too deep can lead to root rot, so make sure the planting hole is the right size.
Step six: How to plant a tree the right way
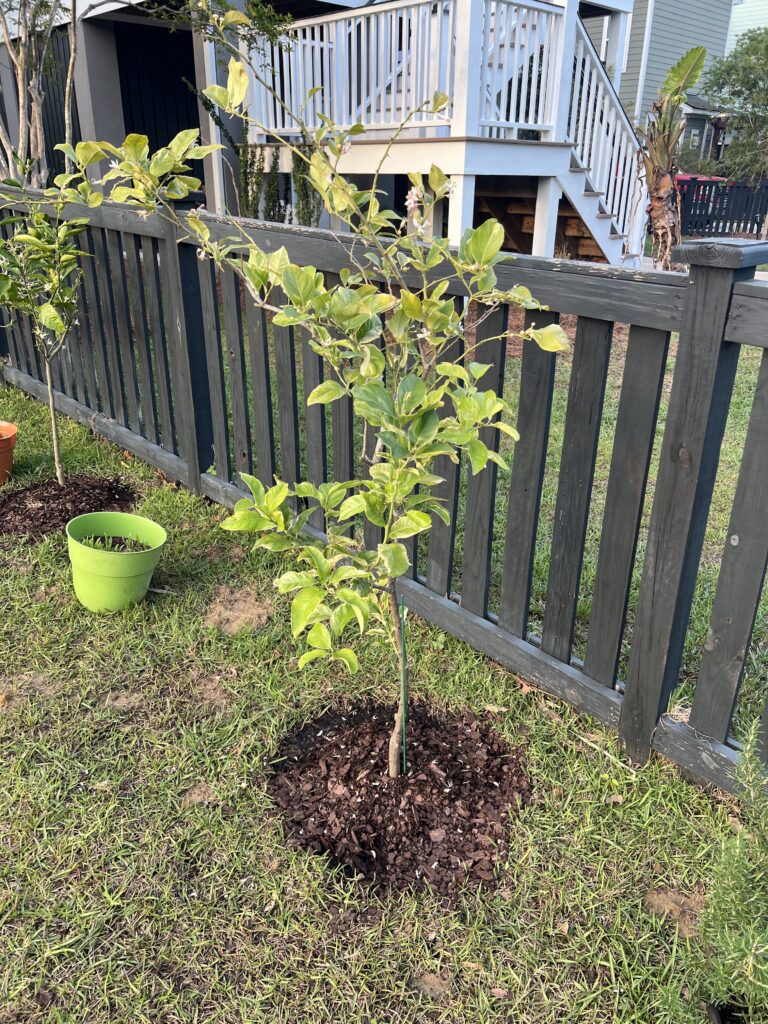
Then, fill in the hole with planting mix around the root ball and tamp it down enough to eliminate air pockets that might be hidden by the dirt.
Level the soil around the base of the trunk and then add a layer of mulch 1"-2" deep but not touching the trunk of the tree. This leaves space for the tree to breathe and reduces risk of rot.
Step seven: Water and enjoy
After you've planted your first tree, say congrats! Then water.
Make sure to water adequately the first time, but continue watering your soil based on its type.
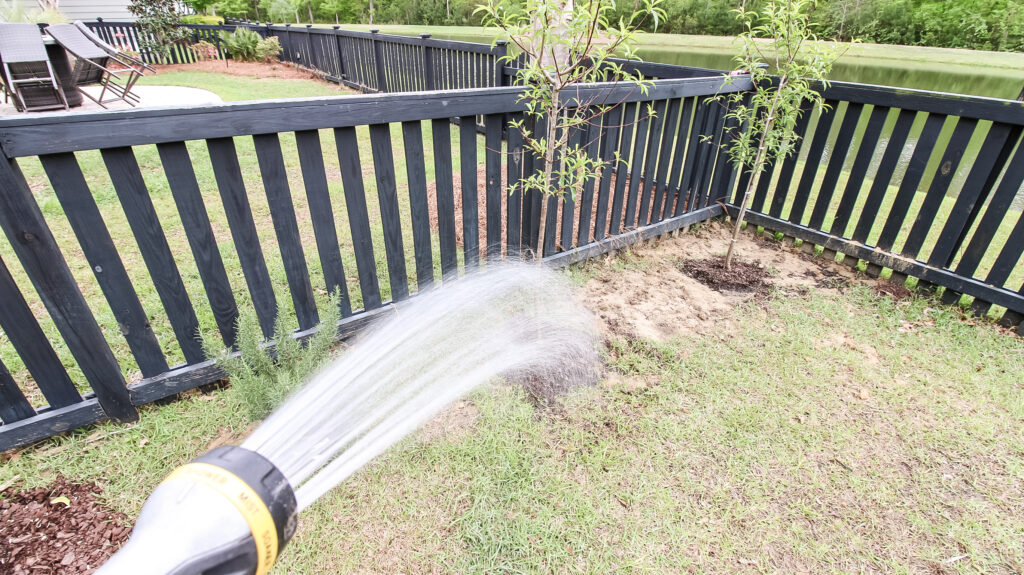
Many people use soaker hoses while others use drip irrigation. Depending on how hot and sunny the space is, you might want to consider which would work best for you.
In general, water your tree daily for the first two weeks it is in the ground, then every other day for a few months and then weekly or as needed from rain after it is established.

Looking for something?
We've been doing this since 2012 so we have a LOT of blog posts!
Search stuff like: Ceiling Projects | DIY Plant Stands | Thrift Flips

Hey there, I'm Sean, the woodworking enthusiast and builder behind CharlestonCrafted.com! Since 2012, I've been sharing the magic of turning raw materials into beautiful creations. I love teaching others the art and satisfaction of woodworking and DIY. I try to inspire fellow crafters to make something extraordinary out of nothing at all.