This post has been sponsored by Home Depot and the makers of OFF!® Thanks for supporting the brands that make Charleston Crafted possible.
While I love the look of flowers in a flower bed, sometimes it is fun to mix up your front yard decor. When styling any space, I like to mix up the heights of the decor to add visual interest. Using a planter in your yard is a great way to add height and interest to the space.
You might remember when we created our mega Pirate Skeleton Halloween Battle in our front yard, we used a large whiskey barrel planter as a part of the cannon in the display.
Well, that barrel has been sitting on our porch ever since. And I decided that it was time to put it to use! So, I moved it over to our natural area in the front of our yard and decided to fill it with plants.
How to style a whiskey barrel planter
Whiskey barrel planters are gorgeous statement pieces for your yard. If you need raised flower beds - which we do, because our natural soil is almost 100% sand and nothing wants to grow in it - they are a very stylish option.
We bought this whiskey barrel planter at the Home Depot.
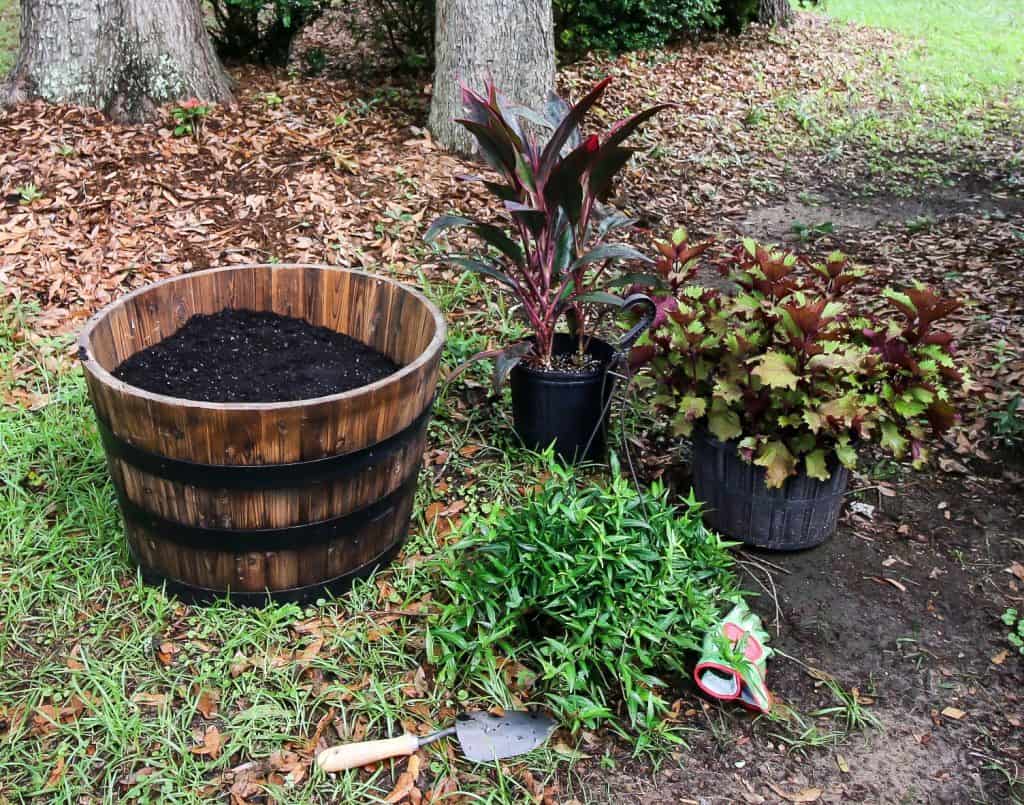
Filling the planter with soil + drainage
You are going to want to make sure that your barrel has drainage holes in the bottom. Otherwise, water will pool inside and it can rot.
In the bottom of your barrel, you want to add pebbles or stones. Pebbles will have large gaps of air in between them that can fill with water when it rains or gets heavily watered. This helps to keep the soil from getting too soggy and prevents root rot in your plants.
Top the pebbles with potting soil. However, if you don't want to buy several bags of potting soil, you can use other items to fill the planter.
What can I use to fill the bottom of a large planter?
Large planters can hold a lot of soil, which can get expensive. You can add bulky items to help fill up some of the space. Ideas include:
- Cut up pool noodles
- Milk jugs
- Plastic soda bottles
- Logs or large limbs and branches cut to fit
Top any of these items with soil and make sure the soil fills the gaps between them. Now you are ready to plant!
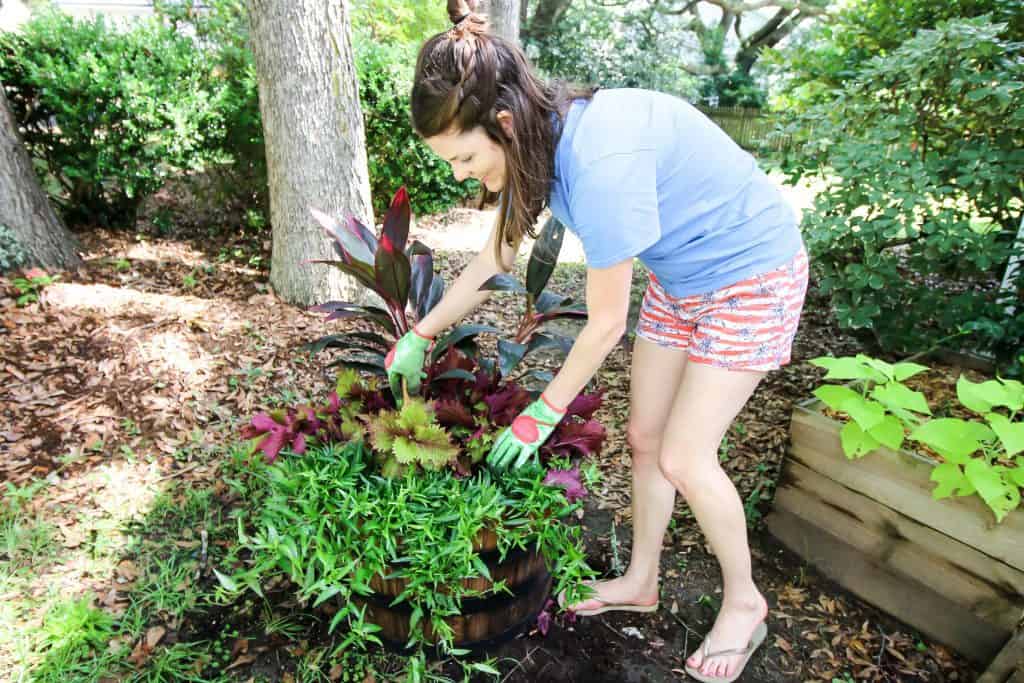
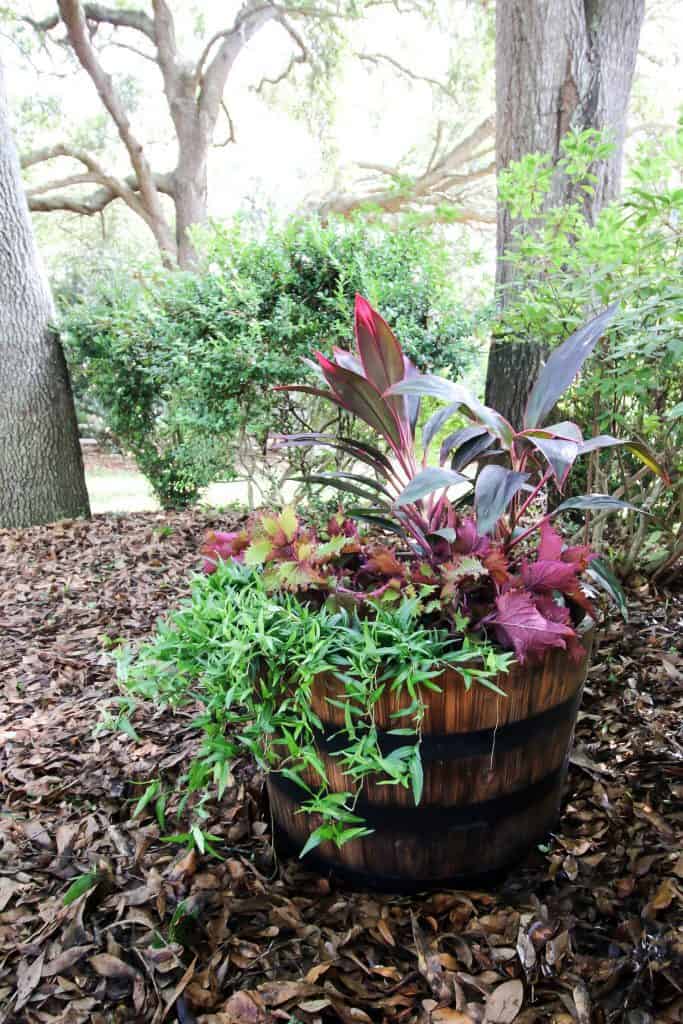
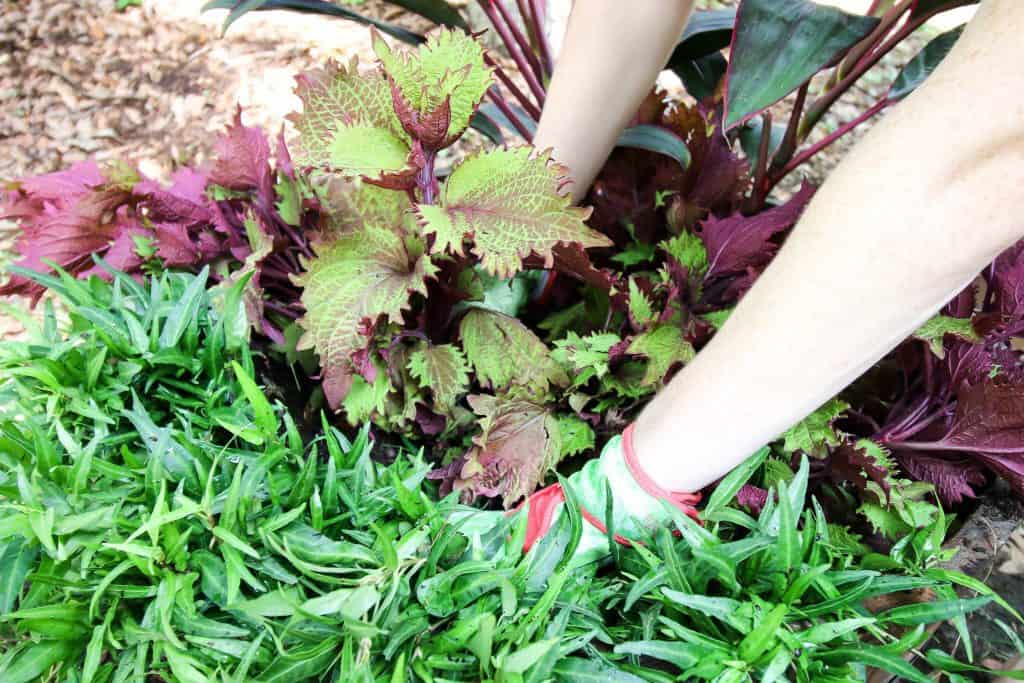
Filling the barrel with plants
After your soil is complete, it is time to add the plants. I shared this tip when we refreshed our flower beds this spring, but every good planter has three elements:
- Growers
- Showers
- Overflowers
I decided to three plants to do this. Our "grower" is beautiful Hawaiian ti plants. We've used these before in our front flower beds and we love the bright pink colors. Our "show-er" is coleus, which is a bushy leaved plant with red and green. Finally, our "over-flow-er" is ivy, which dangles down the front of the planter, adding to the height creation.
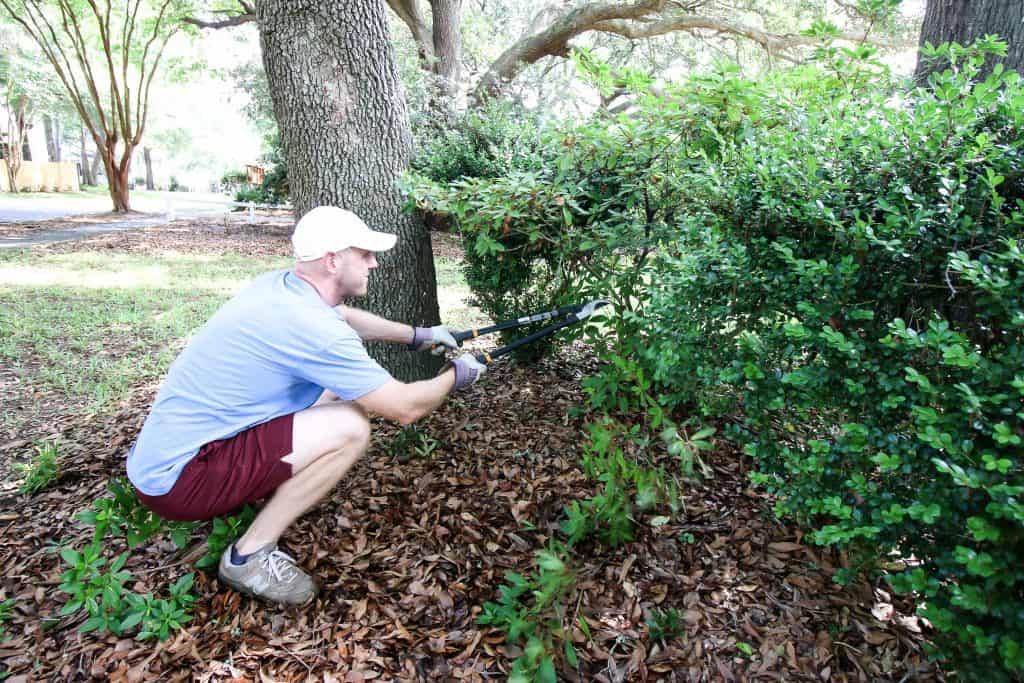
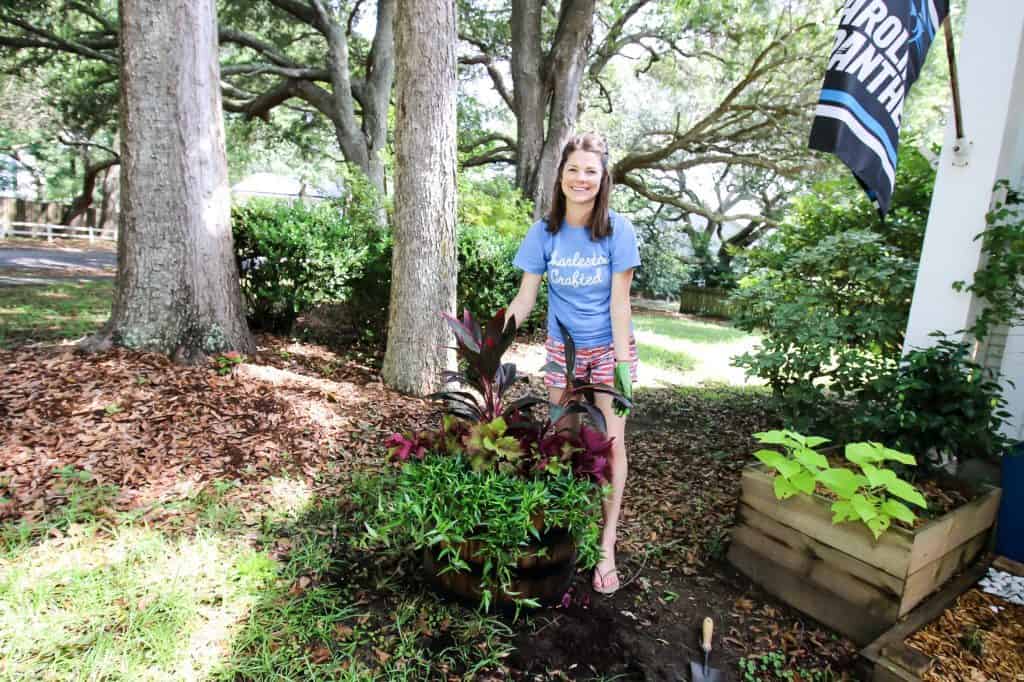
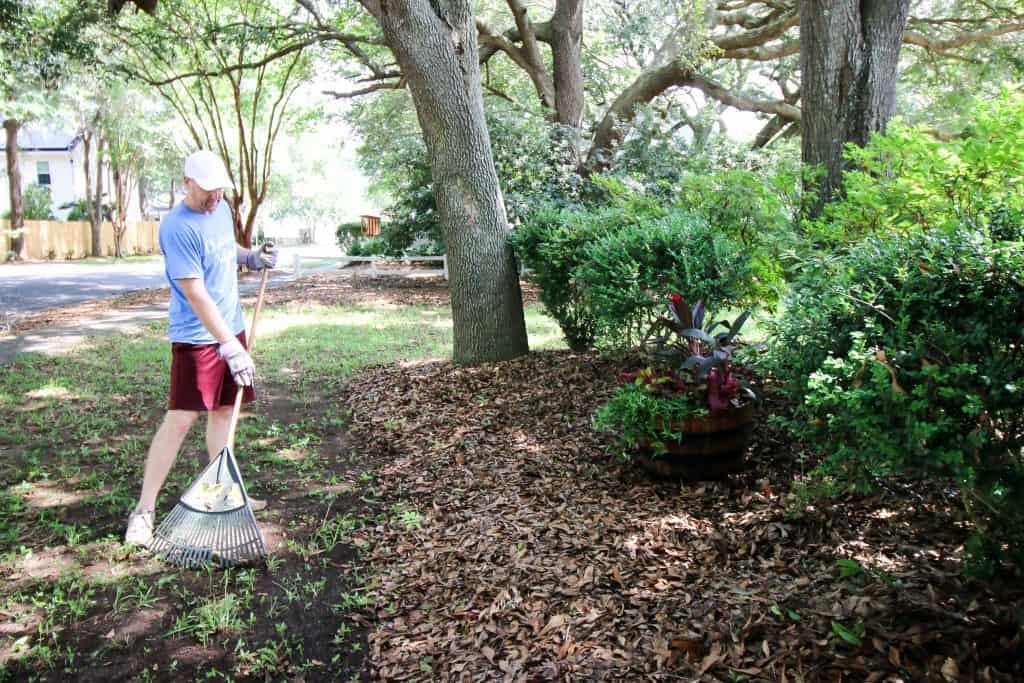
Cleaning up the natural area
Adding this new planter made us realize that this whole natural area needed a little refresh. So, we used our trimmer to clip the bushes back a bit and pulled a lot of weeds in this space. We focused on clipping the lower and higher branches and making space between the bushes. Much better!
Treating the area for bugs
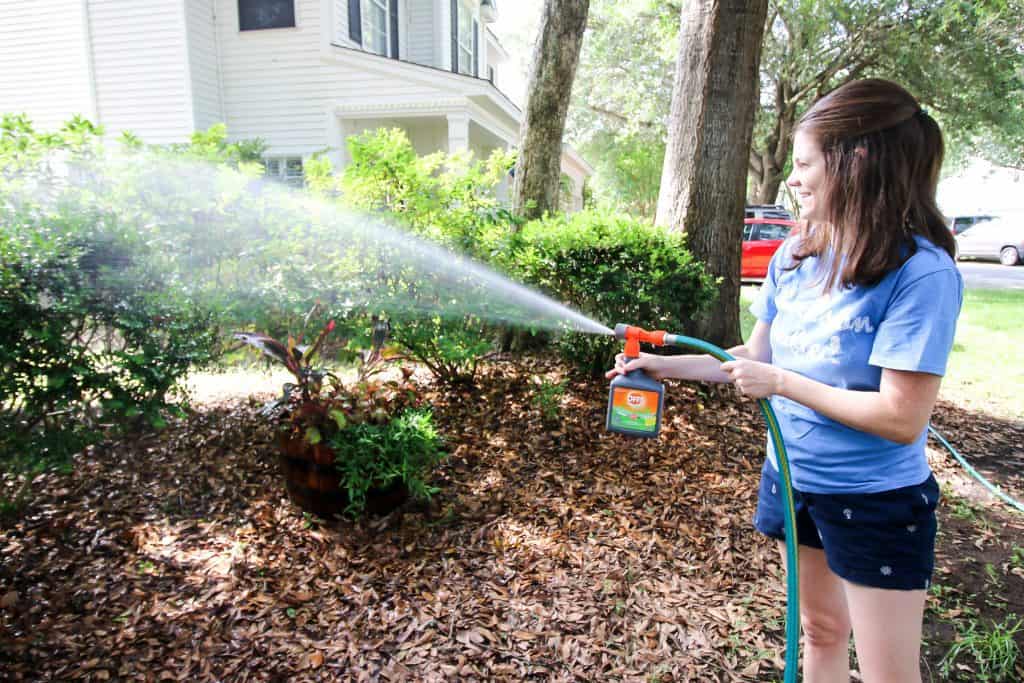
Natural areas are major insect habitats. Pair this with the fact that we live on a pond, and this part of our yard can be Insect Central. As a part of the clean up process, we decided to spray the bushes with OFF!® Backyard Bug Control. We were literally slapping dozens of mosquitos off our legs and arms as we were spraying the bushes.
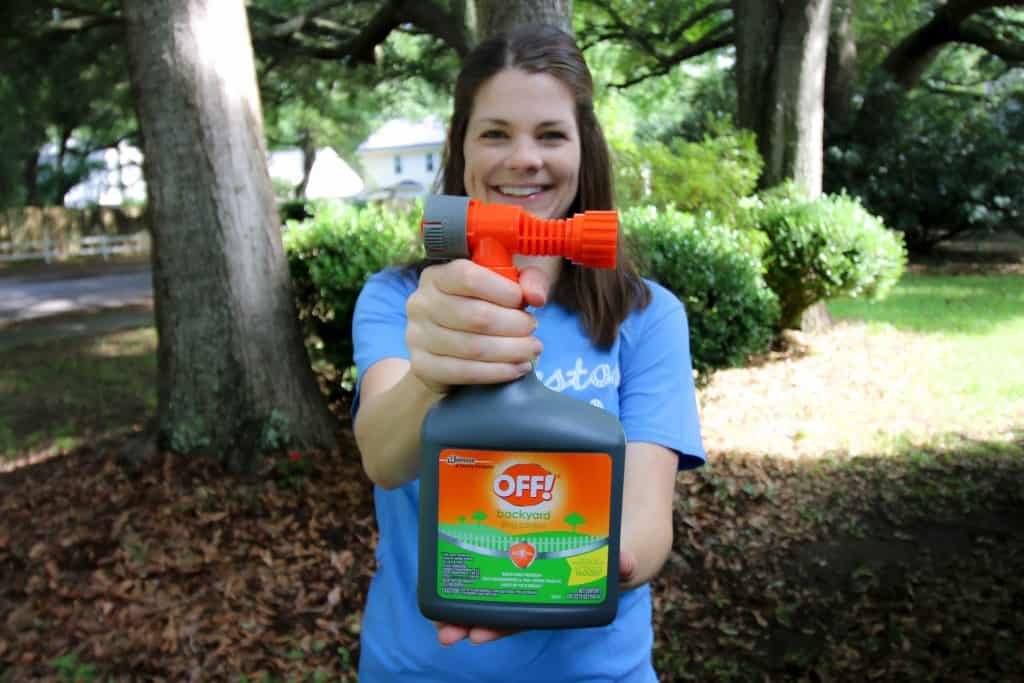
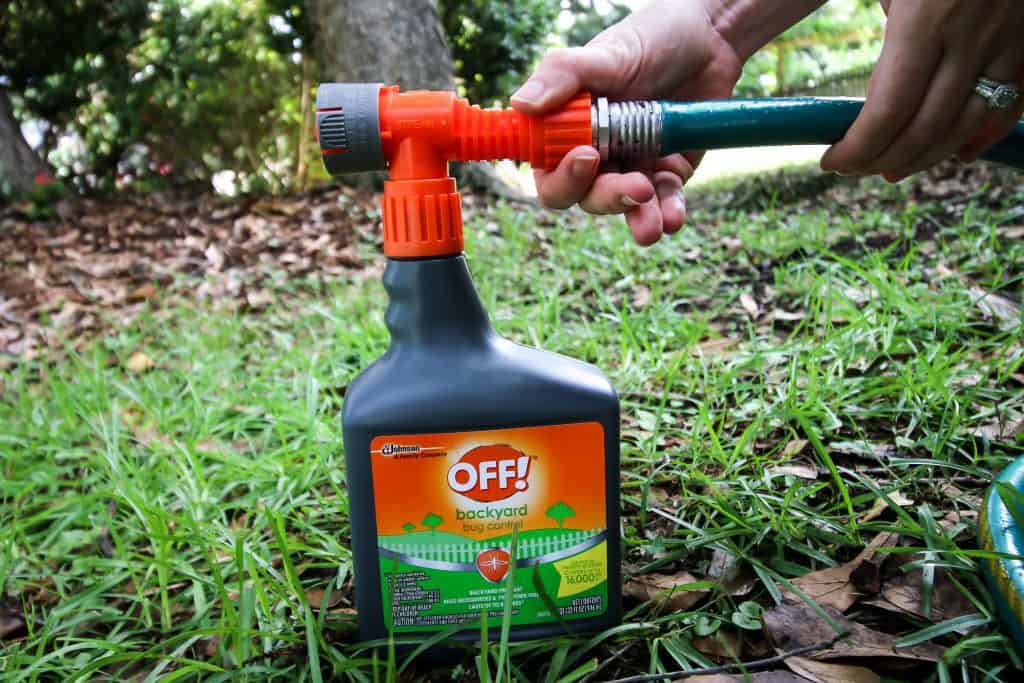
The OFF!® Backyard Bug Control is perfect for spraying protection on all our bushes. The bottle attaches onto the end of our hose, just like the bottle of window cleaner we used to spray our windows a few weeks ago.

The OFF!® Backyard Bug Control has two settings to switch between; fan and stream. The fan setting is perfect for spraying bushes and shrubs. The stream setting is perfect for higher trees and for spraying around the perimeter of your home.
We spent a good amount of time spraying all the bushes and perimeter of our home, paying close attention to bushy areas as that is where mosquitos live. There was tons of the treatment liquid in one bottle and we didn't use even half of it to hit all of our bushes. This will allow us to spray the bushes again in 8 weeks, which is the recommended re-treatment time as needed.
We're so excited to be able to sit outside! Using the OFF!® Backyard Bug Control is going to get rid of our bug problem and allow us to spend time in our wonderful yard.
We want to know - do you have a natural area in your home? How have you fixed it up?

Looking for something?
We've been doing this since 2012 so we have a LOT of blog posts!
Search stuff like: Ceiling Projects | DIY Plant Stands | Thrift Flips

Hello, I'm Morgan, half of the creative force behind CharlestonCrafted.com! With a passion for DIY that dates back to 2012, I've transformed three homes and now I'm dedicated to helping others craft their dream spaces. Let's turn your house into a home together!