• Skip to primary navigation
  • Skip to main content
  • Skip to primary sidebar
Charleston Crafted
  • DIY
  • Woodworking
  • Popular Posts
  • Blog
  • About
  • Shop
menu icon
go to homepage
  • DIY
  • Woodworking
  • Popular Posts
  • Blog
  • About
  • Shop
search icon
Homepage link
  • DIY
  • Woodworking
  • Popular Posts
  • Blog
  • About
  • Shop
×
Home » Closet Designs

Organizing the Craft Closet

Published: Feb 18, 2014 · Modified: Jan 26, 2023 by Morgan · As an Amazon Associate, we earn from qualifying purchases. This site contains affiliate links. ·

One of my New Year’s Resolutions is to GET ORGANIZED! I seriously suck at picking up behind myself and unless I have really easy systems, I won’t follow through. My goal is to conquer a “problem area” in the condo every other month so I don’t get burned out on organizing but still make my home a happier place.

Undoubtedly, the place to start was my craft closet. I craft a lot – clearly – it’s my main hobby along with cooking. I have amassed a ton of craft supplies. I keep them all in the linen closet across from the laundry room.

 An Organized Craft Closet - Charleston Crafted

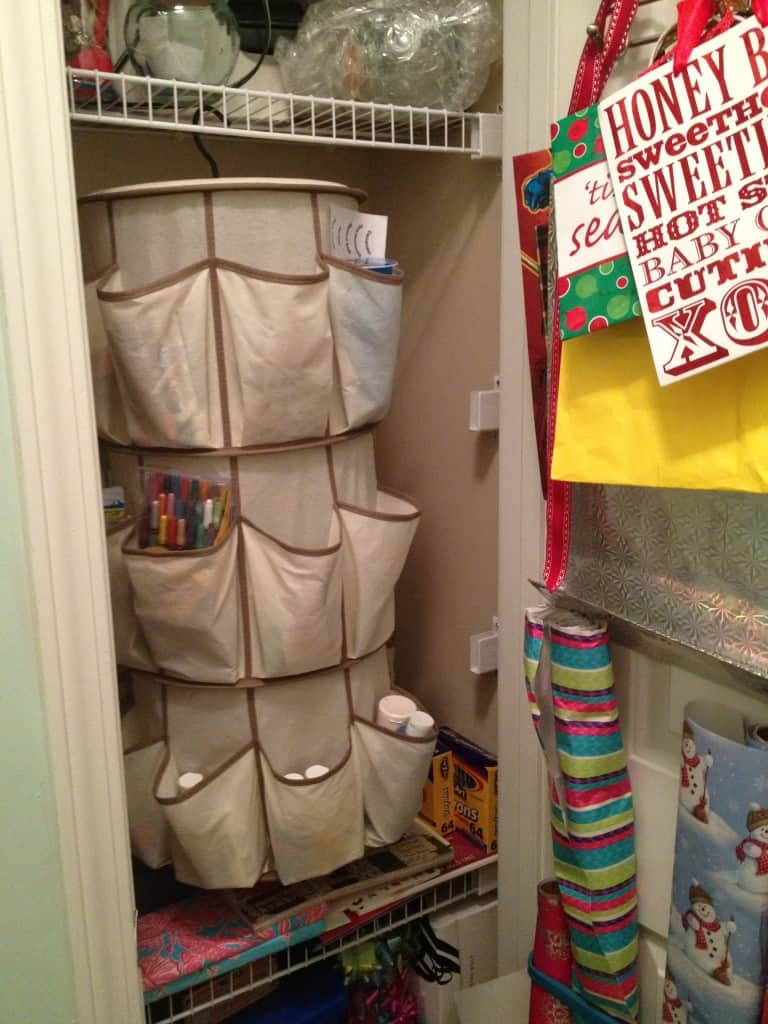
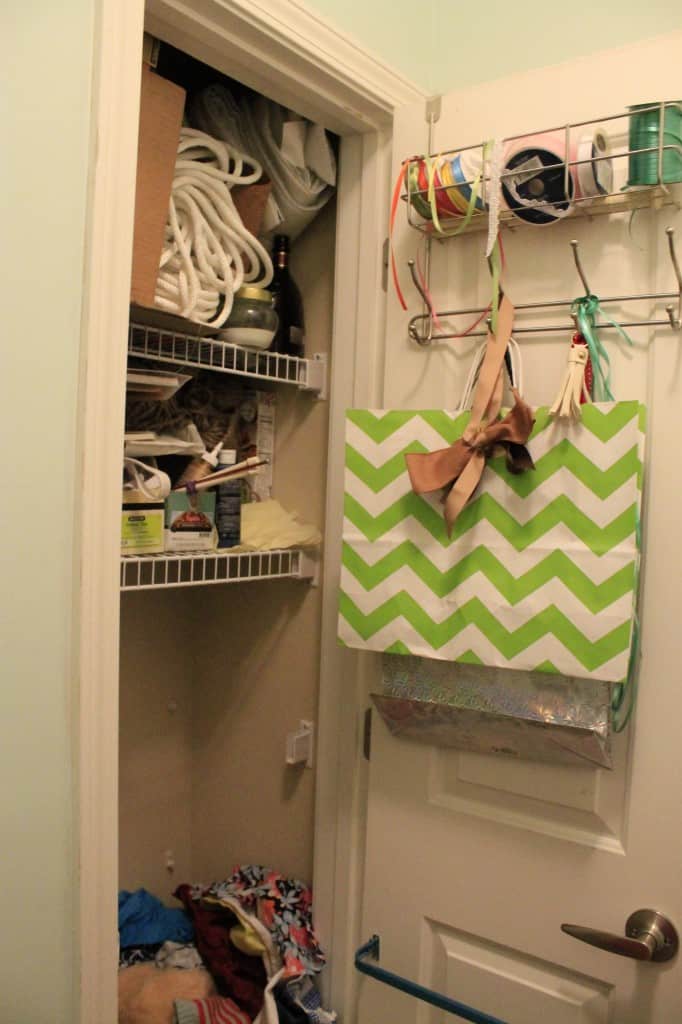
About a year ago, I  thought I was so clever in organizing all my stuff in a hanging shoe holder. Well, maybe  this would work for some people, but I couldn’t see things and ended up just throwing stuff in there. It was bad. Like, open the door shove something in slam the door bad.

One year ago:

Closet after

Today:

An Organized Craft Closet - Charleston Crafted

An Organized Craft Closet - Charleston Crafted

An Organized Craft Closet - Charleston Crafted

An Organized Craft Closet - Charleston Crafted

An Organized Craft Closet - Charleston Crafted

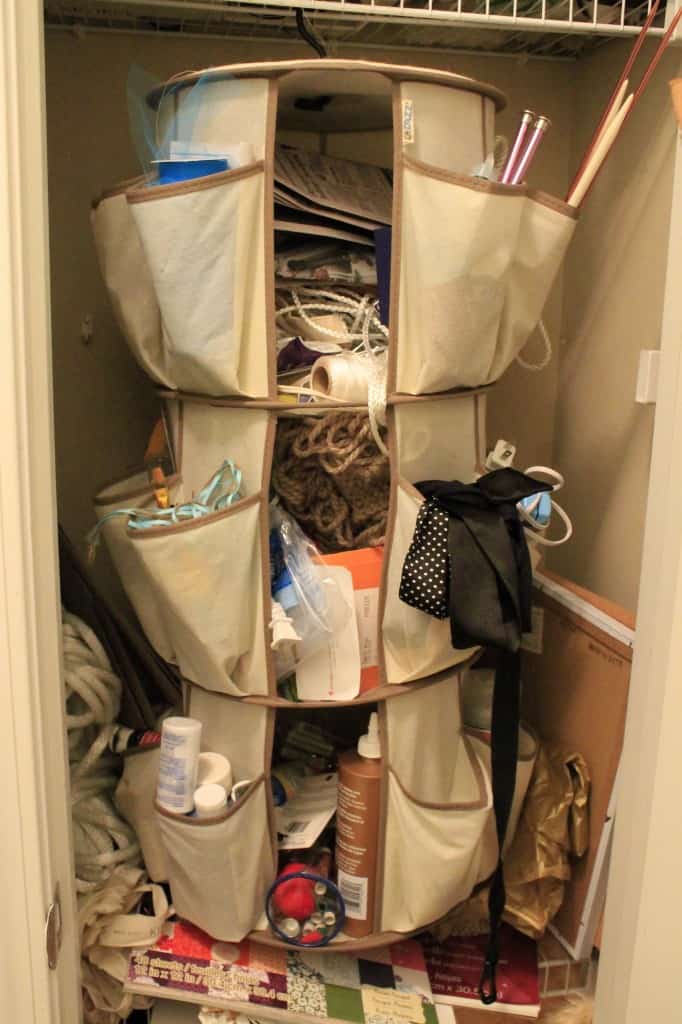
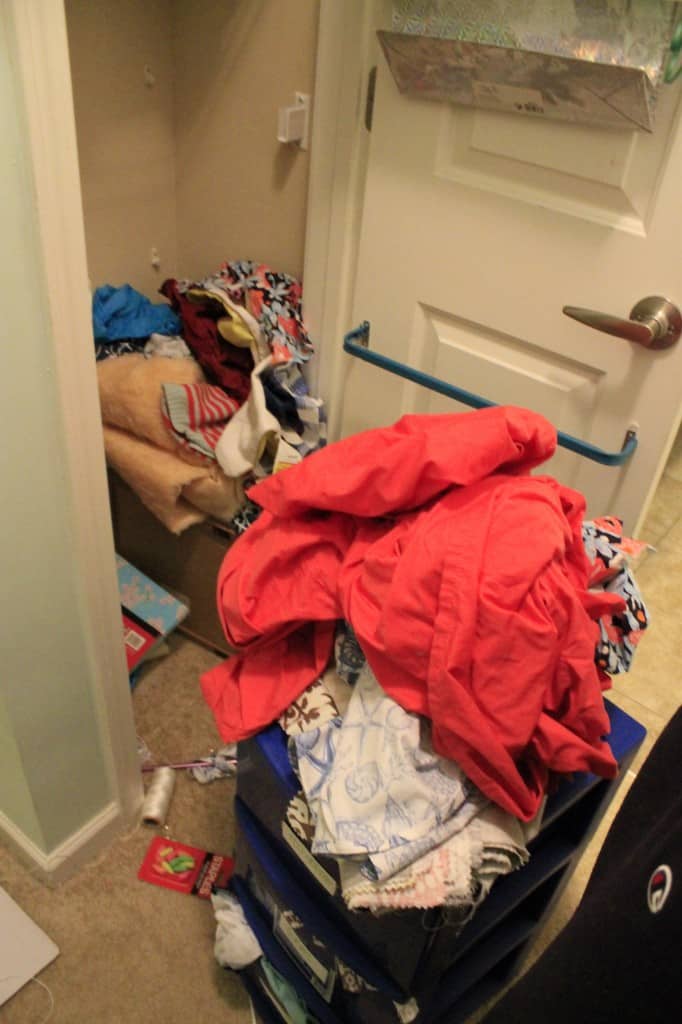
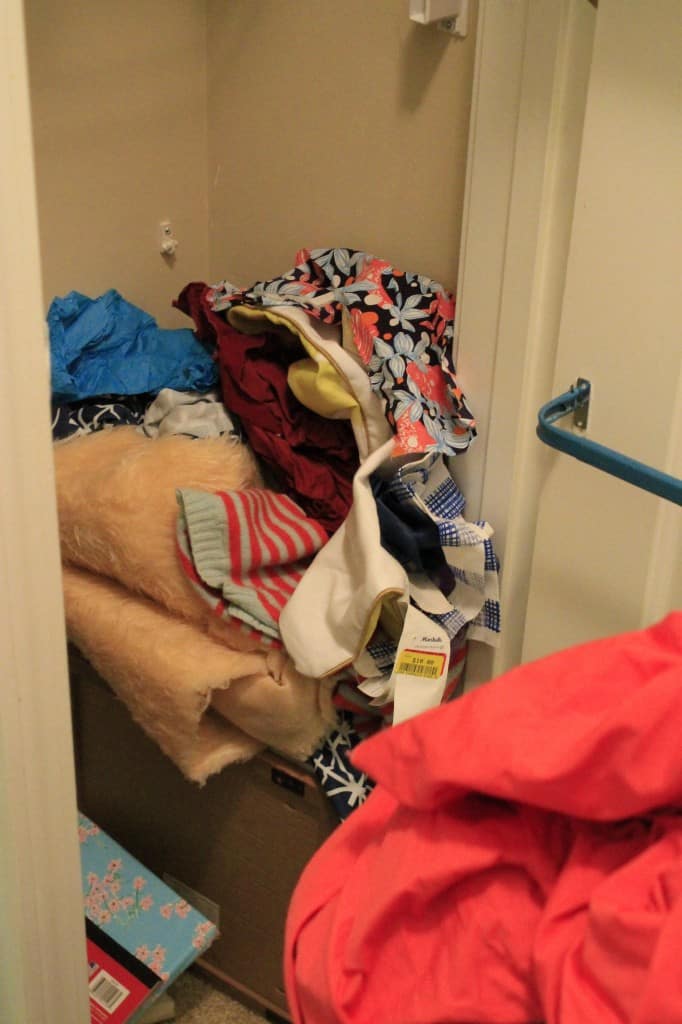
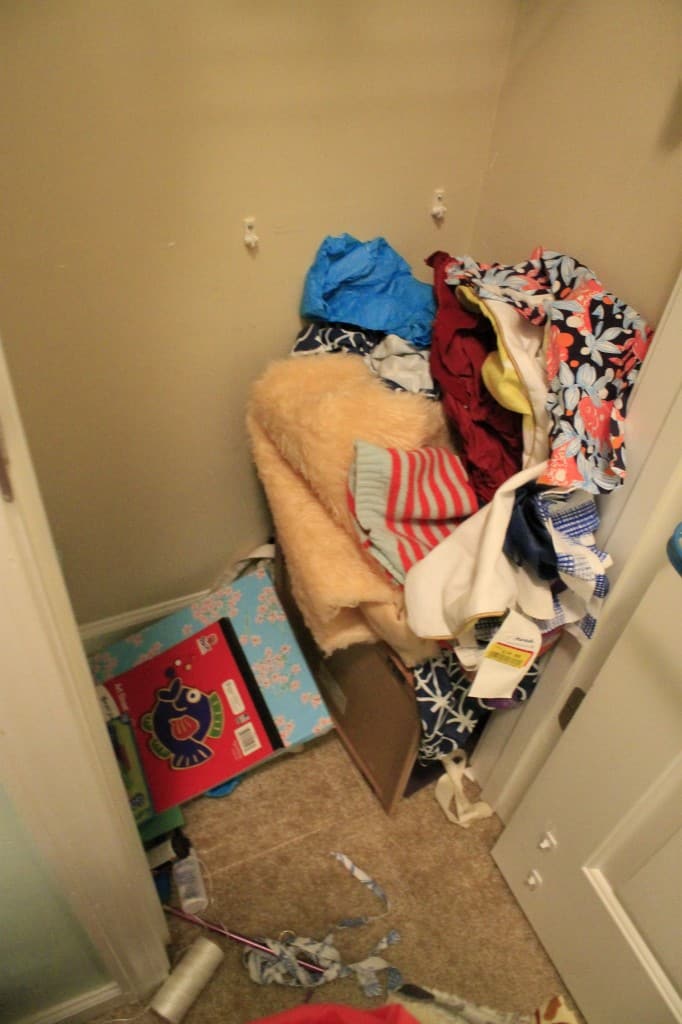
Yeah, I told you it was bad.

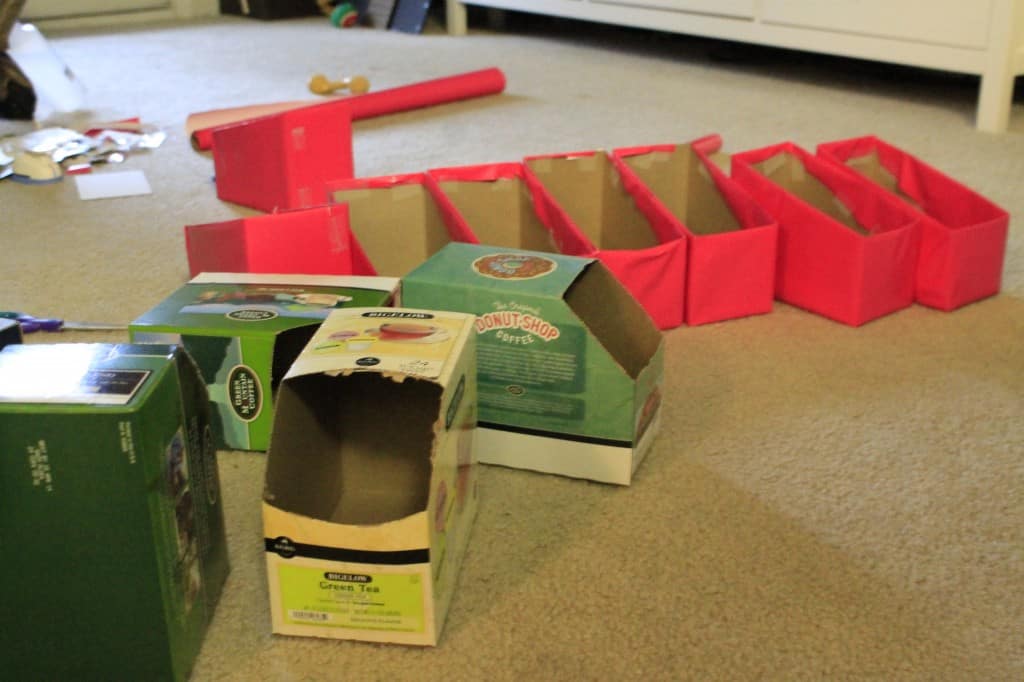
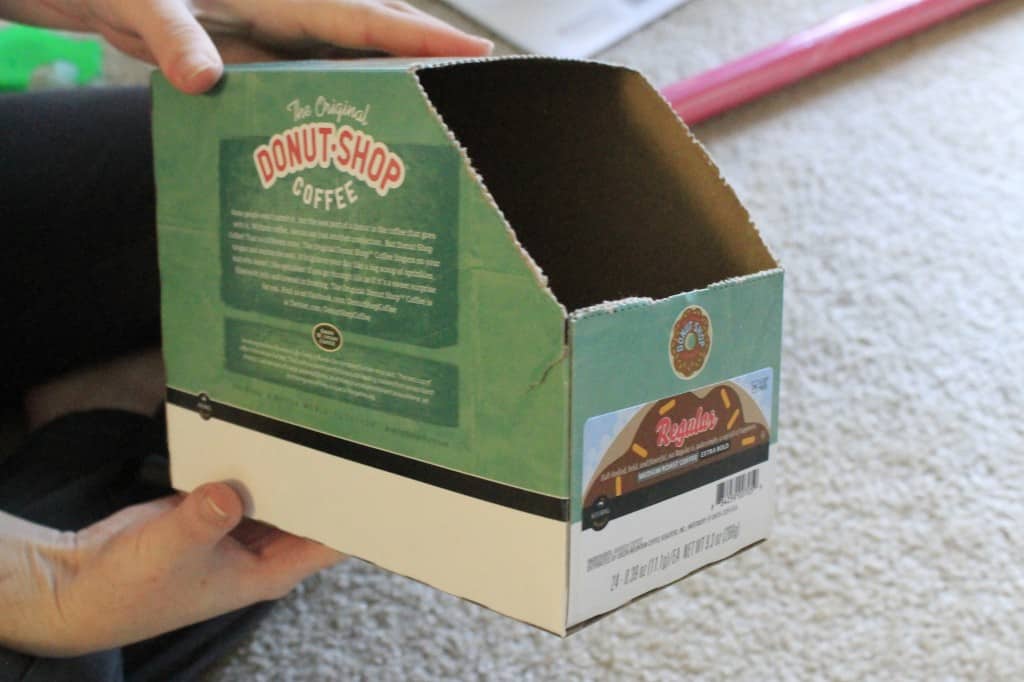
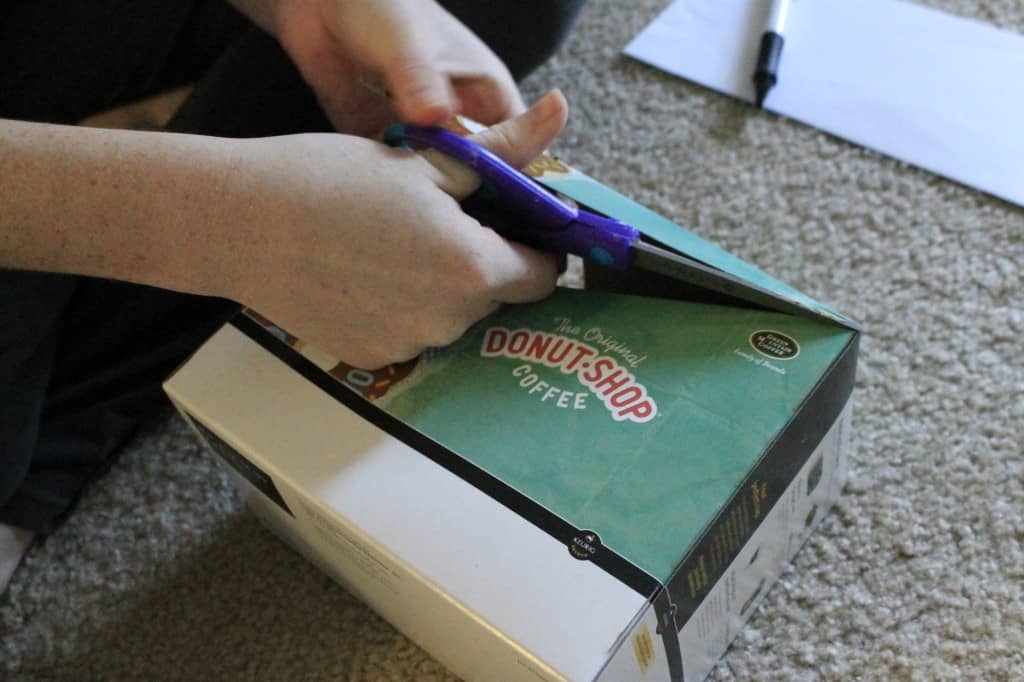
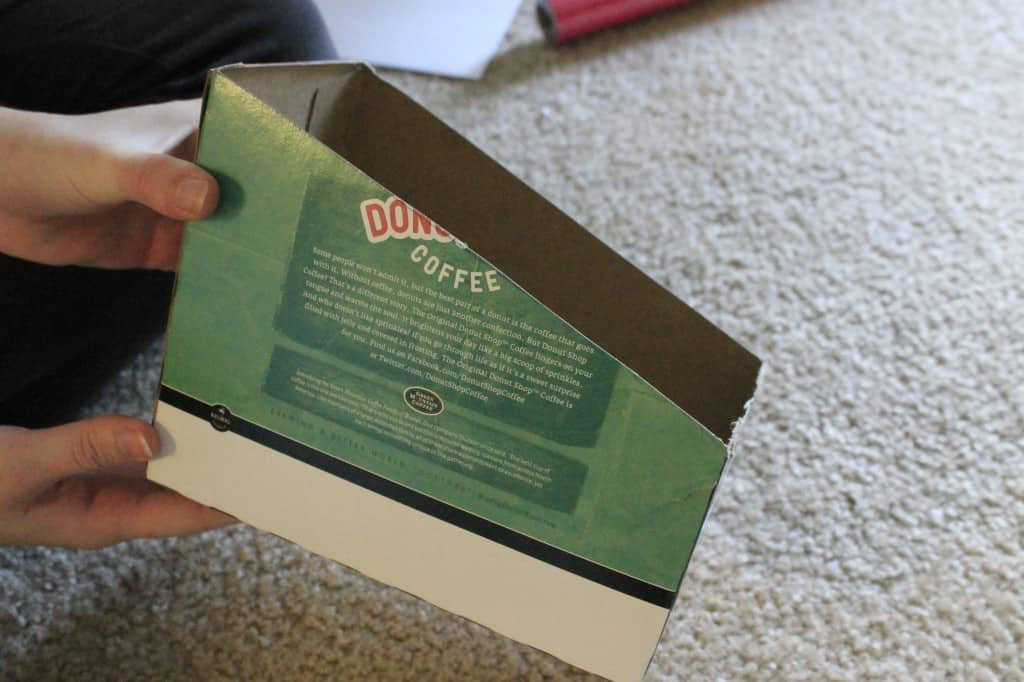
My original plan was actually inspired by the coffee station at work. We have a Keurig and about a dozen different K cups to choose from. We are a big group and go through a lot of coffee, so 2 or 3 of these boxes go in the recycling every day. I was inspired by the size and the “hand hole” in the boxes – they’re perfect for supplies! So, I gathered them and started a plan.

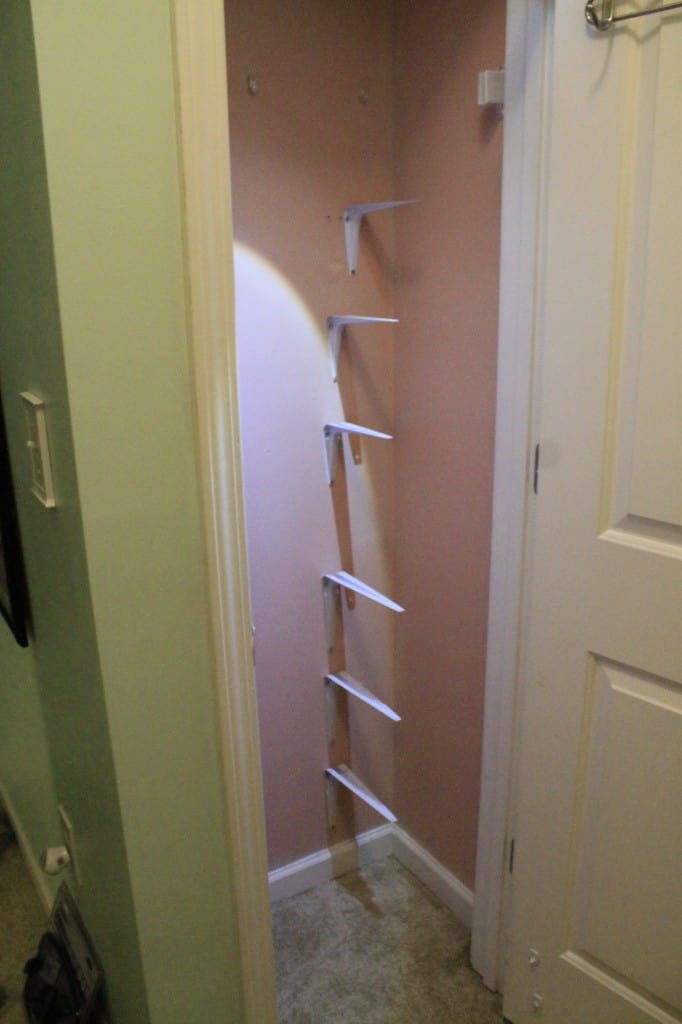
My first idea was just to put the wire shelves back up in the closet. But – gasp! – I realized that we had donated them to Goodwill. Poor planning, I know, but probably they got confused with the pantry shelves.

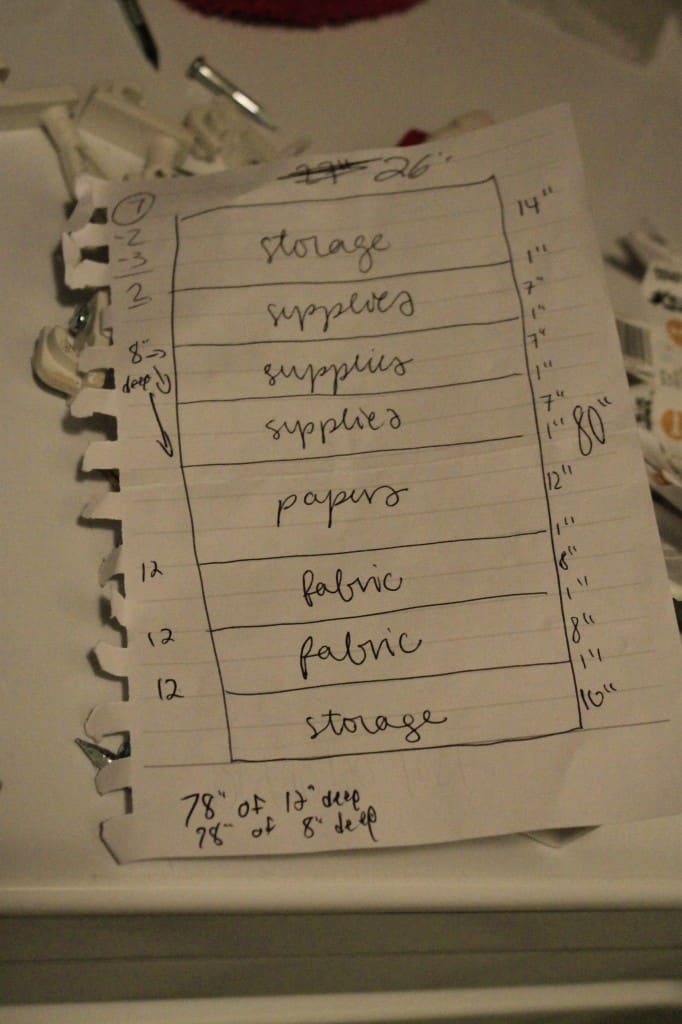
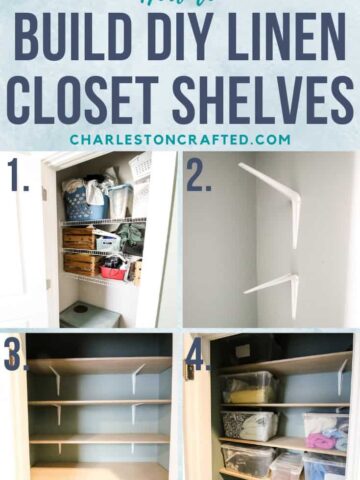
Either way, we needed new shelves. That stunk because I was trying to make this as inexpensive of a project as possible. But it was good in that I got some freedom to decide what distance I wanted between the shelves.

An Organized Craft Closet - Charleston Crafted

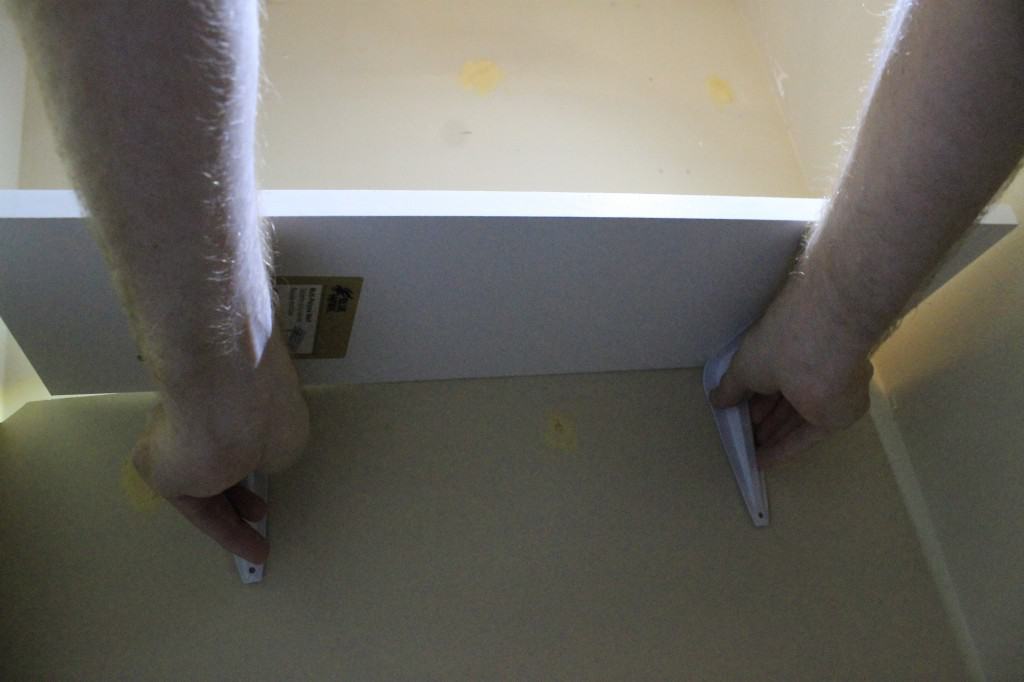
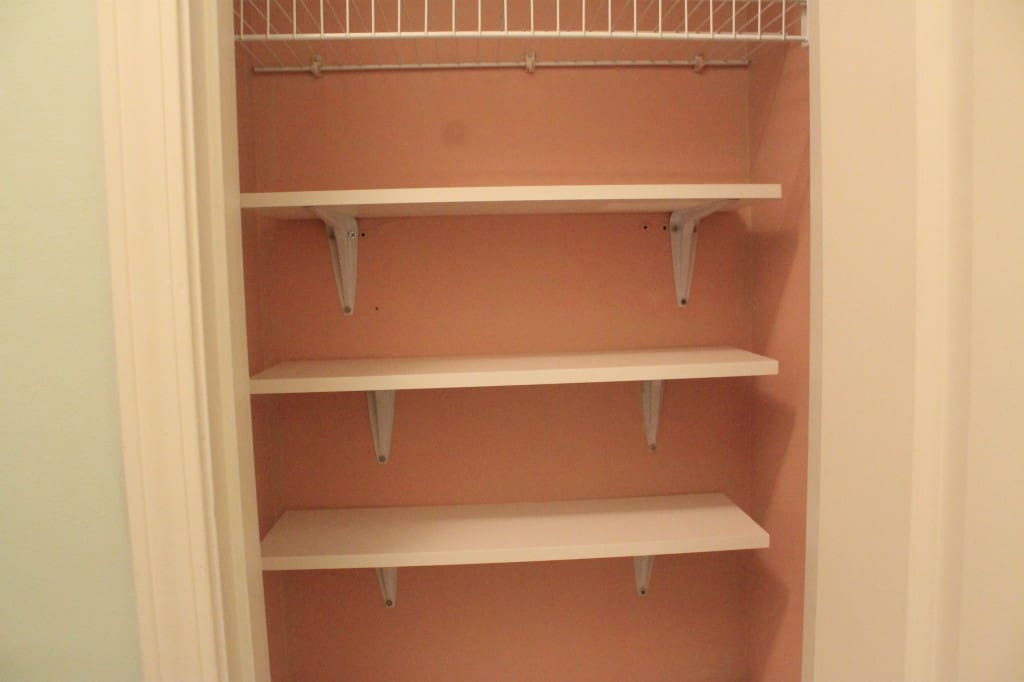
We decided to use wooden shelving material and simple L brackets to hang the shelves. I have used this shelf material several times before and am always pleased with it.

We ended up painting the closet because removing the old shelf brackets tore up the wall. You can read about how Sean patches and paints here. We started painting with left over grey paint, didn't have enough and had to redo it with left over light pink paint. Annoying, but a quick fix to make it right and not half assed.

 _MG_7584

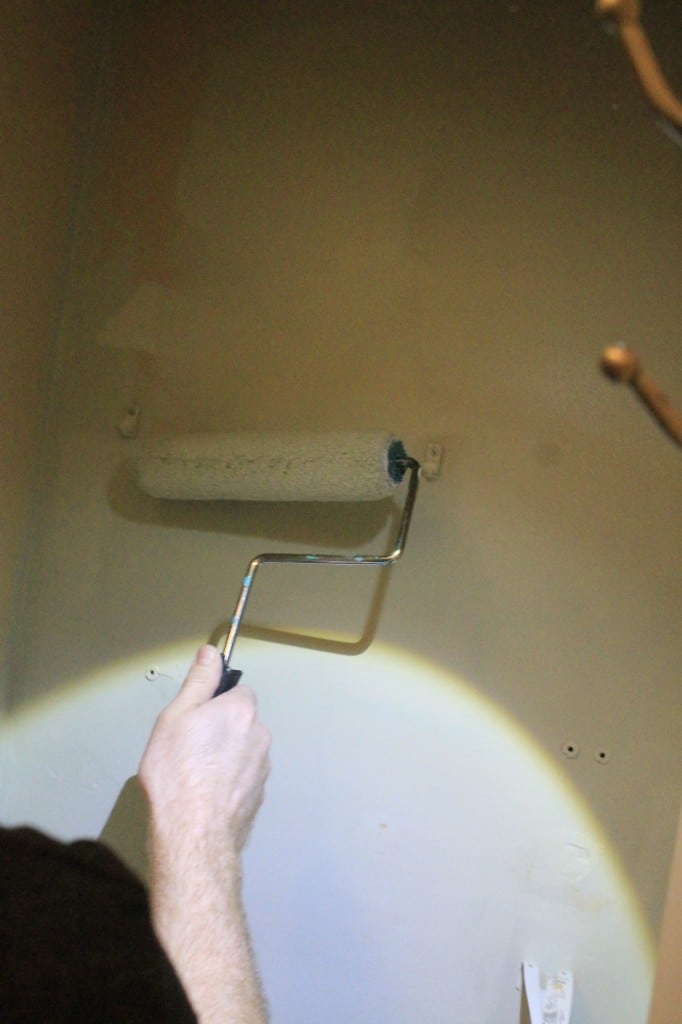
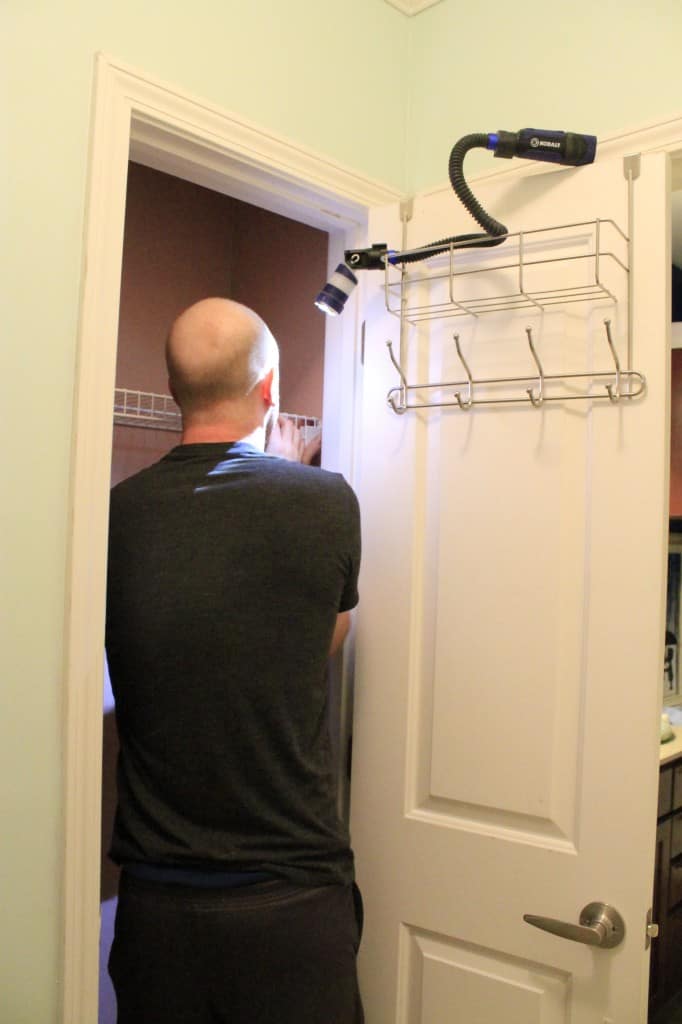
Sean hung the shelves using screws & anchors and then it was up to me to organize. (Pardon the lighting. There's no overhead in here so Sean had his twisty flashlight in action spotlighting the whole show.)

An Organized Craft Closet - Charleston Crafted

An Organized Craft Closet - Charleston Crafted

An Organized Craft Closet - Charleston Crafted

An Organized Craft Closet - Charleston Crafted

An Organized Craft Closet - Charleston Crafted

An Organized Craft Closet - Charleston Crafted

An Organized Craft Closet - Charleston Crafted

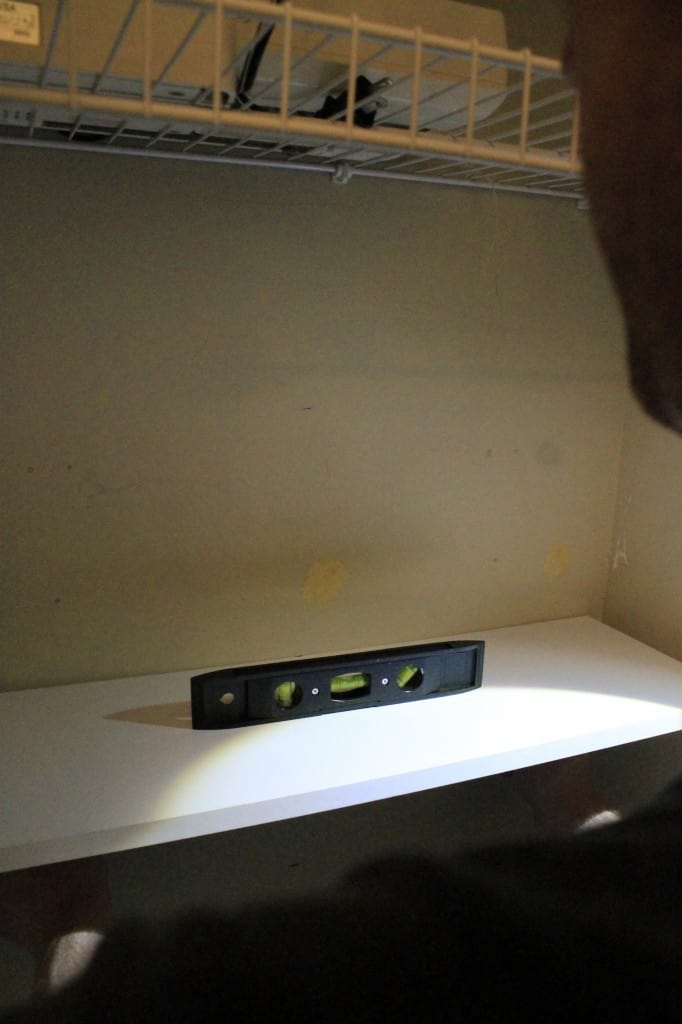
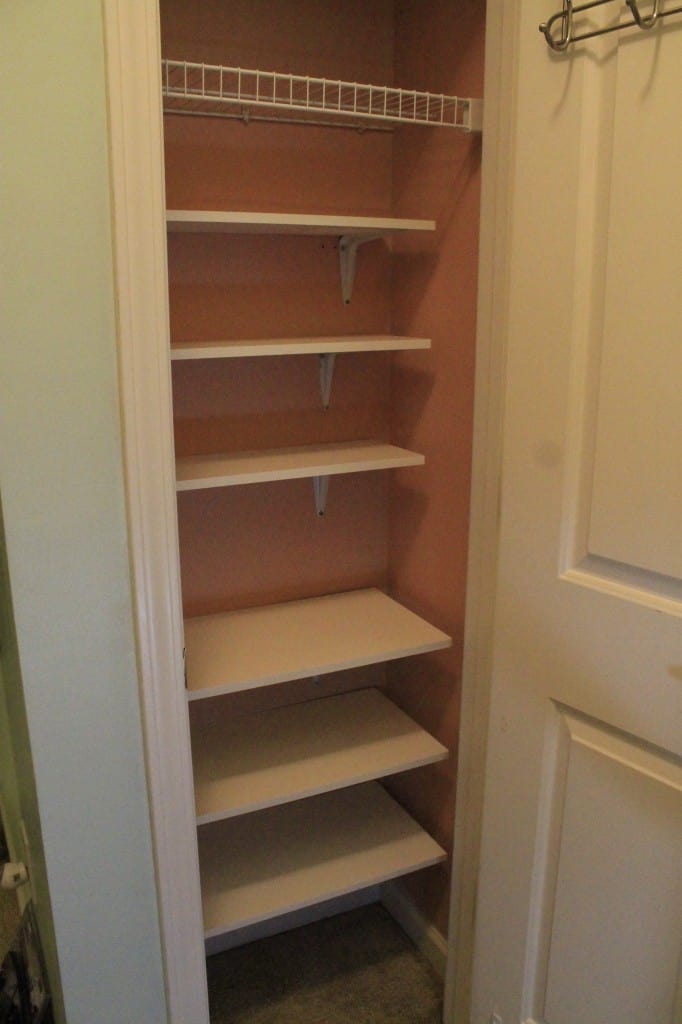
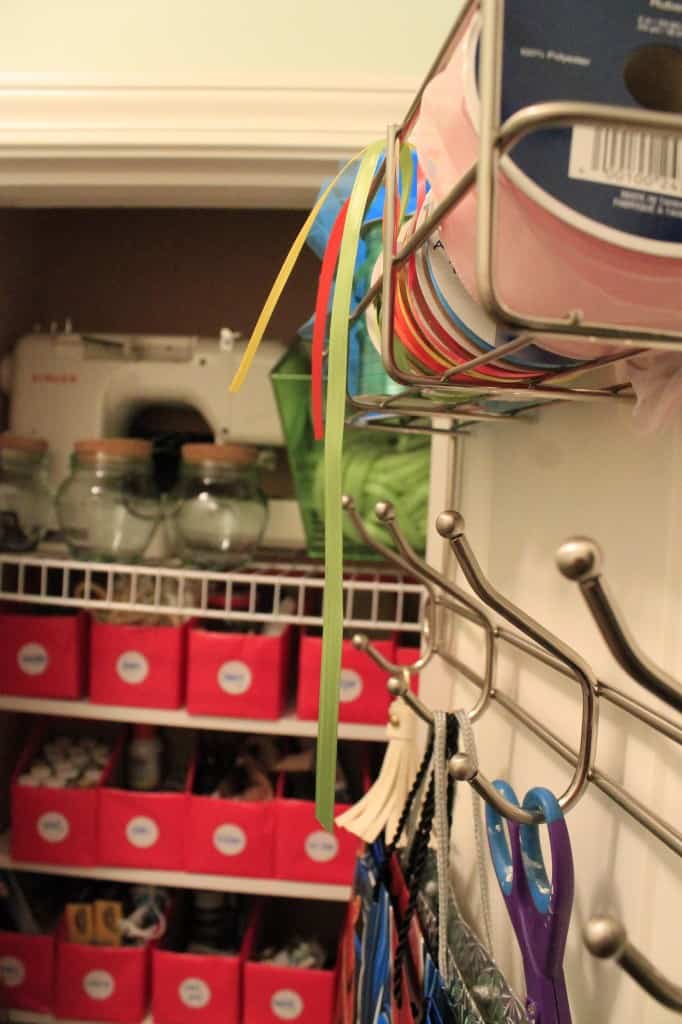
I kept the top (wire) shelf for my sewing machine (which is broken and needs either part replacement or a whole machine replacement before I can use it again.)

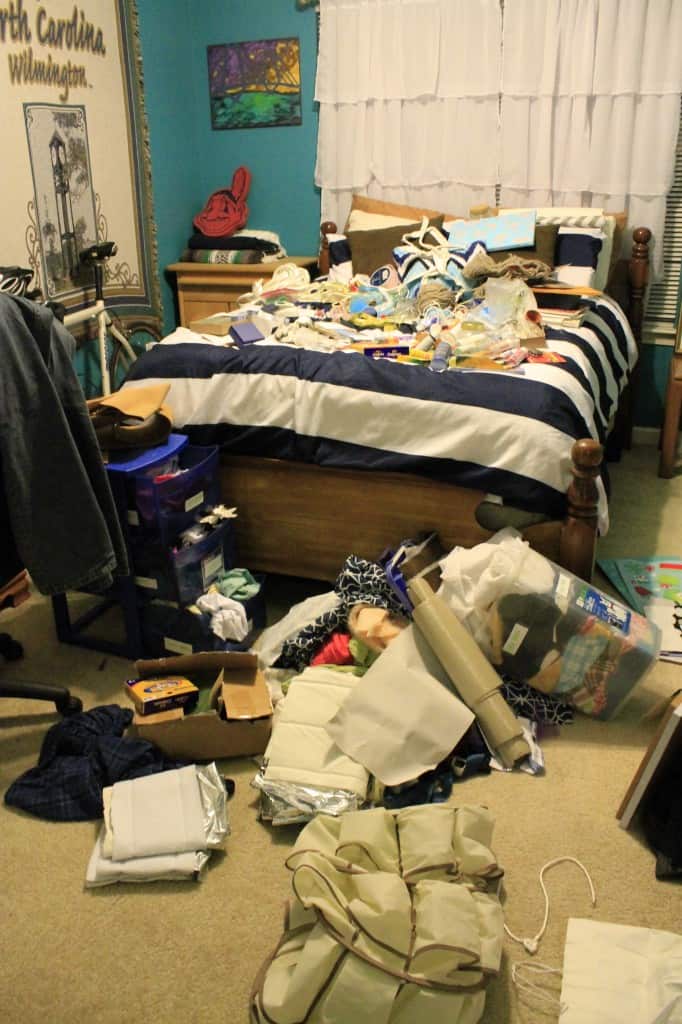
 Meanwhile, I took everything out of the closet and into the guest room. It was a huge mess. I sorted things into categories of keep, trash, donate. I also went thru my fabric and threw away a lot I had been hoarding. Some of the larger pieces that I knew I would never use I gave to a lady at work who sews, so I felt okay about that.

An Organized Craft Closet - Charleston Crafted

An Organized Craft Closet - Charleston Crafted

An Organized Craft Closet - Charleston Crafted

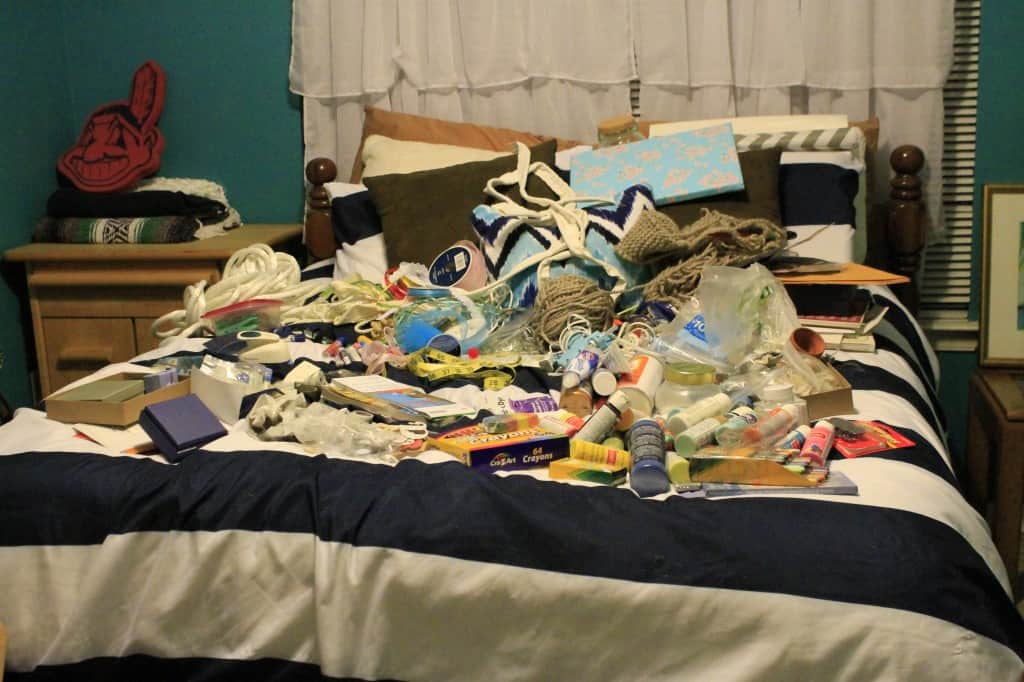
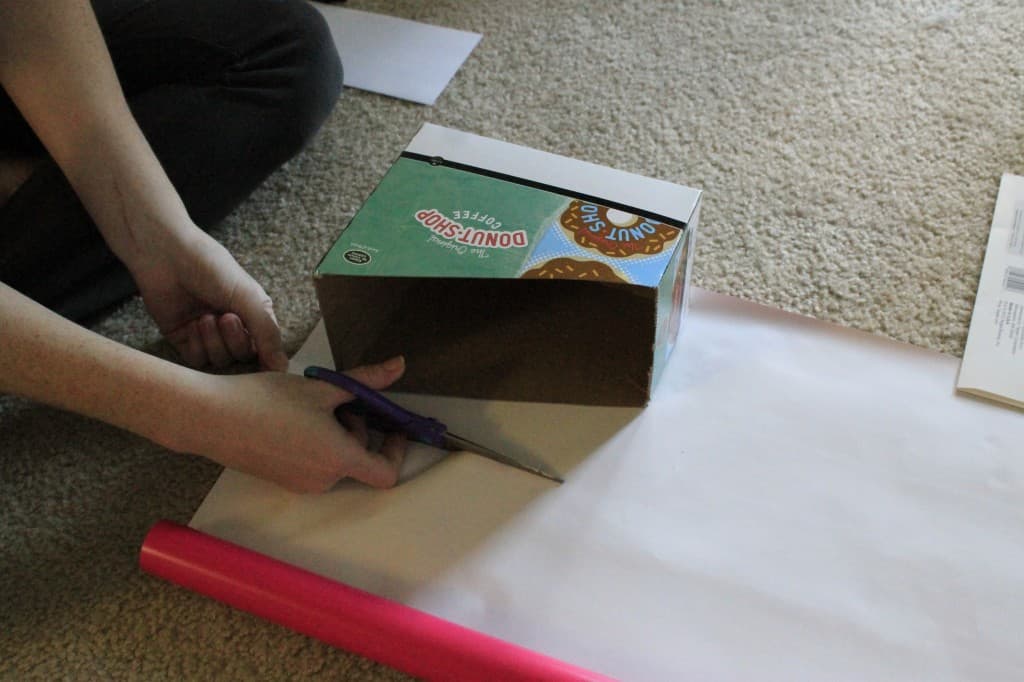
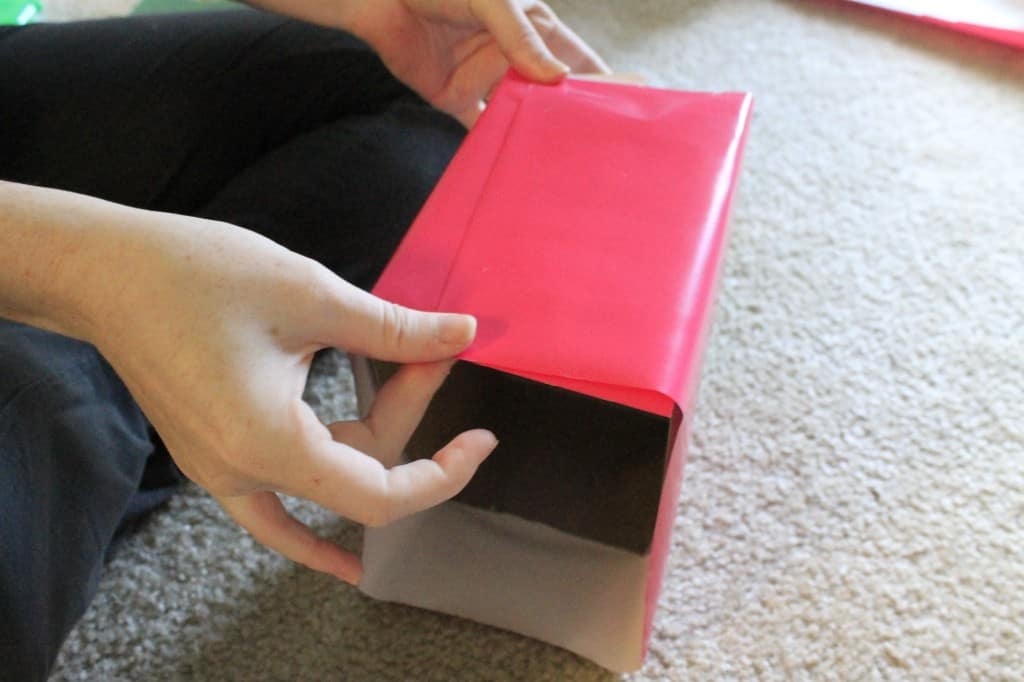
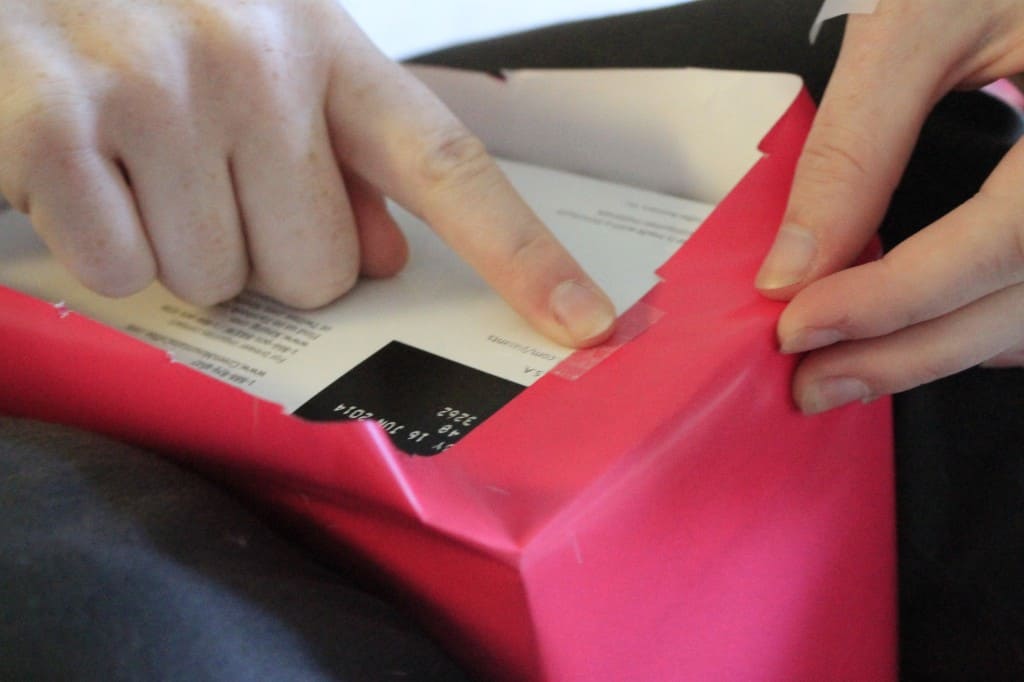
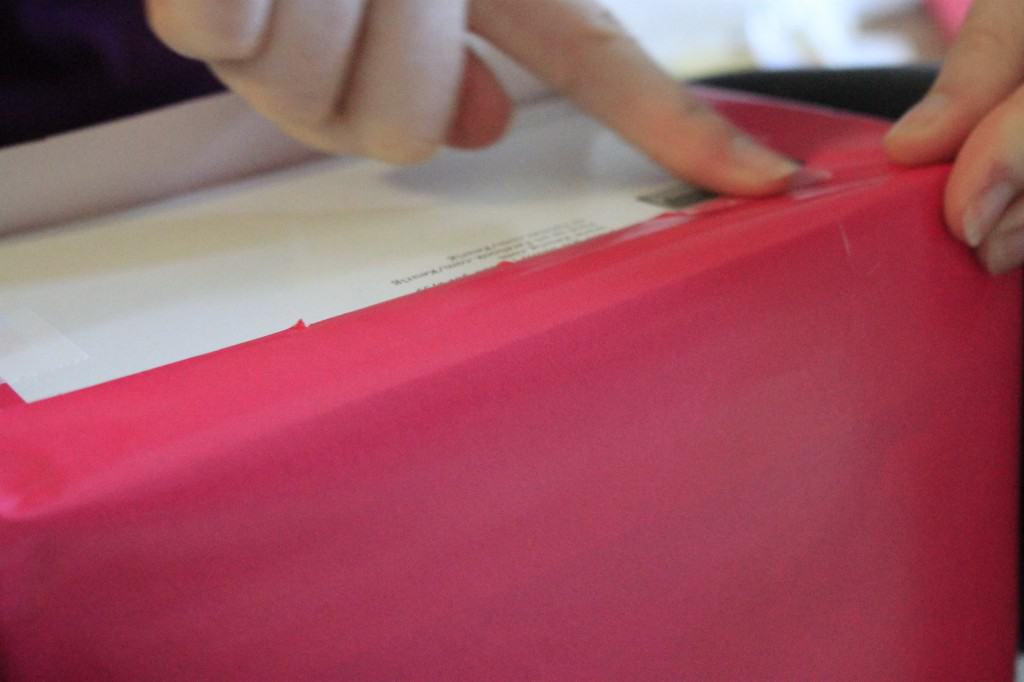
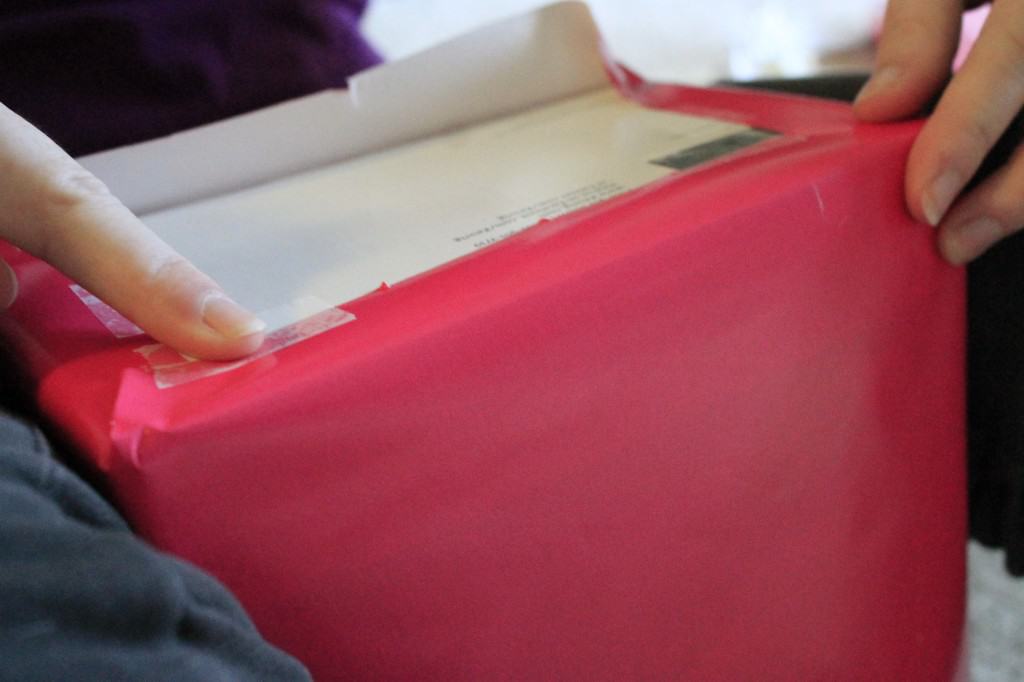
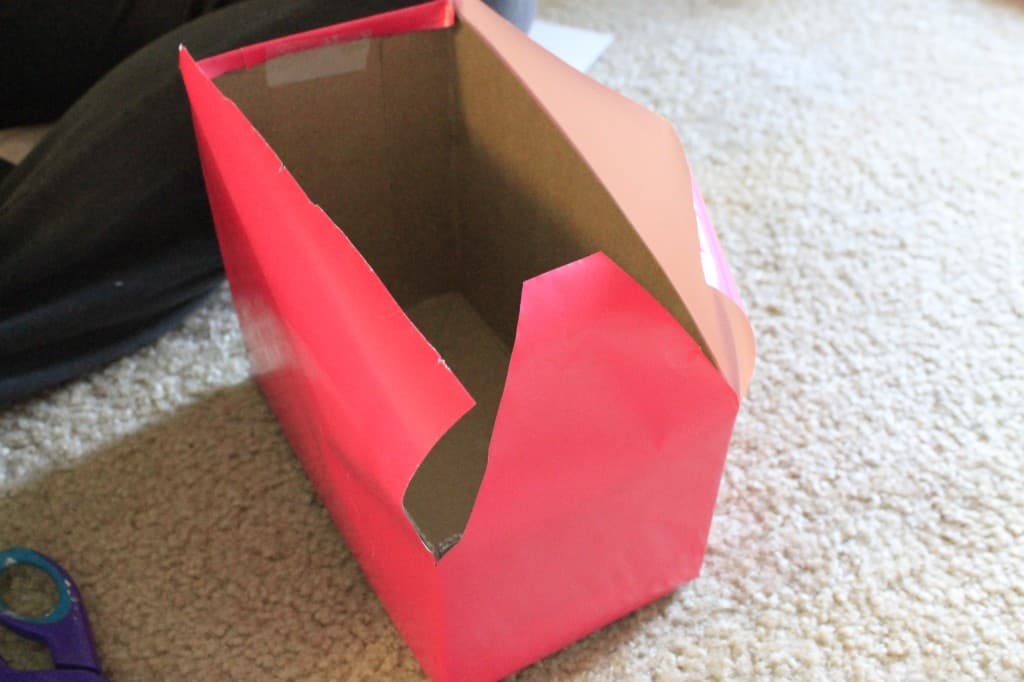
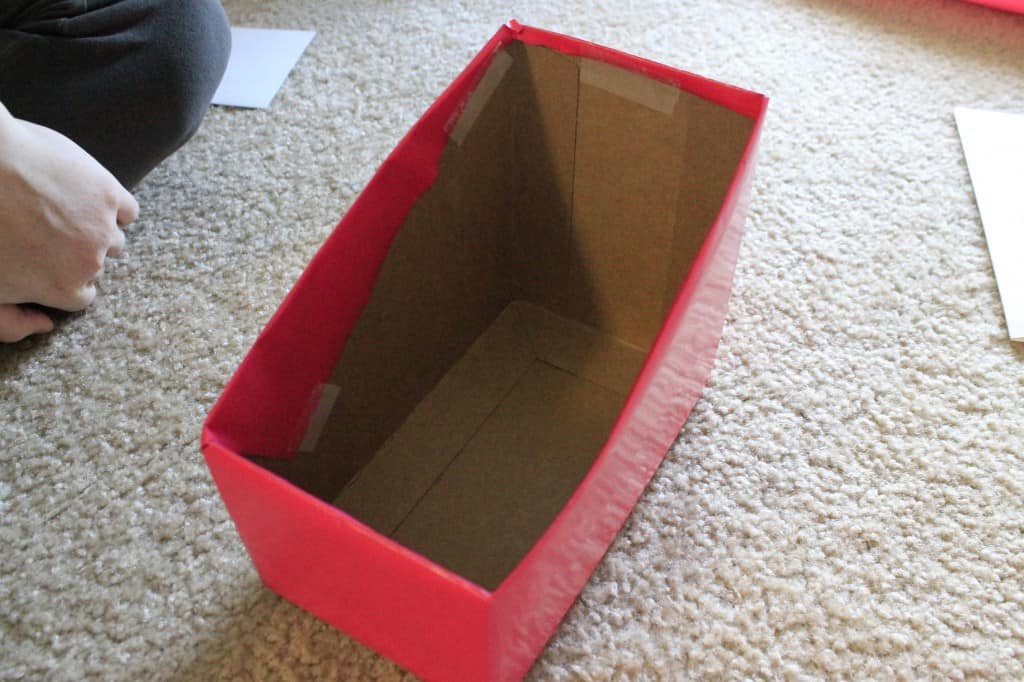
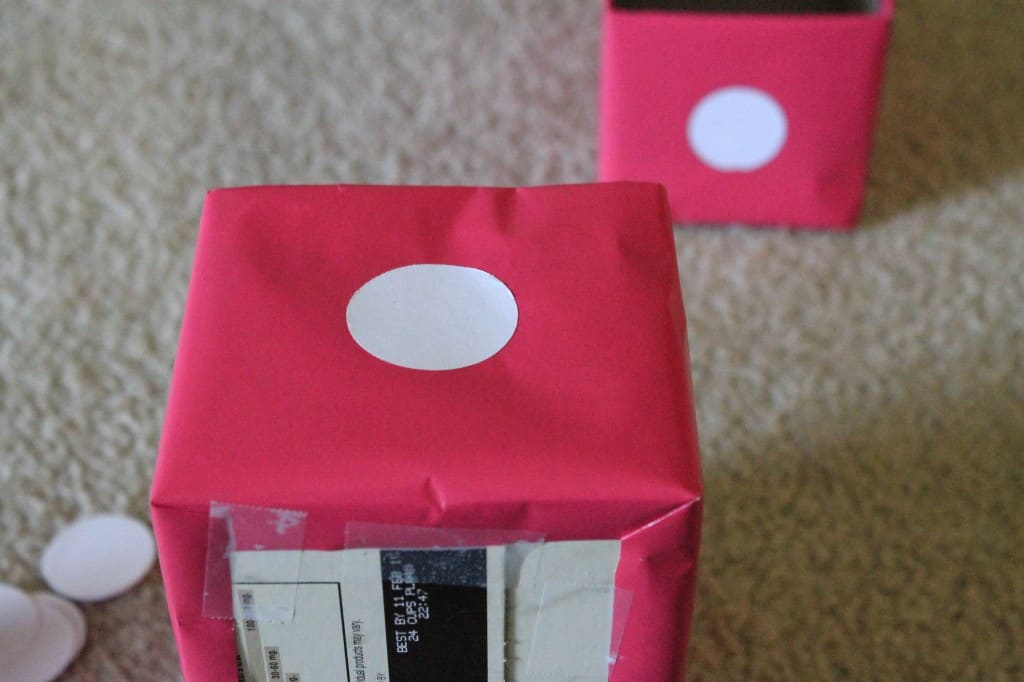
I decided that I wanted a bunch of box containers to sort and store my supplies. However, bins can be really pricey at the store, even at Walmart or Homegoods, so I decided to make my own by wrapping cardboard boxes in giftwrap. I used K cup boxes and boxes from the post office.

An Organized Craft Closet - Charleston Crafted

An Organized Craft Closet - Charleston Crafted

An Organized Craft Closet - Charleston Crafted

An Organized Craft Closet - Charleston Crafted

An Organized Craft Closet - Charleston Crafted

An Organized Craft Closet - Charleston Crafted

An Organized Craft Closet - Charleston Crafted

An Organized Craft Closet - Charleston Crafted

An Organized Craft Closet - Charleston Crafted

An Organized Craft Closet - Charleston Crafted

An Organized Craft Closet - Charleston Crafted

An Organized Craft Closet - Charleston Crafted

An Organized Craft Closet - Charleston Crafted

An Organized Craft Closet - Charleston Crafted

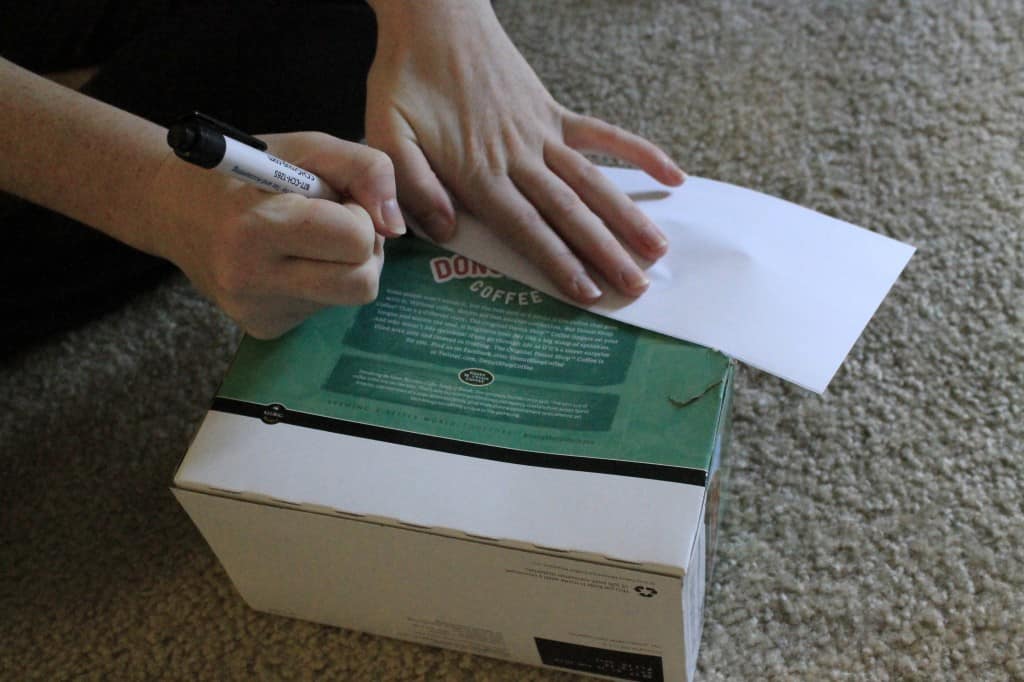
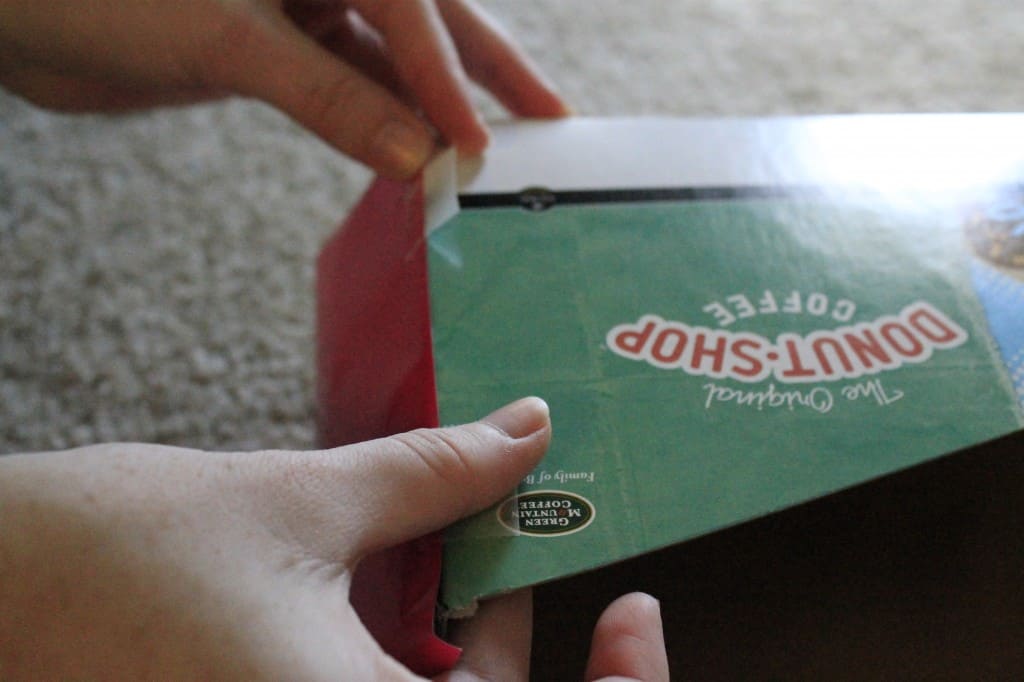
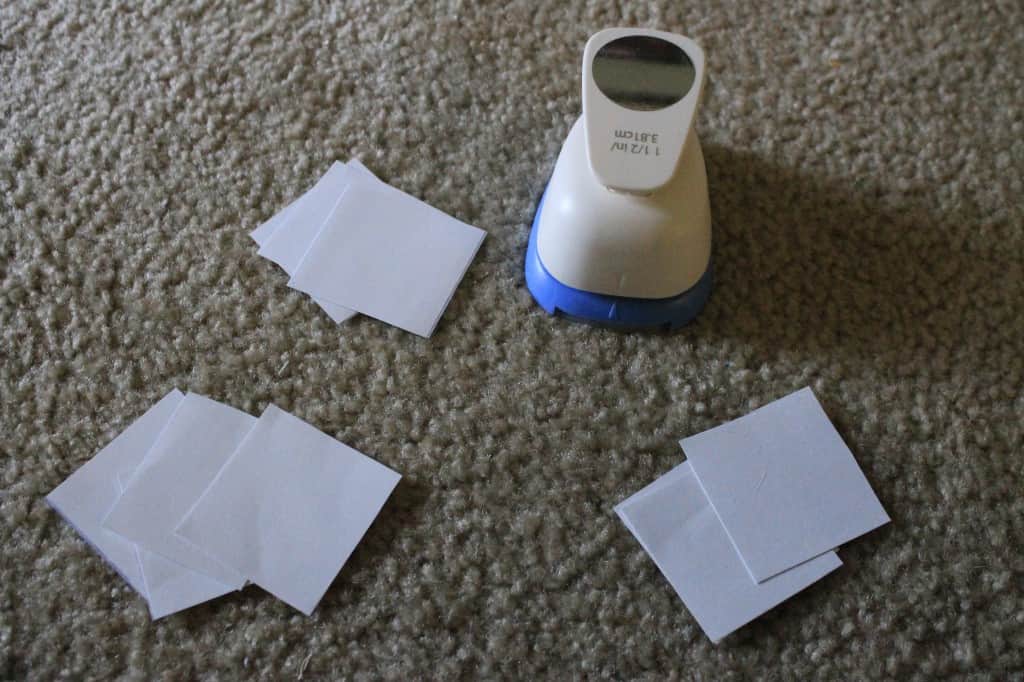
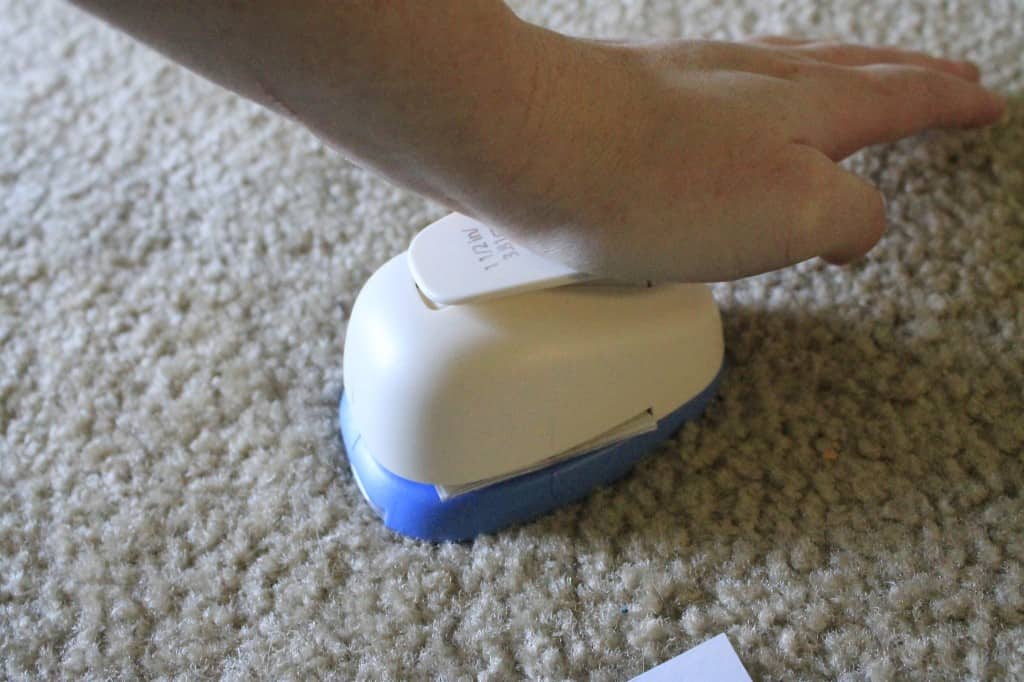
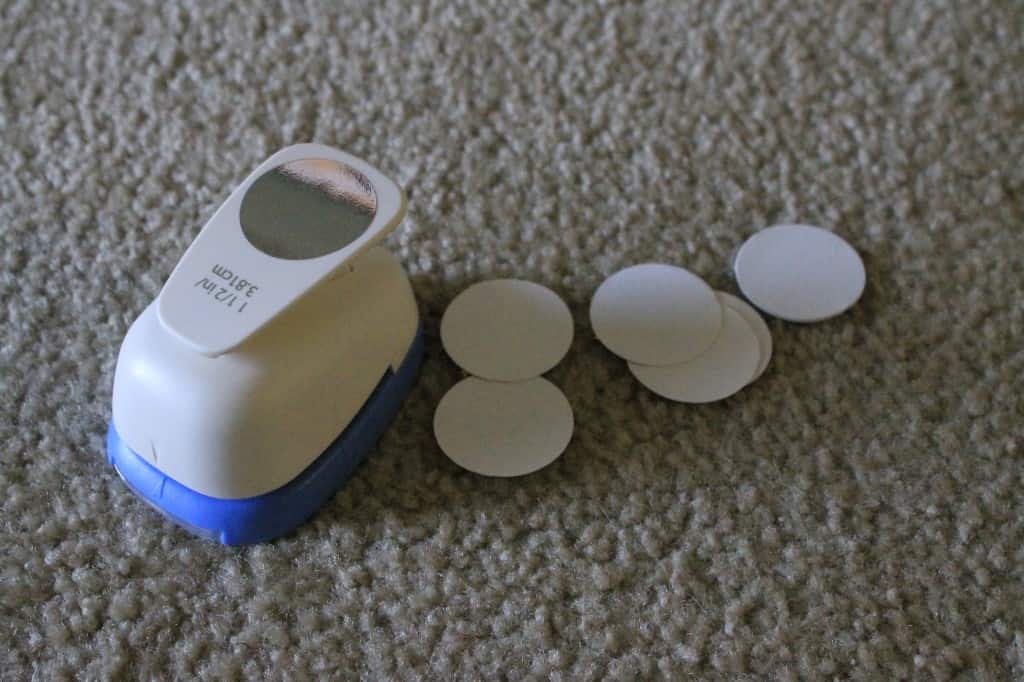
I punched circles out of address labels to label the boxes. I thought about printing labels but wanted to be able to change them quickly if I needed to and knew I wouldn't sit down and print one new label. This time around was all about sustainability.

An Organized Craft Closet - Charleston Crafted

An Organized Craft Closet - Charleston Crafted

An Organized Craft Closet - Charleston Crafted

An Organized Craft Closet - Charleston Crafted

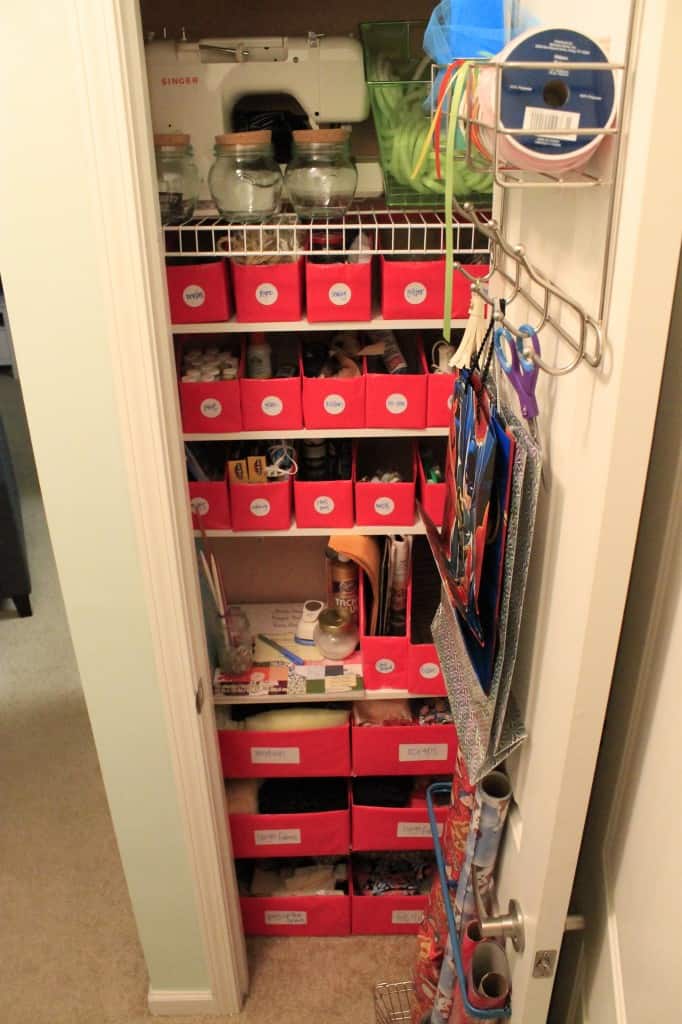
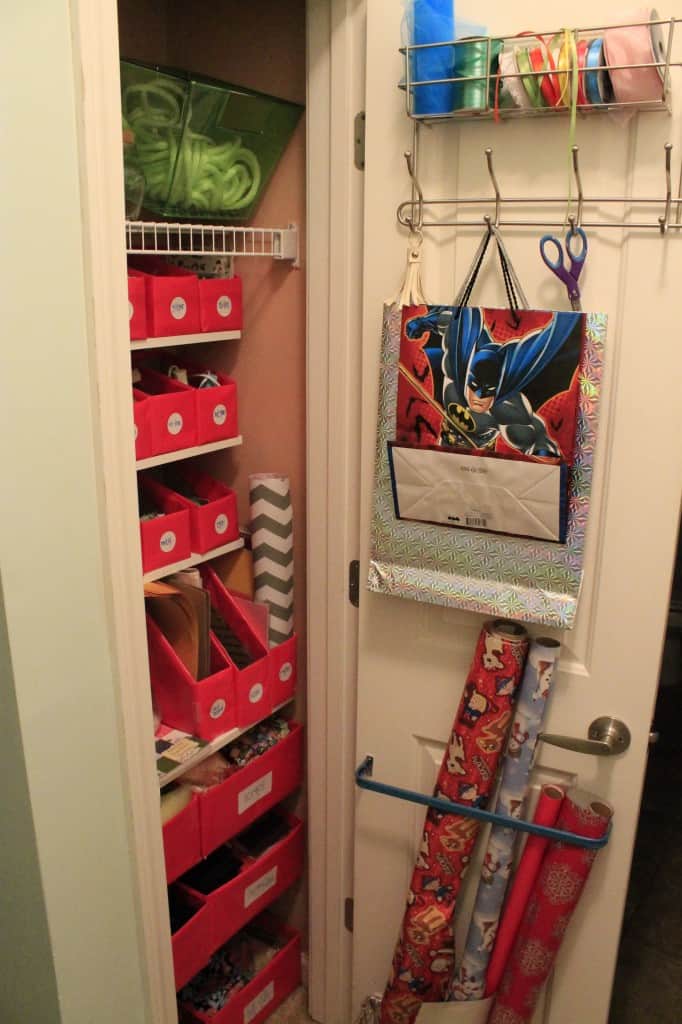
So, here's how it looks all together.

An Organized Craft Closet - Charleston Crafted

An Organized Craft Closet - Charleston Crafted

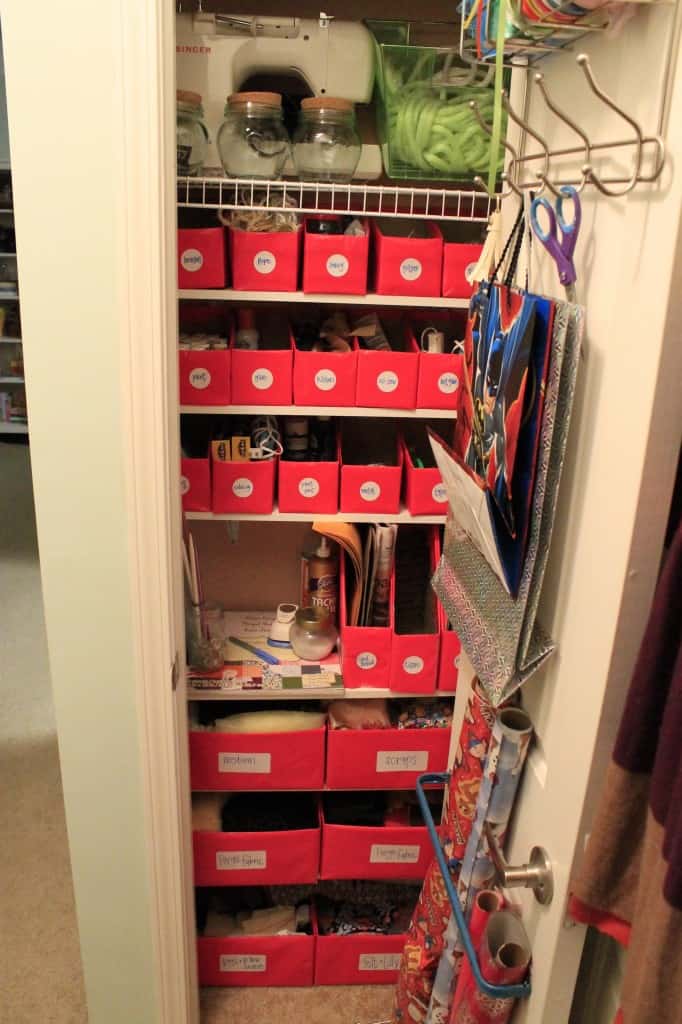
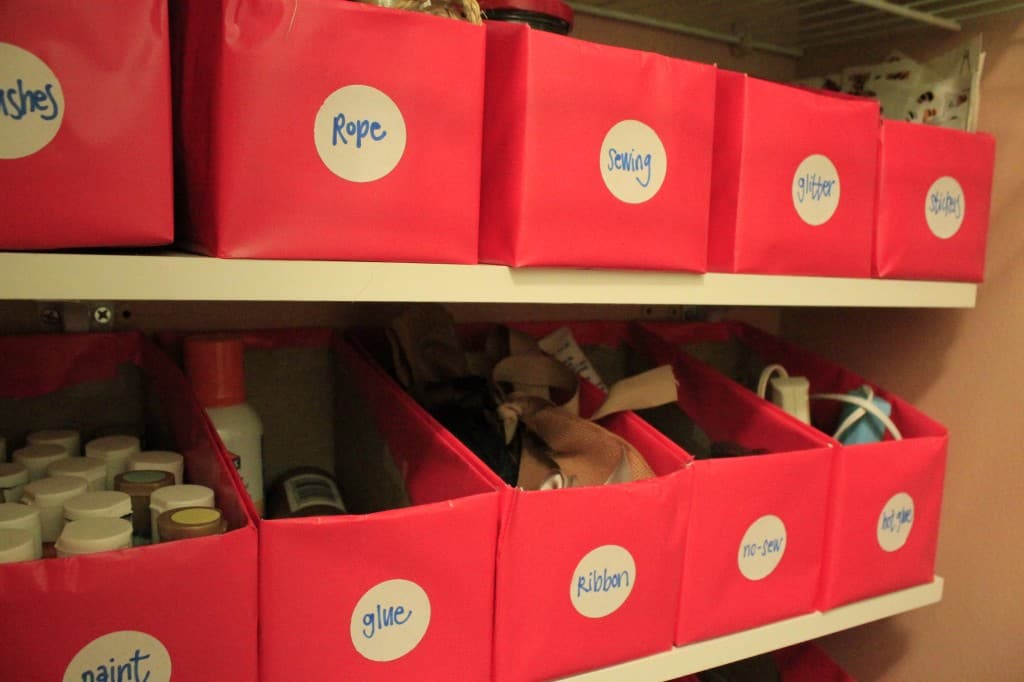
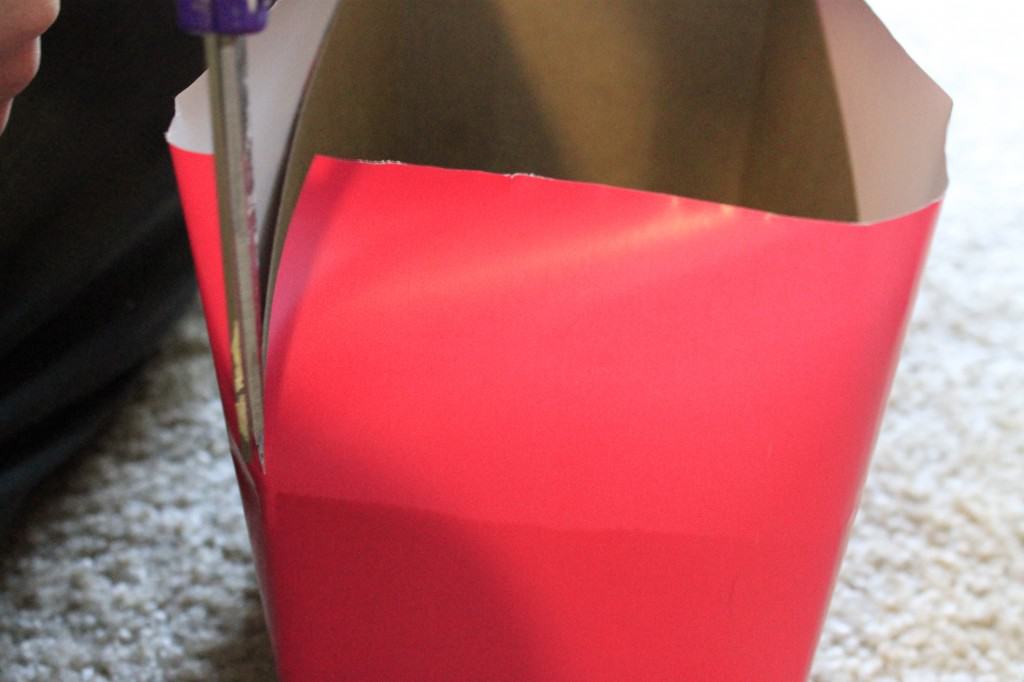
The top 3 shelves below my sewing machine are 6 inches deep and hold my K cups. There are 5 on each shelf or 15 total. I cut the top at an angle, wrapped the box in wrapping paper, and stuck a circle label on the front to keep them very organized.

An Organized Craft Closet - Charleston Crafted

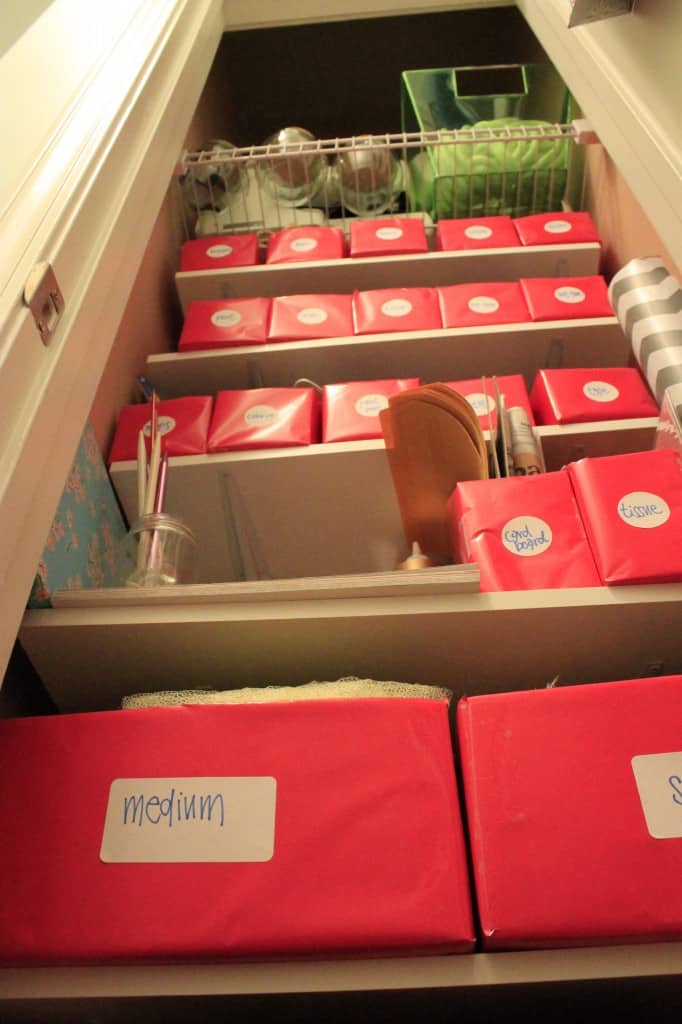
The next shelf has larger magazine type boxes (just larger boxes but and wrapped the same way) and holds a variety of papers. There is even open space for if I get more stuff!

Below that are 3 shelves of fabric. I have a fabric hoarding problem but I don’t want to give it up because it comes in handy! However, I forced myself to purge and keep only what would fit in these boxes. I think that’s fair. Speaking of, the boxes are large flat rate shipping boxes from the post office, wrapped and labeled.

An Organized Craft Closet - Charleston Crafted

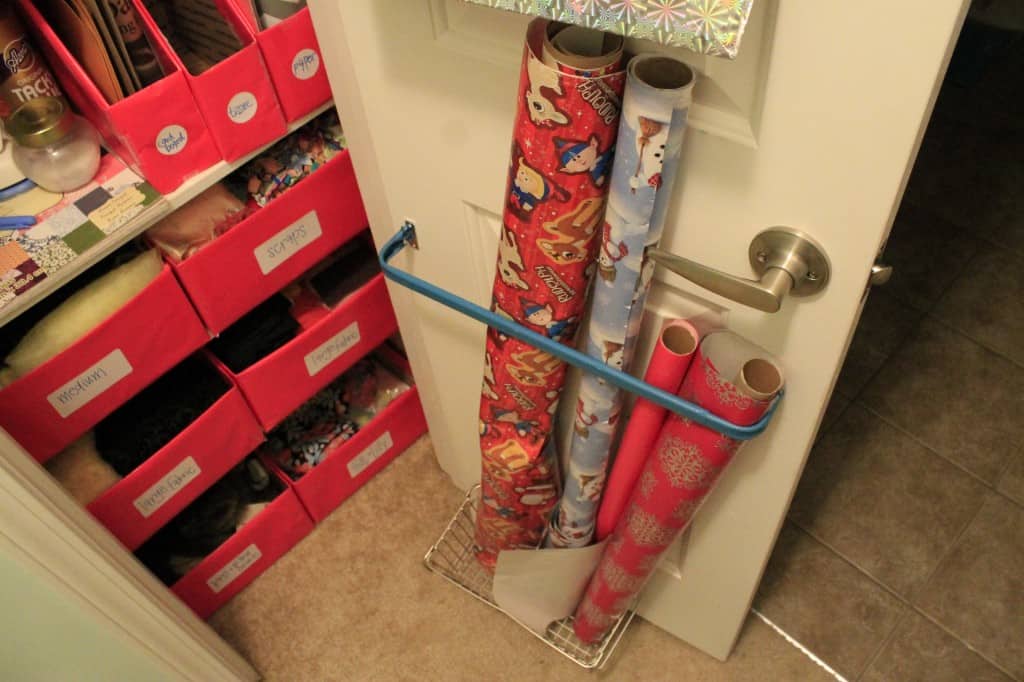
The door storage stays the same – it’s our gift wrap and you can read about that here!

An Organized Craft Closet - Charleston Crafted

An Organized Craft Closet - Charleston Crafted

An Organized Craft Closet - Charleston Crafted

I am so in love with this room now because it is 1) pink and 2) so organized. It is SO easy to find things and also put things away. If I am working with a type of supply, I can take the whole box into the kitchen with me and then take it back easily. Easy is king of storage! Plus, the storage containers were free, I spent less than $10 on the gift wrap and already had the labels, we used paint we already had, and spent less than $100 on the shelving, brackets, and a huge box of fancy anchored screws that we will use for many more projects. I am so pleased with how this turned out!

Have you done any organizing lately?

  signature 2
 logo facebook  logo instagram  logo pinterest  logo twitter
Morgan headshot cropped
Morgan

Hello, I'm Morgan, half of the creative force behind CharlestonCrafted.com! With a passion for DIY that dates back to 2012, I've transformed three homes and now I'm dedicated to helping others craft their dream spaces. Let's turn your house into a home together!

More Closet Designs

  • DIY Walk-in Closet Makeover - Charleston Crafted
    DIY Walk-in Closet Makeover Reveal!
  • DIY built-in dresser with cubbies - Charleston Crafted
    DIY built-in dresser with cubbies for a walk in closet
  • How to build DIY linen closet shelves - Charleston Crafted
    How to build linen closet shelves (the easy way!)
  • 26 best diy closet shelves and organizers
    27 DIY closet shelves + organizers

Reader Interactions

Comments

  1. Marybeth says

    February 24, 2014 at 11:00 pm

    You, my friend, are brilliant! With the Keurig boxes. Thank God for the internet because I would never think of these things on my own!
    PS, I'm visiting via the Rock What You Got Link Up on Vintage Revivals

    • Morgan says

      February 24, 2014 at 11:04 pm

      Thanks for stopping by! I love your black chandelier it looks so modern!

Primary Sidebar

Charleston Crafted about us image

Hey y'all!

We are Morgan & Sean McBride and we are crafting our home together in Charleston, South Carolina.

More about us

Popular Posts

  • DIY Coffered Ceiling
    DIY Coffered Ceiling
  • How to Make DIY Concrete Pumpkins via Charleston Crafted
    How to Make DIY Concrete Pumpkins
  • How to Make a Cupid's Arrow Valentine's Day Wall Hanging with felt on the Cricut
    How to make a Cupid's Arrow Valentine's Day Wall Hanging
  • Our Tropical Oasis - A backyard Hammock area - Charleston Crafted
    Our Tropical Oasis

Recent Posts

  • fisherman aesthetic home inspiration
    Fisherman Aesthetic Decor for Your Home
  • Senix Tools Review- Charleston Crafted
    Are Senix power tools any good?
  • Your Weekend To-Do List: 15 Things to Do for Summer Home Upkeep
    Your Weekend To-Do List: 15 Things to Do for Summer Home Upkeep
  • How to build a DIY gate pergola- Charleston Crafted
    How to build a DIY gate pergola

Privacy Policy

Footer

↑ back to top

Navigation

  • Home
  • Blog
  • Contact Us
  • Terms of Use
  • Disclaimer

Newsletter

  • Sign up for emails and updates
  • Follow us on Instagram
  • Work with Us

Browse by Category

  • Woodworking
  • Home Projects
  • Paint Colors
  • Room Reveals

© 2025 The Charleston Crafted Blog LLC DBA “Charleston Crafted” and “CharlestonCrafted” (also known as N/A) / All Rights Reserved.
Official Website: (Charleston Crafted)
Registered in USA (Co. Reg. No.: 565586)
Address: Charleston, USA 29414, South Carolina
Contact Phone: Not applicable — contact is via email: sean@charlestoncrafted.com

DISCLAIMER: The content on this website is provided for general informational purposes only and is not intended as professional advice. The Charleston Crafted Blog LLC and The Charleston Crafted Blog LLC make no representations or warranties—express or implied—regarding the accuracy, completeness, or suitability of the information contained herein. Any reliance you place on this information is strictly at your own risk. In no event shall The Charleston Crafted Blog LLC or The Charleston Crafted Blog LLC be liable for any loss or damage, including without limitation, indirect or consequential loss or damage, arising from the use or inability to use this website. This website is the official website of The Charleston Crafted Blog LLC.

AFFILIATE DISCLOSURE: This website contains affiliate links. If you click through and make a purchase, we may earn a commission at no extra cost to you.

As an Amazon Associate, I earn from qualifying purchases.

Site Editor: Morgan Smith McBride

Copyright © 2025 Charleston Crafted