I have always known that I wanted to do special named hangers for myself and my bridesmaids. Not always as in, since I was a little child, all I dreamed of was hangers. Not exactly, but ever since I saw them in wedding pictures, I knew that I wanted to have them at my wedding. I just think that they make for beautiful pictures.
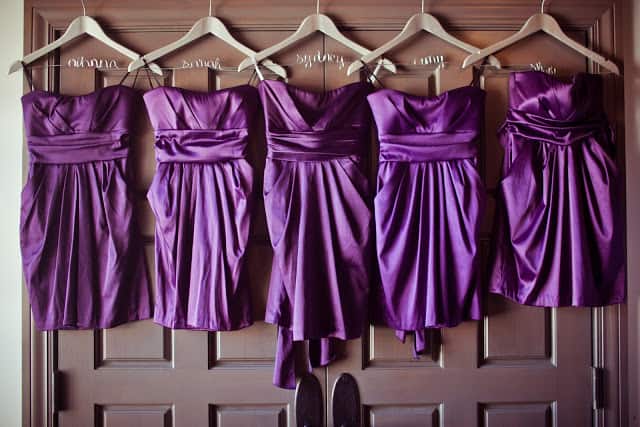
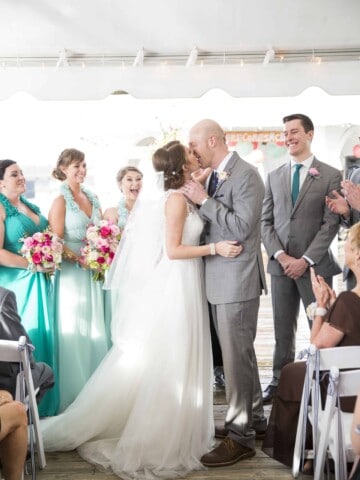
Image Source
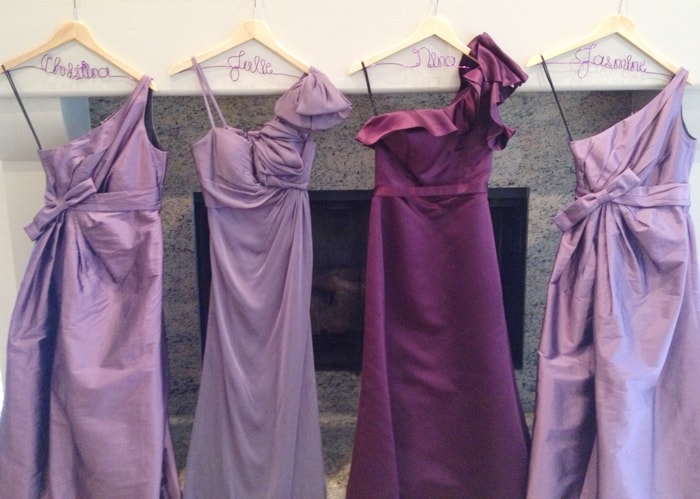
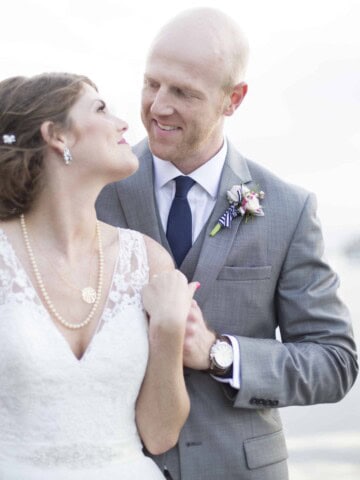
Image source
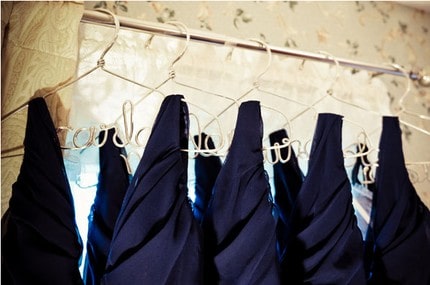
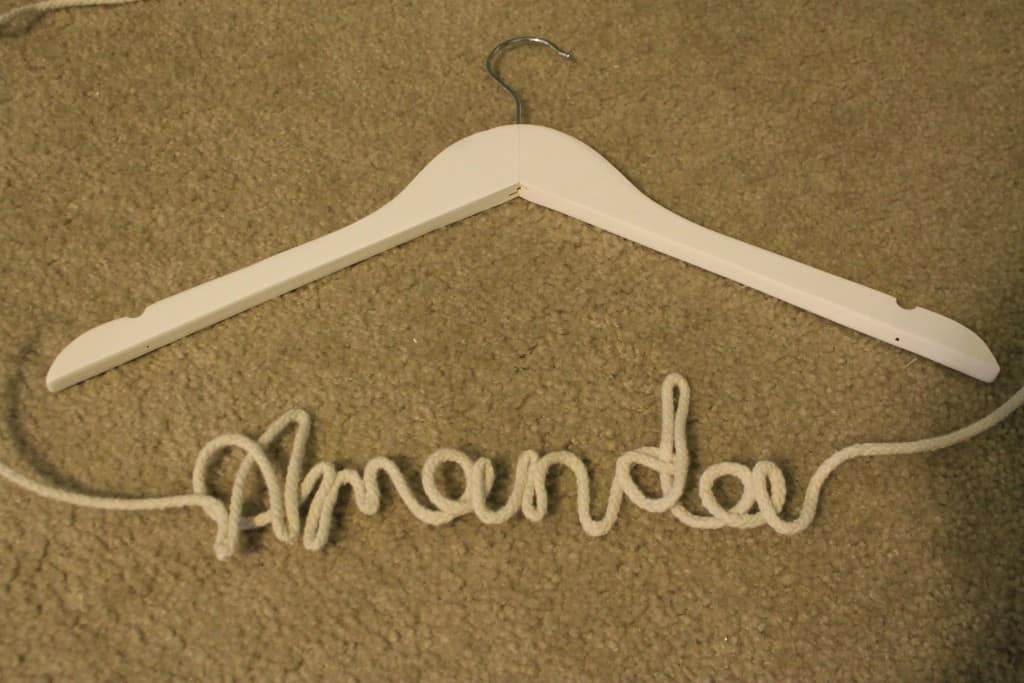
Now, I wanted to make mine just a tad different from the norm. I wanted mine to be - you guessed it - nautical.
So, instead of wire names, I wanted them to be written in rope. And the process was actually pretty simple.
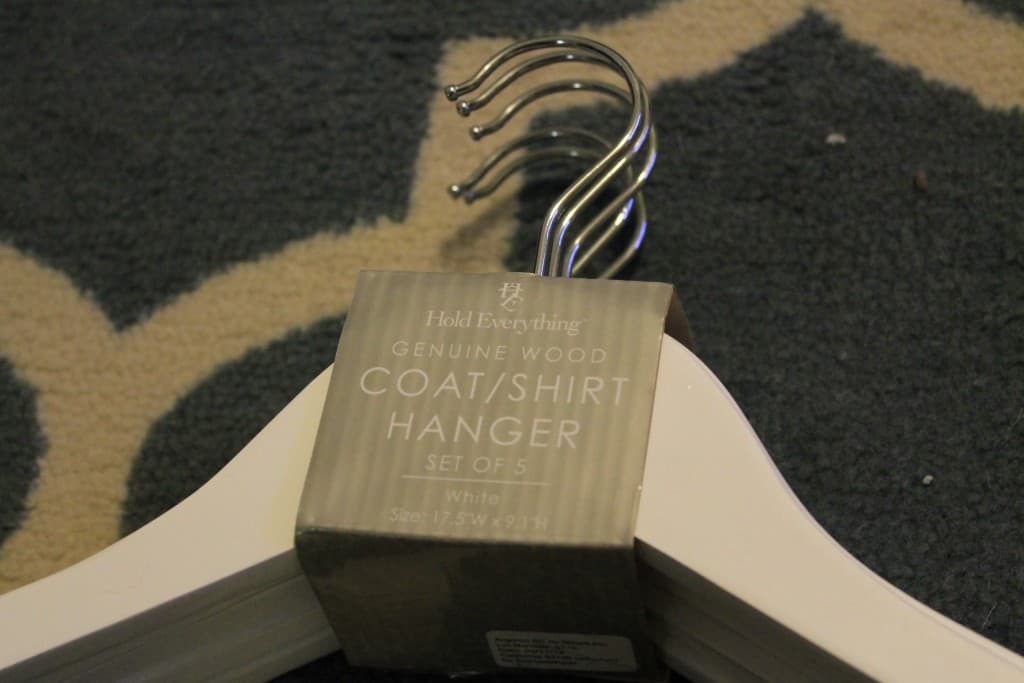
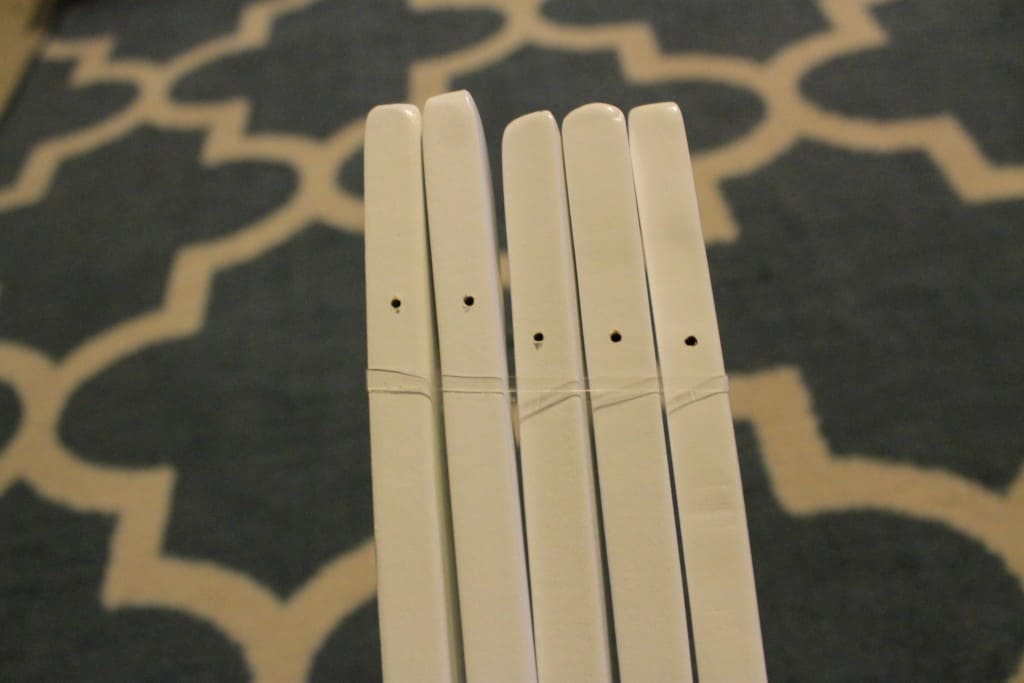
I got two packs of five hangers for $2.99 each from TJ Maxx. I got plain white wooden hangers.
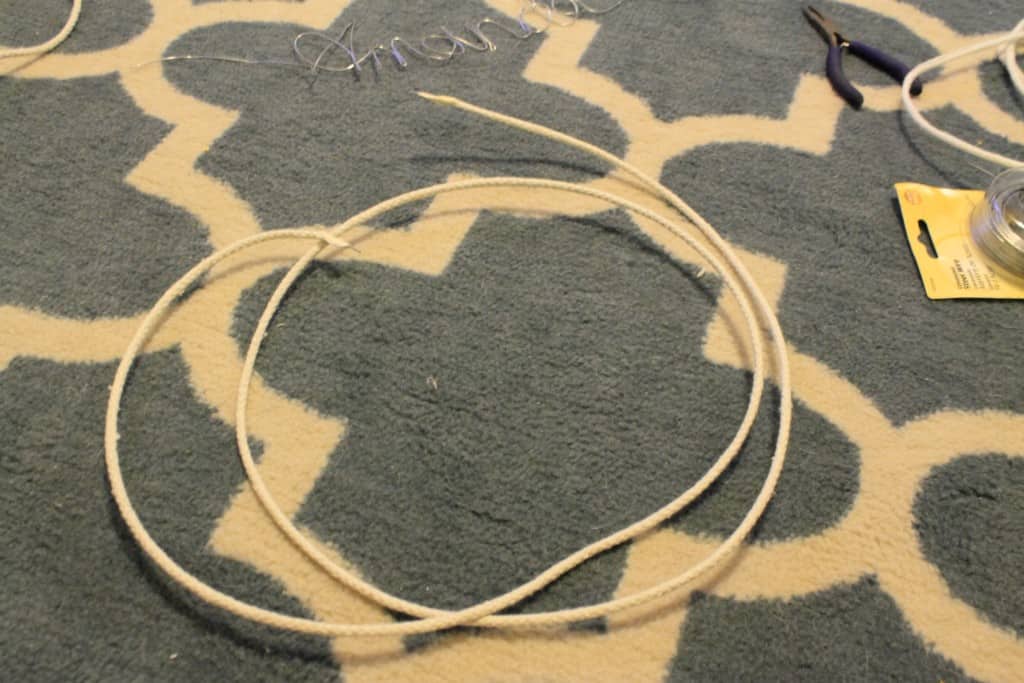
I used 18 gauge wire (that I actually already owned but you can find it here) and bent it with my bare hands to form names. I actually did a whole set in plain wire before deciding to jazz it up.
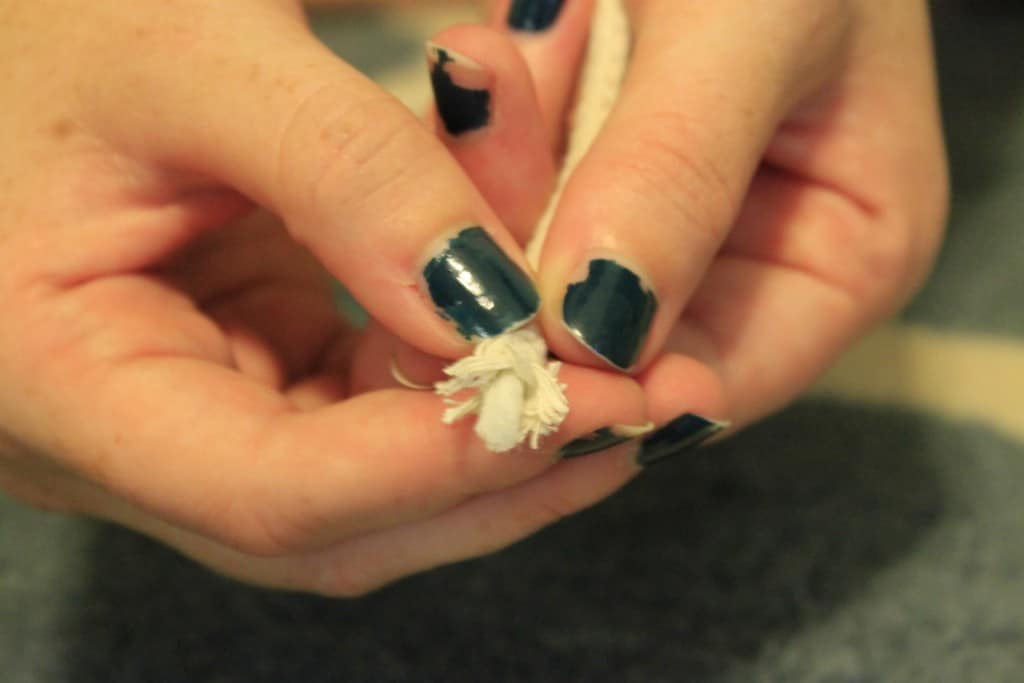
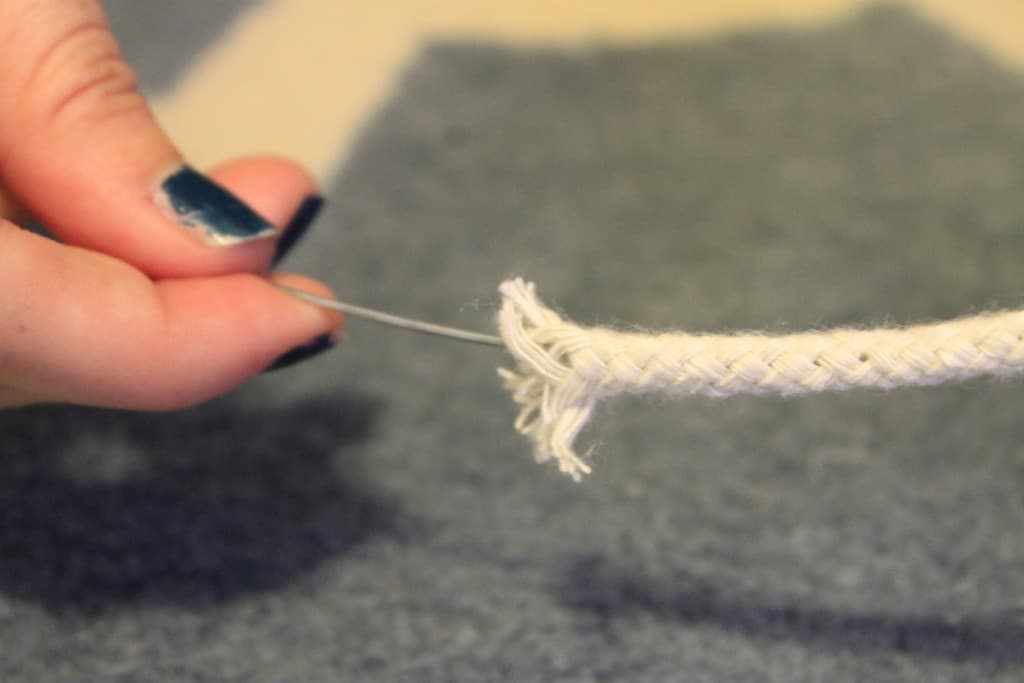
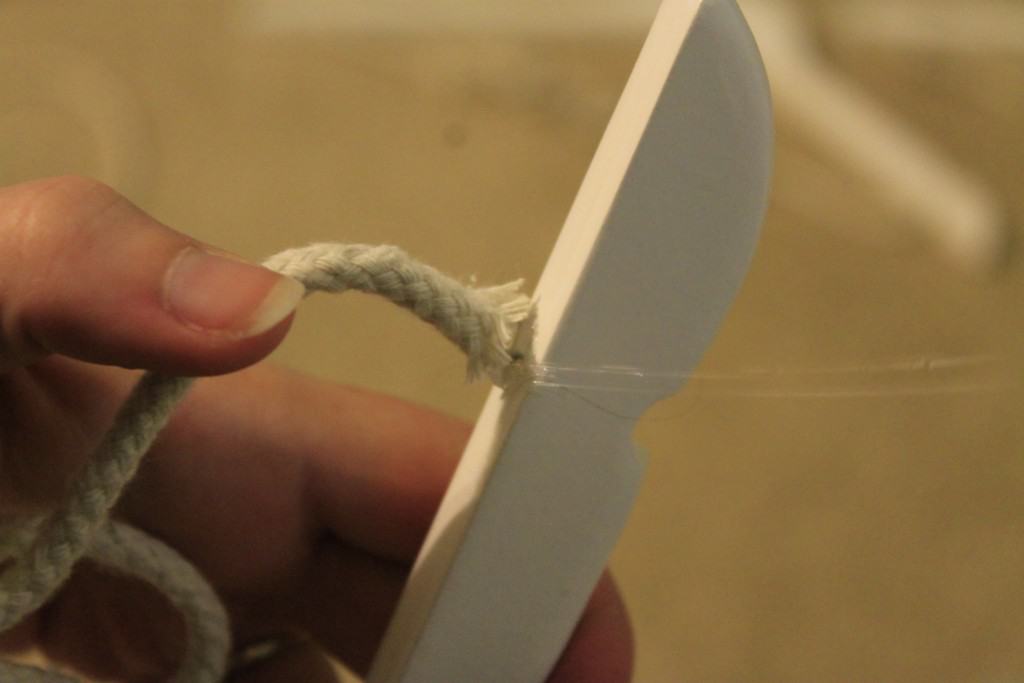
So, I cut an arm's length of wire for each hanger and a piece of clothesline rope the same length. This rope has a cotton core (it's green) so I gently pulled it out with my fingers. This left me with the hollow "shell" of a rope.
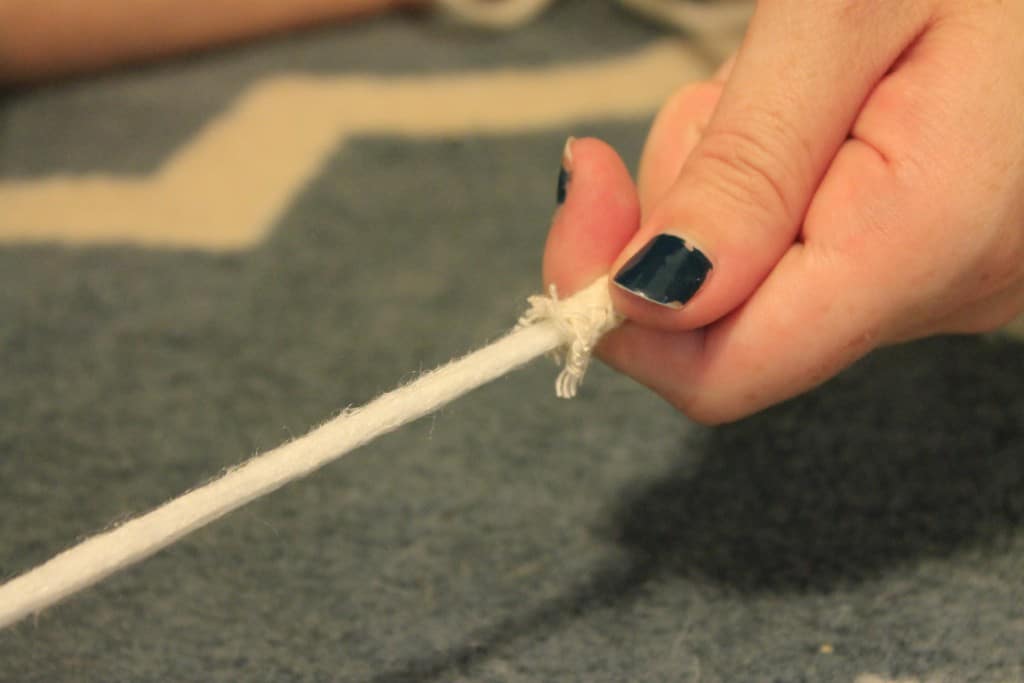
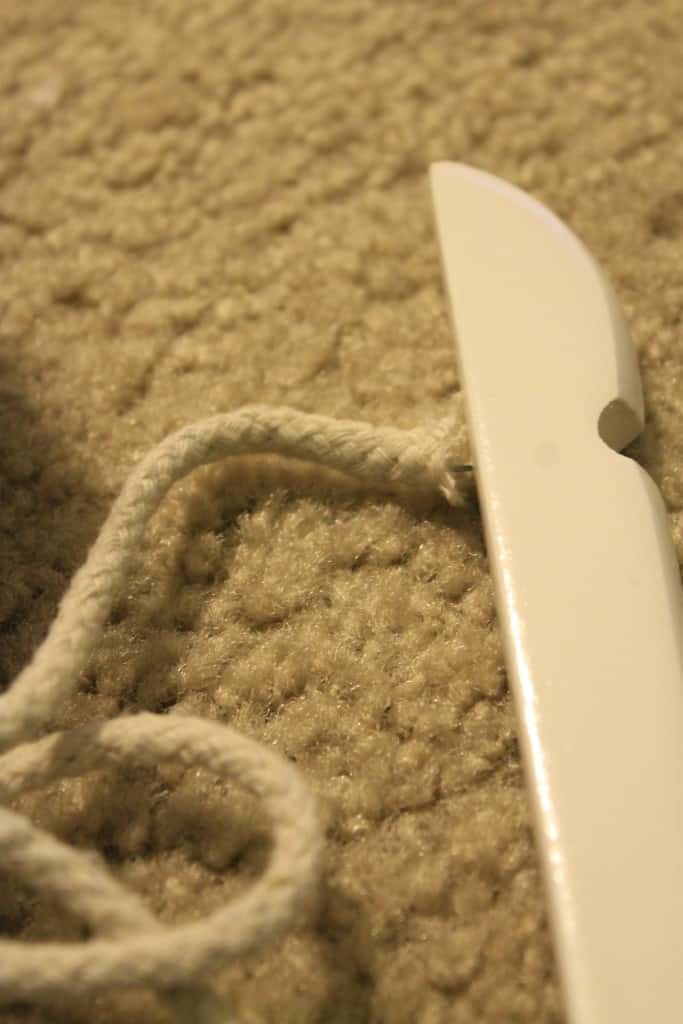
Then I threaded the wire into the shell. Be careful not to poke it through the rope.
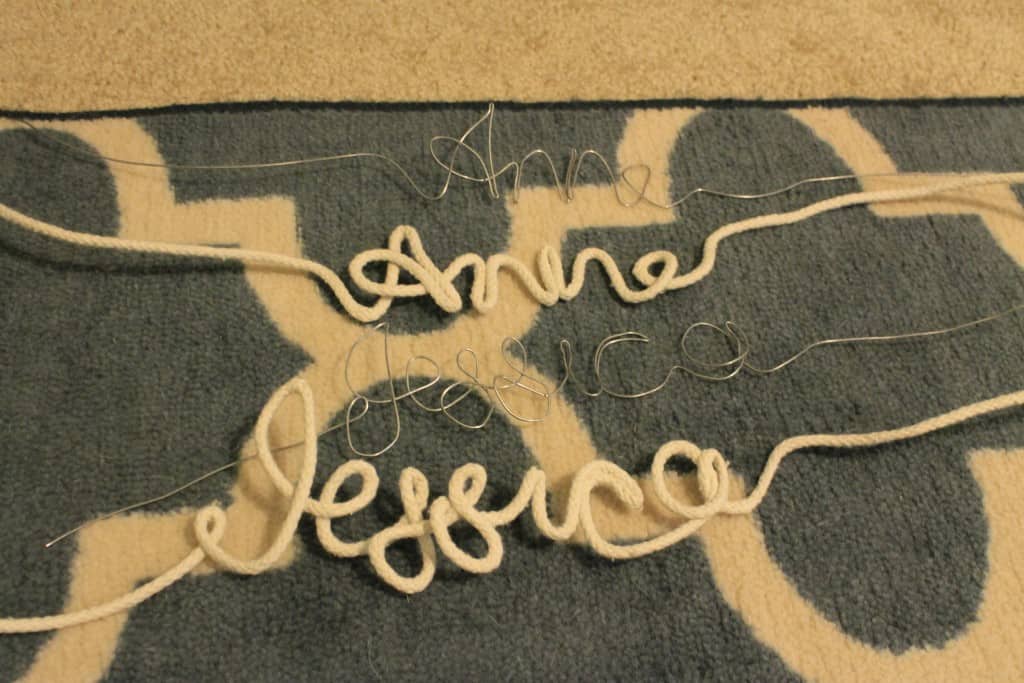
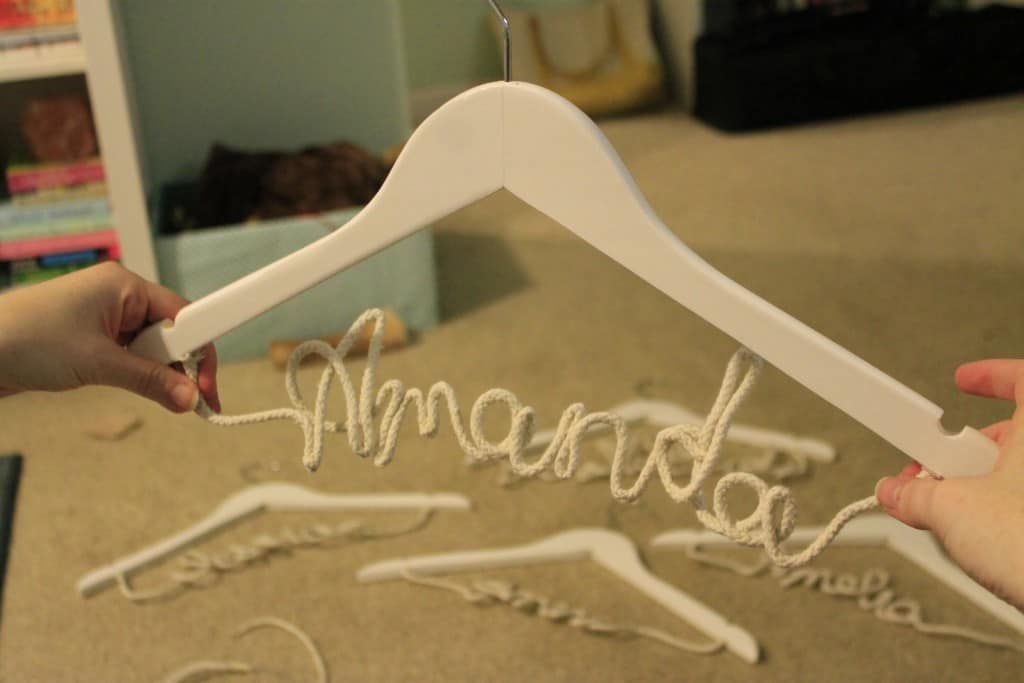
Then I bent it into name shapes. Some names (ahem, Anne) were easier than others (Kathryn - why must you have a K and a Y? So tricky. Much challenge.) I just didn't sweat it since I had tons of wire and rope and redid a few of them.
I hand wrote the name in cursive on a piece of paper and sort of "traced" that with wire, but it was mostly freehand. I used pliers on the tight bends (i's, t's, y's, etc) but mostly just used my fingers.
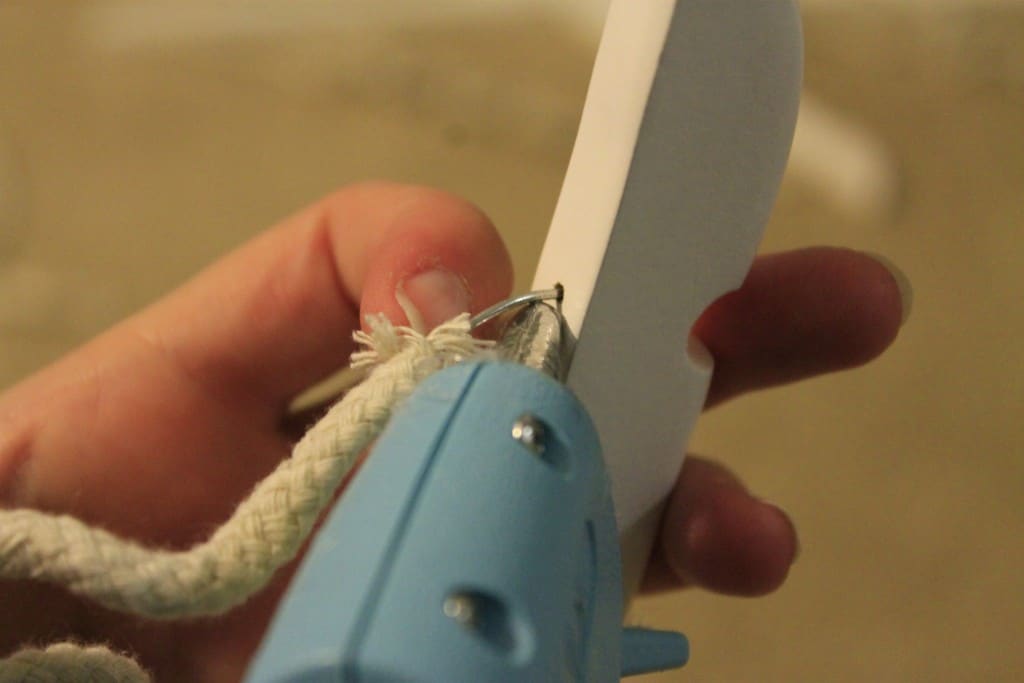
Finally, Sean used a small drill bit to drill holes in each hanger. I added hot glue and the wire ends and laid them flat to dry.
These were actually really pretty quick and easy, and cheap since I already had wire and rope and glue - and the rope is just enough to be coastal without over the top seashells or netting or anything. I love it!
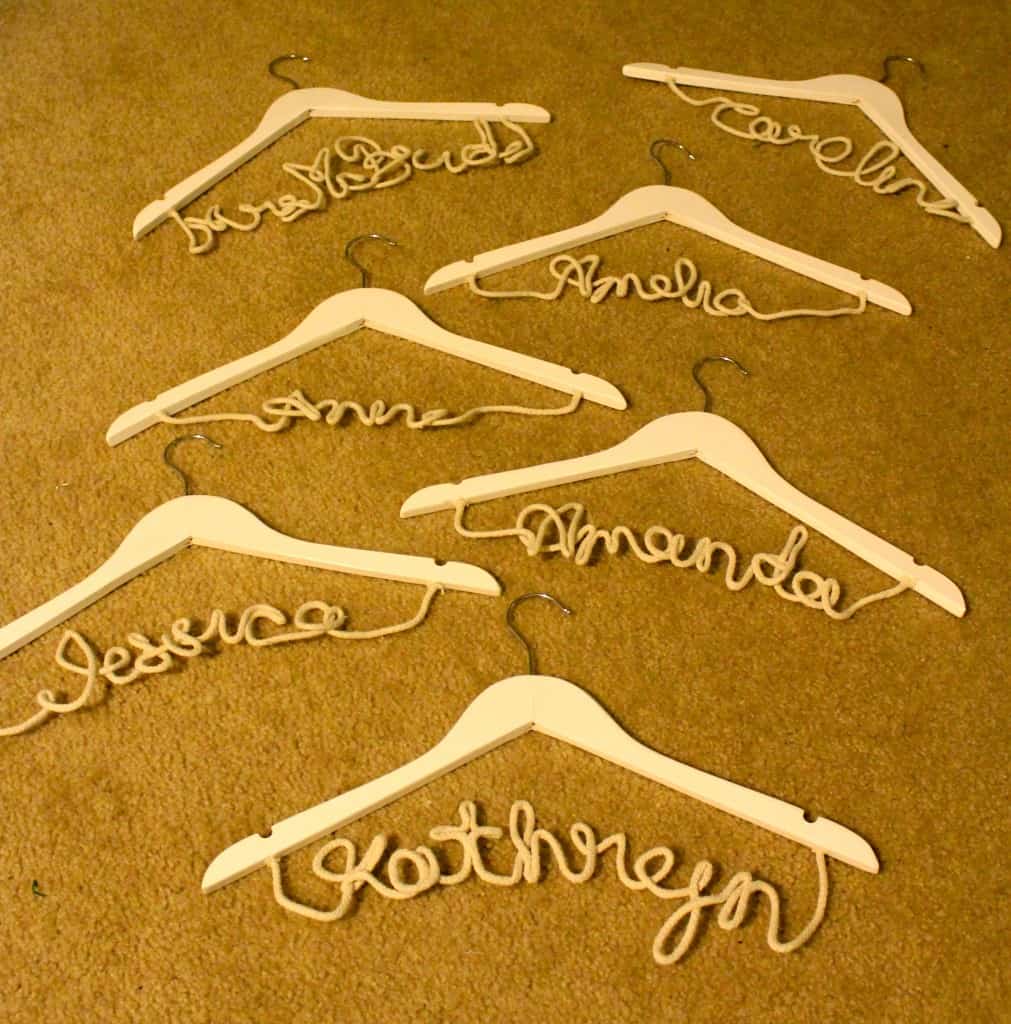
I guess these are technically a gift - the girls get to keep them - but they were really a gift for myself, for my pictures. I am planning to have them hanging in the room the day of the wedding ready for their dresses!
Did you make or buy fancy hangers?
 |
|||
| |
|
|
|

Hello, I'm Morgan, half of the creative force behind CharlestonCrafted.com! With a passion for DIY that dates back to 2012, I've transformed three homes and now I'm dedicated to helping others craft their dream spaces. Let's turn your house into a home together!