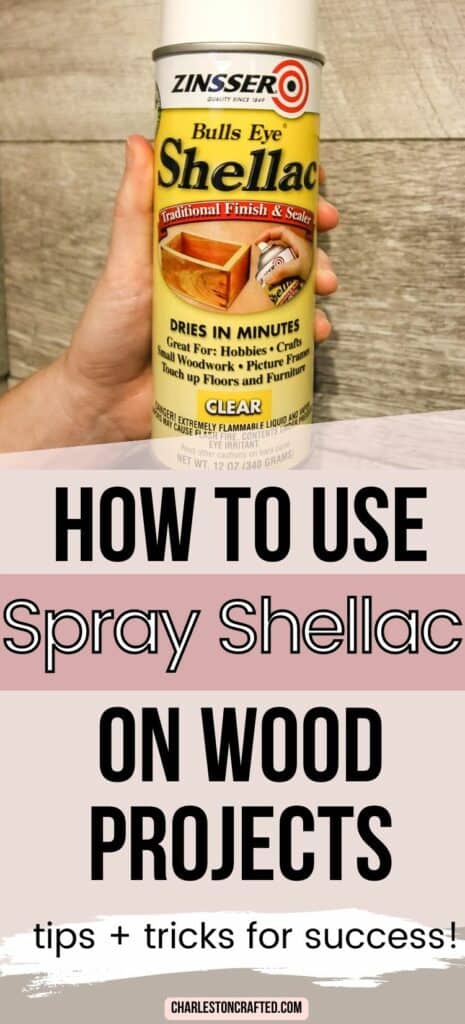
Want to apply a shellac sealant to your wood project? Here's how to use Zinsser spray shellac on your next project!
We love testing out different wood stains and sealants so you can easily find the best products for your project - without having to buy and test them all!
I started using spray shellac about 4 years ago when Luke was a baby and I wanted to make him some wooden toys to play with.
When researching the best baby-safe top coats to use, shellac came up again and again as a great option.
We've since been through a dozen cans of this stuff and super love it - and today wanted to dedicate a whole article to it!
In this post, we'll dive into the world of Zinsser spray shellac and explore its various applications.
Whether you're a beginner or an experienced DIY enthusiast, this guide will equip you with the knowledge and inspiration to create beautiful projects using this versatile product.
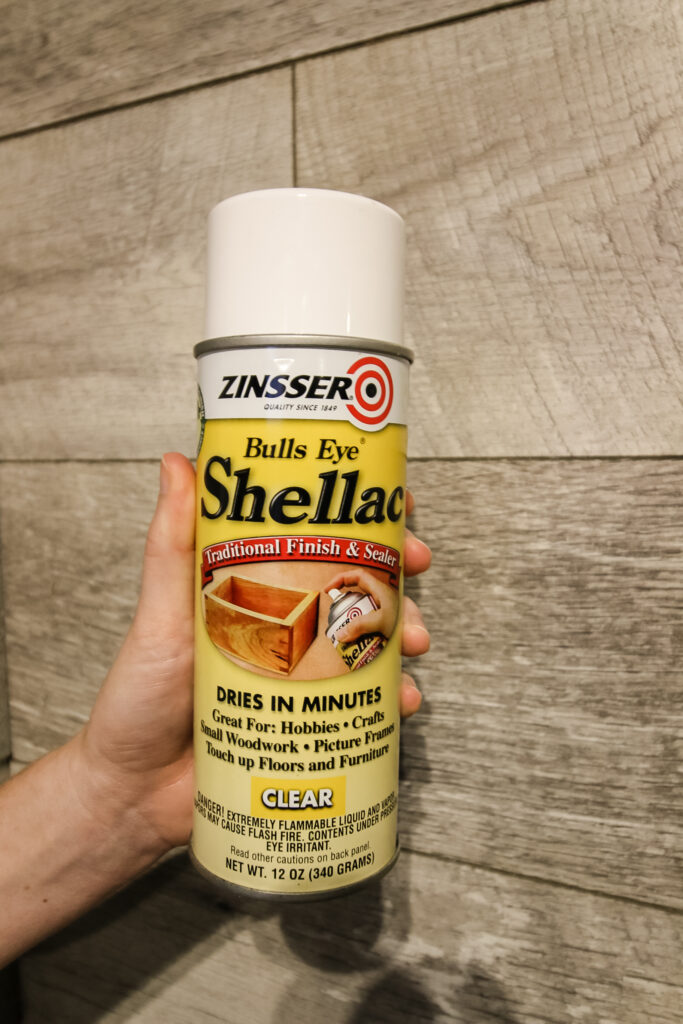
What is Zinsser Spray Shellac?
Zinsser shellac is a super popular brand of shellac finish. It comes in both spray and brush applications, though the spray is my favorite for small woodworking projects. It's just so easy to use!
Where can you buy Zinnser Spray shellac?
Most hardware stores sell Zinsser spray shellac. Shop it at:
Advantages of Zinsser Spray Shellac
I love using Zinsser Shellac for its quick-drying formula, versatility, and excellent sealing properties.
I particularly love the spray-on can because it is just so easy and quick to apply to small wood projects.
Here are some other benefits of sealing wood projects with shellac:
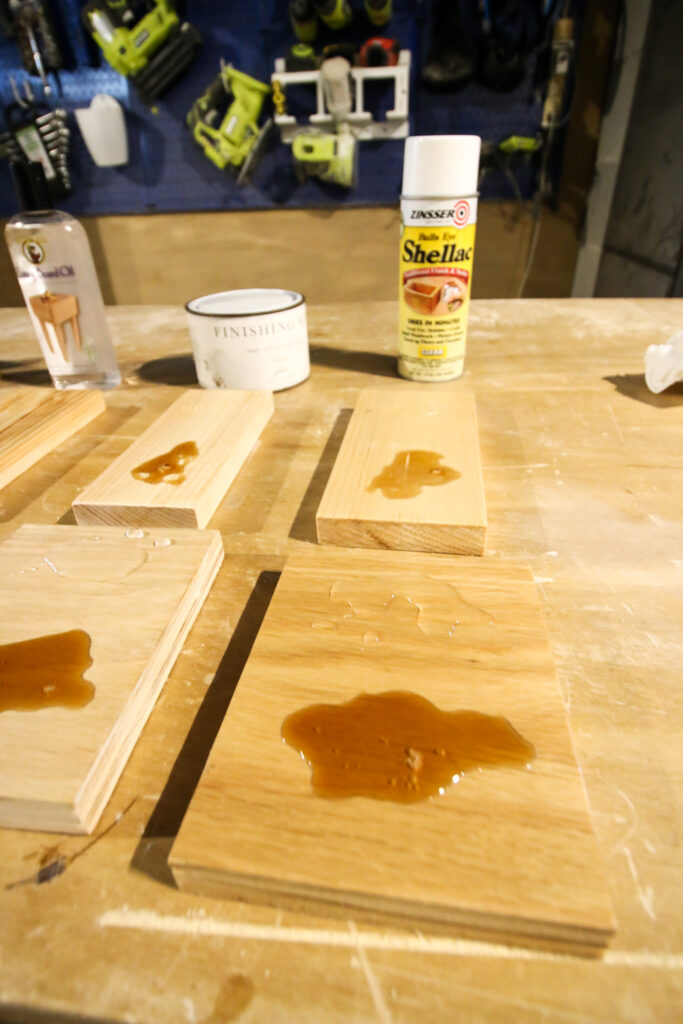
- Shellac - once fully dried and cured - is considered food safe. For this reason it can work for cutting boards or even wooden toys.
- It is considered all-natural and non-toxic (once dry)
- Shellac is also UV resistant and does not yellow or darken over time.
- It dries quickly - dry to the touch in 5 minutes, ready to re-coat in 1 hour
- Shellac blocks in odors (never noticed this, but could be helpful!)
- Once dry, wood can be easily cleaned with soapy water
Disadvantages of shellac sealant
The main disadvantage of using shellac is that it is not the most durable top coat. It gives good protection, but not as good as something like polyurethane.
It's great for a decorative object that you want protected from general day to day use and display. However, it's not quite durable enough for what I would use for a heavily used dining table or an outdoor item.
It's definitely not durable enough to be used as your sealant on flooring.
Additionally, shellac is not a water proof finish and it can come up if exposed to high heat - such as setting a hot pan on it.
Preparing Your Workspace
Whenever you are using any kind of spray sealant, you will want to be sure that you are working in a well ventilated area.
Also make sure that your space is clean of dust and debris. You don't want anything to land on your finish as it dries. Unlike a brushed-on finish, it can be hard to touch up.
Safety precautions
Safety precautions to take when using Zinsser spray shellac include wearing protective goggles, gloves, and a mask to avoid inhalation of fumes or getting the product in contact with eyes or skin.
Best Projects for Zinsser Spray Shellac
A spray isn't always the best application of a top coat. For example, I wouldn't want to spray an entire large dining table (I'd use a brush on application instead).
Here are my favorite uses for a spray shellac:
- Small wood projects that can be sprayed quickly
- Wooden crafts (like craft kits or painted pre-made pieces from the craft store)
- Wood projects with intricacies that would be hard to get a brush into
- Wood turnings
- Wood frames (especially if intricate)
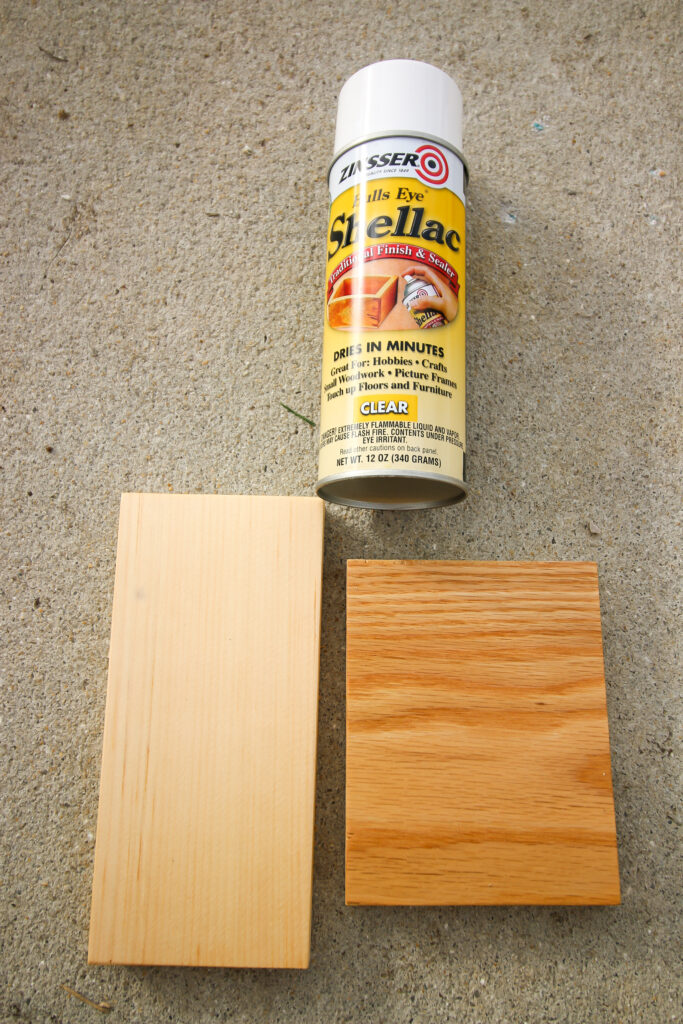
How to prep wood to seal with shellac
Wood (or other surface) needs to be clean and dry before sealing. I like to gently sand with 220 grit sandpaper, then wipe completely clean.
Be sure to remove any existing finishes, fill any cracks or imperfections, and sand the wood to achieve a smooth surface before applying shellac.
Be sure that your wood is totally dry before applying the shellac!
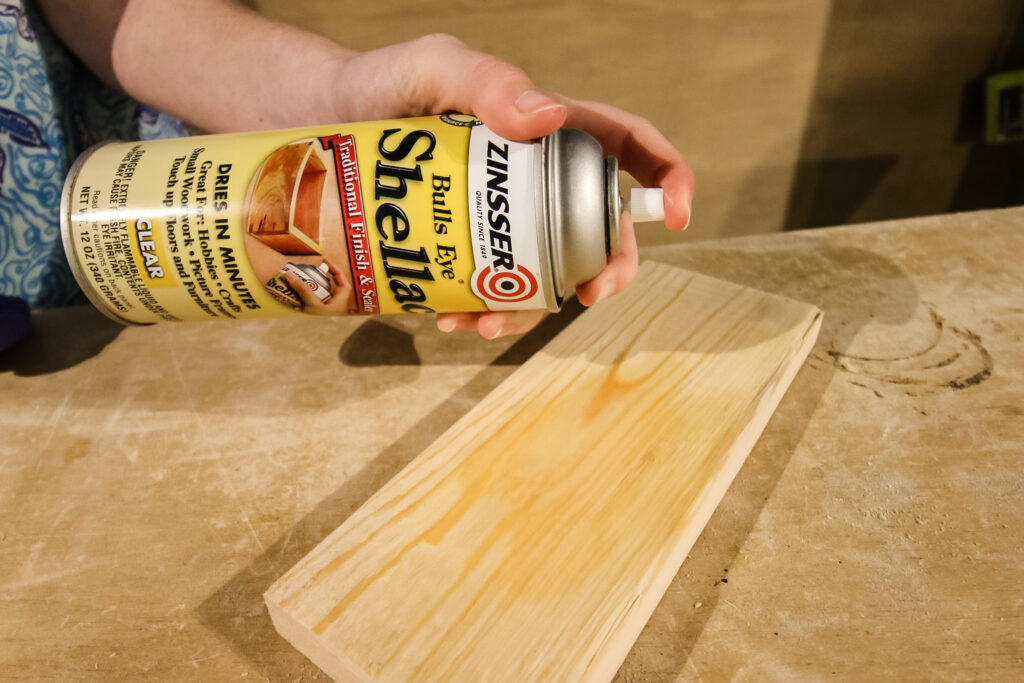
How to Apply Zinsser Spray Shellac
- Be sure that your surface is completely dry and clean
- Shake the can for about 60 seconds
- Apply a light coat on all surfaces, from all directions, to get complete coverage. Try to maintain an even spray pattern, keeping the can at an appropriate distance from the surface, and overlapping each pass for consistent coverage.
- Let dry for 1 hour
- Sand with fine grit sandpaper (220+) lightly and wipe off any dust or debris.
- Repeat for a second thin coat
- Let dry overnight
Should you sand between coats of Shellac?
You should sand your project after each coat of shellac is dry, before applying another coat. Sometime sealants can raise the wood grain or reveal slight imperfections. Sanding gently with a fine grit paper helps to ensure the best possible finish!
Zinsser Spray Shellac Drying and Curing Time
Zinsser spray shellac is dry to the touch in just a few minutes and can be recoated after 30 minutes to one hour. After the final coat, it is considered fully cured after one month. It could be cured sooner - but depending on the humidity and number of coats, it could take up to a month!
How to Clean Up and Store Zinsser Spray Shellac
Spray shellac can be removed using acetone or denatured alcohol.
Store your extra spray shellac with the lid tightly closed. Keep it in a cool, dry place where the temperature does not exceed 75 degrees Fahrenheit.
The shelf life of Zinsser Spray Shellac is usually around one year when stored properly. You can tell if it has gone bad if it does not spray out easily or comes out with any chunks or thick bits.
Empty or partially used cans of spray shellac should be disposed of at hazardous waste drop off sites.
Can Zinsser Spray Shellac Be Used on Different Surfaces?
You can use Zinsser spray shellac on:
- wood
- masonry
- metal
- drywall
Frequently Asked Questions about Zinsser Spray Shellac
You can use spray shellac in a thin coat to even out wood before staining or painting. This is particularly useful on wood with a lot of dark knots, such as pine.
Zinsser Spray Shellac is not designed for outdoor use and is not waterproof.
You can clean up Spray Shellac with denatured alcohol.
Yes, Zinsser spray shellac can be used on metal or stone as well as wood surfaces.
Store your can fully sealed in a cool, dark space. It should last for a long time, until you use it up!
With Zinsser spray shellac as your go-to finishing product, the possibilities for DIY home decor and woodworking projects are endless.
Whether you're looking to refresh old furniture, create unique crafts, or add a touch of elegance to your living space, this guide has provided you with the knowledge to make your vision a reality.
So, grab your Zinsser spray shellac, unleash your creativity, and transform your home with stunning results!
Any more questions about Zinsser spray shellac?

Looking for something?
We've been doing this since 2012 so we have a LOT of blog posts!
Search stuff like: Ceiling Projects | DIY Plant Stands | Thrift Flips

Hello, I'm Morgan, half of the creative force behind CharlestonCrafted.com! With a passion for DIY that dates back to 2012, I've transformed three homes and now I'm dedicated to helping others craft their dream spaces. Let's turn your house into a home together!