Need a DIY pantry idea? Learn how to turn a closet into a pantry with this comprehensive guide! Discover step-by-step instructions to transform your unused closet space into a functional and organized kitchen storage area.
Having a pantry can transform the functionality of your kitchen space - especially a small kitchen!
Whether your home has no pantry or just a small one, transforming a closet into a pantry is a great way to increase kitchen storage space.
In fact, many of the homes in our neighborhood have transformed the closet under the stairs (which backs up to the "eat in" side of the kitchen) into a secondary pantry.
This can be fabulous storage for food, bulk costco-type items, or small countertop appliances.
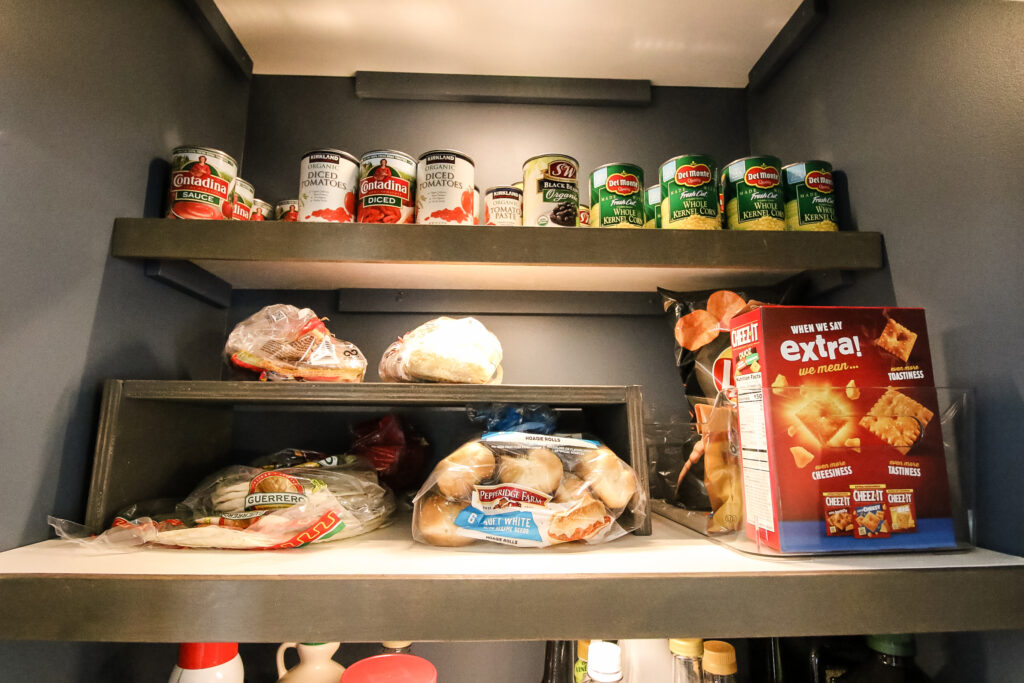
We built a pantry from scratch in the doorway passthrough from the kitchen to the dining area - but if we'd had a closet to use, we certainly would have done that!

How to turn a closet into a pantry
If your home lacks a pantry, the easiest way to add one is to convert a nearby closet. Here's how to turn a closet into a pantry!
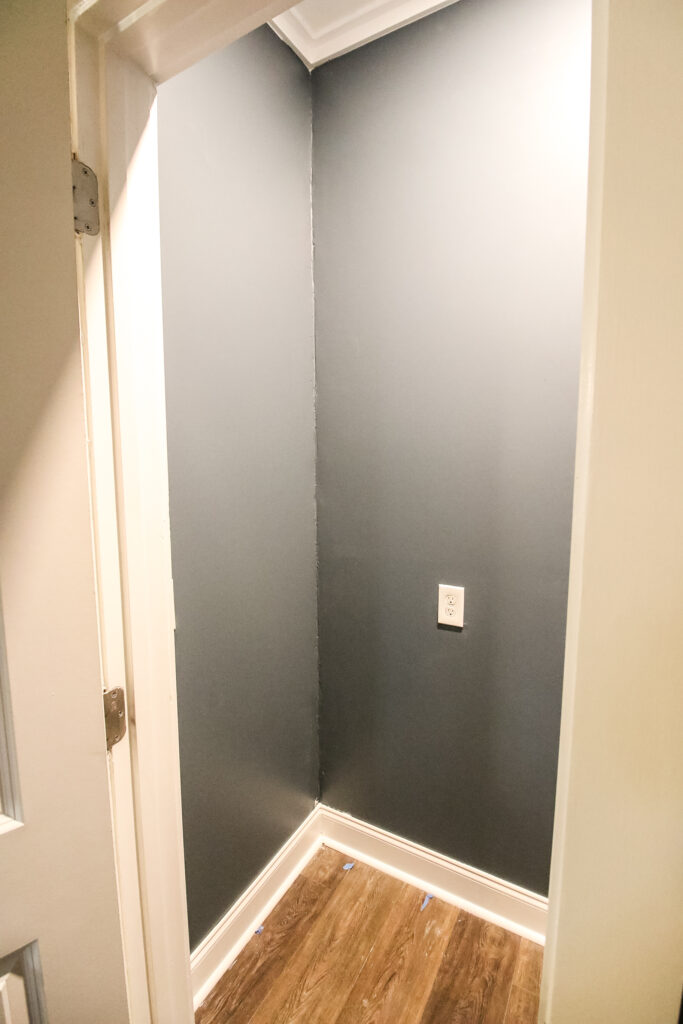
Preparing Your Closet Space
First, you will want to assess and prep your closet space.
To start, pull everything out and give it a good clean - vacuum, wipe down the shelves, even scrub the walls if they need it!
Go ahead and measure the space and take down the measurements on a paper or note in your phone. It's so much easier to measure an empty space!
Now, evaluate the closet. Look at the size and layout. Does it have shelves or need them added? Is there a light?
Also pay attention to the location of the closet. If it is directly in the kitchen, it could work for everyday items. If it's a bit off the kitchen, it might be better used as storage of lesser used items - the waffle maker, overflow food, or rarely used plates and platters.
Come up with a general plan for the space and how you want to use it.
Planning and Designing
Once you have the space ready to go, it's time to design any shelving or storage you will be adding.
Refer to the measurements you already took, or take new ones if you need to.
Think about a functional layout that will suit the items that you need to store. For smaller items like cans, you might want more shallow shelves that are closer together. For larger bulky items, you might want deeper shelves spaced further apart.
Need help organizing your pantry?
Click here to grab our FREE pantry inventory printable!
- Simple 2 page PDF printable
- Stop wasting money on food lost in the back of your pantry!
- Create a simple system for using up or disposing of expired food!
Draw out your design and determine the materials and supplies you will need for the project. Gather them and set aside a time to tackle the space.
DIY Pantry Construction Steps
Here are the steps that you can follow to turn a closet into a pantry!
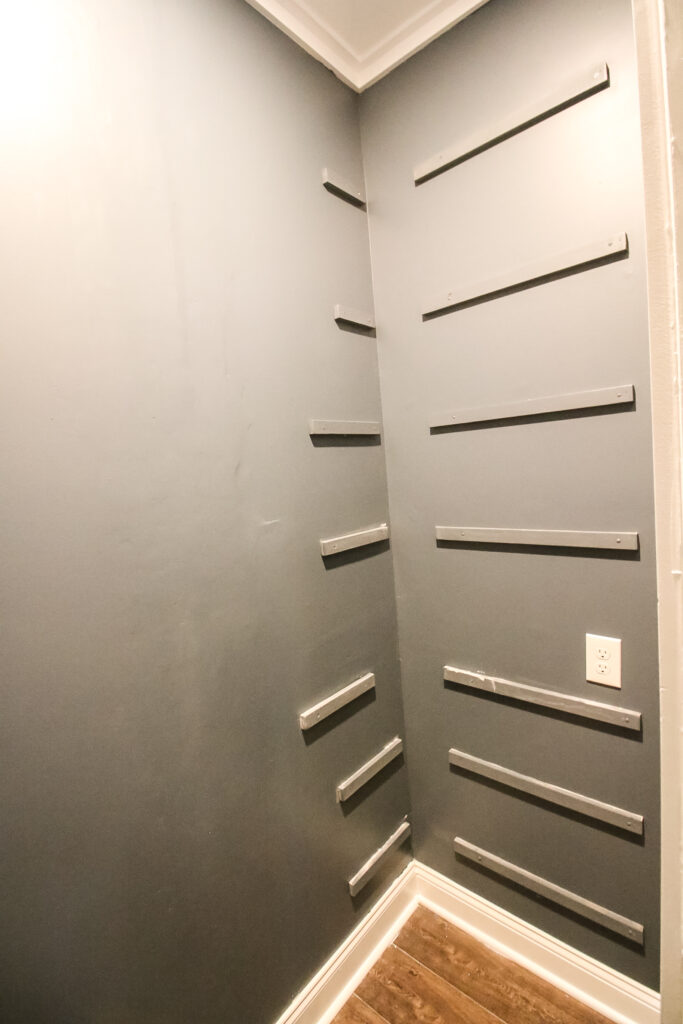
Step 1: Install Shelving Units
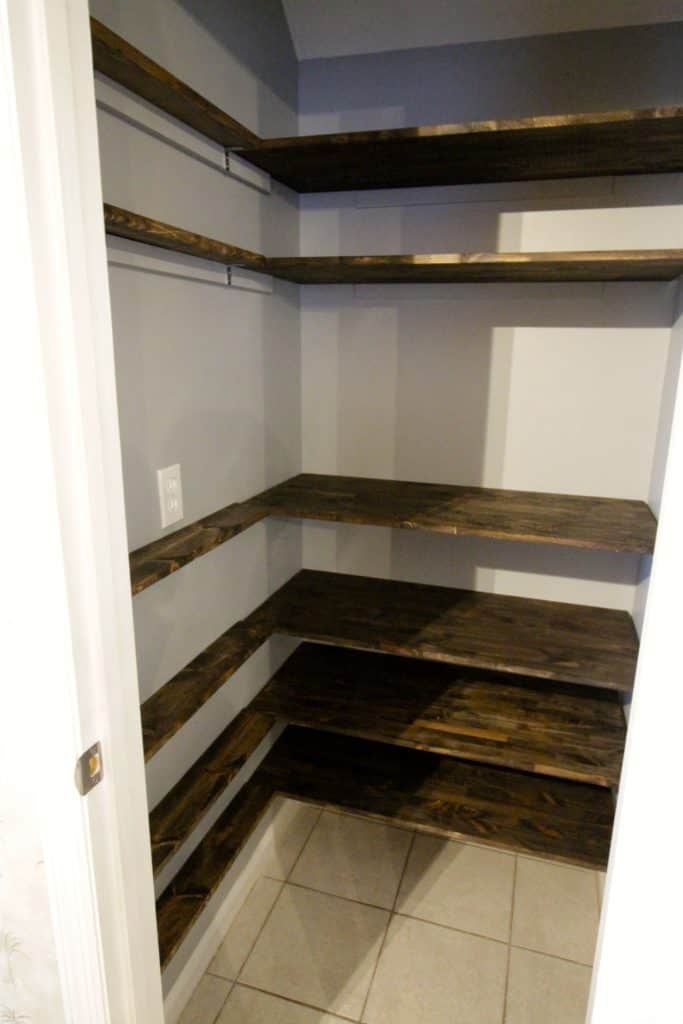
- Use your design + measurements to determine the size and dimension of shelves. You can cut custom sizes from plywood or use pre-cut shelves, usually in 12" widths.
- If cutting shelves, sand them smooth and paint or stain as desired.
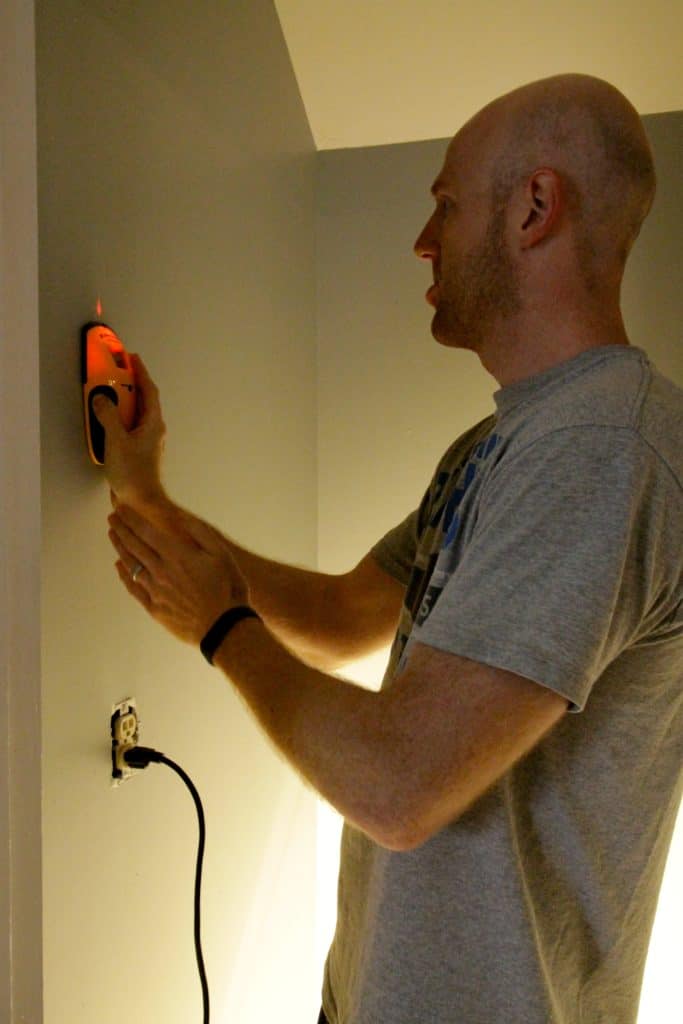
- Determine your ideal shelf spacing. I suggest marking on the wall with a pencil or painter's tape. Don't forget to account for the thickness of the shelf itself when determining spacing!
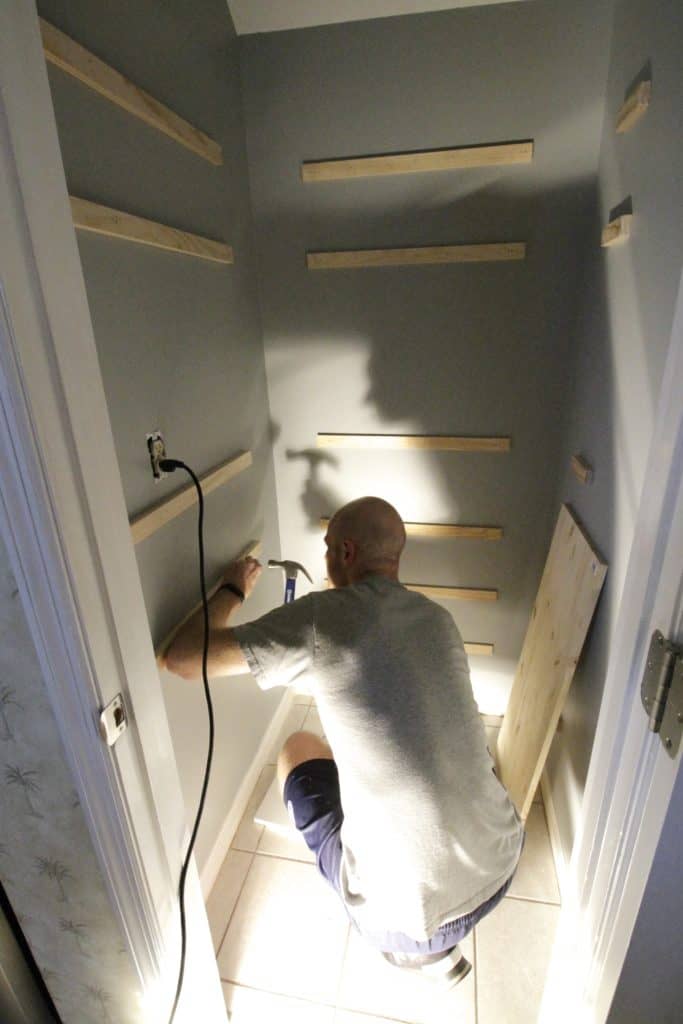
- Once you are happy, install brackets to hold the shelves. Use a level to ensure they are straight. You can use simple metal brackets, decorative brackets, or strips of scrap wood nailed into the wall.
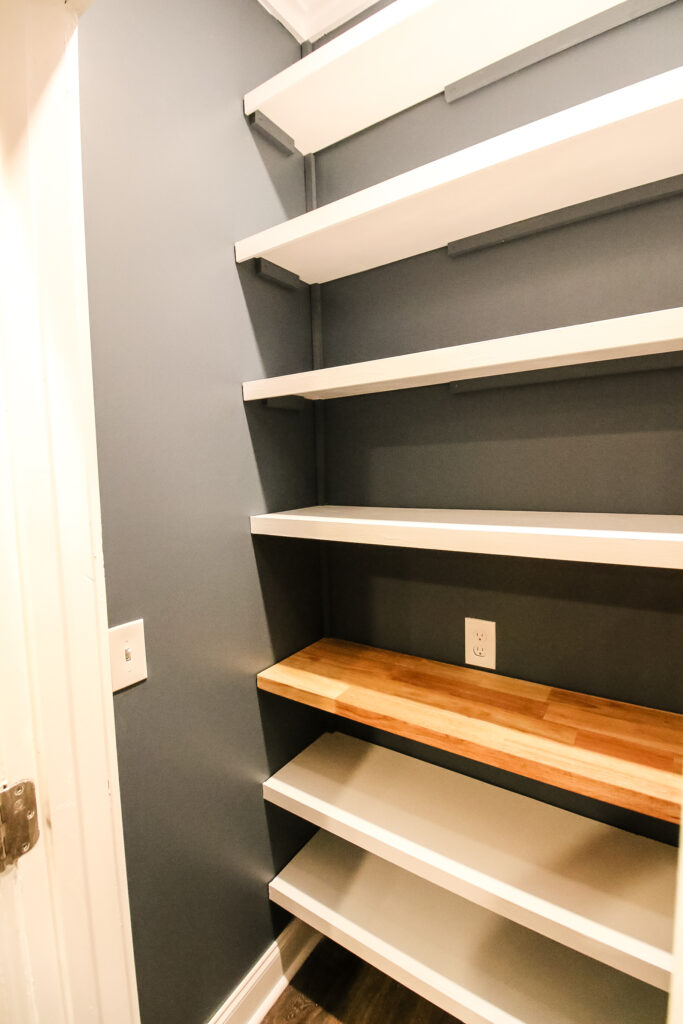
- Add the shelves to the brackets and be sure they are straight, flush, and secure.
- Repeat until you have all of the shelves needed for your pantry.
Be sure to check out our complete guide on how to build pantry shelves!
Step 2: Customize Storage Solutions
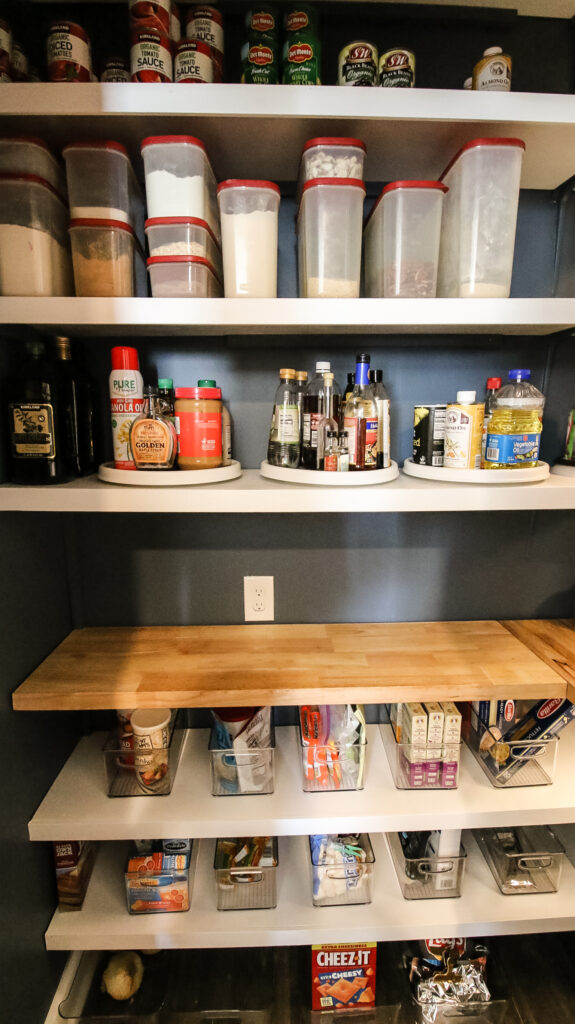
Once the shelves are in place, it's time to have fun! It's important to add organization tools to keep the space organized. Because, an unorganized extra pantry can quickly turn into a junk closet.
My favorite pantry organization tools include:
Storage containers are an added expense, so you might need to accumulate them over time. But, they make a huge difference in keeping the space tidy!
Step 3: Door Organization
Don't forget the door! The backside of a door is the perfect place to add extra storage.
Consider adding an over the door shoe holder to hold larger items (these are great for storing water bottles!) or an over the door spice rack for jar storage.
Step 4: Lighting Considerations
Finally, don't forget lighting. Ideally, you closet-turned-pantry would have an overhead light. But, that's not always the case.
We added under shelf lighting into our reach-in pantry, which was touch or motion activated.
Whatever you choose, just be sure that it is well lit enough to find things without a flashlight!
Need to organize & declutter your whole home?
Be sure to download our free 30 day decluttering challenge workbook!

Looking for something?
We've been doing this since 2012 so we have a LOT of blog posts!
Search stuff like: Ceiling Projects | DIY Plant Stands | Thrift Flips

Hello, I'm Morgan, half of the creative force behind CharlestonCrafted.com! With a passion for DIY that dates back to 2012, I've transformed three homes and now I'm dedicated to helping others craft their dream spaces. Let's turn your house into a home together!